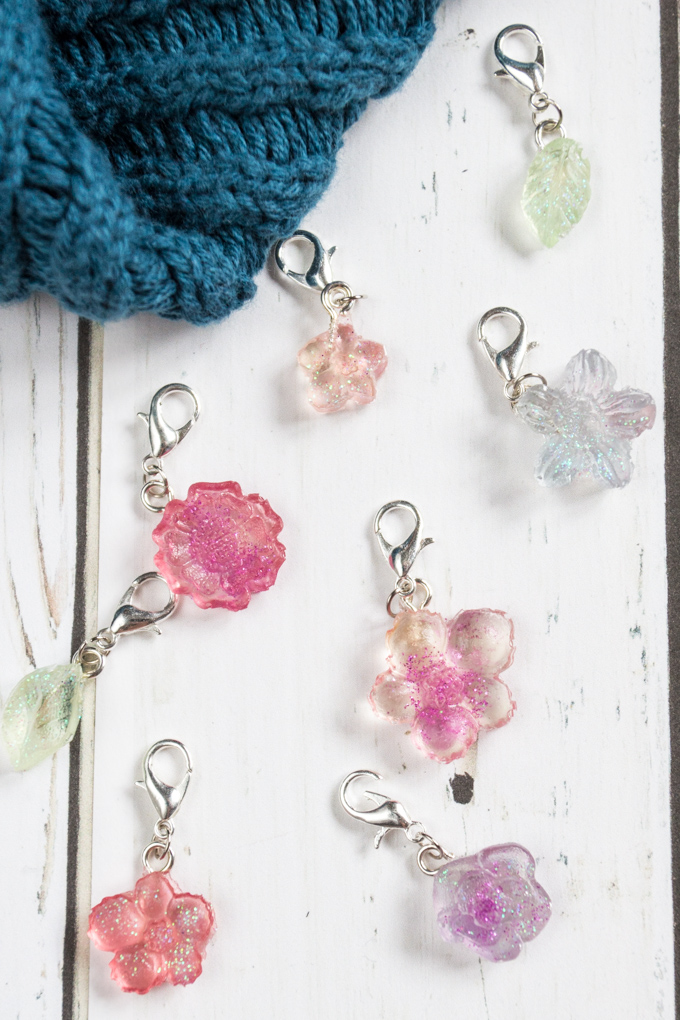
How to Make Pretty DIY Stitch Markers with Resin
There’s nothing like curling up on the couch on a cold winter day and crochet or knitting. These pretty and simple DIY stitch markers with resin are a perfect tool for tracking your rounds!
DIY Stitch Markers for Yarn Crafts
Stitch markers, also known as place markers, are a great way to keep track of your placement in a project. They’re really helpful if you have a pattern with a repeat, to make the beginning of a row, or for counting rows or stitches (i.e. mark every 10 stitches). You can learn more about how to use stitch markers in this helpful post.
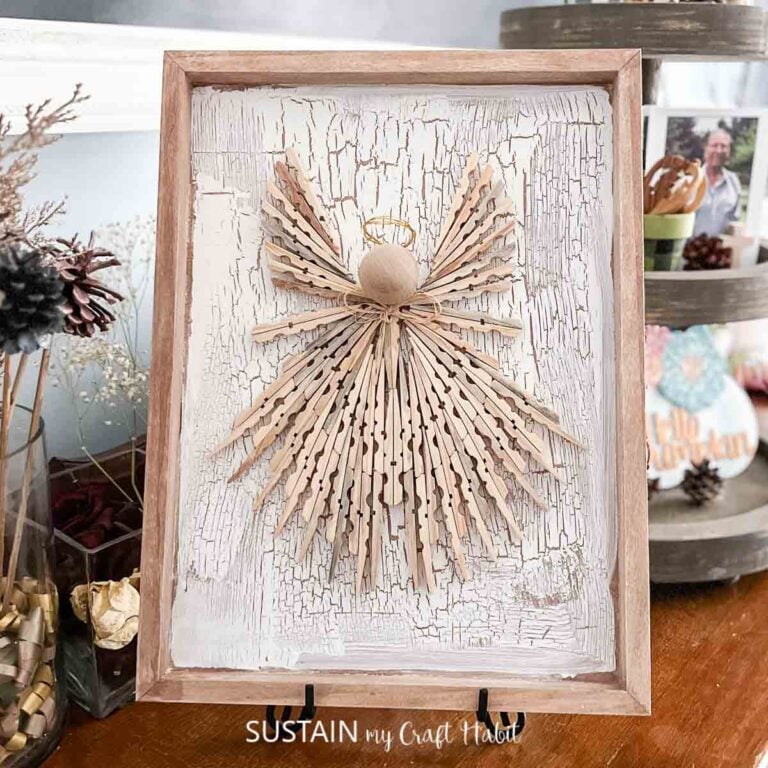
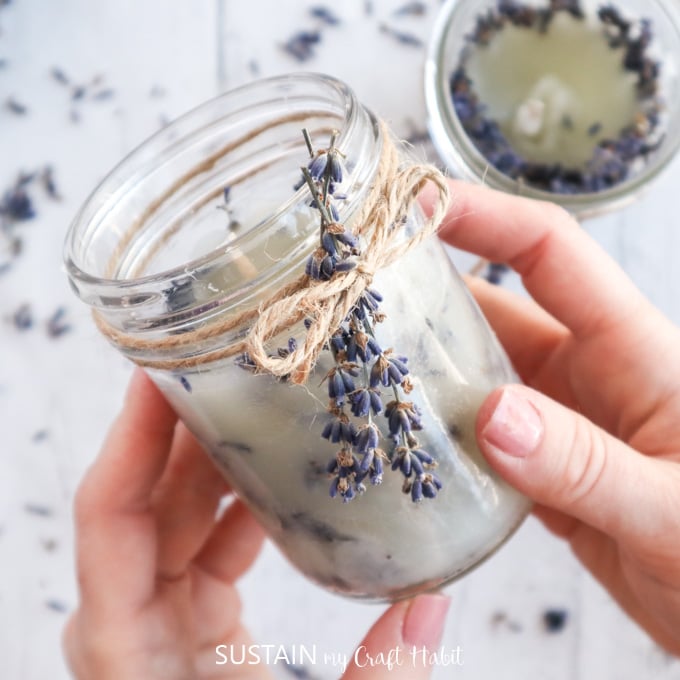
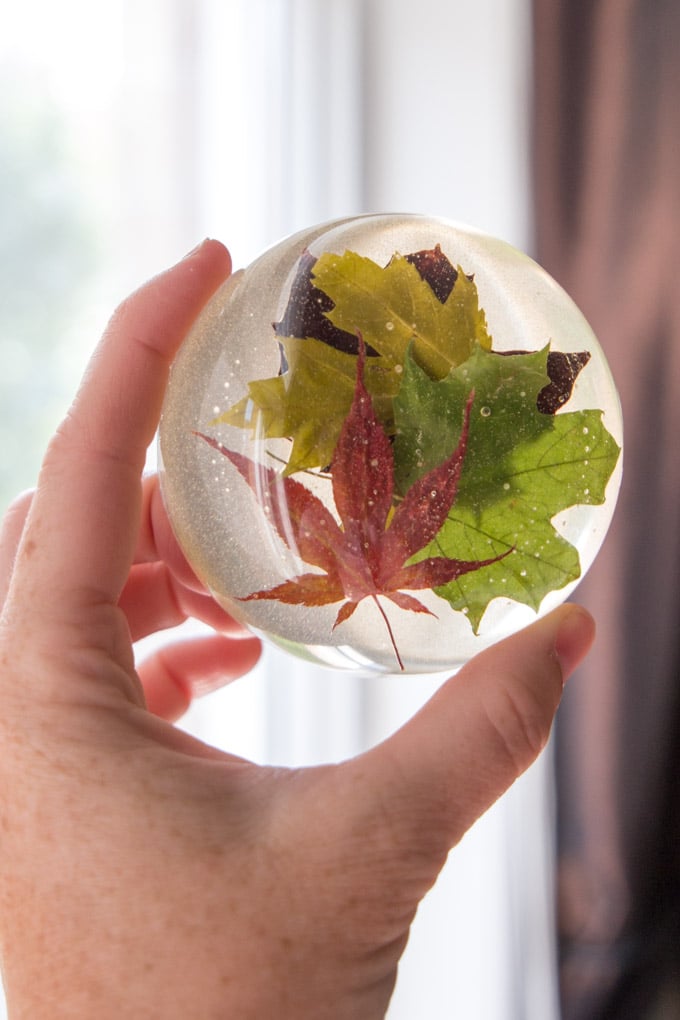
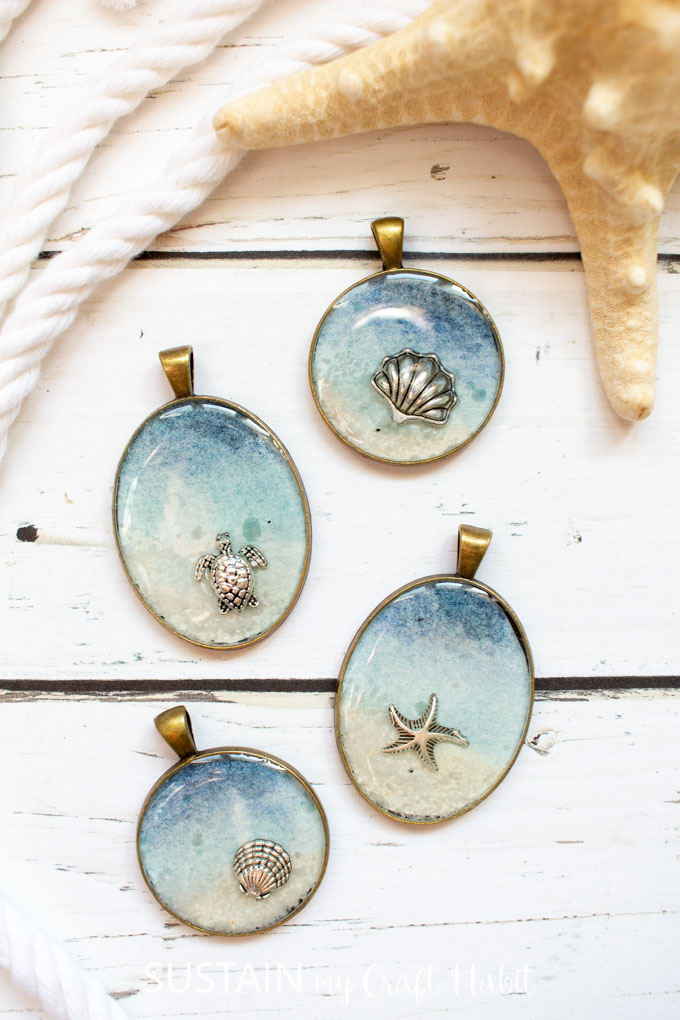
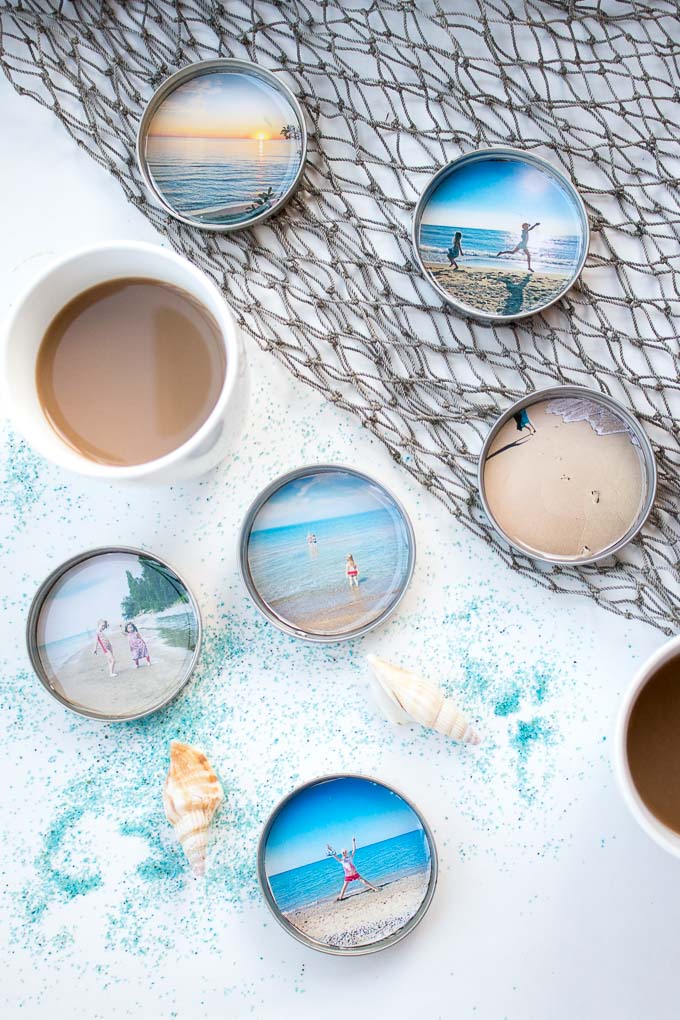
These adorable little DIY stitch markers with resin will be handy for keeping my place along my work. It’s the perfect little side-project for using up extra resin if you are creating a larger piece such as our elegant resin pour memento box, resin paperweight with leaves, beach themed jewelry, or our decorative mason jar lids.

Resin Pour Memento Box Fall Leaves Resin Paperweight Beach Themed Jewelry DIY Photo Coasters with Resin

Although I used EasyCast for this project, EnviroTex Jewelry Resin would also work very well.
Materials Needed to Make DIY Stitch Markers
Disclosure: This post contains affiliate links for your shopping convenience. Should you choose to purchase through them, we will make a small commission at no extra cost to you. You can read our full disclosure policy here.
- EasyCast Clear Casting Epoxy
- Miniature flower silicone mold
- Universal Transparent Dye in green, red and blue
- White and purple fine glitter
- Measuring cups, wooden stir sticks, paper towels, toothpicks
- Jewelry eyelets
- 6mm jump rings
- Lobster clips
How to Make Pretty Resin Stitch Markers
Be sure to read all the instructions and work in a well ventilated area prior to using the EasyCast Clear Casting Epoxy.
Start by mixing equal amounts of resin and hardener in a small measuring cup. Half an ounce of each is more than enough for this project.
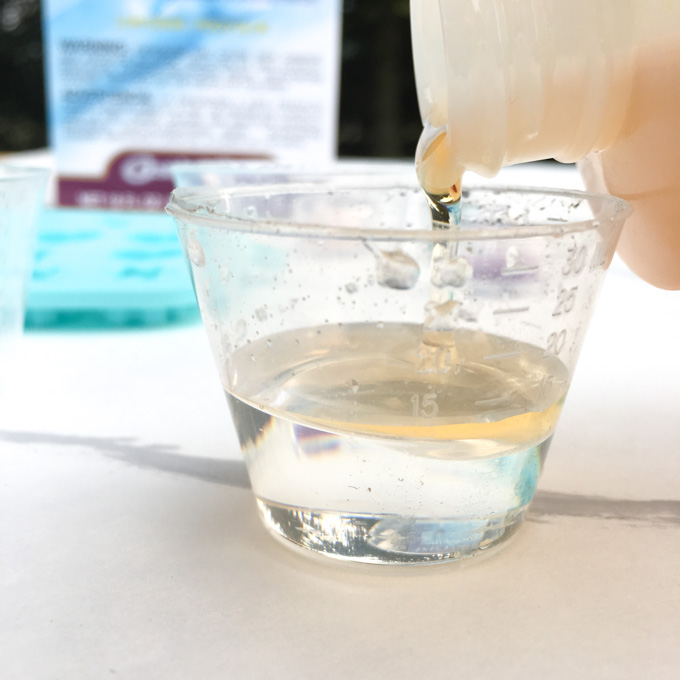
Mix for two minutes with a wooden craft stick. Pour the mixture into a 2nd cup and continue stirring for an additional minute.
Evenly divide the mixed resin into two additional cups (three parts in total).
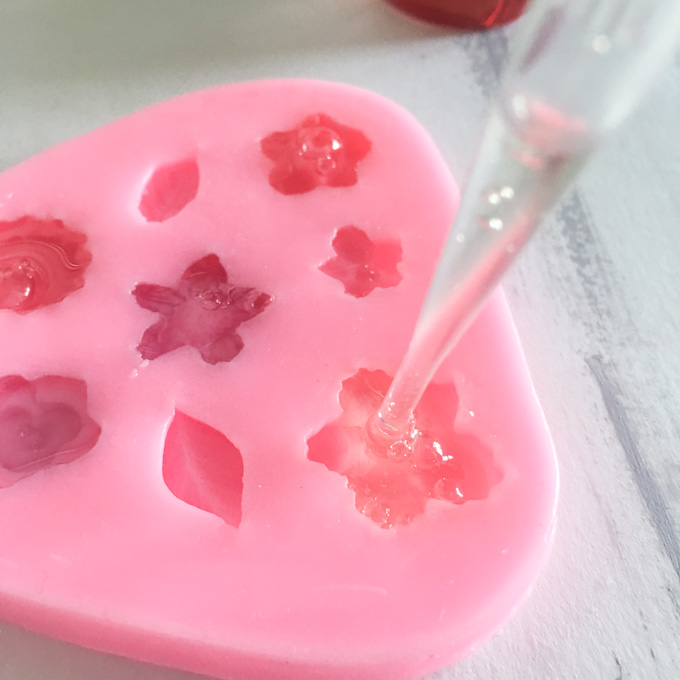
Add a small drop of each color into each cup and stir completely.

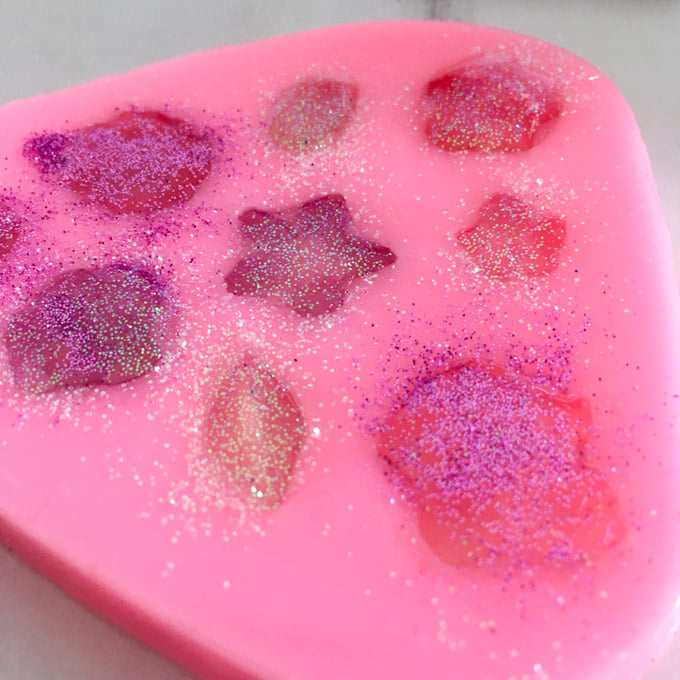
Pour the different colors of resin into different mold compartments.
Sprinkle a bit of fine glitter over top of each flower.
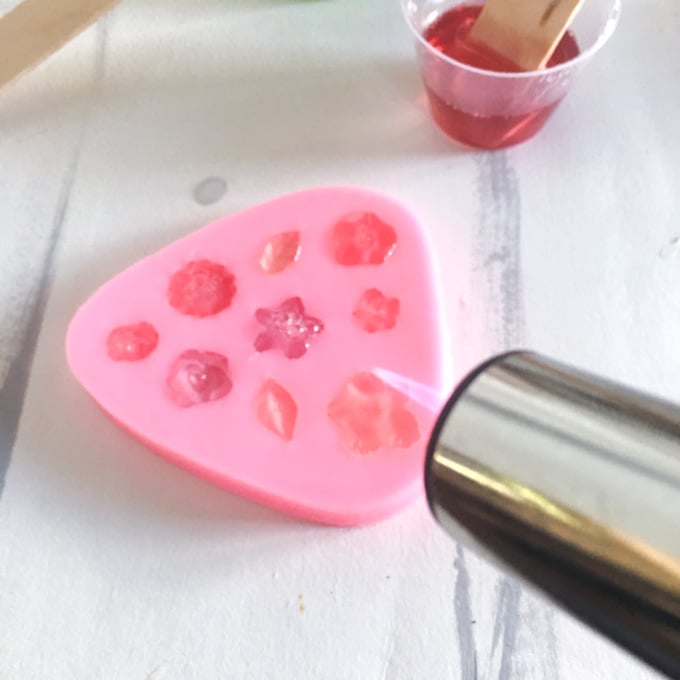
After about 30 minutes, blow off any air bubbles that have risen to the top using your breath through a straw or a small kitchen torch.
Cover the molds to prevent dust from collecting.
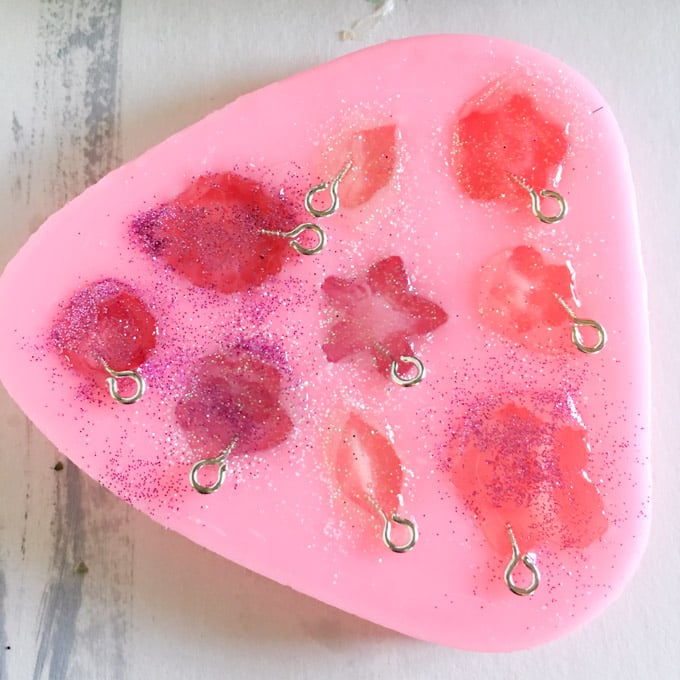
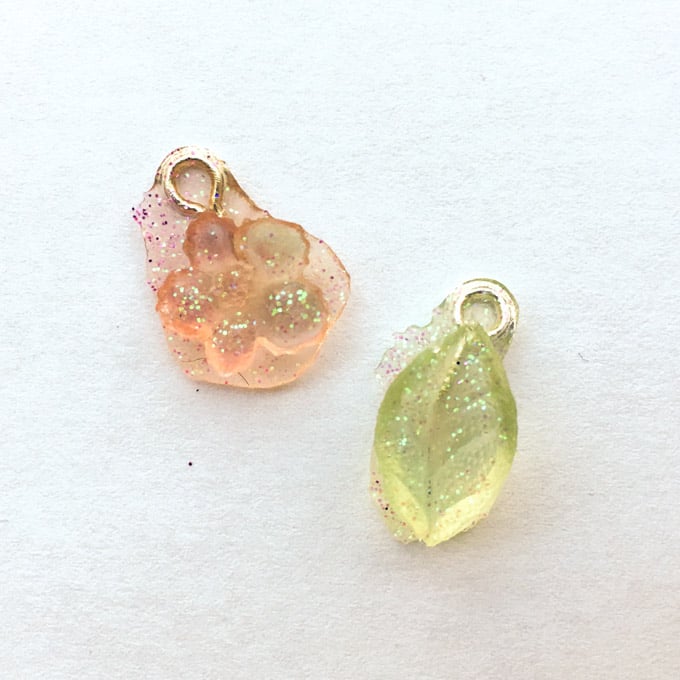
After about 2 hours, while the resin is still soft, gently place the small eyelets into the flowers.
Cover and let the resin cure for 24 hours. After 24 hours, remove the resin flowers from the molds.
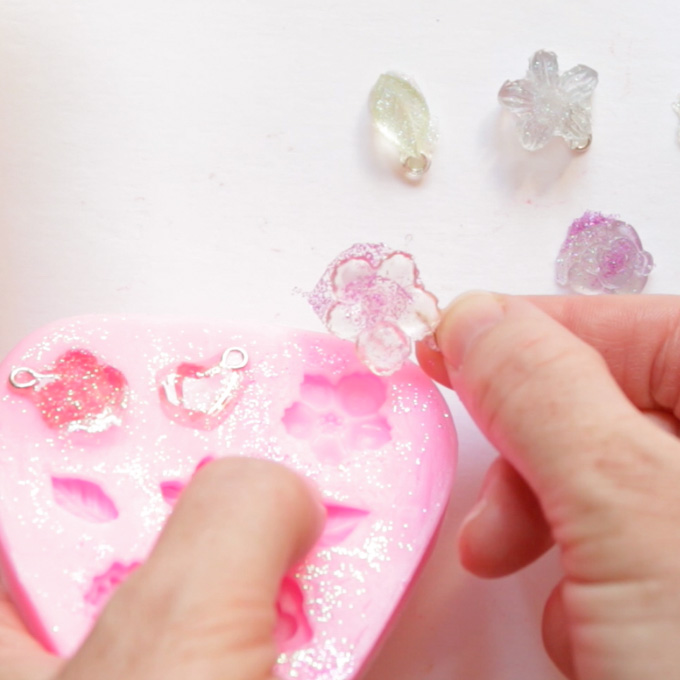
I had overfilled my molds a bit and had excess resin around the flowers. So I warmed the pieces up slightly using a blow dryer and then trimmed off the excess with a pair of sharp scissors.
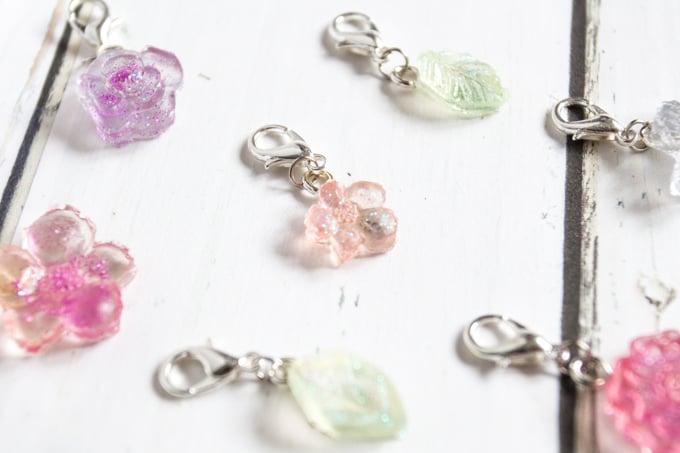
Connect the flower to a small lobster clip with a 6mm jump ring.
That’s it! Now I have a bunch of adorable little stitch markers to use in my crochet. I think they’ll also make a great gift and plan to make another set to give to Sonja who loves to knit.
Have you ever used stitch markers in your crochet or knitting projects?
This project originally appeared on the Resin Crafts Blog.
Like it? Pin it for later!
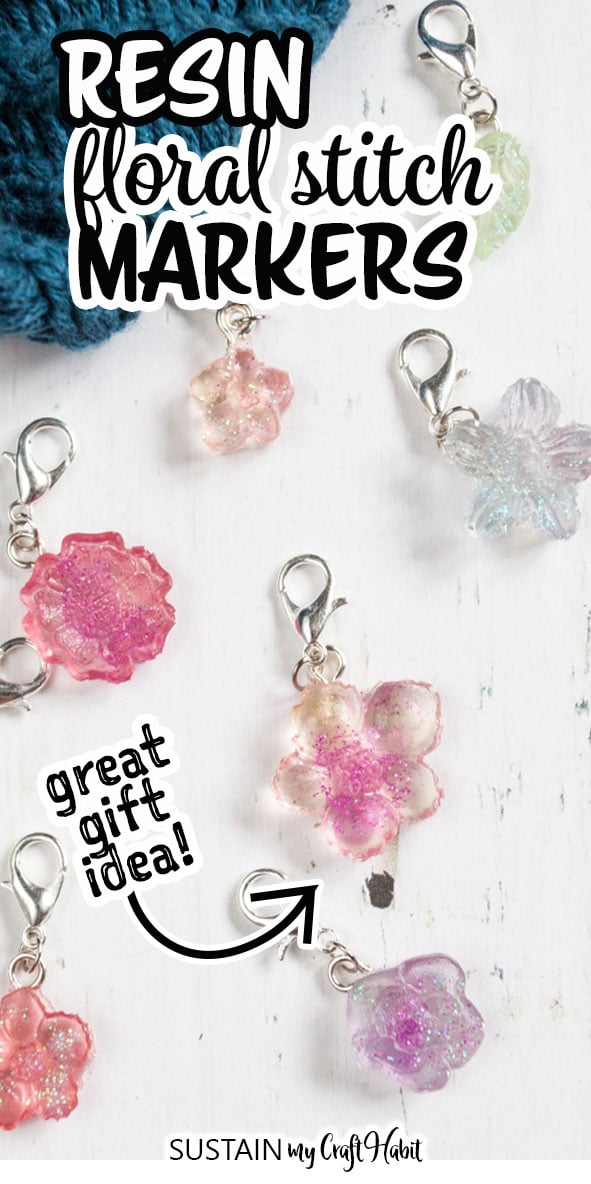
Resin Flower Stitch Markers
Materials
- EasyCast Clear Casting Epoxy
- Miniature flower silicone mold
- Universal Translucent Dye in green, red and blue
- White and purple fine glitter
- Measuring cups wooden stir sticks, paper towels, toothpicks
- Pipettes
- Jewelry eyelets
- 6 mm jump rings
- Lobster clips
Instructions
- Start by mixing equal amounts of resin and hardener in a small measuring cup.
- Mix for two minutes with a wooden craft stick. Pour the mixture into a 2nd cup and continue stirring for an additional minute.
- Add a small drop of each color into each cup and stir completely.
- Pour the different colors of resin into different mold compartments.
- Sprinkle a bit of fine glitter over top of each flower.
- After about 30 minutes, blow off any air bubbles that have risen to the top.
- After about 2 hours, while the resin is still soft, gently place the small eyelets into the flowers.
- Cover and let the resin cure for 24 hours. After 24 hours, remove the resin from the molds.
- Connect the flower to a small lobster clip with a 6mm jump ring. That's it!