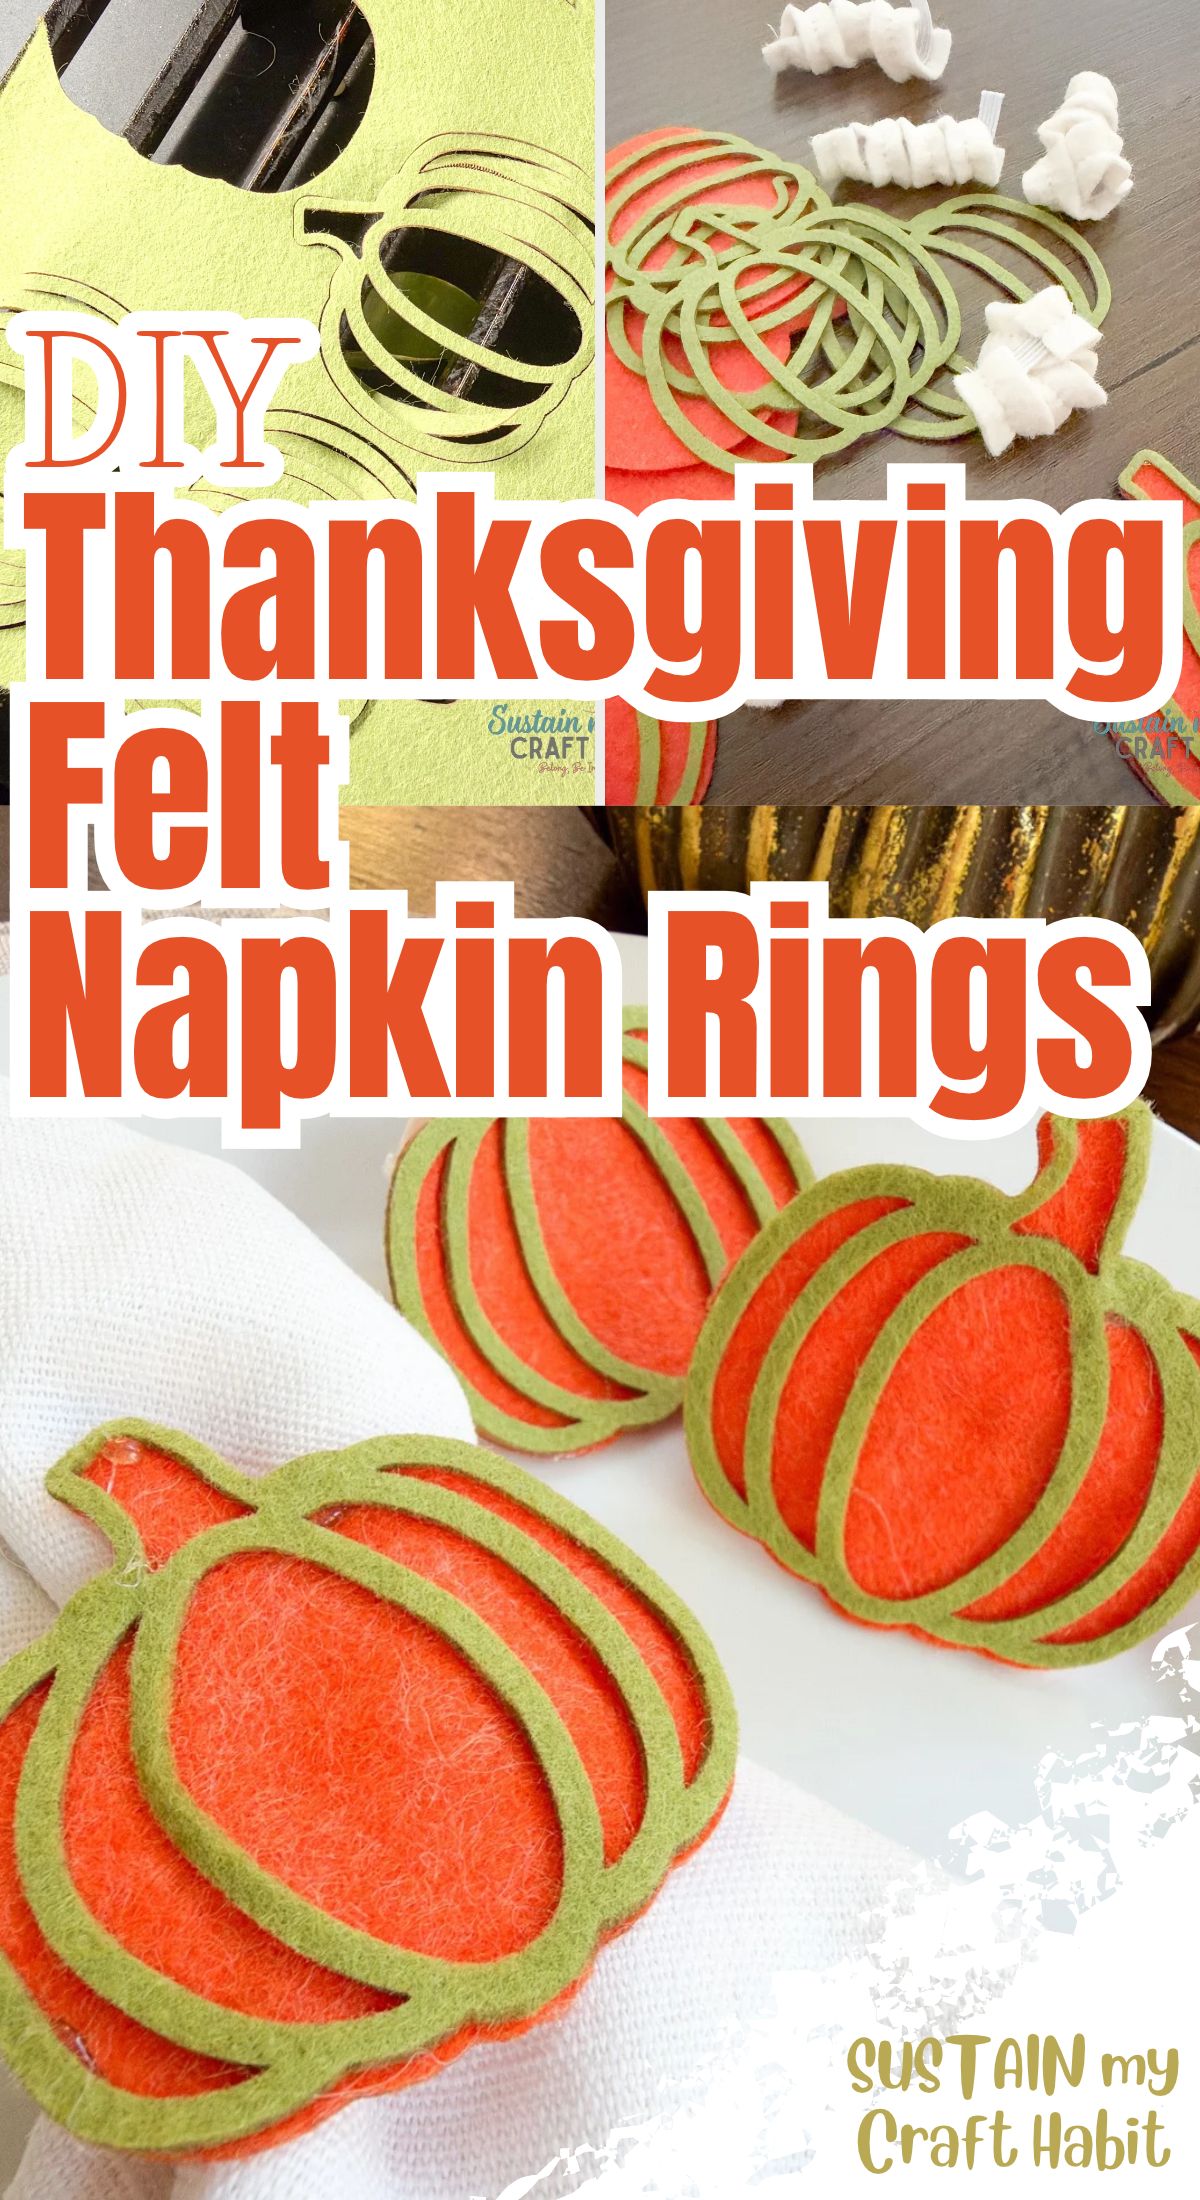
DIY Thanksgiving Felt Napkin Rings: Easy Pumpkin Table Decor
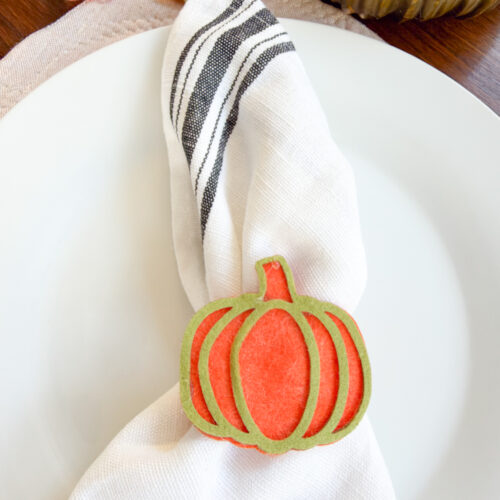
Thanksgiving is the perfect time to add a little handmade charm to your dining table, and these DIY Thanksgiving felt napkin rings are an easy, budget-friendly way to do just that.
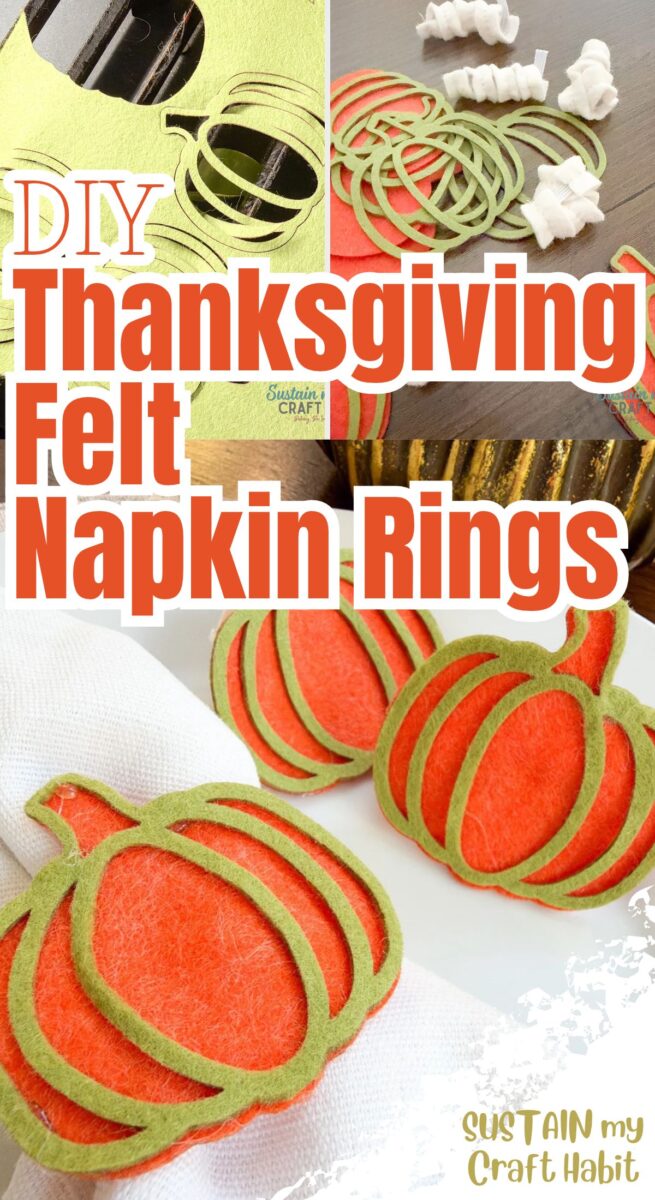
With their adorable pumpkin design and warm autumn colours, these simple decorations can make even everyday napkins feel special.
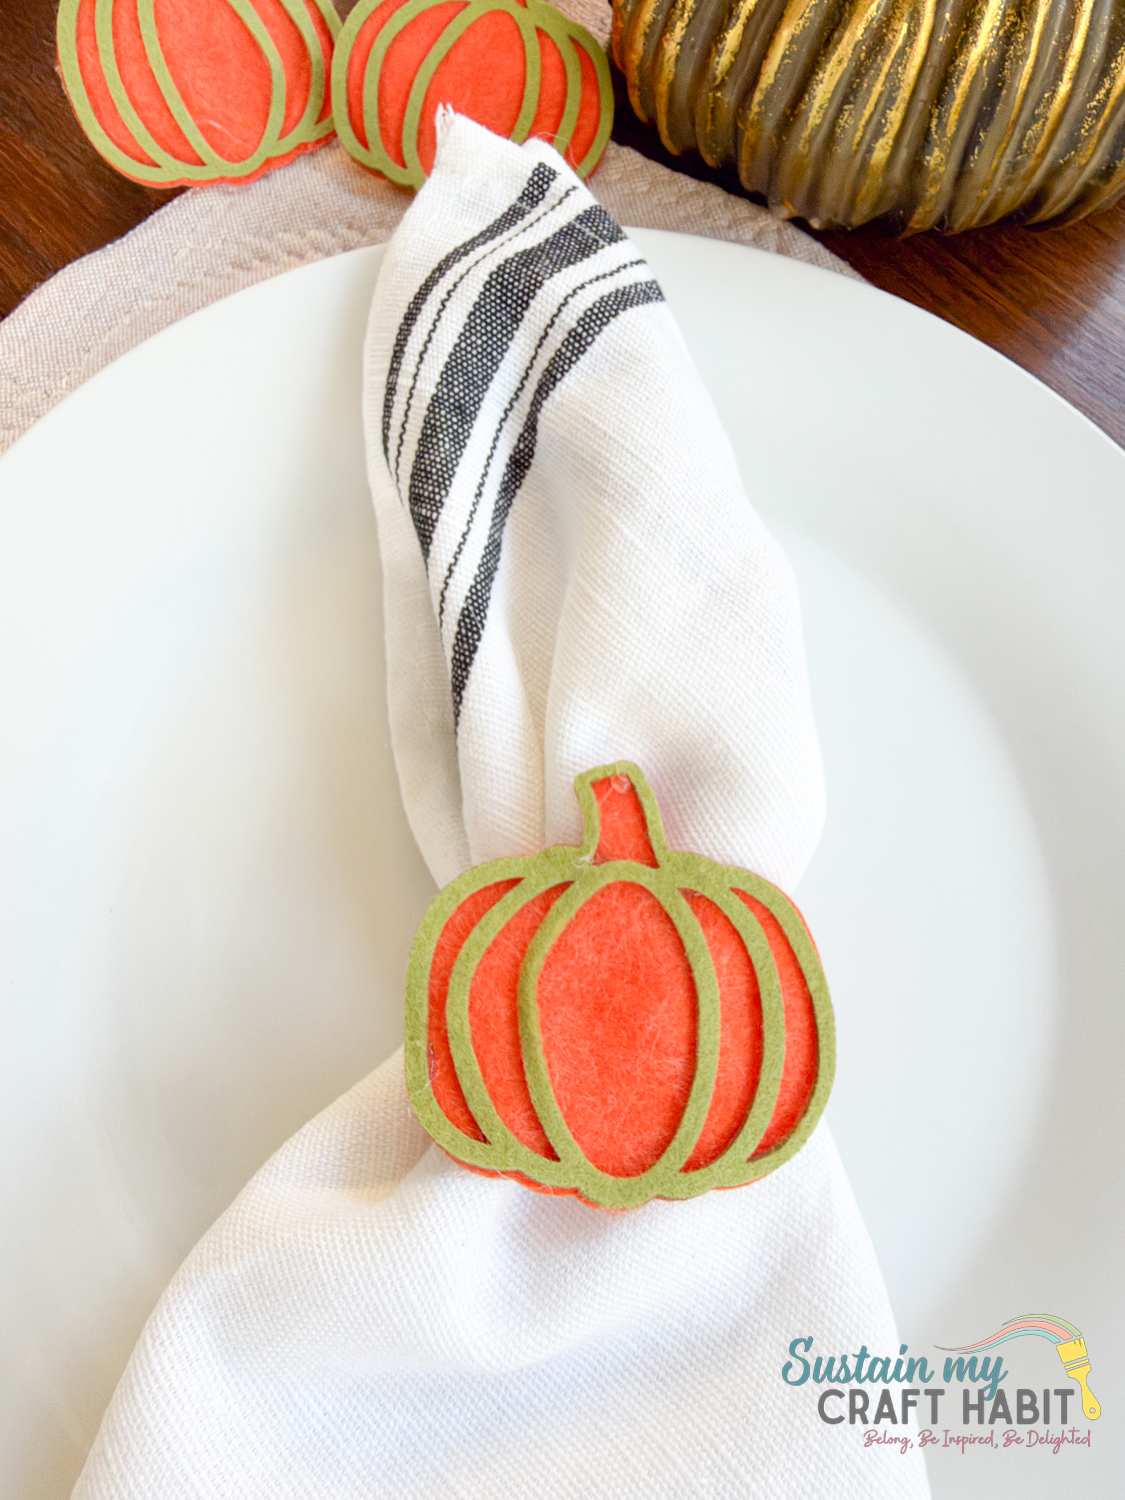
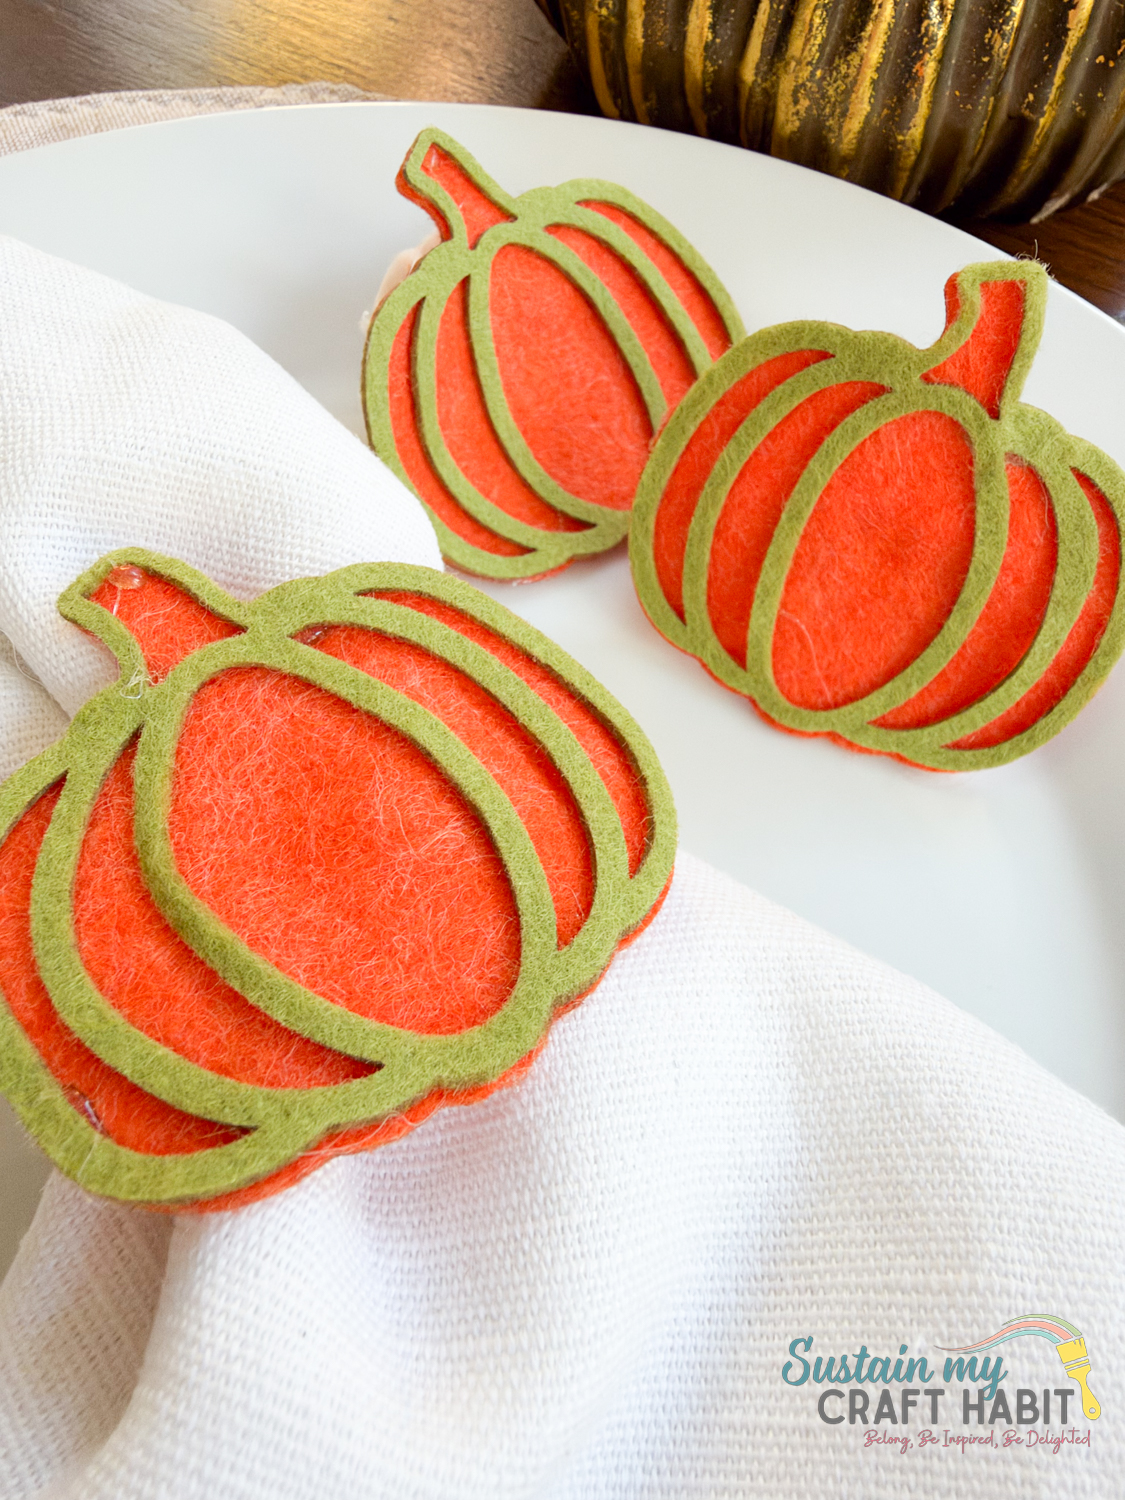
Whether you’re hosting a big Thanksgiving dinner or planning a cosy autumn meal with family, handmade pumpkin napkin rings bring a welcoming, seasonal touch without costing a fortune. They’re also a wonderful way to use leftover felt from other craft projects.
Best of all, you don’t need advanced sewing skills or expensive supplies to create them. With a few pieces of felt, some basic crafting tools, and a little creativity, you can make a matching set of pumpkin napkin holders for your holiday table.
Why You’ll Love These DIY Felt Pumpkin Napkin Rings
- Budget-friendly Thanksgiving decorations: These DIY felt pumpkin napkin rings use inexpensive craft supplies, making them ideal for decorating your Thanksgiving table without overspending.
- Easy for beginners: Simple shapes and basic assembly make this an approachable autumn felt craft, even if you’re new to sewing or working with felt.
- Customisable to your table setting: Choose traditional orange pumpkins or experiment with cream, sage green, mustard yellow, and rustic brown for a more modern farmhouse look.
- Reusable year after year: Unlike disposable Thanksgiving table decorations, felt napkin rings can be carefully stored and brought out every autumn.
- Perfect for handmade gifts: Create a matching set of six or eight pumpkin napkin rings, tie them together with ribbon, and give them as a thoughtful seasonal hostess gift.
Get access to our resource library filled with SVG cut files and other Cricut craft ideas!
Materials Needed
- Pumpkin Napkin Ring Printable Pattern (grab yours from our Sustain my Craft Habit shop)
- Felt Sheets in any color of your choosing
- ¼” wide elastic
- Hot glue
- Fabric Scissors
How to Make Thanksgiving Felt Napkin Rings
Gather materials from the materials list above and download the festive napkin rings cut file.
How to Cut Felt Sheets with Cricut Cutting Machine
To begin, cut a piece of transfer tape to 12″x12″ and place on the cutting mat with the sticky side up. Although this is not a madatory step, this will help protect the cutting mat over time.
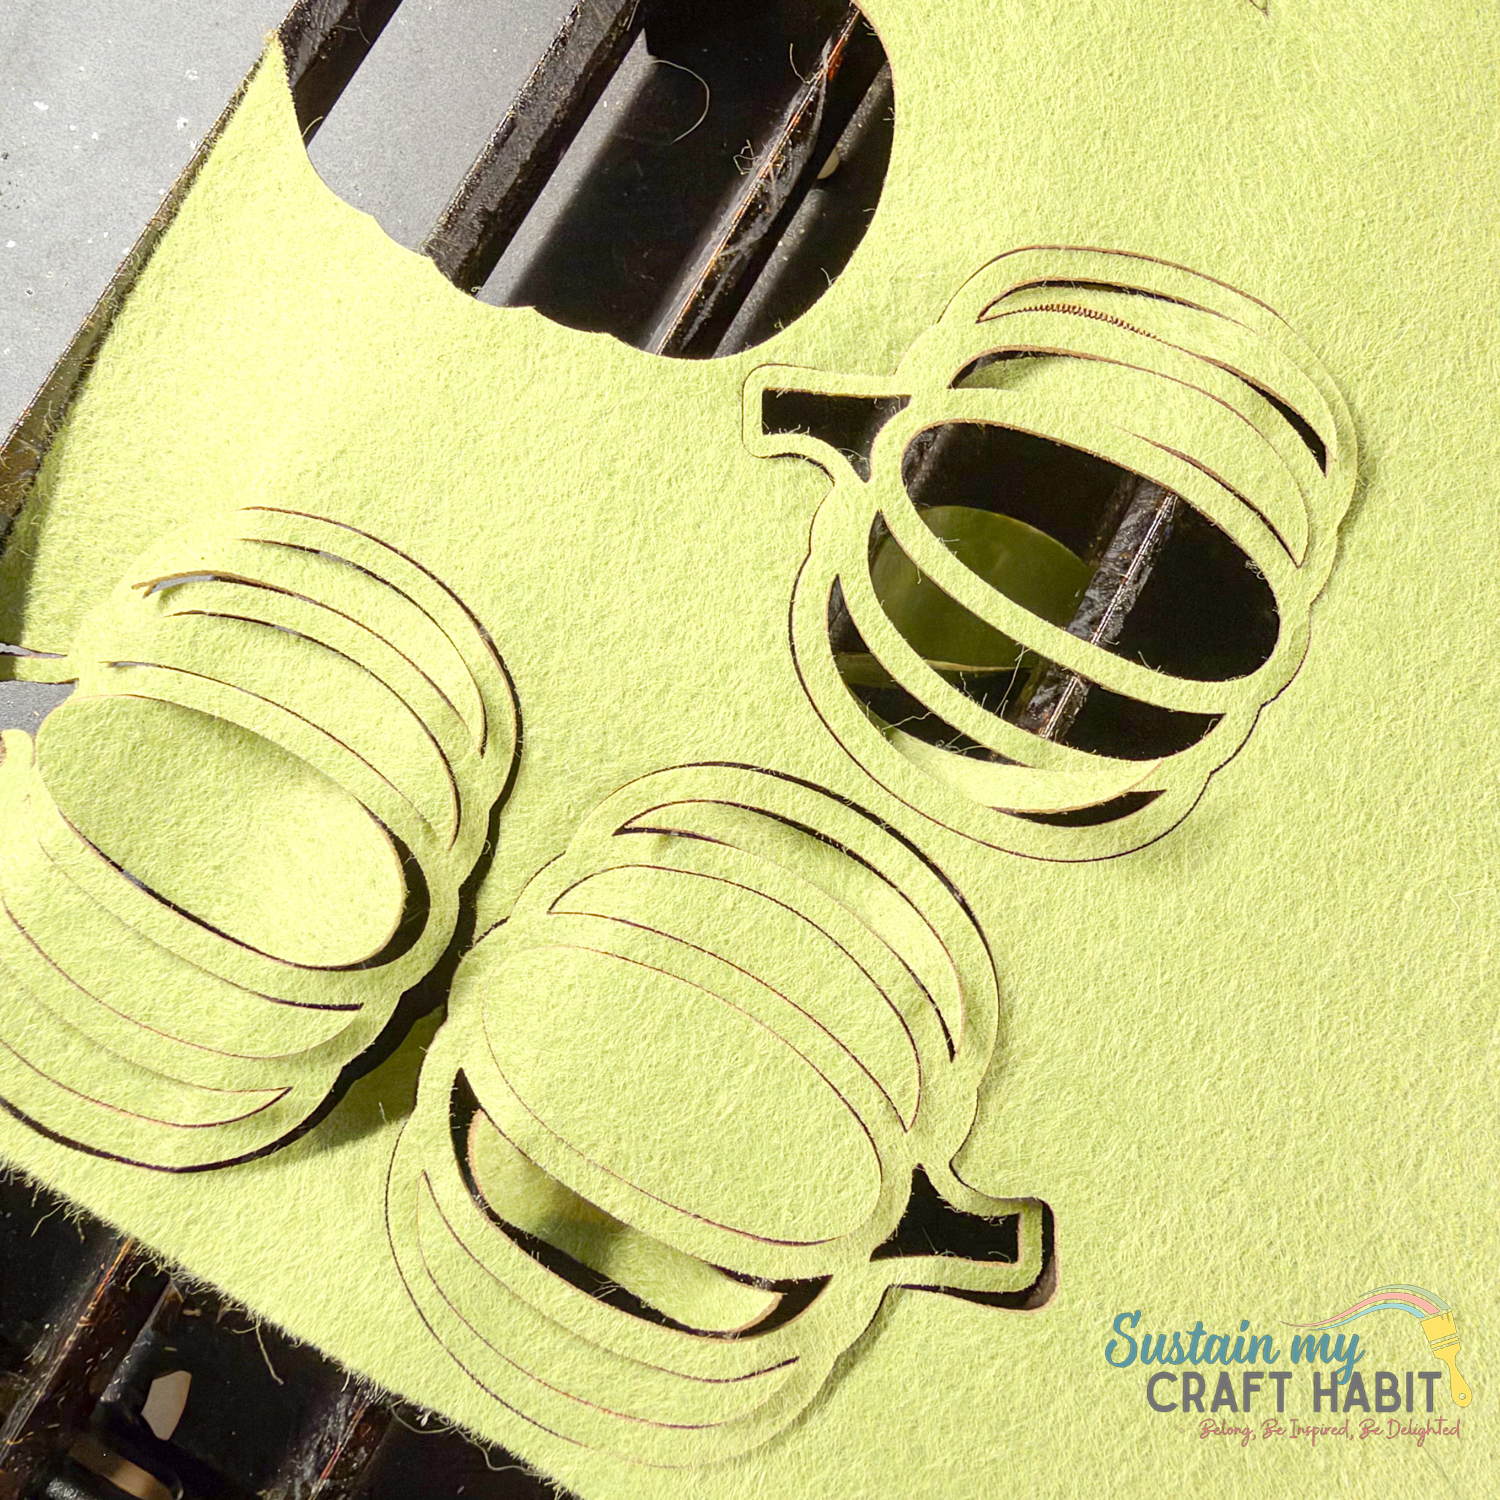
Place a sheet of felt fabric on the transfer sheet (lined cutting mat) and press. Refer to the instructions in Design Space and follow the steps including inserting the rotary blade and selecting felt, acrylic as the material to cut.
Cut all the different colored pattern pieces for the particular napkin ring you are making.
In our case, we used an xTool P2 laser cutting machine along with the SVG cut files.
How to Cut Felt Sheets BY HAND
You can also cut these pumpkin shapes out by hand using a pair of scissors and the printable PDF pattern pieces. Simply place the pattern piece on top of the felt sheet and cut around the solid lines.
ASSEMBLING
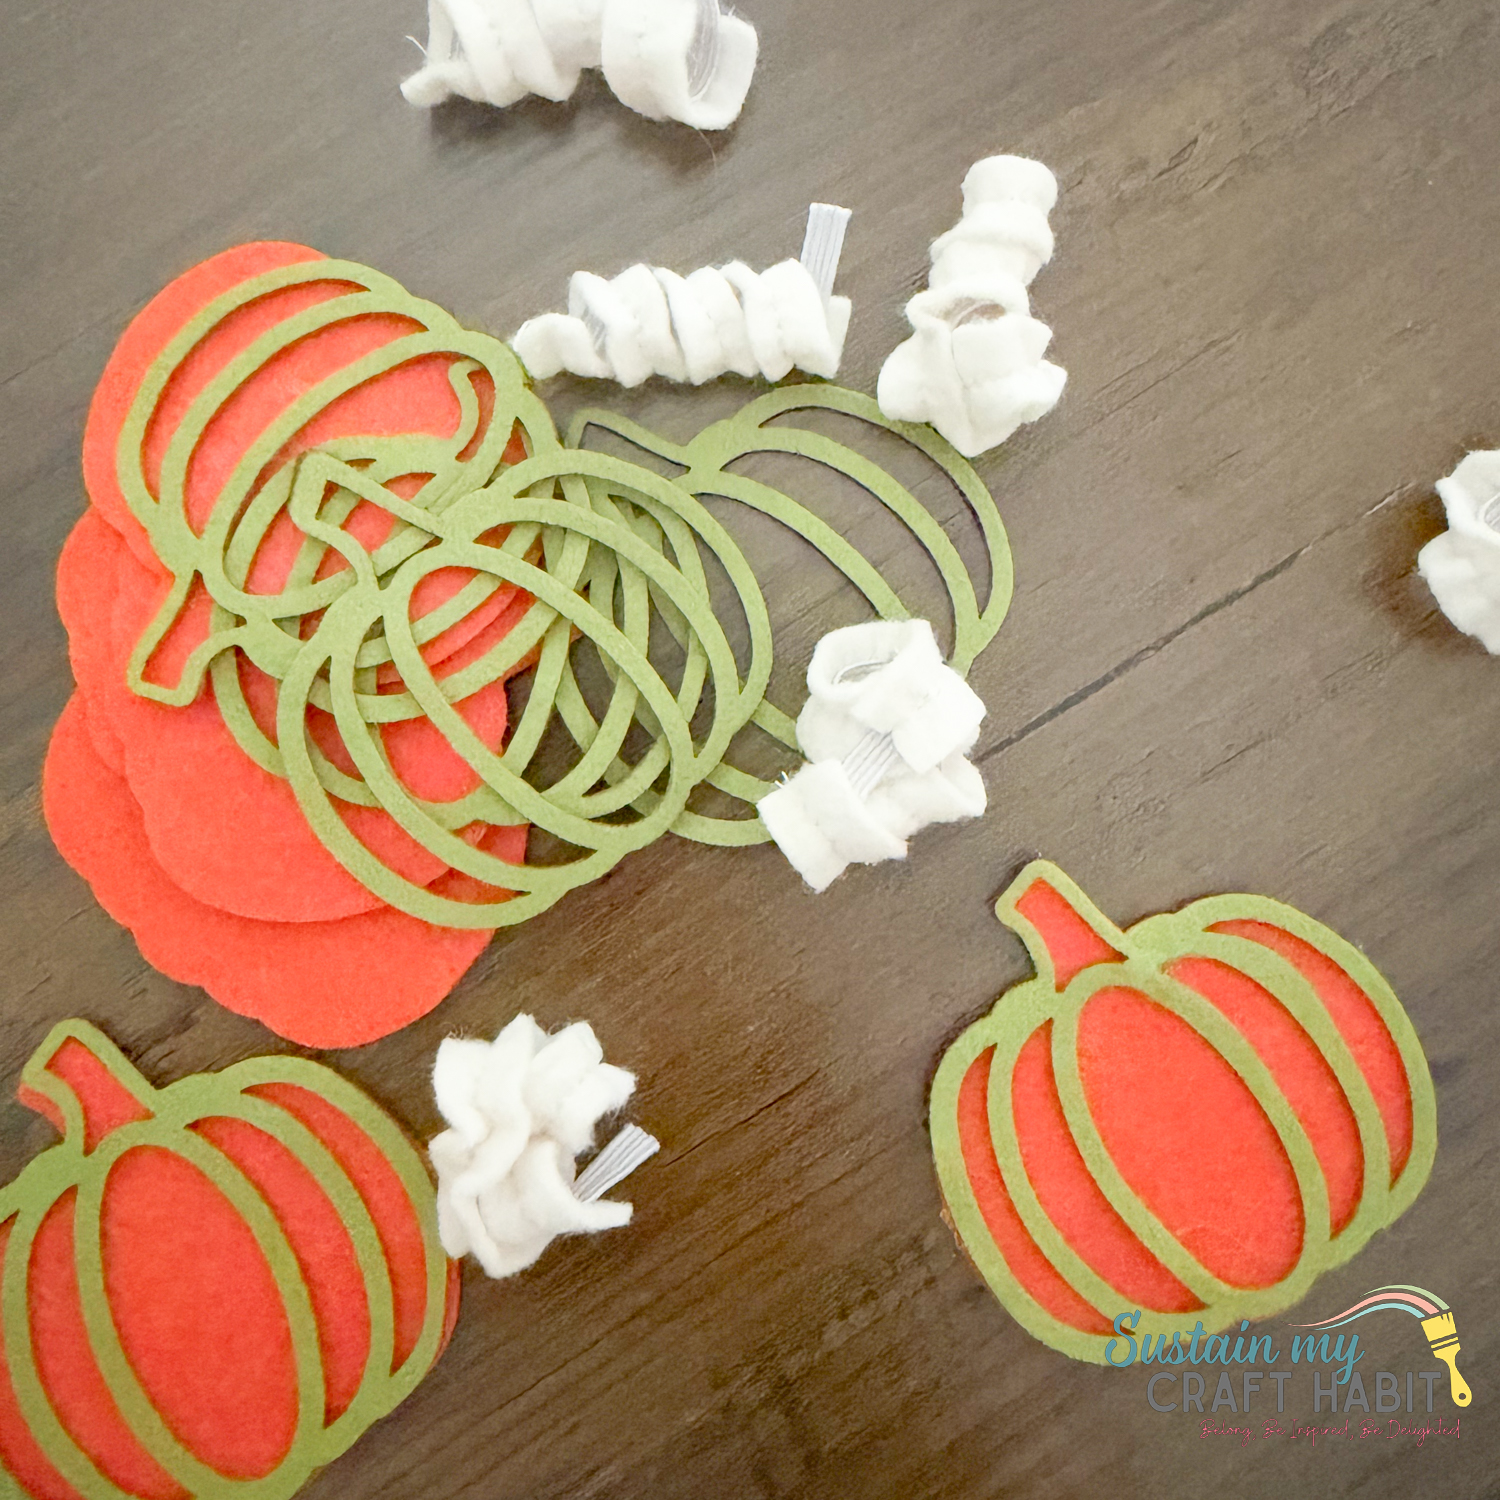
Assemble the napkin ring pieces using fabric adhesive or hot glue: start by layering the felt pieces on to the base shape.
Apply the glue just along the outer edges.
Lastly, cut a piece of elastic about 3″ long and glue the ends to the back of the felt pumpkin to form the “ring”.
I chose to add another strip of felt to the length of the elastic giving it a ruffled effect. This is totally optional!
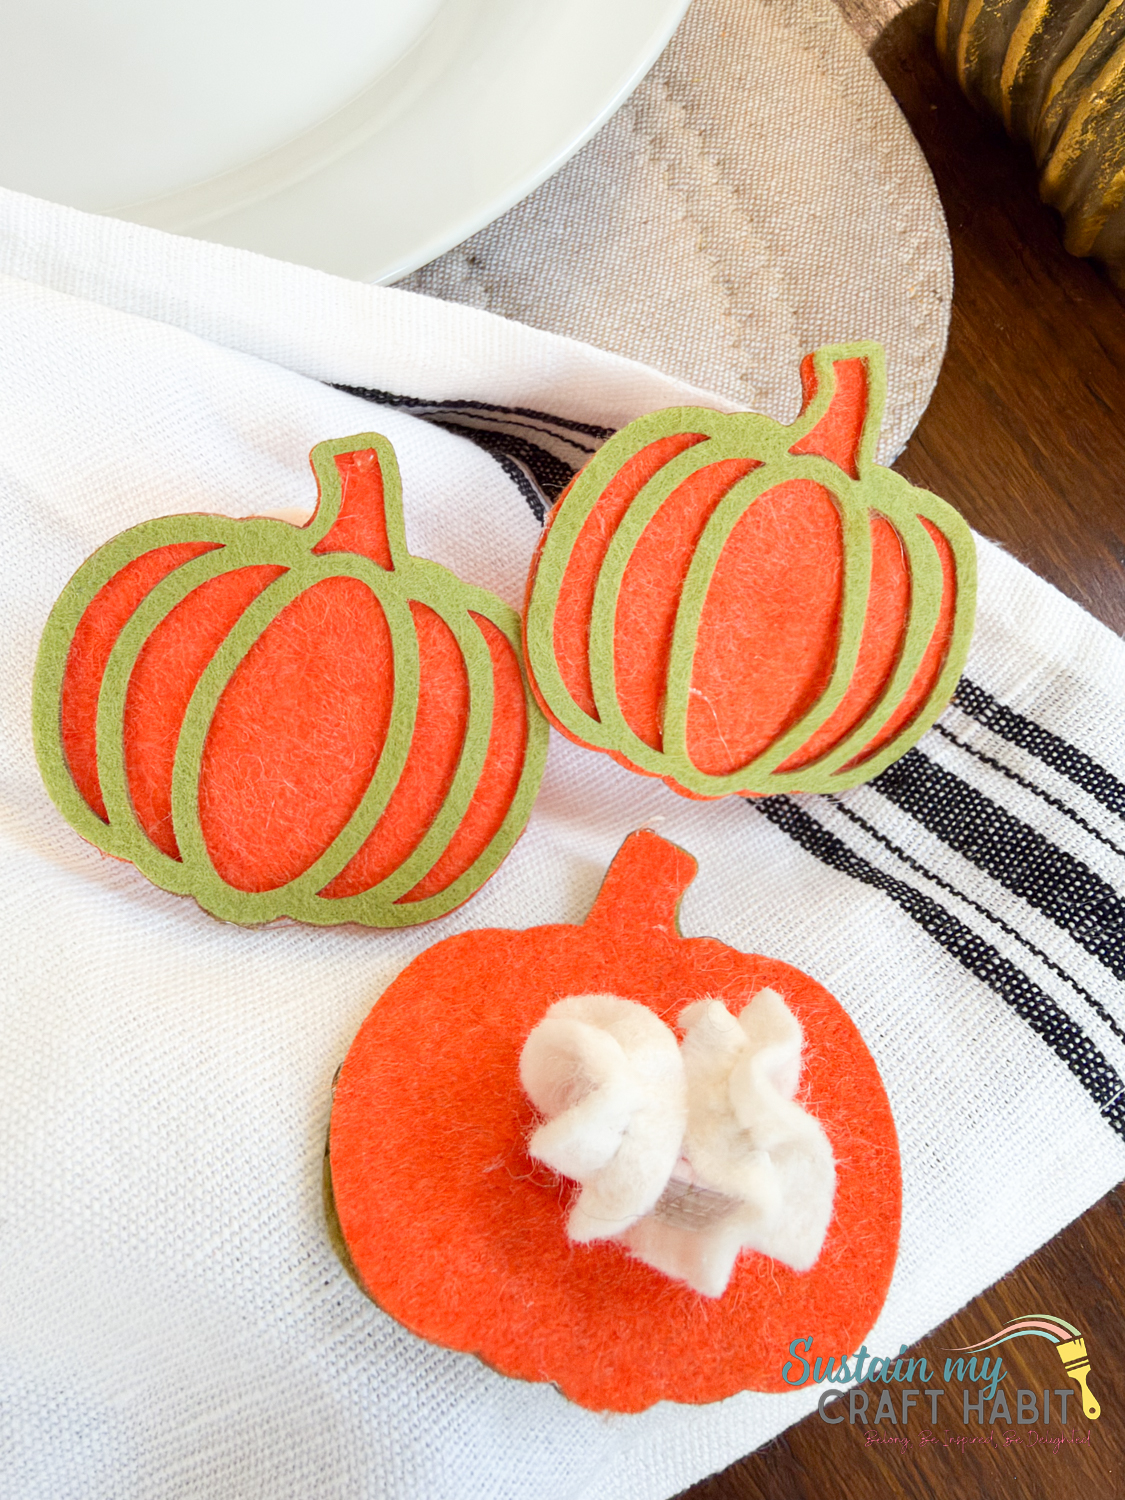
Making your own Thanksgiving pumpkin napkin rings is a wonderfully flexible craft. A few simple tricks can help you achieve a neat finish and create decorations that suit your personal style.
Choosing the Best Felt for Pumpkin Napkin Rings
For this project, craft felt is an affordable and easy-to-work-with option. It comes in a wide variety of autumn colours and doesn’t fray when cut, which means there’s no need to hem the edges.
Pumpkin Napkin Ring Colour Variations
Traditional orange pumpkins look beautiful against white or cream napkins, but there are plenty of other colour combinations to try.
For a rustic farmhouse Thanksgiving table, use muted terracotta, oatmeal, sage green, and warm brown felt. These colours work particularly well alongside natural linen napkins and wooden table accessories.
If you prefer an elegant autumn tablescape, try cream-coloured pumpkins with olive-green leaves and gold-coloured embroidery thread.
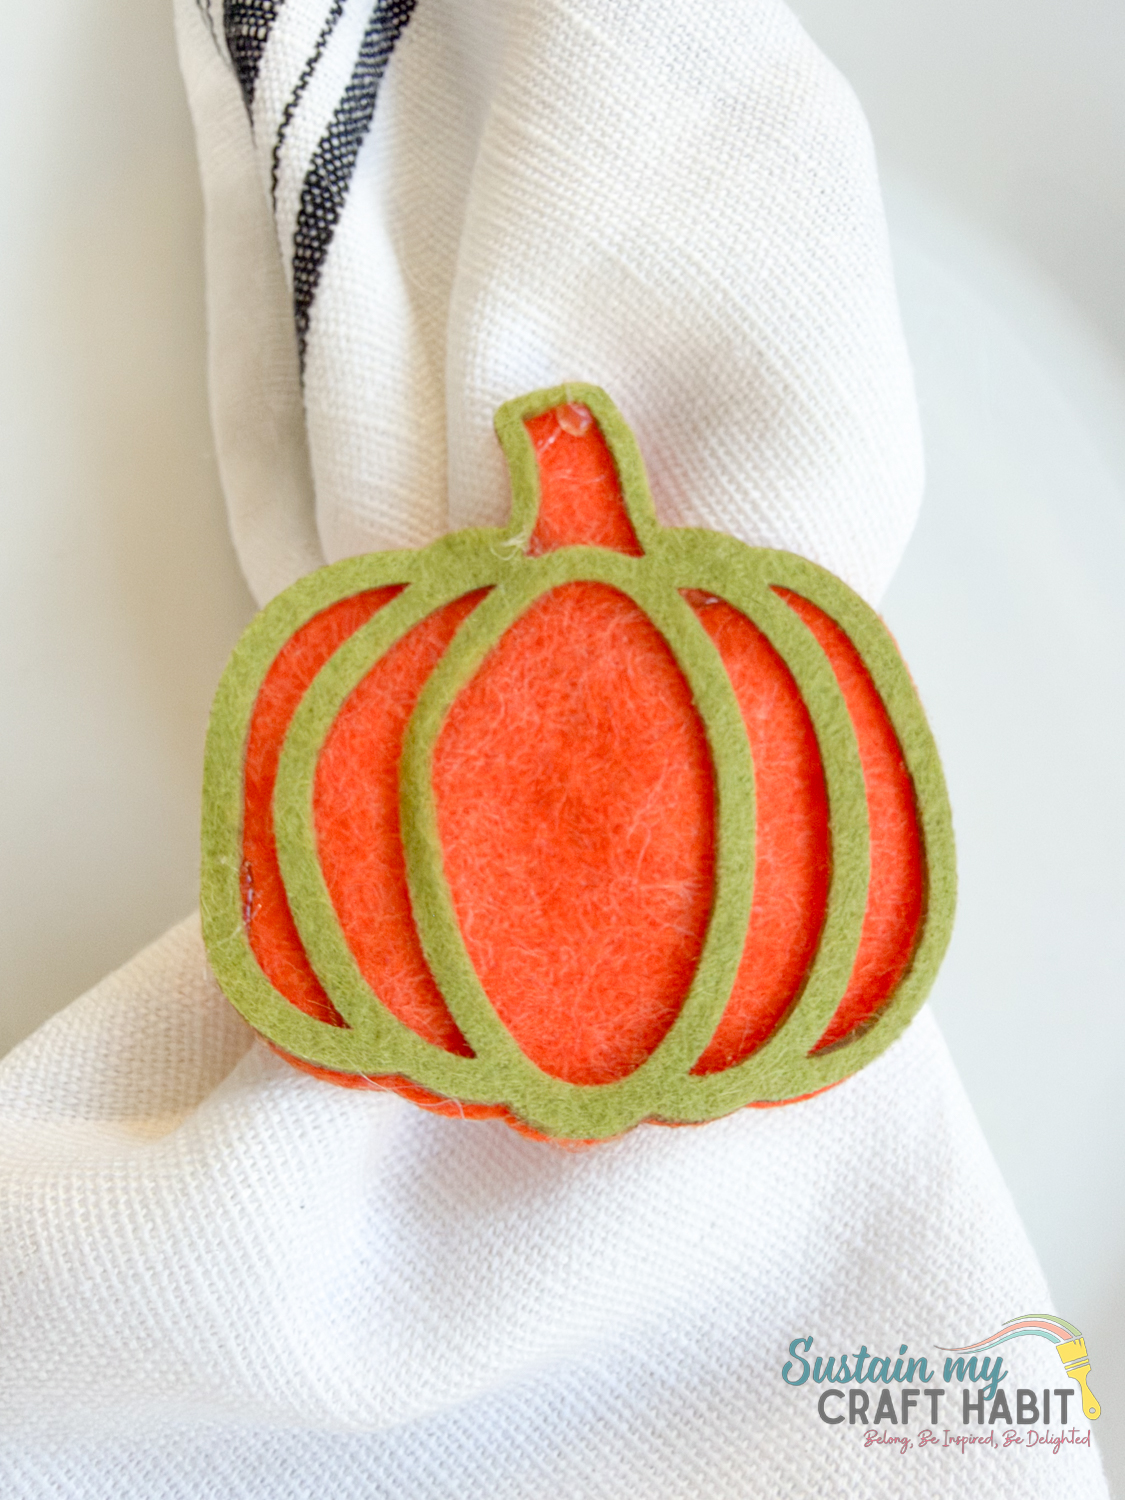
Once you’ve finished making your DIY Thanksgiving felt napkin rings, it’s time to put them to use. These little pumpkin decorations can transform a simple table setting into something that feels warm, welcoming, and thoughtfully prepared.
Create a Rustic Thanksgiving Tablescape
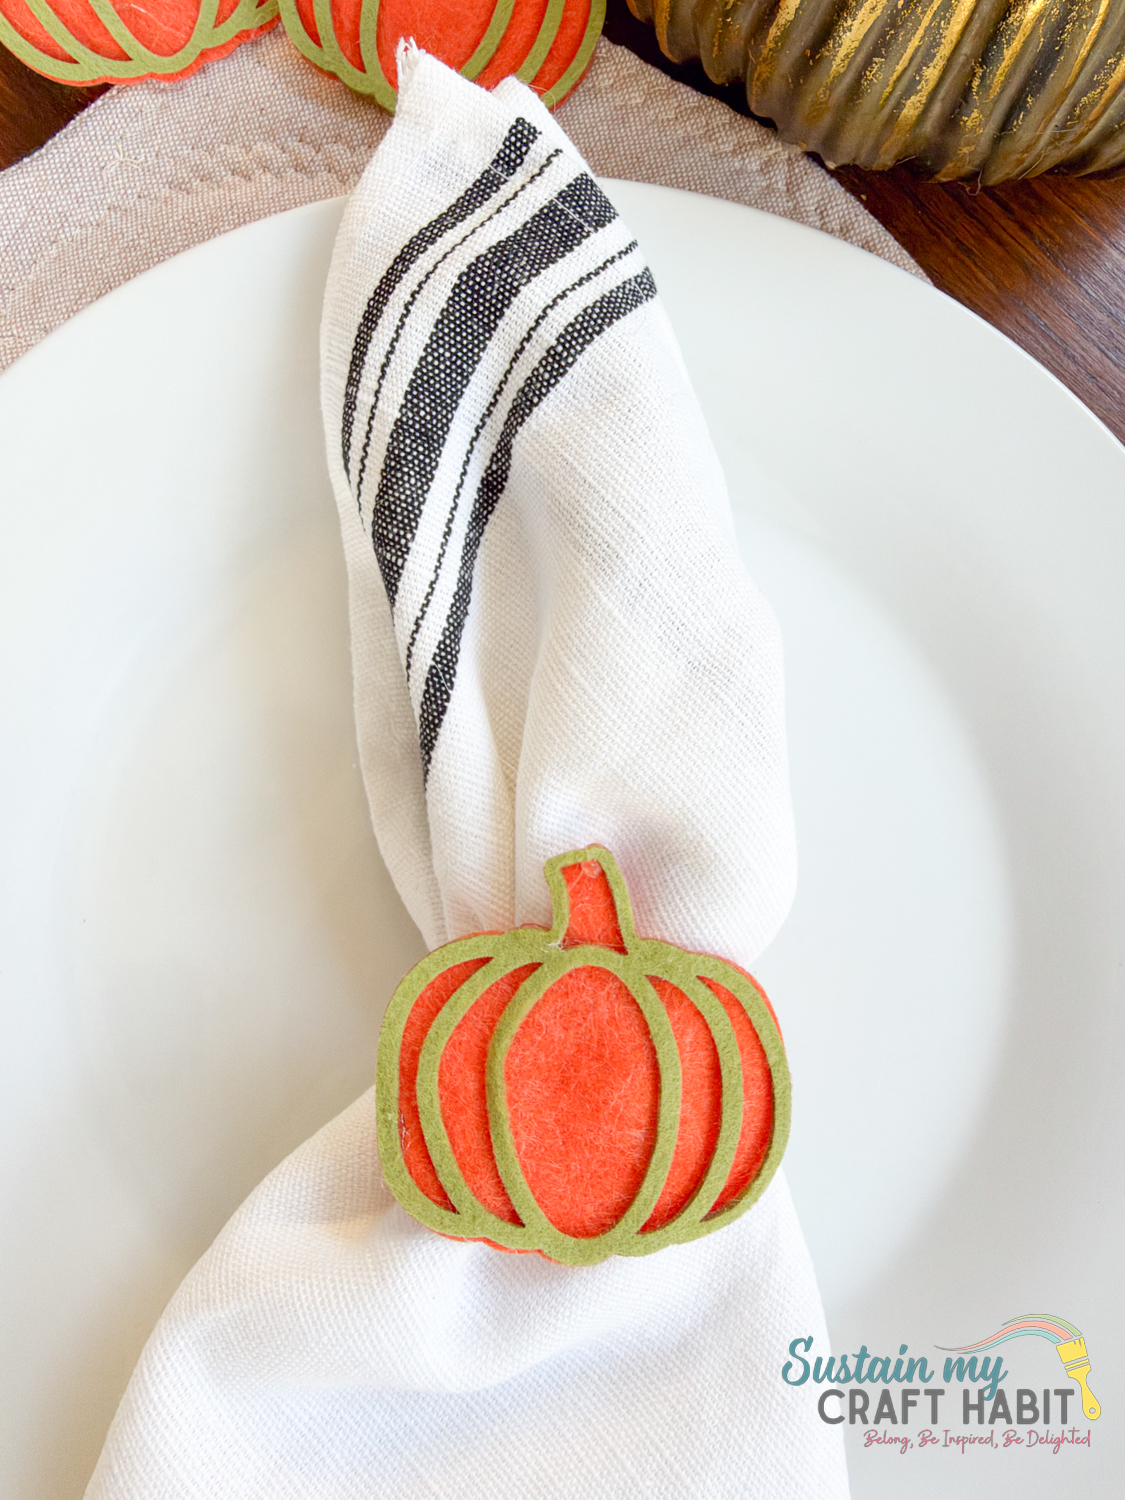
For a cosy farmhouse-inspired Thanksgiving table, pair your felt pumpkin napkin rings with natural linen napkins, woven placemats, and simple ceramic dinner plates.
Arrange the napkins in the centre of each plate, with the felt pumpkin facing upwards.
Make Personalised Thanksgiving Place Settings
Turn your handmade pumpkin napkin rings into personalised place settings by adding small name tags.
Cut miniature tags from kraft card, write each guest’s name, and attach them to the felt rings using thin twine or ribbon.
Create a Handmade Thanksgiving Gift Set
If you enjoy making seasonal crafts for friends and family, these felt pumpkin napkin rings are a lovely gift décor idea.
Make a coordinated set of four, six, or eight rings and arrange them inside a small kraft gift box.
Handmade Seasonal Gifts and Decor
Making your own DIY Thanksgiving felt napkin rings is a simple way to bring warmth, colour, and personality to your holiday table. With inexpensive materials and endless opportunities to customise the design, these adorable pumpkin decorations are perfect for beginners and experienced crafters alike.
Whether you use them for a family Thanksgiving dinner, an autumn gathering, or a handmade seasonal gift, these little felt pumpkins are sure to add a charming finishing touch.
So gather your favourite autumn-coloured felt, get creative, and enjoy making Thanksgiving table decorations you’ll be proud to use year after year!
More DIY Thanksgiving Crafts
- Woodland Inspired Thanksgiving Tablescape
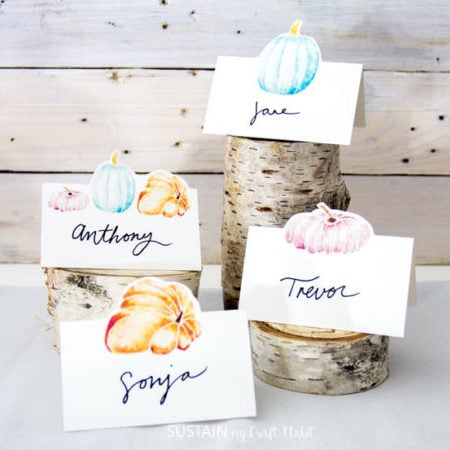
- Free Printable Thanksgiving Place Cards
- DIY Fall Tea Towels with Iron On Vinyl
- Refresh an Old Door Mat with a Cricut Fall Stencil
- Pumpkin Art Craft with Cricut

Want to receive a ton of inspiration and money saving ideas for decorating, gift-giving and crafting? Join HERE!
Like it? Pin for later!
DIY Thanksgiving Felt Napkin Rings: Easy Pumpkin Table Decor
Materials
- Pumpkin Napkin Ring Printable Pattern
- Felt Sheets
- ¼" wide Elastic
- Hot glue
- Scissors
Instructions
- Gather materials from the materials list above and download the festive napkin rings cut file.
How to Cut Felt Sheets with Cricut Cutting Machine
- To begin, cut a piece of transfer tape to 12″x12″ and place on the cutting mat with the sticky side up. Although this is not a madatory step, this will help protect the cutting mat over time.
- Place a sheet of felt fabric on the transfer sheet (lined cutting mat) and press. Refer to the instructions in Design Space and follow the steps including inserting the rotary blade and selecting felt, acrylic as the material to cut.
- Cut all the different colored pattern pieces for the particular napkin ring you are making.
How to Cut Felt Sheets BY HAND
- You can also cut these pumpkin shapes out by hand using a pair of scissors and the printable PDF pattern pieces. Simply place the pattern piece on top of the felt sheet and cut around the solid lines.
ASSEMBLING
- Assemble the napkin ring pieces using fabric adhesive or hot glue: start by layering the felt pieces on to the base shape.
- Apply the glue just along the outer edges.
- Lastly, cut a piece of elastic about 3″ long and glue the ends to the back of the felt pumpkin to form the “ring”.
- I chose to add another strip of felt to the length of the elastic giving it a ruffled effect. This is totally optional!