Dollar Store DIY Riser Stand for Christmas
The holiday season brings with it the joy of decorating, and there’s something magical about creating layers and dimensions in your Christmas displays. That’s where this DIY riser stand comes into play, using Dollar Store supplies to make Christmas decor that showcases your Christmas treasures in their full glory.

Why You’ll Love This Dollar Store Christmas Decor Craft
First, it’s incredibly versatile – you can use these stands for everything from displaying your nativity scene to elevating cookie platters at your holiday gathering. They’re also surprisingly budget-friendly, especially compared to store-bought alternatives that can cost a small fortune.
Want them to match your existing decor perfectly? Simply paint them in your chosen color scheme. Need specific heights for particular spaces? You can create them exactly to your specifications. Plus, these risers can be stored away easily and reused year after year, making them a sustainable choice for eco-conscious decorators.

Want to receive a ton of inspiration and money saving ideas for decorating, gift-giving and crafting? Join HERE!
Materials Needed
Disclosure: This post contains affiliate links for your shopping convenience. Should you choose to purchase through them, we will make a small commission at no extra cost to you. You can read our full disclosure policy here.
- Mod Podge
- Decorative Paper Napkin for Christmas (we sell a napkin bundle over on our shop)
- Wood Beads ½”, enough to cover the perimeter of the wood round
- Thin gauge wire or twine
- X4 large Wood Beads 1”
- Hot glue gun
- White Chalky Paint or Acrylic Paint
- X2 Wood surfaces, 10” round
- Faux greenery and berries
- Paint brush
- Gold Glaze Buffer
- Varnish

How to Make a Riser Stand for Christmas
Paint the surface of wood round in white. Let it dry.

Apply a coat of Mod Podge to the painted surface.

Remove the additional plies from the napkin to use just the printed top layer.
Place it on top of the mod podge and press it in place. Use the EasyPress Mini to seal and smooth out any bumps in the paper. Trim the excess paper along the sides.

Thread the wood beads together to form garland with twine or wire.
Turn the piece over and glue wood garland around the perimeter of the round as shown.

Apply another layer of glue to the top of the beads and press the second wood round on top.

As an additional option, add decorative hot glue beads to the top perimeter of the riser, carefully spacing them apart equally. Let dry.

Apply a coat of varnish to seal the surface of the riser stand.

And lastly, apply a touch of gold buff to the edges of the riser stand to give it an aged look.

Festive Charm with Budget Friendly Crafting
Creating your own DIY riser stands is more than just a crafting project – it’s an investment in your holiday decorating future. These versatile pieces will become an essential part of your Christmas decorating toolkit, helping you create magical displays year after year. Whether you’re an experienced crafter or just starting out, this project offers a perfect blend of creativity, functionality, and festive charm.

More Christmas Decor Crafts
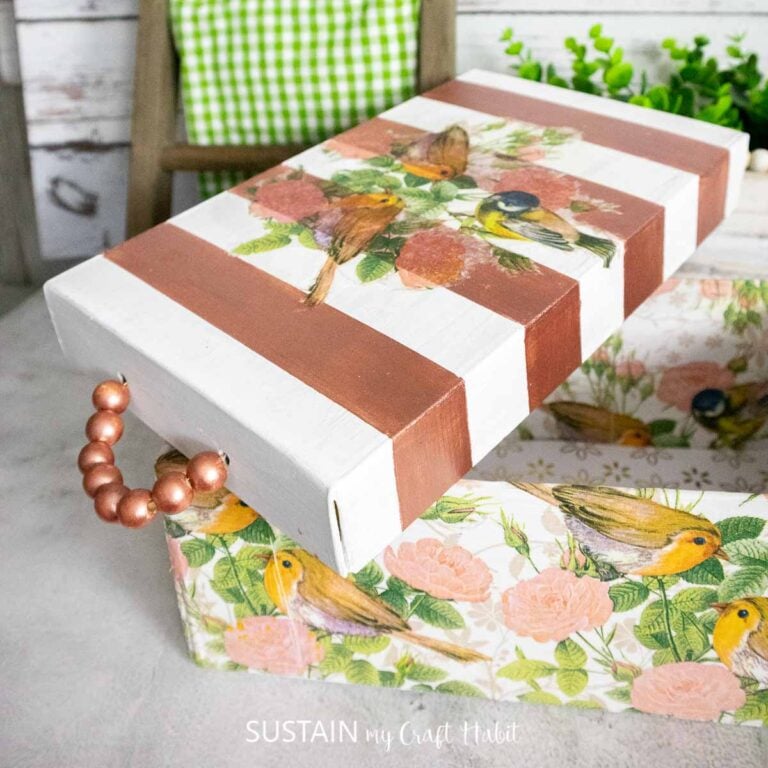
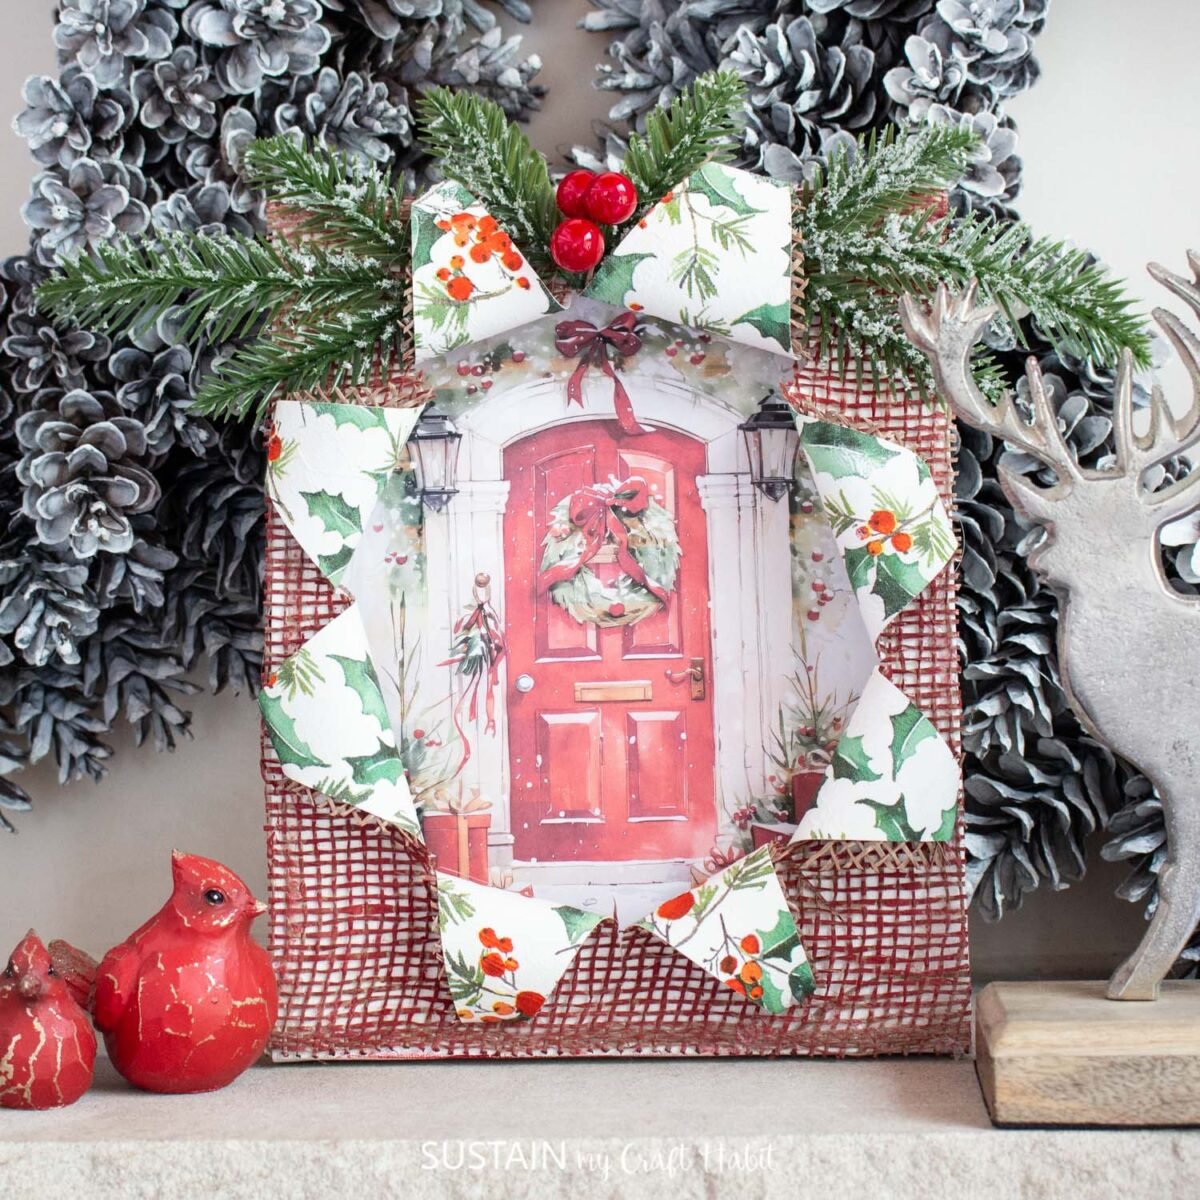
- Christmas Busted Canvas Craft
- Christmas Silver Serving Platter
- Upcycled Wooden Christmas Stockings
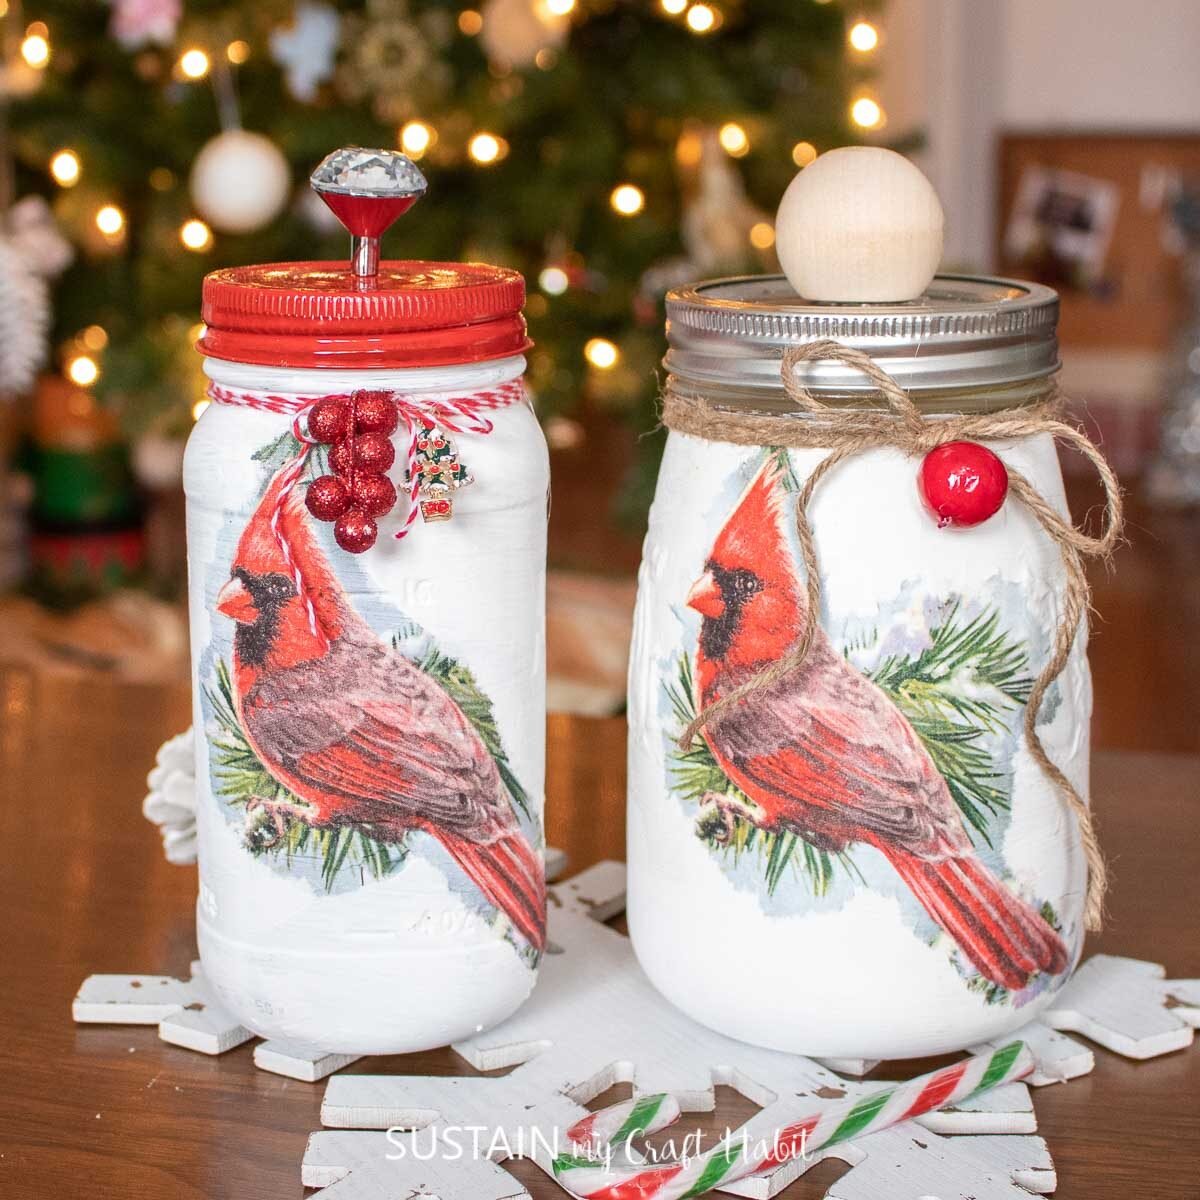
- Christmas Decoupage Ideas with Mason Jars
- Glittering Jar Candy Cane Christmas Decorations


Get updates on the latest posts and more from Sustain My Craft Habit straight to your inbox by joining our weekly newsletter. We promise to send you only the good stuff.
Like it? Pin for later!


DIY Riser Stand for Christmas
Materials
- Mod Podge
- Decorative Paper Napkin for Christmas
- ½” Wood Beads enough to cover the perimeter of the wood round
- Thing gauge wire or twine
- 4 Large Wood Beads 1”
- Hot glue gun
- White Chalky Paint or Acrylic Paint
- 2 Wood surfaces 10” round
- Faux greenery and berries
- Paint brush
- Gold Glaze Buffer
- Varnish
Instructions
- Paint the surface of wood round in white. Let it dry.
- Apply a coat of Mod Podge to the painted surface.
- Remove the additional plies from the napkin to use just the printed top layer.
- Place it on top of the mod podge and press it in place. Use the EasyPress Mini to seal and smooth out any bumps in the paper.
- Thread the wood beads together to form garland with twine or wire.
- Turn the piece over and glue wood garland around the perimeter of the round.
- Apply another layer of glue to the top of the beads and press the second wood round on top.
- Apply a coat of varnish to seal the surface of the riser stand.
- And lastly, apply a touch of gold buff to the edges of the riser stand to give it an aged look.