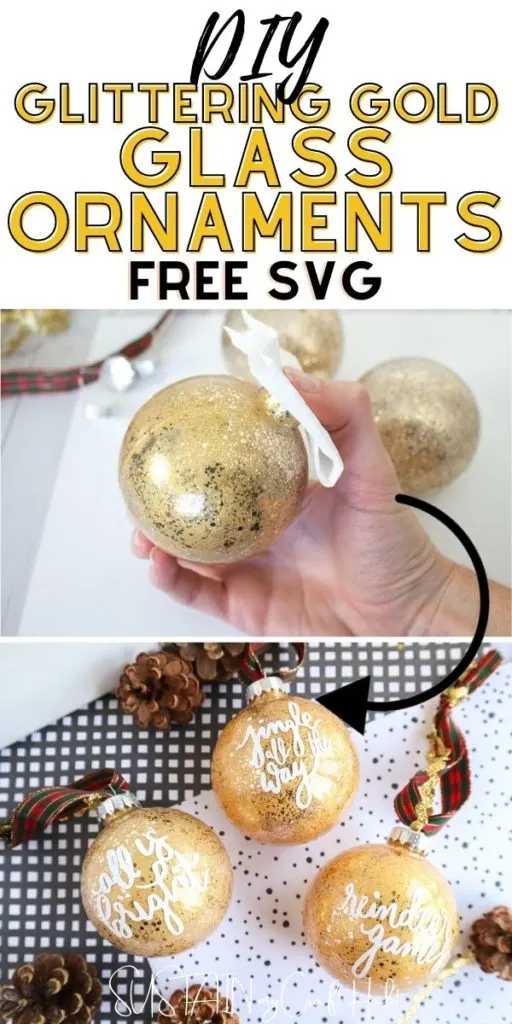
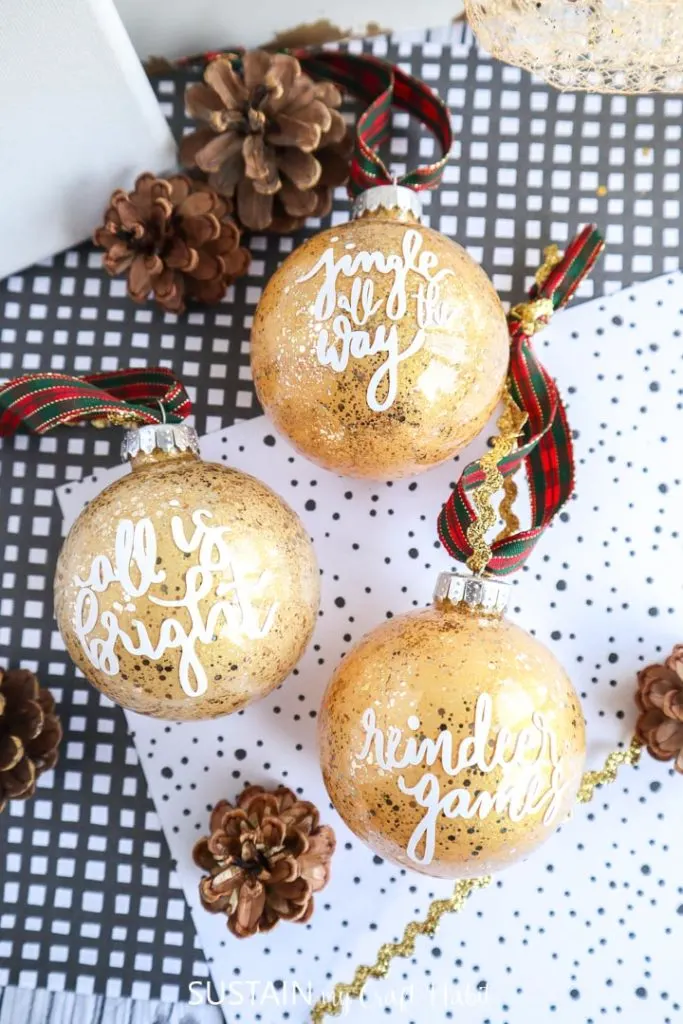
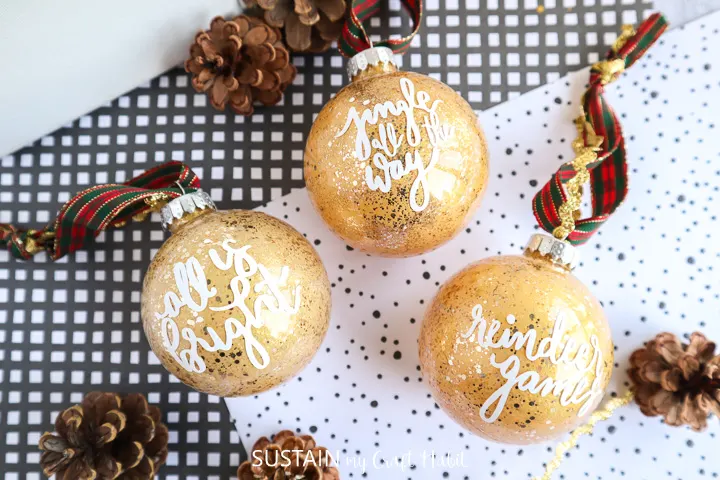
Add some beautiful glittering gold painted glass ornaments to your Christmas tree this year with this DIY idea.
Glittering Gold Glass Christmas Ornaments
Despite the heat wave we recently had here in South Western Ontario, the magic of Christmas feels like it’s in the air. And although I love making all kinds of Christmas crafts from upcycled sweater stockings to a super easy mini pom-pom garland, seeing the stores filled with Christmas decorations is really exciting.
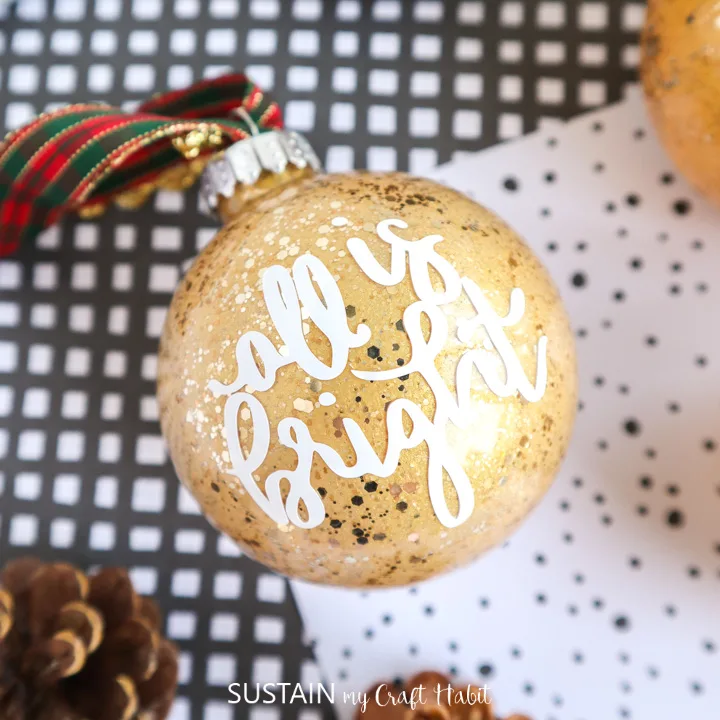
Having bought clear glass ornaments after last year’s holidays, I couldn’t wait to craft with them this year. I used some gold metallic paint and extra fine glitter paint to create an almost antique mirror effect and I’m in love with how they turned out! Additionally, I added some Christmas-themed phrases my sister Jane hand lettered and then turned them into an SVG file to use with my Cricut Joy (which we’re sharing with you!).
Materials Needed
Disclosure: This post contains affiliate links for your shopping convenience. Should you choose to purchase through them, we will make a small commission at no extra cost to you. You can read our full disclosure policy here.
- Christmas Song Lyrics SVG file
- Cricut Joy
- Smart Vinyl Permanent in White
- Weeder
- Scissors
- Clear Glass Ornaments
- Cricut Transfer Tape
- DecoArt Extreme Sheen in 24K Gold
- DecoArt Galaxy Glitter in Champagne
- Decorative ribbon, 1/2” wide and gold metallic ric-rac ribbon
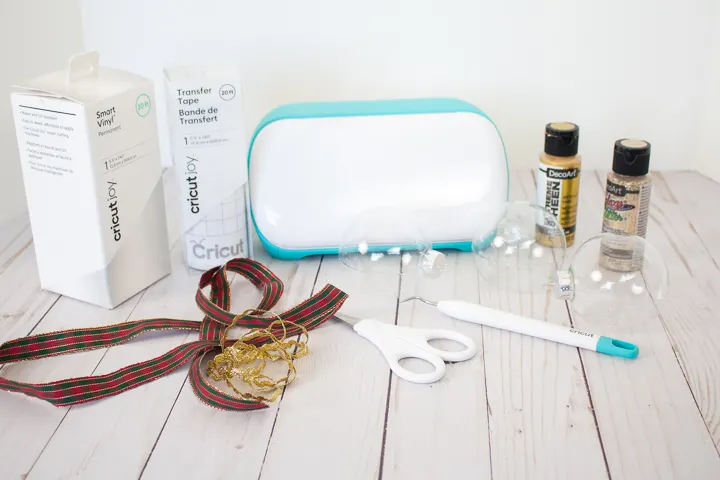
Making Painted Glass Ornaments for Christmas:
How to Paint Glass Ornaments:
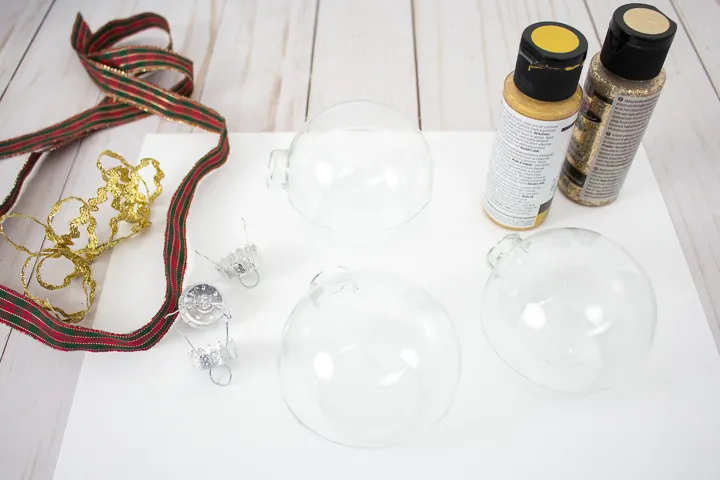
Remove cap from ornament.
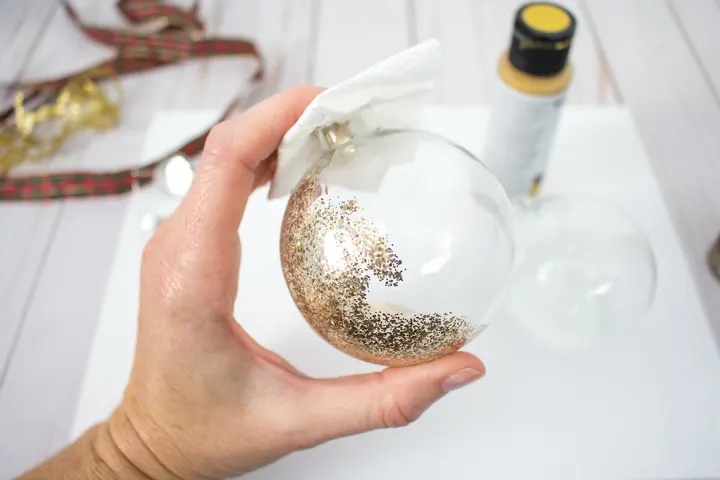
Squeeze Galaxy Glitter Champagne paint into the opening.
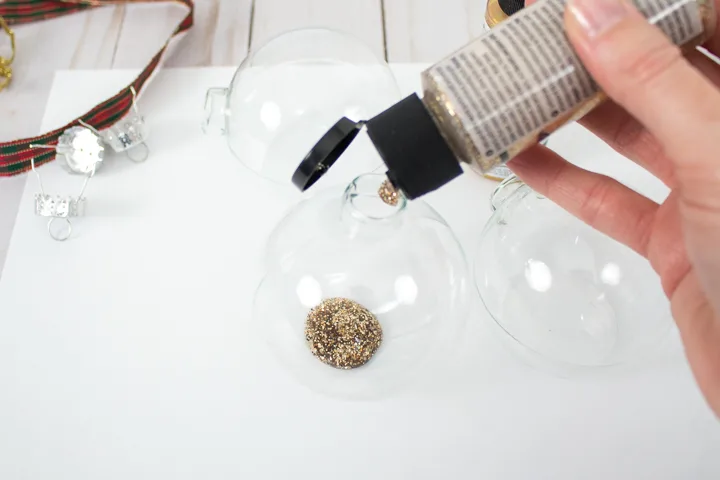
Place your covered thumb over the opening and shake the ornament until the paint inside has mixed together and covered the inside. Add more glitter paint and shake if needed.
Allow glitter paint to dry for about 10 minutes.
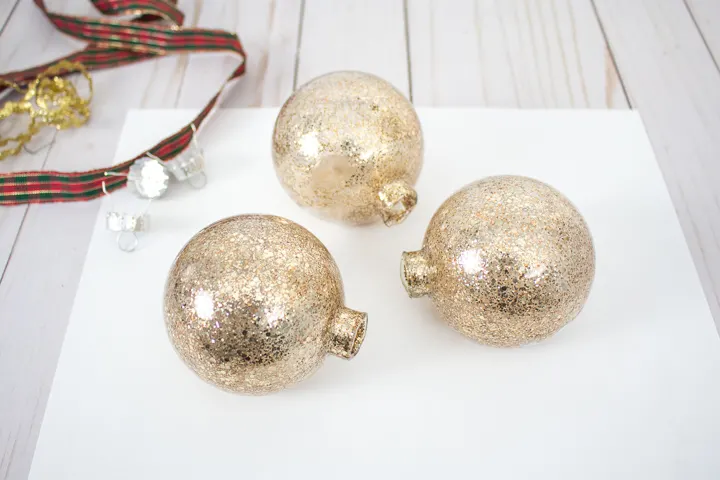
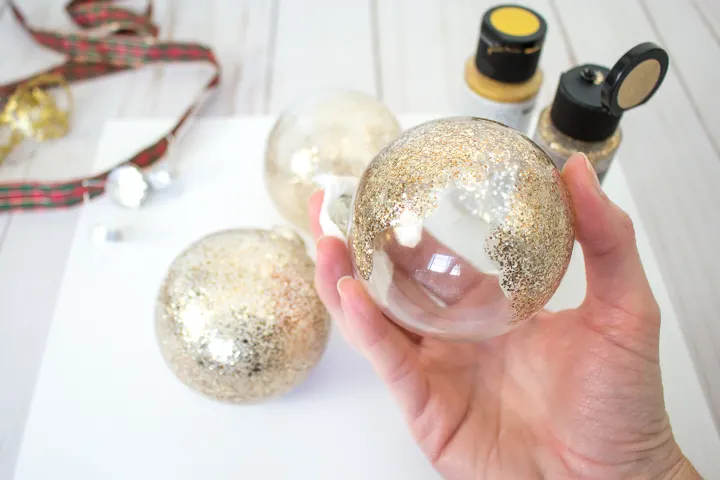
Next, squeeze a good amount of Extreme Sheen 24K Gold paint into the ornament.
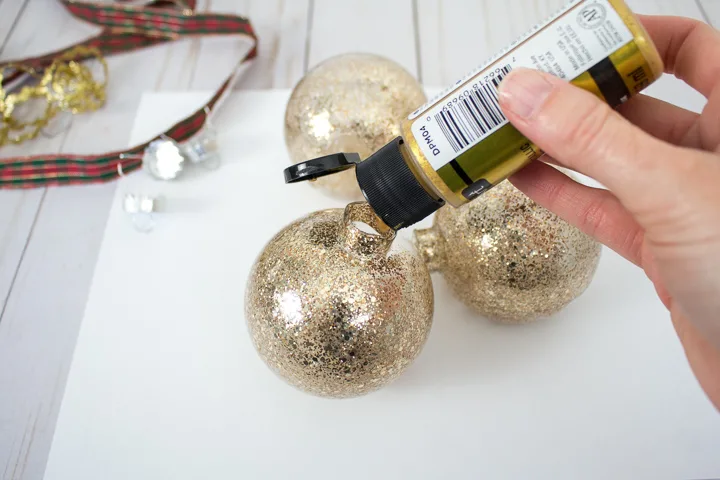
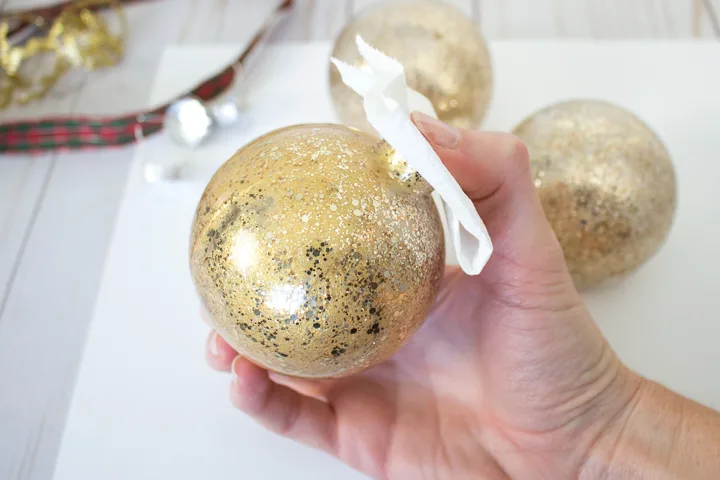
Once again, place your covered thumb over the opening and shake the ornament until the paint inside has mixed together and covered the inside. Add more glitter paint and shake if needed. Aren’t they sooo pretty!?!
Preparing the Images:
Open Cricut Design Space. Click on the “+” sign to start a new project, opening up a blank canvas and then click on the “Upload” button from the toolbar and browse your downloaded files to insert the SVG file.
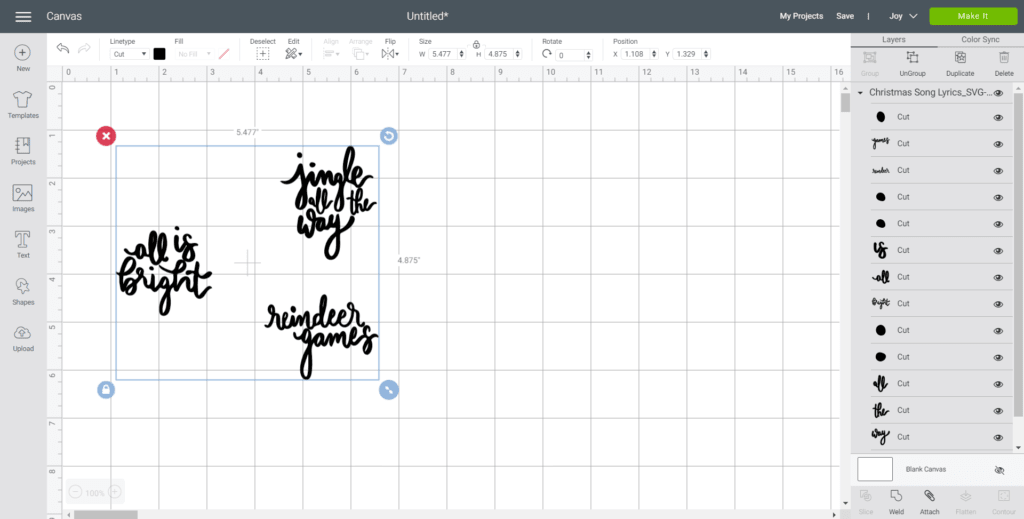
The phrases will appear on the canvas. With the image selected, click on Ungroup. Click and drag over the individual phrases and then select the “Attach” button to secure all words from the phrase together for cutting.
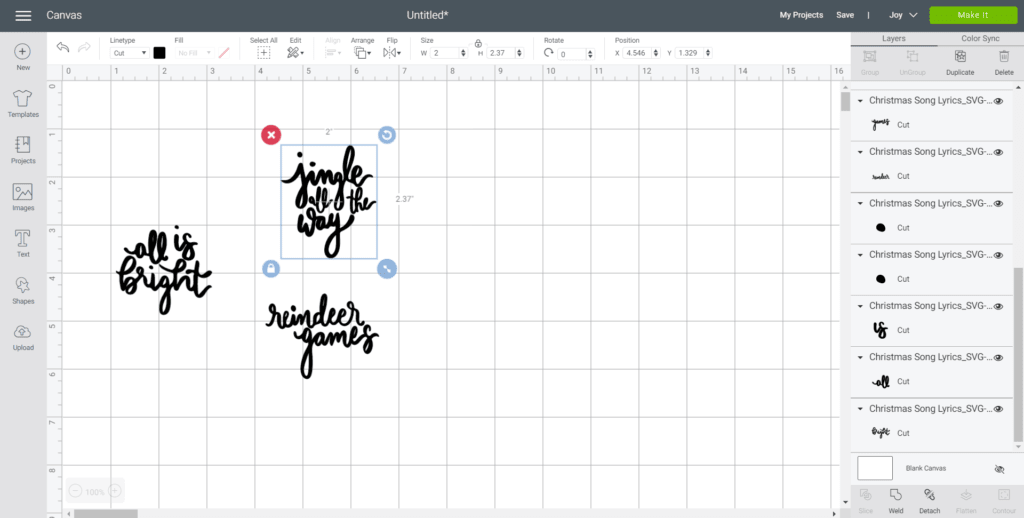
Maintain the size or adjust to fit your ornament. To adjust the size, highlight the image and click on the size box in the top toolbar. Change the measurement to suit your ornament size accordingly.
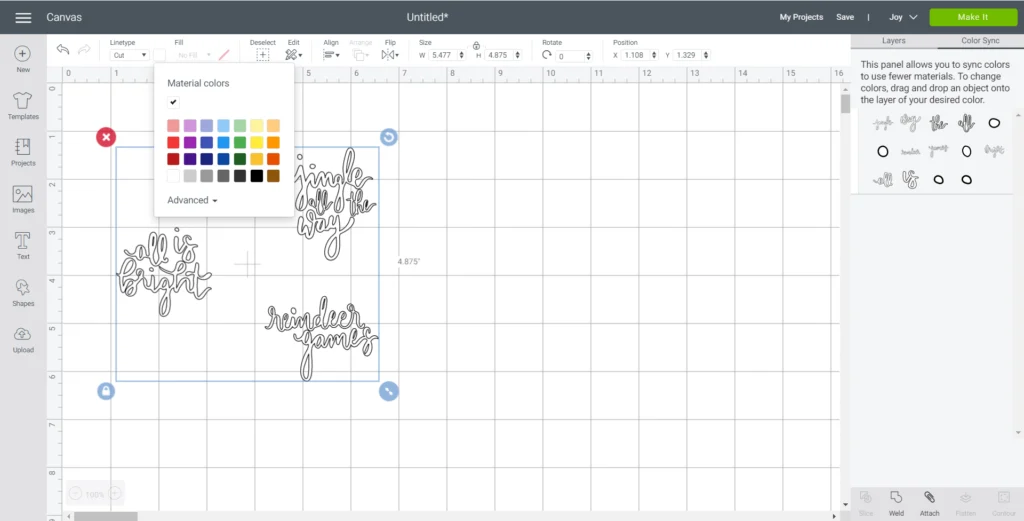
Change the image color if desired to match with the material color.
Cutting the Permanent Smart Vinyl:
Select “Make It” in the upper right corner to proceed with cutting. If using Cricut Joy Smart Vinyl, choose “no mat” for cutting.
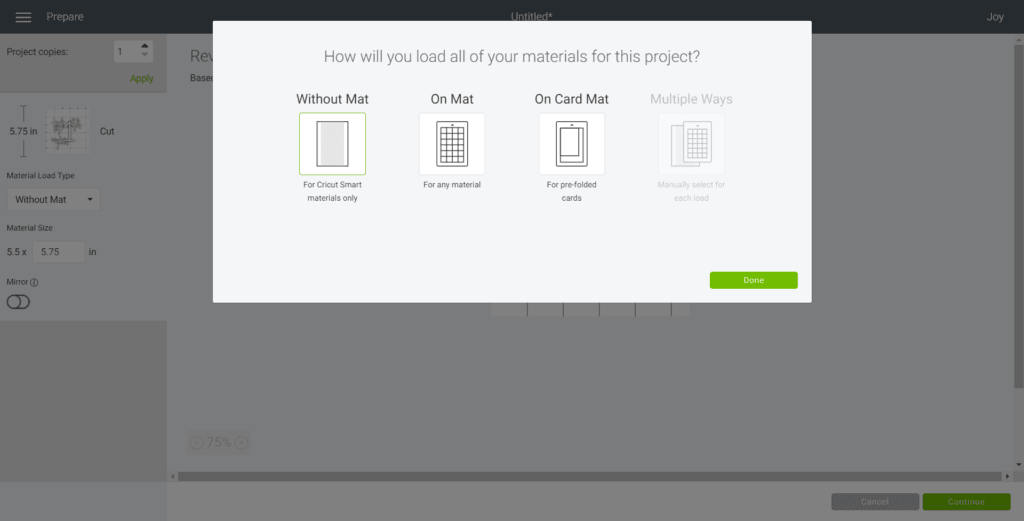
Note the size of the Smart Vinyl needed and cut the length of the vinyl accordingly.
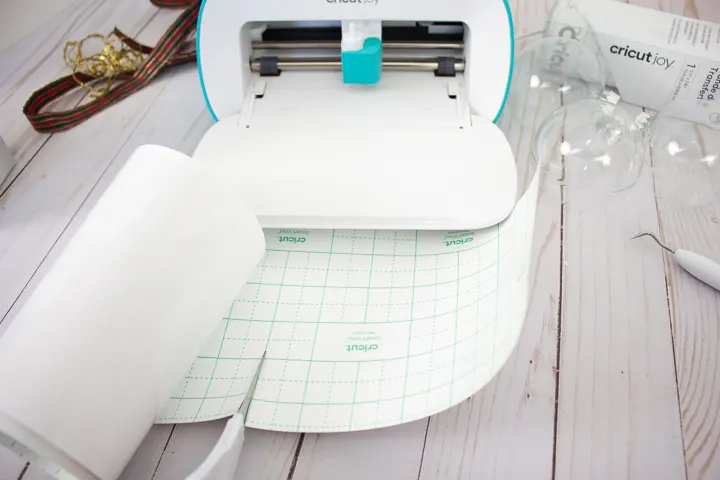
Choose the Smart Vinyl, Permanent from the list of options in the drop down menu.
Following the instructions prompted on the screen, cut out the vinyl.
How to Assemble the Ornaments
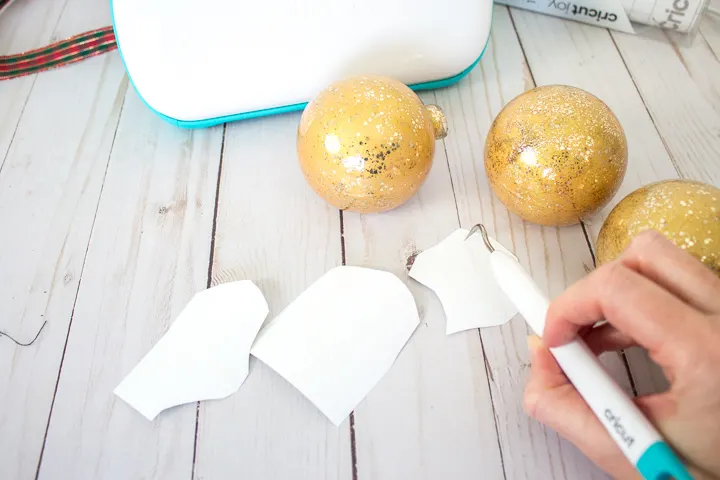
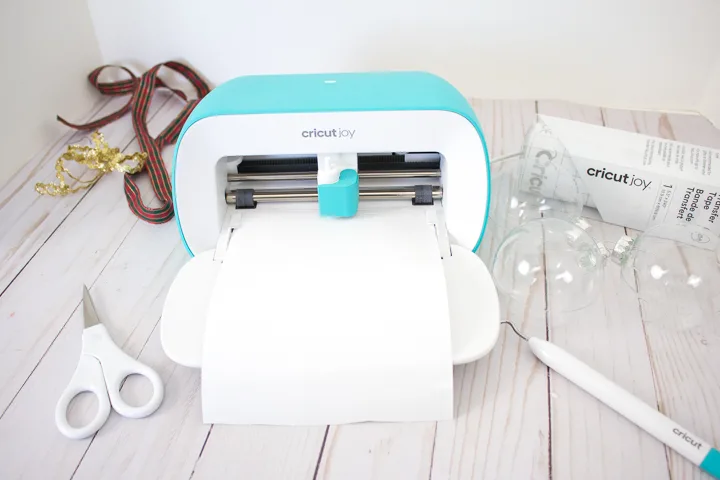
Cut around the phrase with a pair of scissors.
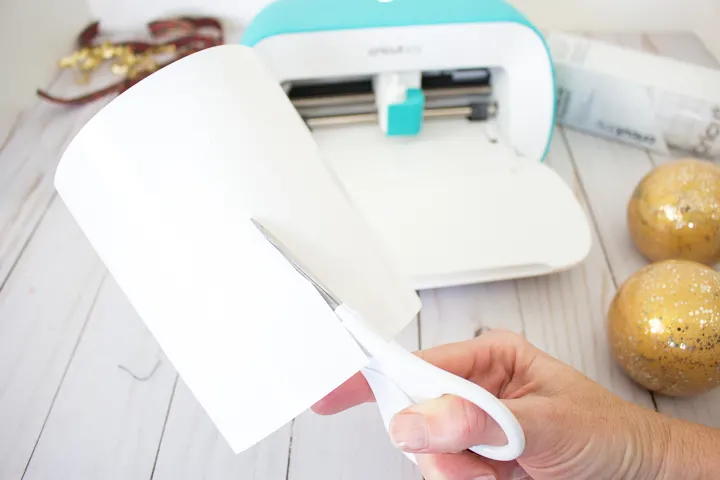
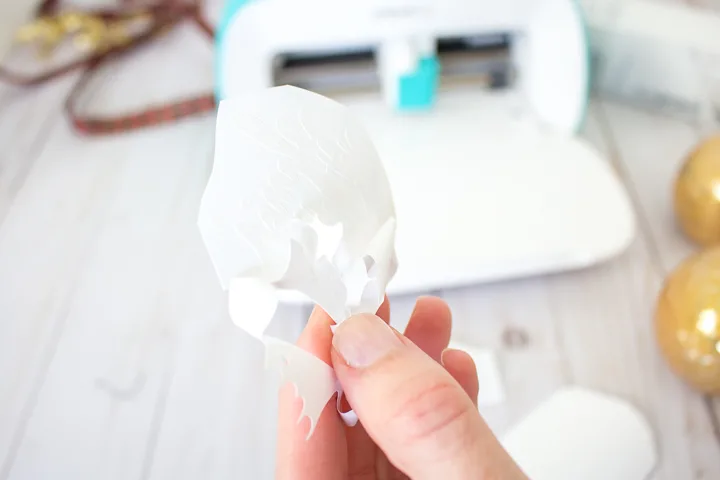
Using the weeding tool, peel away the excess vinyl around the cut images and discard.
Cut a piece of transfer tape a bit larger than the size of the phrase.
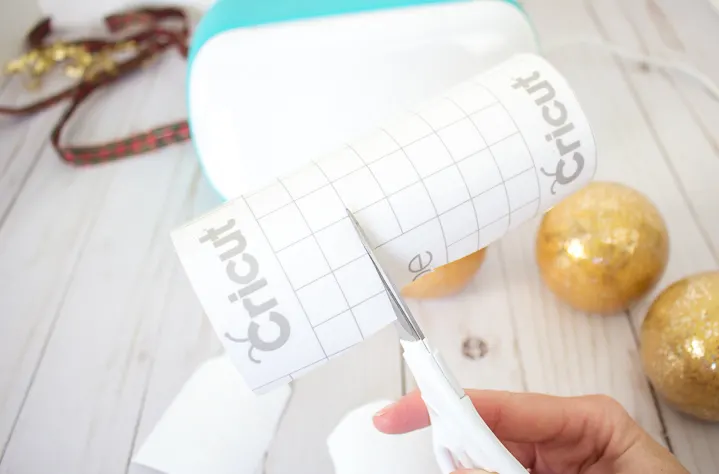
Peel away the transfer tape backing and place the transfer tape overtop of the cut phrase. Gently rub the vinyl to help it stick to the transfer tape.
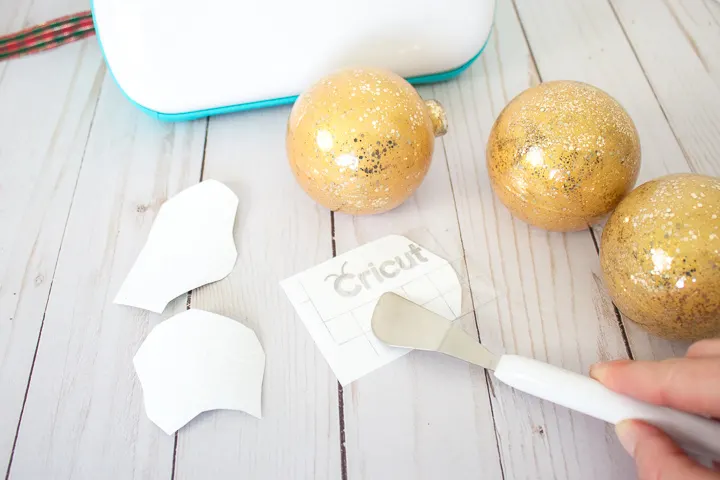
Peel away the vinyl backing, leaving just the image adhered to the transfer tape.
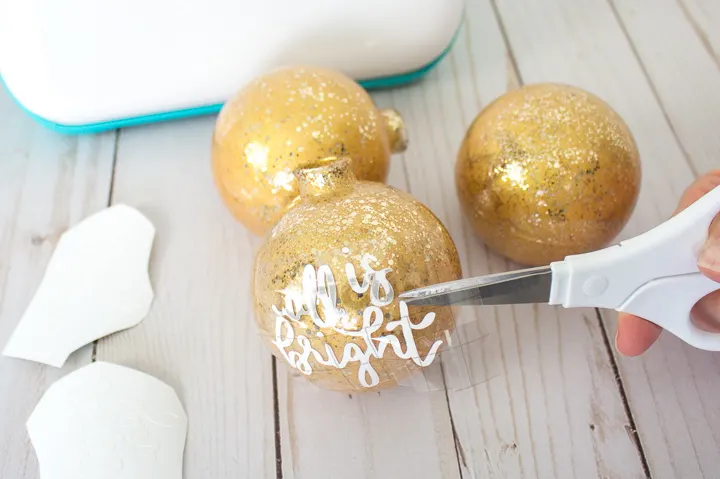
Tip: Cut slashes into the transfer tape, avoiding the vinyl, to help shape the phrase around the curved ornament.
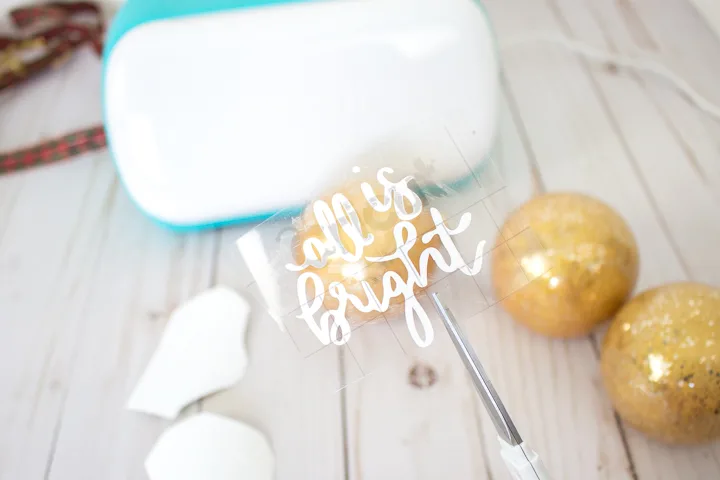
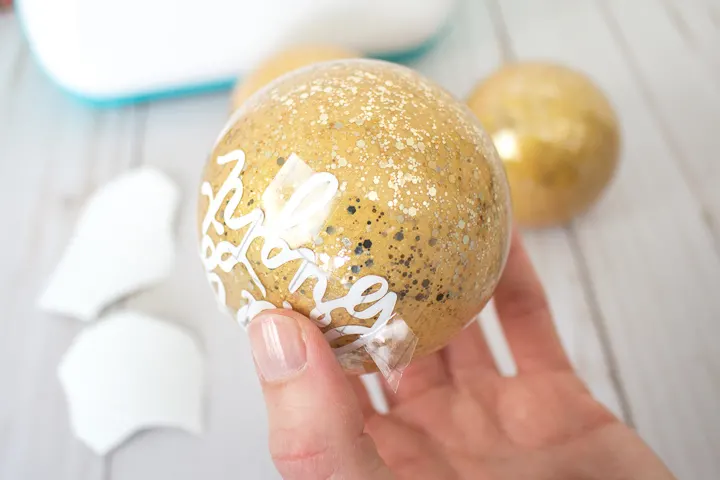
Carefully consider the placement before applying as the permanent vinyl can’t be removed if placed incorrectly. Position the image with the transfer tape on to the ornament and press in place.
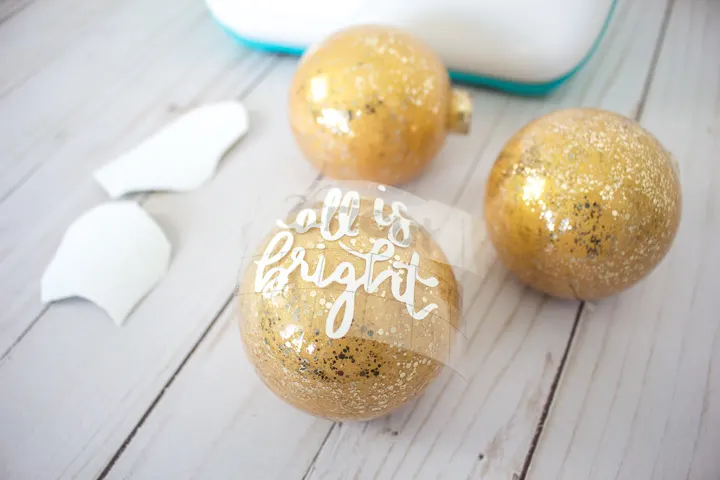
Press the image down with your fingers and slowly remove the transfer tape leaving the vinyl phrase on the ornament.
Reattach the ornament caps and tie a piece of decorative ribbon to the top of the ornaments.
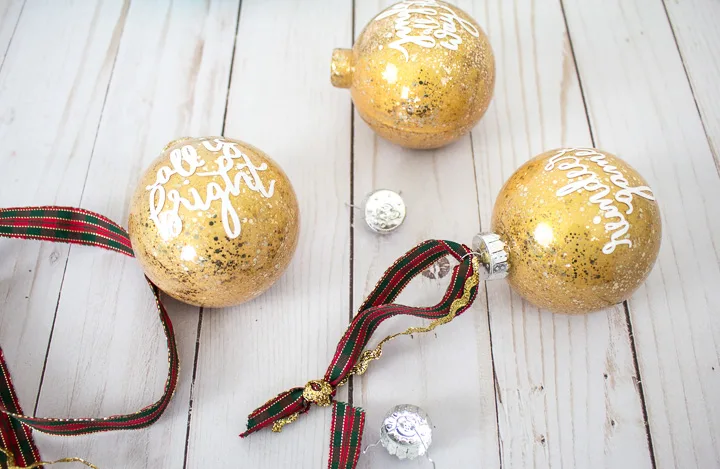
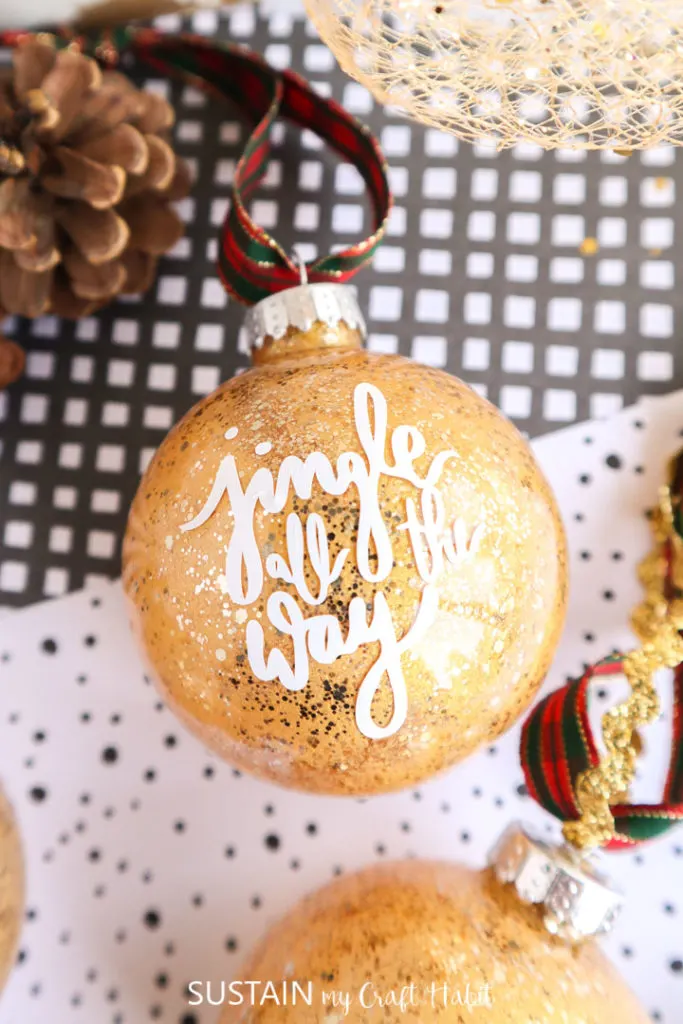
And there you have it, beautiful glittering glold glass ornaments are ready for the tree. Wouldn’t they also make really pretty gifts for the holidays?
More DIY Ornaments:
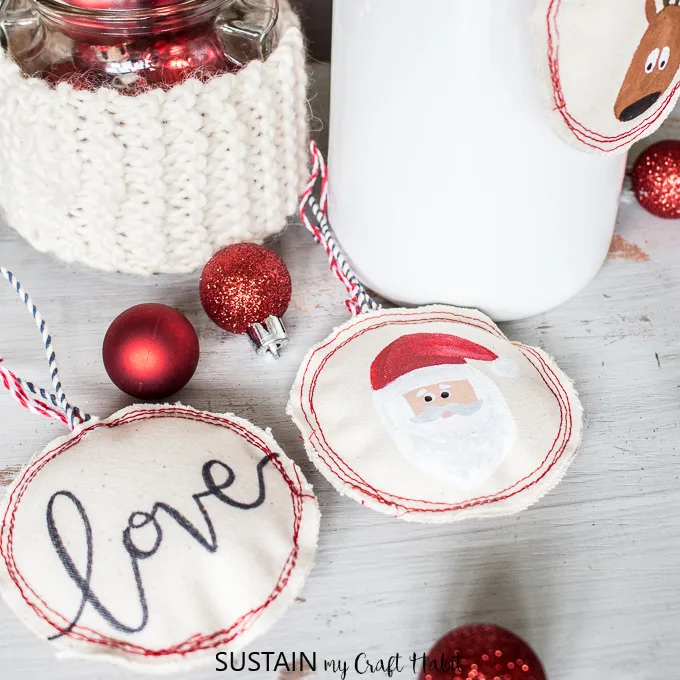
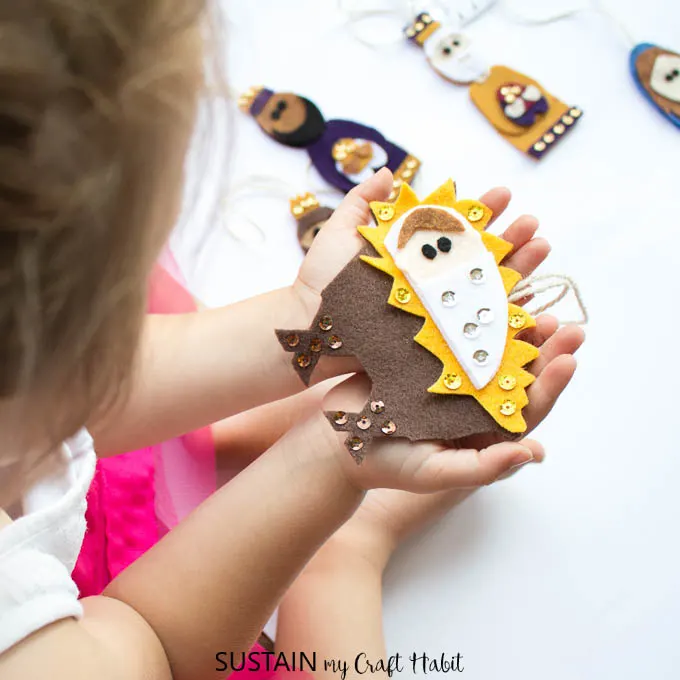
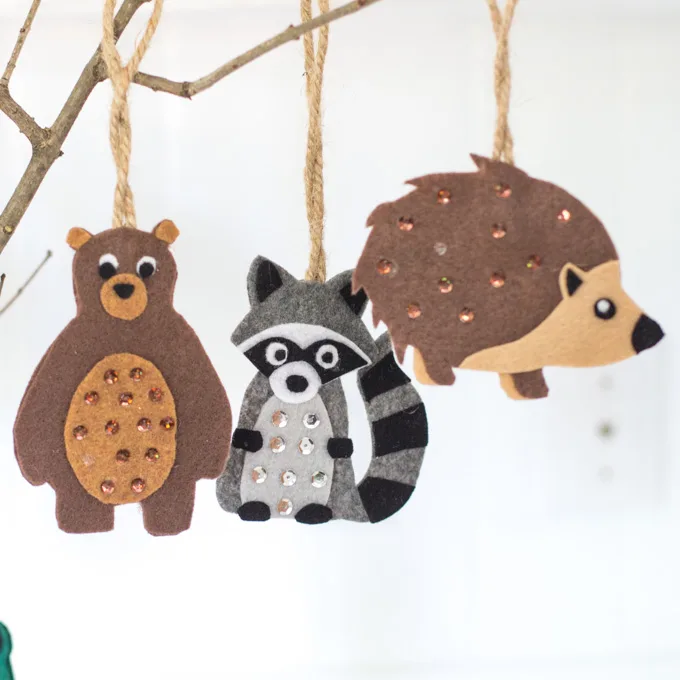
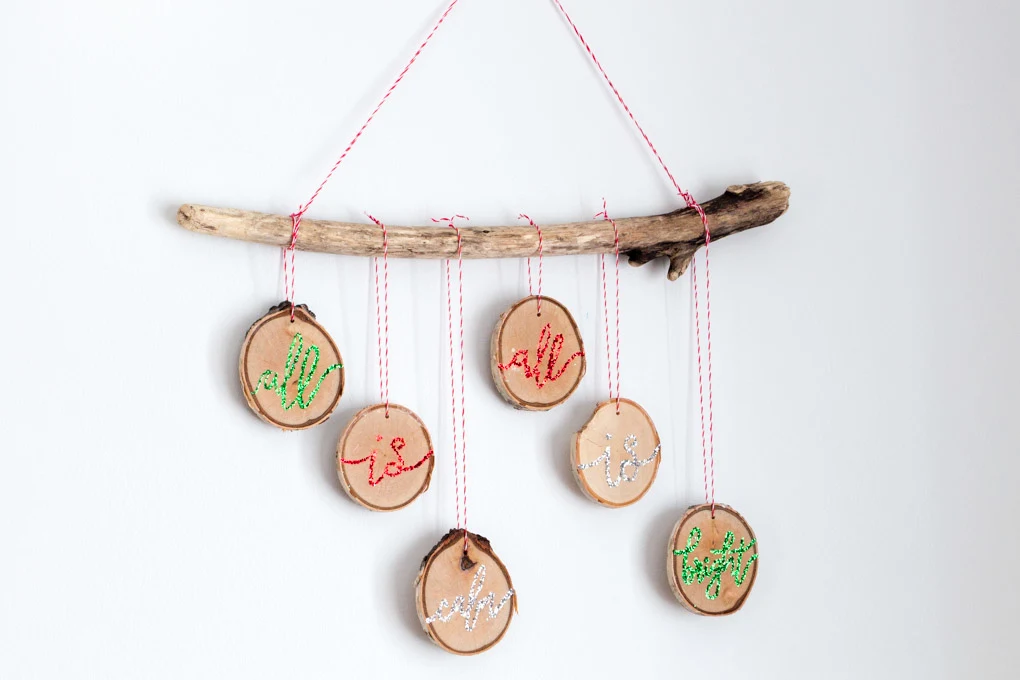
If you’re like me and in the Christmas craftign spirit, check out these other DIY ornaments you can make at home.
Like it? Pin it for later!
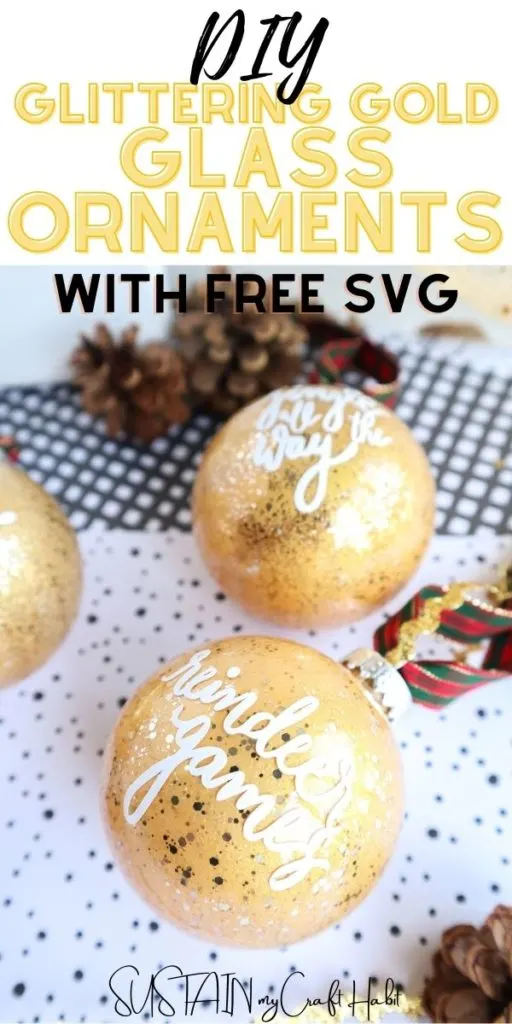

DIY Glittering Gold Painted Glass Ornaments
Materials
- Christmas Song Lyrics SVG file
- Cricut Joy
- Smart Vinyl Permanent in White
- Weeder
- Scissors
- Clear Glass Ornaments
- Cricut Transfer Tape
- DecoArt Extreme Sheen in 24K Gold
- DecoArt Galaxy Glitter in Champagne Stardust
- 1/2” wide Decorative ribbon and gold metallic ric-rac ribbon
Instructions
Painting the Glass Ornaments:
- Squeeze Galaxy Glitter Champagne Stardust paint into the ornament opening.
- Place your covered thumb over the opening and shake the ornament until the paint inside has mixed together and covered the inside.
- Allow glitter paint to dry for about 10 minutes.
- Next, squeeze a good amount of Extreme Sheen 24K Gold paint into the ornament.
- Once again, place your covered thumb over the opening and shake the ornament until the paint inside has mixed together and covered the inside.
- Repeat for remaining ornaments.
Preparing the Images:
- Open Cricut Design Space.
- Click on the “+” sign to start a new project, opening up a blank canvas.
- Click on the “Upload” button from the toolbar and browse your downloaded files to insert the SVG file.
- The phrases will appear on the canvas. With the image selected, click on Ungroup.
- Click and drag over the individual phrases and then select the “Attach” button to secure all words from the phrase together for cutting.
- Maintain the size or adjust to fit your ornament. To adjust the size, highlight the image and click on the size box in the top toolbar. Change the measurement to suit your ornament size accordingly.
- Change the image color if desired to match with the material color.
Cutting the Permanent Smart Vinyl:
- Select “Make It” in the upper right corner to proceed with cutting.
- If using Cricut Joy Smart Vinyl, choose “no mat” for cutting.
- Note the size of the Smart Vinyl needed and cut the length of the vinyl accordingly.
- Choose the Smart Vinyl, Permanent from the list of options in the drop down menu.
- Following the instructions prompted on the screen, cut out the vinyl.
How to Assemble the Ornaments
- Cut around the phrase with a pair of scissors.
- Using the weeding tool, peel away the excess vinyl around the cut images and discard.
- Cut a piece of transfer tape a bit larger than the size of the phrase.
- Peel away the transfer tape backing and place the transfer tape overtop of the cut phrase. Gently rub the vinyl to help it stick to the transfer tape.
- Peel away the vinyl backing, leaving just the image adhered to the transfer tape.
- Cut slashes into the transfer tape, avoiding the vinyl, to help shape the phrase around the curved ornament.
- Position the image with the transfer tape on to the ornament and press in place.
- Press the image down with your fingers and slowly remove the transfer tape leaving the vinyl phrase on the ornament.
- Reattach the ornament caps and tie a piece of decorative ribbon to the top of the ornaments.

