Gorgeous DIY Scrap Wood Photo Display Idea
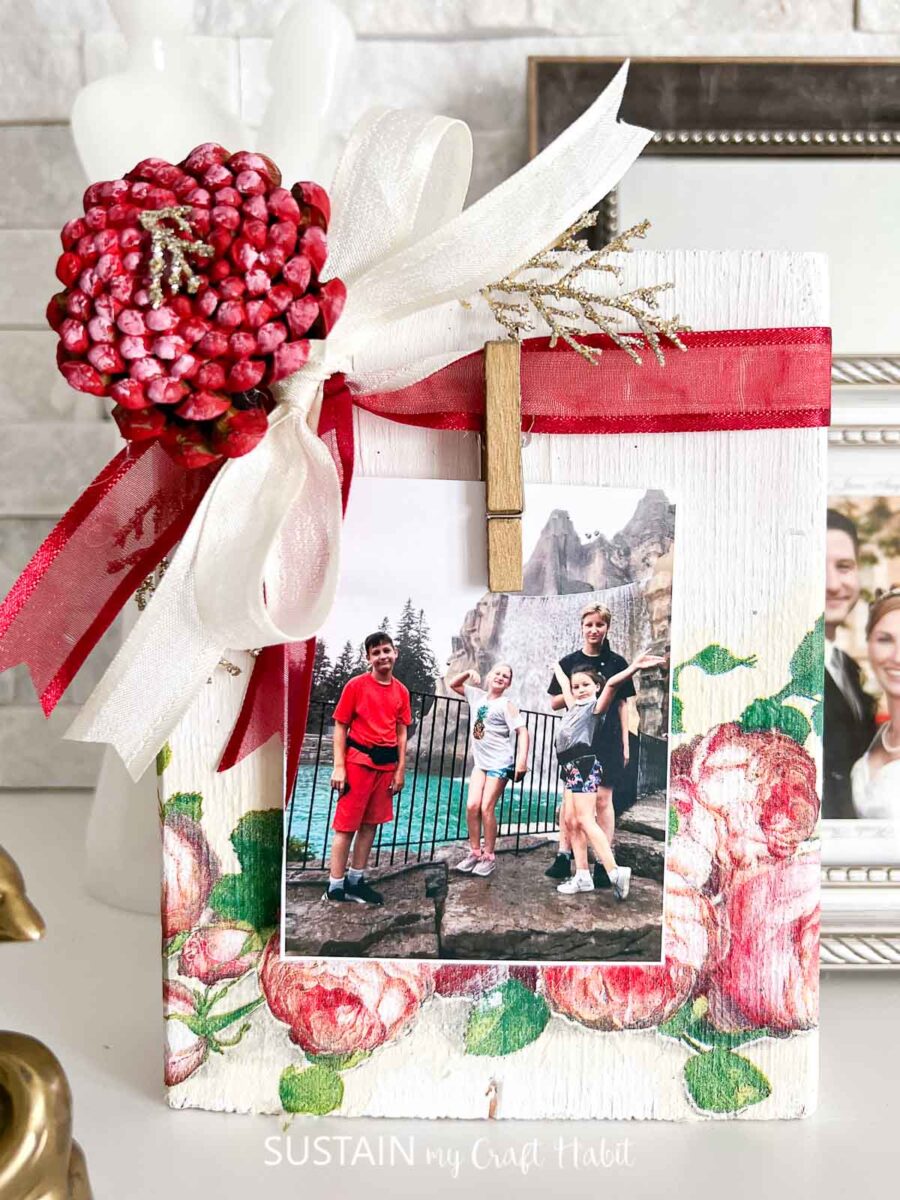
Don’t you just love it when a craft comes together better than you imagine? That was the case with this DIY photo display idea using a piece of scrap wood and some simple decorative pieces.
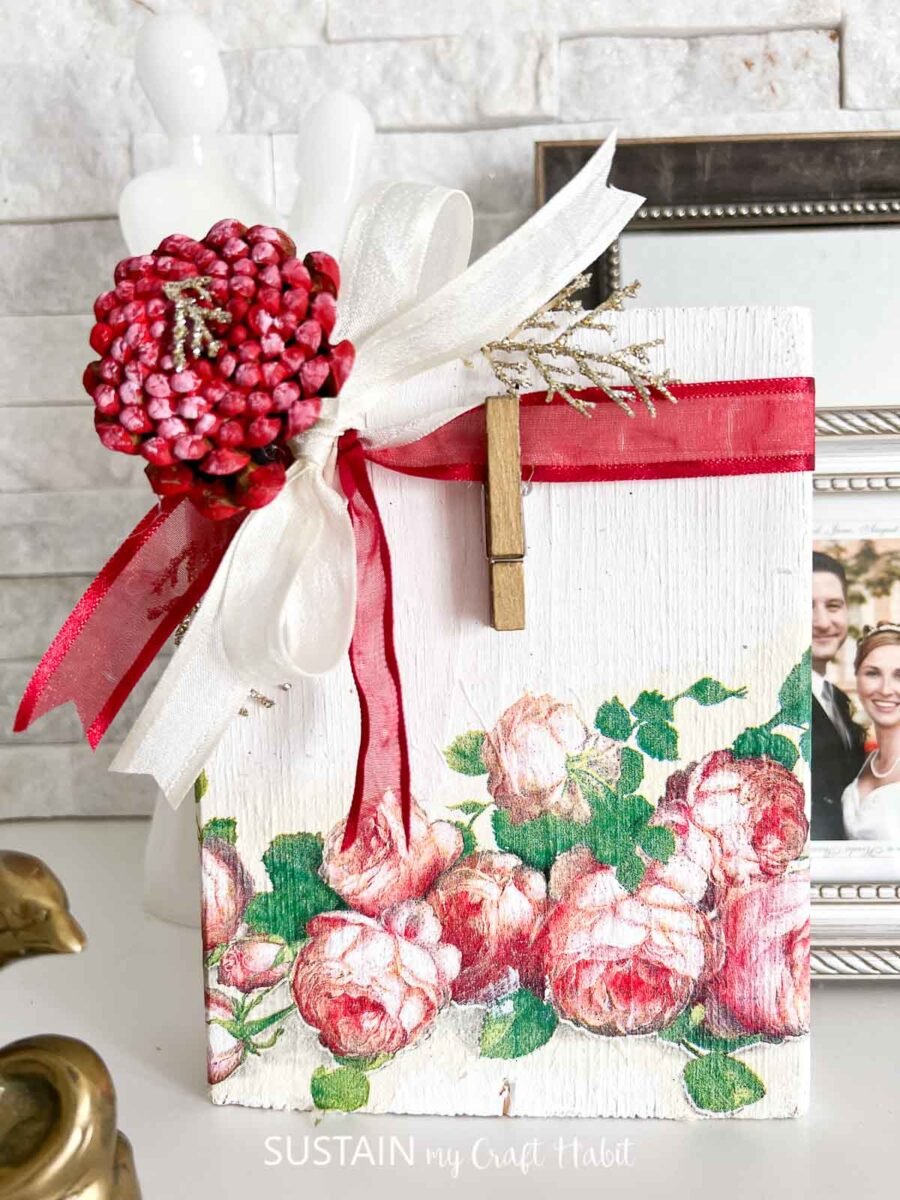
Homemade Photo Display
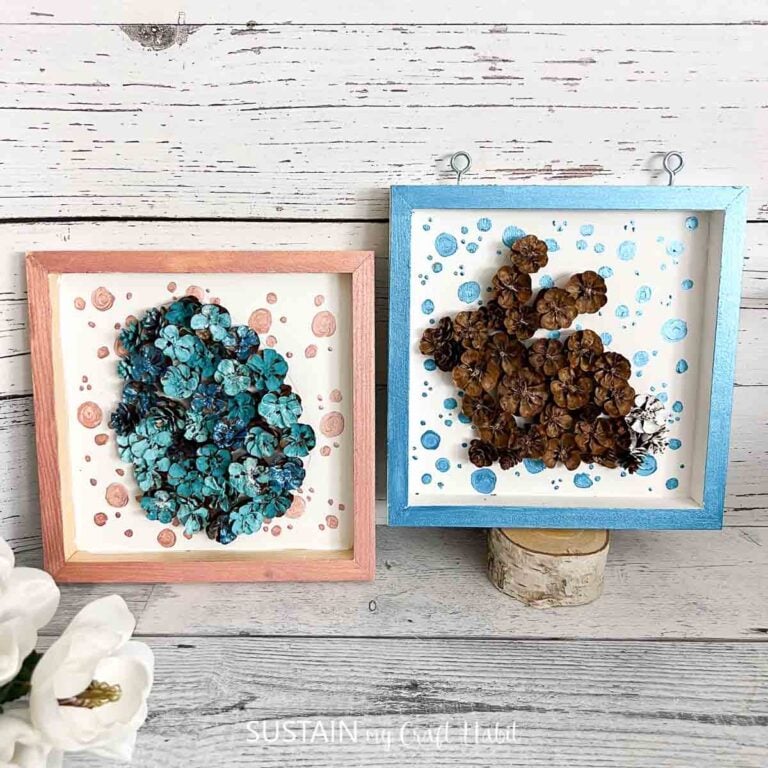
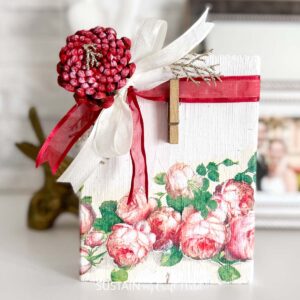
I’m certain that when you look at this finished piece you wouldn’t know that the lovely, colorful flowers were not actually painted on to the surface. In fact, this craft couldn’t get any simpler! Believe it or not, the lovely flowers were cut from a paper dinner napkin and applied on to the surface with
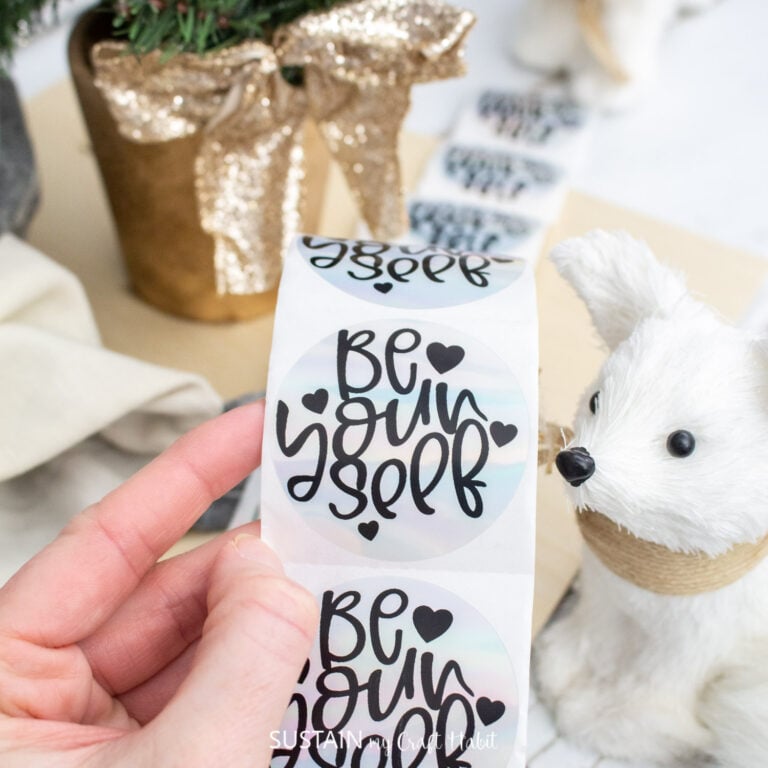
You can find out how to make this craft by watching the FB Live video or if you rather, keep reading below for the step by step instructions. If you do watch the video however, you’ll see how it all came together almost perfectly with the help of my viewers. And I love that when it was finished, one viewer suggested using it as a way to display personal affirmation cards.
Want to receive a ton of inspiration and money saving ideas for decorating, gift-giving and crafting? Join HERE!
Materials Needed
Disclosure: This post contains affiliate links for your shopping convenience. Should you choose to purchase through them, we will make a small commission at no extra cost to you. You can read our full disclosure policy here.
Chalky Finish paint in whitePaint Brush - Scrap 2×6 piece of wood
Mod Podge - Printed Paper Napkins
- Clothes Pin
- Ribbon
Hot Glue Gun - Pinecones (gather some from outside or purchase these craft-ready pine cone flowers from our Etsy shop)
How to Make a Gorgeous DIY Scrap Wood Photo Display Idea
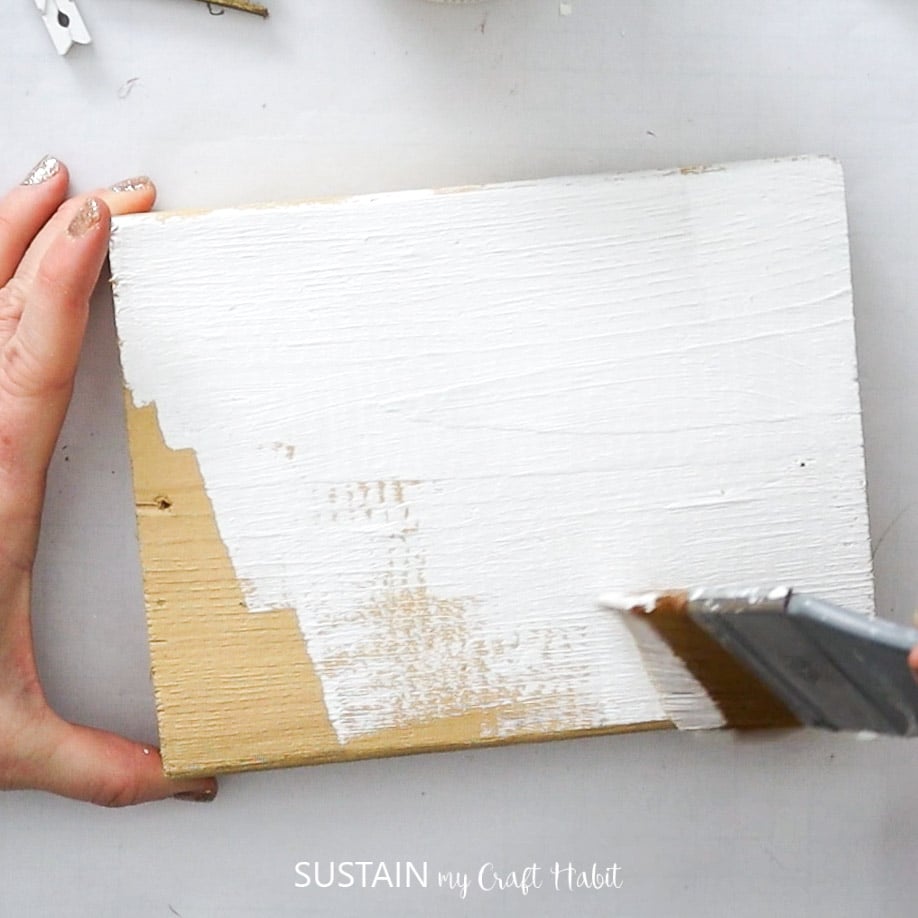
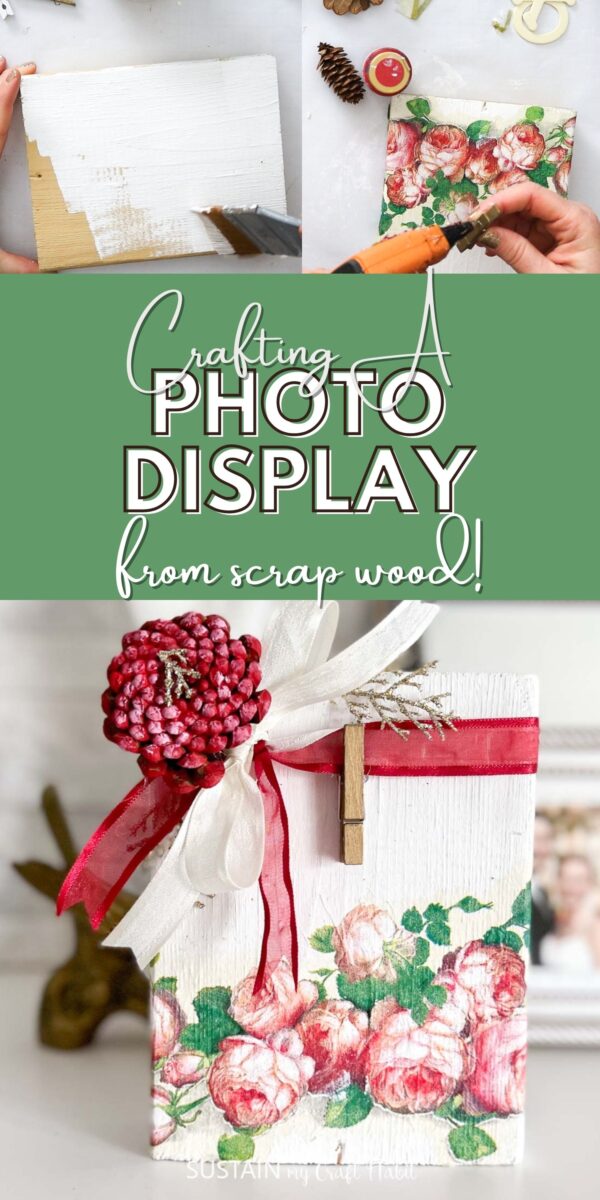
Paint the scrap piece of wood with the white chalky paint and let it dry.
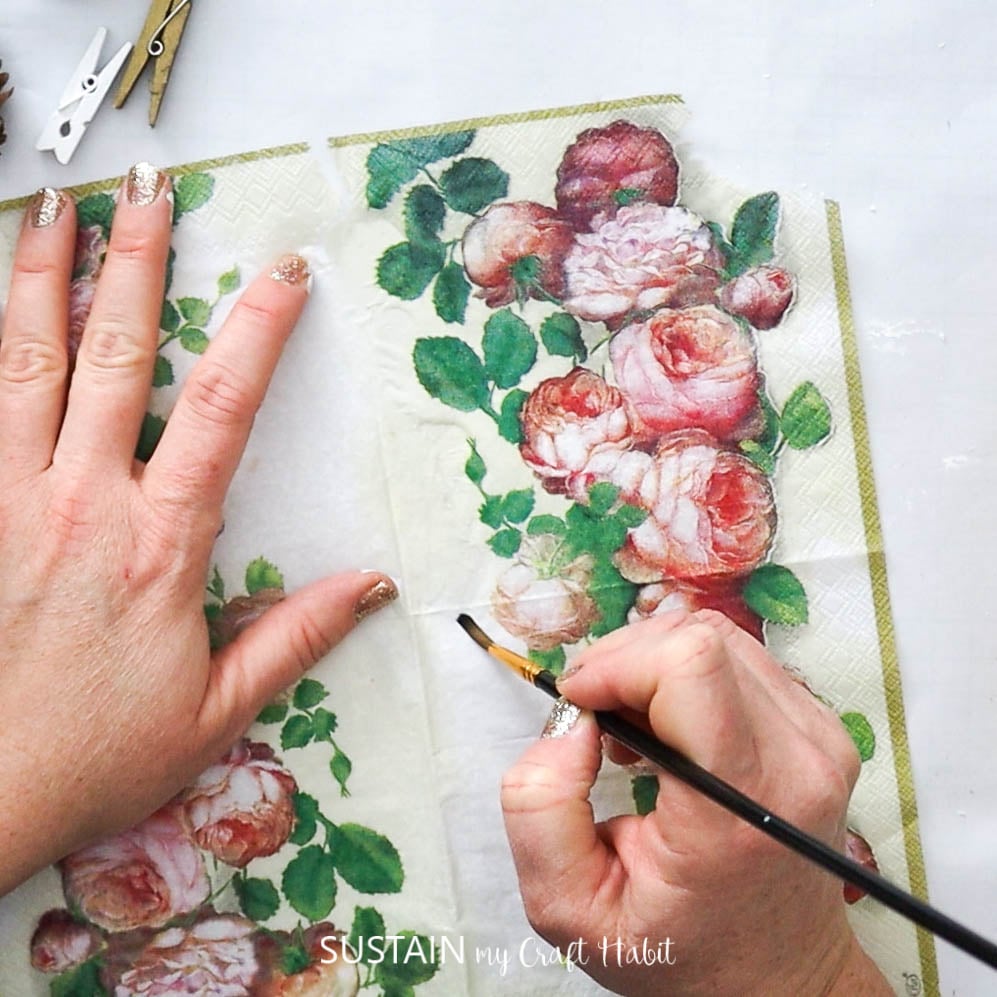
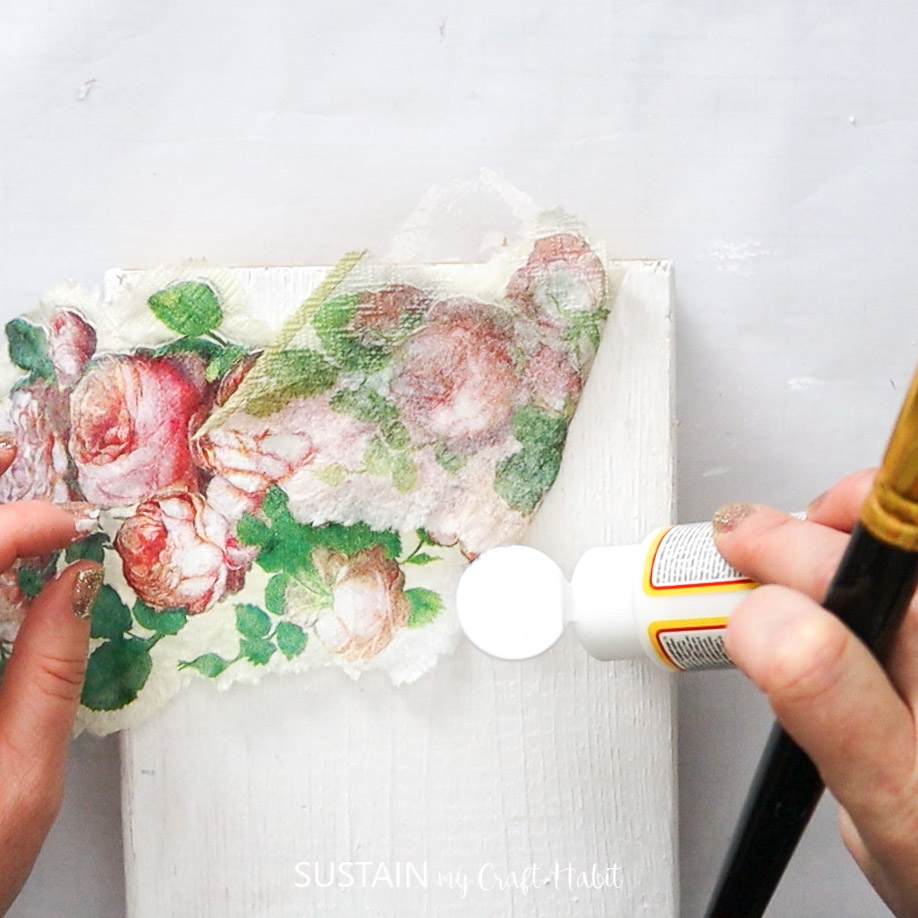
Peel the ply off the napkins. Then take a fine tip paint brush dipped in water and trace the outline of the printed flowers or other design and gently tear the excess of the napkin off.
Apply some Mod Podge on the painted wood with a paintbrush and lay the napkin on top of the wood. Press in place and apply some more Mod Podge on top of the napkin with the brush. Put it aside to dry fully before moving on to the next steps.
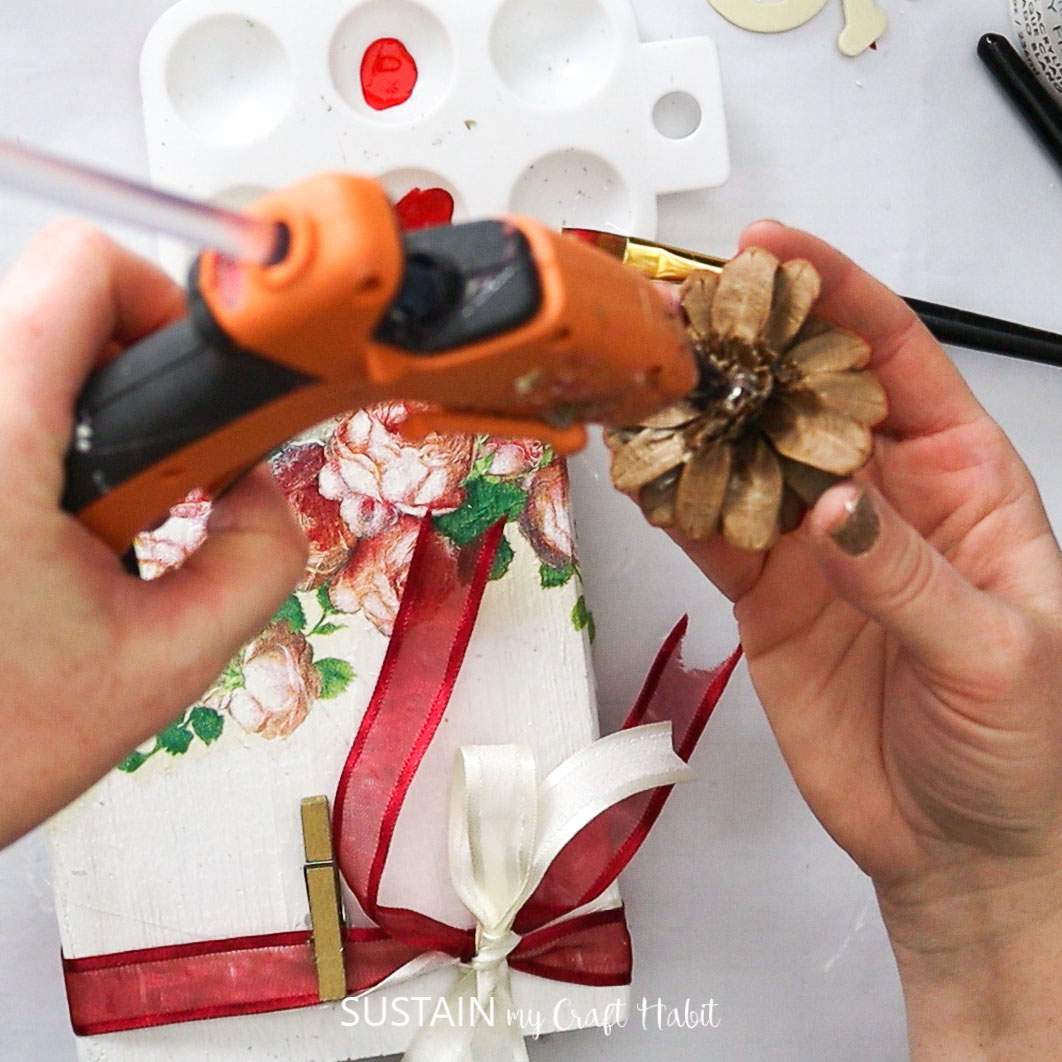
In the meantime, paint the back side of a pinecone flower in a pretty matching color. Add some lighter paint colors over top for more texture and interest and leave it to dry.
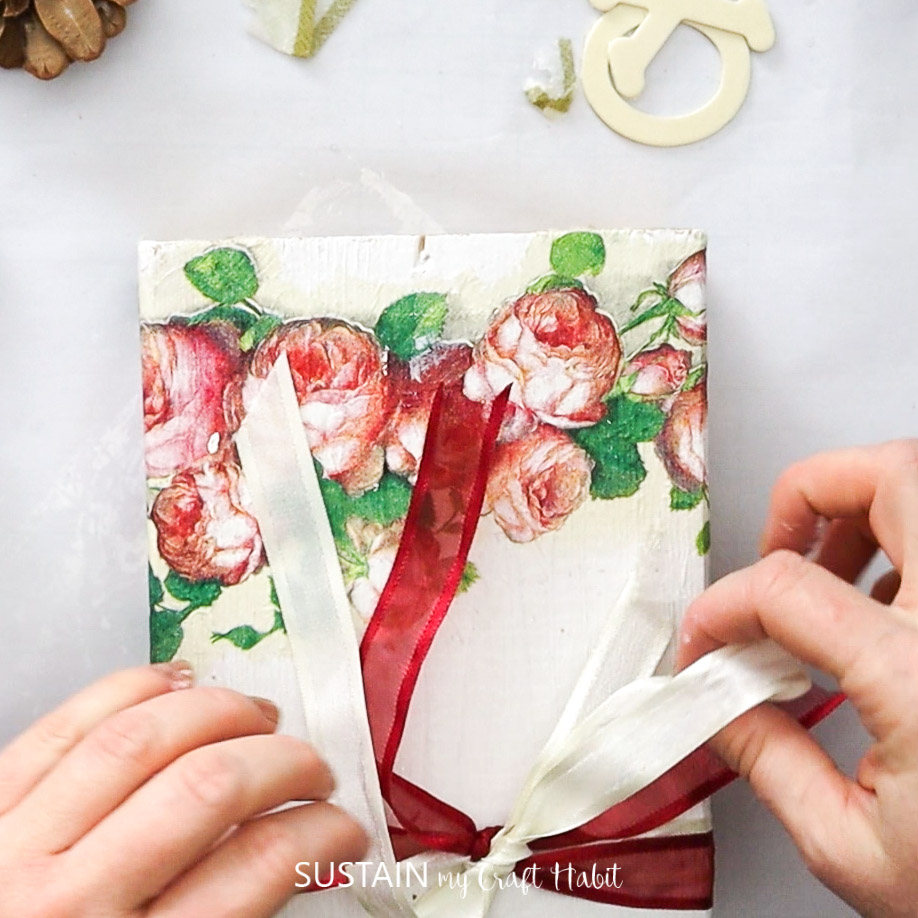
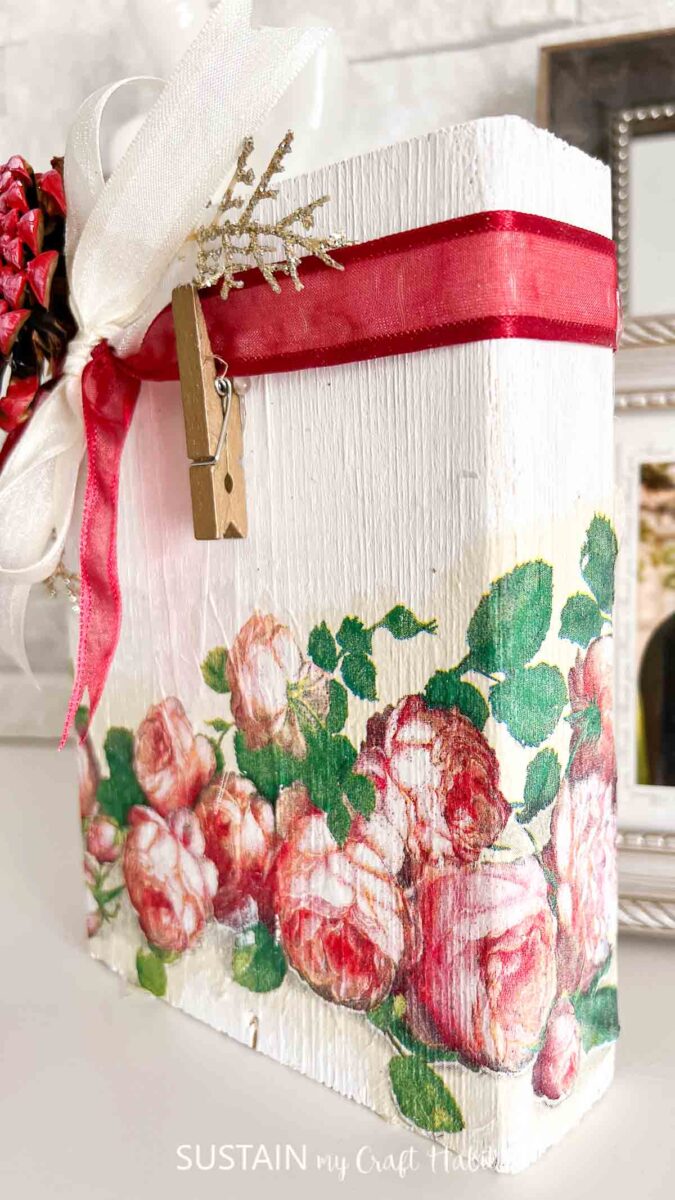
Once dry, take some ribbon and wrap it around the wooden piece and tie into a bow. Using the glue gun, glue the clothes pin to the wood piece.
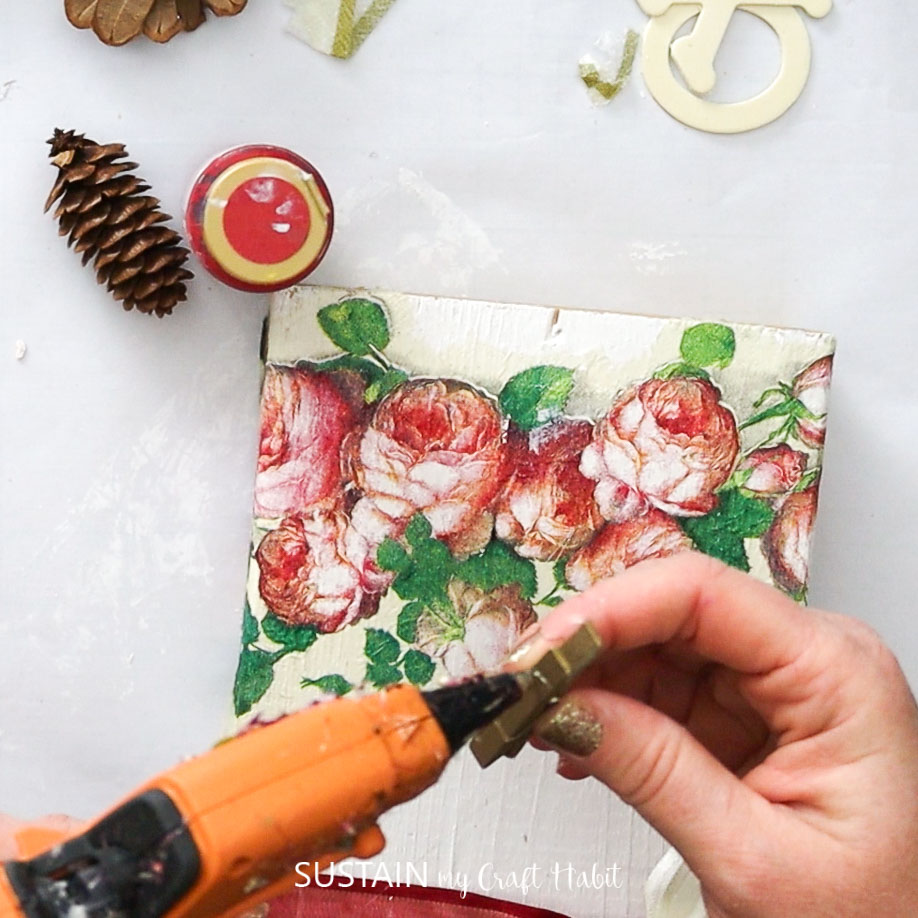
Using the glue gun, glue it to the ribbon.
Add any extra embellishments you have, such as some faux floral picks. And with that, the craft is complete and ready for your favorite picture to be displayed.
More Creative Crafts to Display Pictures
We’ve made a good amount of photo display crafts over the years here on the blog. Take a look at these fun ideas for your next craft session:
- Picture Frame Photo Display with Felt Flowers
- Beach Photo Display Jar
- Photo Coasters with Resin
- Popsicle Stick Picture Frames
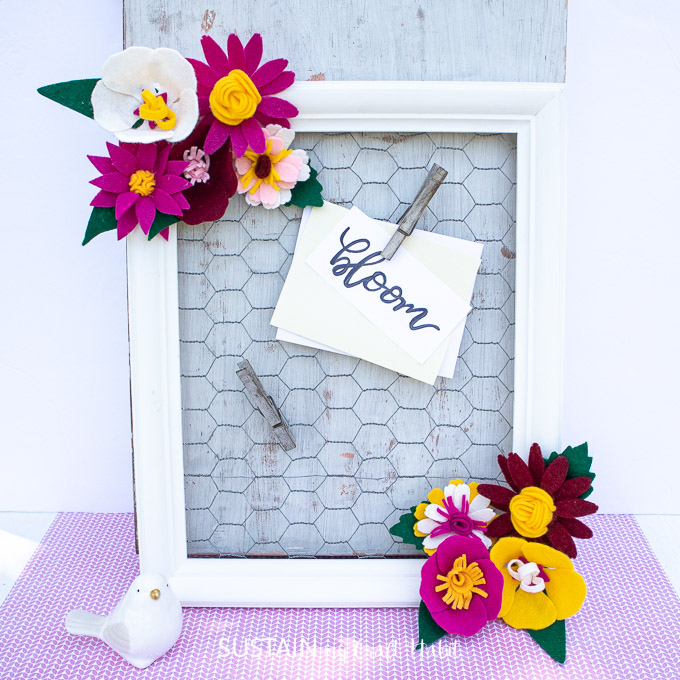
Photo Display 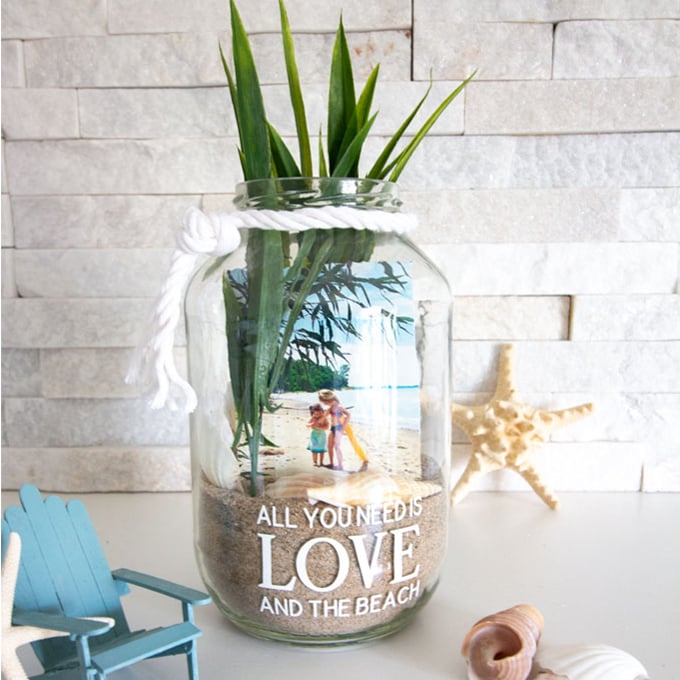
Beach-Inspired Photo Jar 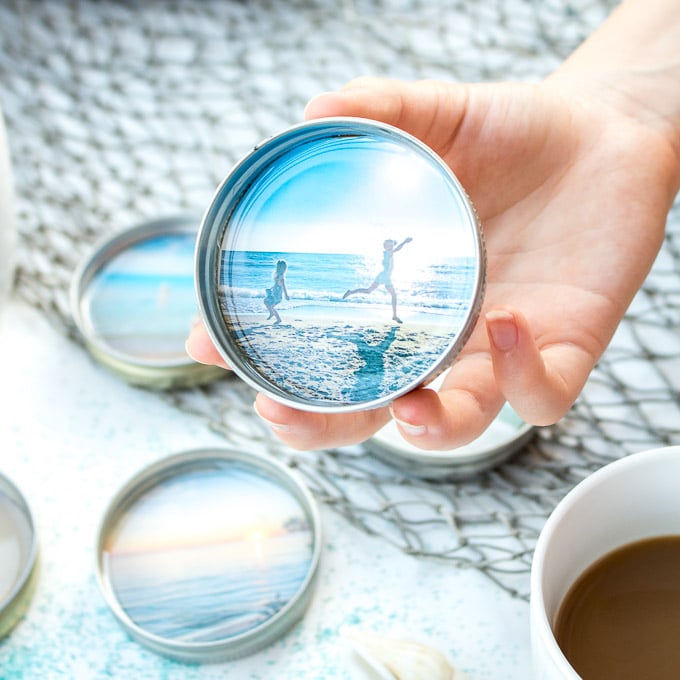
Photo Coasters 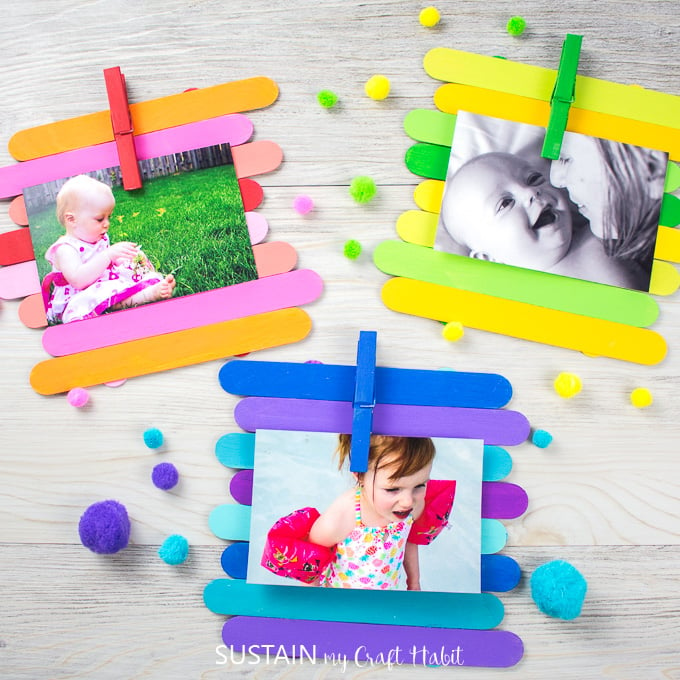
Popsicle Stick Picture Frames
Thank you so much for stopping by to visit us here on the blog. We’d love for you to join our crafting community to find more nature-inspired DIYs and upcycled craft ideas. It feels good to repurpose, upcycle and create with nature!
Like it? Pin it for later!
Gorgeous DIY Scrap Wood Photo Display Idea
Materials
- White Chalky Paint
- Paint Brush
- Scrap 2×6 piece of wood
- Mod Podge matte
- Printed Napkins
- Clothes Pin
- Ribbon
- Glue Gun
- Pinecone
Instructions
- Paint the scrap piece of wood with the white paint and let it dry.
- Peel the ply off the napkins and take a fine tip paint brush dipped in water and trace the outline of the printed napkin and gently tear the excess of the napkin off.
- Apply some Mod Podge on the wood piece with a paintbrush and lay the napkin on the wood and apply some more Mod Podge on top of the napkin and brush the modge podge over the napkin.
- Take some ribbon and wrap it around the wooden piece and tie into a bow.
- Using the glue gun, glue the clothes pin to the wood piece.
- Paint the backside of a cut pinecone in a matching color and let it dry.
- Using the glue gun, glue it to the ribbon and let it dry.