Homemade Thank You Card with Cricut
Say thank you in a heartfelt way with homemade thank you cards made easily using Cricut. Say goodbye to store-bought greeting cards and say hello to personalized messages crafted from the heart, with the help of your Cricut cutting machine. Find all the ideas, tips and step-by-step instructions below.

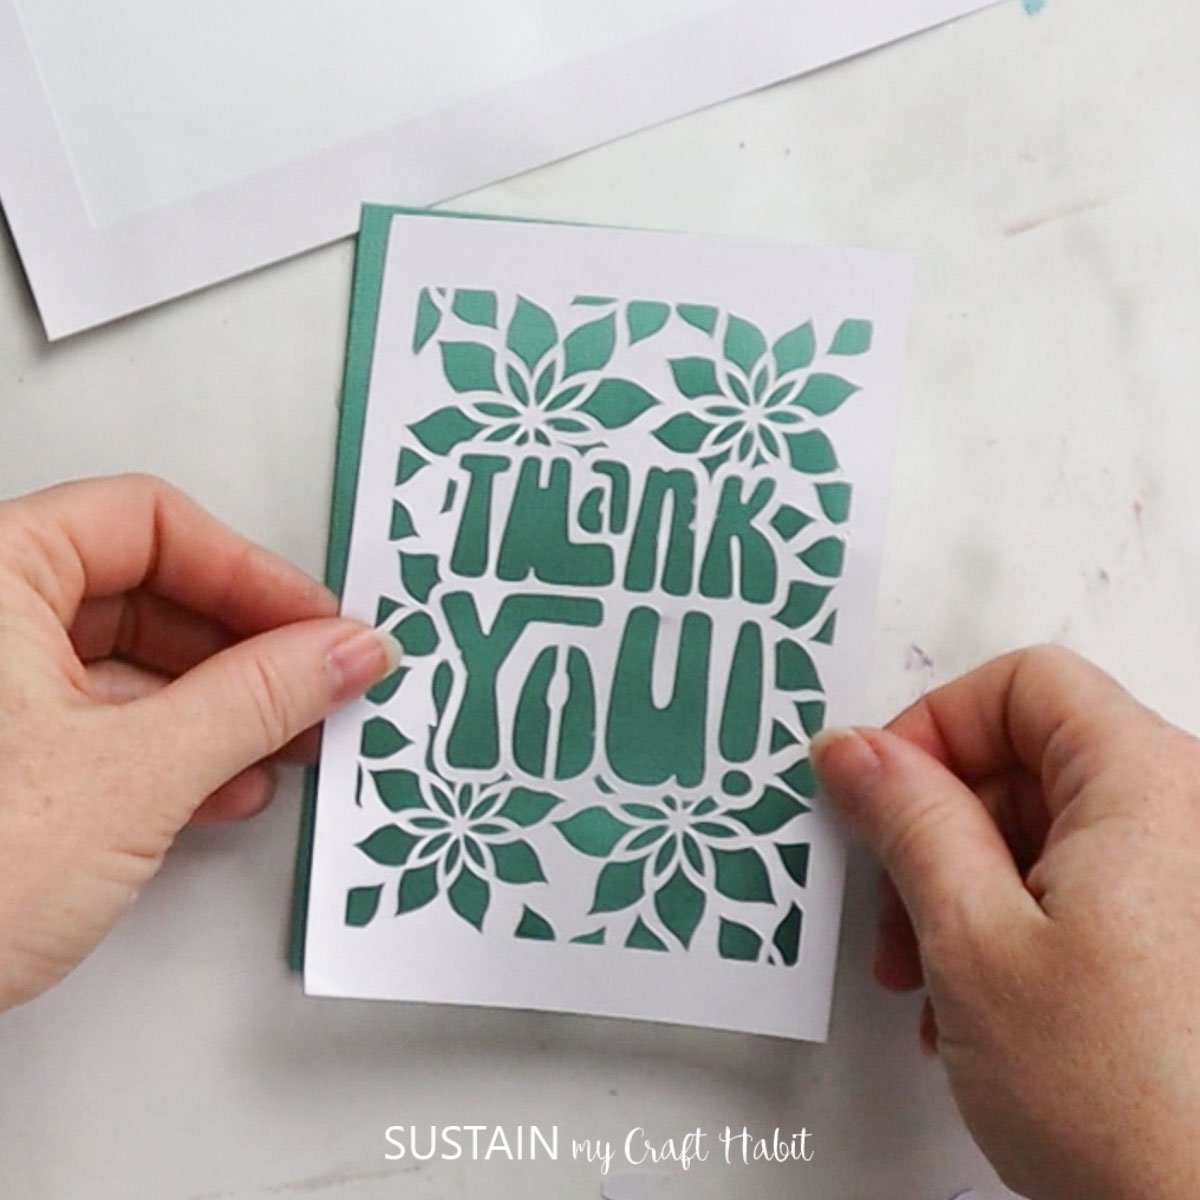
Cricut Crafts: Pretty DIY Homemade Thankyou Card
Have you ever received a thank you card that really touched you? Those are the kind of cards that you save and look back on fondly. Well imagine being able to create that same feeling in others with a homemade thank you card?
We will guide you through simple step-by-step instructions on how to design and assemble a one-of-a-kind thank you card that the recipient is sure to love! Whether it’s a heartfelt expression of thanks for that special someone, or a thoughtful note to show appreciation for an act of kindness, DIY cards are guaranteed to make a lasting impression.

Plus, creating a handmade card is a fun, inexpensive and great way to share your creativity. So, get ready for some serious card-making fun!
Get access to our resource library filled with SVG cut files and other Cricut craft ideas!
Materials Needed
Disclosure: This post contains affiliate links for your shopping convenience. Should you choose to purchase through them, we will make a small commission at no extra cost to you. You can read our full disclosure policy here.
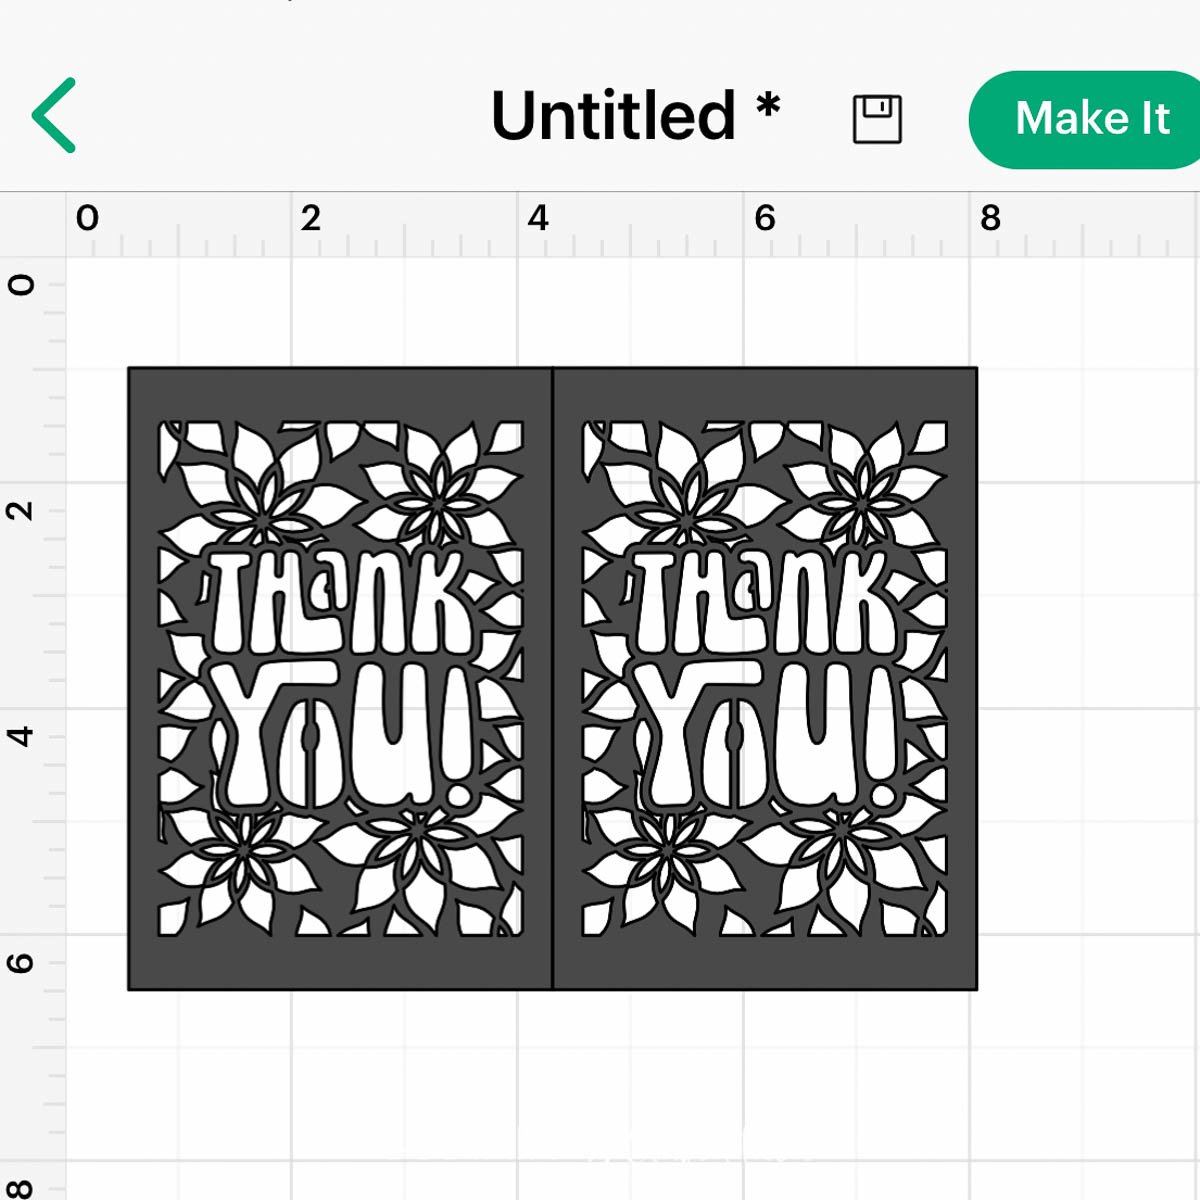
- Cricut Design Space Card Image ##M4BA68A9D
Cricut Maker Cricut cardstock paper in any color (we chose teal and beige)
How to Make a Homemade Thank you Cards with Cricut
Preparing the Image:
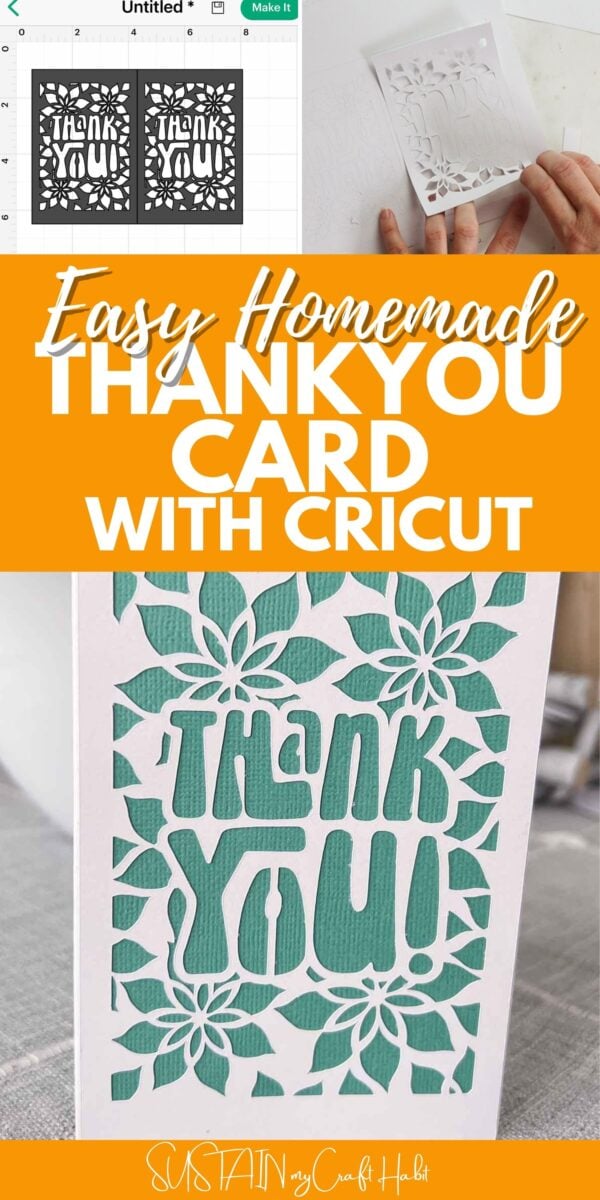
Open Cricut Design Space and then click on the “+” sign to start a new project, opening up a blank canvas.
Click on the Images button from the toolbar and search card image ##M4BA68A9D and then click on the image to insert it on the canvas. I have two images placed so I can make two cards at once:)
Cutting the Image on the Card:
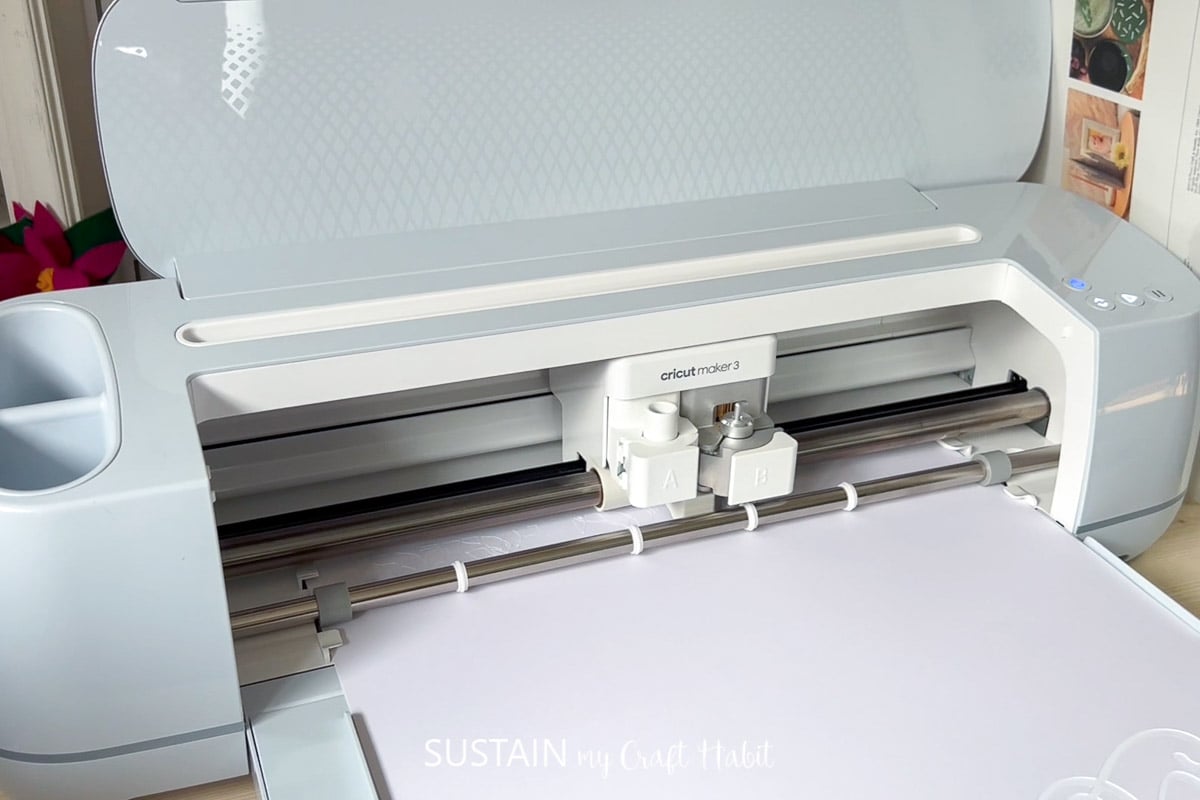
Ensure the machine is set to Cricut Maker (or whatever cutting machine you’re using), then select “Make It” in the upper right corner to proceed with cutting.
Choose “On Mat”.
Adjust the template to 4.25” x 5.5”.
Place the cardstock in desired color on the cutting mat.
Select browse all materials and choose “cardstock” from the list of materials.
Following the instructions prompted on the screen, cut out the pattern.
Finishing:
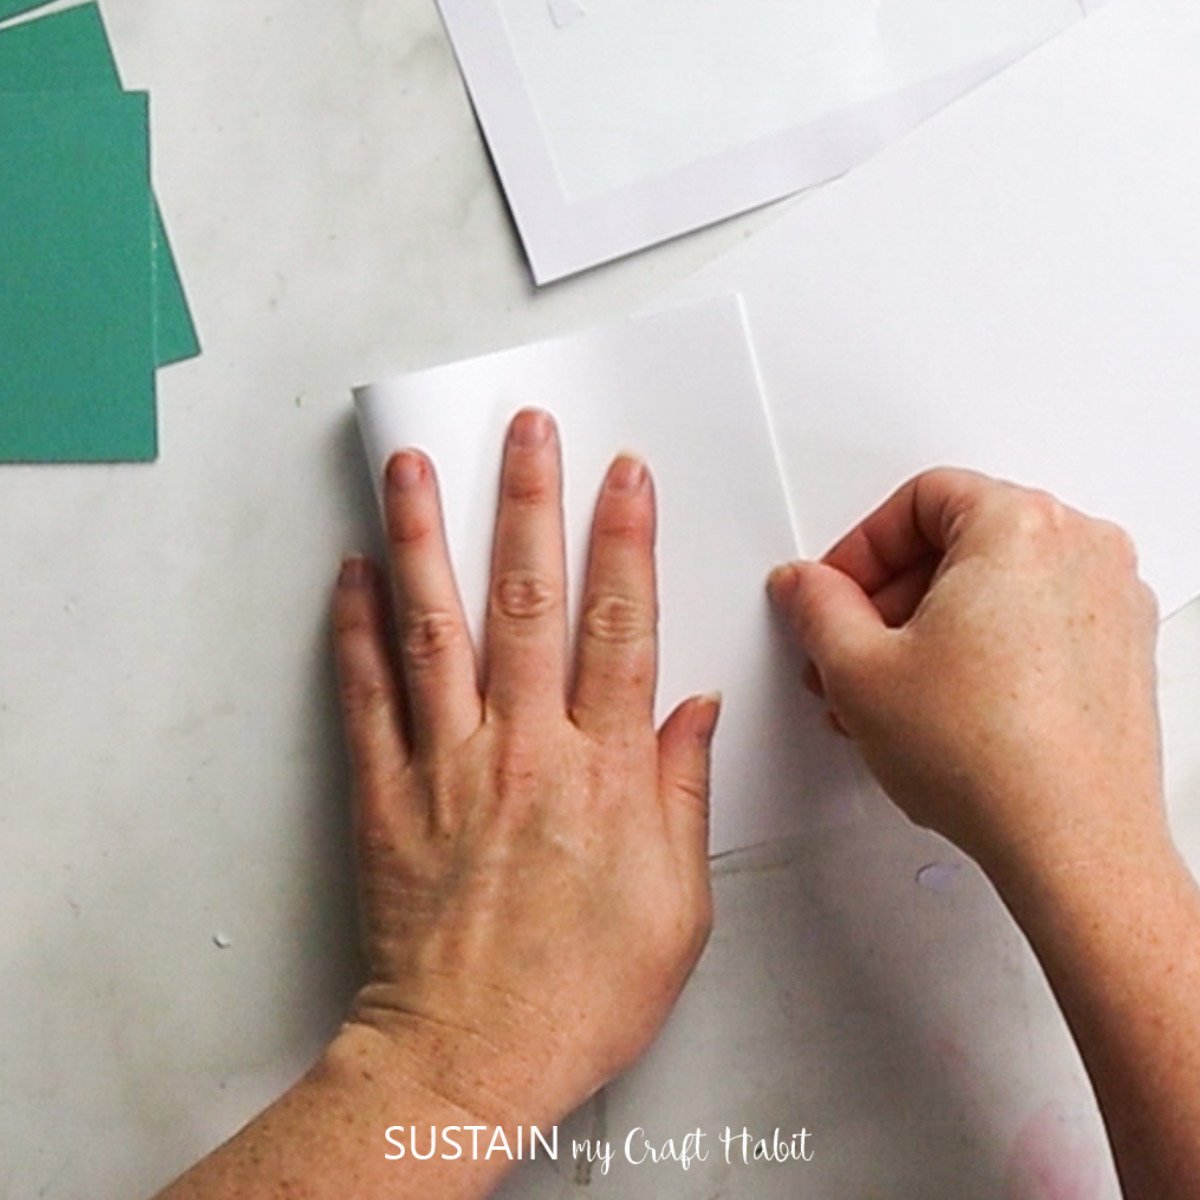
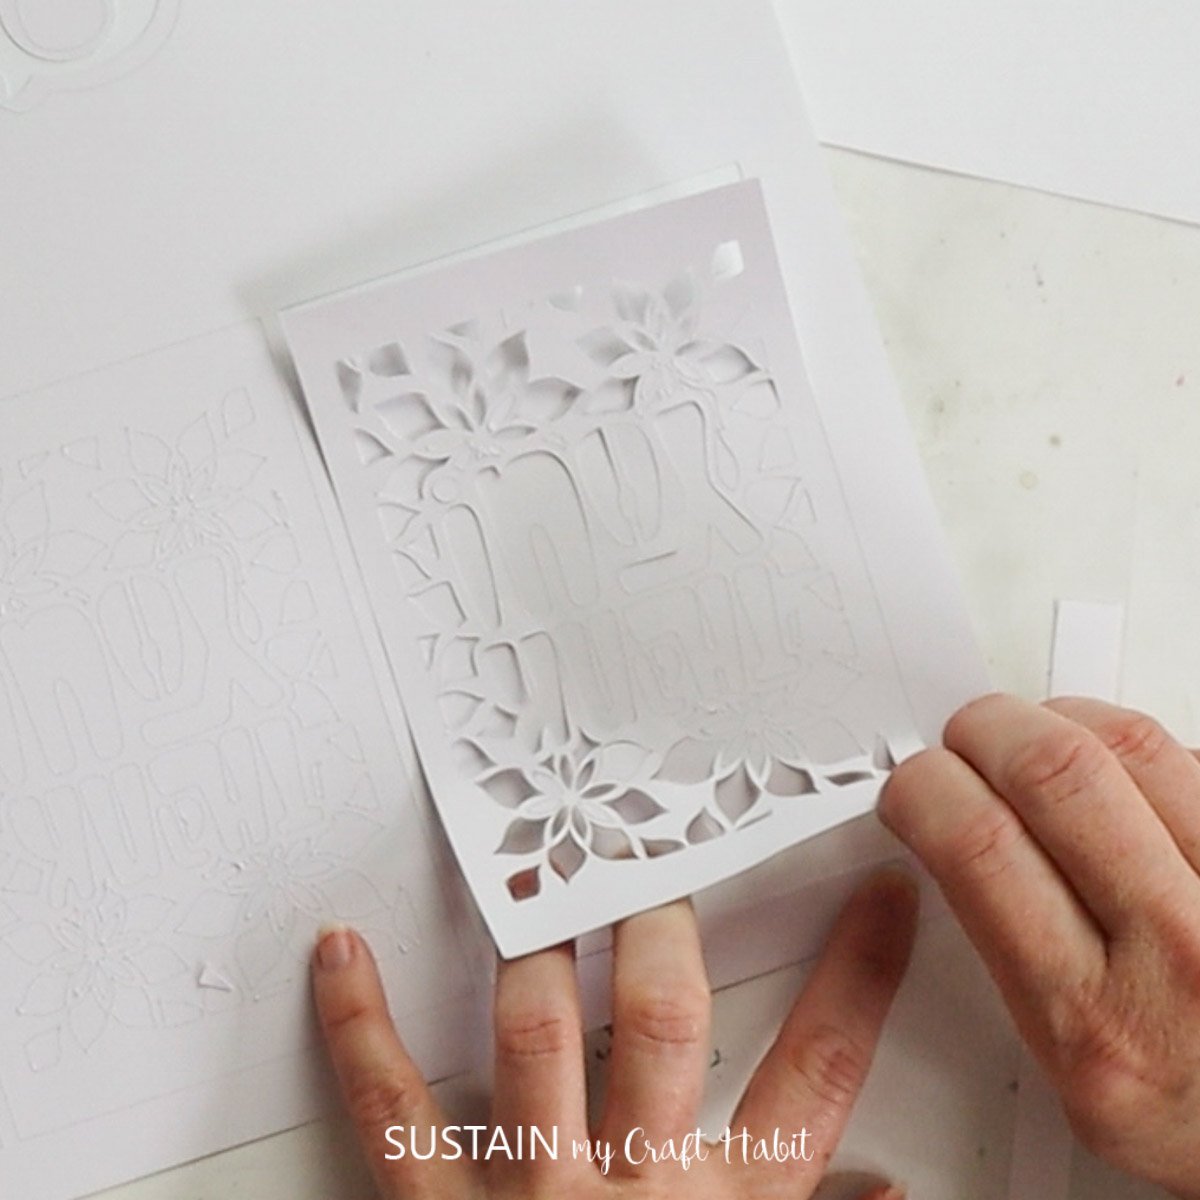
Remove the mat from the machine when the cut is complete. Carefully peel off the mat from the card and trim or remove any small attached pieces.
Using a paper cutter (or your Cricut cutting machine), cut a sheet of cardstock to 8.5″ x 5.5″ in the same color as you cut out (in this case white). This will form the base of the card. Fold the sheet in half forming the 4.25″ x 5.5″ card or use a scoring tool for a crisp straight line.
Next cut another sheet of cardstock in a contrasting color (in our case that is green) to measure 4.25″ x 5.5″ (same size as the thankyou cut out. This will be the backing to the cut out.

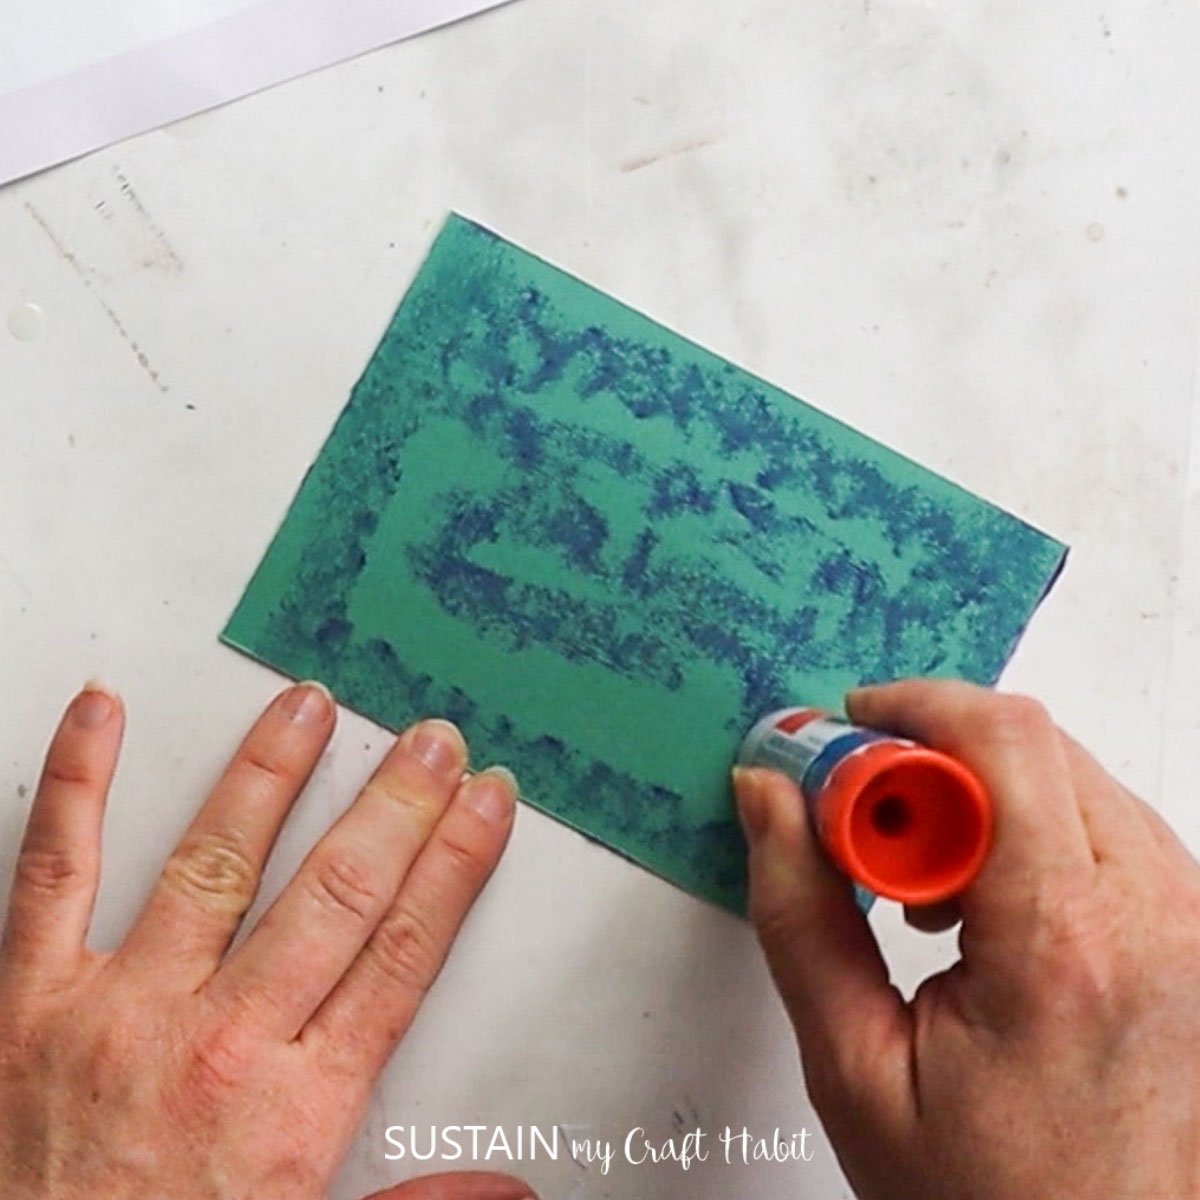
Glue a contrasting color of cardstock and glue it to the back of the thank you card cutout.
That’s all there is to it! Now you have a beautiful homemade thank you card for the perfect way to show your appreciation. What do you think? Are you ready to make your own? Let us know in the comments below if you do.
More Handmade Cards
We have plenty of other homemade card ideas here on the blog. Check ot some of these ideas for other special occasions.
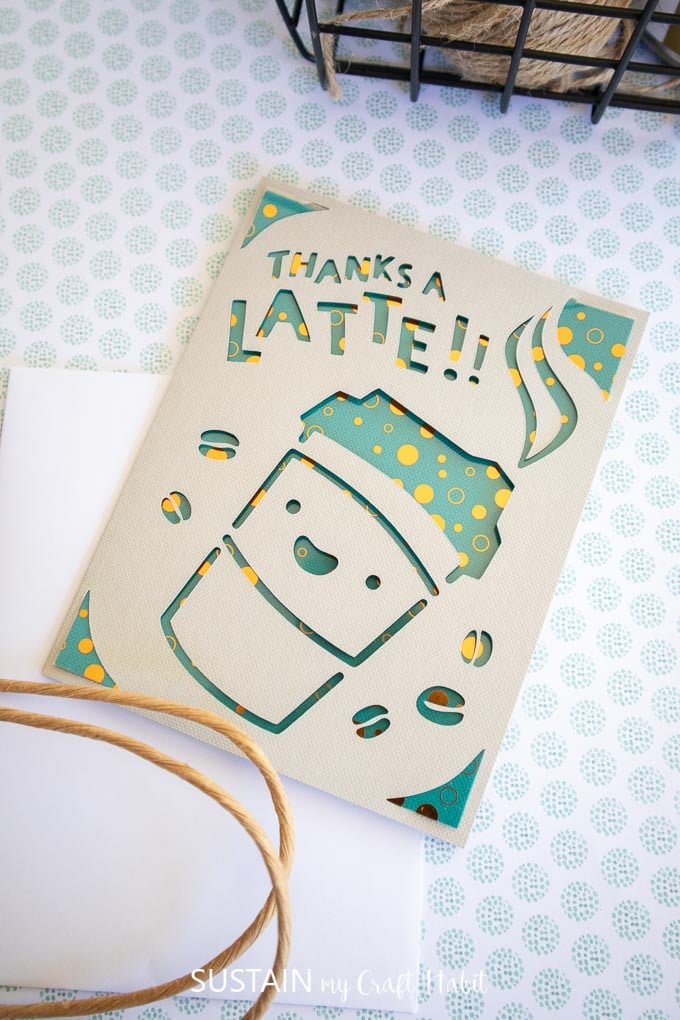
- “Thanks a Latte” card with Cricut Joy
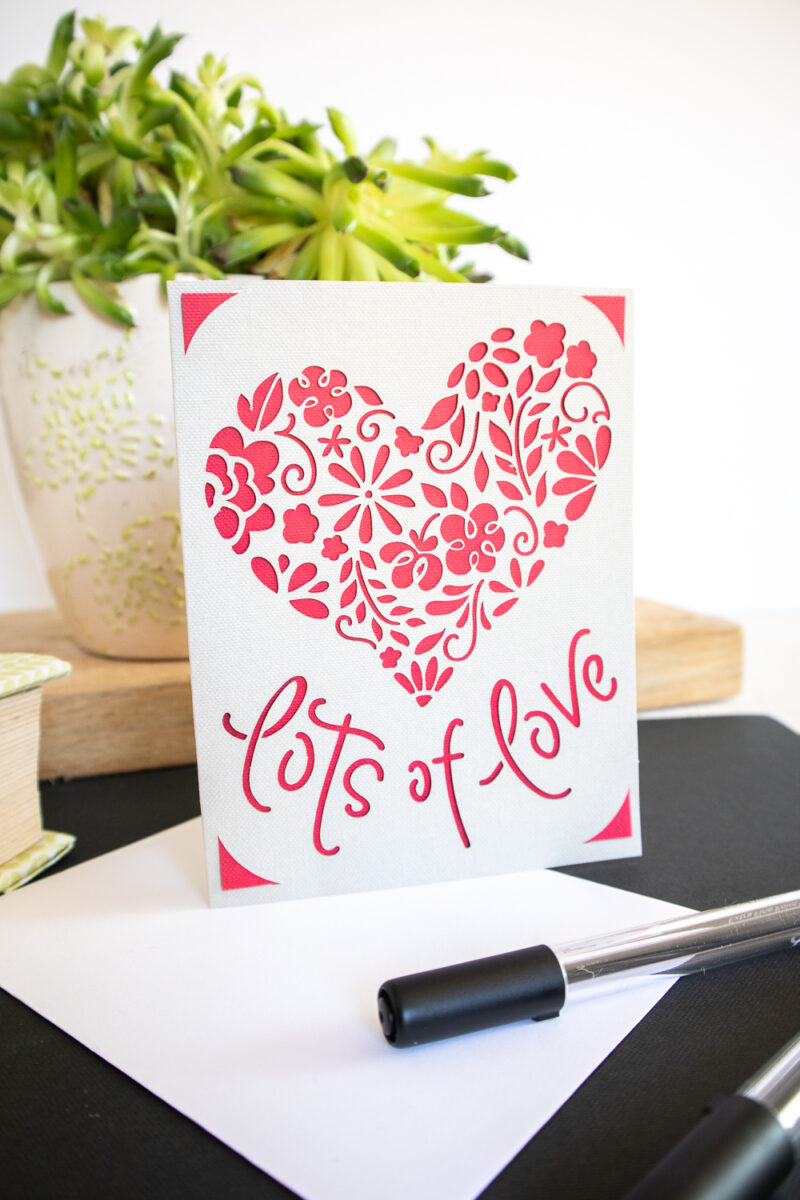
- Handmade Valentine’s Day Card
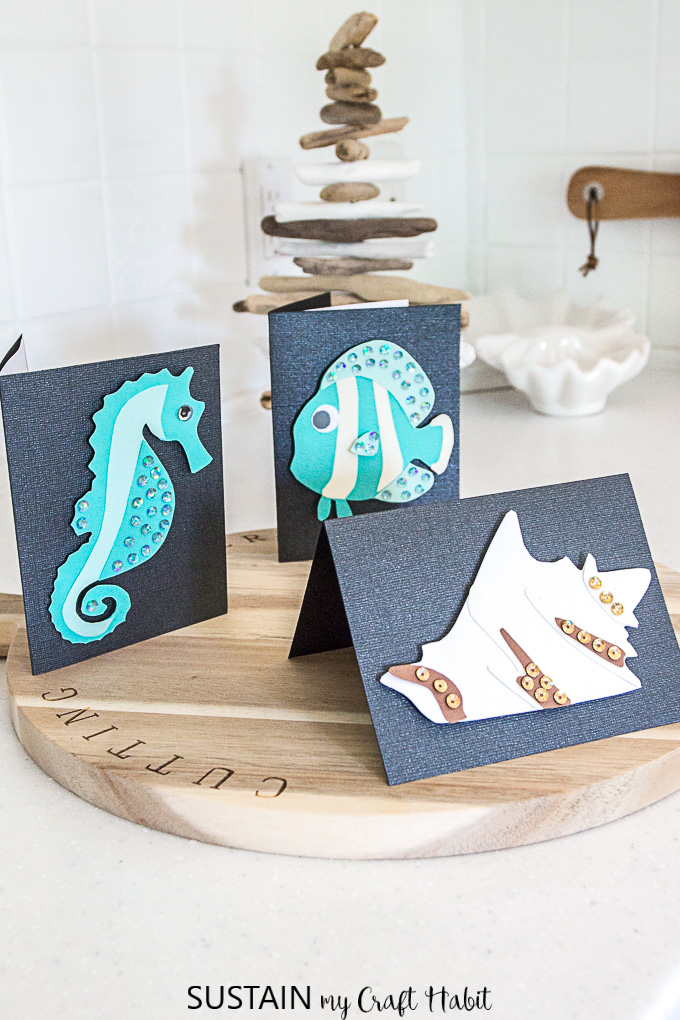
- Beachy DIY Cards for Any Occasion
Stay in the know on our latest crafts, special offers and freebies by joining our mailing list.
Like it? Pin it for later!

Homemade Thank you Cards with Cricut
Materials
- Cricut Design Space Card Image ##M4BA68A9D
- Cricut Maker
- Cardstock paper in any color Teal and Beige
Instructions
Preparing the Image:
- Open Cricut Design Space.
- Click on the “+” sign to start a new project, opening up a blank canvas.
- Click on the Images button from the toolbar.
- Search card image #xx and then click on the image to insert it on the canvas.
Cutting the Image on the Card:
- Ensure the machine is set to Cricut Maker (or whatever cutting machine you’re using), then select “Make It” in the upper right corner to proceed with cutting.
- Choose “On Mat”.
- Adjust the template to 4.25” x 5.5”.
- Place the cardstock in desired color on the cutting mat.
- Select browse all materials and choose “cardstock” from the list of materials.
- Following the instructions prompted on the screen, cut out the pattern.
Finishing:
- Remove the mat from the machine when the cut is complete. Carefully peel off the mat from the card and trim or remove any small attached pieces.
- Glue a contrasting color of cardstock and glue it to the back of the thank you card cutout.
- Fold the card in half to finish. You can use a scoring tool for a crisp straight line.