How to Mod Podge on Plastic: Fall Themed Centerpiece

It’s a question we receive all the time: can you mod podge on plastic? We want to show you the answer (spoiler alert: yes!) by decoupaging on plastic to create a beautiful fall luminary.

Can you decoupage on plastic?
Yes! There is something very relaxing about decoupaging or working on Mod Podge projects. Not only is it a fun process, but the finished products almost always look exquisite.
Sometimes we want to create projects that don’t seem that easy on the surface (pun intended.) Mod Podging on plastic seems like one of those projects.

However, we are here to tell you that it can be done! It is simply how you go about it that will make or break the project. But it is doable using the iron-on decoupage method and we cannot wait to show you how.
Want to receive a ton of inspiration and money-saving ideas for decorating, gift-giving and crafting? Join HERE!
Materials Needed
Disclosure: This post contains affiliate links for your shopping convenience. Should you choose to purchase through them, we will make a small commission at no extra cost to you. You can read our full disclosure policy here.
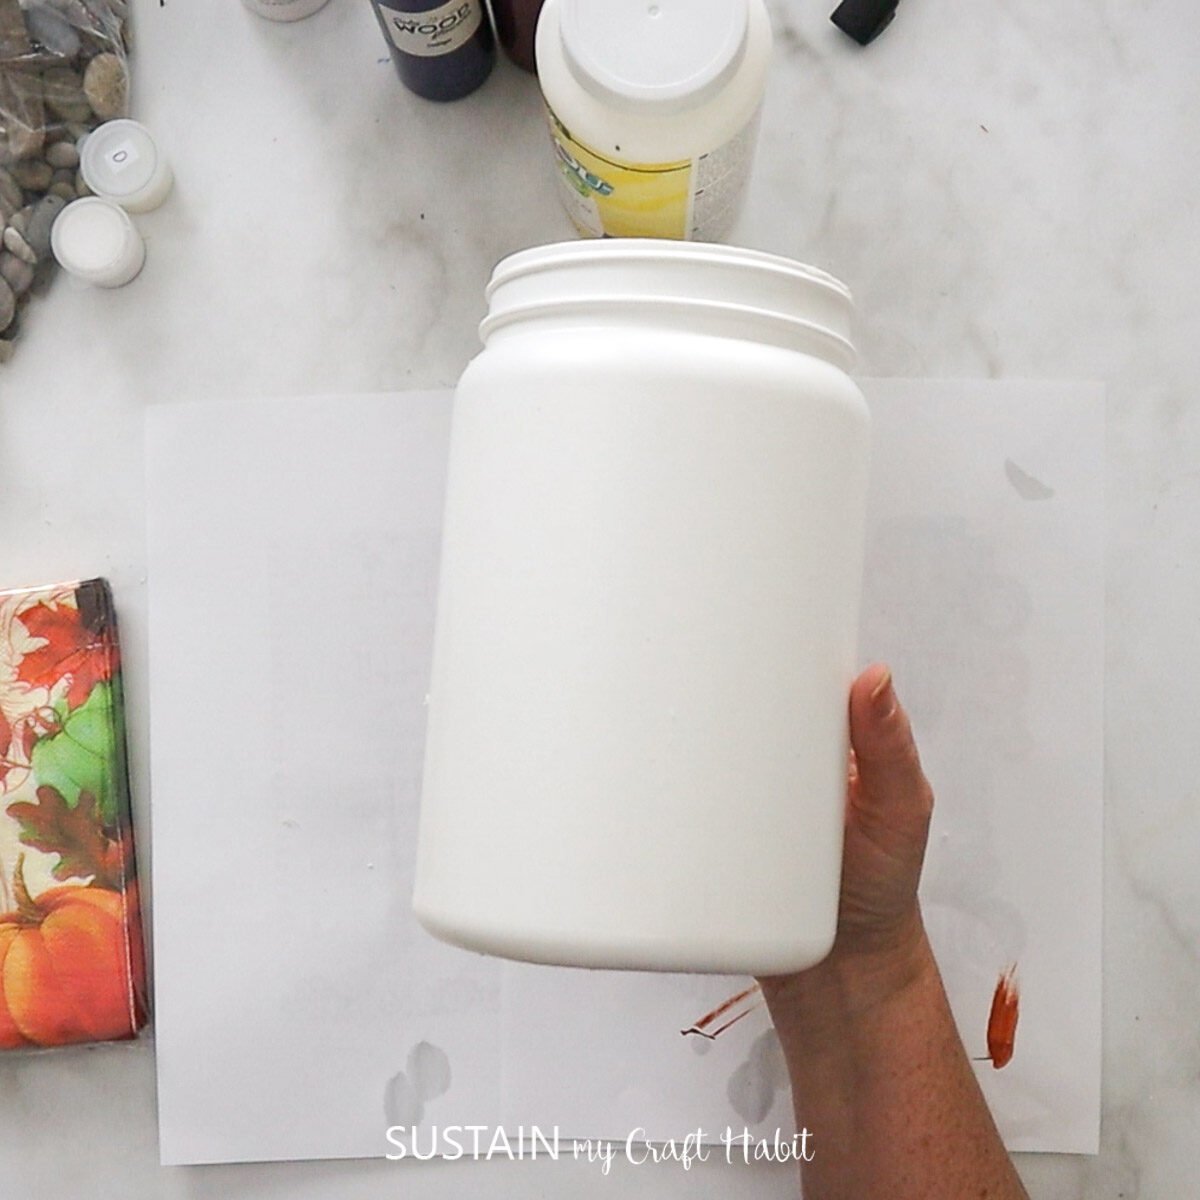
- Plastic container
- Napkins (we get ours from the dollar store)
Mod Podge Paint brushes - Flameless candles
Mini iron and parchment paper- Twine
- Dried flowers
- Scissors
How to Mod Podge on Plastic
Here is a step-by-step video of the Mod Podge craft we made on our Facebook page! Or if you prefer the photo tutorial, continue reading below.
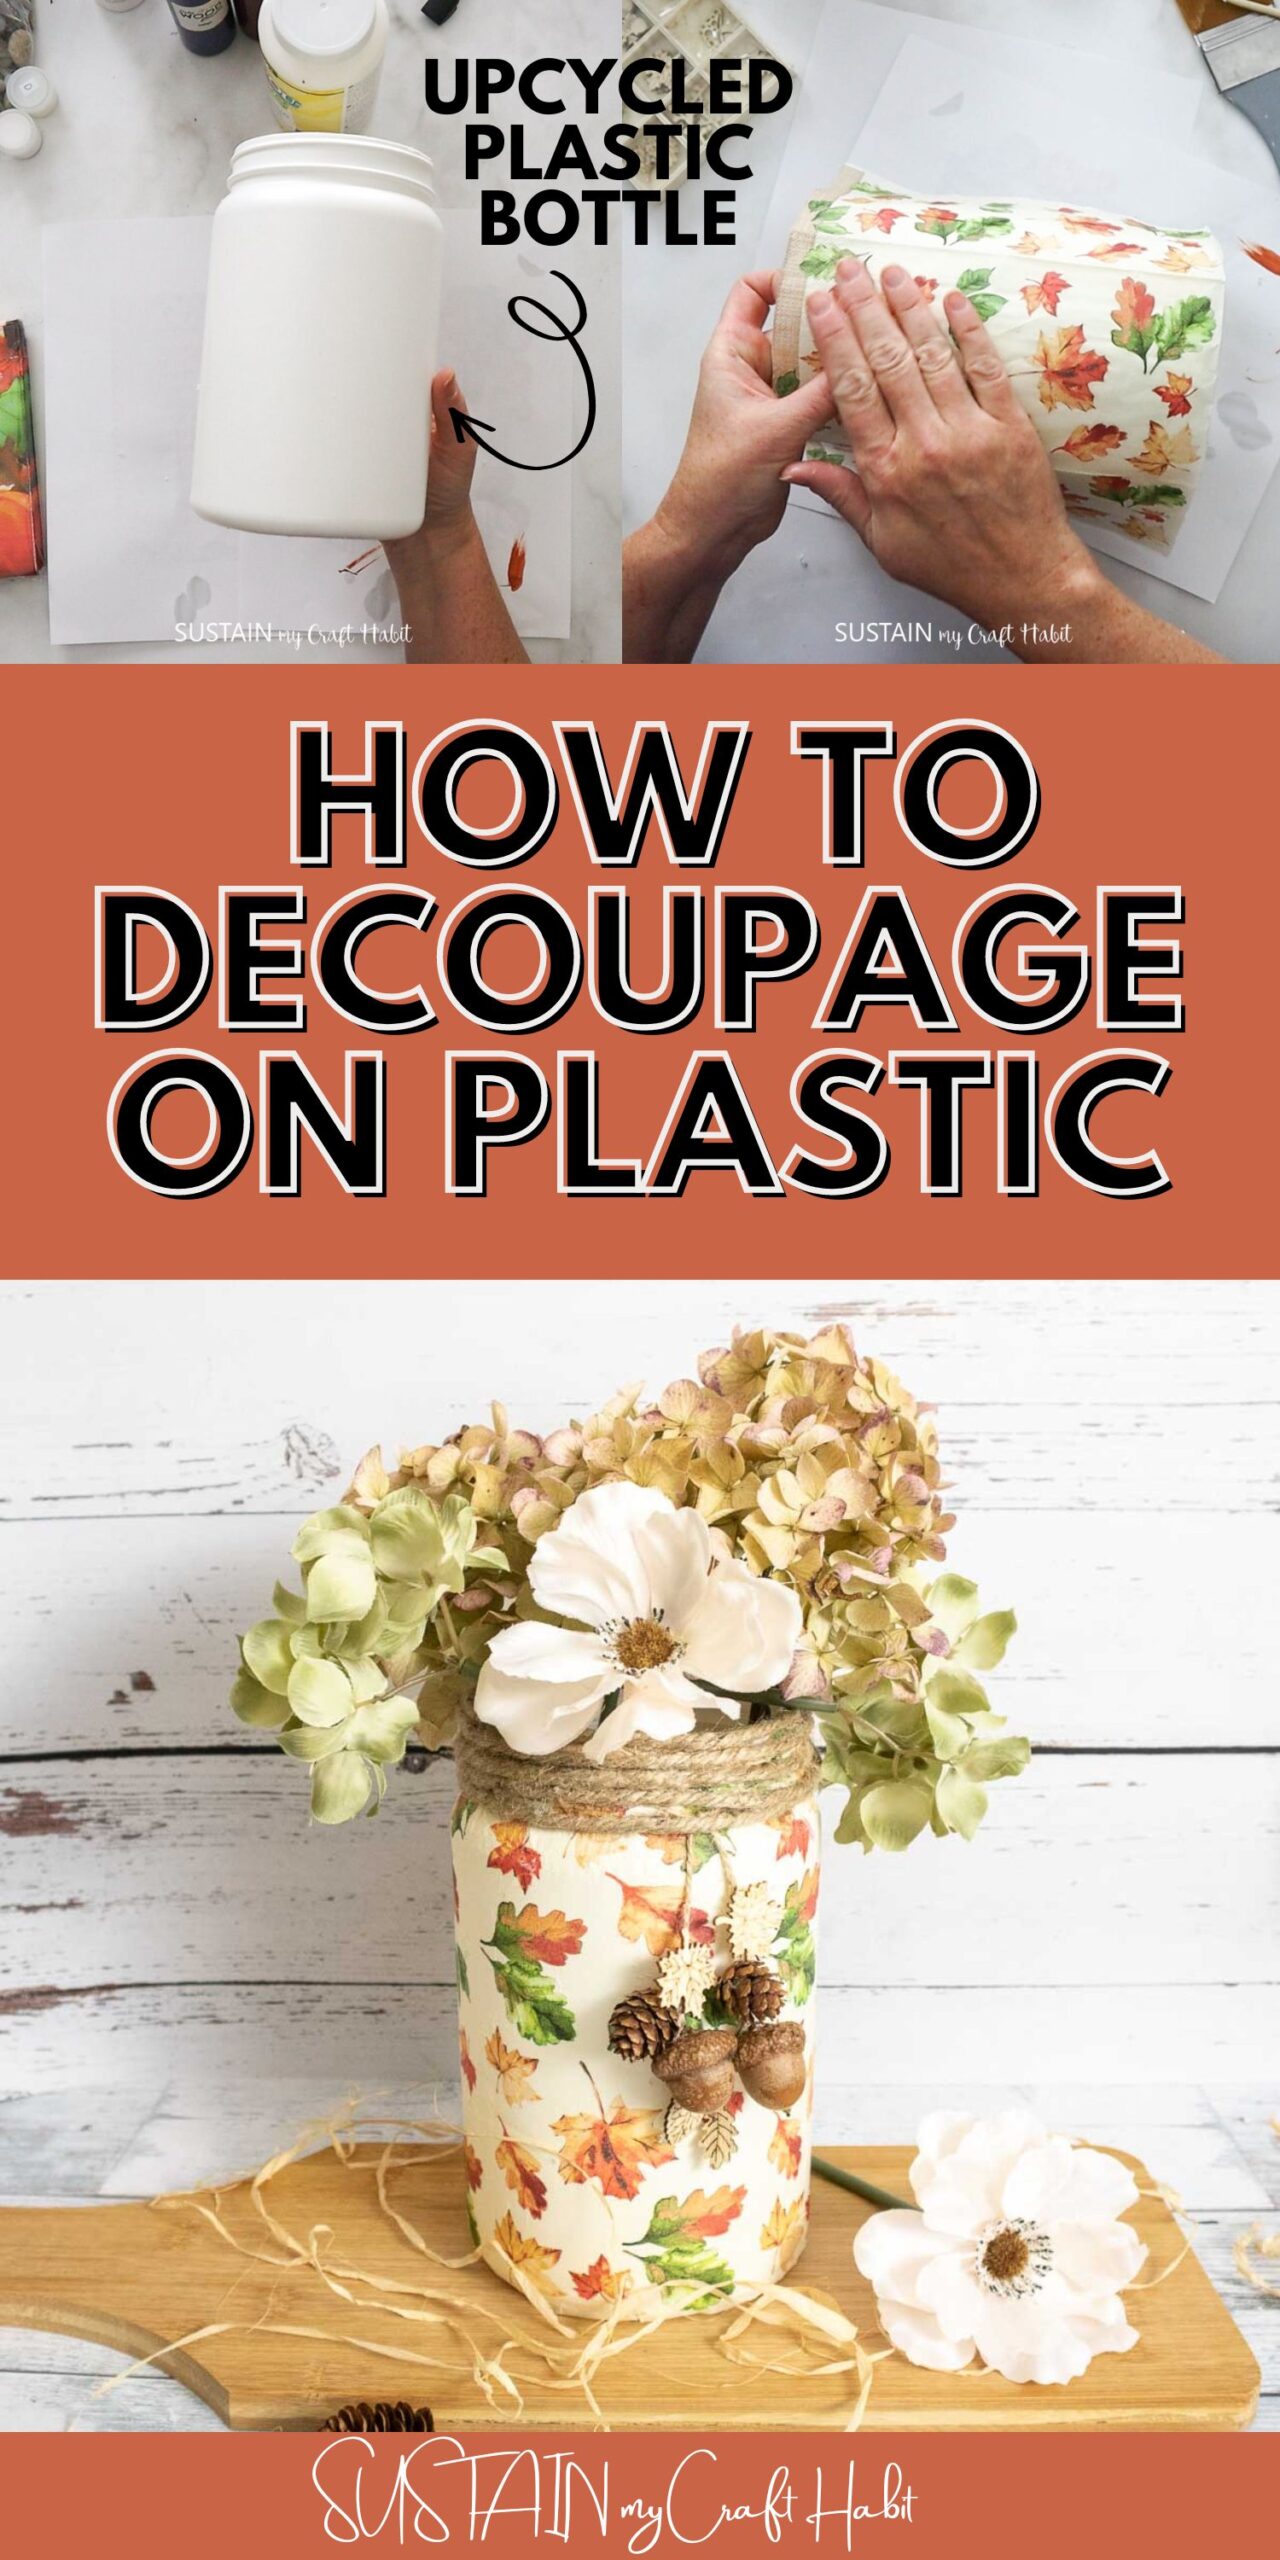
Thoroughly clean the inside and outside of the plastic canister and remove any labels. Using a blow dryer or heat gun can help to melt the adhesive on labels and take them off easier.
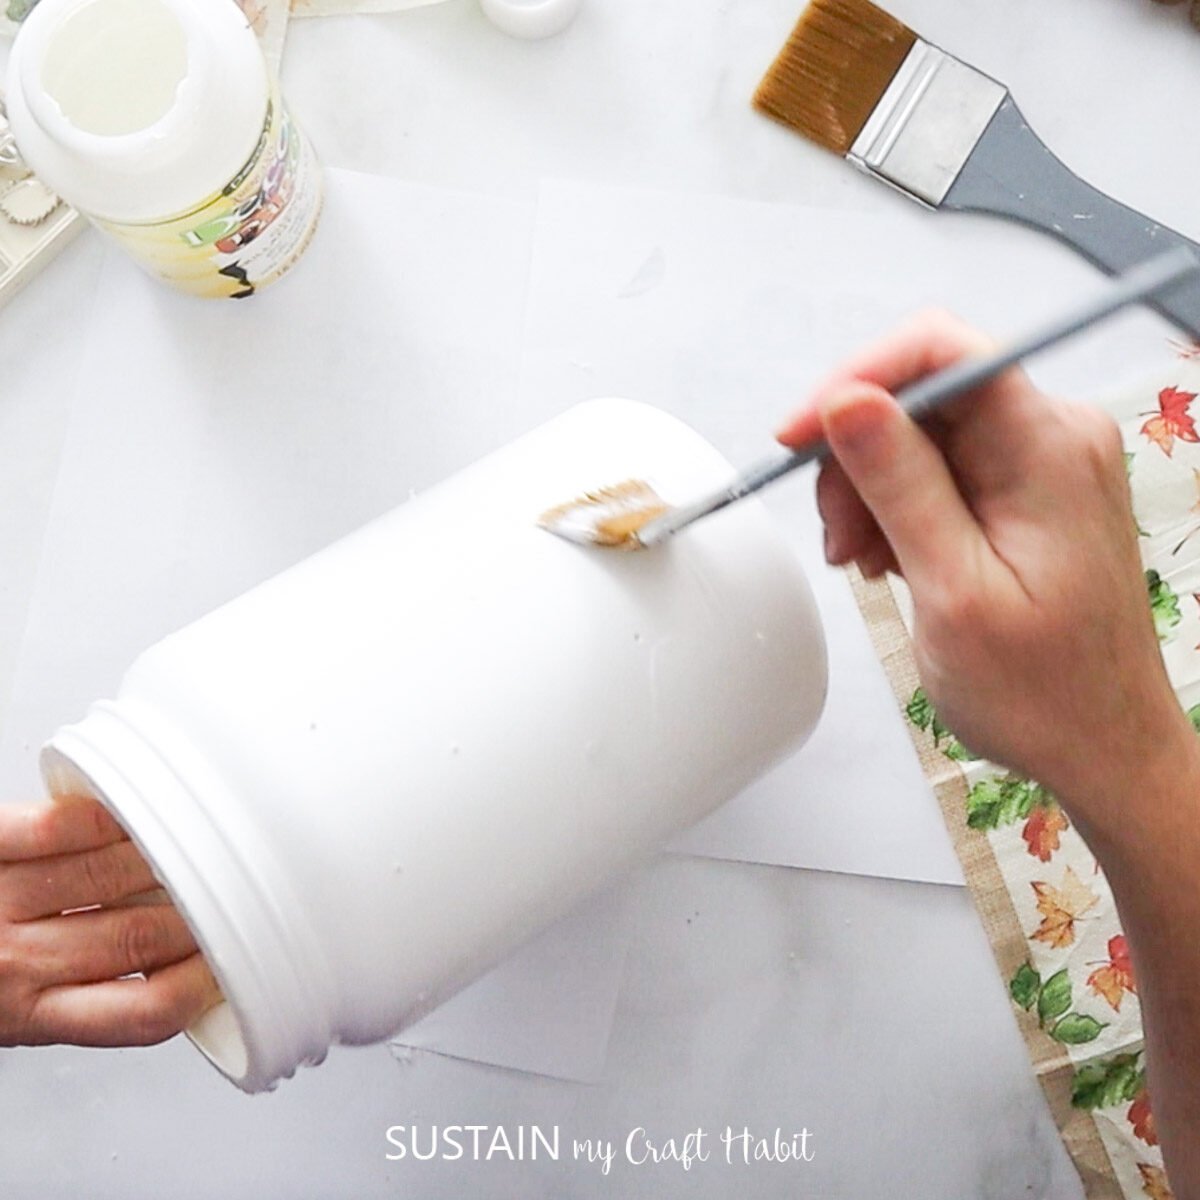
Apply a thin layer of Mod Podge all over the plastic container. Wait for the glue to dry completely.
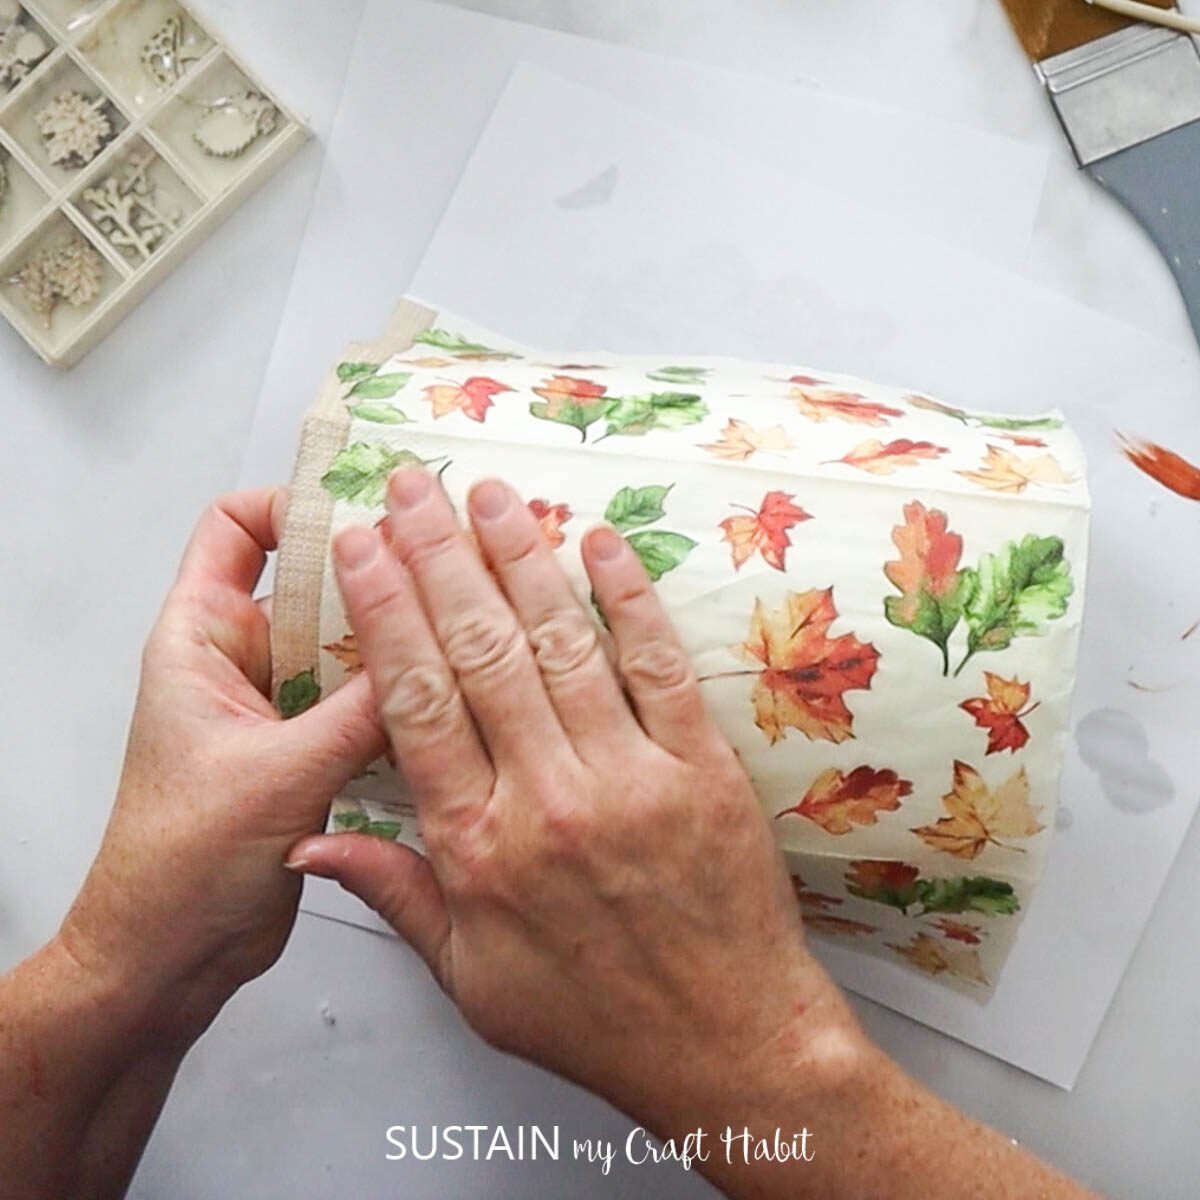
In the meantime, prepare the printed paper napkins by removing additional ply layers leaving just the one printed layer.
Place the napkin on top of the glued container and gently press down with your fingers.

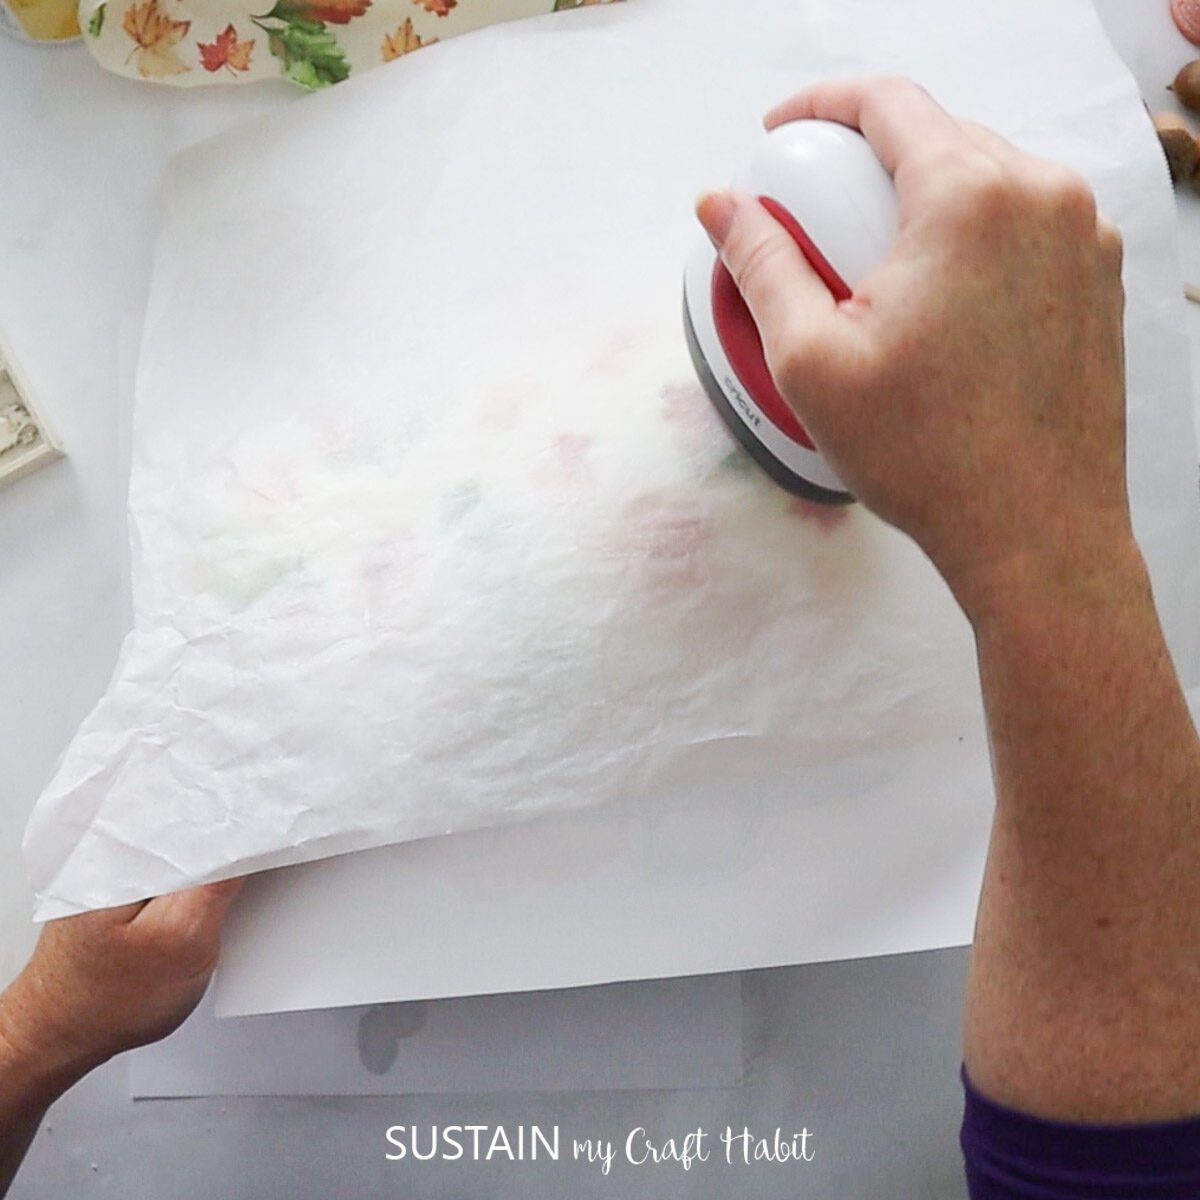
Place a piece of parchment paper overtop of the glued napkin and take your heated iron and gently rub back and forth. Since you’re ironing on plastic don’t hold the iron on any one are for too long or it may melt the plastic.
Repeat around the entire canister.
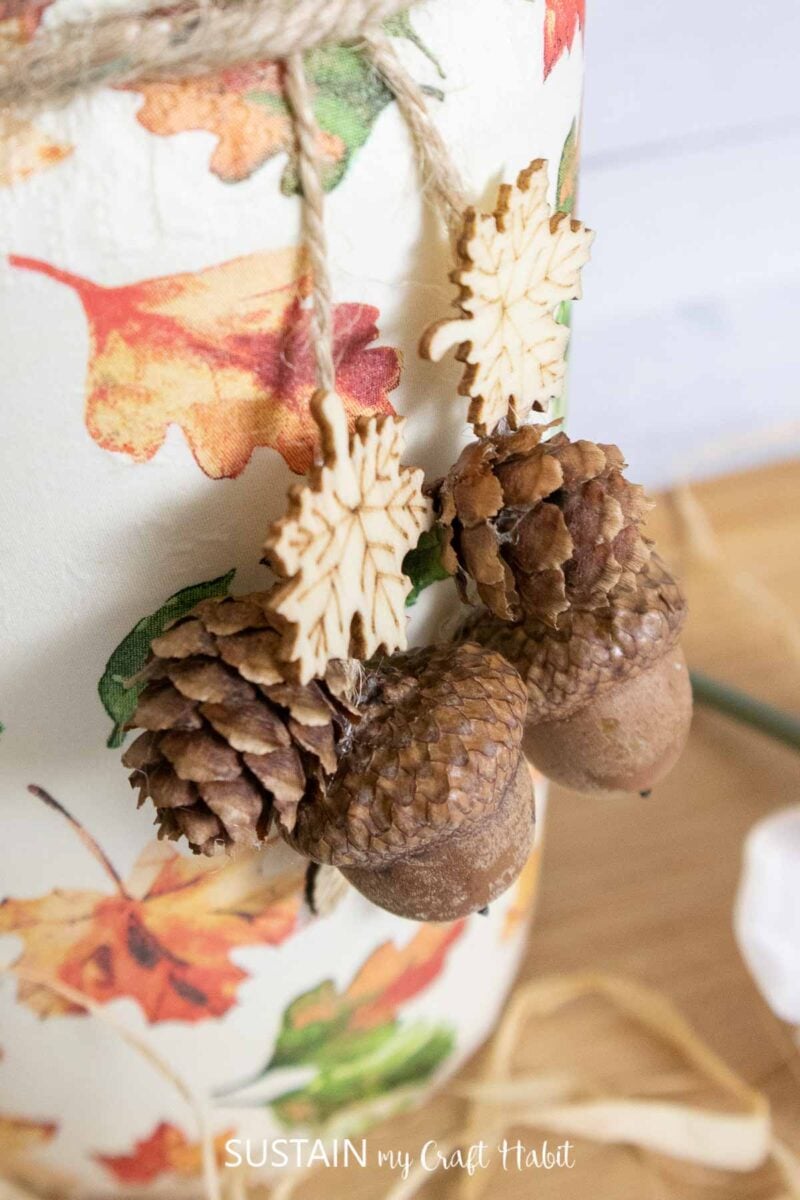
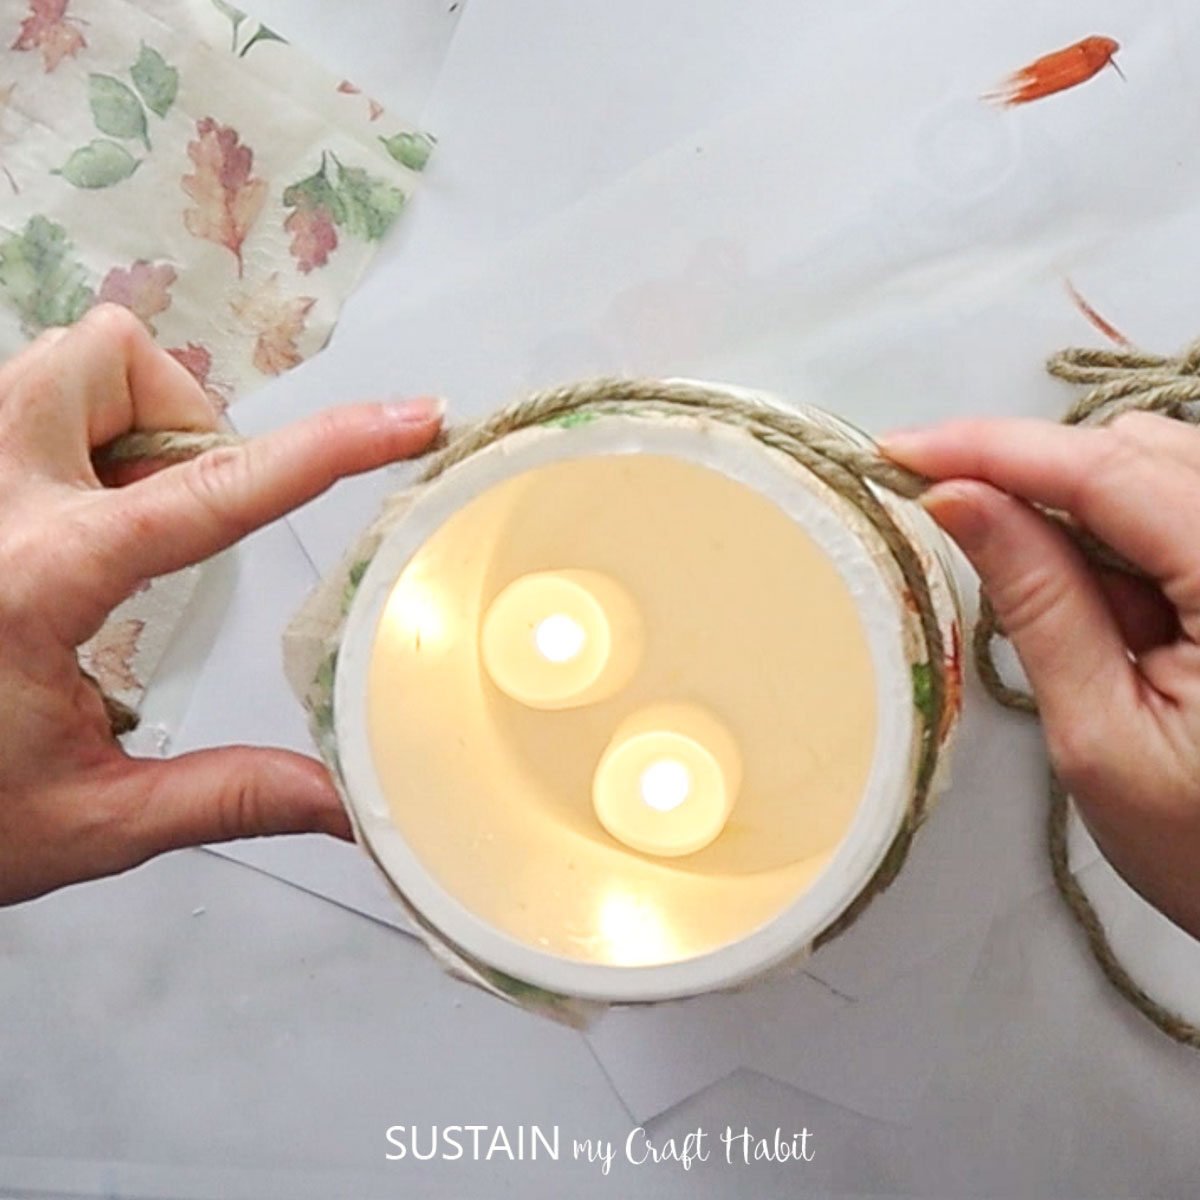
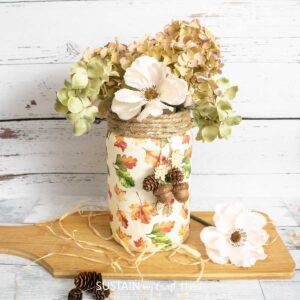
To finish the luminary, wrap twine around the top of the container and hang pinecones or other embellishments from the twine.
Add a few flameless votive candles to the inside of the container.
Add some dried flowers and your luminary is ready!
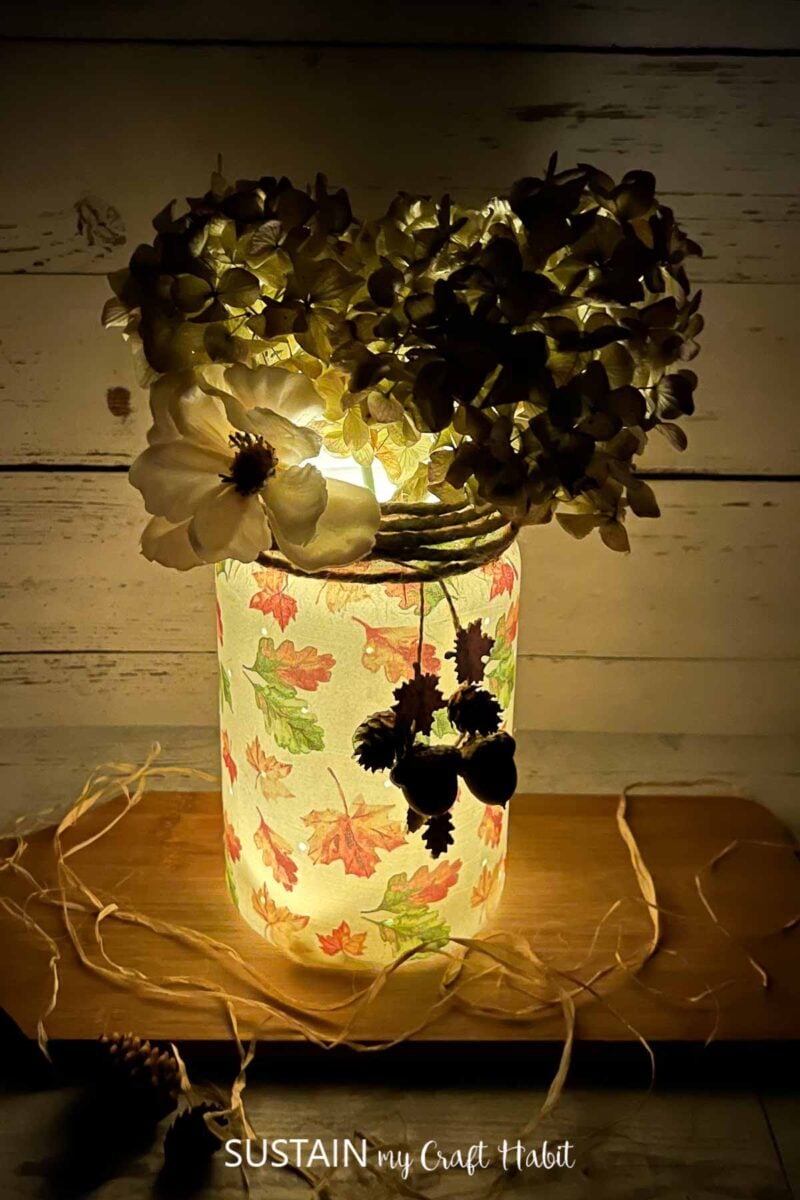
We absolutely love the glow at night, but also the decoupaged plastic surface looks beautiful in the daylight. The best part is that you can create budget-friendly decor for every season using just different napkin designs!
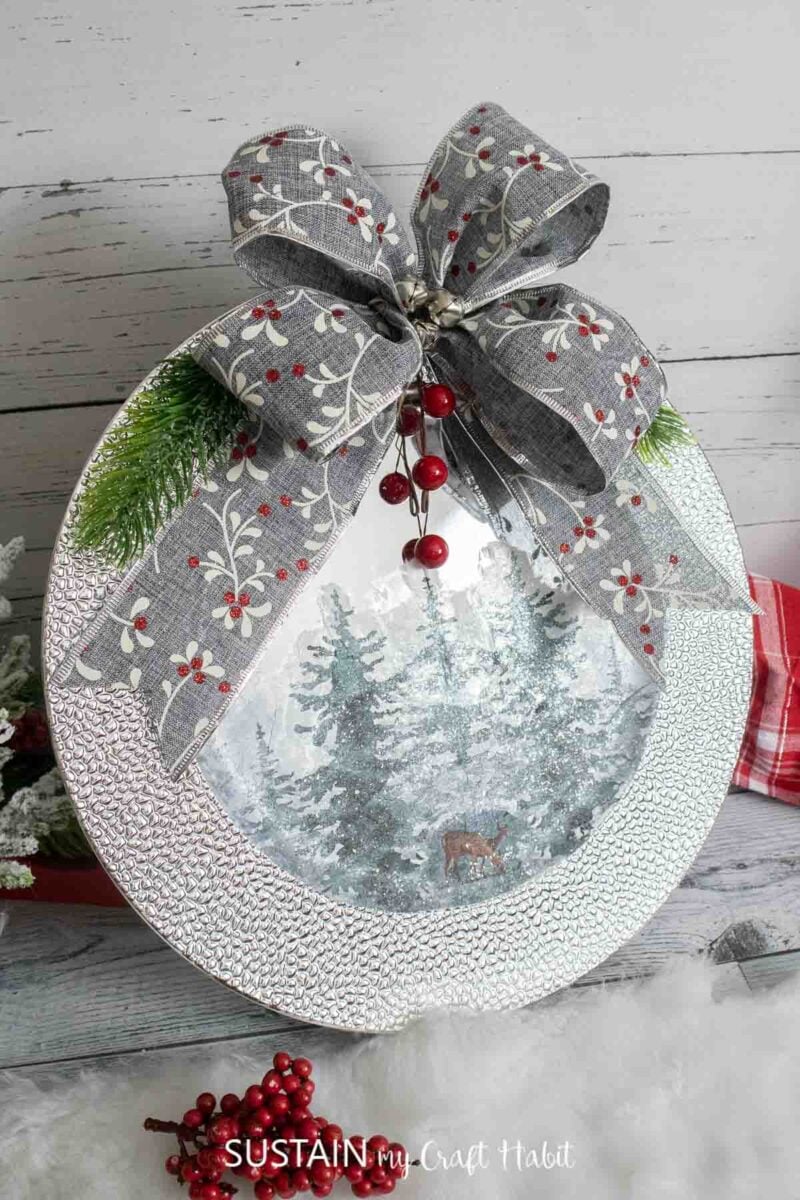
One of our favorite plastic surfaces to decoupage are charger plates! They’re readily available at the thrift or dollar store and make beautiful backdrops for decoupage creations. Which of these is your favorite?


More Decoupage Crafts
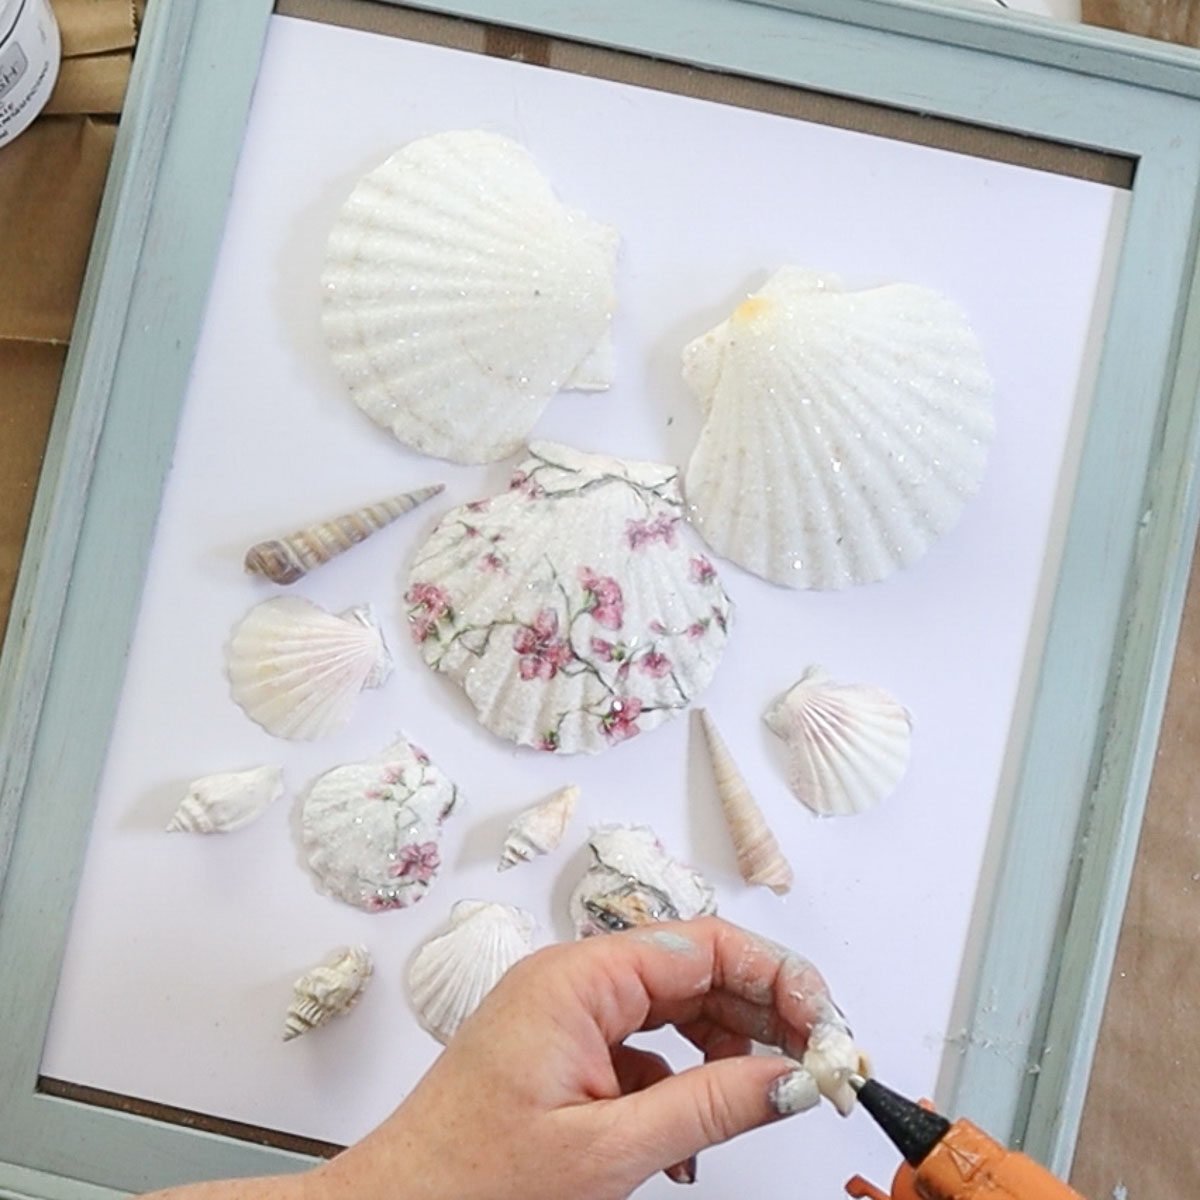
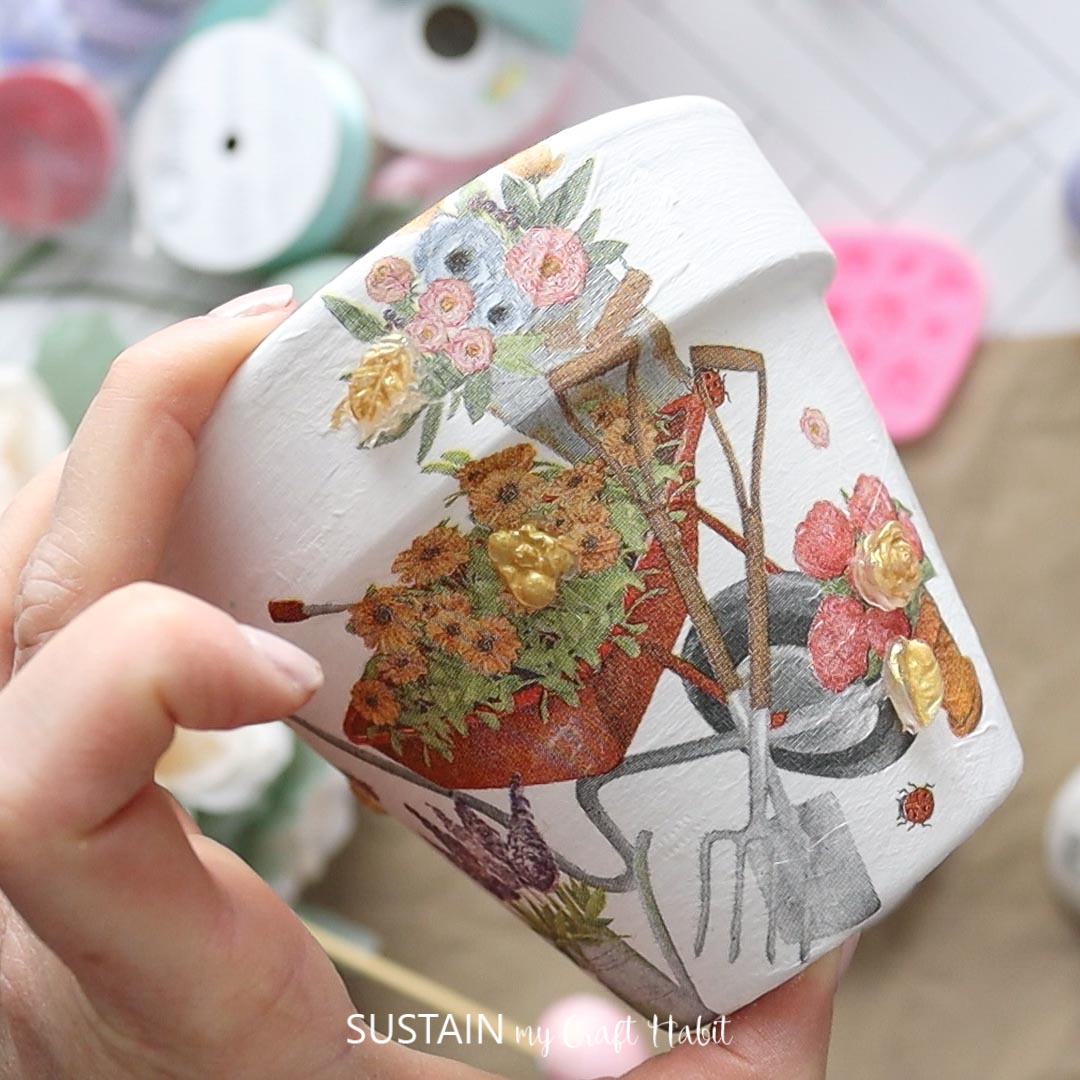
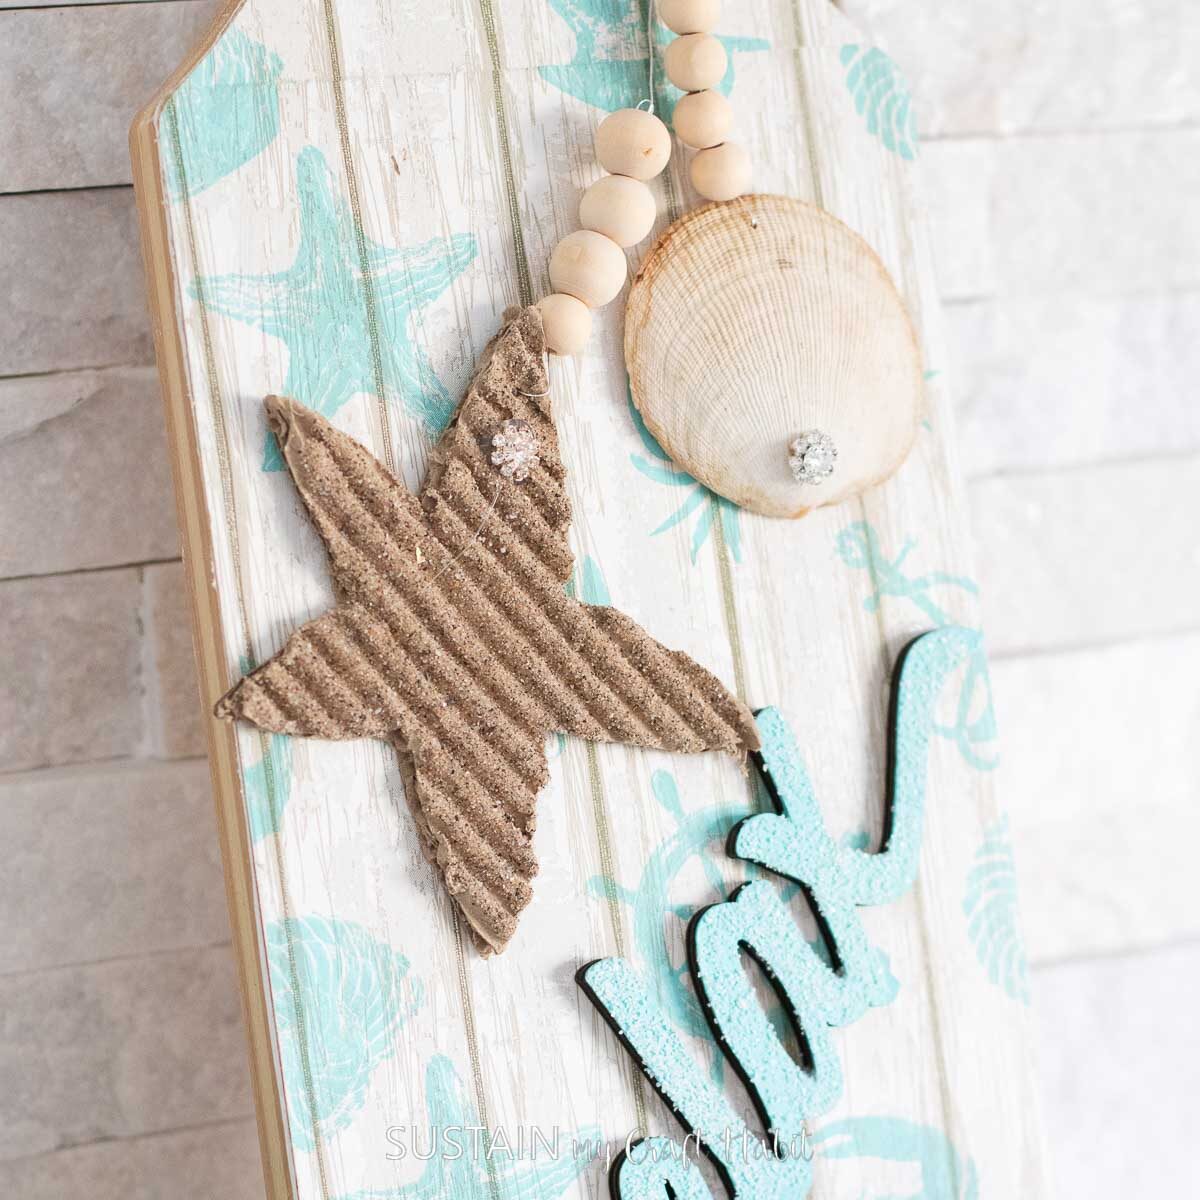
Did you know that you can decoupage on wood, metal, clay pots, glass and even seashells? Check out some of these DIY projects:
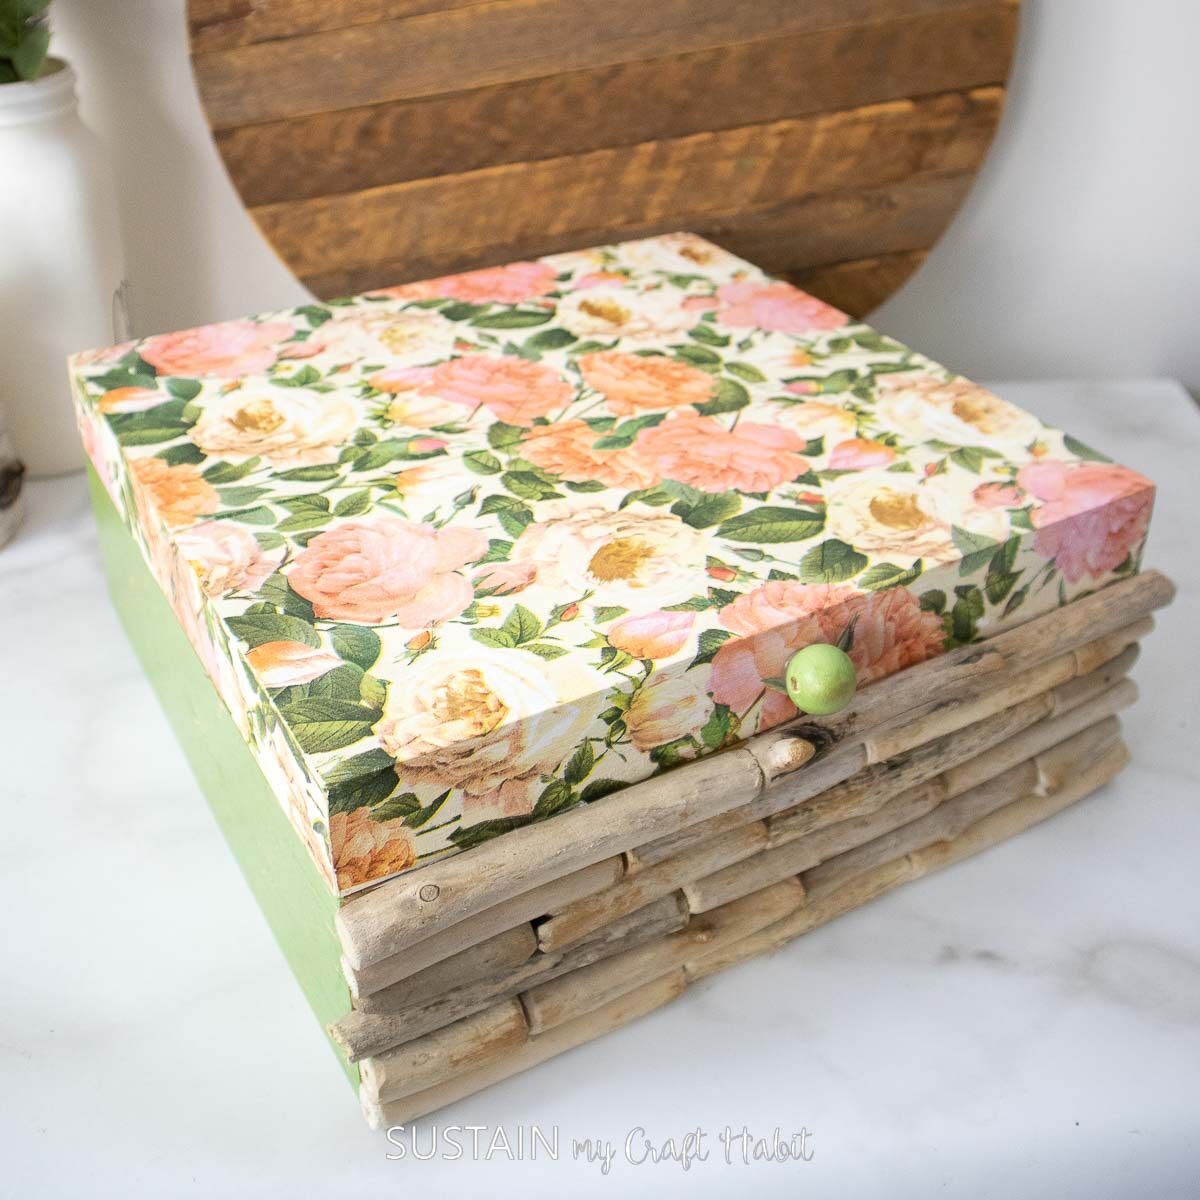
- Decoupage on Wood
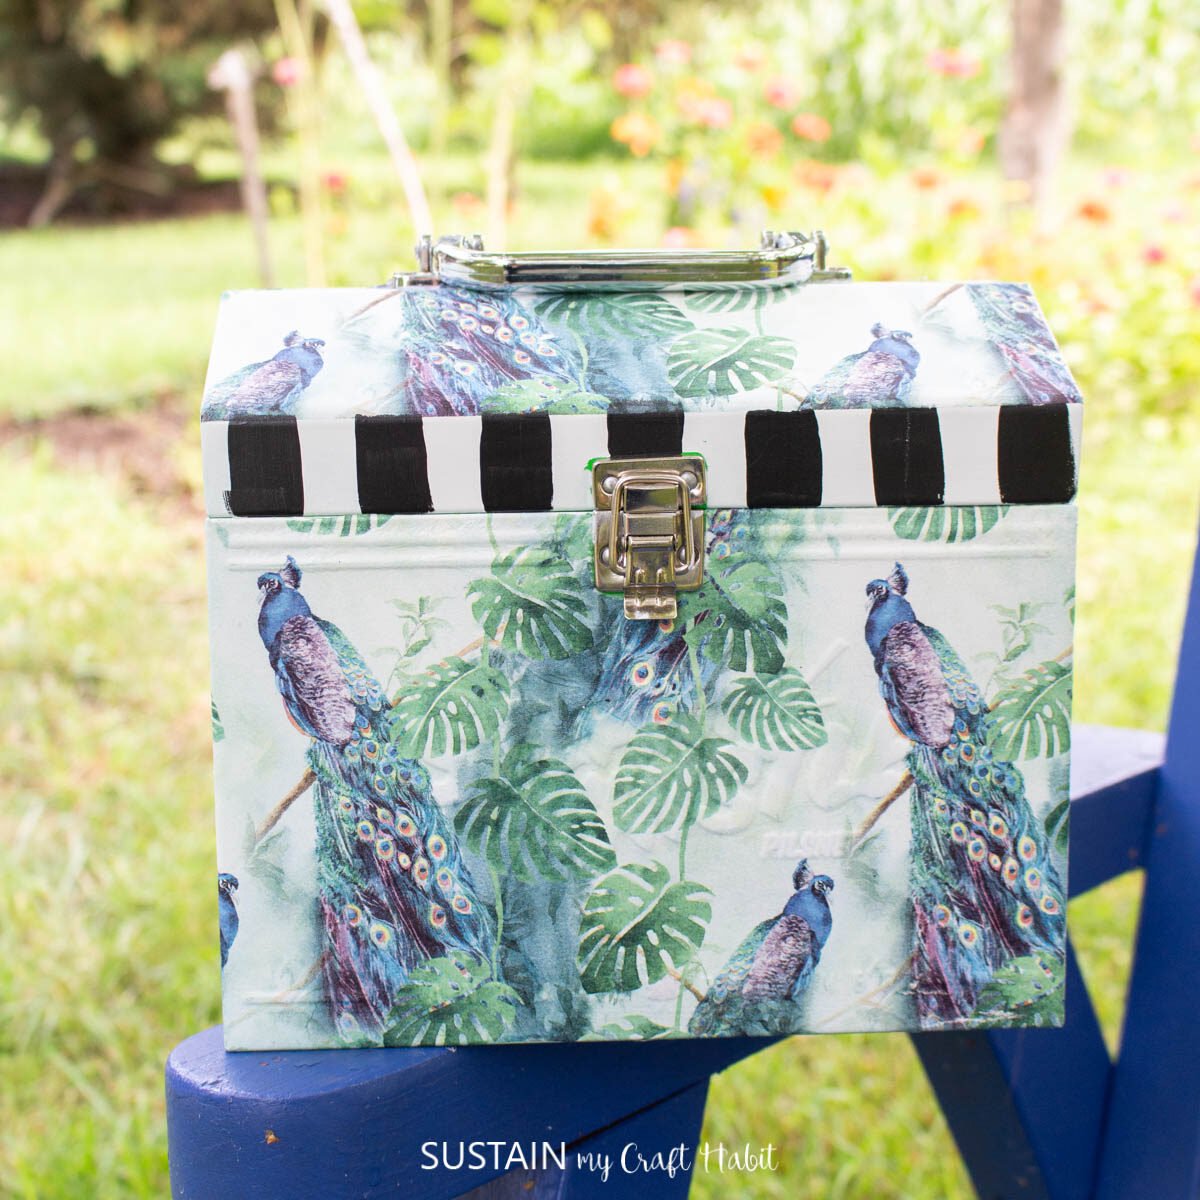
- Upcycled Metal Seed Packet Box
- Lovely Decoupage Seashells
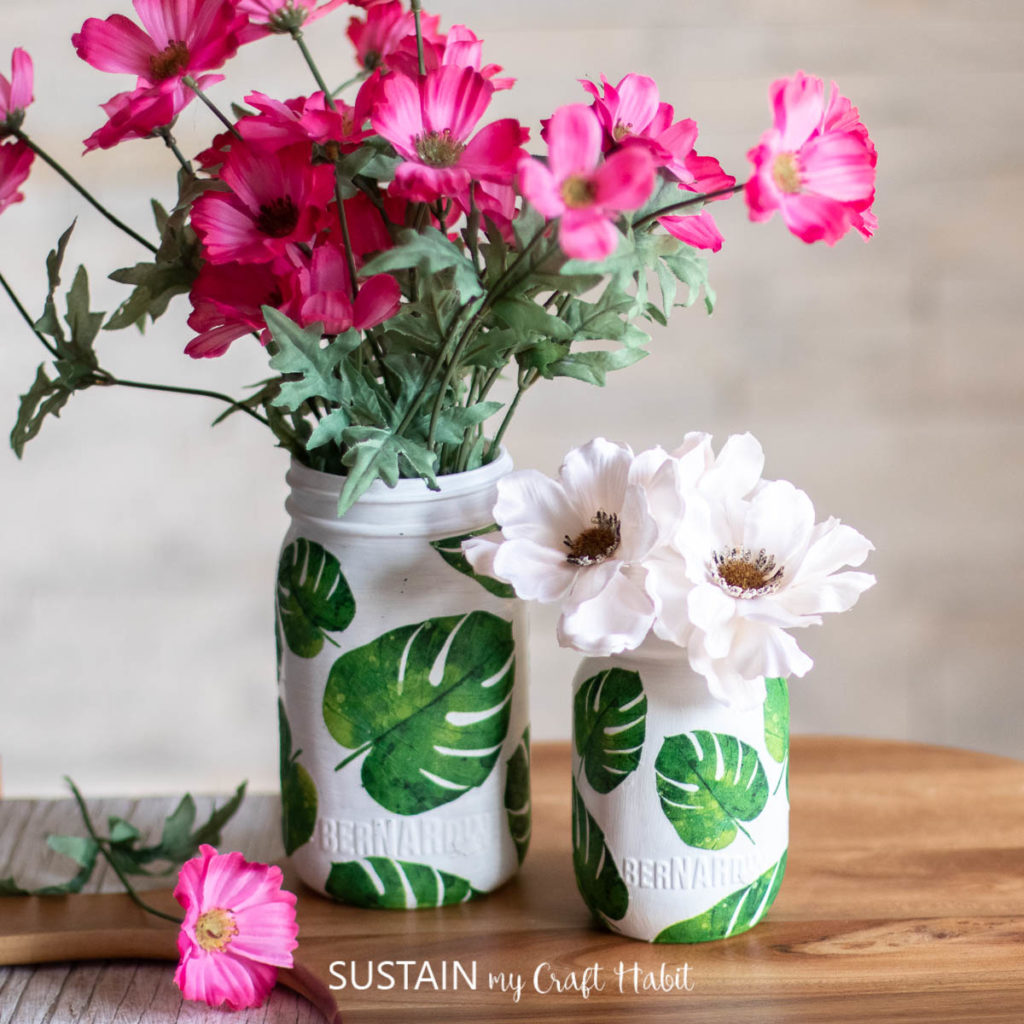
- Decoupage Napkins onto Glass Jars
- Paper Napkin Decoupage on Clay Pots
- Decoupage a Dollar Store Cutting Board Craft

Decoupage on Wood Upcycled Metal Box Seed Storage Decoupage Seashells 
Glass Jars 
Decoupage Clay Pot Decoupage Cutting Board
There you have it! That is how you can Mod Podge on plastic. How did yours turn out? No matter if it is your first time trying or you have tried multiple times, we would love to see your progress or your finished product. The best way to do this is to tag us on Tag us on Facebook or Instagram. We cannot wait to see it!
Become a Sustain My Craft Habit insider to receive fun freebies!
Like it? Pin it for later!
How to Mod Podge on Plastic
Materials
- Plastic container
- Napkins
- Mod Podge
- Paint brushes
- Flameless candles
- Dremel tool
- Mini iron and parchment paper
- Twine
- Dried flowers
- Scissors
Instructions
- Using a dremel tool to drill holes around the container.
- Apply a thin layer of Mod Podge all over the plastic container. Wait for the glue to slightly dry.
- In the meantime, prepare the printed paper napkins by removing additional ply layers leaving just the one printed layer.
- Place the napkin on top of the glued container and gently press down with your fingers.
- Place a piece of parchment paper overtop of the glued napkin and take your heated iron and gently rub back and forth.
- Wrap twine around the top of the container and hang pinecones or other embellishments from the twine.
- Add a few votive candles to the inside of the container and some dried flowers and your luminary is ready!
How do you modpodge sheer fabric onto plastic please? Thanks.
Hi Kate. I haven’t done it before but I think this iron-on method would be the best way. Follow the same steps as above. Just make sure your iron isn’t too hot – depending on the material of your fabric (ie. polyester) it could melt if the temperature is too high. Can you practice with a piece first?
-Jane
What is the purpose of drilling the holes in the plastic?
I thought it would look nicer for the lights to shine through. That was the only reason. -Jane