How to Sew a Double Bow
This tutorial walks you through how to sew a double bow step-by-step, using simple tools and scraps you may already have.
Sewing a double bow is one of those small projects that feels far more impressive than the time it takes. If you’ve ever struggled to get fabric bows to sit neatly, hold their shape, or look balanced from every angle, this method fixes that.
A sewn double bow gives you structure, symmetry, and a polished finish that works just as well on gifts as it does on home décor or accessories.
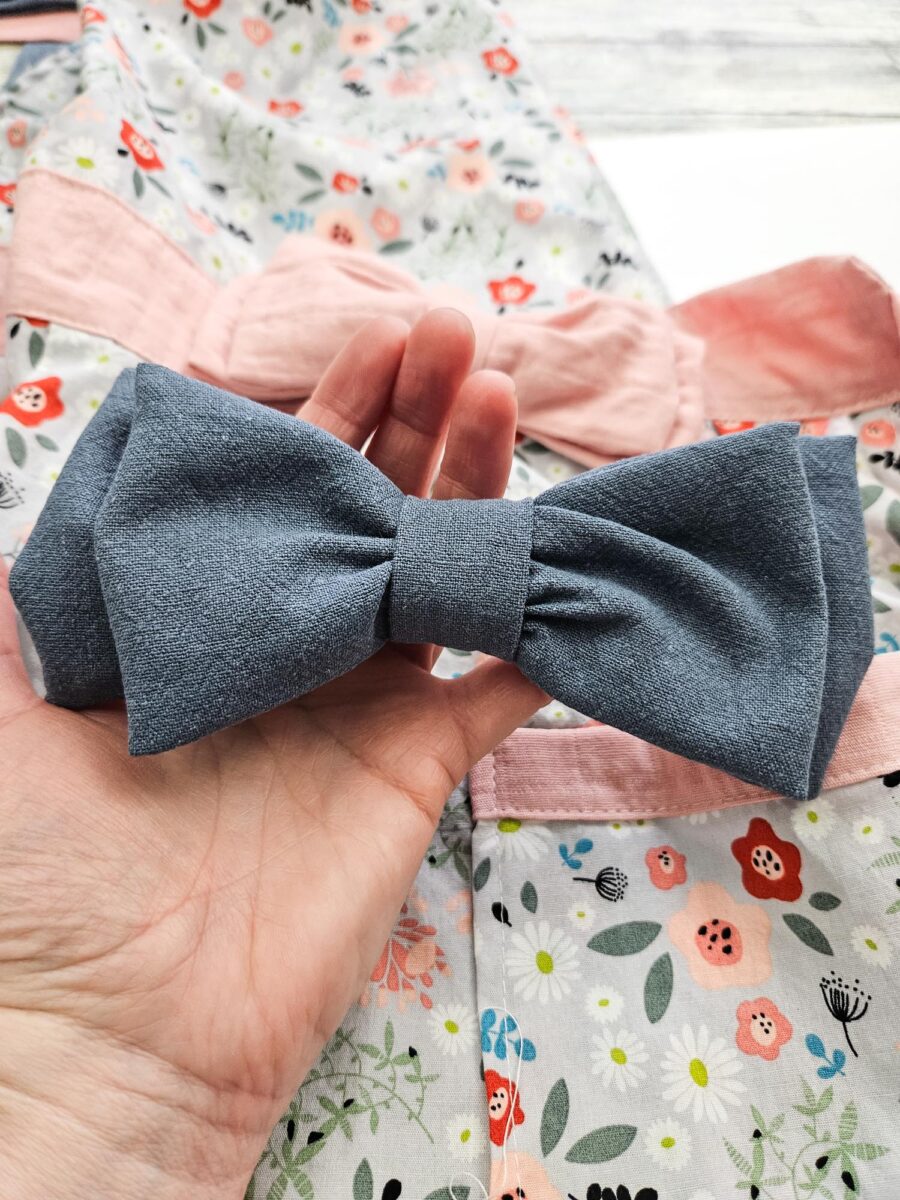
This tutorial walks you through how to sew a double bow step-by-step, using simple tools and scraps you may already have. It’s beginner-friendly, quick to repeat, and easy to adjust for different sizes. Once you’ve made one, you’ll find it hard to stop. Let’s get started!
Let’s stay in touch! Subscribe for our latest sewing patterns, tutorials and tips.
Why You’ll Love This Project
- Uses easy, inexpensive materials you likely already own
- Clear step-by-step sewing instructions with no tricky techniques
- Creates a full, layered look that holds its shape
- Works for décor, handmade gifts, hair accessories, and craft projects
- Simple to resize for small or oversized fabric bows
Materials Needed
You’ll need the following materials:
- Fabric, light to med weight woven
- Fabric scissors
- Thread
- Sewing machine
- Sewing needle
- Double bow pattern
How to Sew a Double Bow
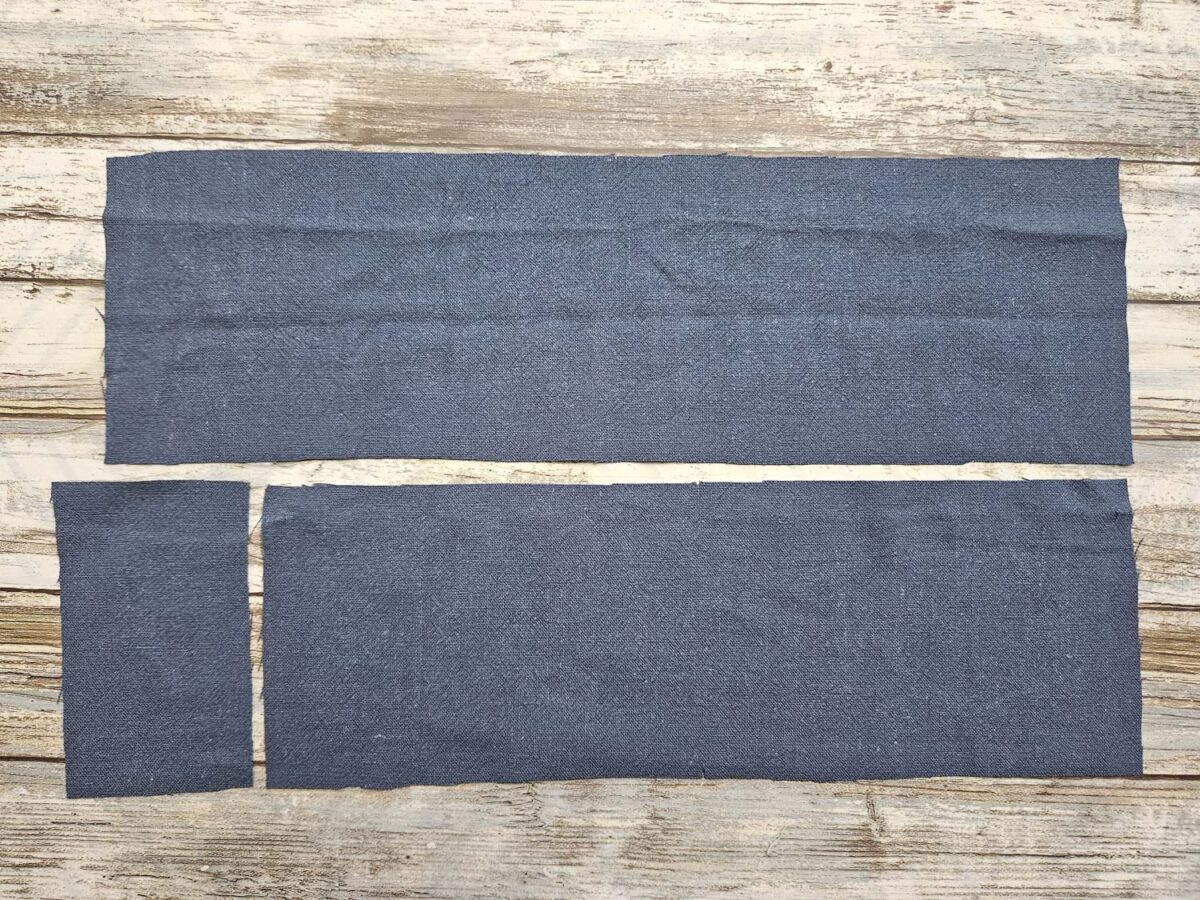
Cut out fabric using the double bow printable pattern or size guide.
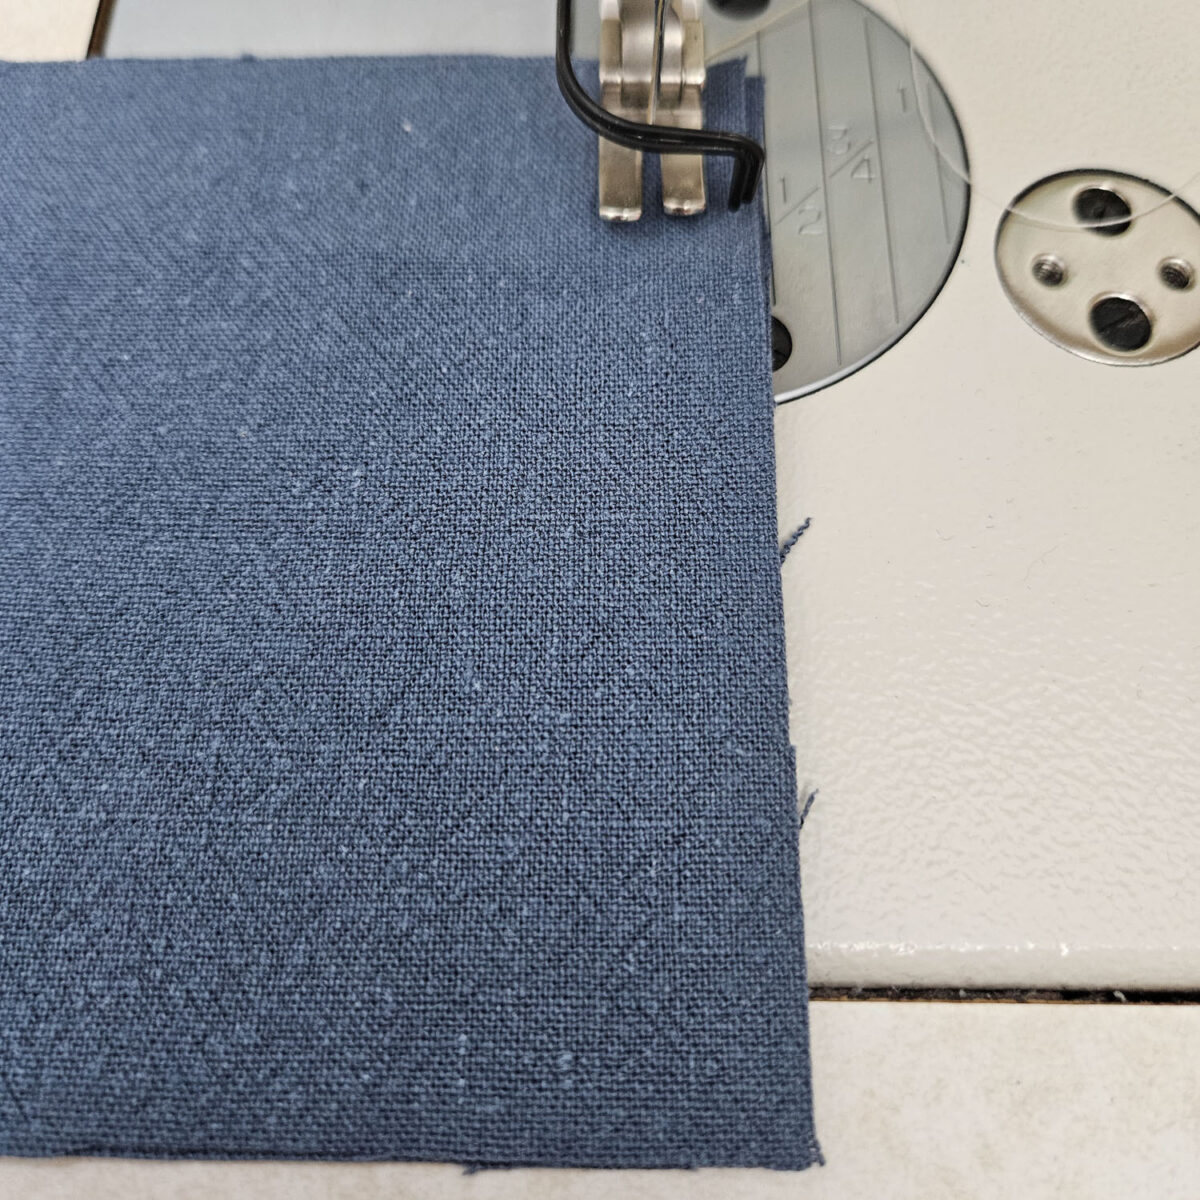
Fold BOW 1 piece in half with RIGHT sides together so the short ends are aligned. Stitch edges together with a ½” seam allowance, leaving a 2” gap in the middle, as shown.
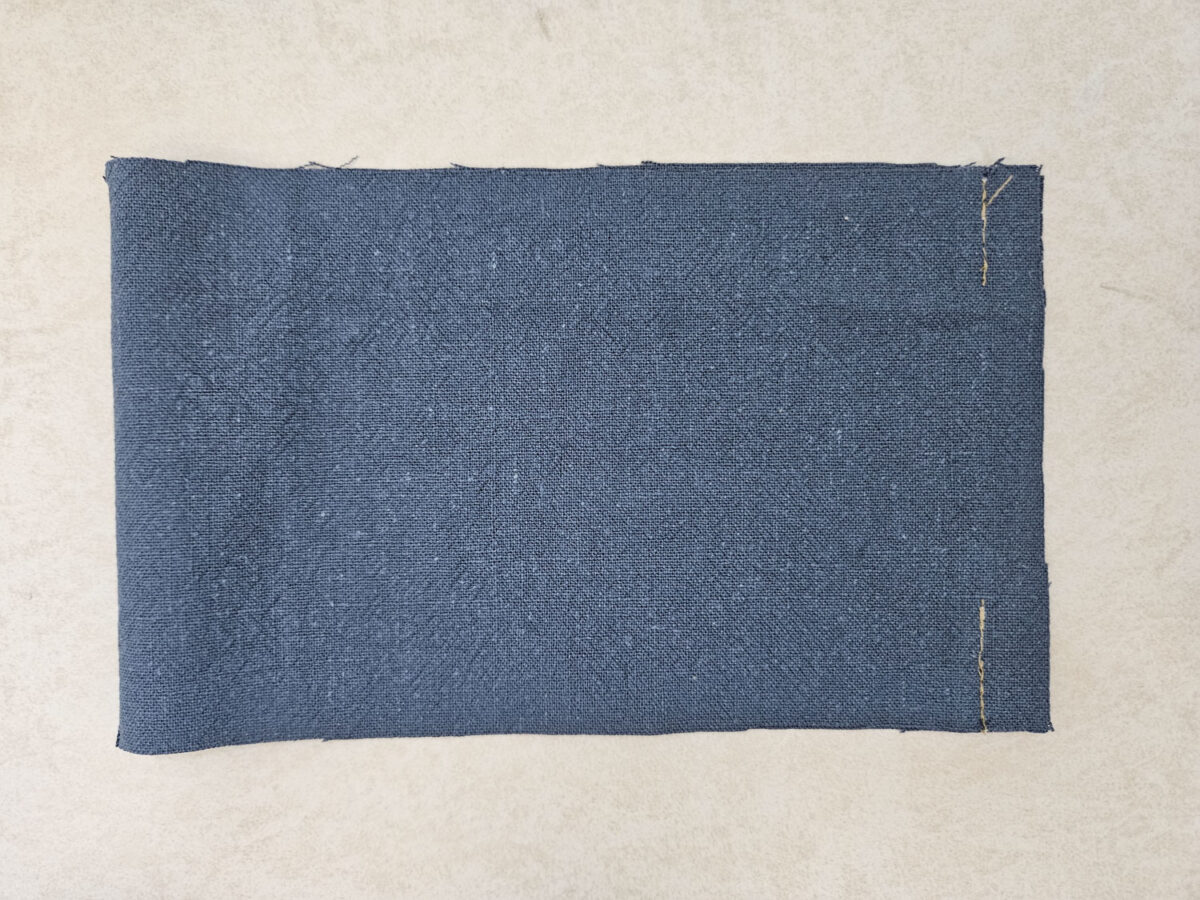
Press seam allowance open with an iron.
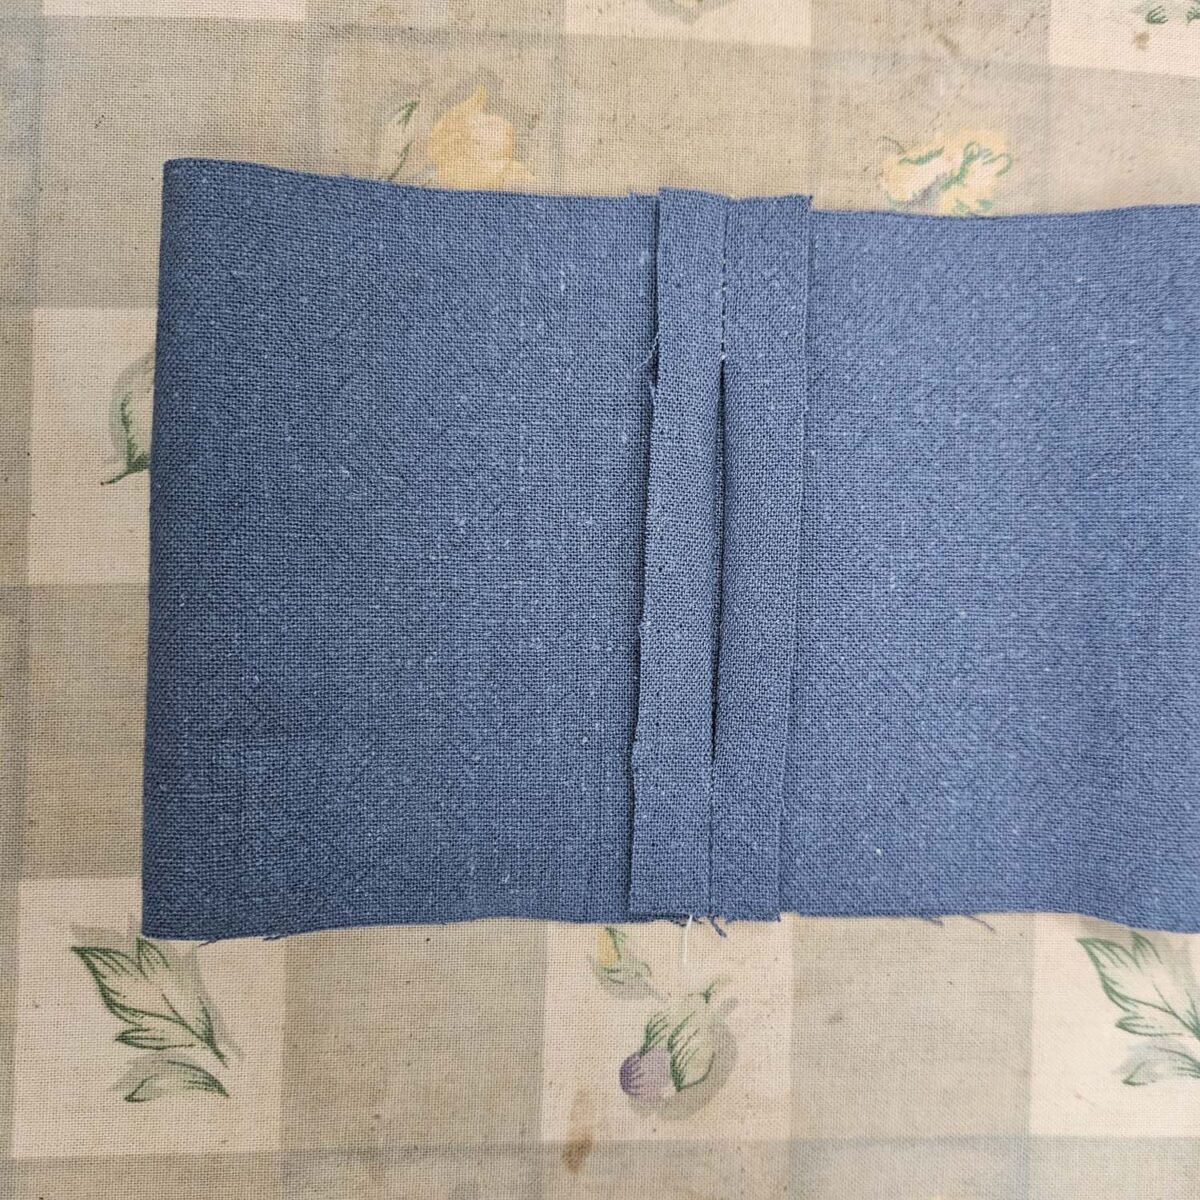
Align the seam with the single notch at the center (aligning at the top and bottom).
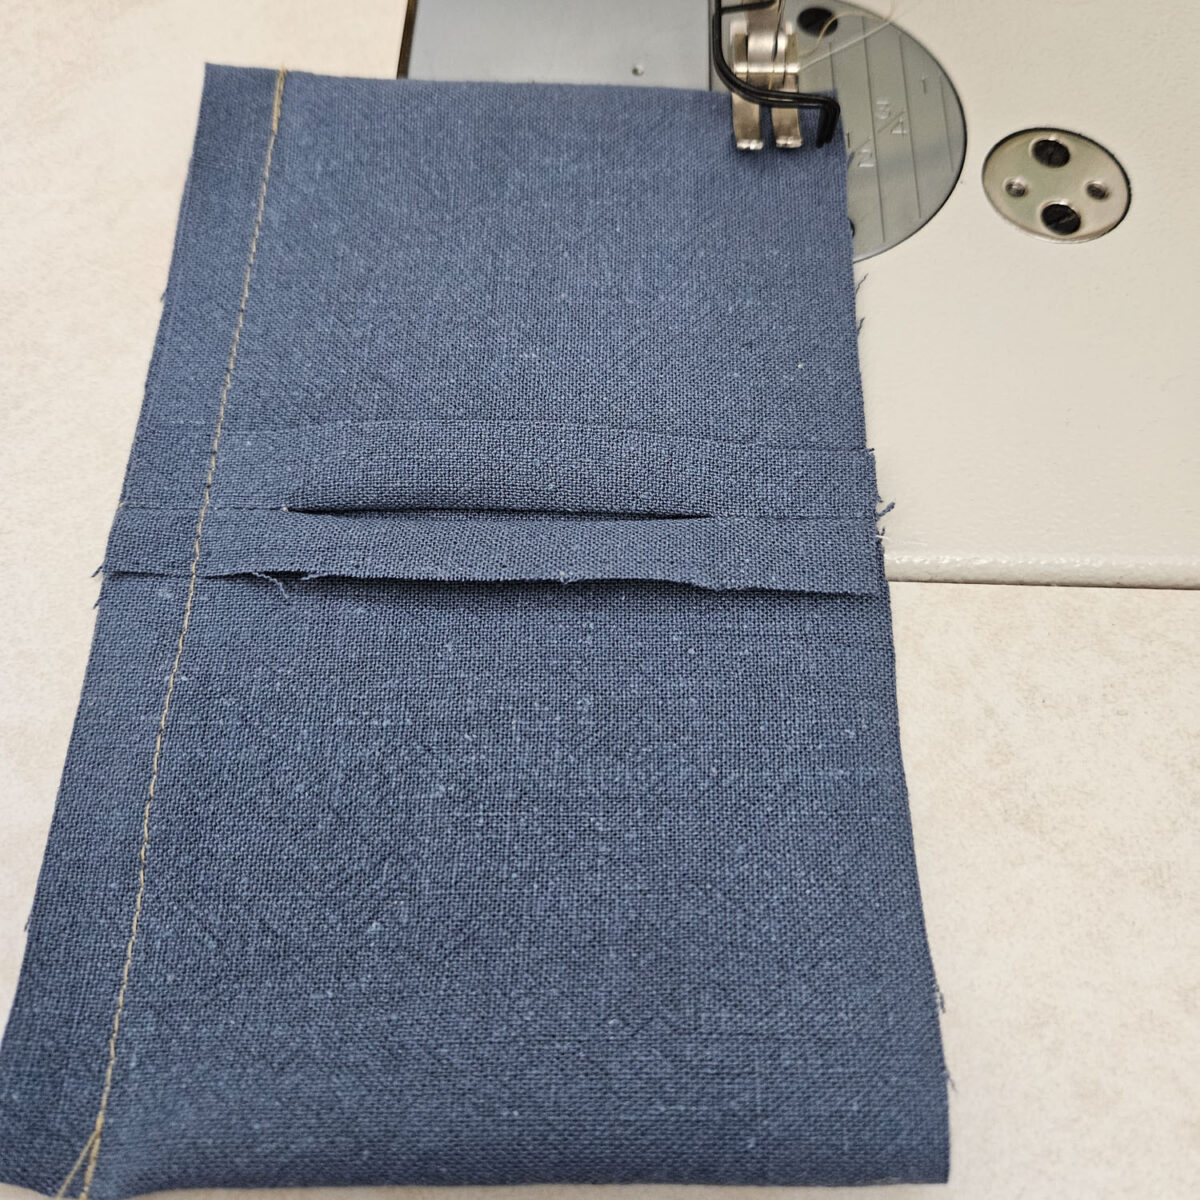
Sew top edges together with ½” seam allowance and then sew the bottom edges together with ½” seam allowance.
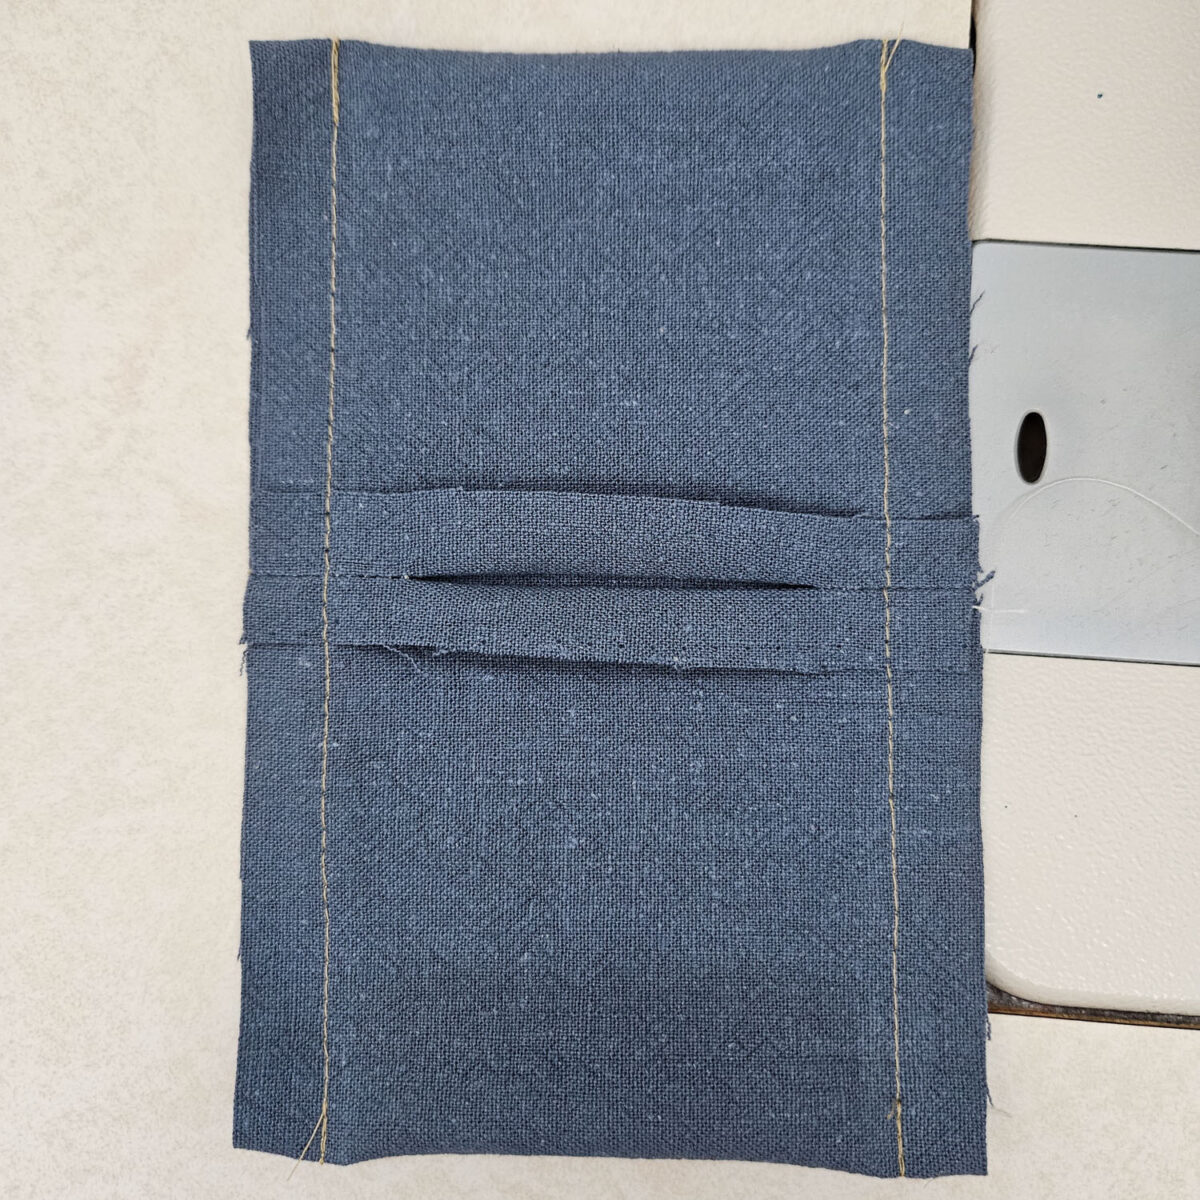
Clip corners to reduce bulk.
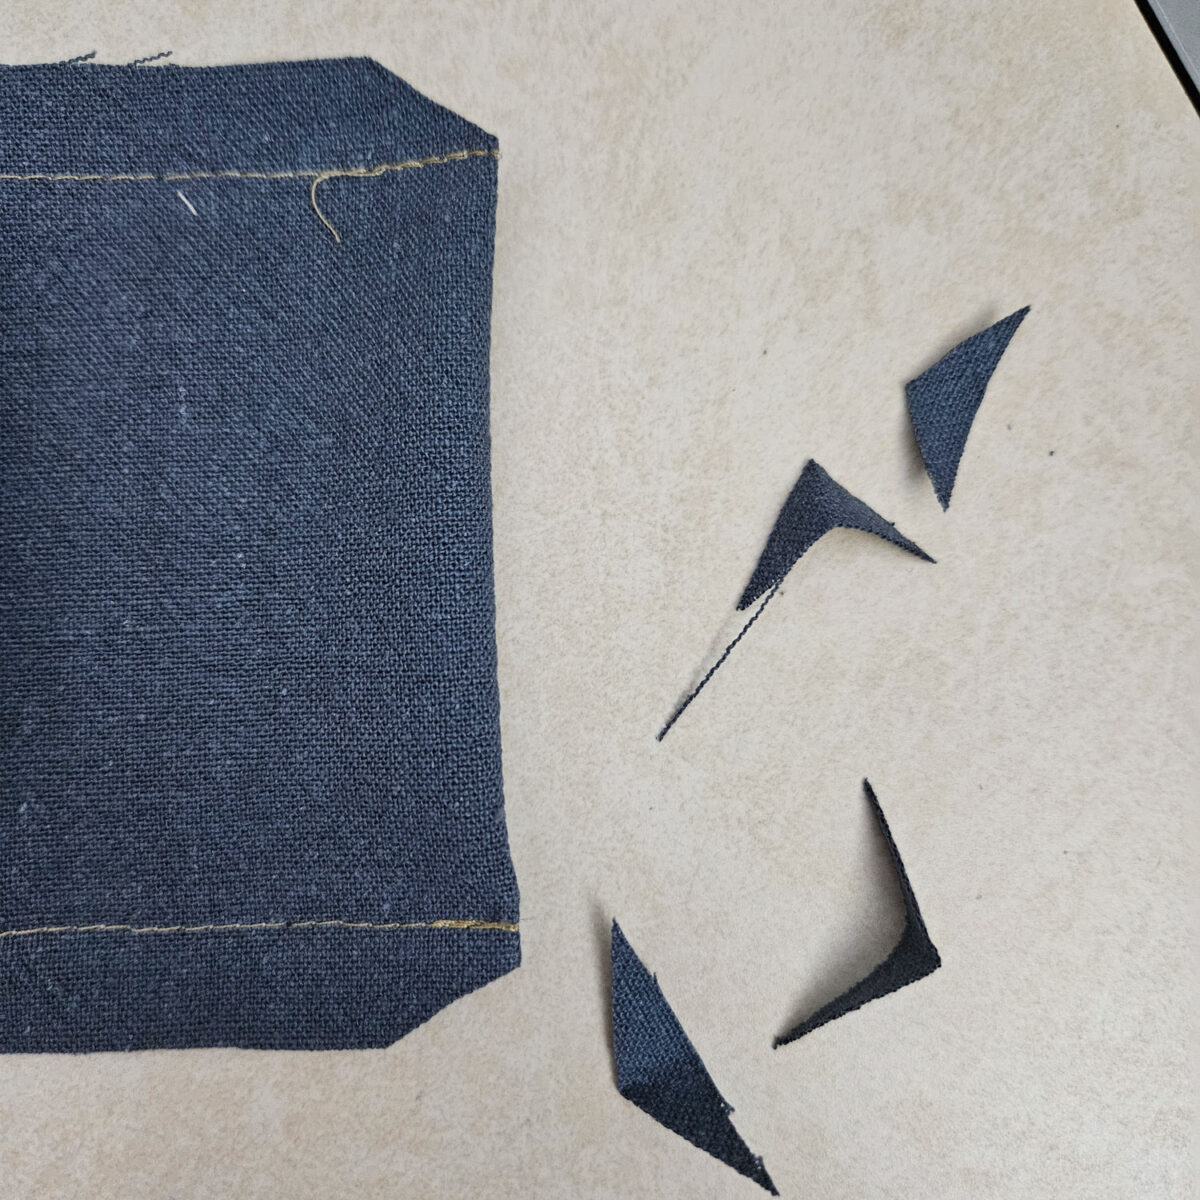
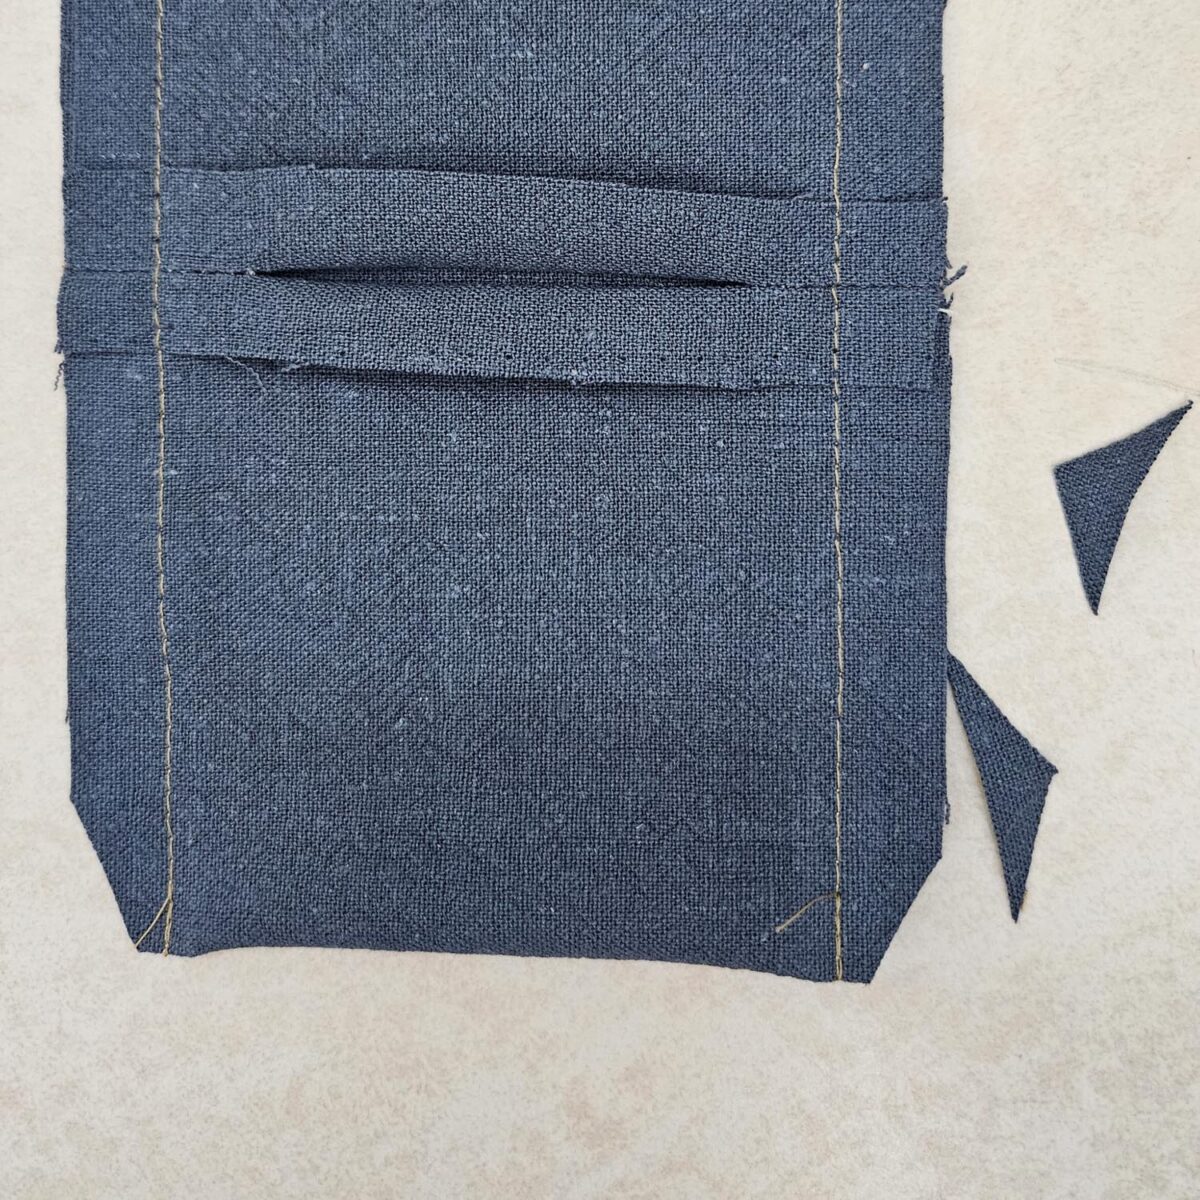
Turn the piece right side out.
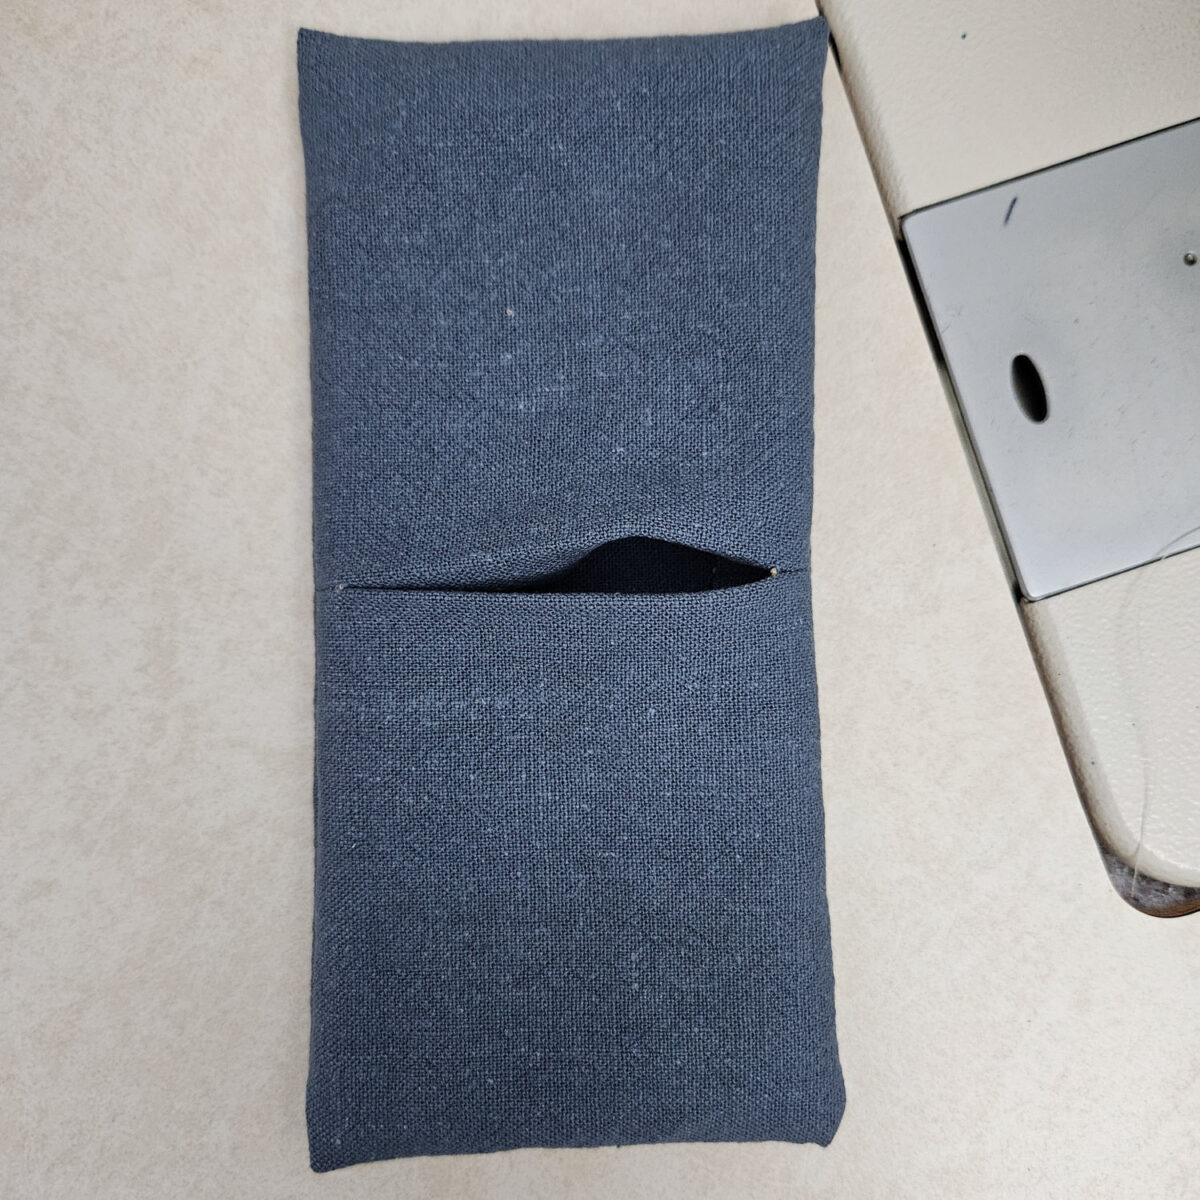
Repeat with BOW 2 piece.
For the CENTER LOOP piece, fold it in half with RIGHT sides together so the long ends are aligned.
Stitch edges together with a ¼” seam allowance.
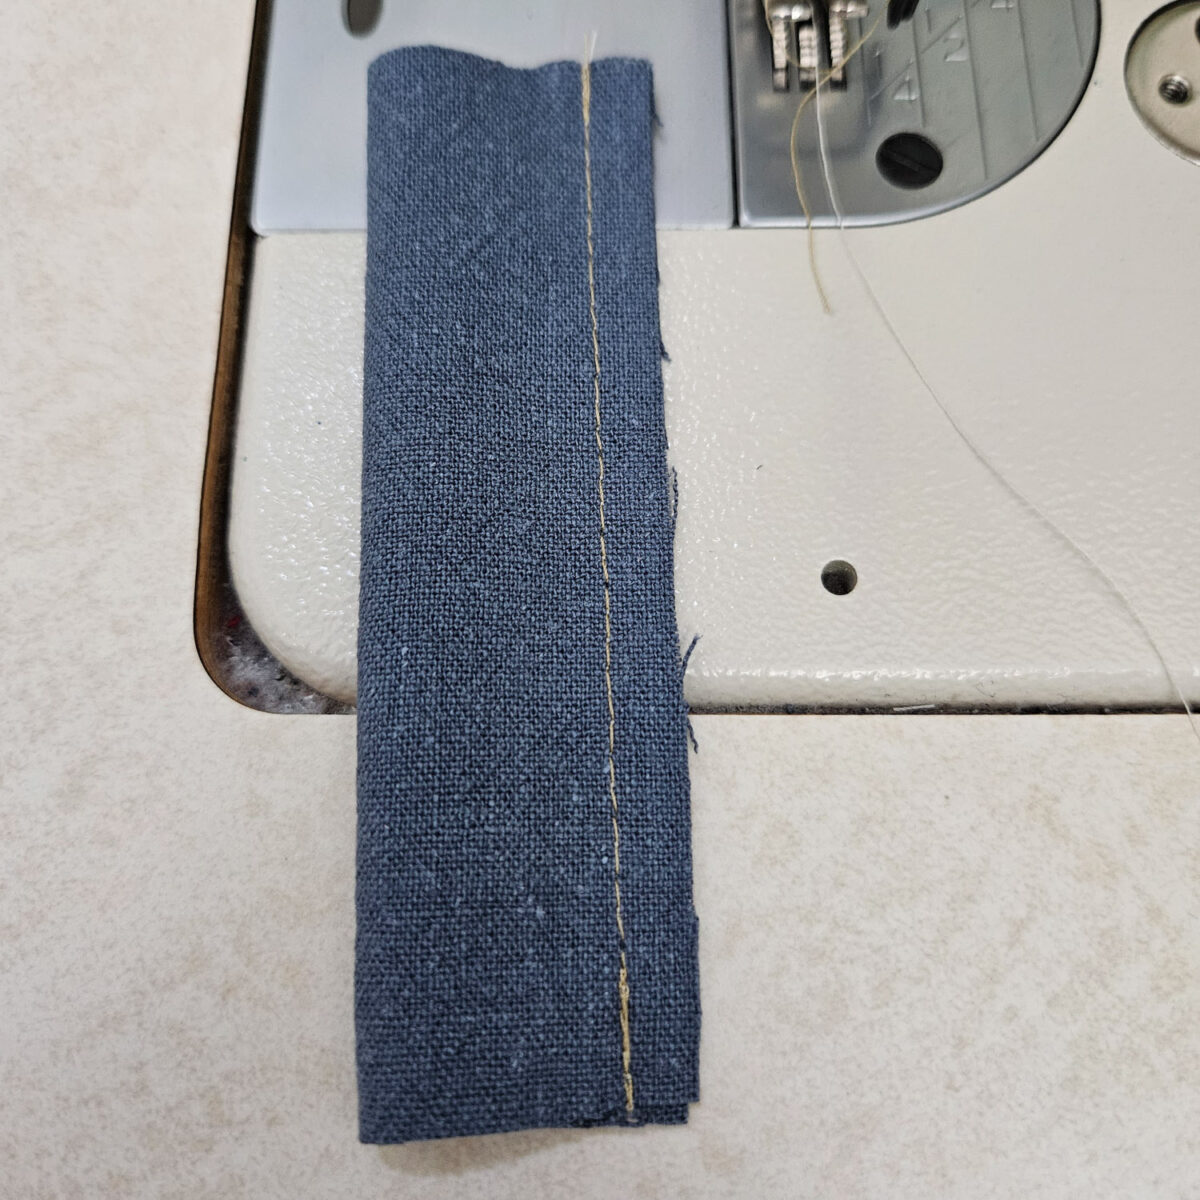
Turn the piece RIGHT side out.
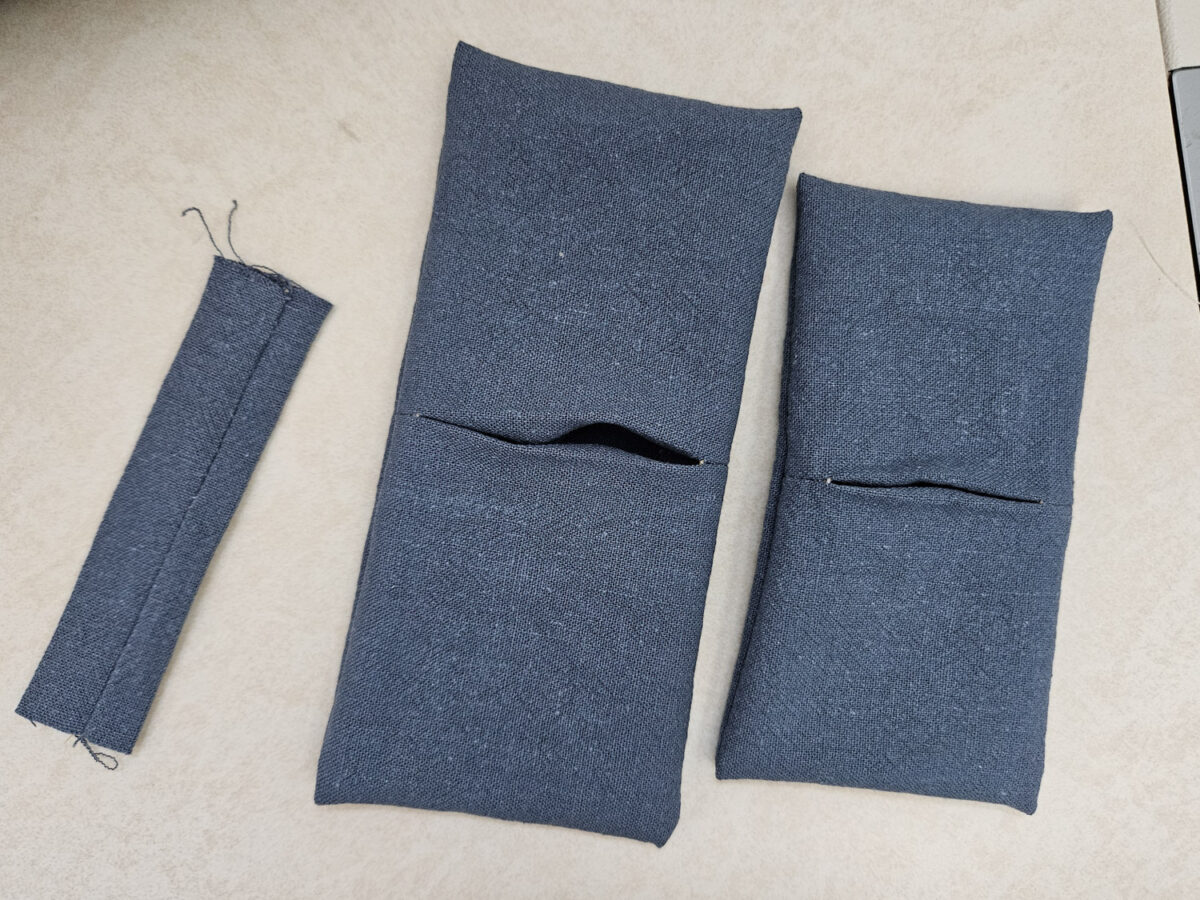
Finish the gap opening along the back seams with a ladder stitch.
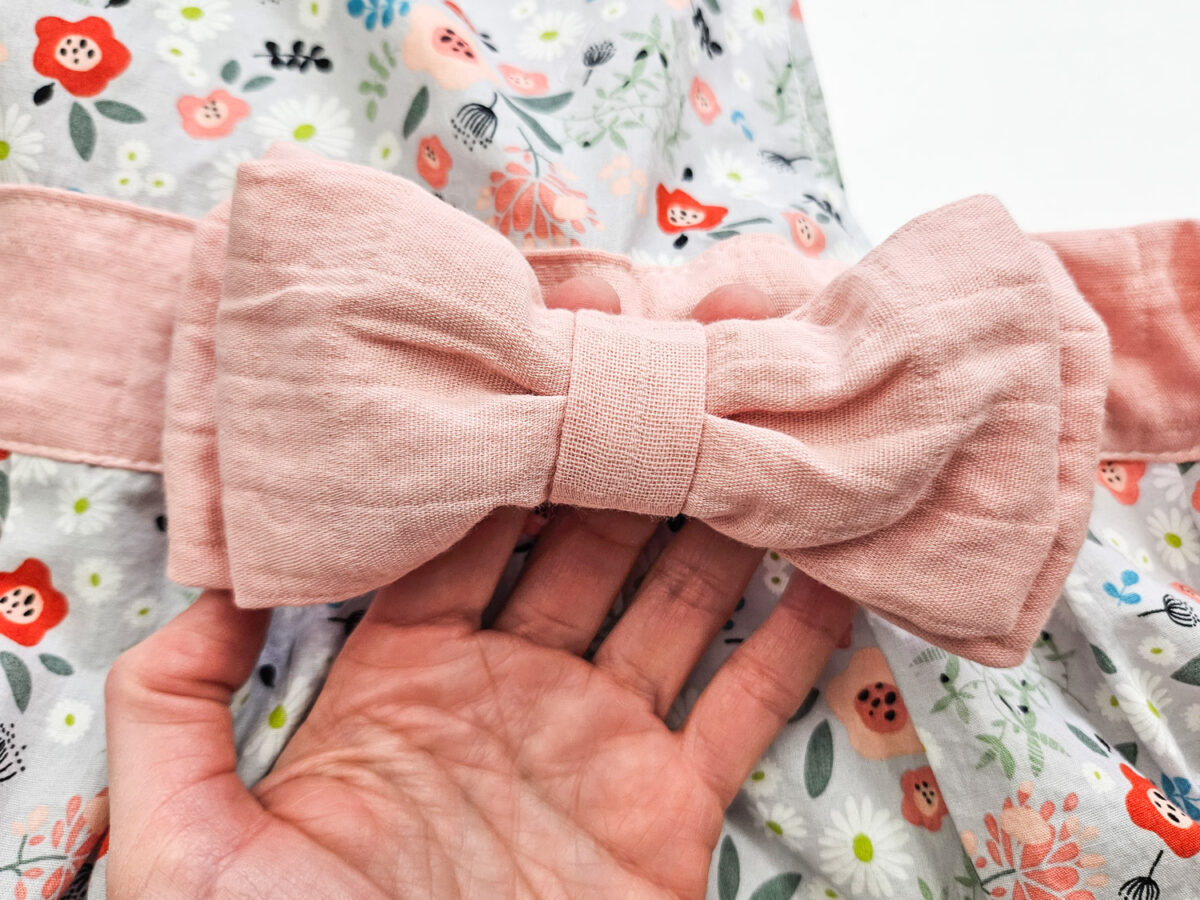
Layer all prepared pieces as follows: largest BOW piece at the bottom, smaller BOW piece centered on top and then the loop piece at the center overlapping the top and bottom edges.
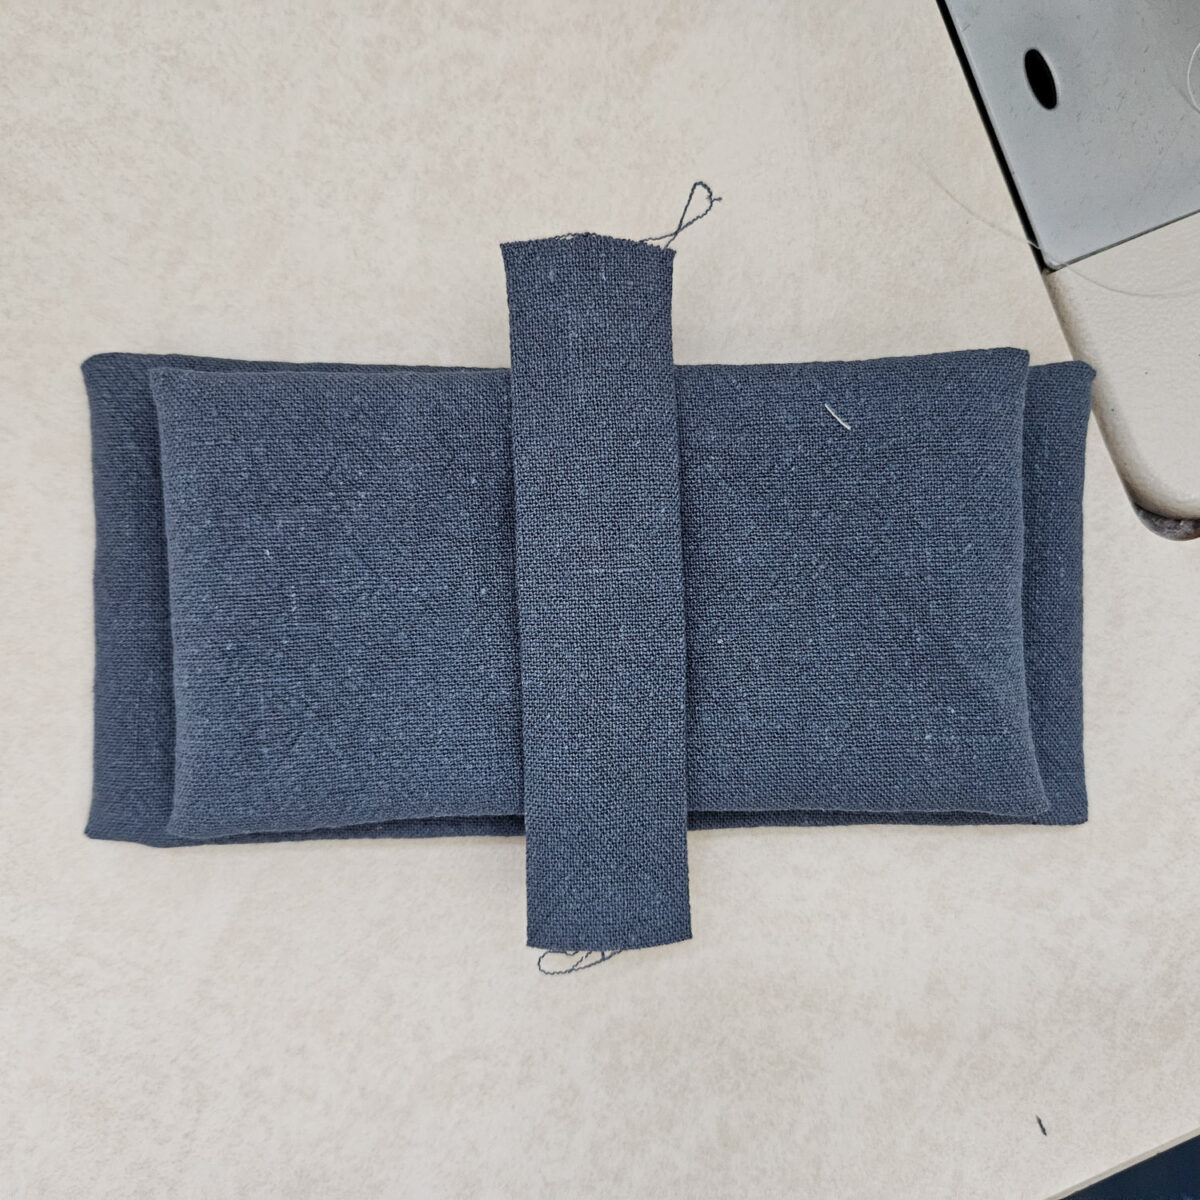
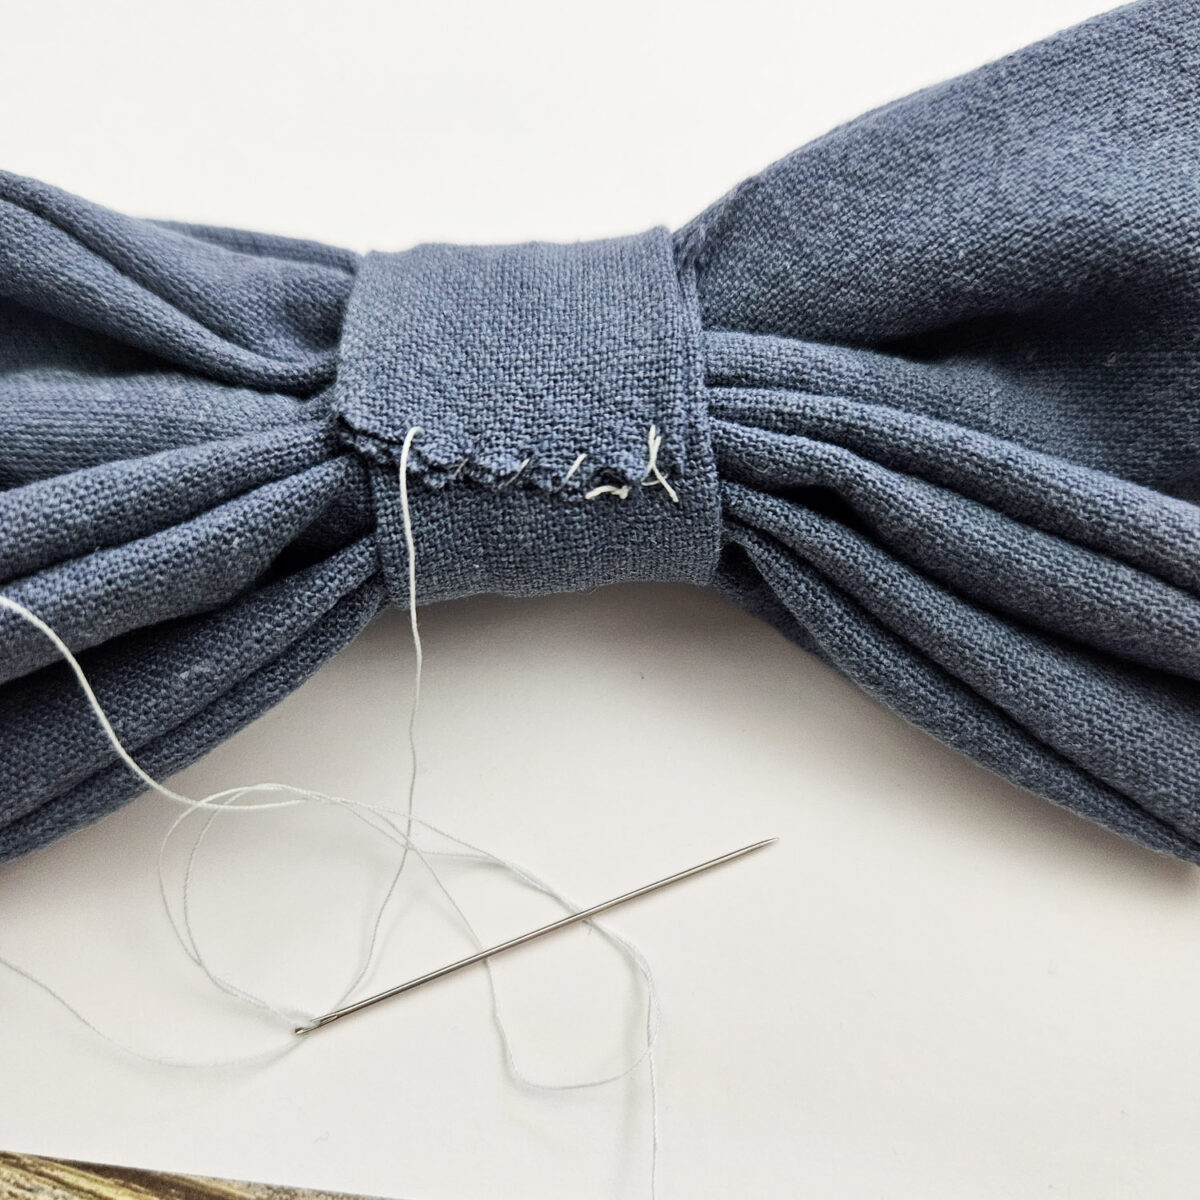
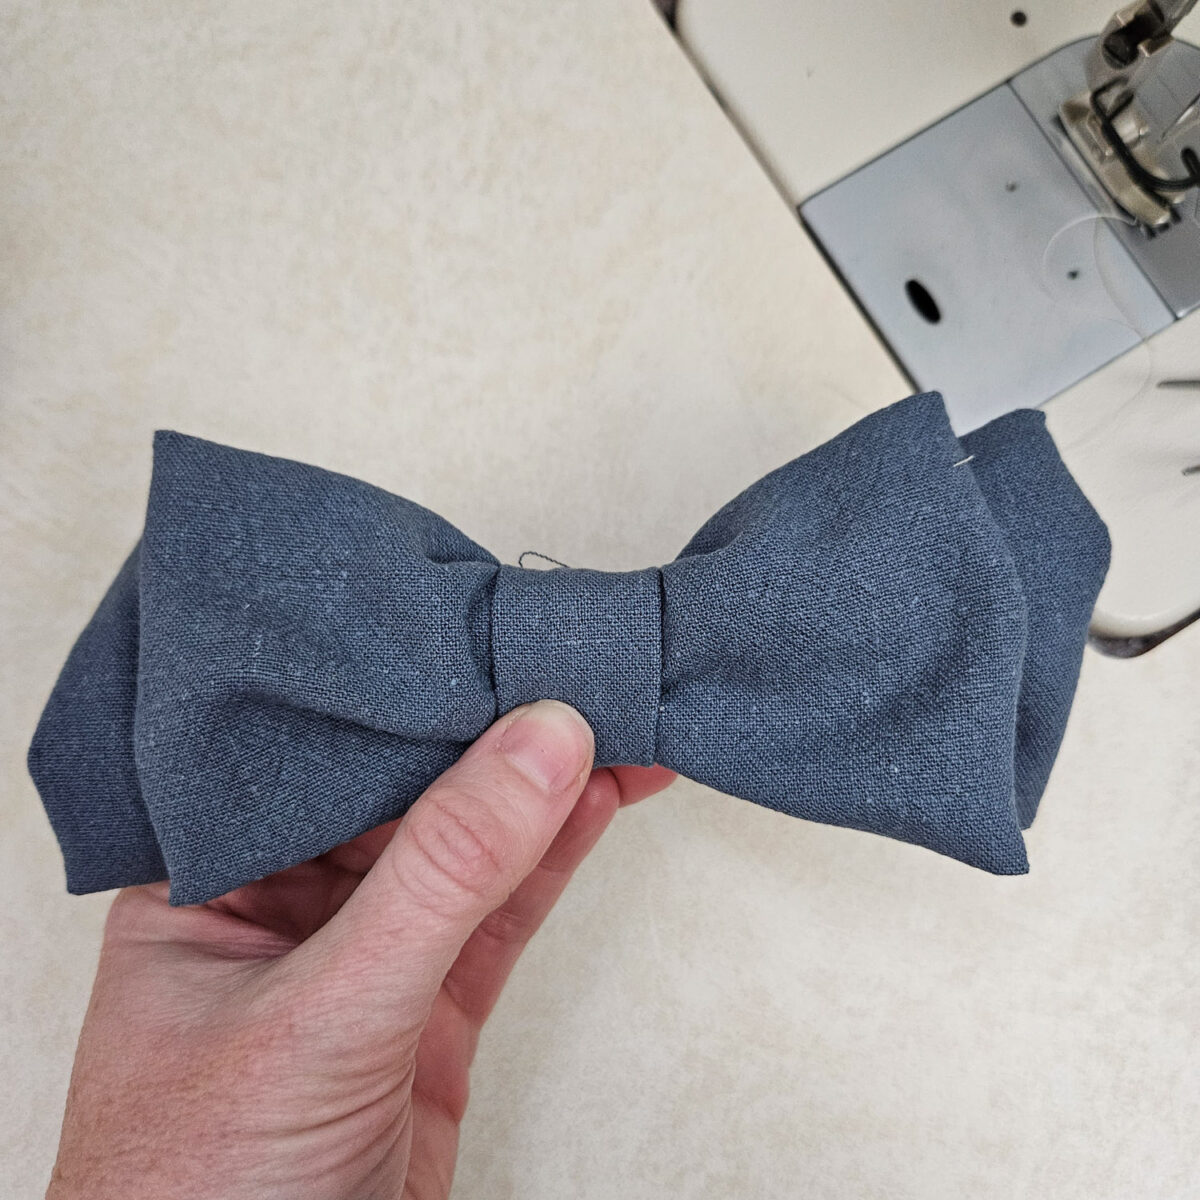
Cinch the centers of the BOW PIECES and wrap the loop around the center tightly. Using a hand needle and thread stitch the loop in place at the back with a simple whip stitch to secure the double bow.
Tips, Variations & Troubleshooting
Size and Fabric Options
A double bow can be scaled up or down just by changing the rectangle sizes. Cotton works well for crisp bows, linen gives a softer look, and velvet or satin adds drama for seasonal projects. Lightweight interfacing helps if your fabric feels floppy.
Colour and Pattern Ideas
Solid fabrics highlight the bow shape, while small prints add charm. Mixing two coordinating fabrics—one for each bow layer—creates contrast without extra effort.
How to Display / Style Your Project
A sewn double bow works beautifully as a home décor idea on wreaths, chair backs, or curtain tiebacks. It also makes a thoughtful gift décor idea when stitched onto wrapped presents or gift bags for a reusable finish. Smaller versions are perfect for hair clips, headbands, or even sewn onto clothing and tote bags for a custom touch.
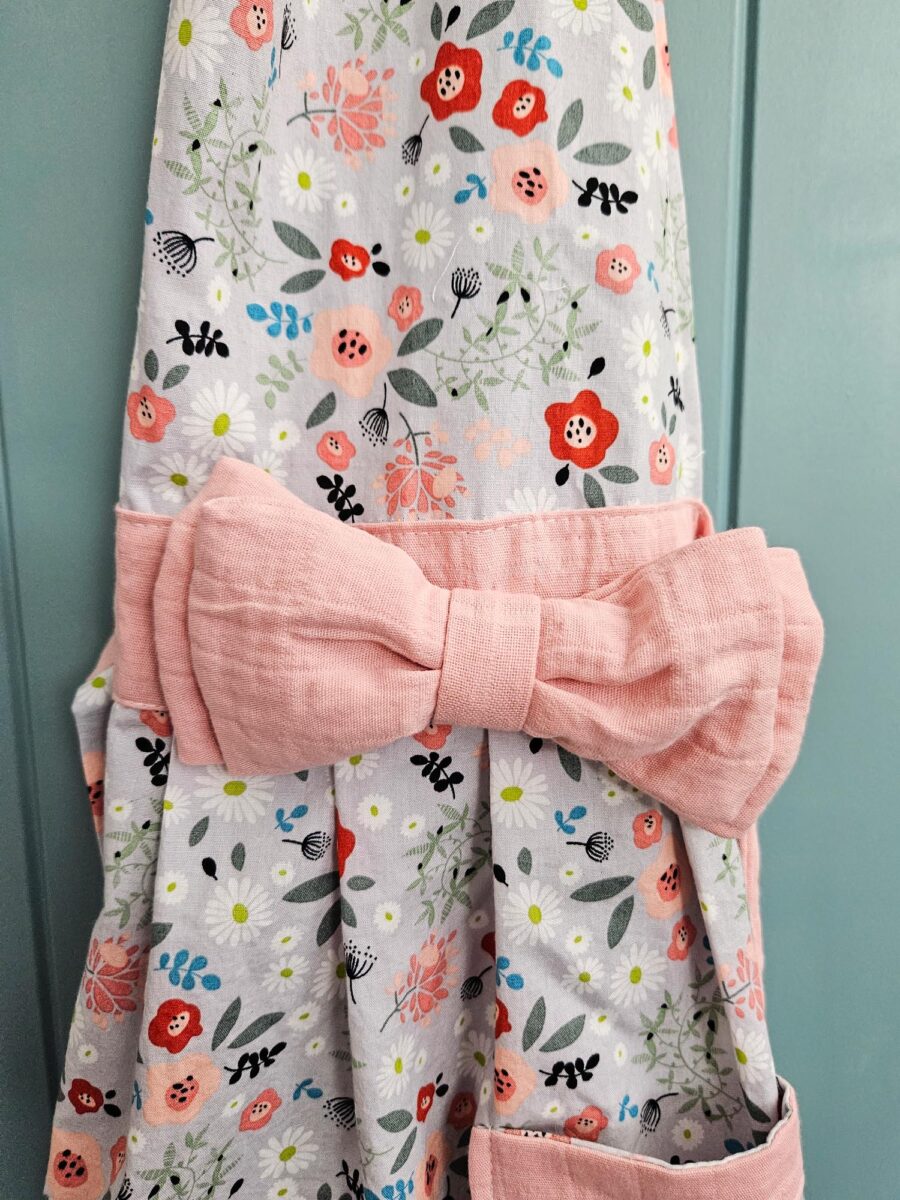
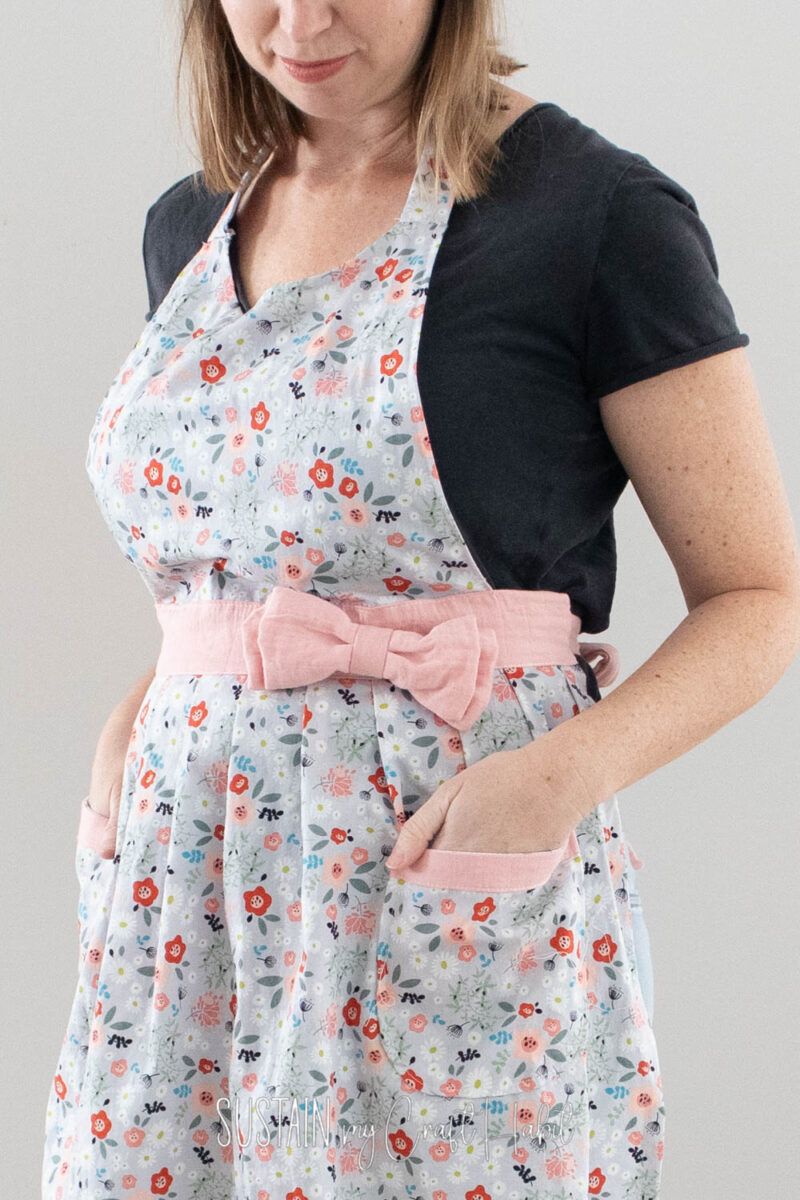
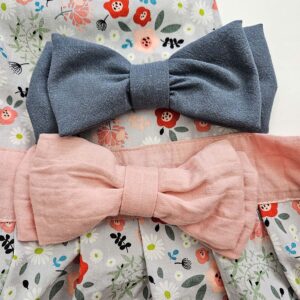
We’ve added this double bow to this sweet apron style. What do you think?
A Wonderfully Simple Bow
A double bow is one of those sewing projects that looks detailed but stays wonderfully simple. Once you’ve made one, it’s easy to adapt the process for different fabrics, seasons, and uses. If you enjoyed this tutorial, consider sharing it or pinning it for later—you’ll probably want it again.
More Sewing Projects
- How to Hand Sew
- How to Sew a Button Like a Pro
- How to Sew an Envelope Pillow Cover
- How to Sew a Pencil Case with a Zipper
- How to Hem Jeans


Become a Sustain My Craft Habit insider to receive fun freebies!
Like it? Pin it for later!
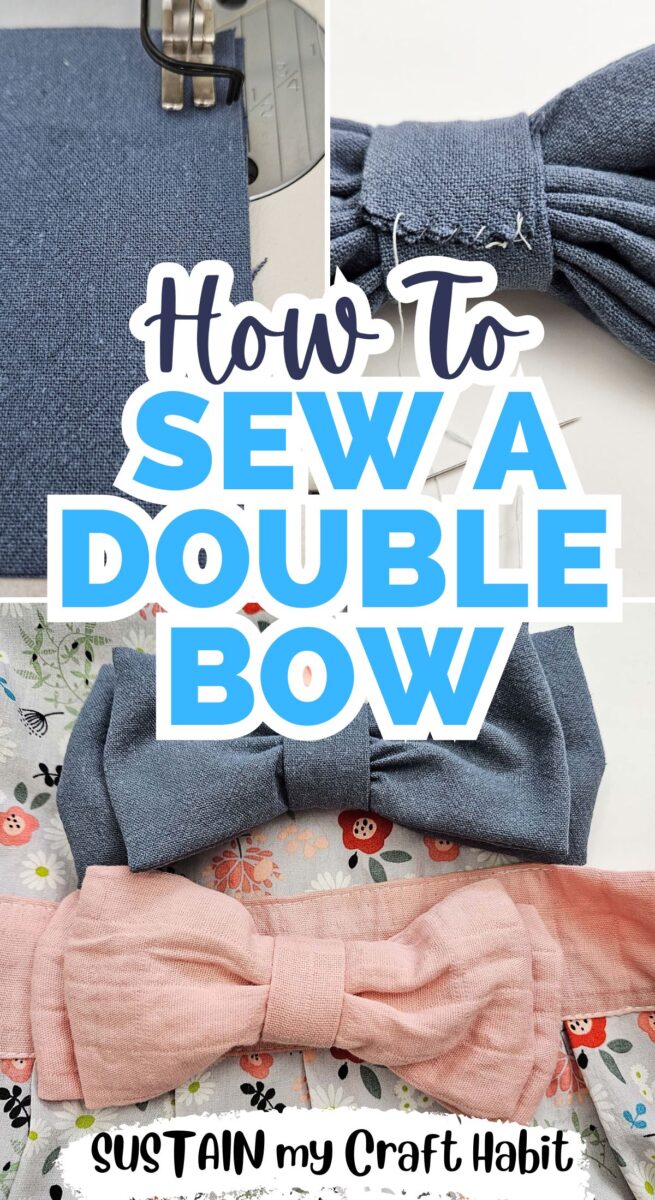
How to Sew a Double Bow
Materials
- woven Fabric light to med weight
- Fabric scissors
- Thread
- Sewing machine
- Sewing needle
- Double bow pattern
Instructions
- Cut out fabric using the double bow printable pattern or size guide.
- Fold BOW 1 piece in half with RIGHT sides together so the short ends are aligned. Stitch edges together with a ½” seam allowance, leaving a 2” gap in the middle, as shown.
- Press seam allowance open with an iron.
- Align the seam with the single notch at the center (aligning at the top and bottom).
- Sew top edges together with ½” seam allowance and then sew the bottom edges together with ½” seam allowance.
- Clip corners to reduce bulk.
- Turn the piece right side out.
- Repeat with BOW 2 piece.
- For the CENTER LOOP piece, fold it in half with RIGHT sides together so the long ends are aligned.
- Stitch edges together with a ¼” seam allowance.
- Turn the piece RIGHT side out.
- Finish the gap opening along the back seams with a whip stitch.
- Layer all prepared pieces as follows: largest BOW piece at the bottom, smaller BOW piece centered on top and then the loop piece at the center overlapping the top and bottom edges.
- Cinch the centers of the BOW PIECES and wrap the loop around the center tightly. Using a hand needle and thread stitch the loop in place at the back to secure the double bow.