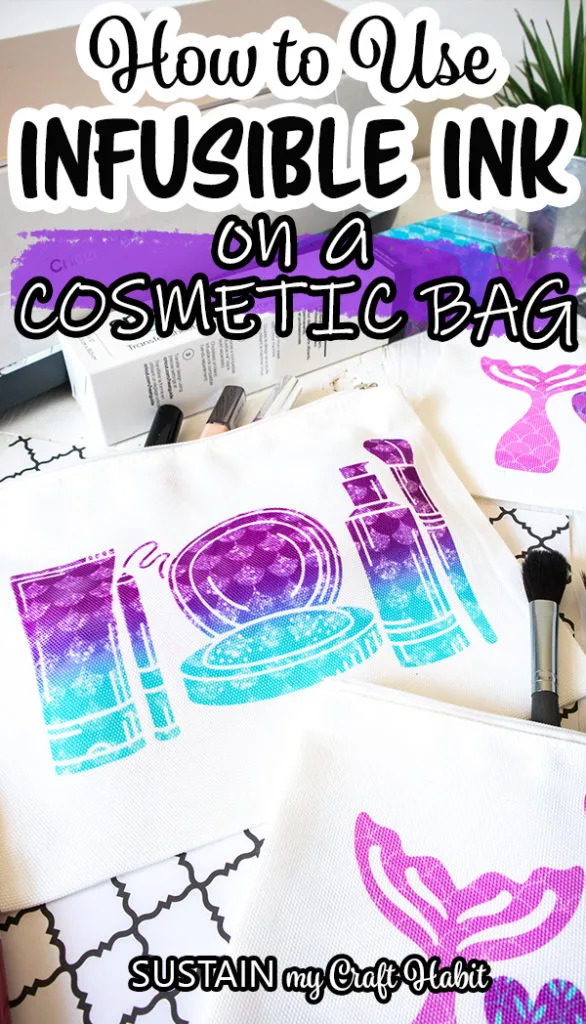
Cricut makes it easy and fun to personalize your makeup bag using Infusible Ink. We’re sharing this tutorial for how to use Cricut Infusible Ink on one of their blank cosmetic bags.

Embellishing a Cricut Cosmetic Bag
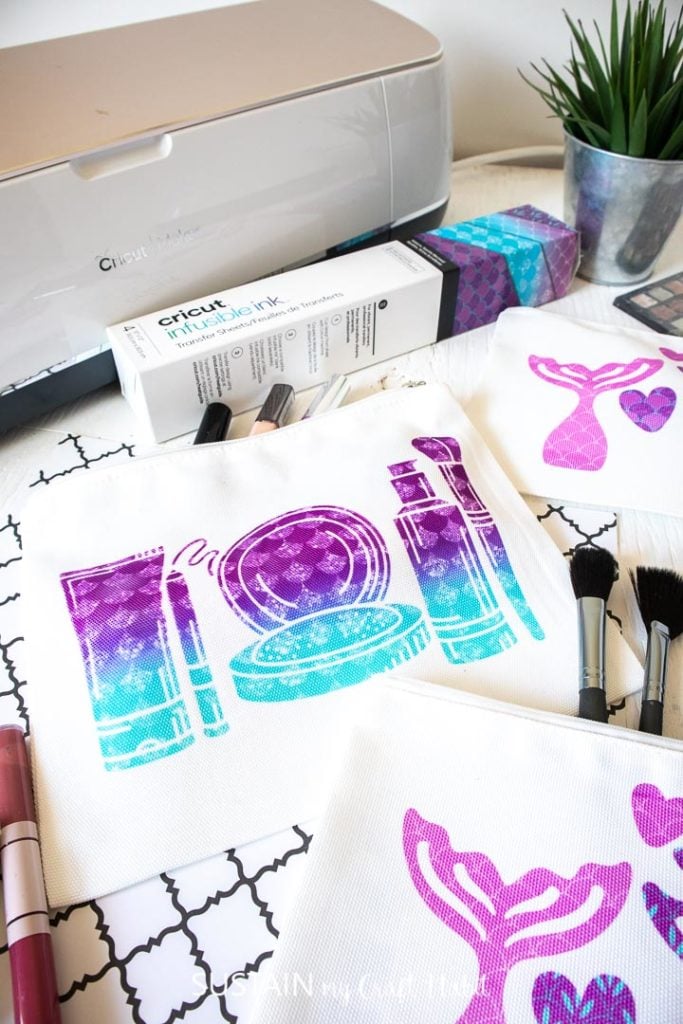
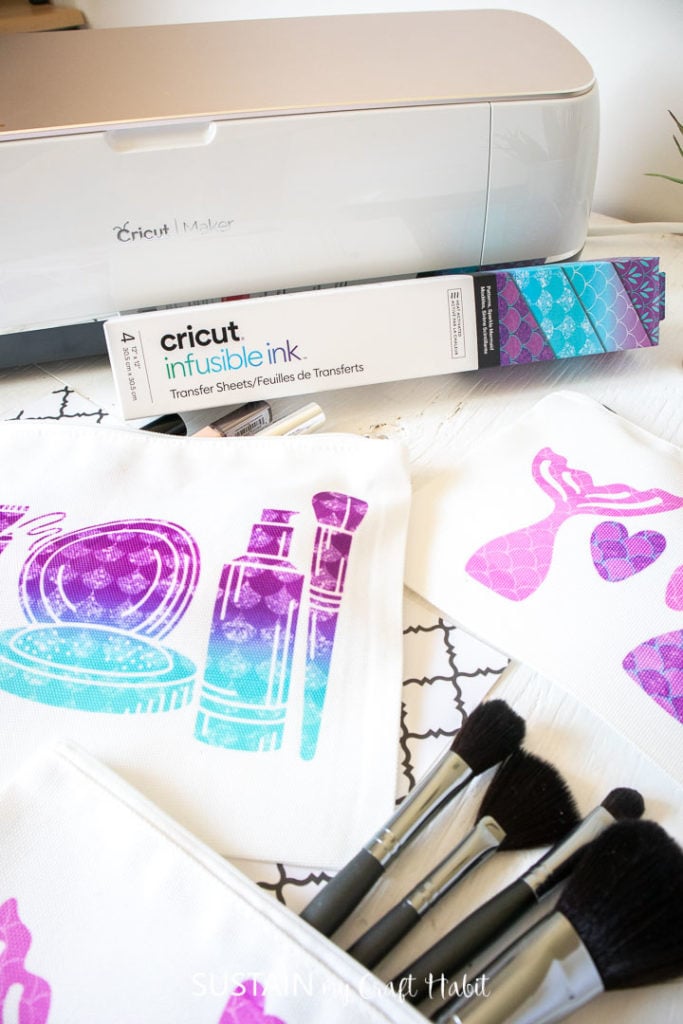
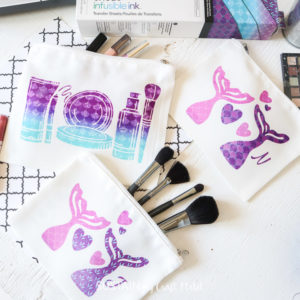
My old makeup bag has definitely seen better days and although I could have bought a replacement, I figured it would be waaaay more fun to embellish a blank one with Infusible Ink. Any excuse to craft, right? I even made a couple extras for my mermaid-loving girls who enjoy using my makeup for their pretend play.
Looking through all the free images in Cricut Design Space, I chose these playful makeup images and grouped them together to add to my makeup bag. You can search any image in the Design Space library to personalize it for yourself. We even added a monogram to each my girls’ bags so they wouldn’t get mixed up!


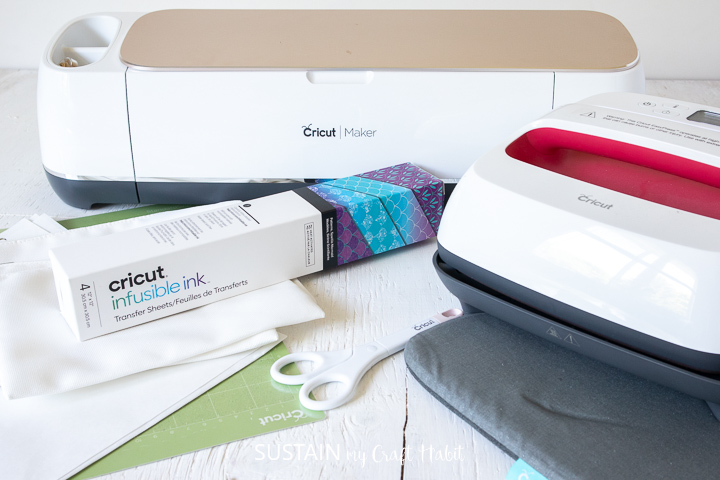
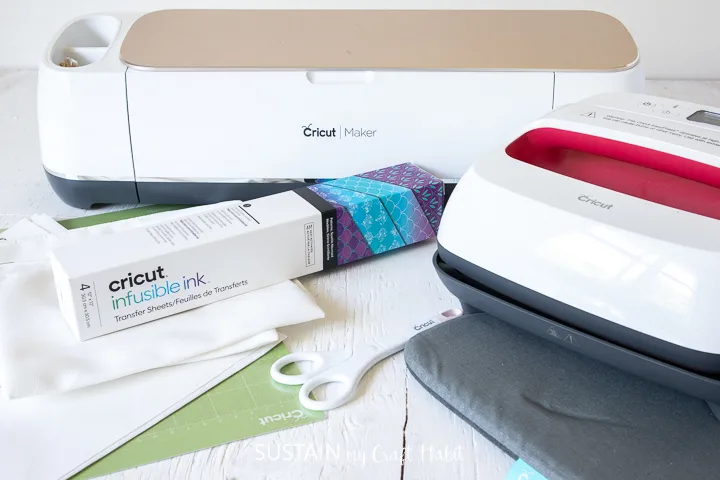
Materials Needed:
Disclosure: This post contains affiliate links for your shopping convenience. Should you choose to purchase through them, we will make a small commission at no extra cost to you. You can read our full disclosure policy here.
Makes 1 Makeup Bag
- Infusible Ink Patterned transfer paper: Animal Brights Pack
- Cricut Cosmetic Bag Blank
- Scissors
- Butcher paper,
- Cardstock paper
- Cricut Maker
- Cricut Standard Grip Mat
- EasyPress 2
- EasyPress Mat
- Design Space images (#M16A67D4E, #M16A67D47, #M16A67D78, #M16A67D85, #M16A67D90)
How to Use Cricut Infusible Ink on a Cosmetic Bag:
Preparing the Infusible Ink Image
Create a new project to open a blank canvas. Then select the images button in the toolbar to search the designs using the codes provided above (for example, #M16A67D4E for Makeup Brush).


Upload all the images onto the blank canvas.
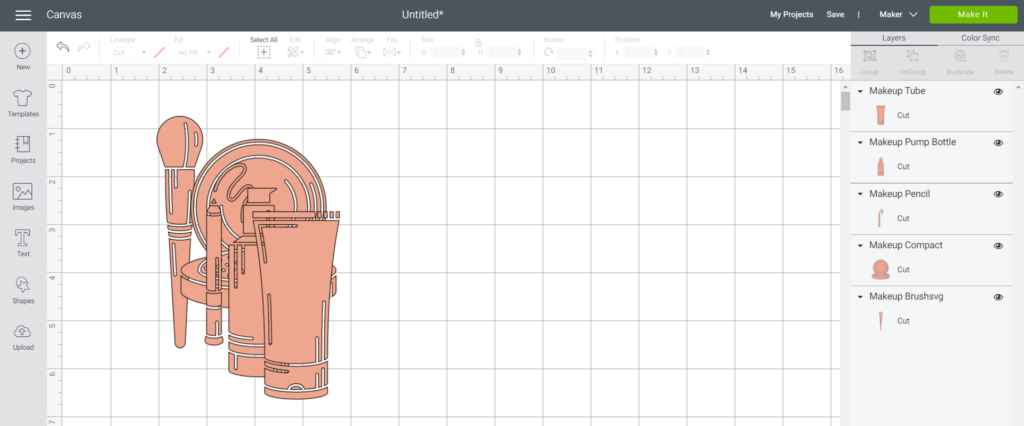

For the largest cosmetic bag, adjust the size of each image to about 4” (except for the brush, which is 5”). Place them in a line as shown they measure together 5” high x 8” wide.

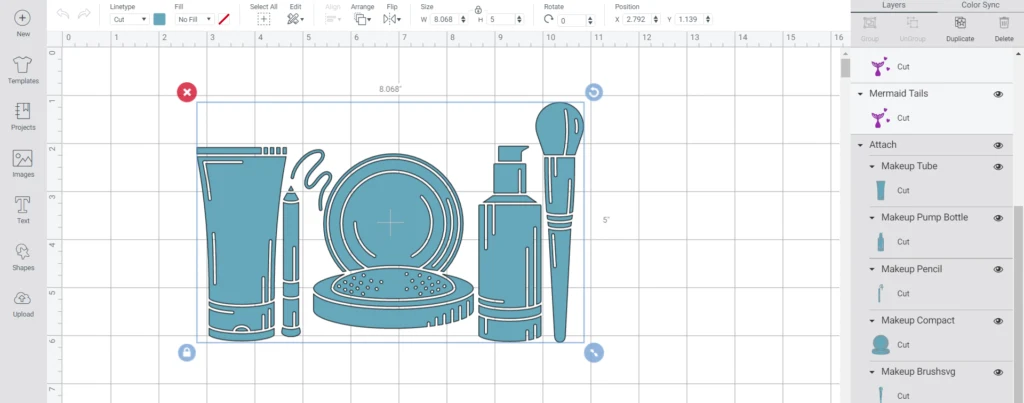
Highlight and click attach to group all pieces together for cutting and then click “Make it”.
Cutting out the Infusible Ink Transfer Sheet with the Cricut Maker:
Press Continue. Set the Mirror toggle button to ON position.
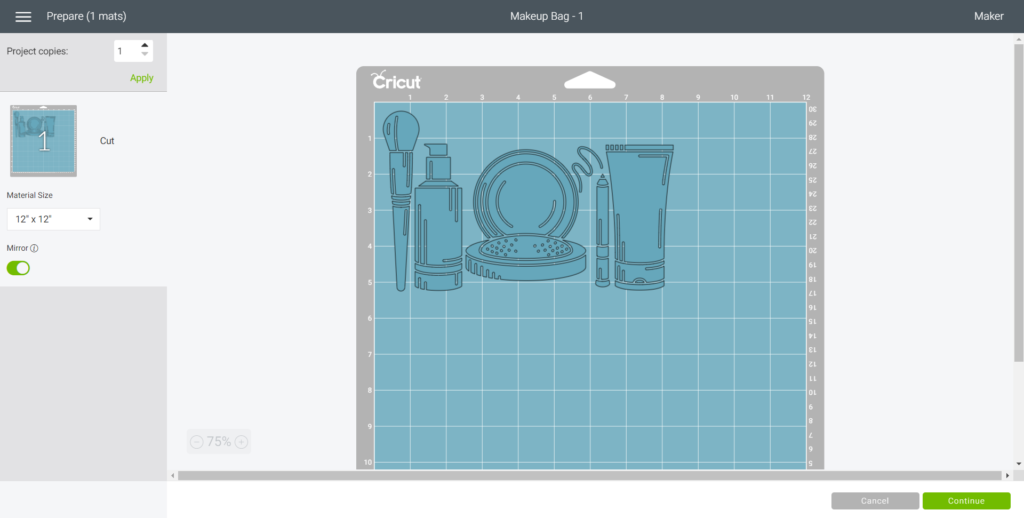
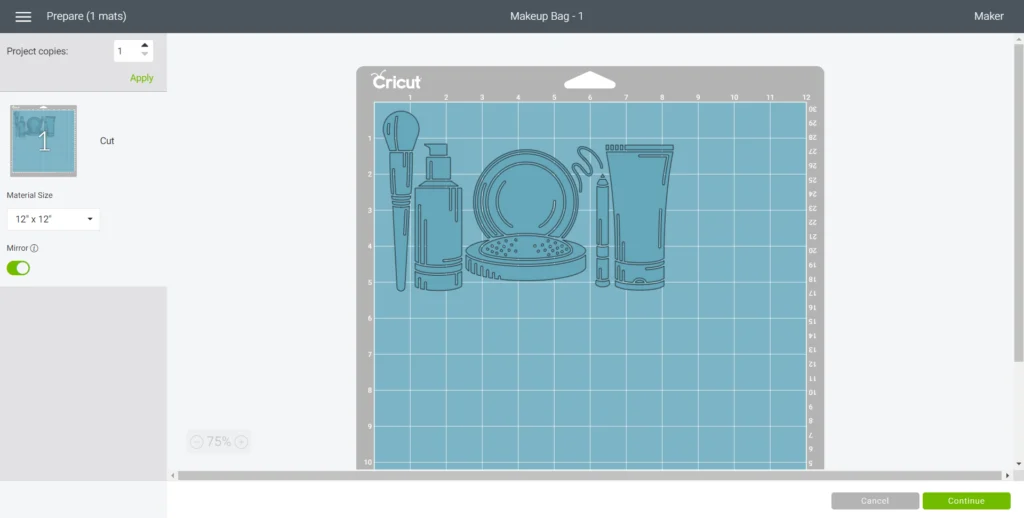
Set the material option to an infusible transfer sheet and position the desired infusible ink transfer sheet from the Animal Brights pack on the Cricut standard grip mat with the shiny side facing down.
Ensure the fine point blade is inserted in the Maker and load the prepared mat.
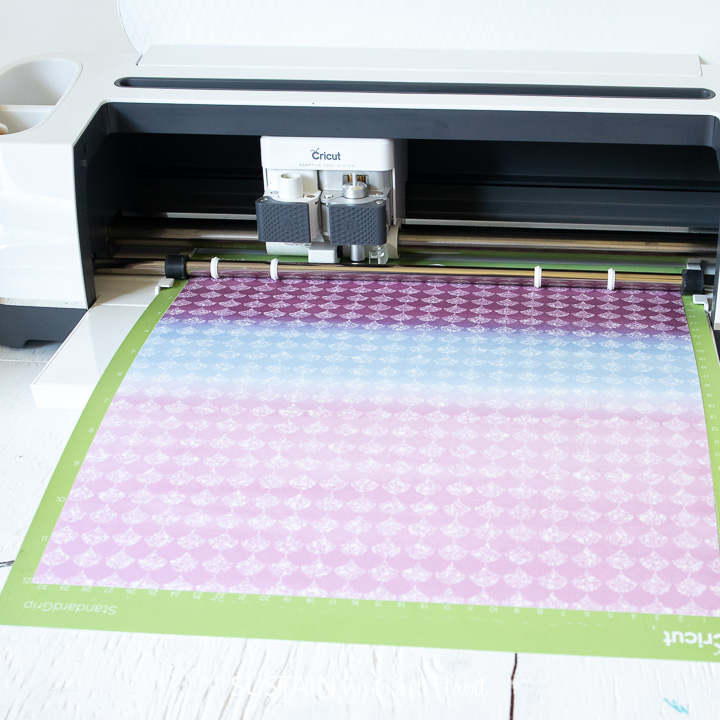
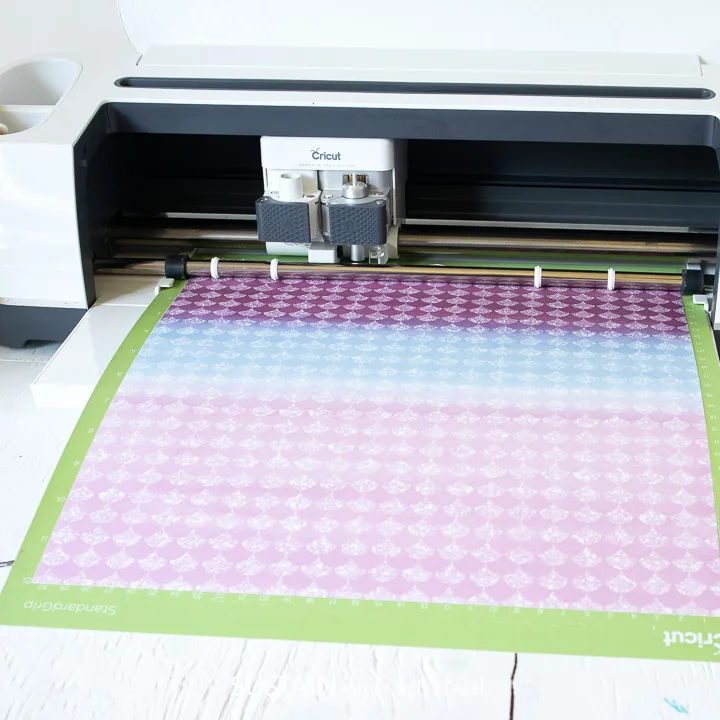
In no time at all, the Maker will cut out the pattern precisely and when prompted unload the mat.
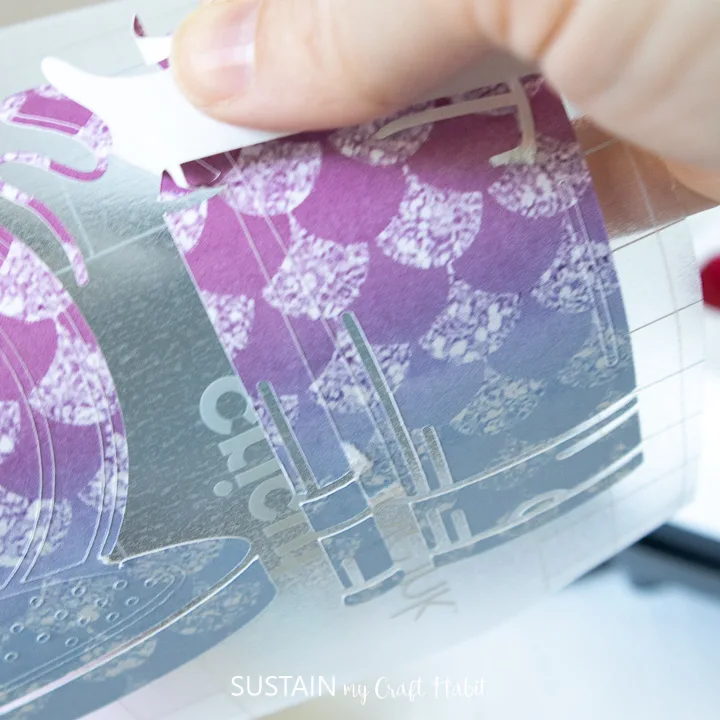
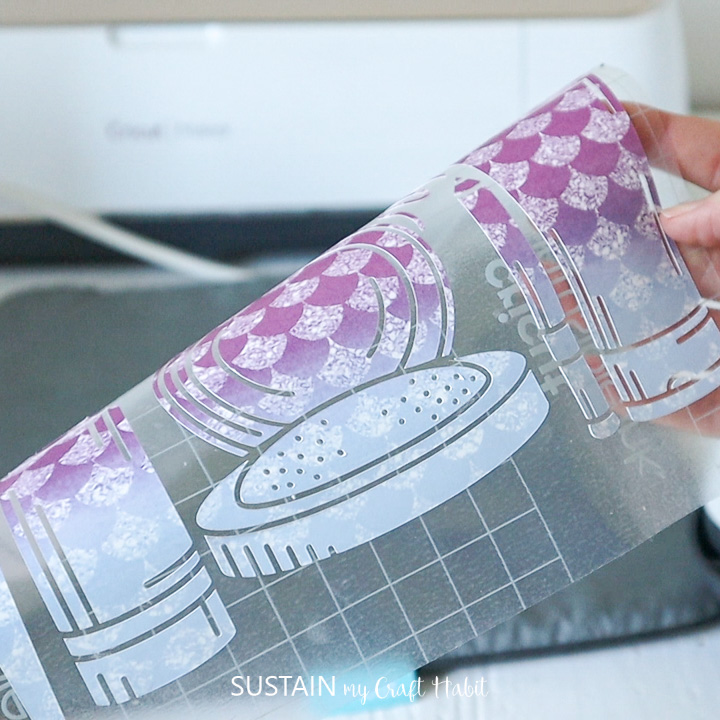
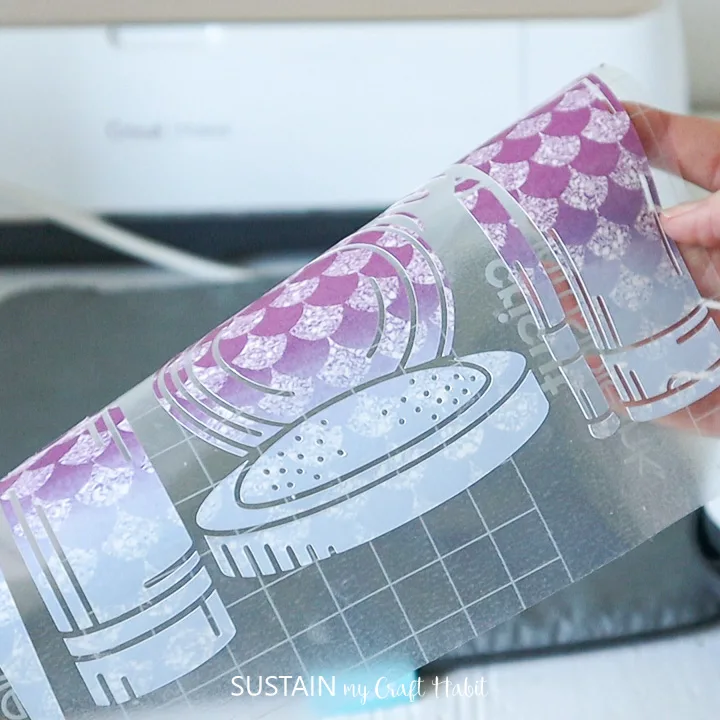
Unlike vinyl, there is no need to use the weeding tool with infusible ink transfer sheets. Simply use your fingers to peel away the excess part of the cut design.

Applying the Infusible Ink with the EasyPress 2
Next, refer to the EasyPress Reference Guide for instructions and heat press settings for applying the infusible ink onto the cosmetic bag.
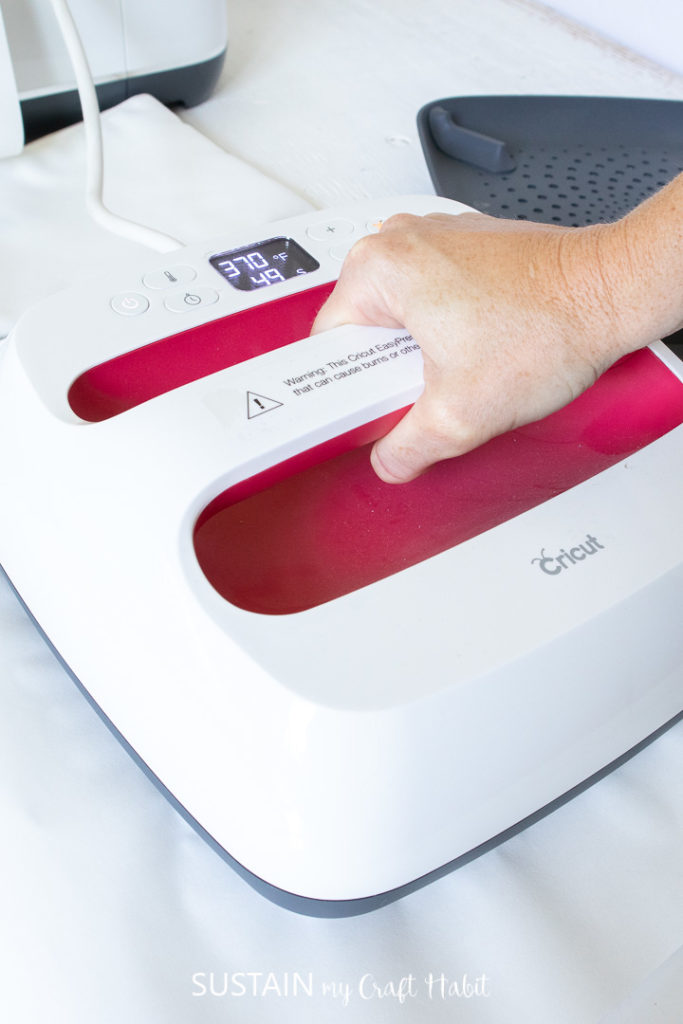
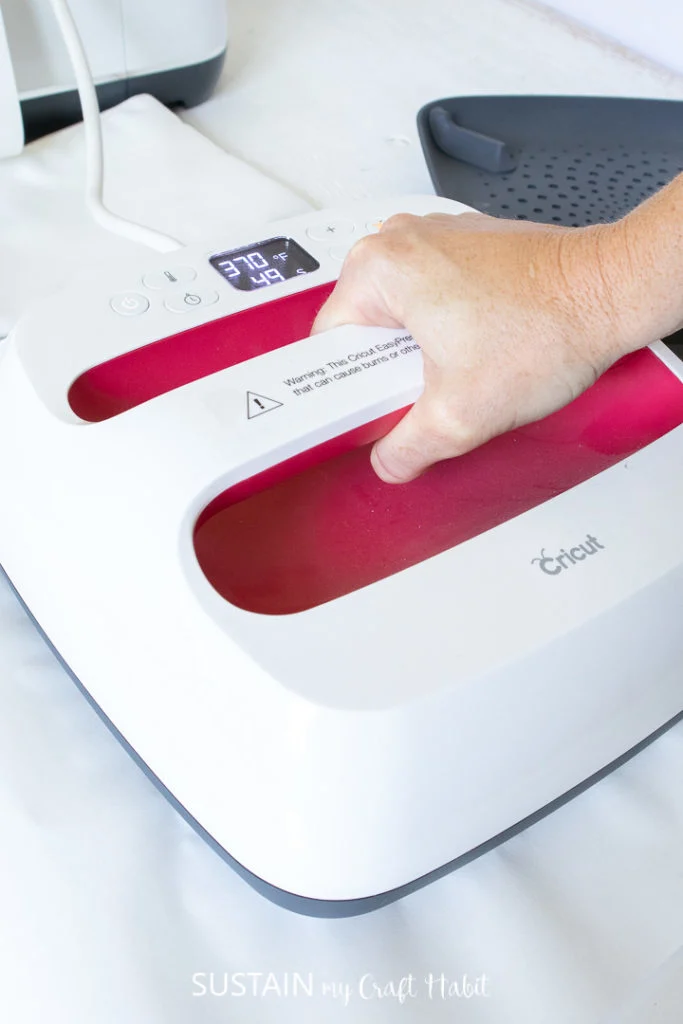
Preheat the EasyPress2 to 400F and set the time to 40 seconds. Although the reference guide suggests 385F, in our experience, setting the heat to 400F works best at transferring the colors on the bag.
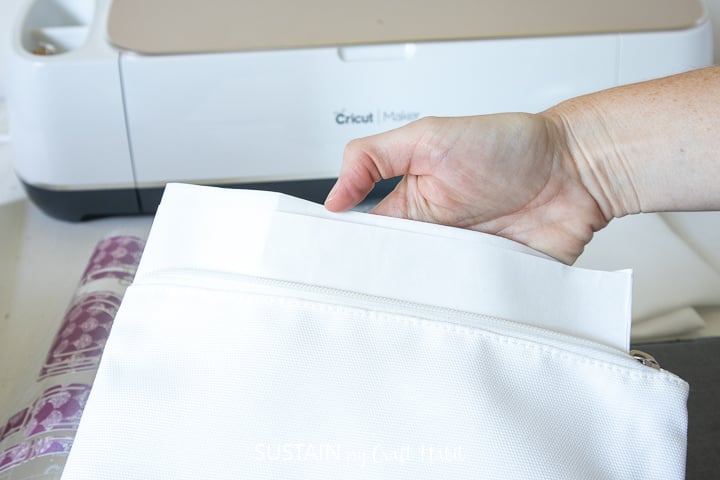
Place the bag down on top of the mat and insert the cardstock into the bag. This is important in preventing bleedthrough from the ink.

Use the lint roller over the tote bag to eliminate any loose fibers before heat pressing.
Cover the surface of the bag with a sheet of butcher paper and preheat the tote bag for 15 seconds. Remove the butcher paper carefully as it may be warm to the touch. Be sure to preheat all areas you will be placing the design.
Position the prepared design face down on to the bag with the liner side facing up.To be sure the design doesn’t shift when pressing, apply some heat resistant tape to hold it in place.
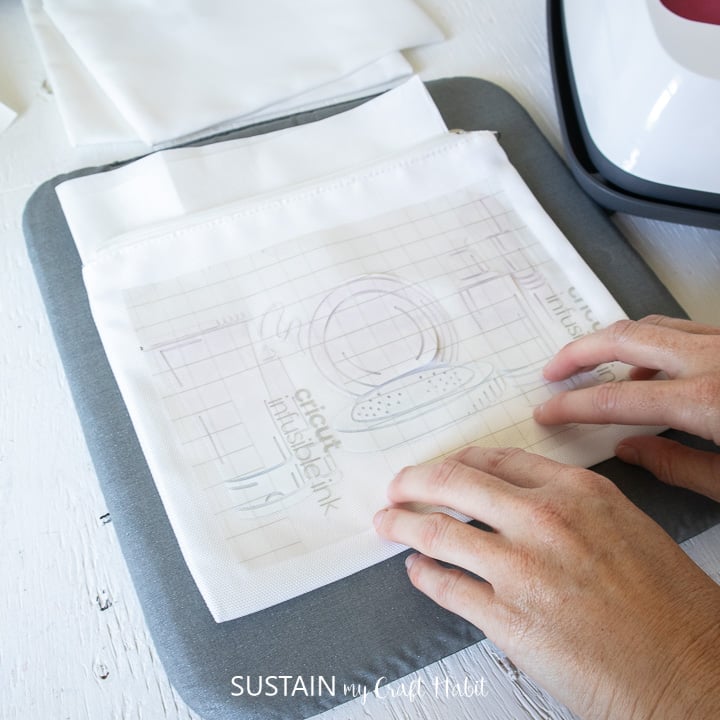

Cover with a clean sheet of butcher paper and steadily press the EasyPress on top of the design for 40 seconds with some light pressure.
Lift the press and carefully remove the butcher paper. Wait for the surface to cool completely before peeling away the liner.

Looking for More Cricut Infusible Ink Projects?
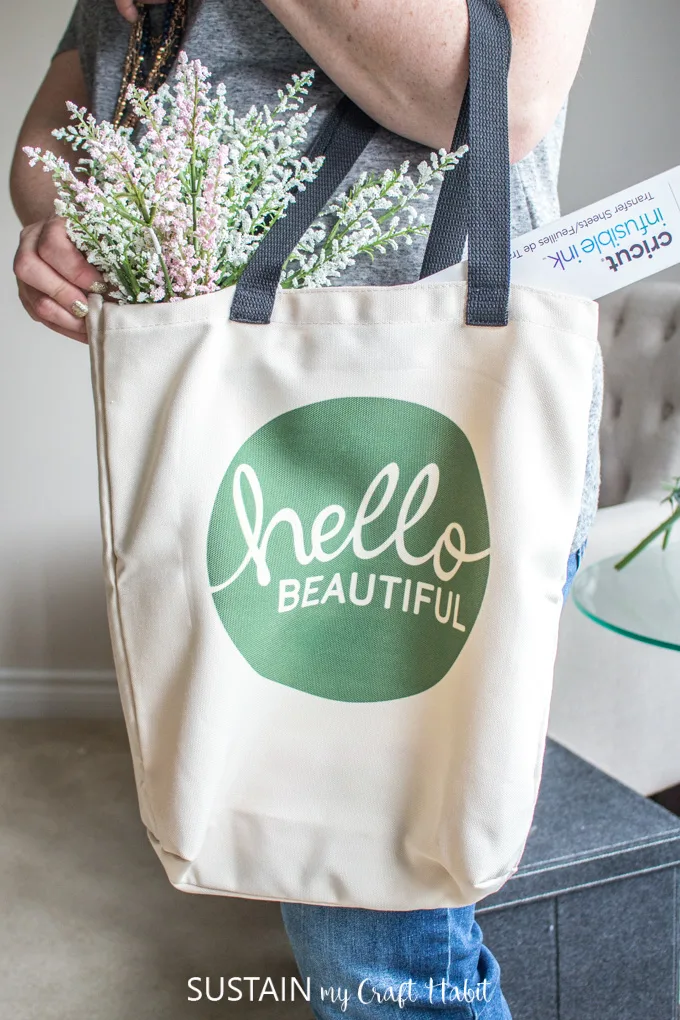
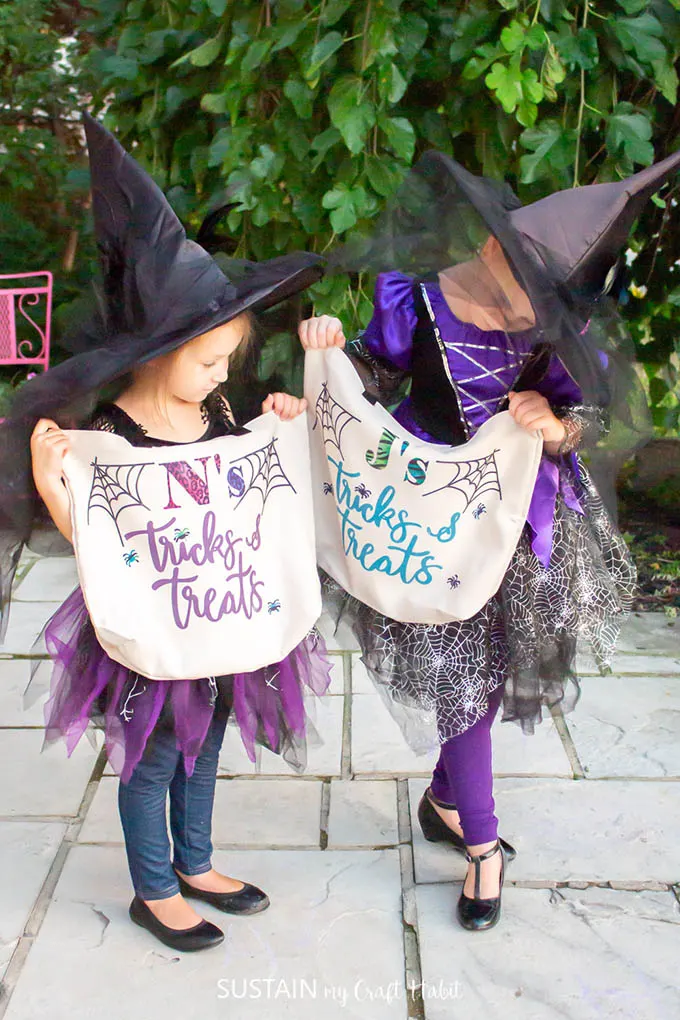
We’ve crafted with Infusible Ink on many of the Cricut blanks including the casual tote bag, ceramic coasters and even the larger totes for personalized trick or treat bags.


Hello Beautiful Tote Bag 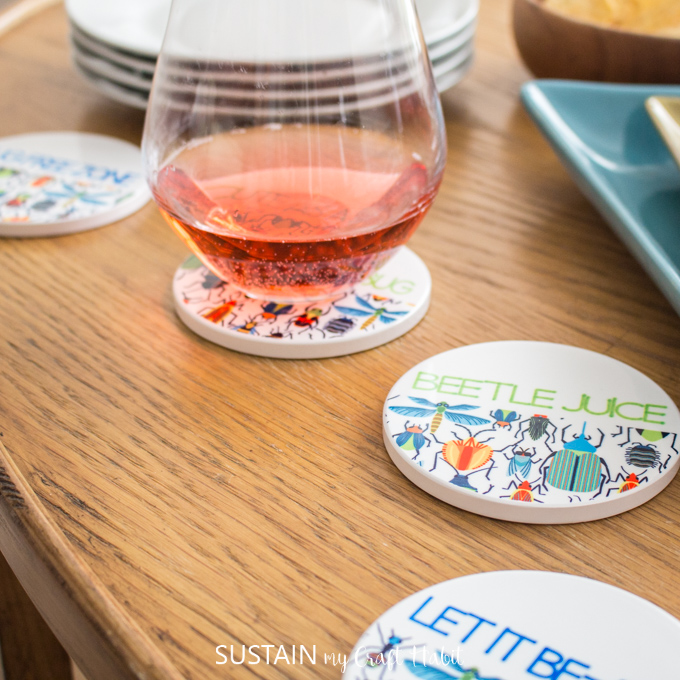

Ceramic Coasters with Infusible Ink 
Personalized Trick or Treat Bags

Which images would you like to embellish your makeup bag with?
Like it? Pin it for later!


How to Use Cricut Infusible Ink on a Cosmetic Bag
Materials
- Infusible Ink Patterned transfer paper Animal Brights Pack
- Cricut Cosmetic Bag Blanks
- Scissors
- Butcher paper
- Cardstock paper
- Cricut Maker
- Cricut Standard Grip Mat
- EasyPress 2
- EasyPress Mat
- Design Space images
Instructions
Preparing the Infusible Ink Image
- Select images in the toolbar and search the designs using the codes provided above (for example, #M16A67D4E for Makeup Brush). Upload all the images onto the blank canvas.
- For the largest cosmetic bag, adjust the size of each image to about 4” (except for the brush, which is 5”). Place them in a line as shown they measure together 5” high x 8” wide.
- Highlight and click attach to group all pieces together for cutting.
- Click Make it.
Cutting out the Infusible Ink Transfer Sheet with the Cricut Maker:
- Press Continue.
- Set the Mirror toggle button to ON position.
- Set the material option to an infusible transfer sheet.
- Position the desired infusible ink transfer sheet from the Animal Brights pack on the Cricut standard grip mat with the shiny side facing down.
- Ensure the fine point blade is inserted in the Maker and load the prepared mat.
- In no time at all, the Maker will cut out the pattern precisely and when prompted unload the mat.
- Simply use your fingers to peel away the excess part of the cut design.
Applying the Infusible Ink with the EasyPress 2
- Preheat the EasyPress2 to 400F and set the time to 40 seconds.
- Place the bag down on top of the mat and insert the cardstock into the bag.
- Use the lint roller over the tote bag to eliminate any loose fibers before heat pressing.
- Cover the surface of the bag with a sheet of butcher paper and preheat the tote bag for 15 seconds. Remove the butcher paper carefully.
- Position the prepared design face down on to the bag with the liner side facing up.To be sure the design doesn’t shift when pressing, apply some heat resistant tape to hold it in place.
- Cover with a clean sheet of butcher paper and steadily press the EasyPress on top of the design for 40 seconds with some light pressure.
- Lift the press and carefully remove the butcher paper. Wait for the surface to cool completely before peeling away the liner.