Owl Garden Decor With An Upcycled Cheese Grater
Hi friends! Meet our latest upcycled craft creation, an owl garden decor idea named Hootie. Given how cute he turned out, how could we not give him a name?
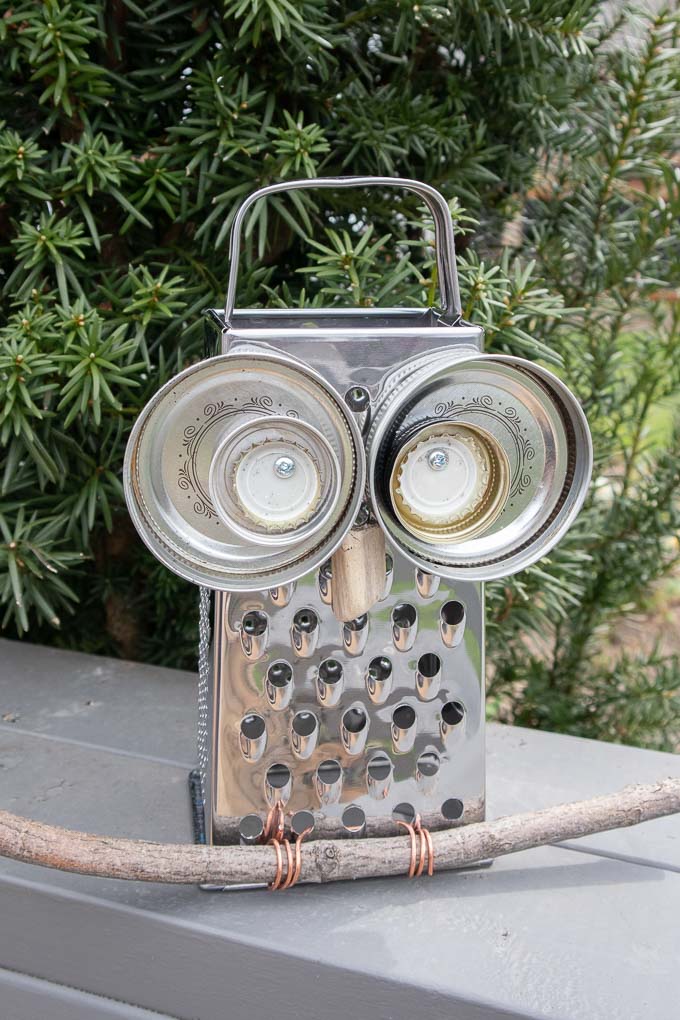
Meet Hootie, our “new” Owl Garden Decoration
Although it’s true we enjoy making all types of crafts here on the blog, there is something extra satisfying about using upcycled materials and supplies. Things that no longer serve a purpose or common things you can find around the house to create something “new” make the best crafts. Take this upcycled tin pumpkin for Halloween and this upcycled scarf coastal wreath as examples of what you can make with things you already have at home.
Check out the video here for making this super cute owl garden decor or scroll down below for the step by step tutorial.

Looking for more Garden Crafts?
If you’re wanting to make more garden crafts, check out these fun DIY ideas:
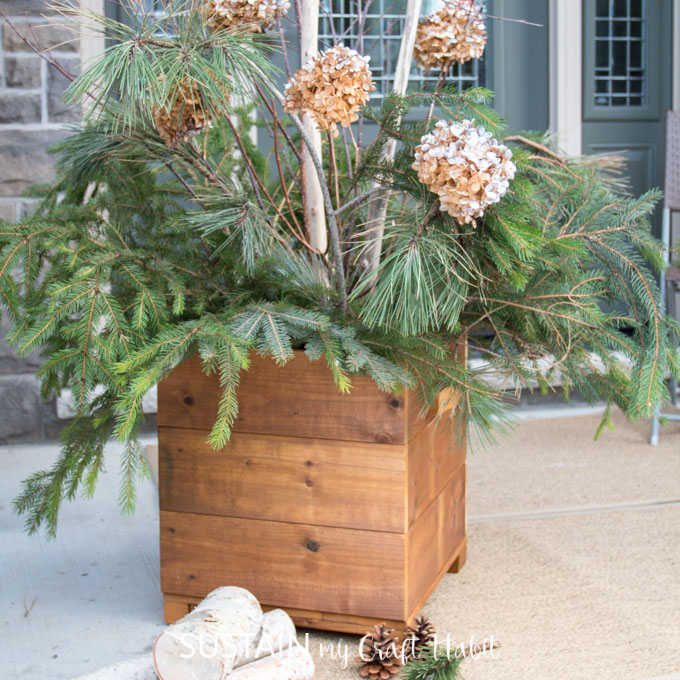
- DIY wooden planter box (with free plans)
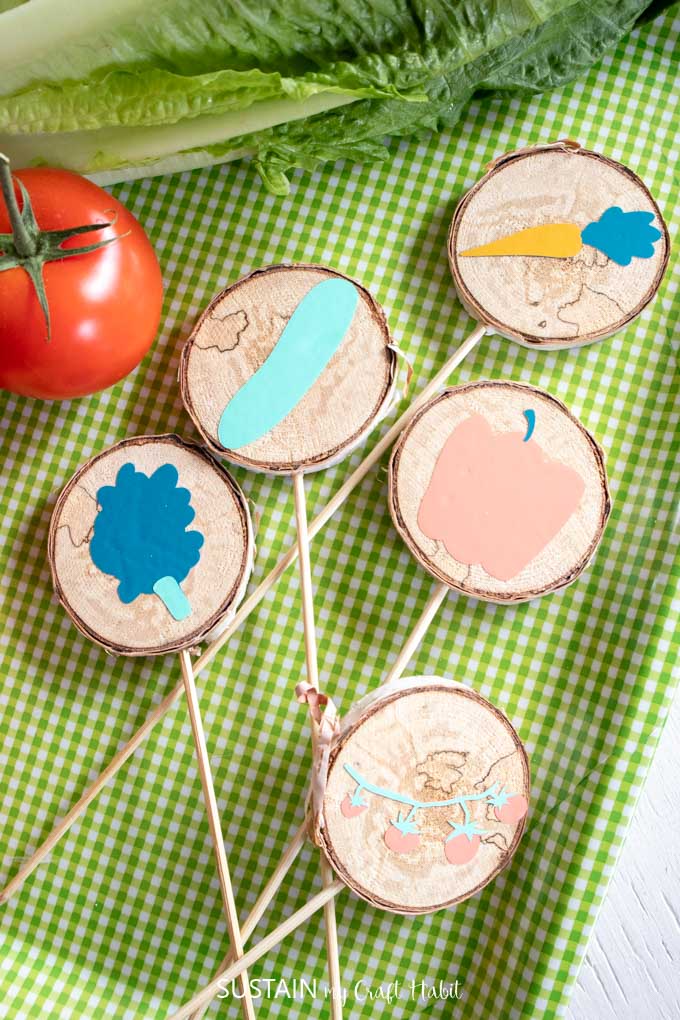
- DIY wood slice garden markers
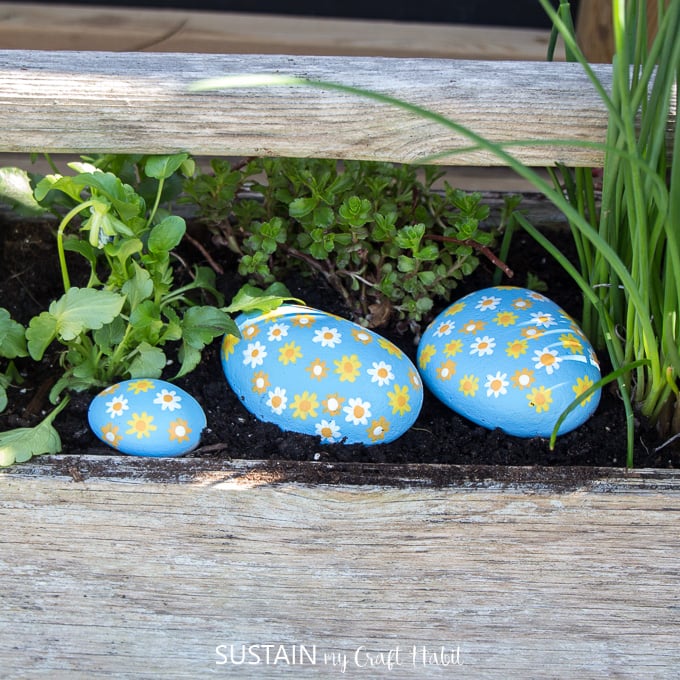
- Painted daisy rocks
- Or any of these rock painting ideas
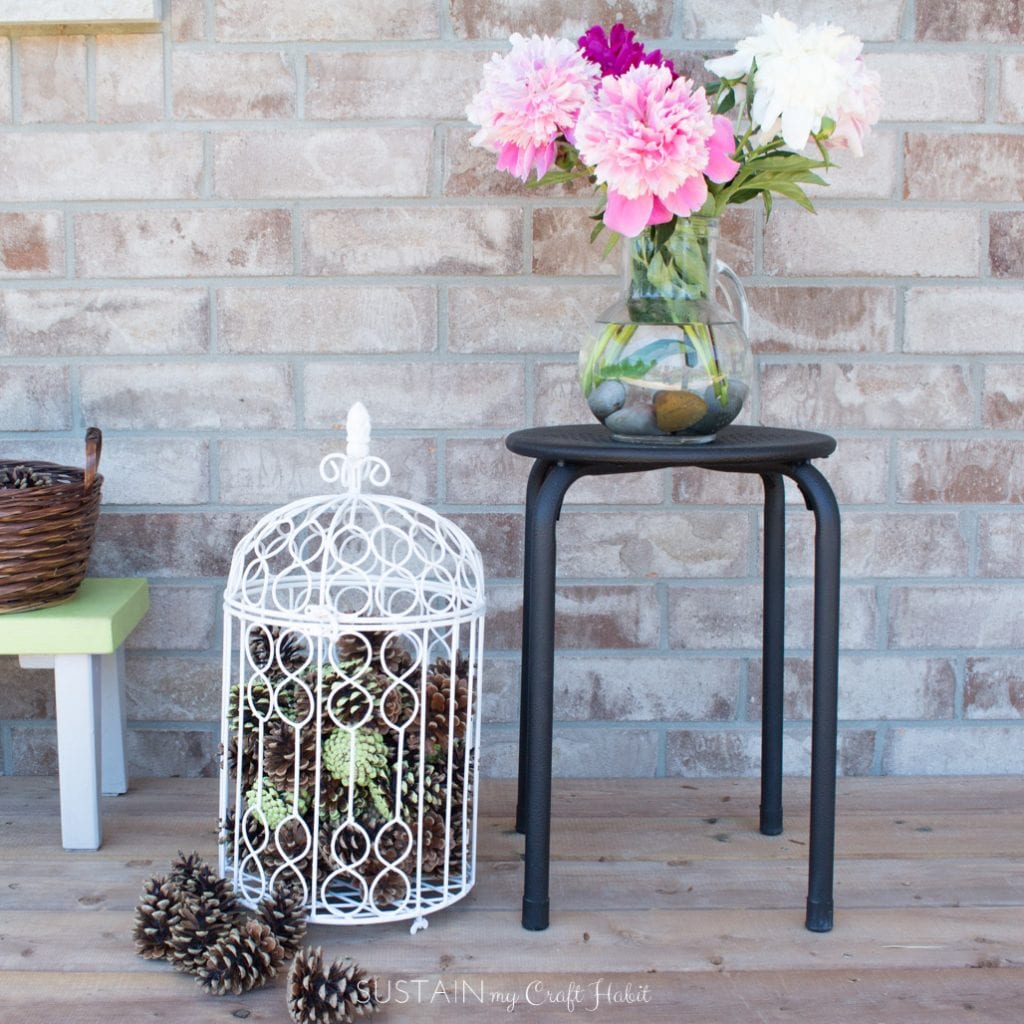
- Spray painted outdoor furniture
Materials Needed
Disclosure: This post contains affiliate links for your shopping convenience. Should you choose to purchase through them, we will make a small commission at no extra cost to you. You can read our full disclosure policy here.
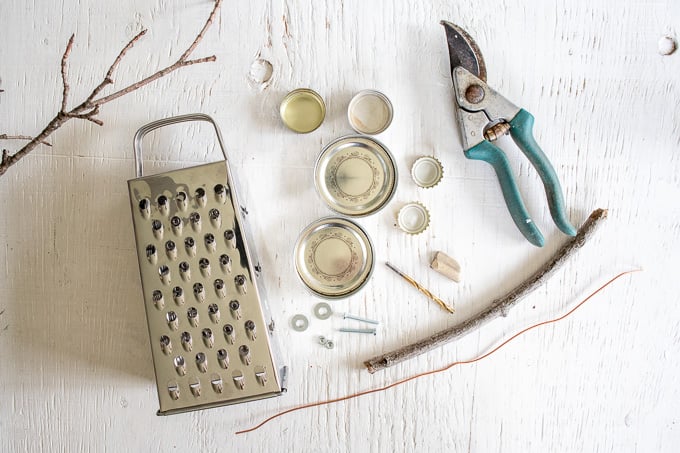
- Stainless steel cheese grater, size 9” high
- Mason Jar lids, x2, size 2.75” diameter
- Metal bottle caps, x2, size 1.5” diameter
- Metal beer bottle caps, x2, size 1” diameter
- 2 screws with washers and bolts
- Drill or Drill Press with appropriate sized drill
- Copper Wire
- Tree Branch, approx. 9” long
- Small tree branch triangular shaped cutting, approx. 1” long
- Hot Glue Gun with clear glue sticks
- Paper, marker and scissors
How To Make An Owl Garden Decor With A Cheese Grater
Preparing the Owl Eyes
The lids will form the owl’s eyes to be secured in place with screws.
To determine where to drill the holes, create a paper template of the owl eyes.
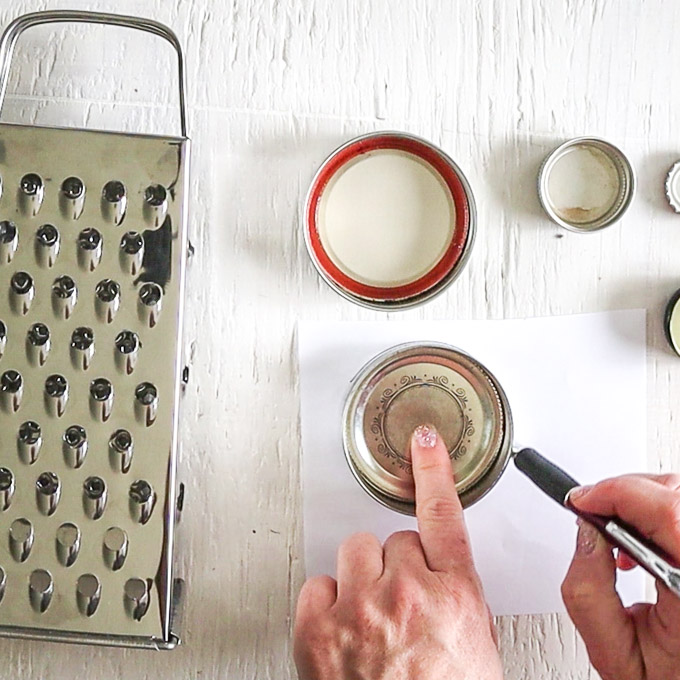
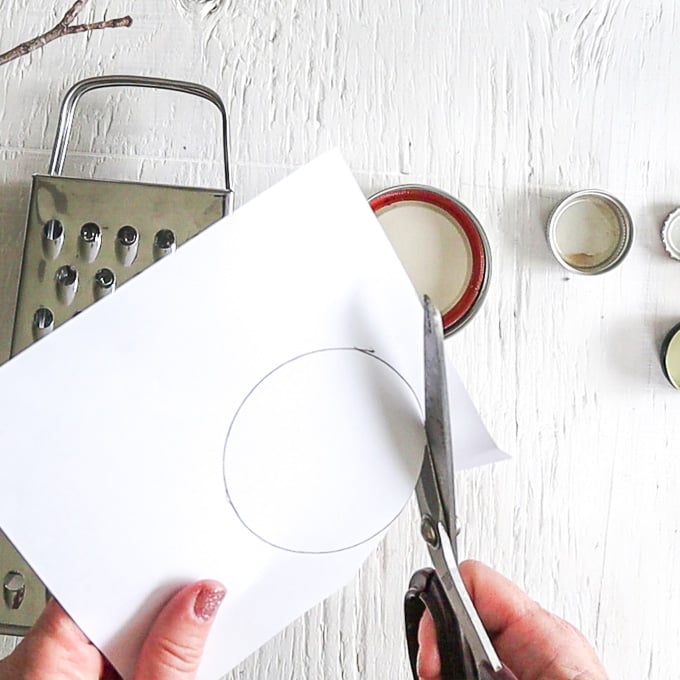
Trace the largest mason jar lid on to a piece of paper and cut out the circle.
Position the paper over the cheese grater towards the top aligning the holes from the grater with the location of the drilled holes.
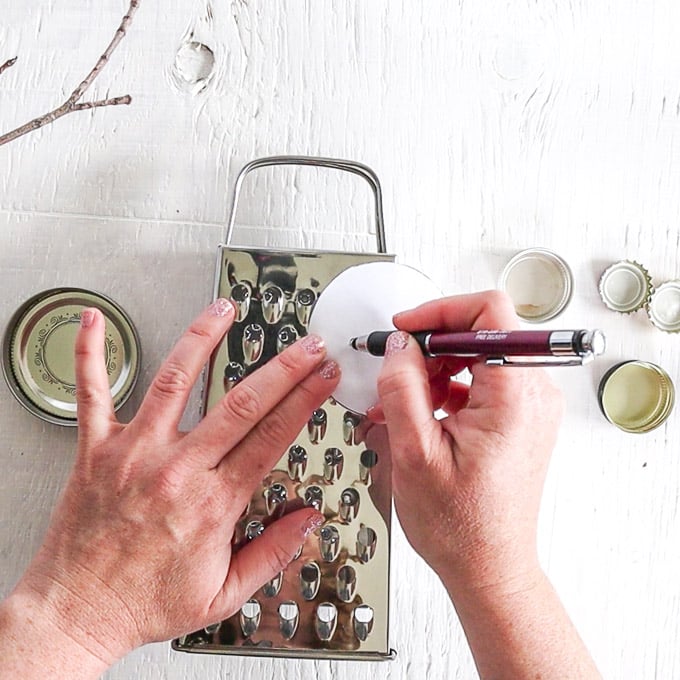
Mark the position with a marker and transfer the markings on to the lids.
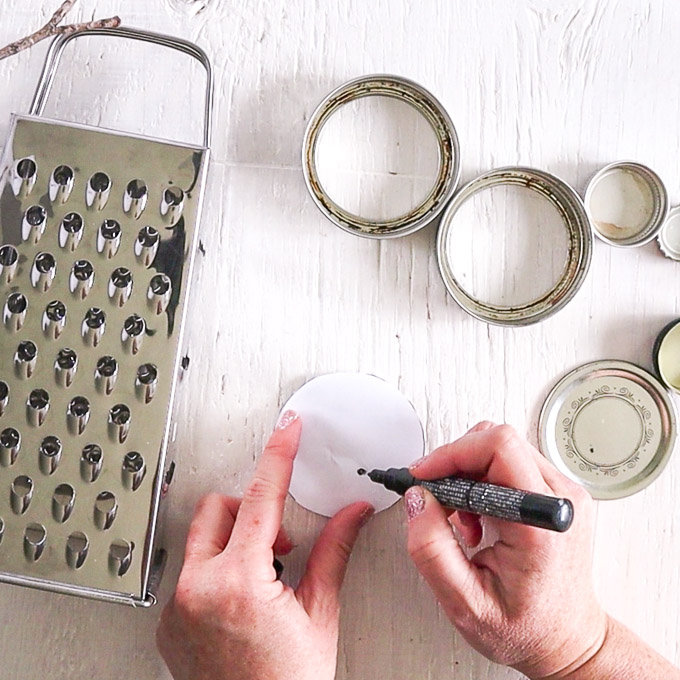
Repeat with the smaller bottle caps.
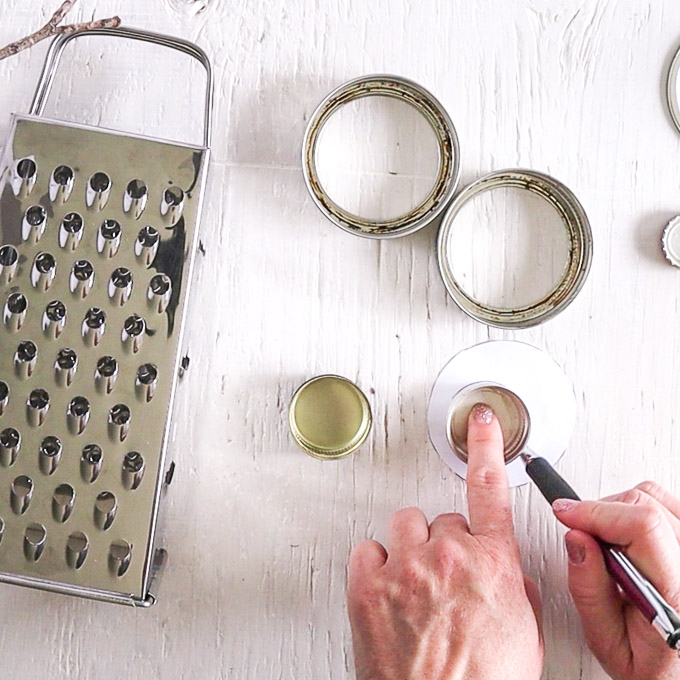
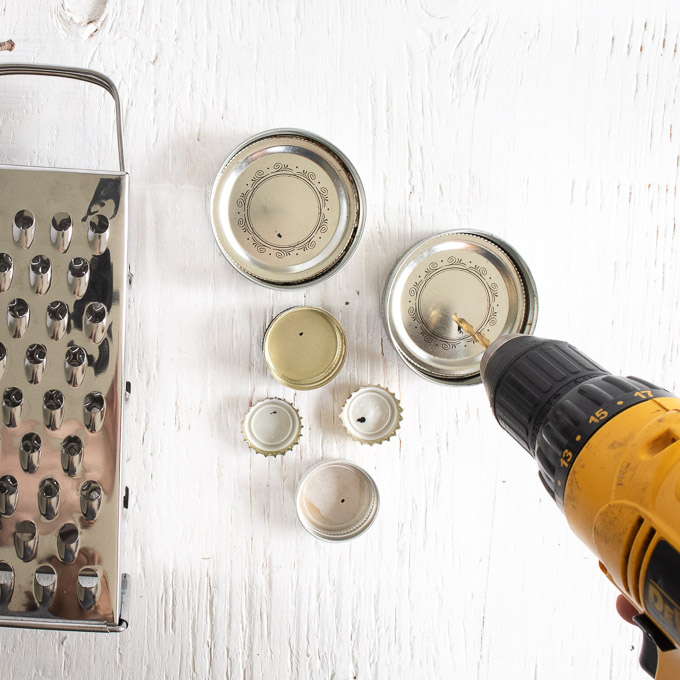
Next, carefully drill holes through the marked positions using a drill press.
Assembling the Owl
Working one owl eye at a time, stack the lids from largest on the bottom to smallest on the top aligning the drilled holes.
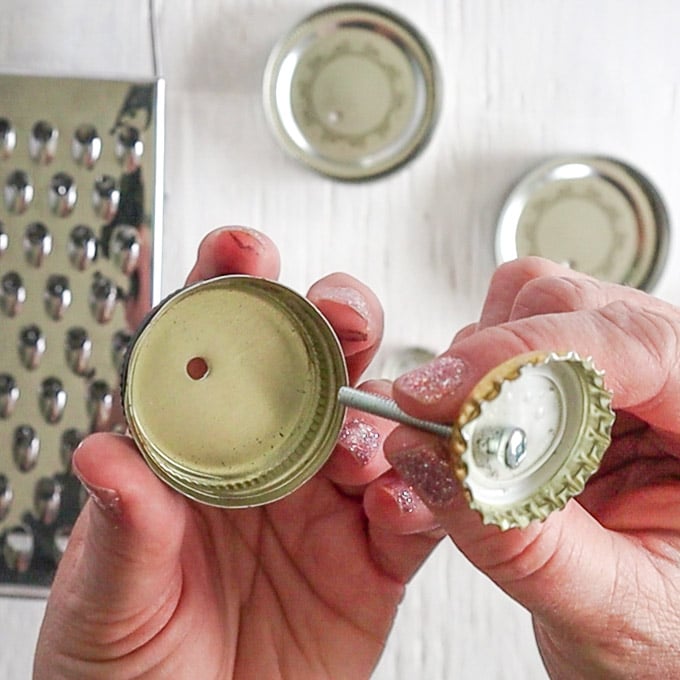
Push the screw through the holes and then align the screw with the designated cheese grater hole.
Place the washer and bolt on the other end of the screw (on the inside of the cheese grater) to secure the lids in place.
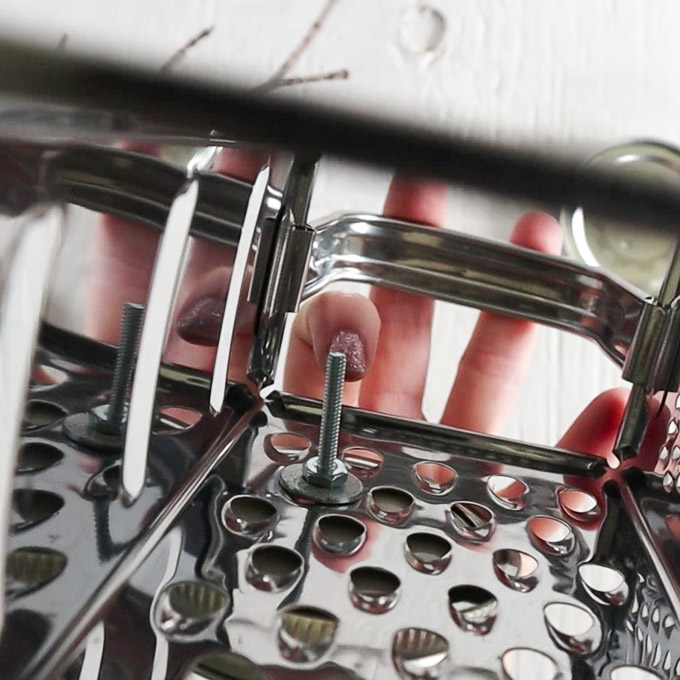
Repeat with the other owl eye.
Heat up a hot glue gun and apply the wood nose piece to the cheese grater in the center just under the eyes.
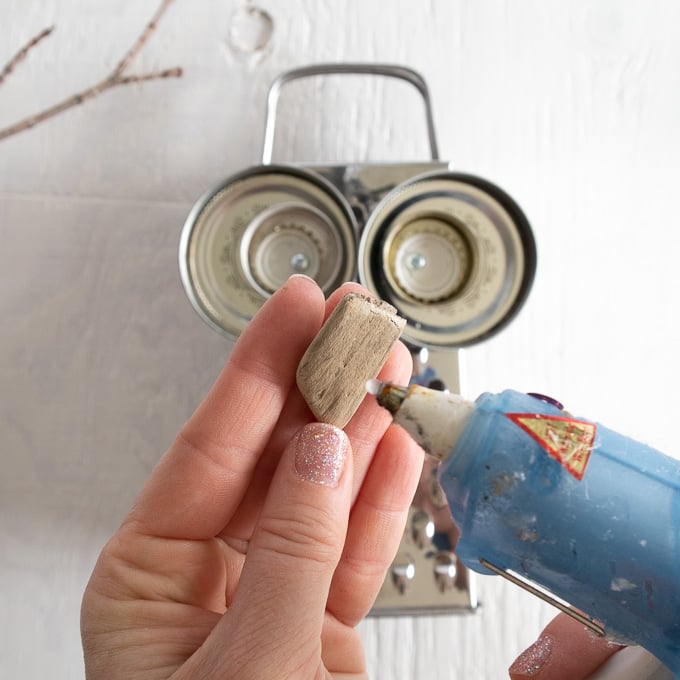
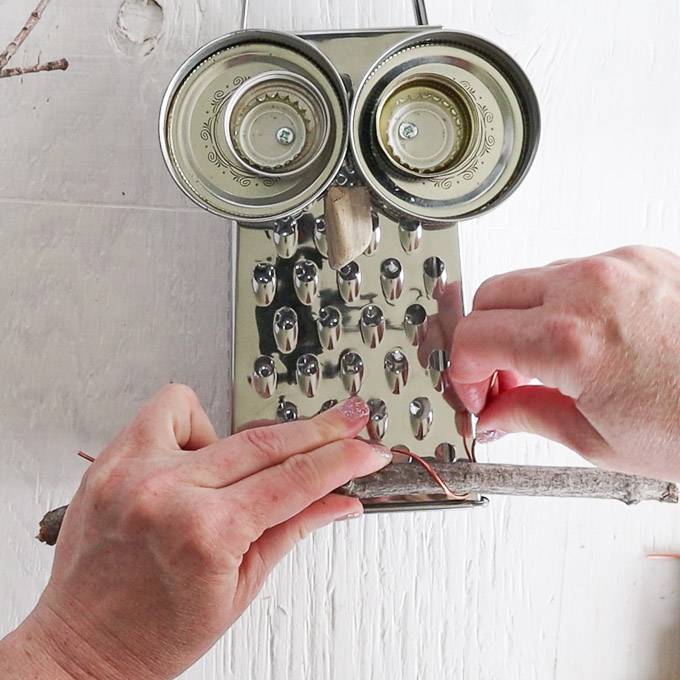
Lastly, thread the wire through the two of the bottom holes of the cheese grater from inside out.
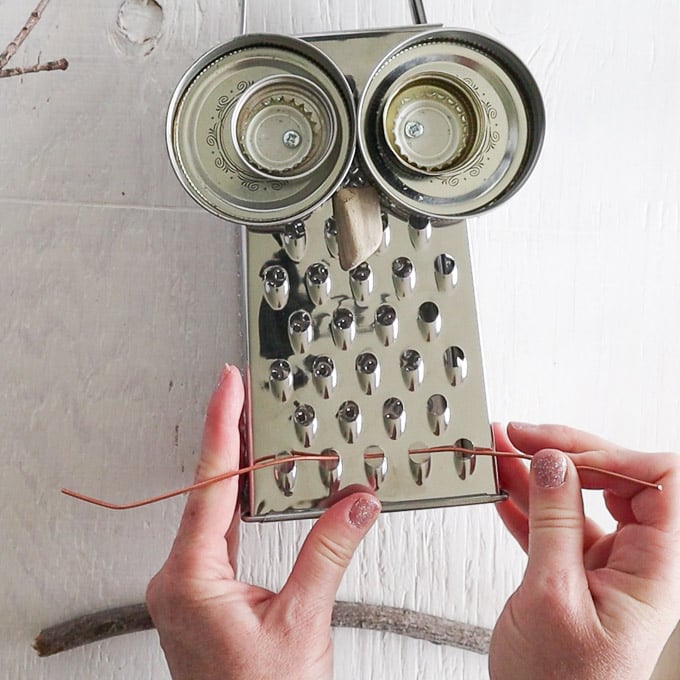
Wrap the wire around a piece of tree branch to secure in place. The wire needs to wrap 3 times to resemble an owl’s claws.
Position the owl outdoors in the garden. Over time, the stainless steel owl decor is intended to rust adding to the outdoorsy, rustic feel.
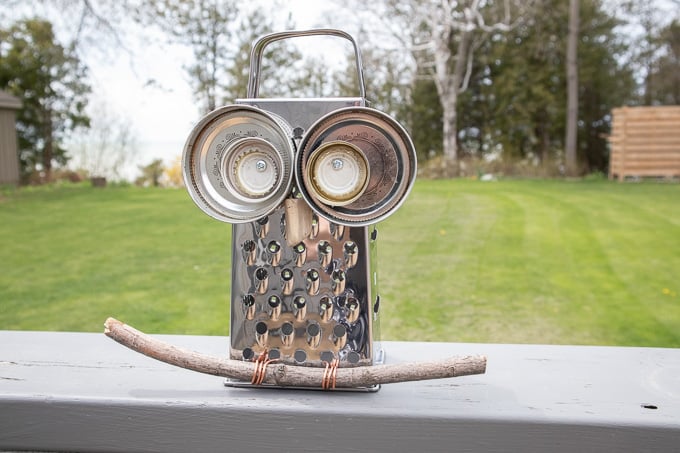
And seeings how cute this little guy turned out, I’ll have to come up with some more cheese grater craft ideas! This project was originally shared on Crafts by Amanda.
Like it? Pin it for later!
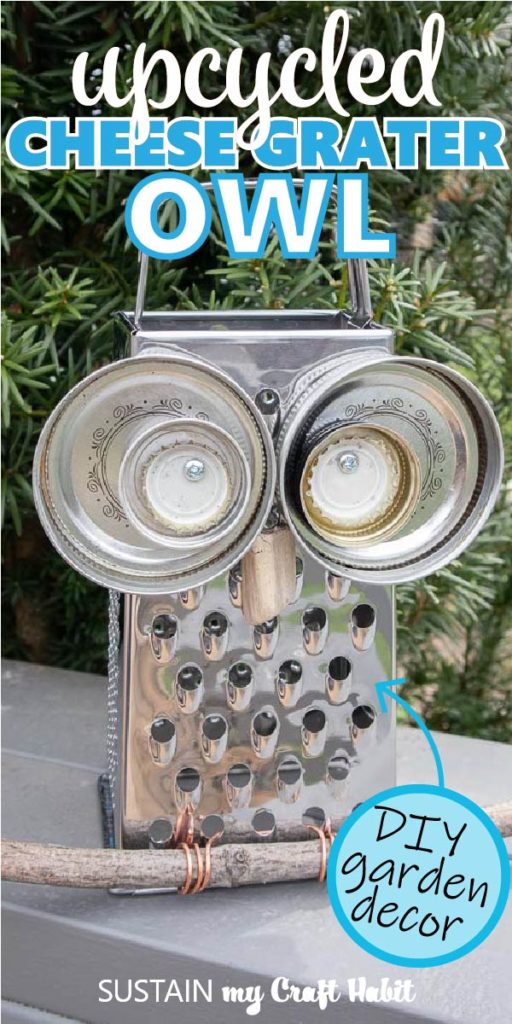
Owl Garden Decor with an Upcycled Cheese Grater
Materials
- Stainless steel cheese grater size 9” high
- Mason Jar lids x2, size 2.75” diameter
- Metal bottle caps x2, size 1.5” diameter
- Metal beer bottle caps x2, size 1” diameter
- 2 screws with washers and bolts
- Drill or Drill Press with appropriate sized drill
- Copper Wire
- Tree Branch approx. 9” long
- Small tree branch triangular shaped cutting approx. 1” long
- Hot Glue Gun with clear glue sticks
- Paper marker and scissors
Instructions
- Preparing the Owl Eyes, to determine where to drill the holes, create a paper template of the owl eyes.
- Trace the largest mason jar lid on to a piece of paper and cut out the circle.
- Position the paper over the cheese grater towards the top aligning the holes from the grater with the location of the drilled holes.
- Mark the position with a marker and transfer the markings on to the lids.
- Repeat with the smaller bottle caps.
- Next, carefully drill holes through the marked positions using a drill press.
- Assembling the Owl by working one owl eye at a time, stack the lids from largest on the bottom to smallest on the top aligning the drilled holes.
- Push the screw through the holes and then align the screw with the designated cheese grater hole.
- Place the washer and bolt on the other end of the screw (on the inside of the cheese grater) to secure the lids in place.
- Repeat with the other owl eye.
- Heat up a hot glue gun and apply the wood nose piece to the cheese grater in the center just under the eyes.
- Lastly, thread the wire through the two of the bottom holes of the cheese grater from inside out.
- Wrap the wire around a piece of tree branch to secure in place. The wire needs to wrap 3 times to resemble an owl’s claws.
- Position the owl outdoors in the garden.



OMG, this is TOO CUTE! What a fun addition to any garden, I love that it’s made from an upcycled cheese grater <3