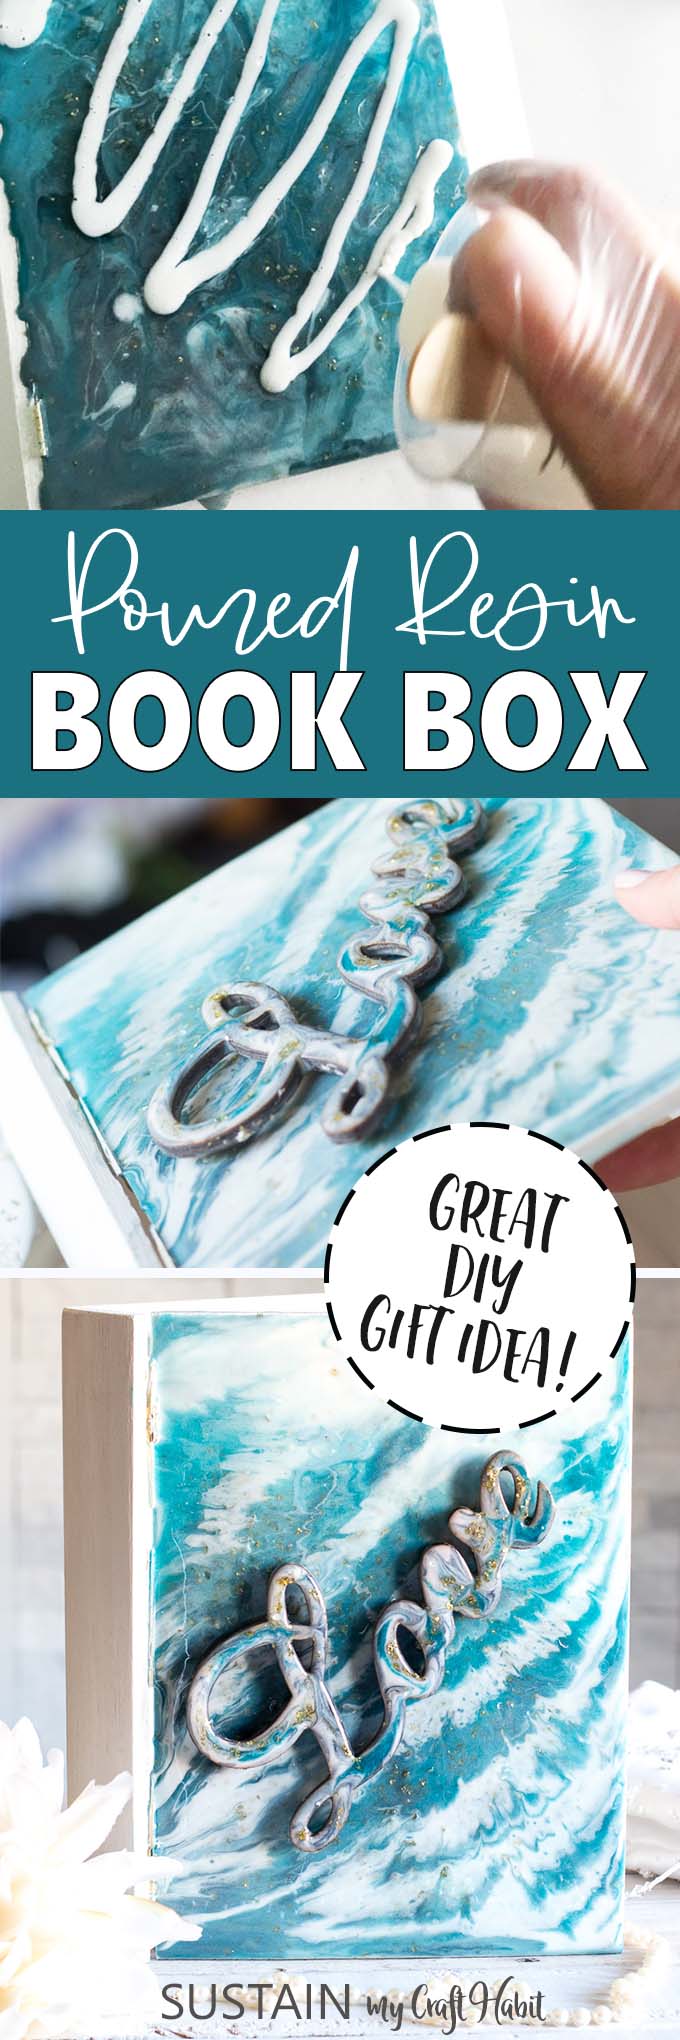
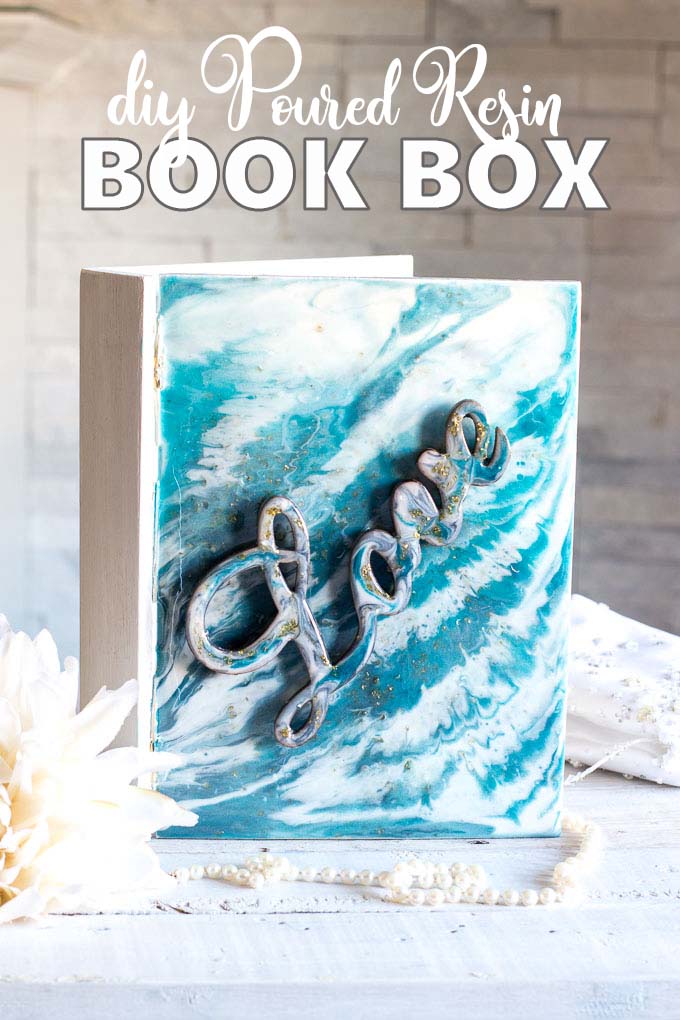
Elegant Resin Pour Memento Box
With wedding season around the corner it’s the perfect time to make some gifts for the love birds. This DIY resin poured memento box is a beautiful and elegant gift idea to help them preserve those special keepsakes.
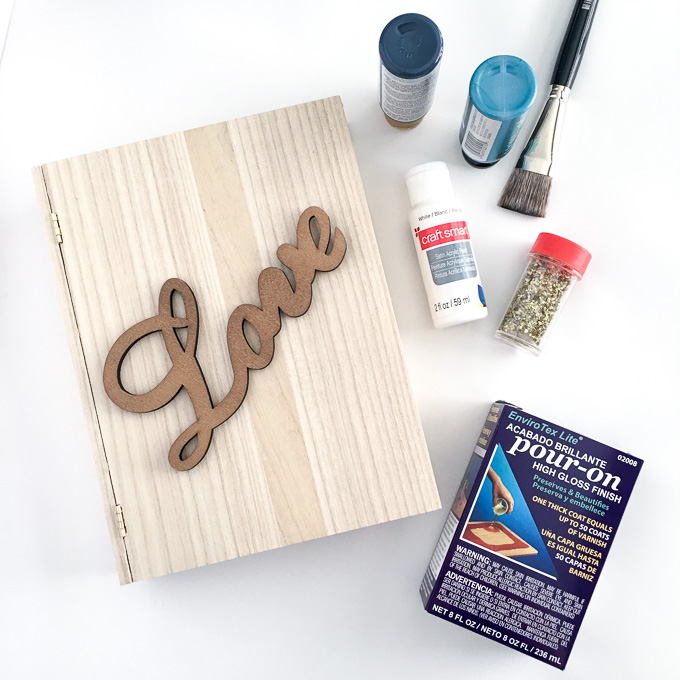
Materials Needed to Make the Keepsake Box:
- Wooden Book Box
- Wood Pallet Word Shape
- Screwdriver
- Fine grit sandpaper
- Acrylic Craft Paint in white, deep blue, metallic blue topaz
- Ultra Seal Multi-Purpose Sealer / Glue (or any clear drying craft glue)
- Envirotex Lite Pour-On
- Gold glitter flakes
- Paintbrush
- Small and large cups, wooden stir sticks, small kitchen torch, disposable work surface, disposable brush, gloves
- Hot glue gun and clear craft glue
How to Make a Resin Coated Box:
PREPARING THE BOOK BOX COVER FOR THE RESIN POUR
The resin will pour off of your piece so prepare your work surface with disposable paper (e.g. newspaper) to catch any run off.
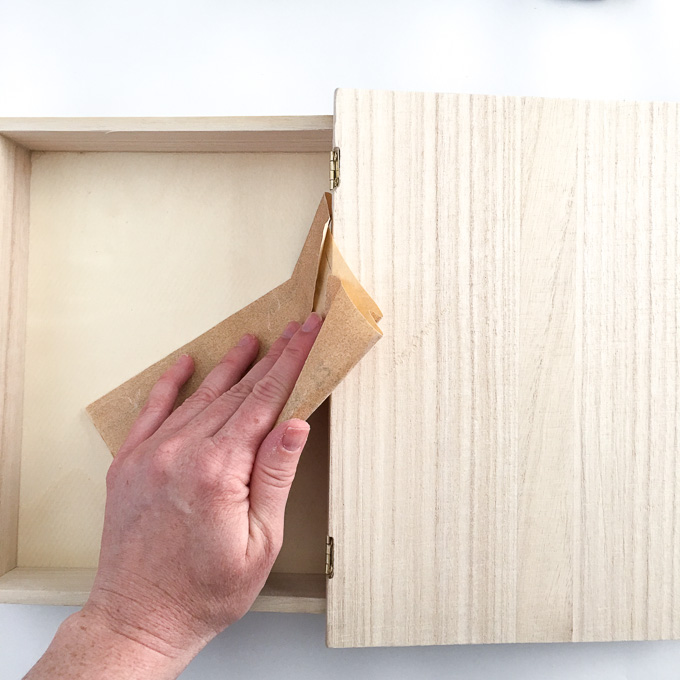
IMPORTANT: Remove the cover flap from the rest of the box by unscrewing and removing the hinges. I tried to complete the project leaving the cover on the box and had some problems in the end with the resin getting into the hinges (even though I tried to cover them with tape).
Lightly sand all the surfaces and edges of the wood book box using fine grit sandpaper.
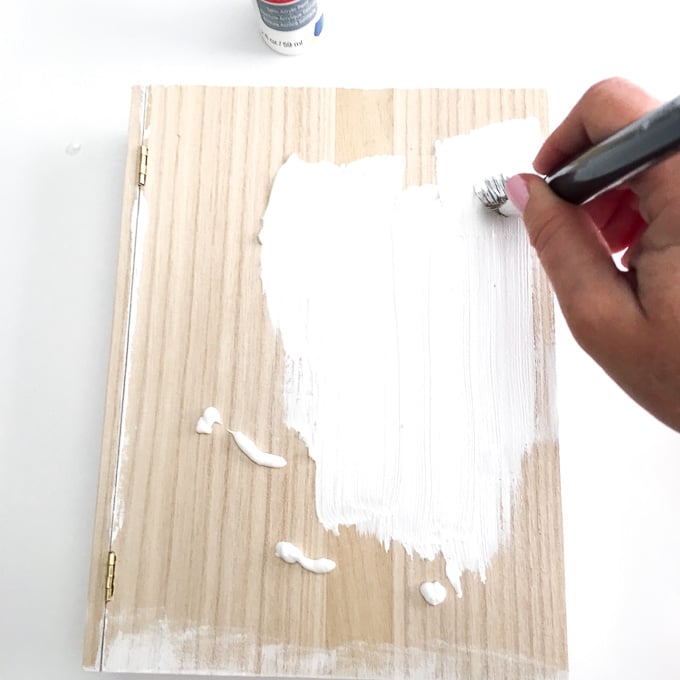
Paint all of the surfaces with two coats of white acrylic paint.
Coat the surface flap which you plan to pour the resin onto with a multi-purpose glue/sealer and let dry completely.
Tape off the edge of the cover flap along the spine side of the book box. Otherwise you may have difficulty reassembling the book box when finished.
MIXING AND COLOURING THE RESIN SOLUTION:
Read and follow all instructions in the Envirotex Lite packaging for best results. Work in a well ventilated area with gloves.
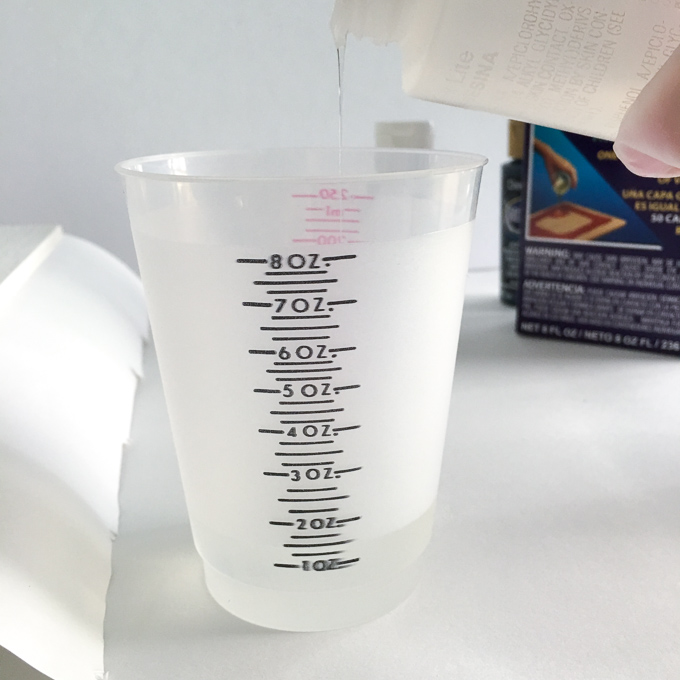
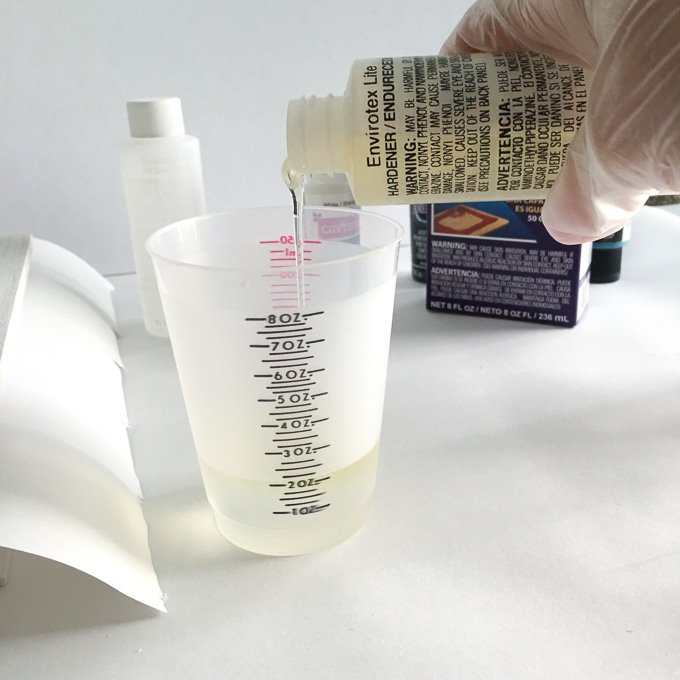
Ensure your resin and hardener are at room temperature or warmer before mixing.
Mix exactly equal amounts of Resin and Hardener into one measuring cup. The size of your piece will determine how much resin you need. In my case, I poured 2oz of the resin and 2oz of the hardener.
Stir together continuously for 2 minutes, scraping the sides of the container.
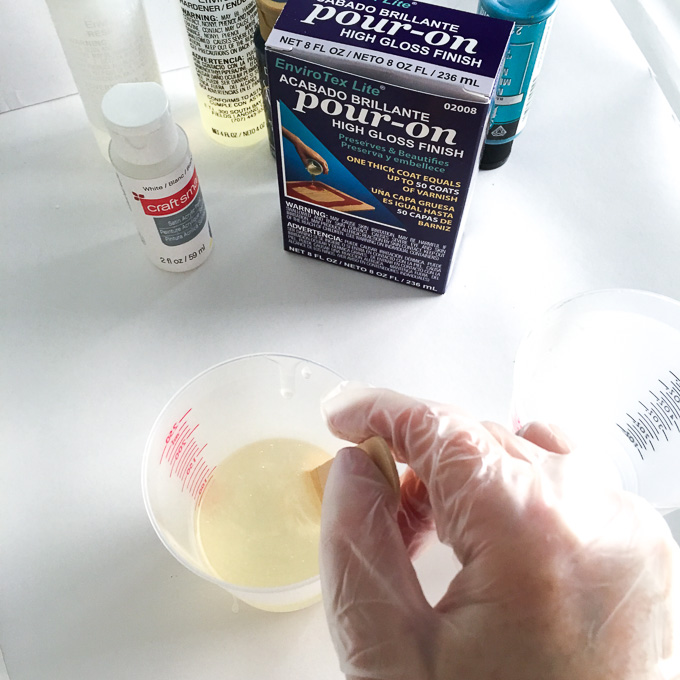
Pour the mixture into a second cup and stir for an additional minute, scraping the sides of the container and stir stick.
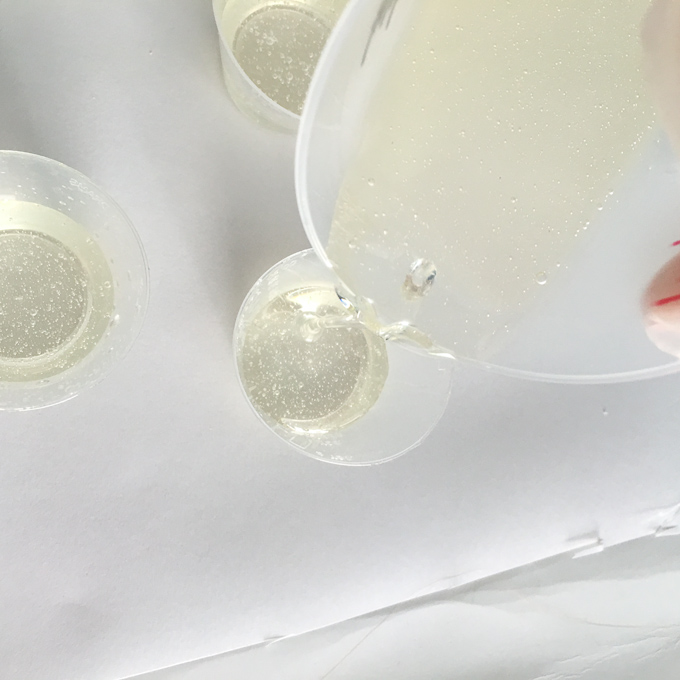
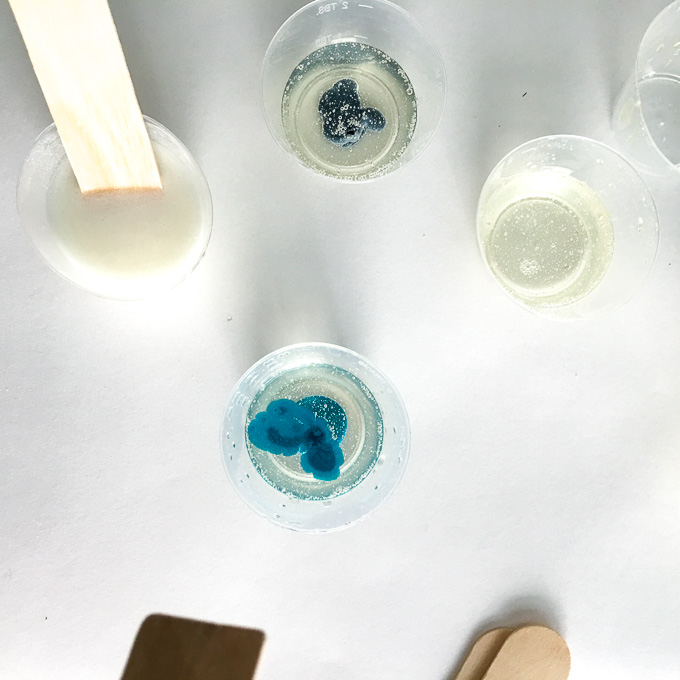
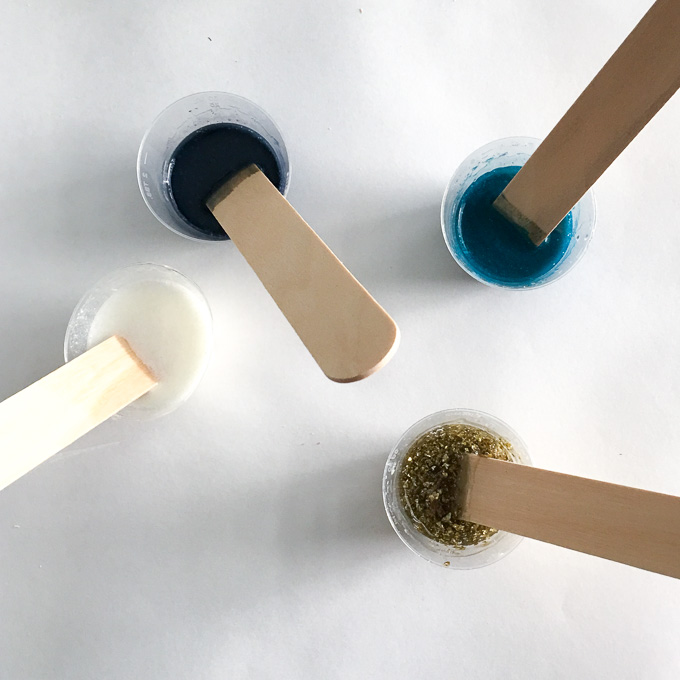
Evenly distribute the resin mixture into 4 different smaller cups. Add 3-4 drops of acrylic paint of each colour in each cup. Mix gold glitter flakes in the fourth cup.
POURING THE COLOURED RESIN
Elevate your painted and sealed wood flap off of your work surface. A couple of small cups underneath work great!
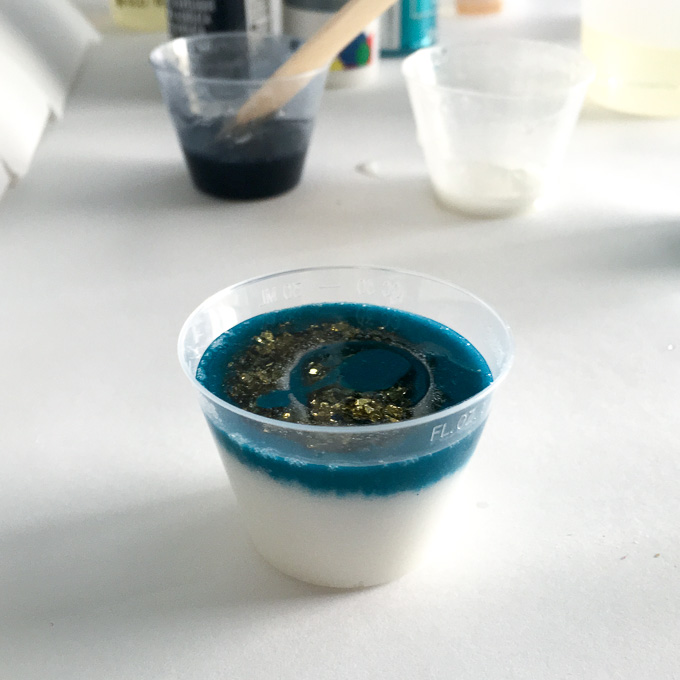
In a separate cup, pour about half of the white tinted resin. Then slowly pour some of the topaz tinted resin in the center, then some gold glitter resin and finally a bit of the deep blue. Repeat this pattern with smaller amounts until you nearly fill up the cup. There’s really no wrong way to go about this!
Place a flap of sturdy paper such as thick card stock over the top of the cup.
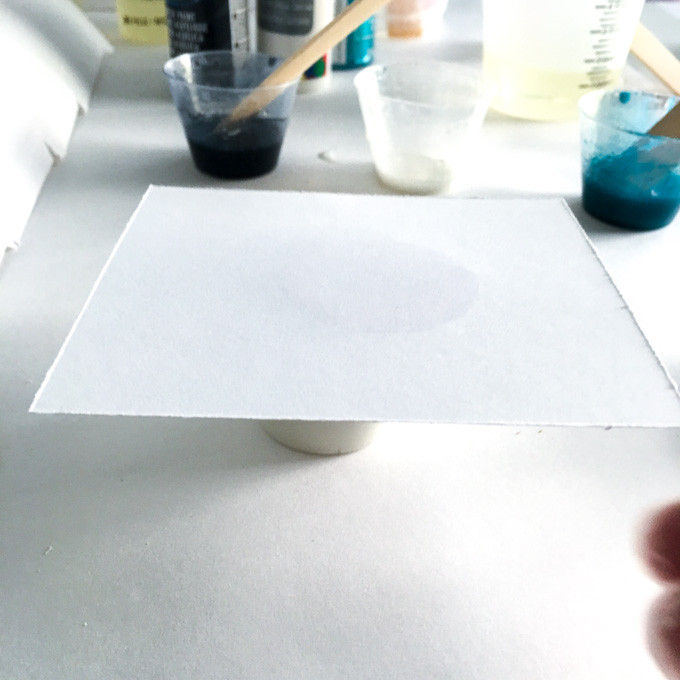
Try and hold it tight to the rim of the cup and then flip it all over onto the book box cover.
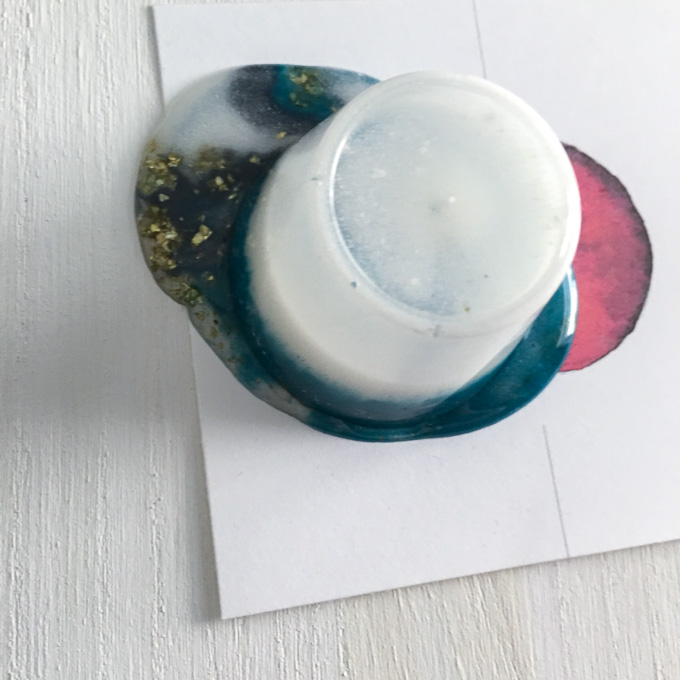
Firmly hold the cup down and slowly slide the card stock out from underneath the cup. Next, gently lift the cup up to reveal your creation!
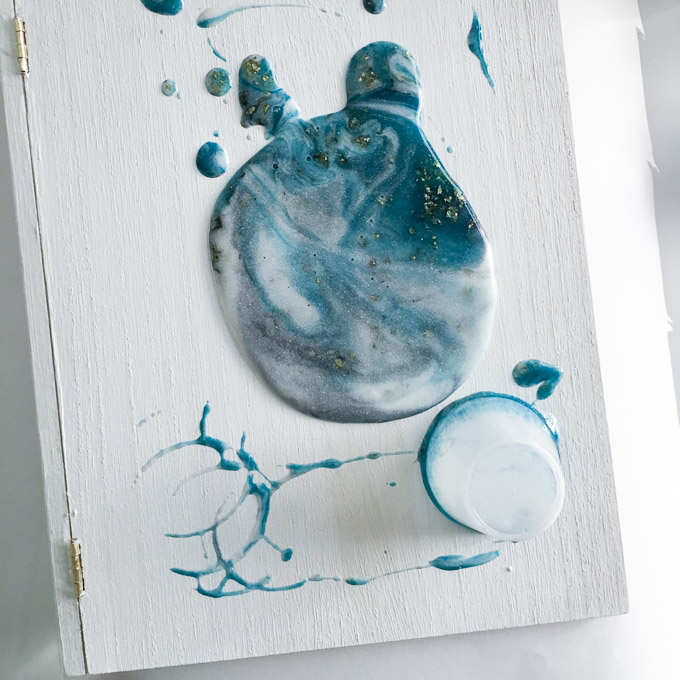
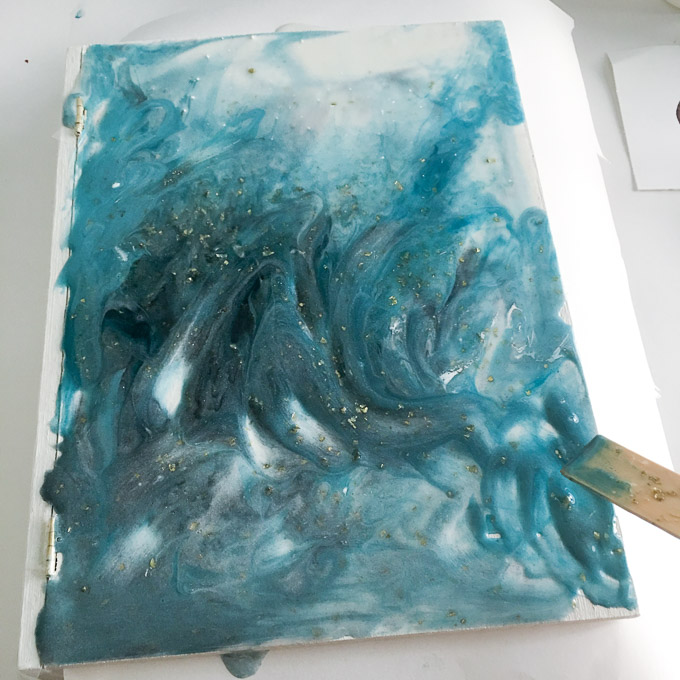
Use the wood stir stick or a disposable brush to distribute the resin to the edges of the book box cover. You may need to repeat the resin pour with additional resin to fully cover the surface.
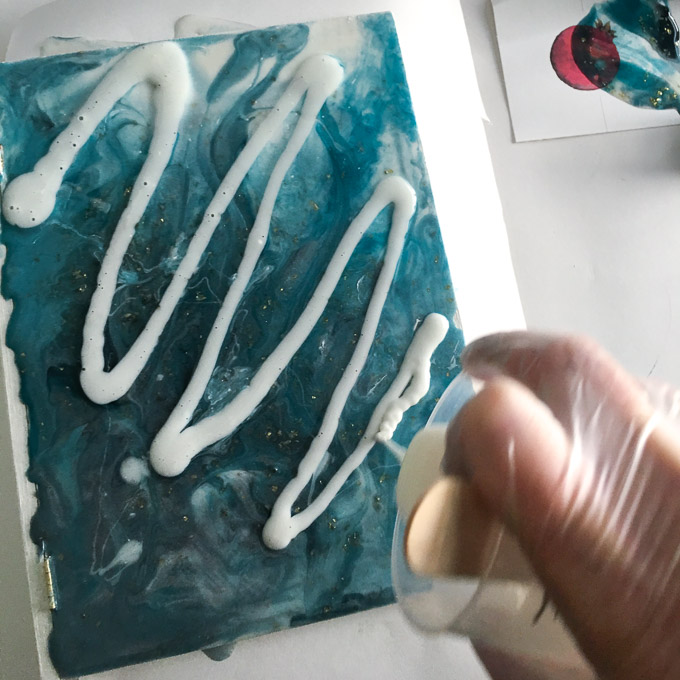
I felt that the cover was a bit too dark for a wedding keepsake box, so I zig zag poured some white resin in a diagonal across the cover.
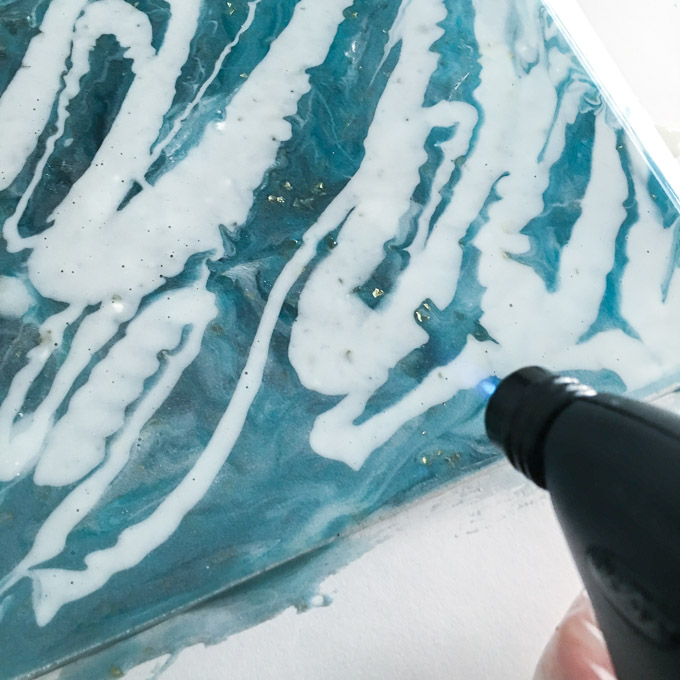
The resin blends together beautifully as it settles. However, I helped to soften the edges using the air and heat from the kitchen torch. Use the torch to pop any air bubbles that arise to the surface. I did this several times over the first hour or so of the curing process. Be sure to cover the piece to keep dust from settling in.
With the remaining resin, coat the wood Love shape. Be sure to raise it off of your work surface to let the resin drip off (I used a few small measuring cups).
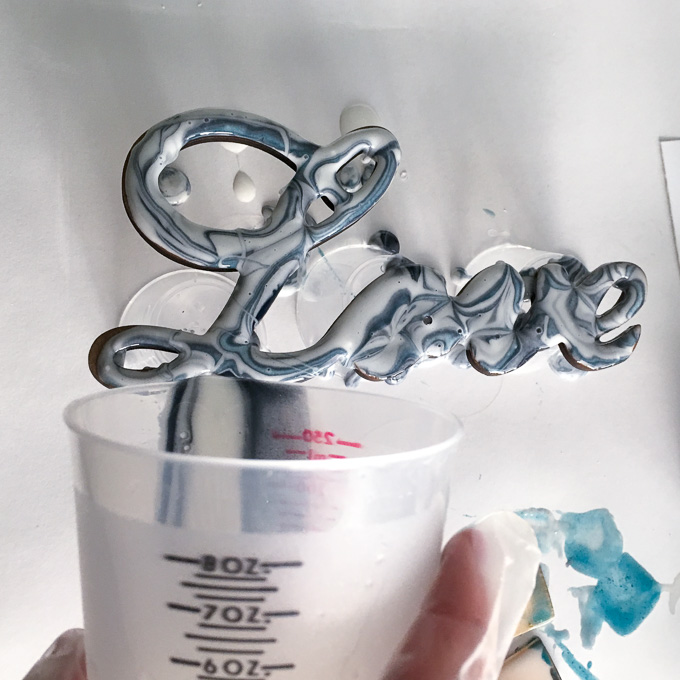
Add in the glitter resin in various spots.
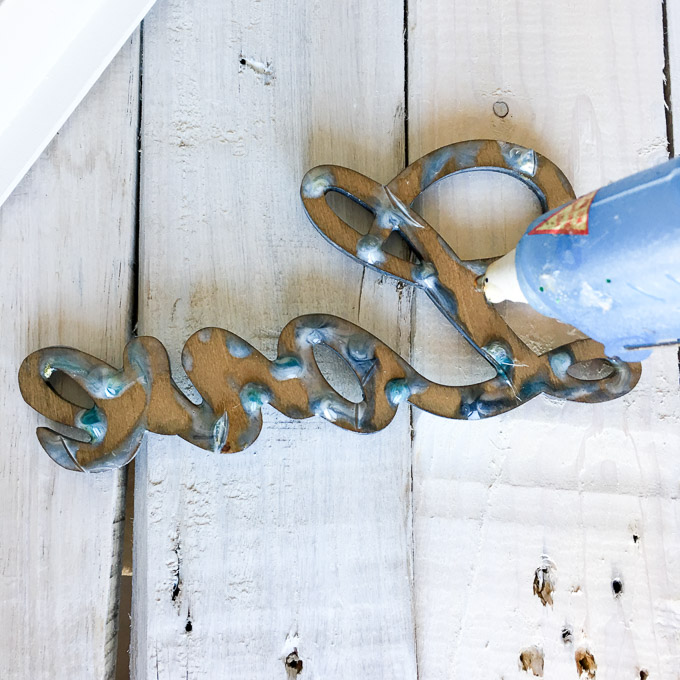
Use the kitchen torch to blow off any air bubbles then cover and let cure overnight.
Once the phrase and book box cover are fully cured, glue the phrase in place with hot glue. Note, you may need to trim down any large drips on the back side of the phrase.

I’m so pleased with how my first resin pouring project turned out! It’s a bit of a mystery what the end result will be and no two projects will ever be the same. That’s the beauty of resin pouring.

We have a whole collection of fun resin projects on the blog including:
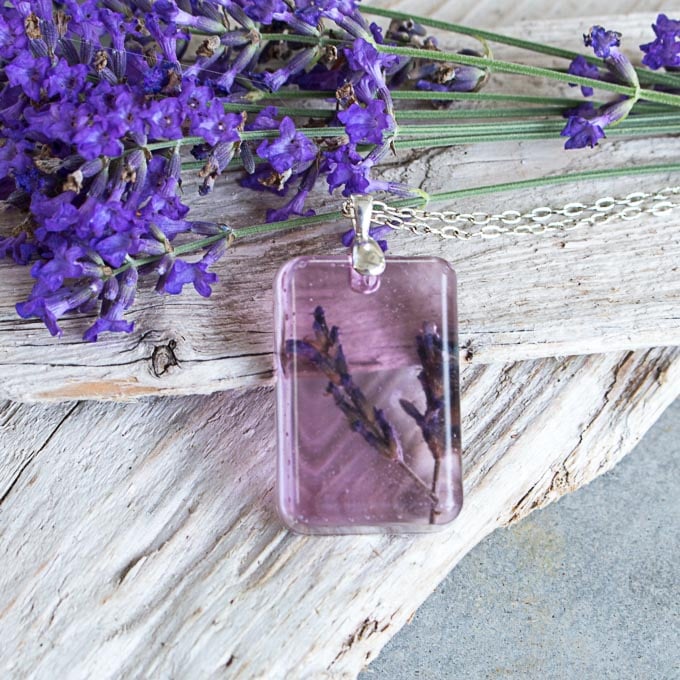
- resin jewelry with pressed flowers;
- beach themed photo coasters;
- rustic glam jewelry organizer;
- mermaid wall decor;
- beach wall art
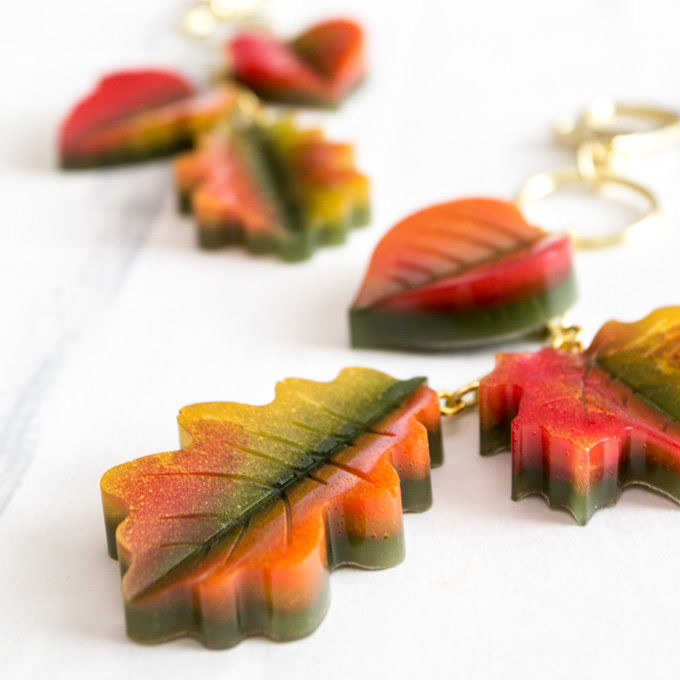
- resin leaves purse charm
- hand lettered wood slice keychains, and more.

What was the most memorable handmade gift you’ve ever given or received?
Like it? Pin it for later!