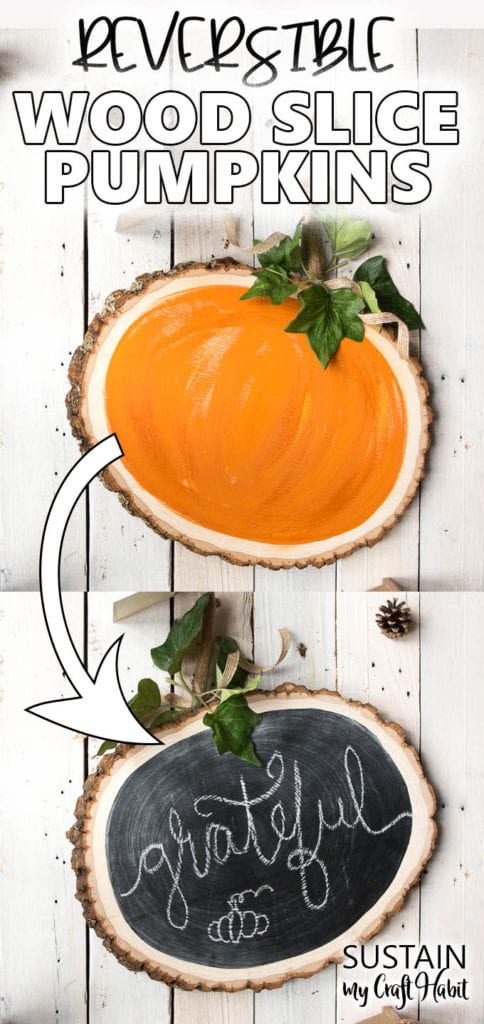

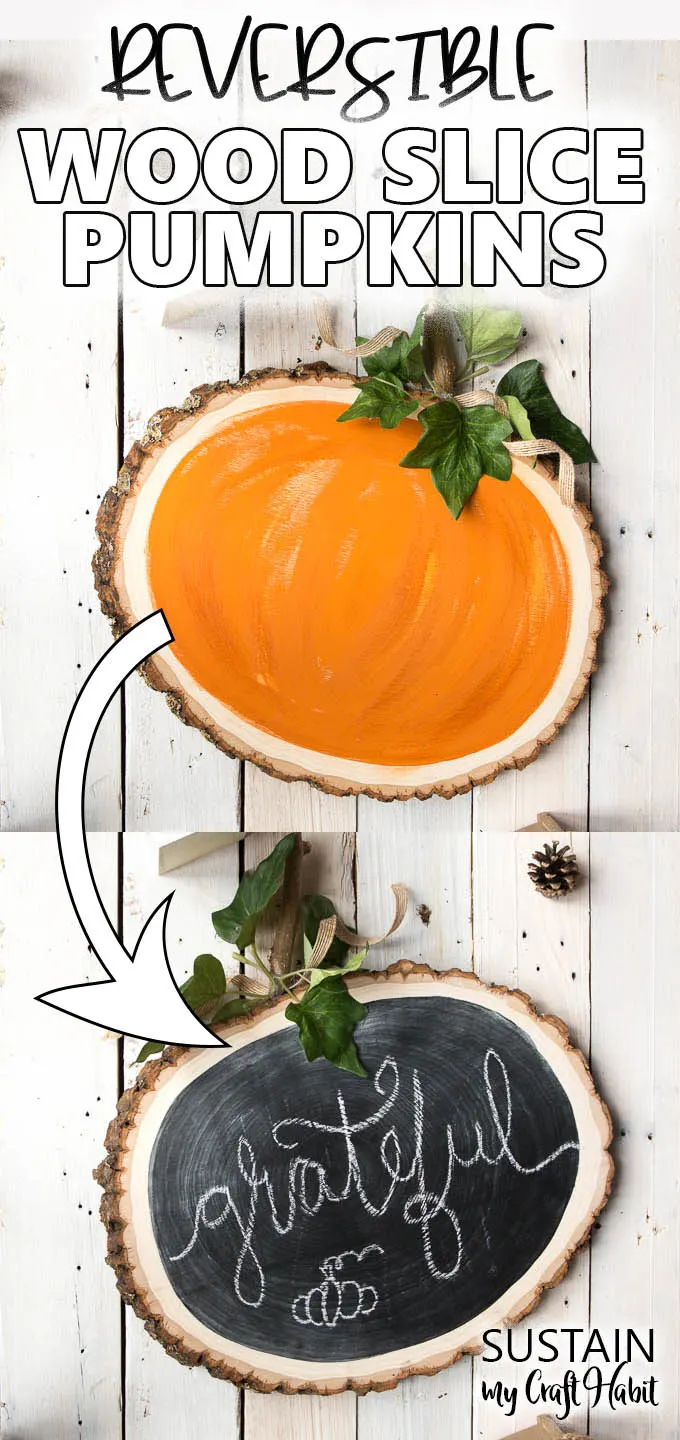
Add a little rustic charm to your fall decorating with this pretty, reversible wood slice pumpkin idea! This DIY pumpkin decor will be perfect through the whole fall season.

Does this ever happens to you? You’re walking through the craft store and see that item (or two, or three) that you’ve ALWAYS wanted to craft with. And it calls to you “Take me home. I’m sure you’ll come up with a genius way to use me.”
OK, so yes. That’s every visit to the craft store. But what’s a girl to do when the crafty goodness wants to come home too?

That happened to me with this beautiful wood slice. It looked so lonely at the store I couldn’t let it down by leaving it there. OK, so there may have been two in the package, but who’s counting?
Inspiration Struck: DIY Pumpkin Decor!

Since it is fall, the idea of some DIY pumpkin decor came to mind. I’m not one to typically decorate with orange so wanted to have more options. And who doesn’t need a little chalkboard to write welcoming messages on?
This reversible wood slice pumpkin looks lovely on my mantel alongside these additional fall decorating ideas:
- No-sew DIY fabric pumpkins;
- Painted mason jar pumpkins;
- Fresh flower mini pumpkin vase;
- Easy DIY fall string art.
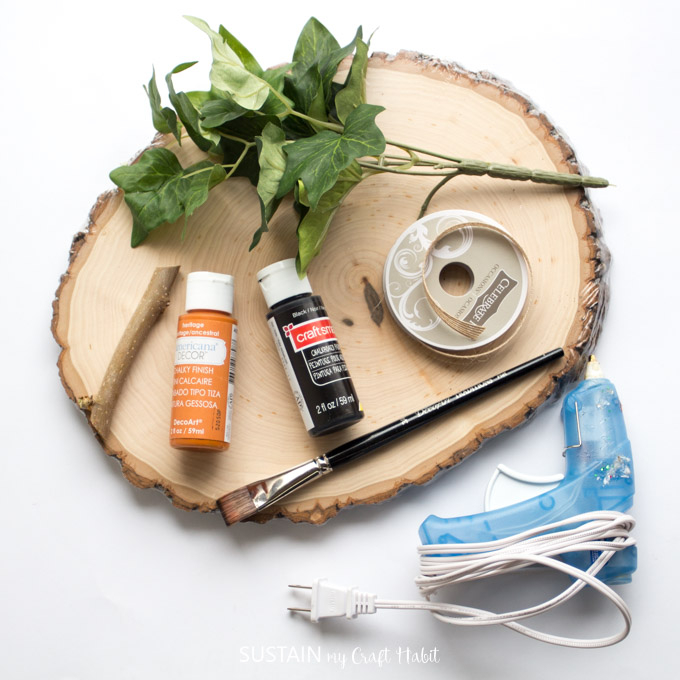
Materials Needed to make this DIY Pumpkin Decor
- Walnut Hollow Large Basswood Country Round (9-11” wide)
- DecoArt Americana Decor Chalky Finish paint in Heritage
- Black Chalkboard Paint
- Medium paint brush
- Fine grit sandpaper (300 grit)
- Clean, dry cloth
- Small wooden stem
- Burlap ribbon or twine
- Artificial green foliage
- Hot glue gun with clear craft glue

How to make a DIY Wood Slice Pumpkin
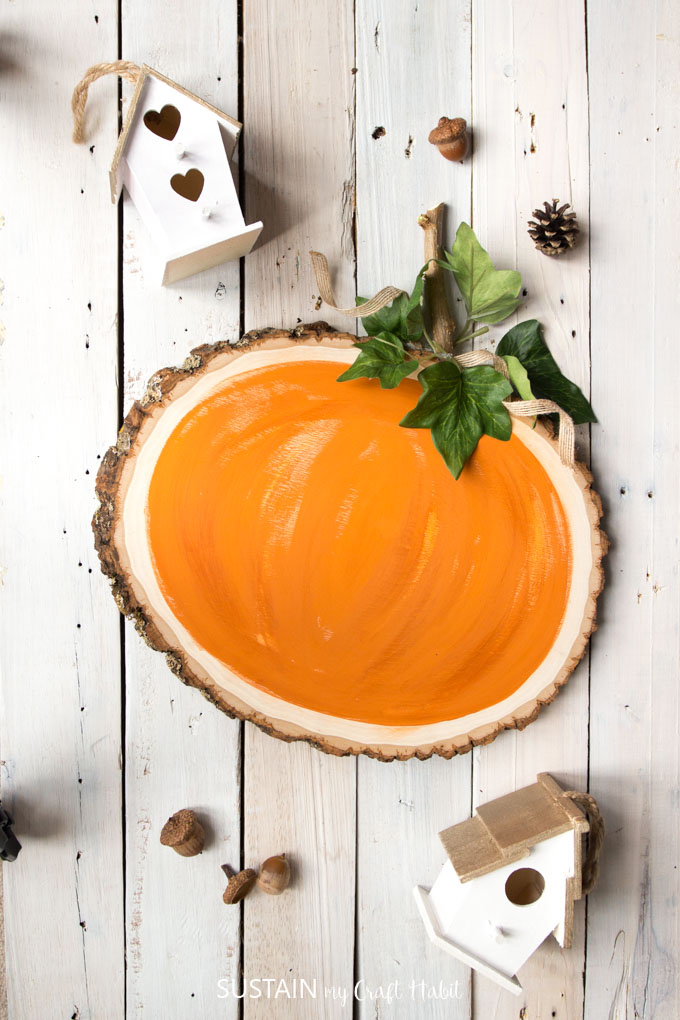
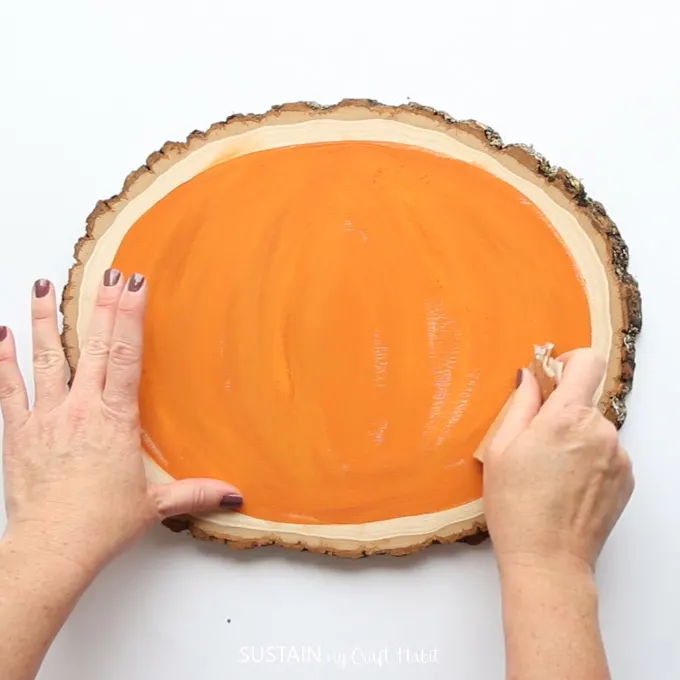
Rustic Orange Pumpkin
Decide whether your pumpkins will be tall or wide (as ours is) and place the wood slice on a flat surface in front of your accordingly. Start by painting a large oval using the Heritage colour paint, leaving about ¼” of the wood slice exposed between the bark and the paint line.

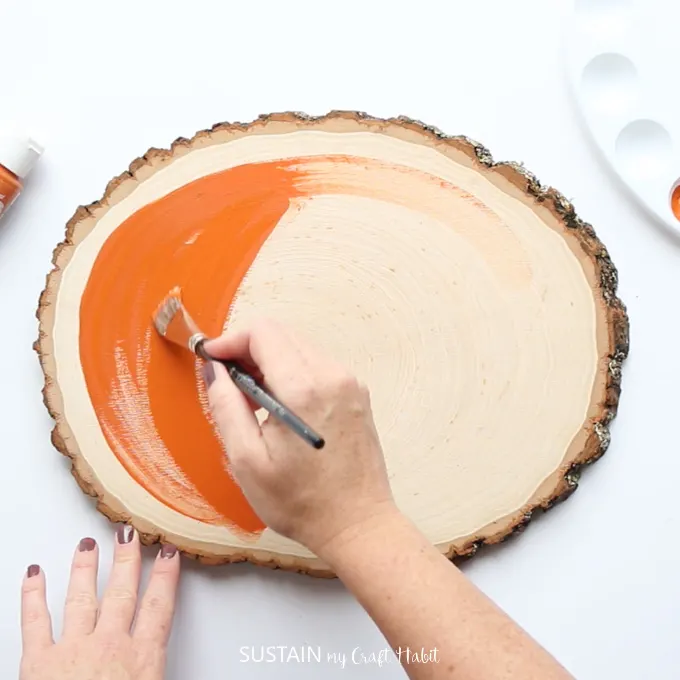
Continue from one side of the wood slice to the other, working in curved wedge sections (like the sections on a pumpkin).
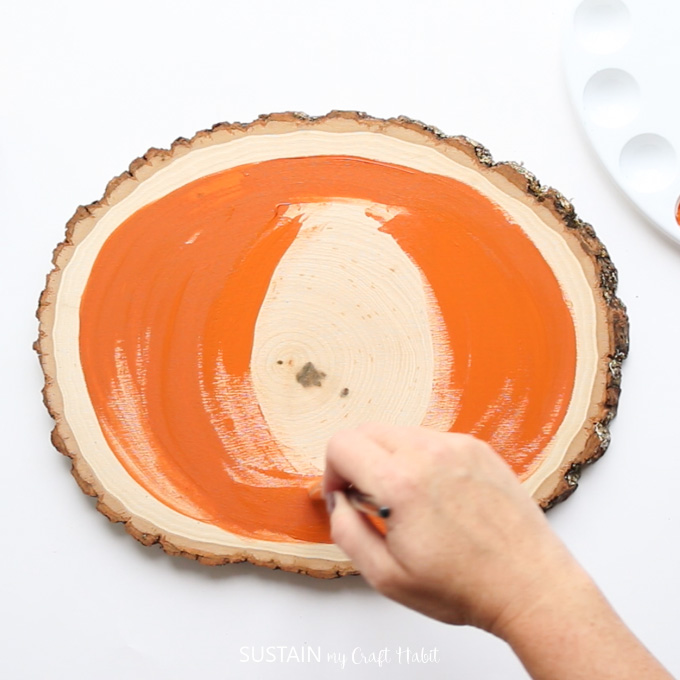

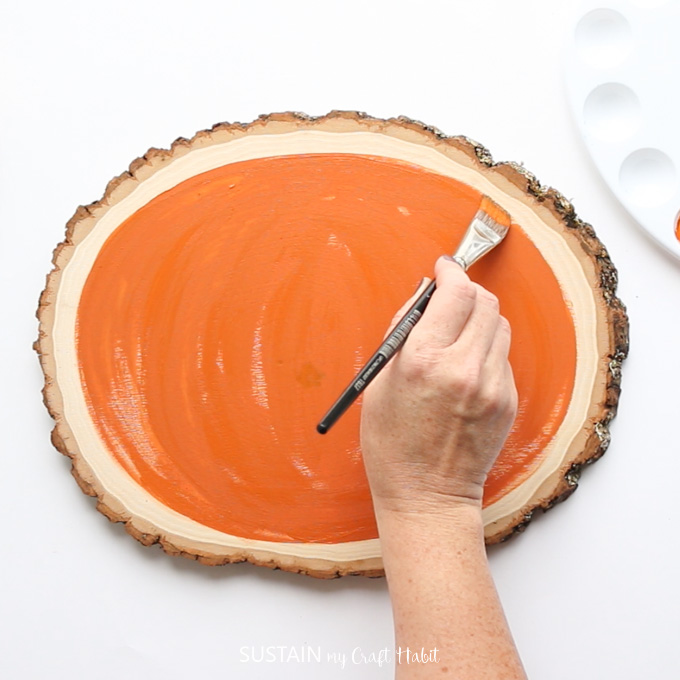

Leave some sections very lightly painted, or even unpainted for the truly worn, rustic look. Once painted, let dry completely (at least one hour).
Once dry, lightly sand sections of the “pumpkin” to accentuate the wedges you painted. Gently wipe away any paint dust with a clean cloth.

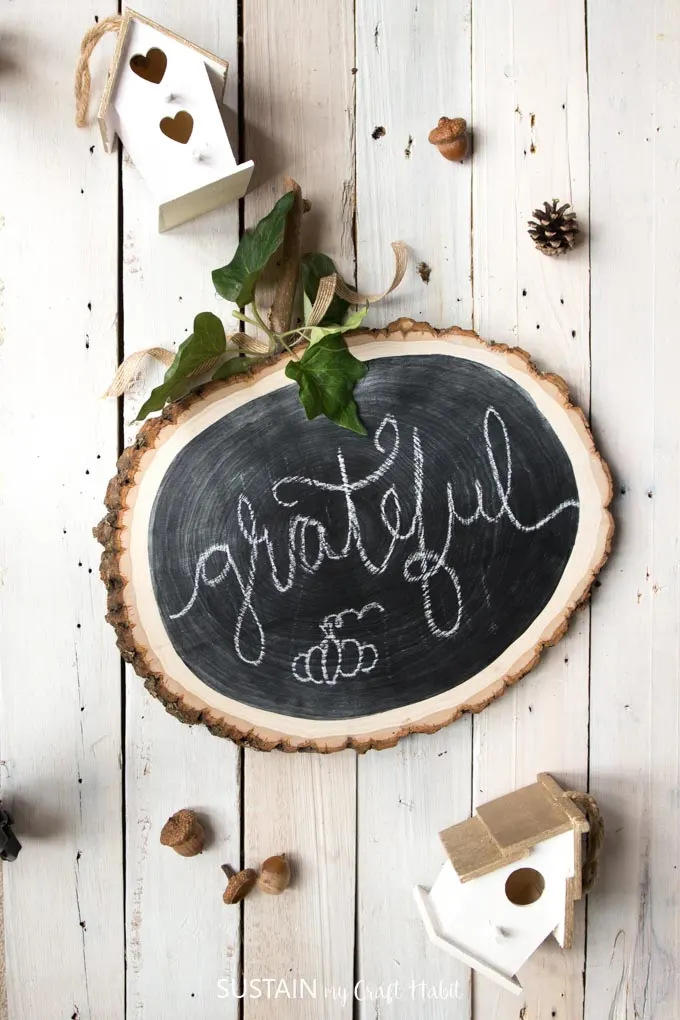
Black Chalkboard Pumpkin
Turn the wood slice over. Again, paint an oval onto the wood slice surface, leaving a ¼” border of exposed wood all around. Paint the first coat with vertical strokes and then let dry for at least one hour.

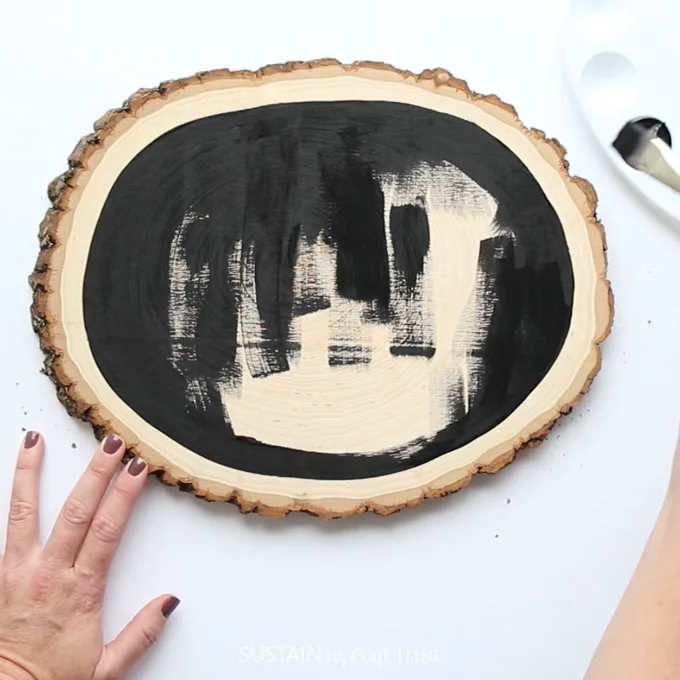
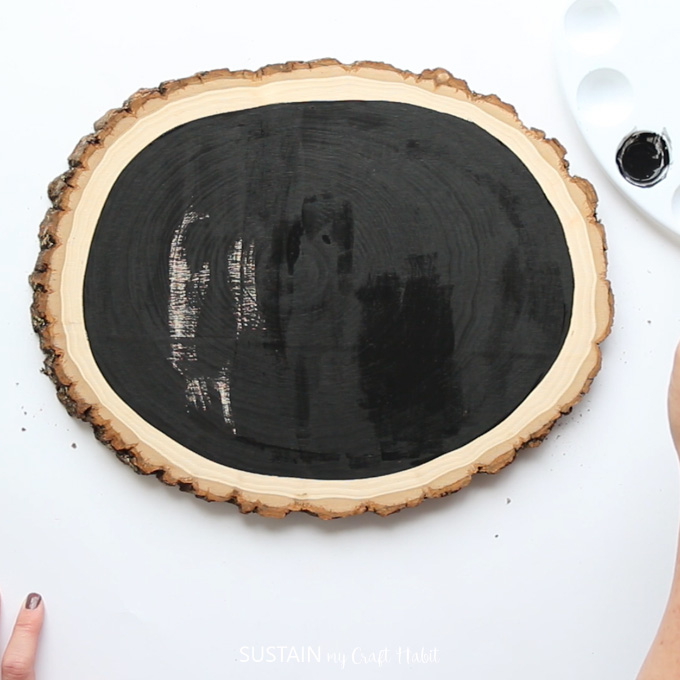

Paint a second coat of chalkboard paint, this time with horizontal strokes. Let dry completely.


Note: Prior to using the chalkboard, you may want to “prime” it by lightly running a piece of chalk in all directions over the surface and then wiping it off with a damp cloth. This will help to keep your writing from imprinting onto the chalkboard surface.
Attaching the Stem and Leaves
I cut a 4” long stem from my mulberry tree out front of my house. Use any type of branch you have or even a wine cork instead.
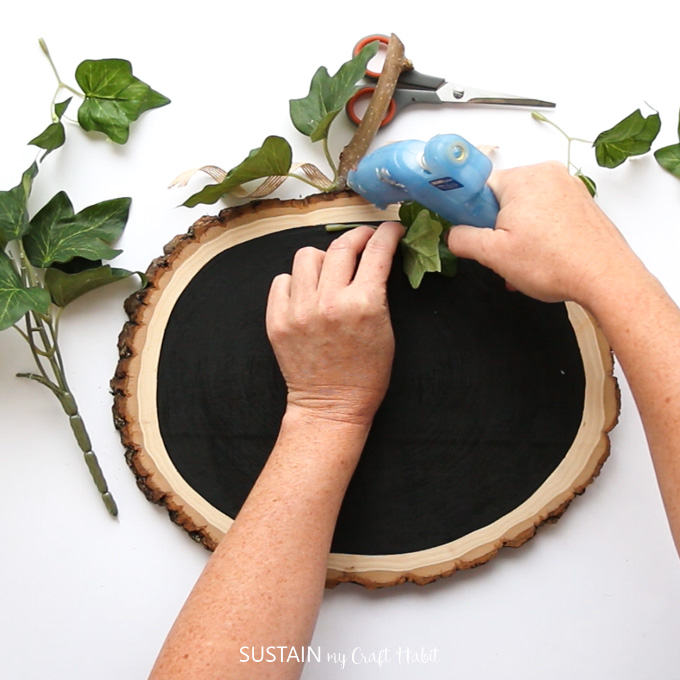


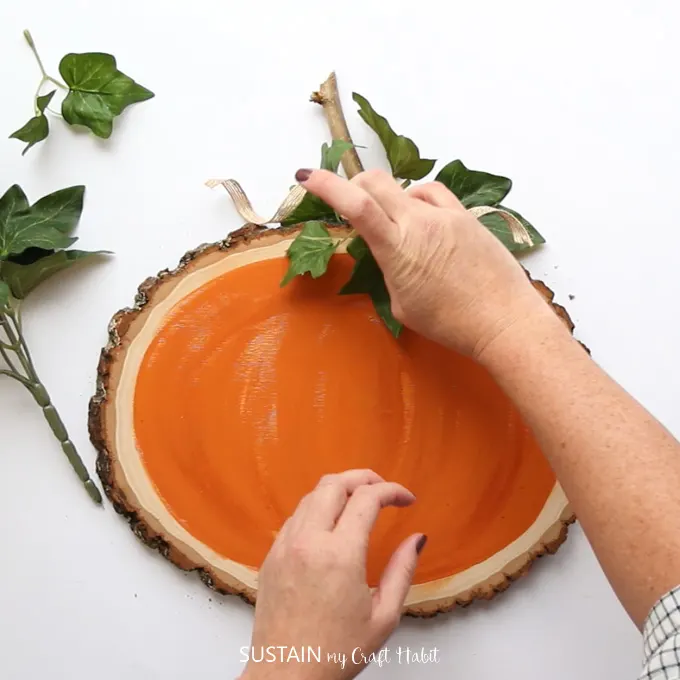
Glue a curled piece of ribbon to the top of the wood slice using the hot glue gun. Glue the stem on top of the ribbon. Add several leaves hanging over one side of the wood slice pumpkin and then turn over and glue a few to the other side.


That’s it! You now have a beautiful, multi-purpose piece of DIY pumpkin decor that you can just flip around to get a completely different look.
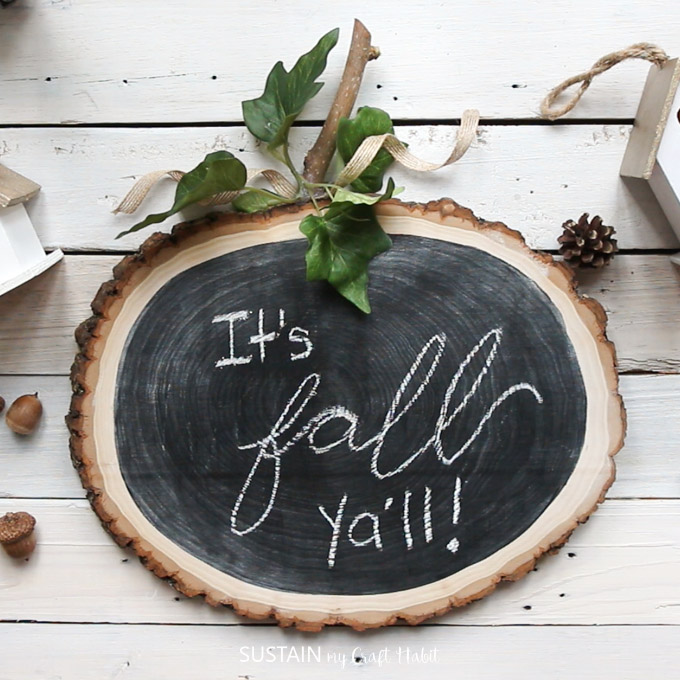
I particularly like the message board which can also be changed up with all kinds of different coloured chalks. I’m just waiting for my kids to notice it!
What craft supply has been calling to you lately?
This project originally appeared on Crafts By Amanda.
Like it? Pin if for later!

Teri Taylor
Sunday 31st of October 2021
Such a bummer! This paint color is no longer available :(
Michelle
Thursday 3rd of October 2019
This is so pretty! I love that it's reversible so you can change up the decor without adding a ton of stuff.
Jane and Sonja
Wednesday 9th of October 2019
Thank you so much Michelle! I totally agree with you. -Jane