

We have a fun craft idea for you today that will make Mother’s Day extra special. Download our free SVG for laser cutting a wooden gift tag to adorn a gift bag and will make a thoughtful addition to any gift.

Beautiful DIY Gift Tag SVG for Mom
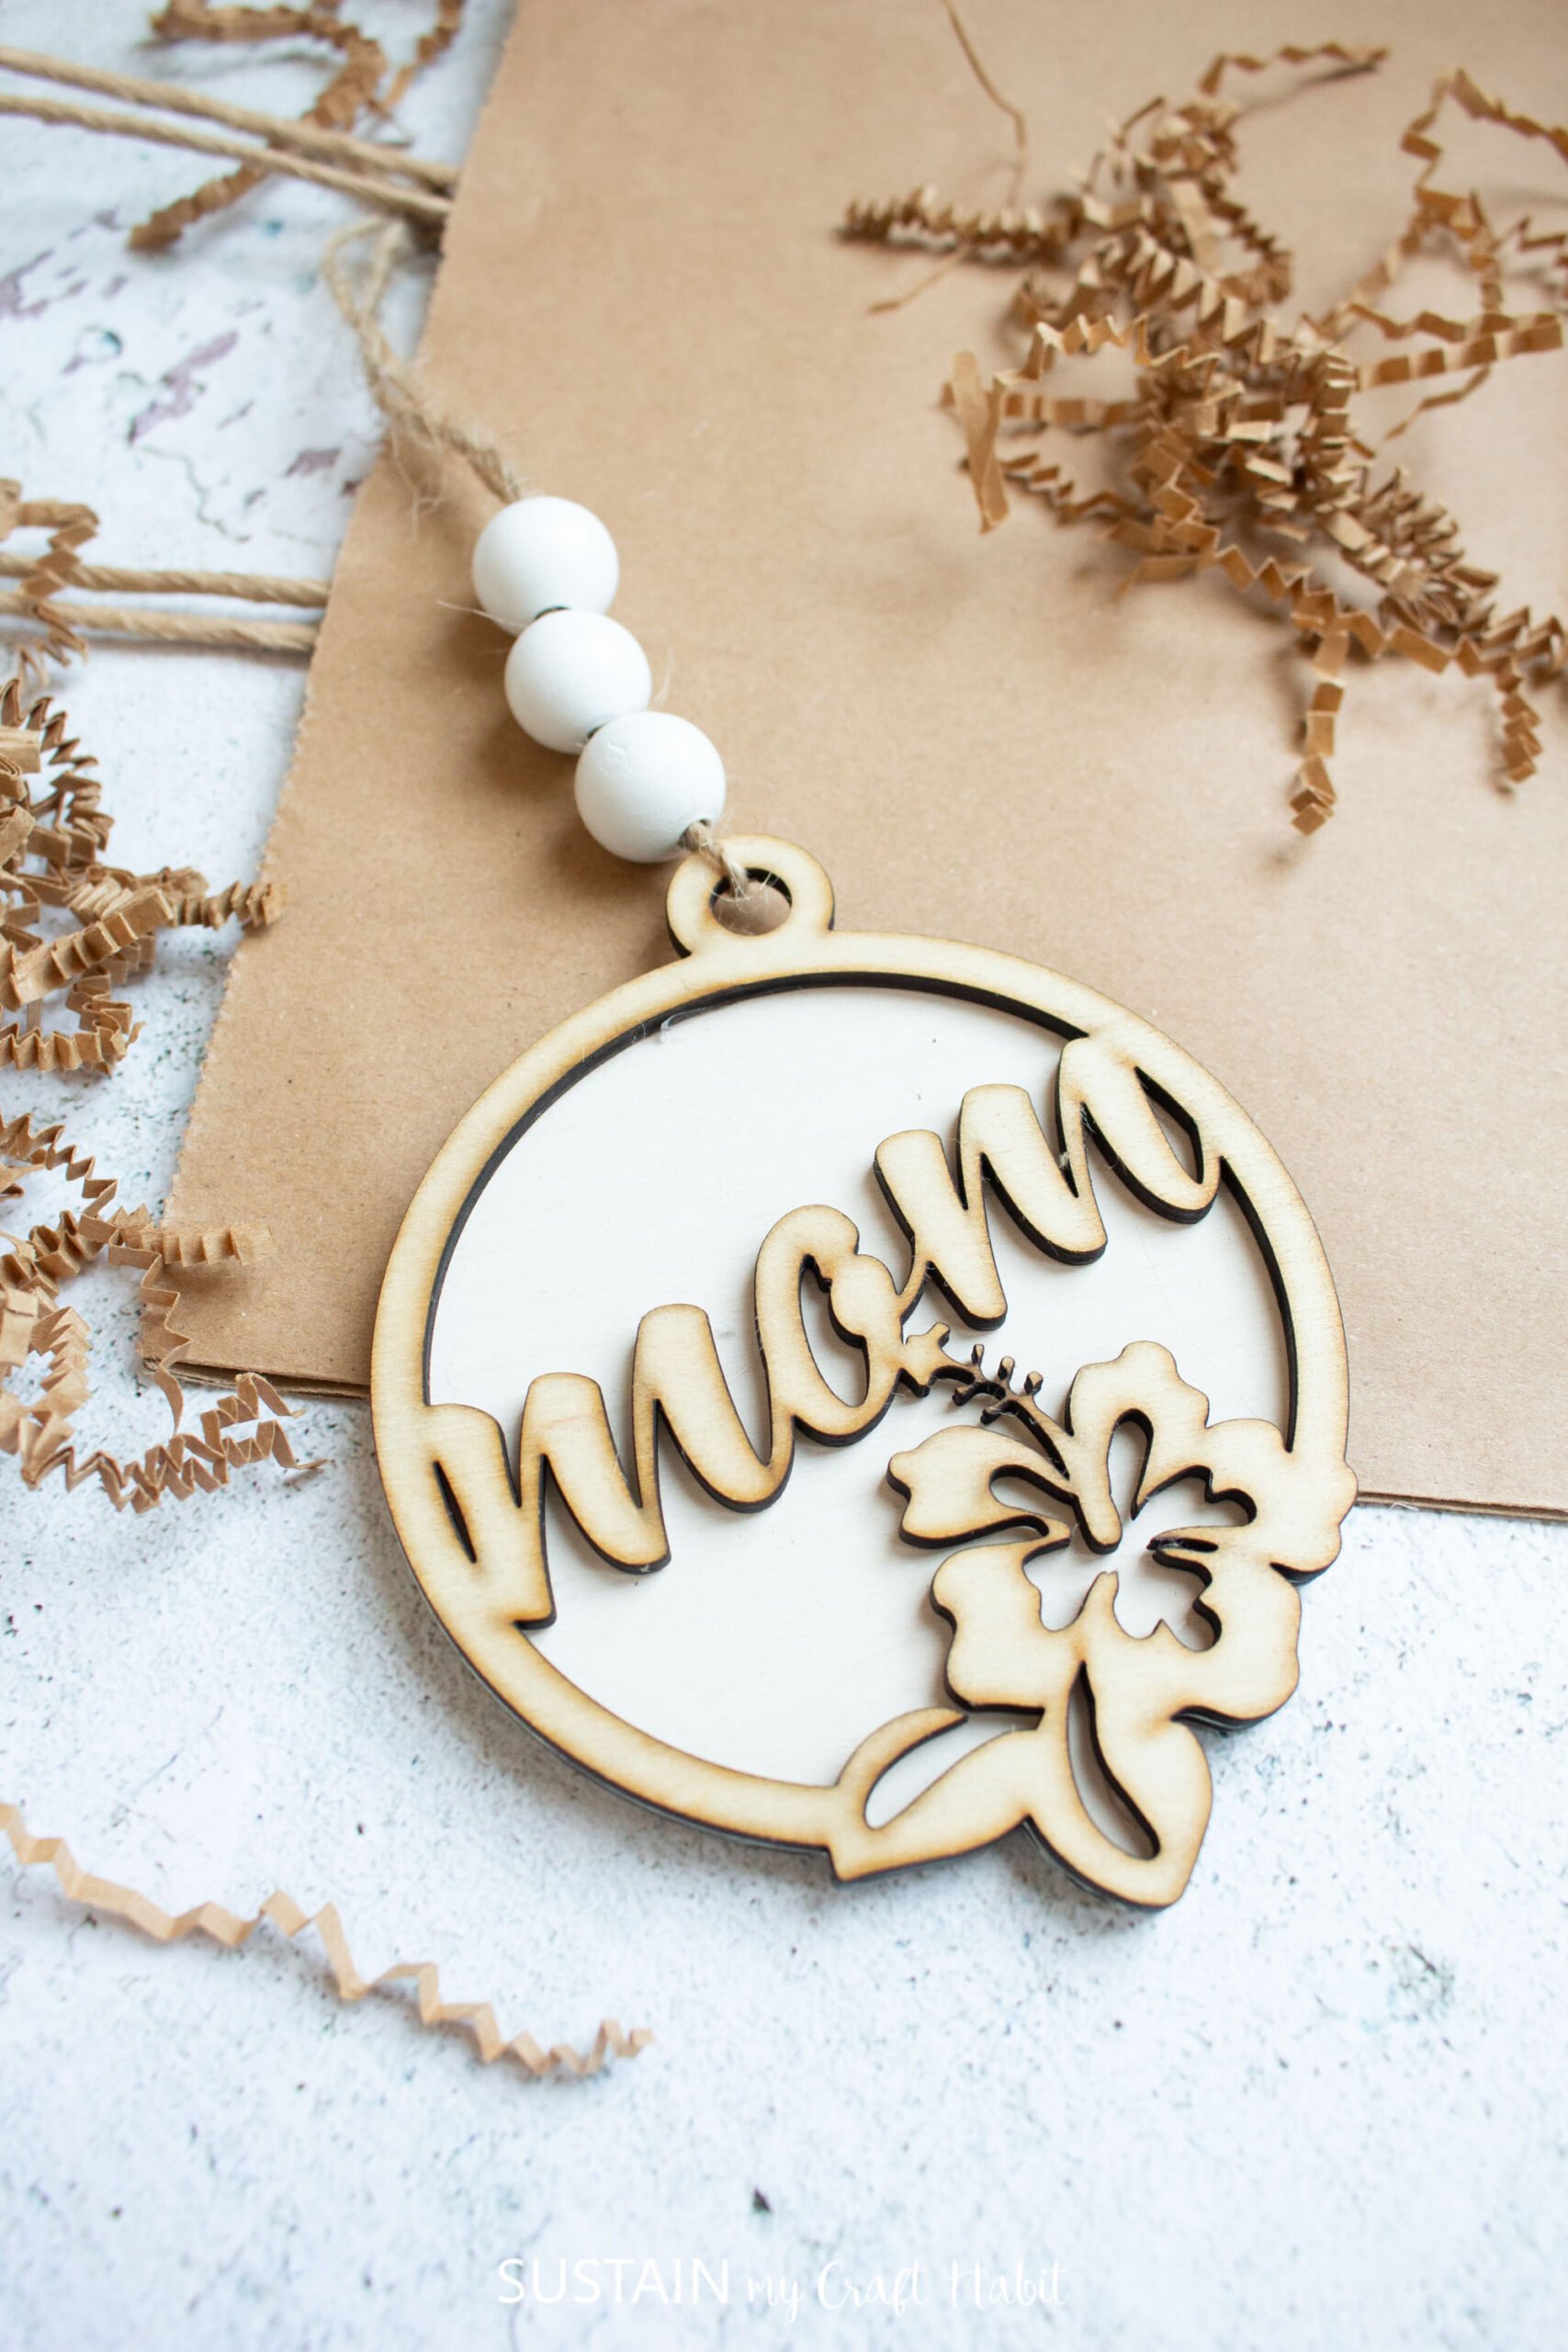
Create a gorgeous gift tag for mom that will make her gifts stand out from the rest! Download our free SVG laser cut gift tag to add a unique and personalized touch to show to her gift.
The great thing is she can use this beautiful wood tag long after Mother’s Day as a keepsake. It would make a sweet key chain, or hang it from a lamp shade or nightstand knob.


With just a few simple steps, you can use this laser cut file to craft your own stunning and intricate gift tags that will elevate any present. So grab your materials, fire up your laser cutter, and get ready to wow your mom with these one-of-a-kind gift tags!
Want to receive a ton of inspiration and money saving ideas for decorating, gift-giving and crafting? Join HERE!
Materials Needed
Disclosure: This post contains affiliate links for your shopping convenience. Should you choose to purchase through them, we will make a small commission at no extra cost to you. You can read our full disclosure policy here.
- xTool P2
- Basswood Plywood size 3mm, 9”x12”wide
- Hibiscus Mom Gift Tag SVG (L0010)
- White chalky paint and paint brush (optional)
- Wood Glue or hot glue gun works too
- Wooden beads
- Twine


How to Laser Cut these Gift Tags for Mom with xTool
Open Creative Space app on mobile phone. Turn on xTool P2 and connect Creative Space app to machine.
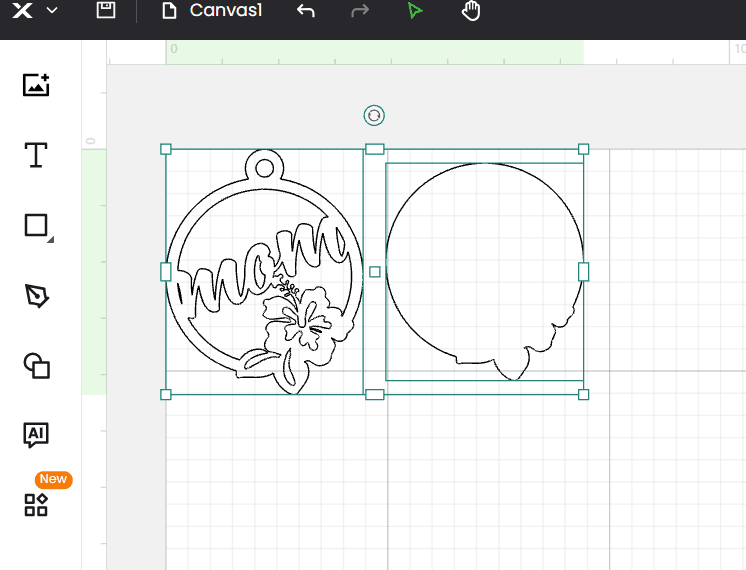
Import Image – “Hibiscus Gift Tag” SVG.

Load the material into the cutting machine. Secure the wood with the magnets on the sides.
Size the gift tag to your desired size or leave it as is (it’s about about 4.5” high). Position it on top of the material.
Move to the home screen, set material type to “3mm basswood plywood” (an xTool material). Select ok.

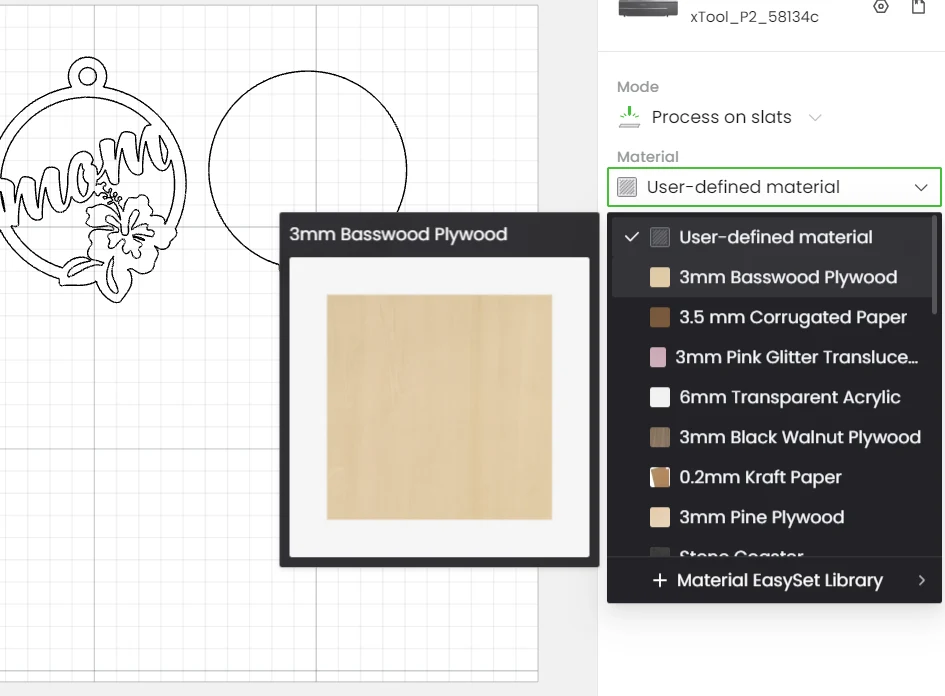
Ensure the machine parameter setting tab is set to “cut”.
Maintain the number of passes to 1 and adjust the settings to your preferred power and speed based on your test cut grid. In our case, cutting basswood works best with 45% power and 28 seconds.


Double check the placement and then hit process.
Remove when cutting is complete.
Leave the wood on the top layer unfinished and paint the base layer in a light white wash (equal parts water and chalky white paint).


When dry, glue the top layer on top of the base layer, matching the top layer with the bottom layer. See how the reverse side of the ornament looks when assembled.


Thread the hole with twine and add wooden beads for decoration. Knot the ends to complete.


See how easy that was? It’s such a pretty design and will look lovely on any gift box or gift bag. We’d love to see how you use this fun gift tag SVG. Share your projects with us on Facebook or Instagram. Happy crafting!
More DIY Gifts for Mom
Attach your new gift tag to any of these homemade gifts:
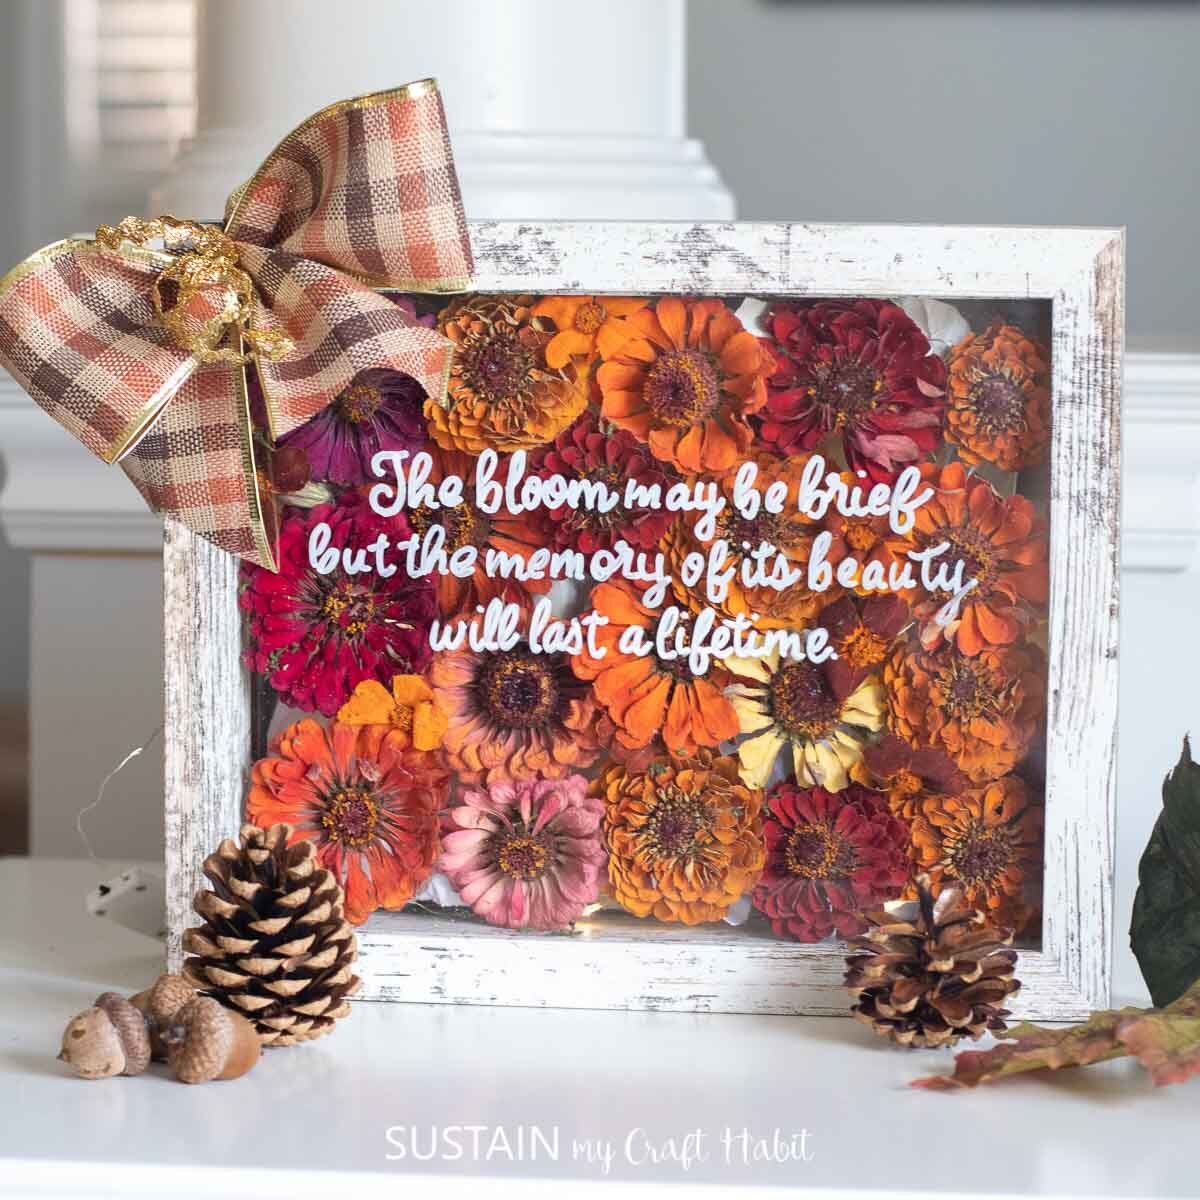
- Dried Flower Shadow Box
- Pine Cone Flowers
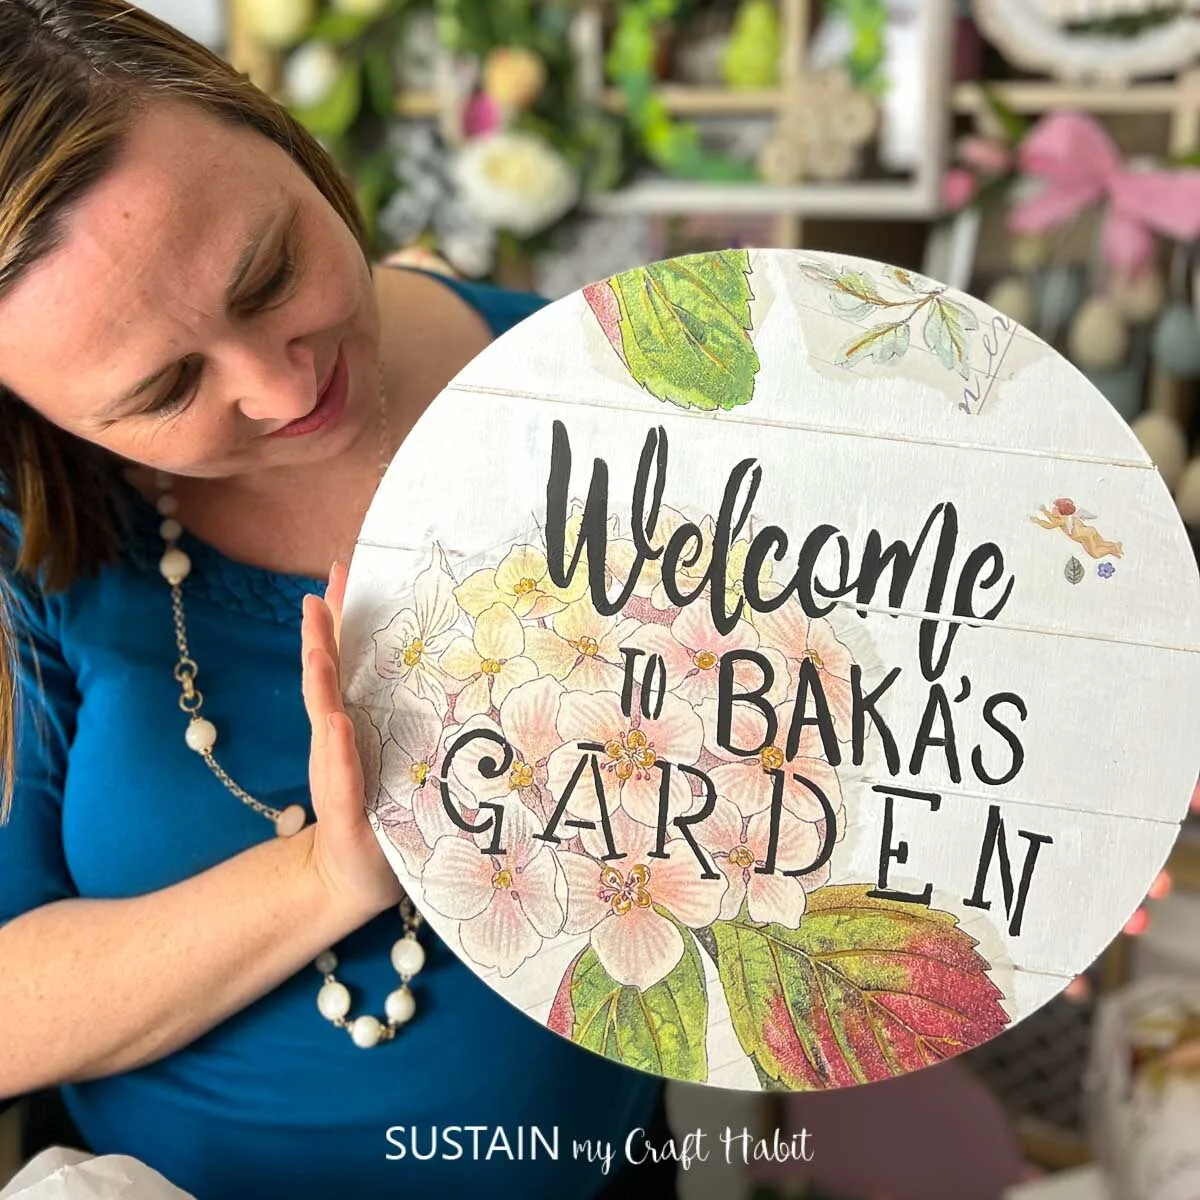
- Cute Garden Sign
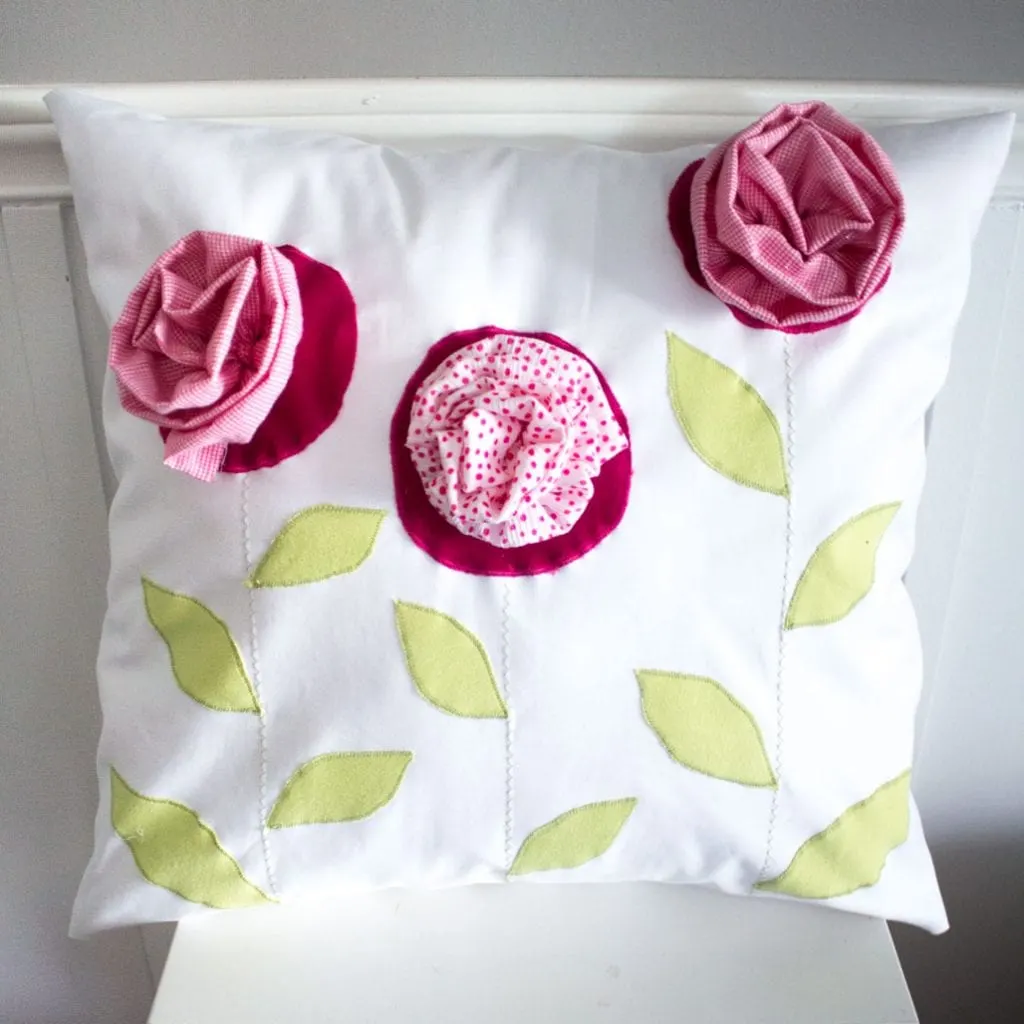
- Upcycled Throw Pillow
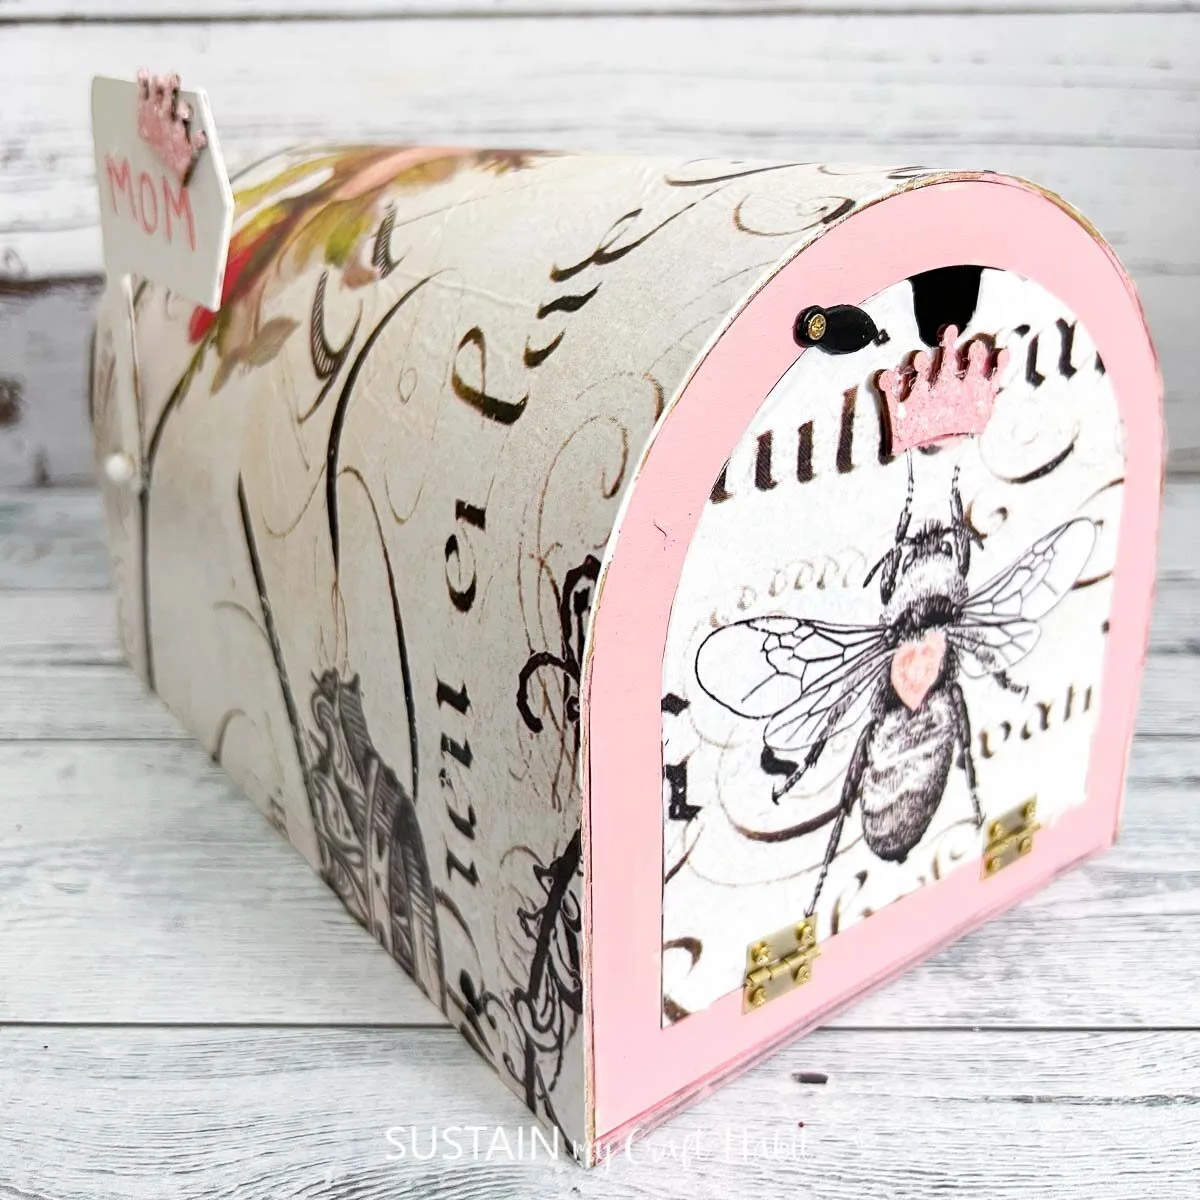
- Memory Mailbox for Mom
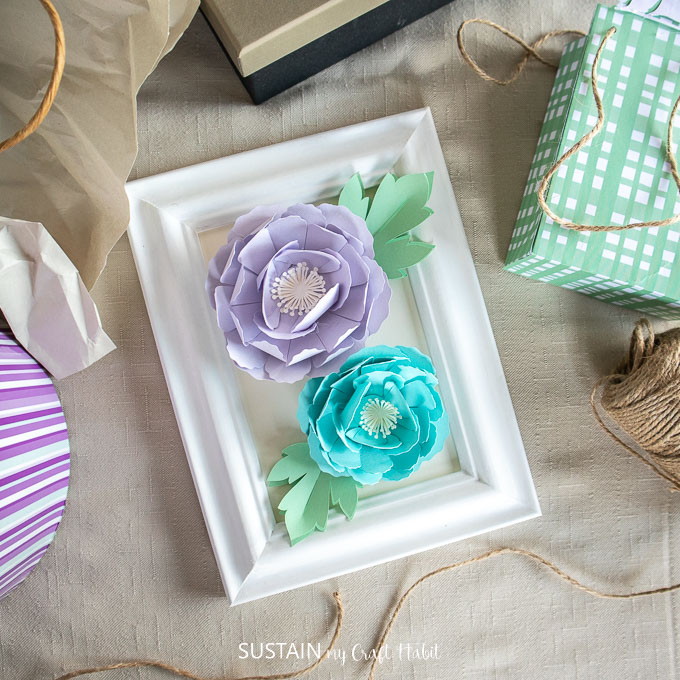
- Framed Paper Peony Flowers


Get access to our resource library filled with SVG cut files and laser cutting craft ideas!
Like it? Pin it for later!


Laser Cut Gift Tag for Mom – Free SVG
Materials
- xTool P2
- 3mm Basswood Plywood 9”x12”wide
- Hibiscus Gift Tag SVG available for free in our shop
- White chalky paint and paint brush optional
- Wood Glue
- Wooden beads
- Twine
Instructions
- Open Creative Space app on mobile phone.
- Turn on xTool P2.
- Import Image – “Hibiscus Gift Tag” SVG.
- Load the material into the cutting machine. Secure the wood with the magnets on the sides.
- Size the gift tag to your desired size or leave it as is (it’s about about 4.5” high) Position it on top of the material.
- Move to the home screen, set material type to “3mm basswood plywood” (an xTool material). Select ok.
- Ensure the machine parameter setting tab is set to “cut”.
- Maintain the number of passes to 1 and adjust the settings to your preferred power and speed based on your test cut grid.
- Hit process.
- Remove when cutting is complete.
- Leave wood unfinished and paint the base layer in a light white wash (equal parts water and chalky white paint).
- When dry, glue the top layer on top of the base layer.
- Thread the hole with twine and add wooden beads for decoration. Knot the ends to complete.