Scrap Wood House Shelf Sitter Craft
This scrap wood house shelf sitter craft is one of those projects that’s simple, flexible, and oddly addictive.
If you’ve got a small pile of leftover wood pieces and no clue what to do with them, this scrap wood house shelf sitter craft is a really satisfying fix. It turns offcuts into a simple, decorative piece that looks right at home on a shelf, mantel, or windowsill.
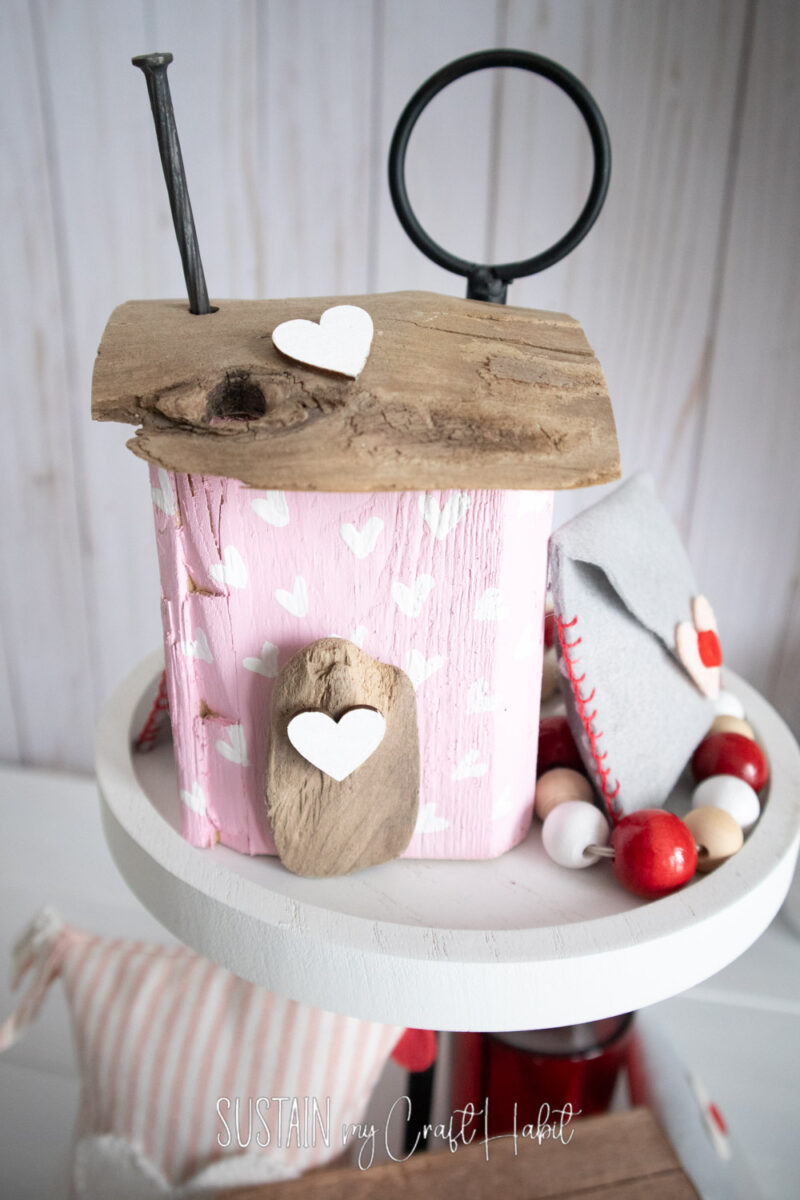
No fancy tools required, no big boards to wrestle with—just small pieces that are easy to cut, sand, and paint. This project works well if you like quick wins or want something handmade without committing a whole afternoon.
I’ll walk you through the steps, share sizing ideas, and point out a few ways to tweak the look so it suits your space. If you’re anything like me, this is the sort of project that starts as “just one” and ends up becoming a small row of houses. Let’s get started!
Why You’ll Love This Project
- Uses scrap wood you may already have
- Beginner-friendly cuts and assembly
- Great way to practice painting or distressing techniques
- Works as everyday décor or a handmade gift
- Easy to customize for seasons or holidays
Join our crafting community to find more nature-inspired DIYs and upcycled craft ideas. It feels good to repurpose, upcycle and create with nature!
Materials Needed
- Scrap wood with top edge slanted (approx. 7″high x 4″ wide)
- Driftwood pieces – flattish piece for the roof that is the width of the scrap wood and smaller piece for the door
- White and pink acrylic paints
- Paint brushes
- Hot glue gun with clear glue
- Large metal nail
- Heart wood cutouts (1” in size approx)
How to Make a Scrap Wood House Shelf Sitter
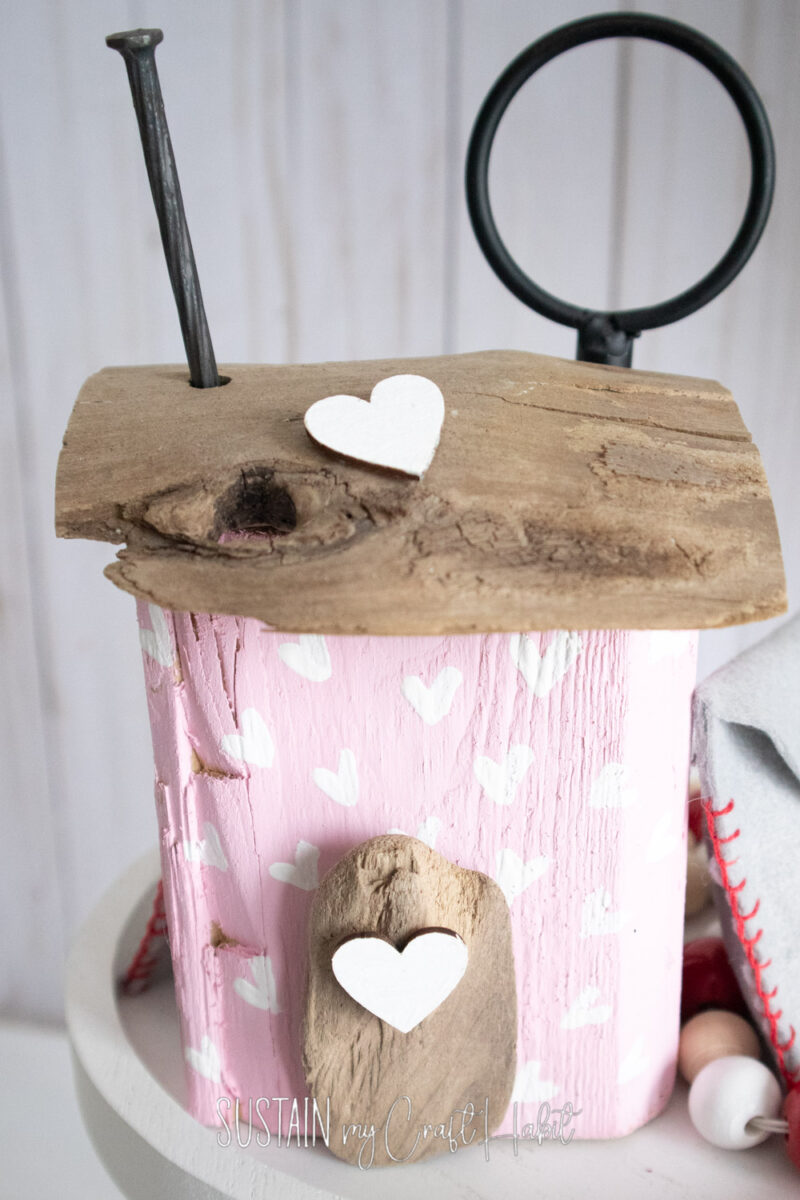
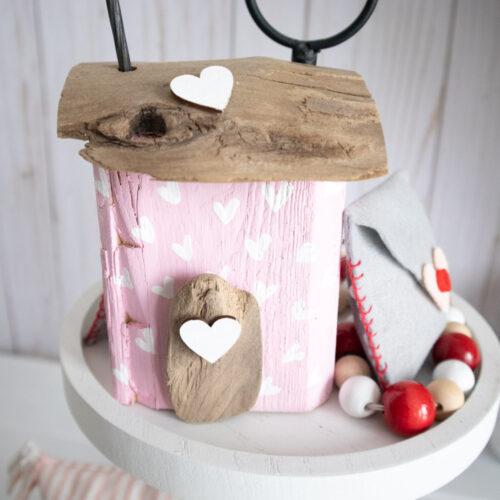
- Paint scrap wood pink. Let dry then add heart shapes white paint.
- Glue the driftwood door to the front and the driftwood roof to the slanted edge of the scrap wood.
- Drill a hole through the driftwood roof and insert the nail for a chimney.
- Glue the heart shaped cutouts onto the little house.
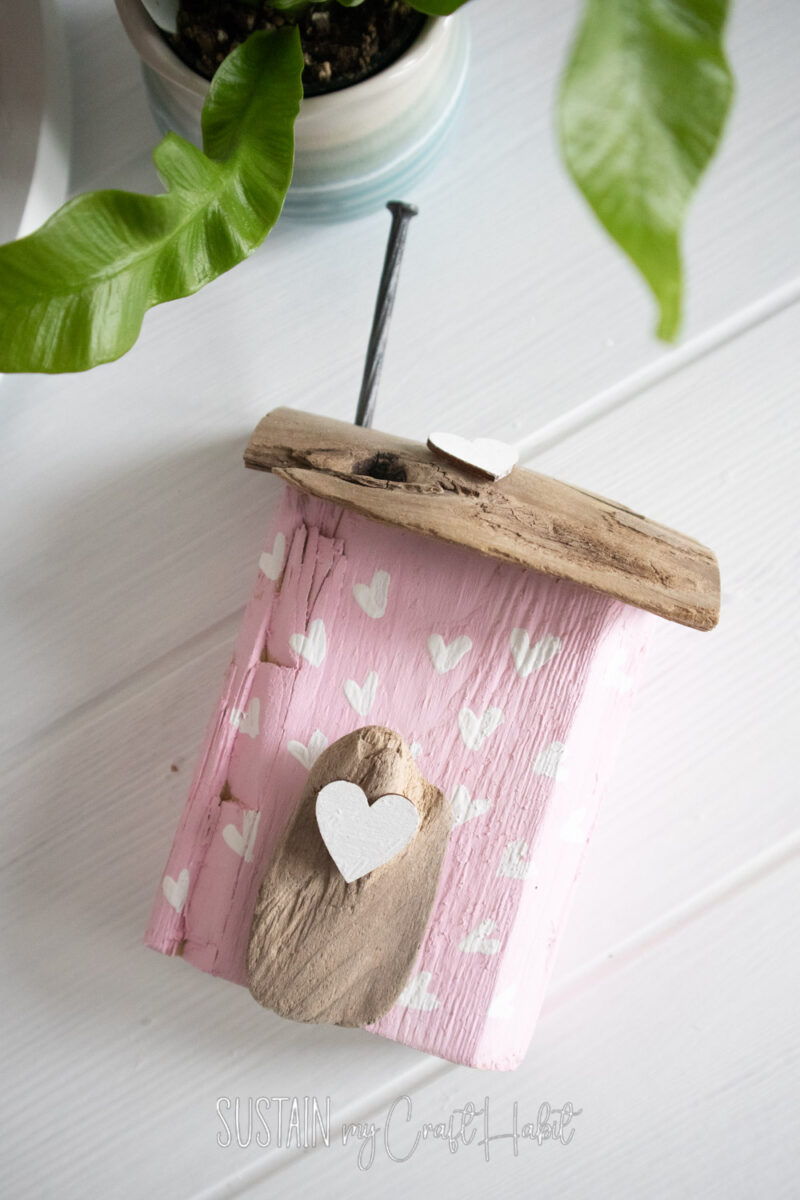
Add to a shelf or tiered tray for decoration!
Tips, Variations & Troubleshooting
Variations
Try mixing roof shapes—flat, peaked, or slightly angled—to give your houses more personality. Adding a tiny wood bead or dowel as a chimney is a simple upgrade that makes a big difference. You can also burn in details with a wood-burning tool or keep it clean and minimal.
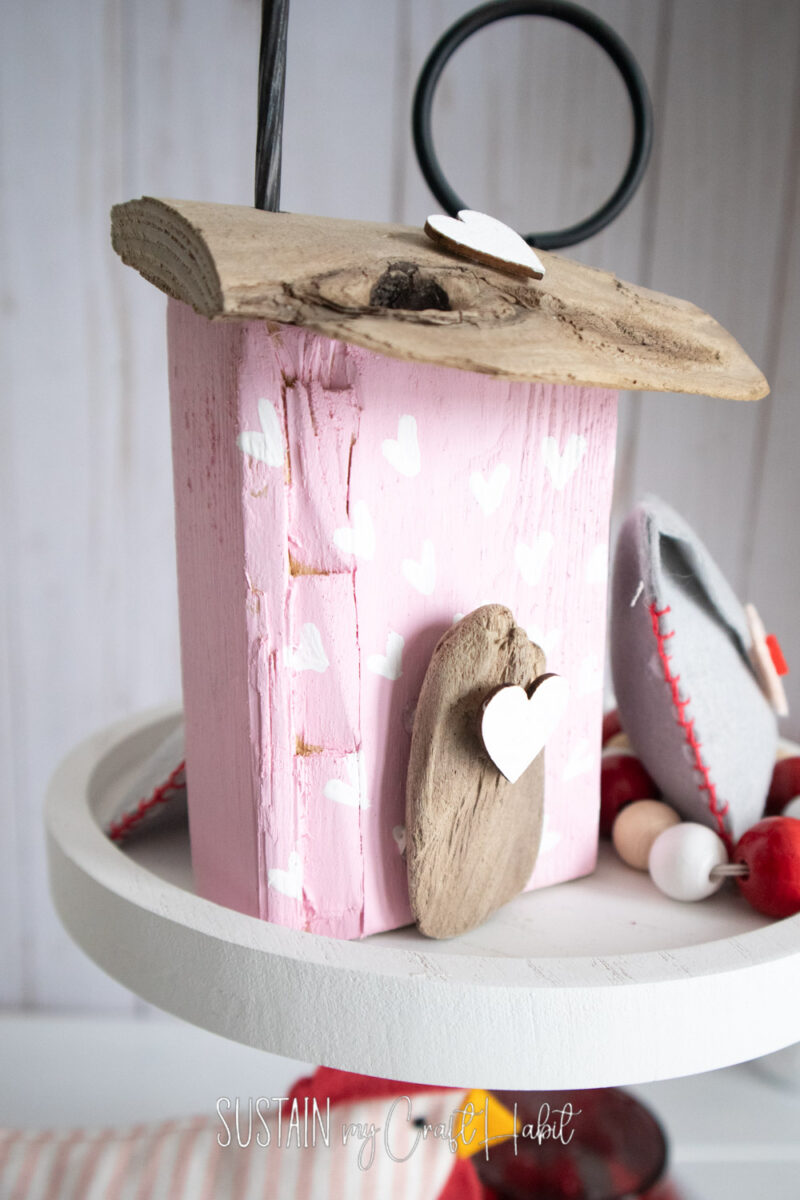
Color Options
Neutral paints work well for year-round décor, while muted pastels or warm tones are great for spring and autumn sets. Stains are lovely if you want the wood grain to show through.
How to Display / Style Your Project
Set a few houses in a row on a bookshelf with small plants or candles for an easy home décor idea. They also look charming on a tiered tray near an entryway. If you’re gifting them, wrap one with a simple tag for a thoughtful gift décor idea that doesn’t feel overdone.
Simple and Addictive to Make
This scrap wood house shelf sitter craft is one of those projects that’s simple, flexible, and oddly addictive. It’s a good way to clear out leftovers while ending up with something that feels intentional. Make one, make five, or make a whole little village—it’s completely up to you. If you try it, don’t be surprised if friends start asking for one too.
Want to receive a ton of inspiration and money saving ideas for decorating, gift-giving and crafting? Join HERE!
More Shelf Sitter Crafts
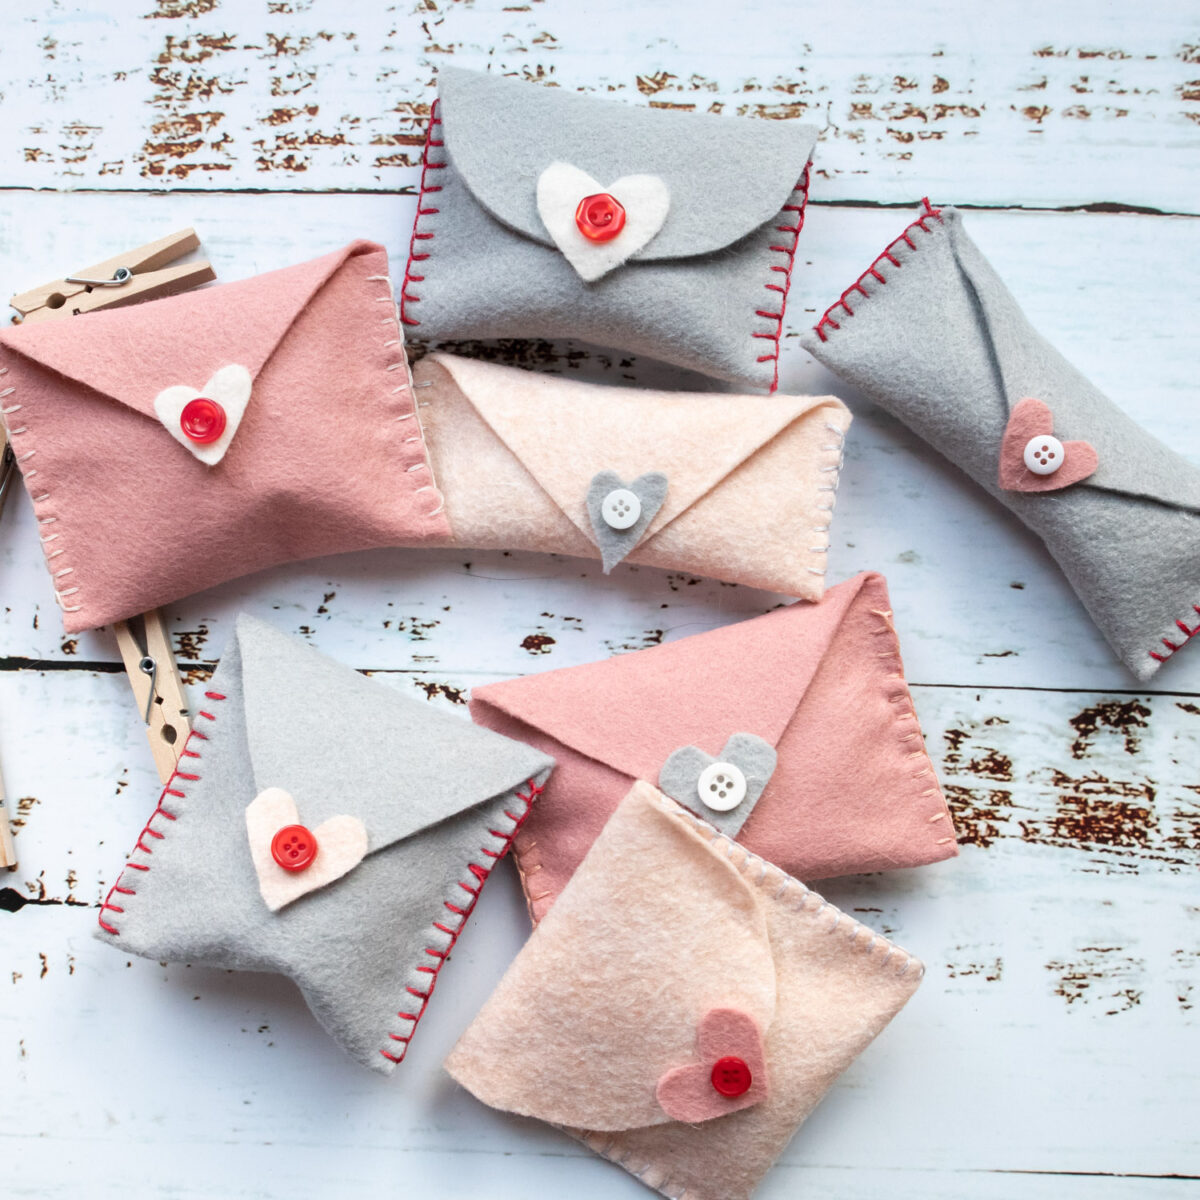
- Felt Envelopes
- Make a Felt Rose (with Patterns)
- Scrap Fabric Chicken
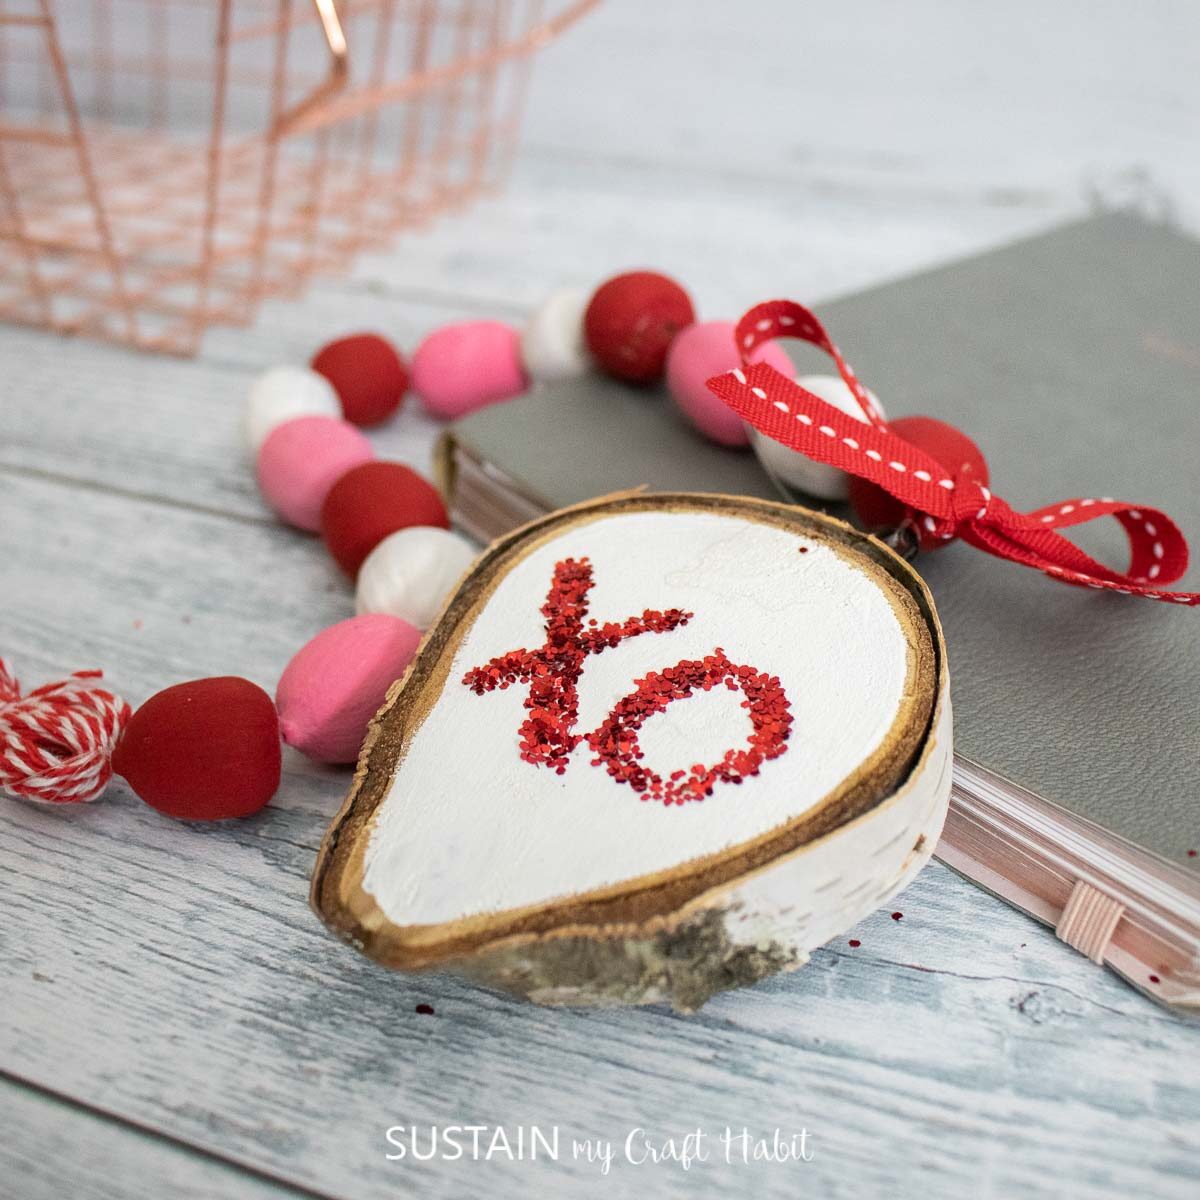
- Valentine’s Day Acorn Garland
- Valentine’s Day Gnome Ornament


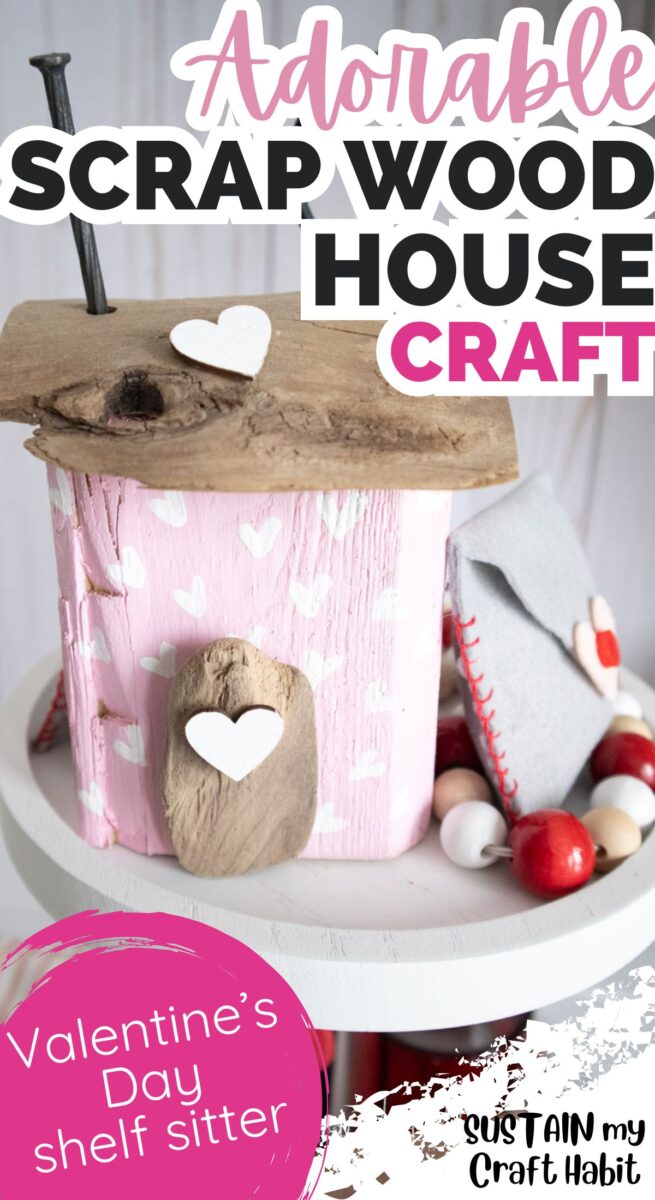
Like it? Pin for later!
Scrap Wood House Shelf Sitter Craft
Materials
- Scrap wood with top edge slanted
- Driftwood pieces
- Acrylic paints in white and pink
- paint brushes
- Hot glue gun with clear glue
- Large metal nail
- 1 " Heart wood cutouts
Instructions
- Paint scrap wood pink. Let dry then add heart shapes white paint.
- Glue the driftwood door to the front and the driftwood roof to the slanted edge of the scrap wood.
- Drill a hole through the driftwood roof and insert the nail for a chimney.
- Glue the heart shaped cutouts onto the little house.
- Add to a shelf or tiered tray for decoration.