The Ultimate Guide to Laser Cutting Felt Sheets
Master the art of precision crafting! This ultimate guide covers everything you need to know about laser cutting felt sheets with the xTool P2—from choosing the right materials to the perfect settings for clean, fray-free edges.
If you’ve ever tried to cut an intricate shape by hand, you know the struggle: hand cramps, dull scissors, and edges that never quite look professional. Using a laser cutter like the xTool P2 changes the game entirely. Imagine achieving perfectly crisp edges on the most detailed designs in just seconds!
In this ultimate guide, I’m sharing everything I’ve learned about laser cutting felt so you can stop fighting with your fabric shears and start creating professional-quality projects with ease.

If you love working with felt but struggle with how much time it takes to cut shapes by hand or struggle with cutting intricate patterns, using a laser cutter take all of these frustrations away.
Below, you’ll learn how to choose the right felt, prepare your design files, and cut felt safely and neatly for beautiful results every time. Let’s get started!
Why You’ll Love Cutting Felt Sheets with a Laser Cutter
- Eliminates the struggles of cutting intricate shapes with scissors or rotary cutters.
- Extremely efficient – excellent for batching projects and gift giving
- Ideal for producing handmade business products – can even cut multiple sheets at once!
Get access to our resource library filled with cut files and other xTool craft ideas!
Materials Needed
Disclosure: This post contains affiliate links for your shopping convenience. Should you choose to purchase through them, we will make a small commission at no extra cost to you. You can read our full disclosure policy here.
- Felt sheets (we used 20-35% wool and rayon blend)
- xTool P2
- SVG cut file or other shape
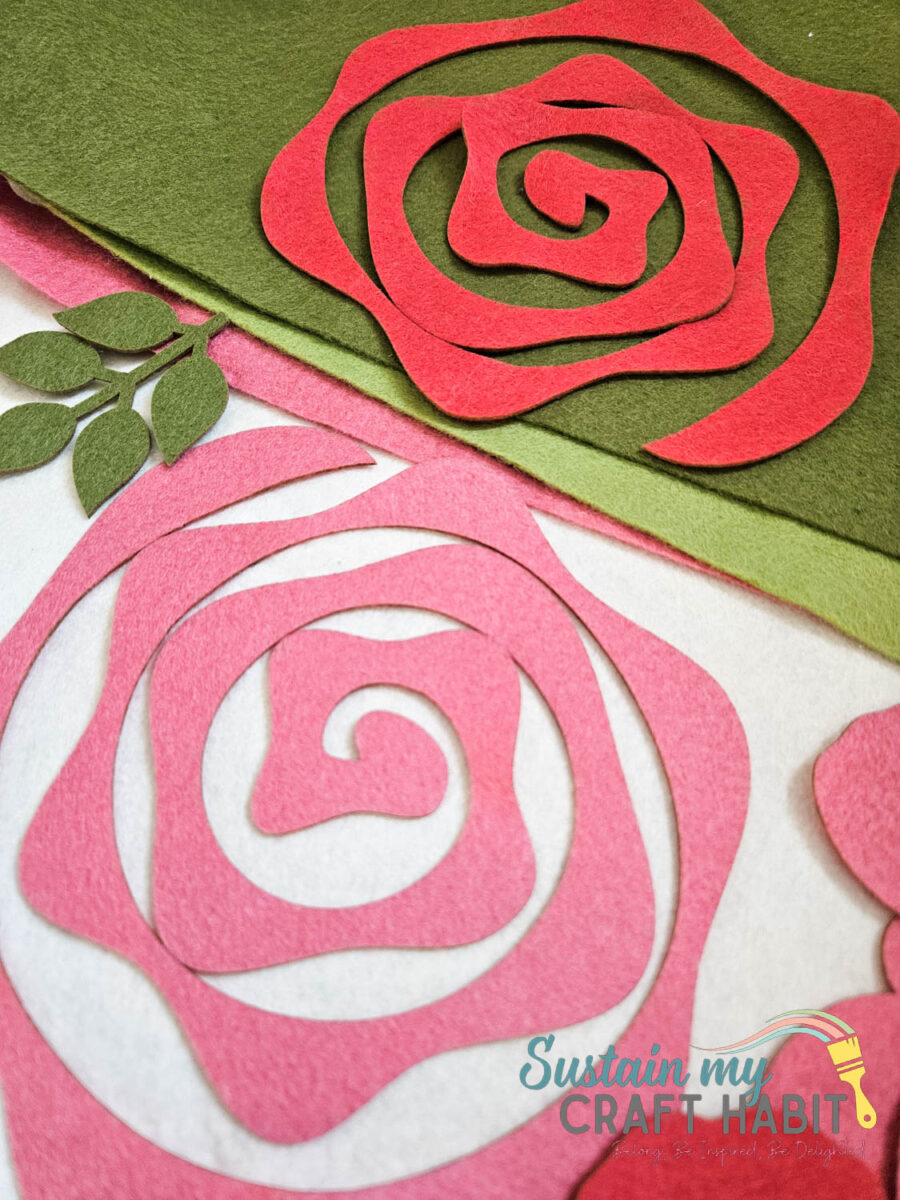
Choosing the Right Felt
- Synthetic (Acrylic/Polyester): Pros: Great for laser cutting! It melts slightly to create a clean, non-fray edge. Cons: stiffer than natural wool blends.
- Wool Blends: Pros: Also works incredibly well for laser cutting! Also, these types of felt sheets come in an incredible amount of color options, which is why it’s my personal favorite option. And furthermore, the edges won’t melt as much as with a synthetic sheet. Cons: costs more than wool blends.
Whenever you’re working with a laser cutter, ensure to use PVC-free materials.
No matter the type of fel sheet you choose, be sure to test a small section first to determine your optimal settings.
In our case, we prefer 40 power with 30mm speed for cutting felt sheets made from wool blends.
How to Laser Cut Felt Sheets with XTool P2
Open the Creative Space program and select a new project.
Insert the svg file onto the canvas or select any shape from the menu you want to use instead.
Ensure the felt sheet is flat and free of wrinkles and creases. You CAN press the felt sheet if it’s a wool blend but if it’s 100%polyester/acrylic, then you CAN NOT apply direct heat on to the felt sheet. Instead, cover the felt sheet with a cotton cloth and then iron over the cloth.
Open the lid and place the felt sheet flat on top of the slats or the honeycomb bed (air circulation is vital to prevent scorch marks on the back of the felt).
There is usually no need to clamp the felt sheet but if you wish, you can use magnets to ensure the felt doesn’t warp during the cut.
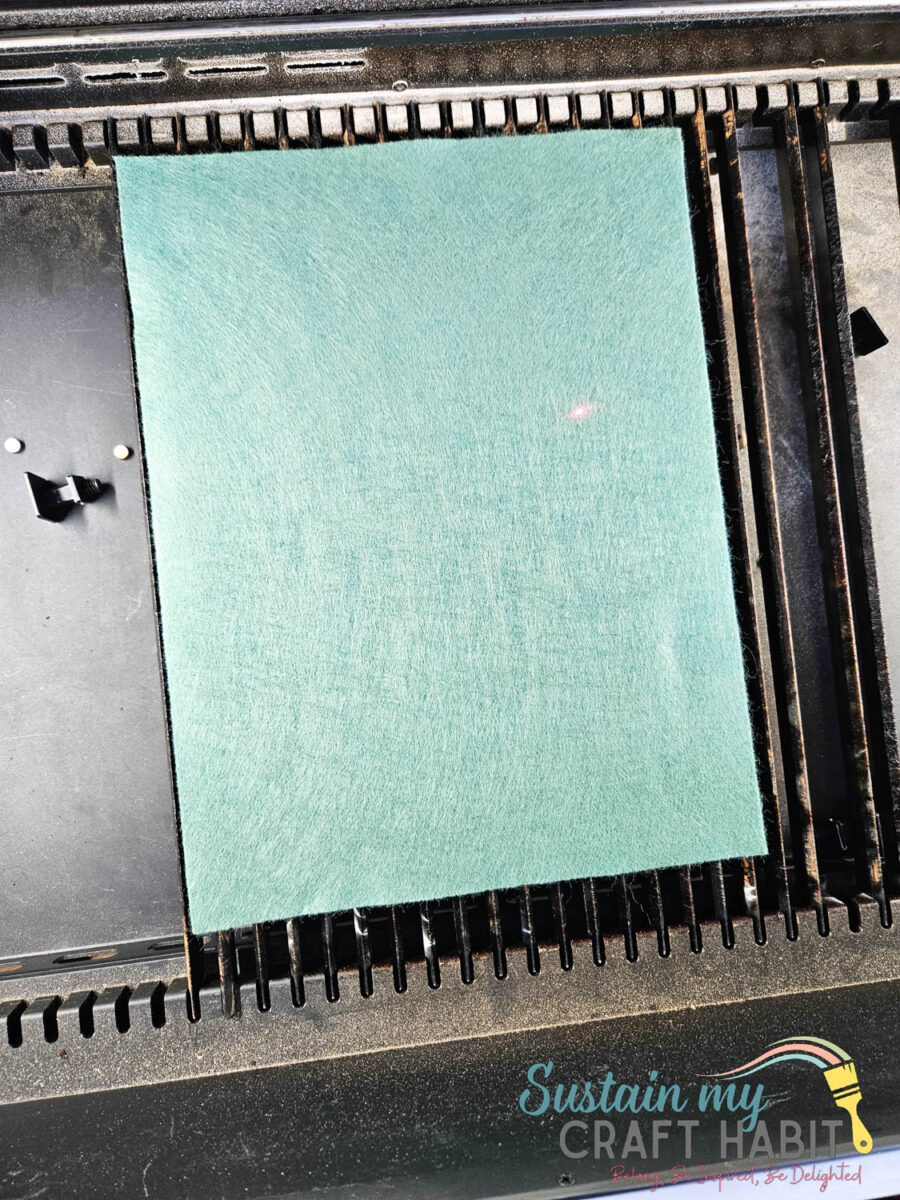
Position the pattern shape over the felt sheet.

Set the material type to .3mm kraft paper but do an aimed measure of the felt to capture the correct thickness.
We found the best setting was 40 power with 30mm speed.
Press start and watch as the xTool P2 cuts through the felt.
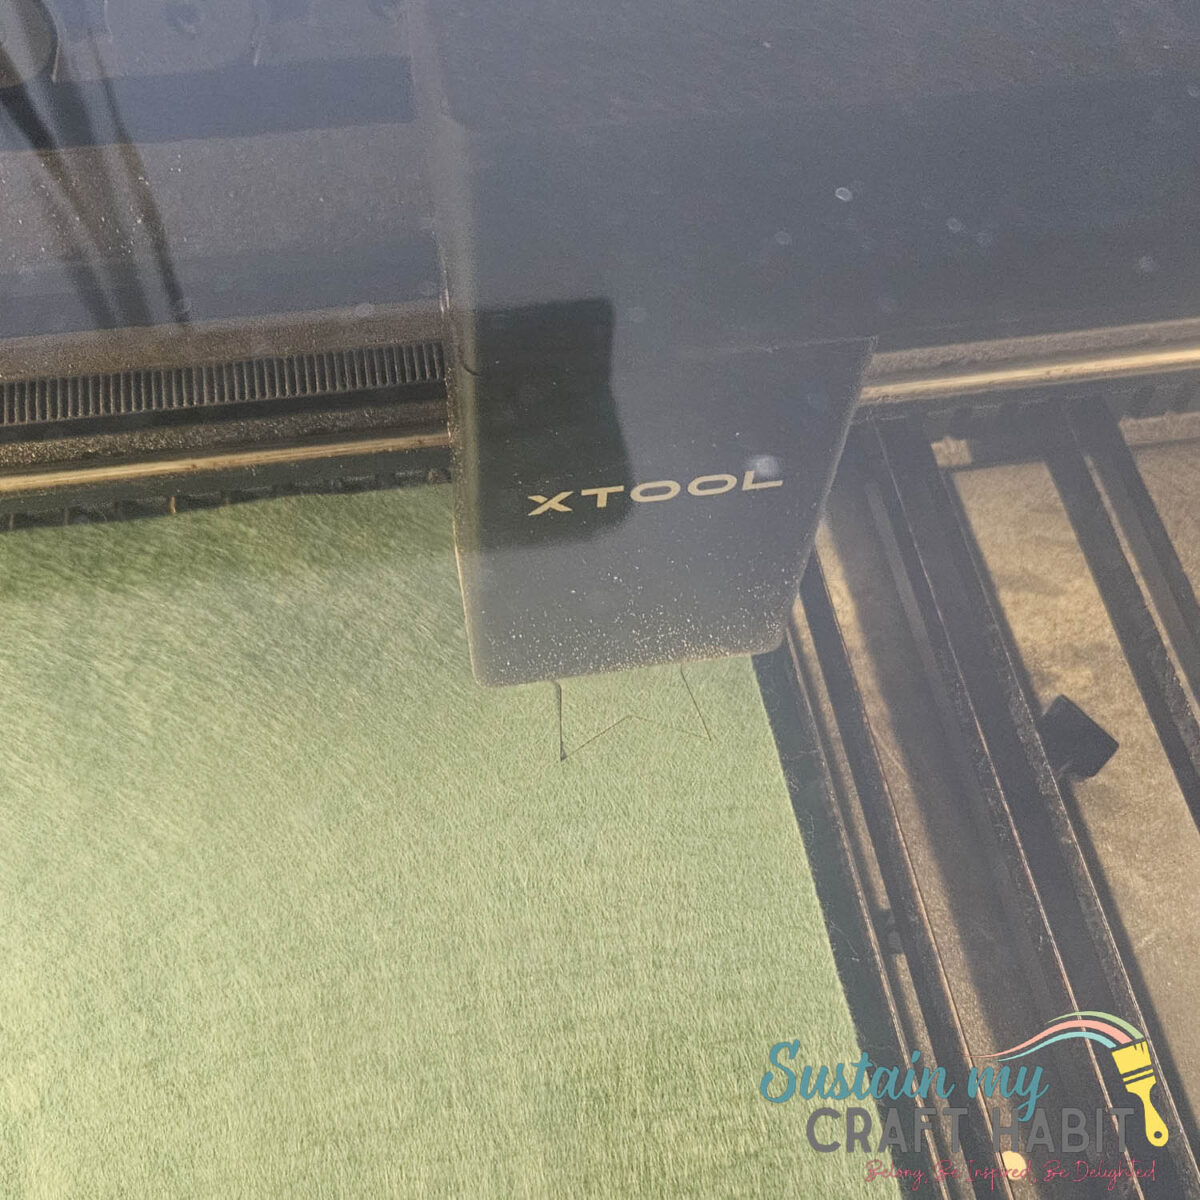
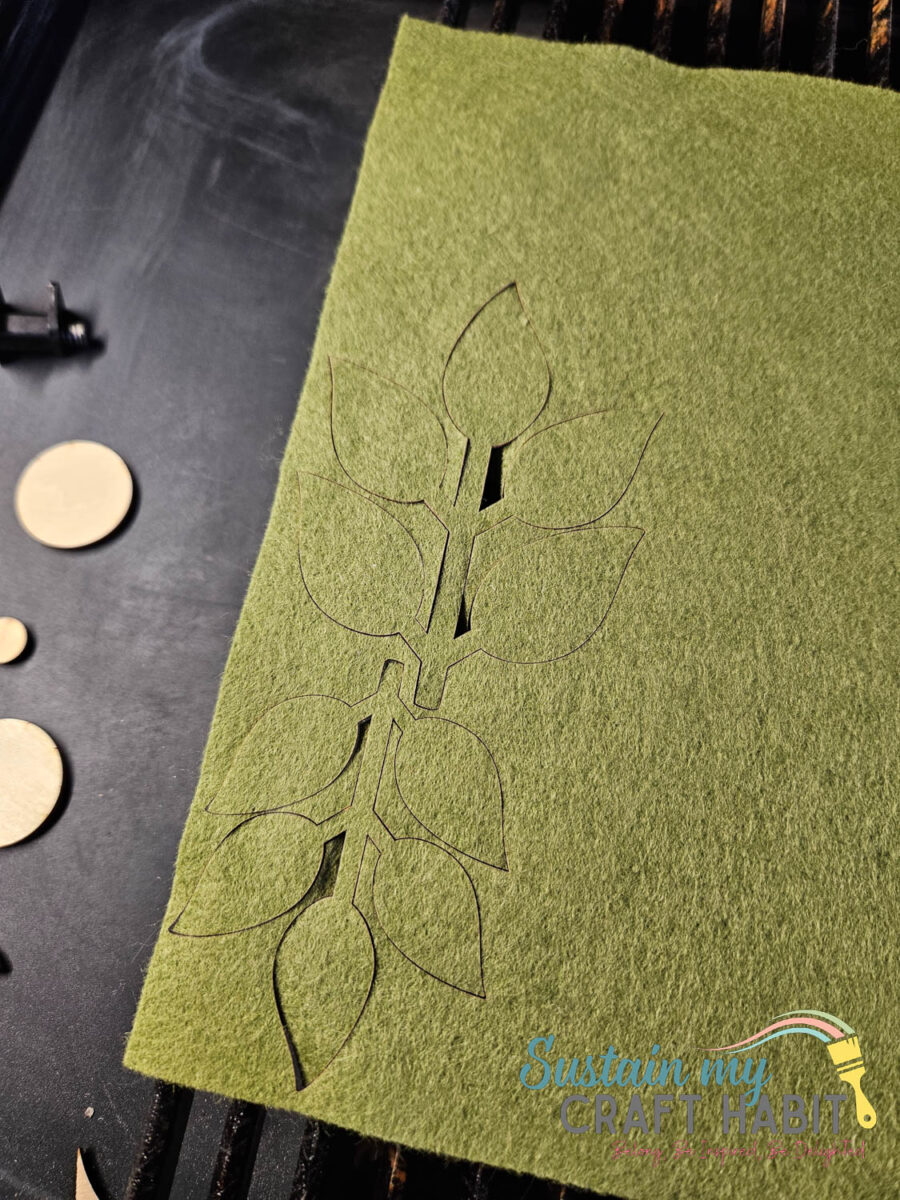
When finished remove the piece from the machine.
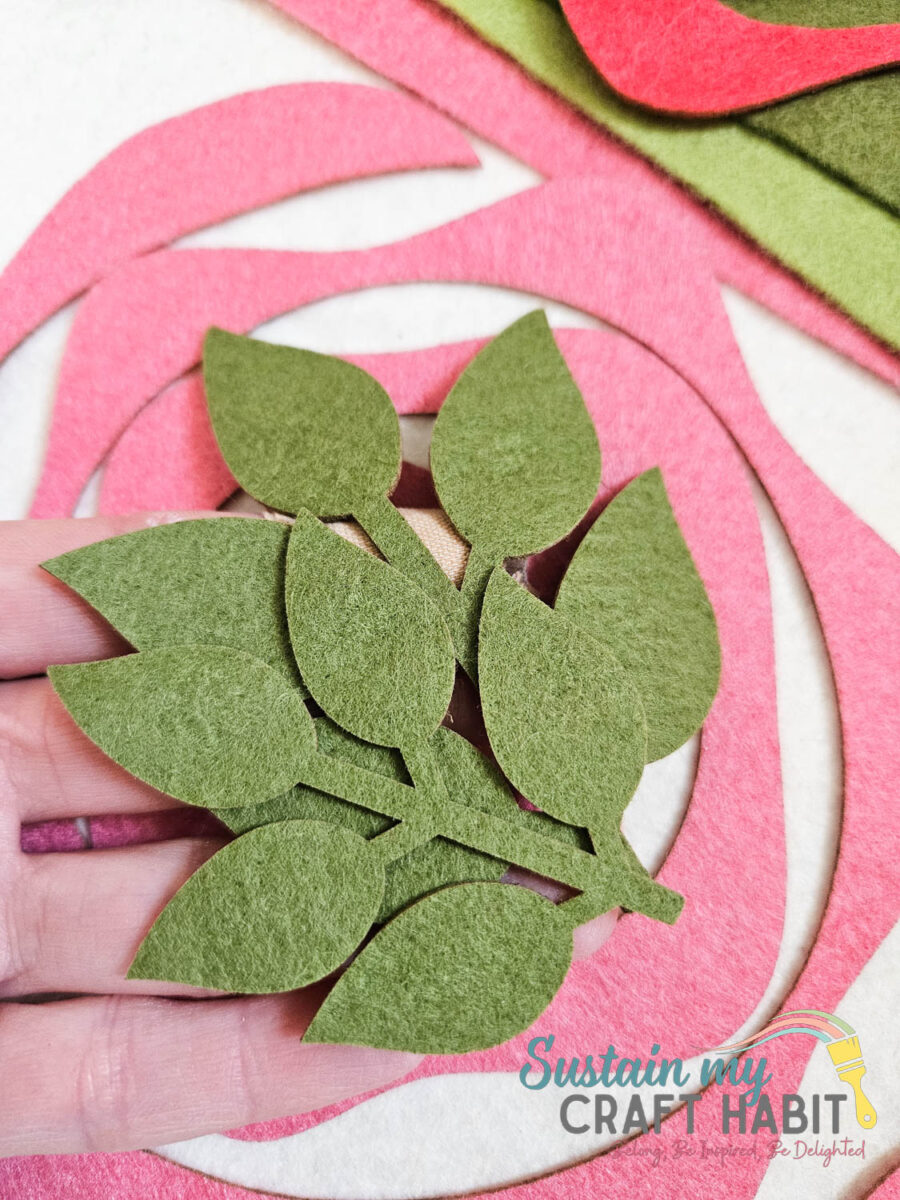
Preventing Burn Marks
I noticed scorch marks on the lighter colored felt sheets but they weren’t noticeable on the darker colors.
If you notice dark edges or scorch marks, try lowering the power, increasing speed. Always run a small test cut before cutting your final design.
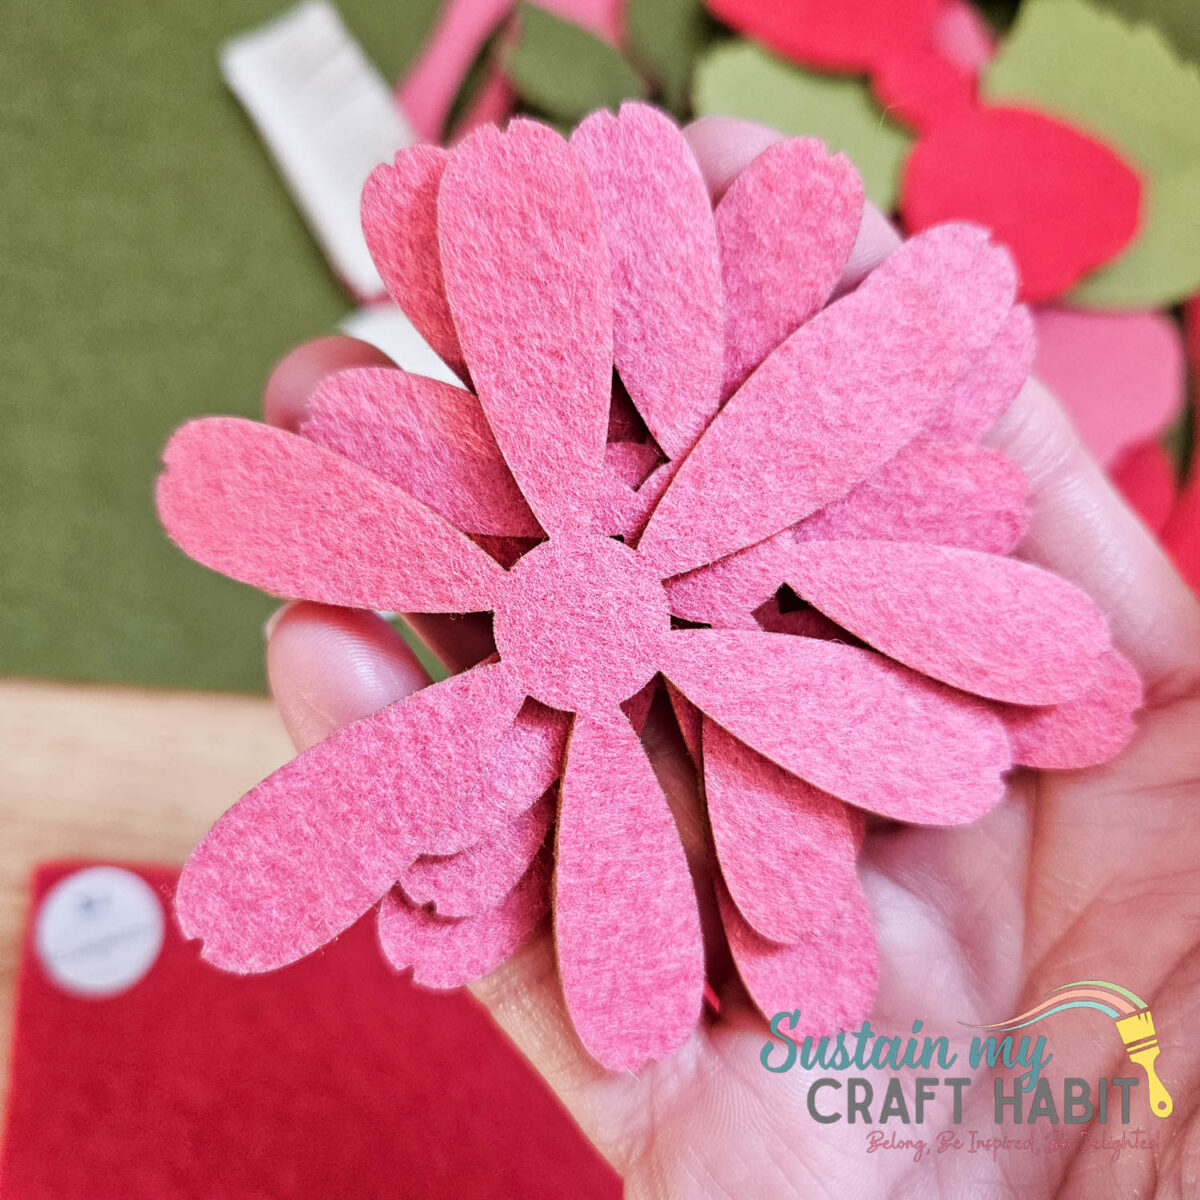
PLENTY OF Felt CRAFTS AND FREE CUT FILES
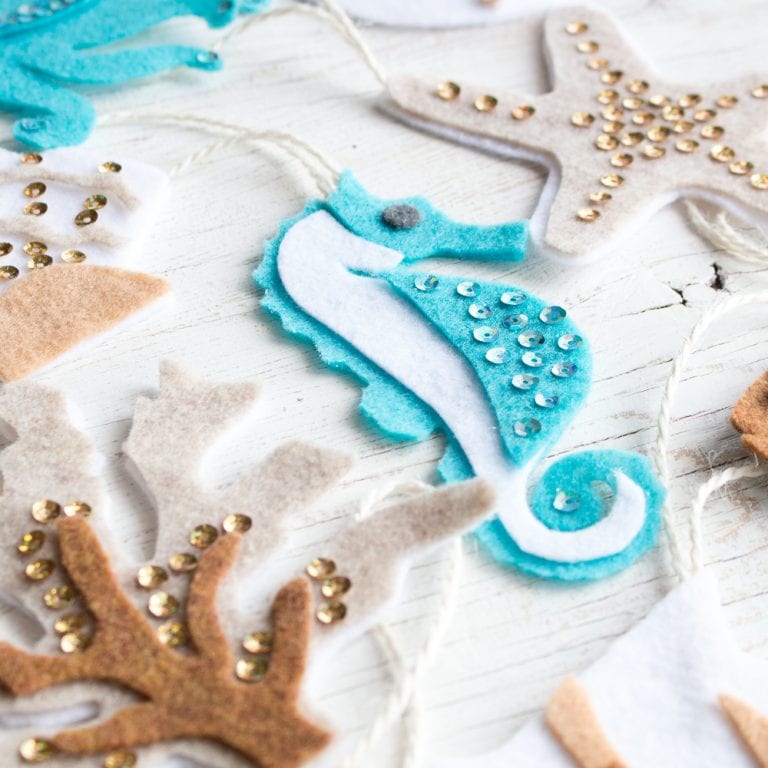
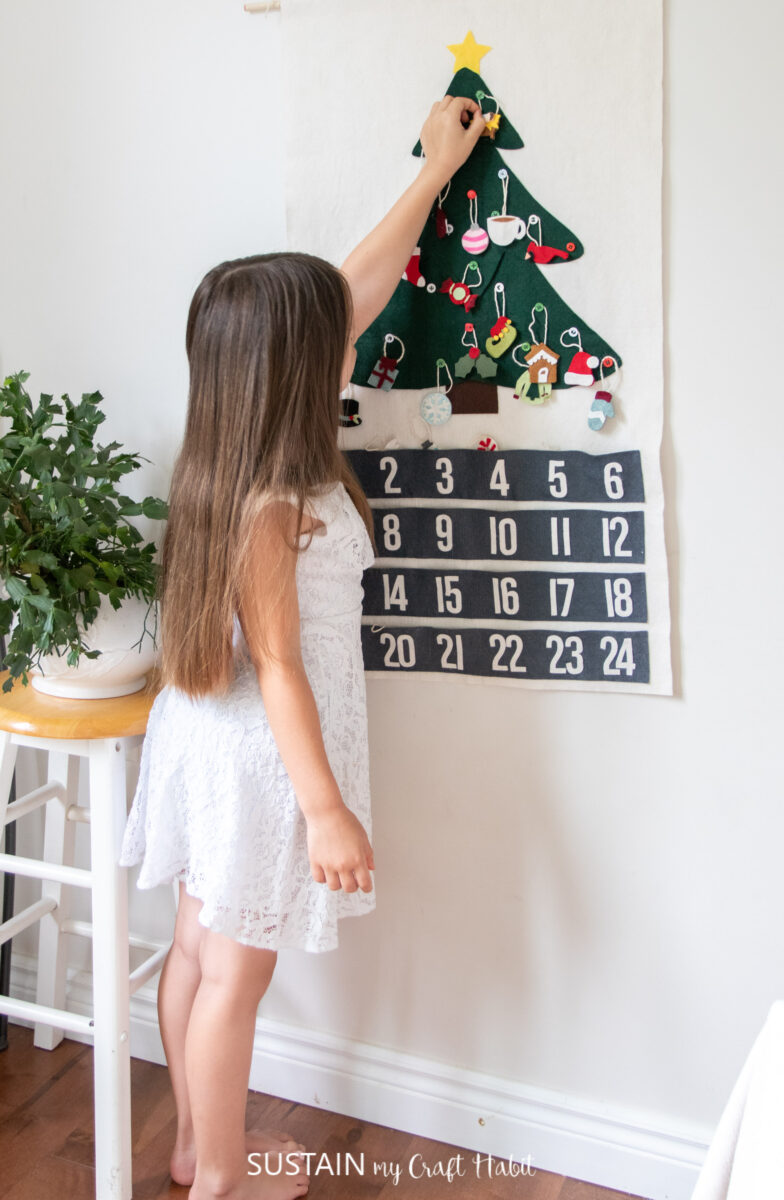
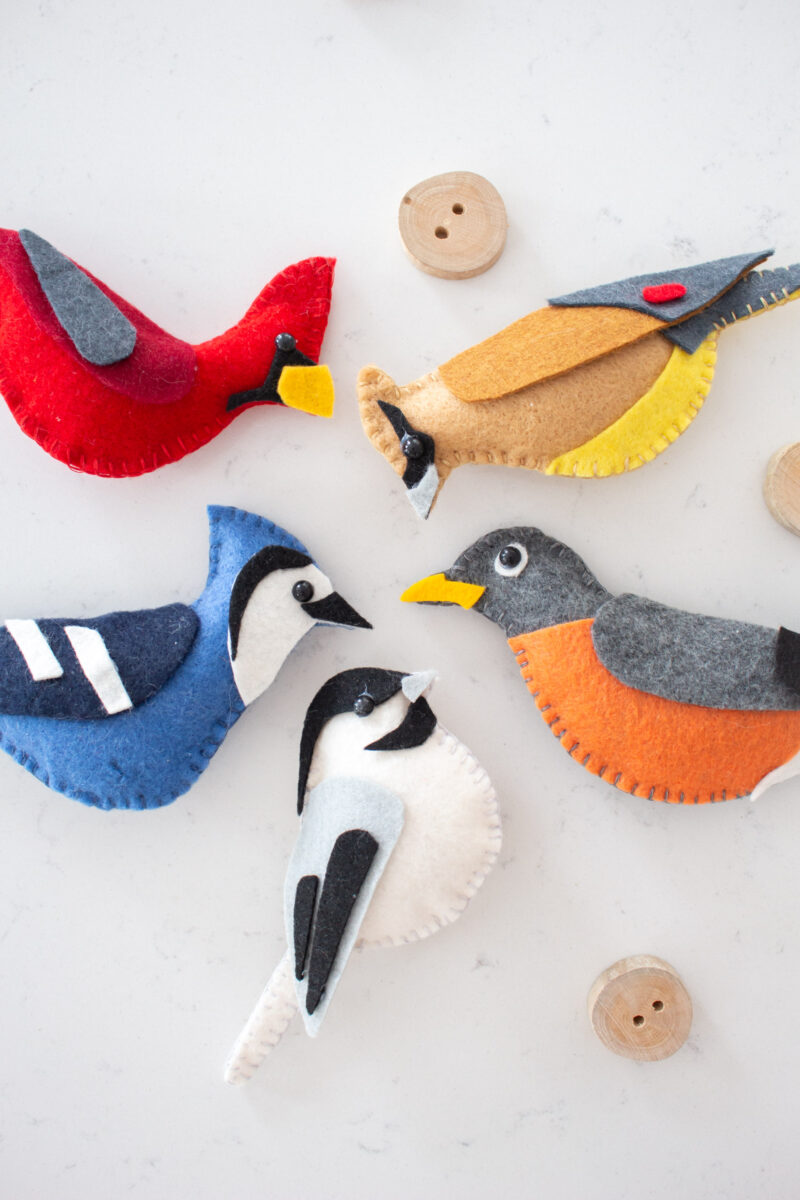
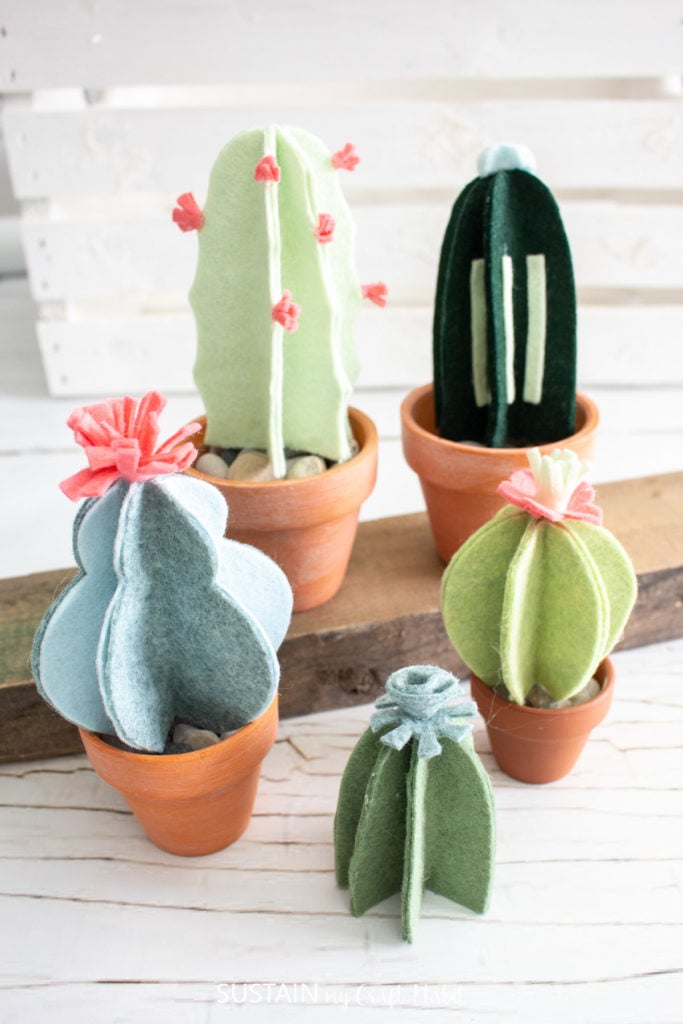
There is something maginal in taking a simple sheet of felt and transforming it into intricate bouquets, wreaths, centerpieces and ornaments.
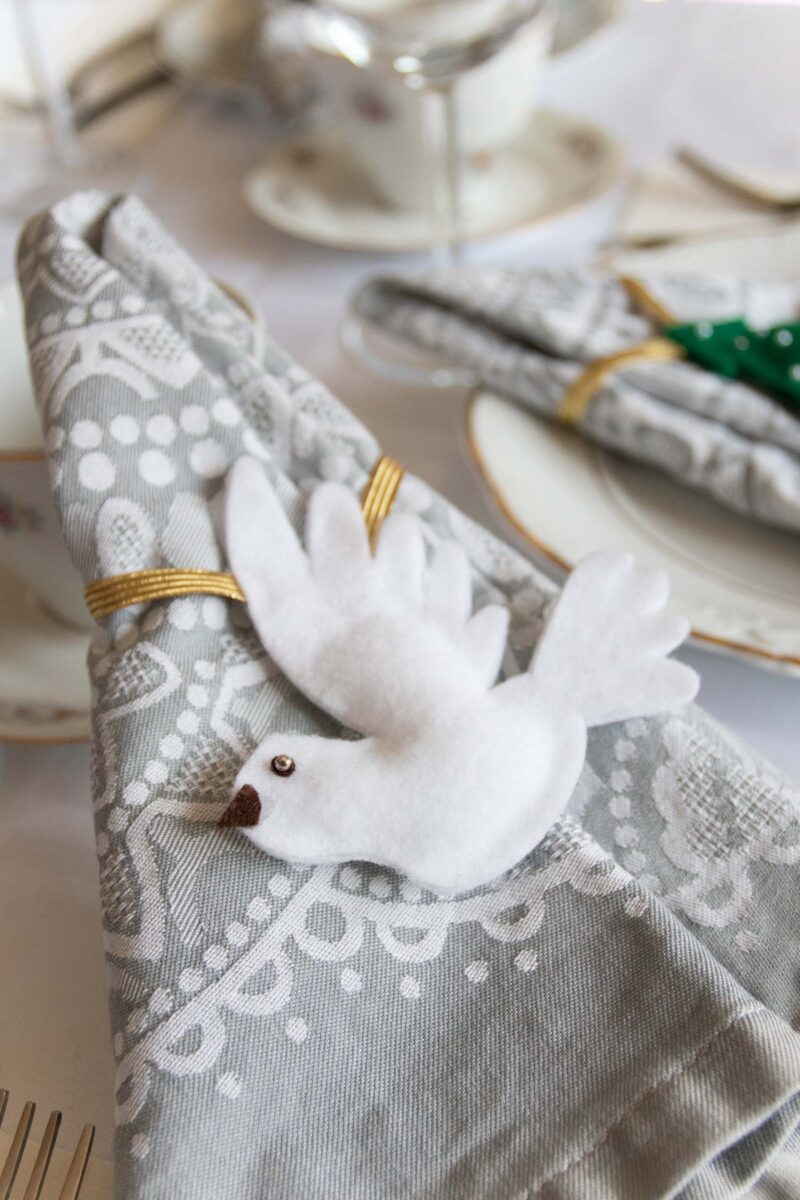
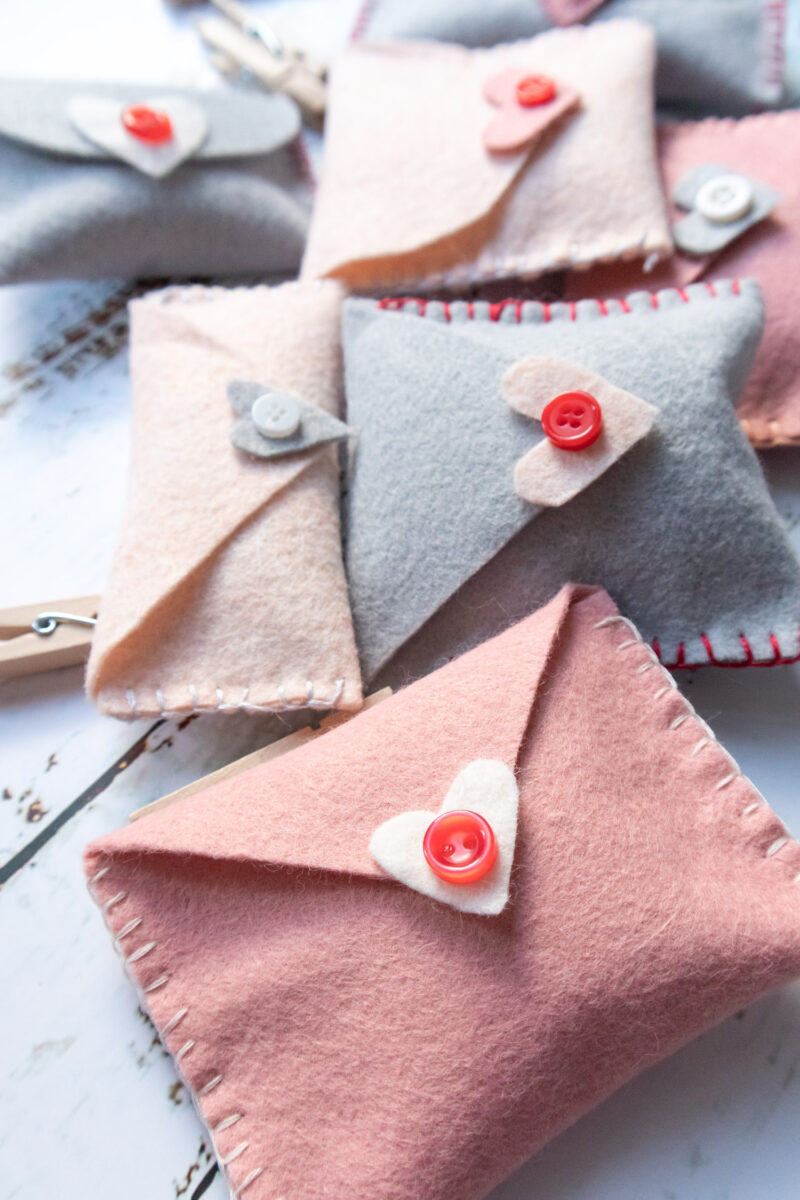
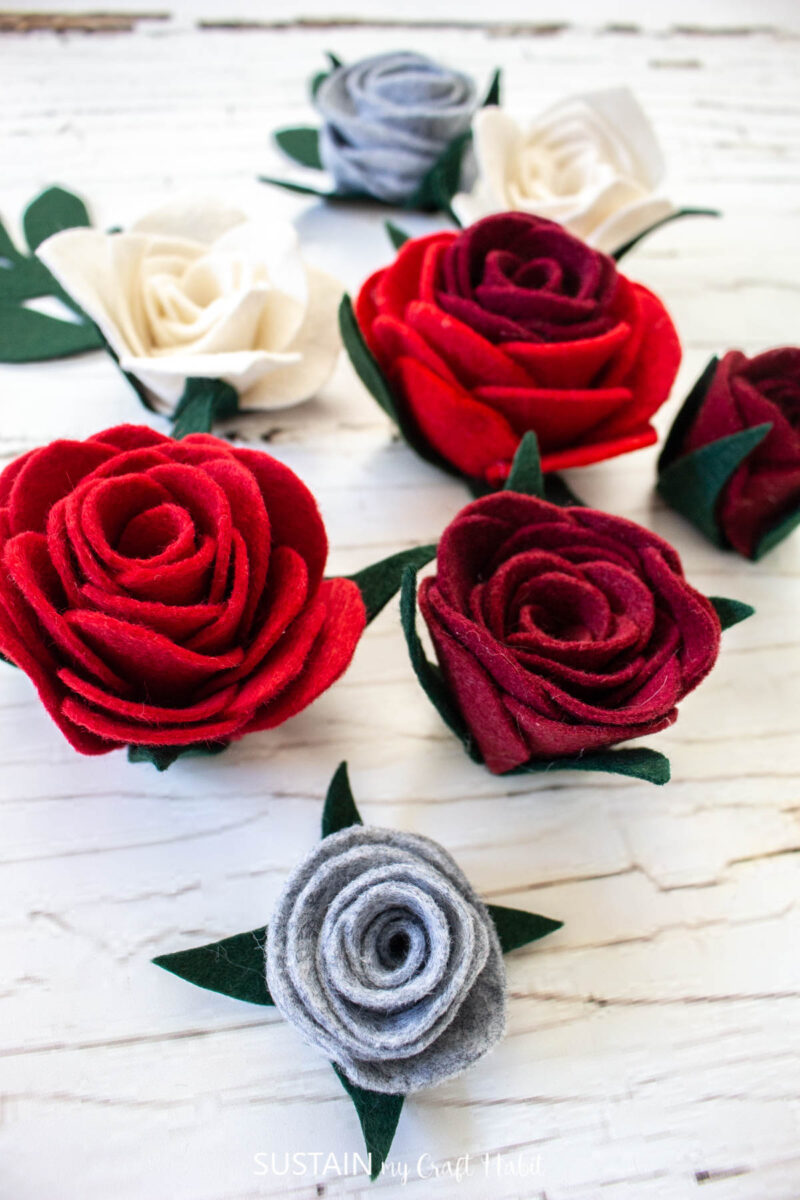
Once you try it, you’ll find so many ways to use laser cut felt in crafts, décor, and gifts, making it a great technique to add to your crafting projects. Check out our full gallery of felt craft projects to make at home!



OTHER XTool PROJECT IDEAS AND TUTORIALS
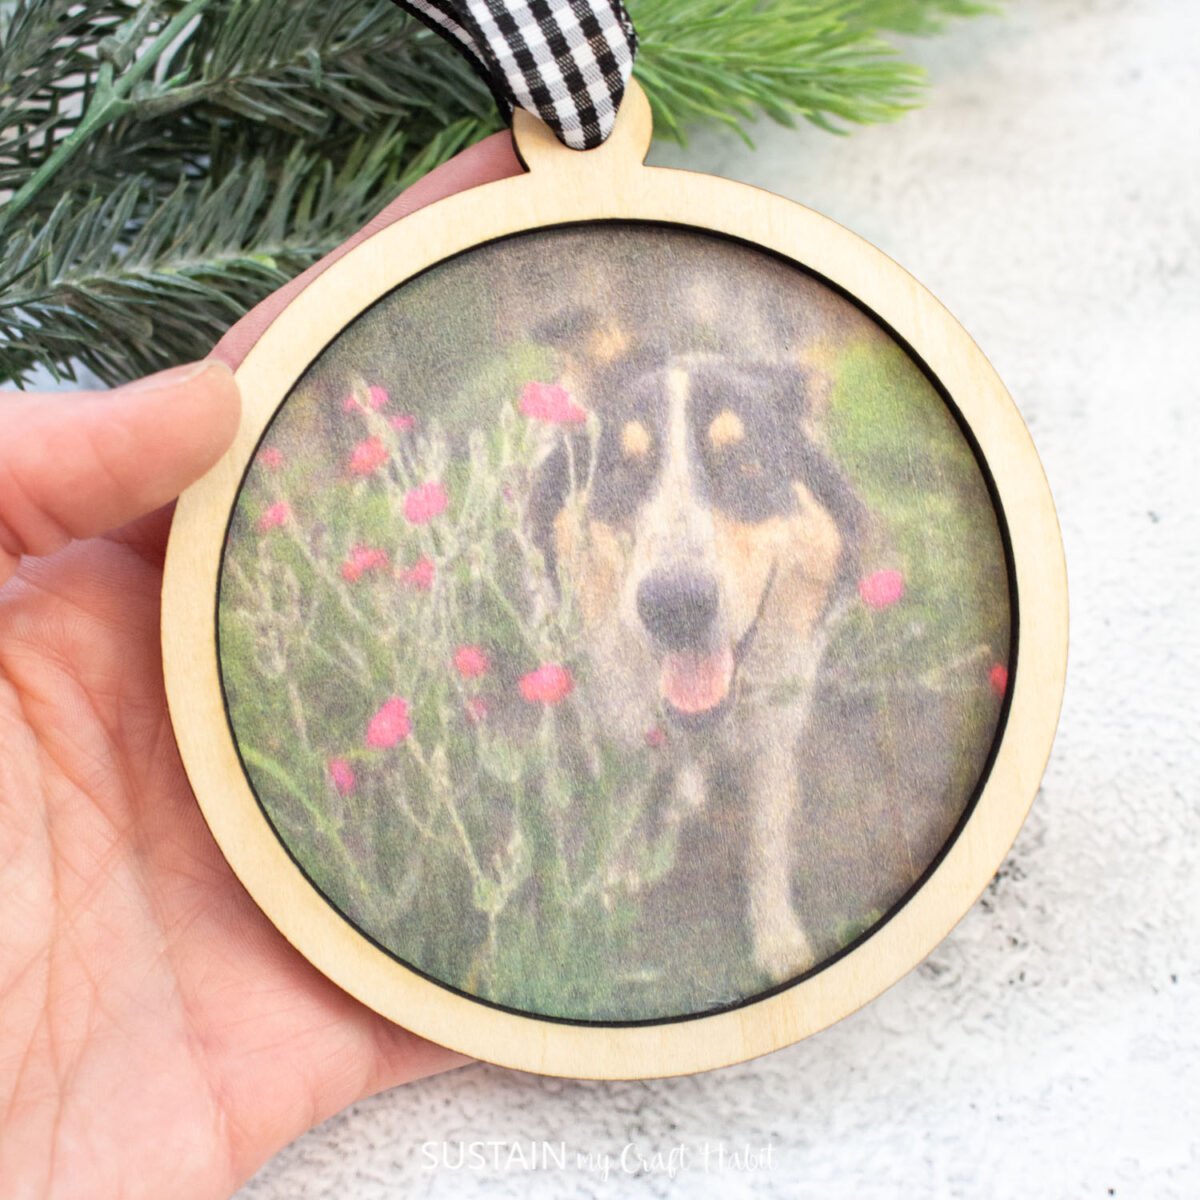
- How to Print Photos on Wood with xTool
- How to Cut Mirror Acrylic with XTool P2
- How to Cut Corrugated Cardboard
- How to Engrave Rocks with xTool P2
- Laser Engraving on Driftwood with xTool



Stay in the know on our latest crafts, special offers and freebies by joining our mailing list.
Like it? Pin for later!
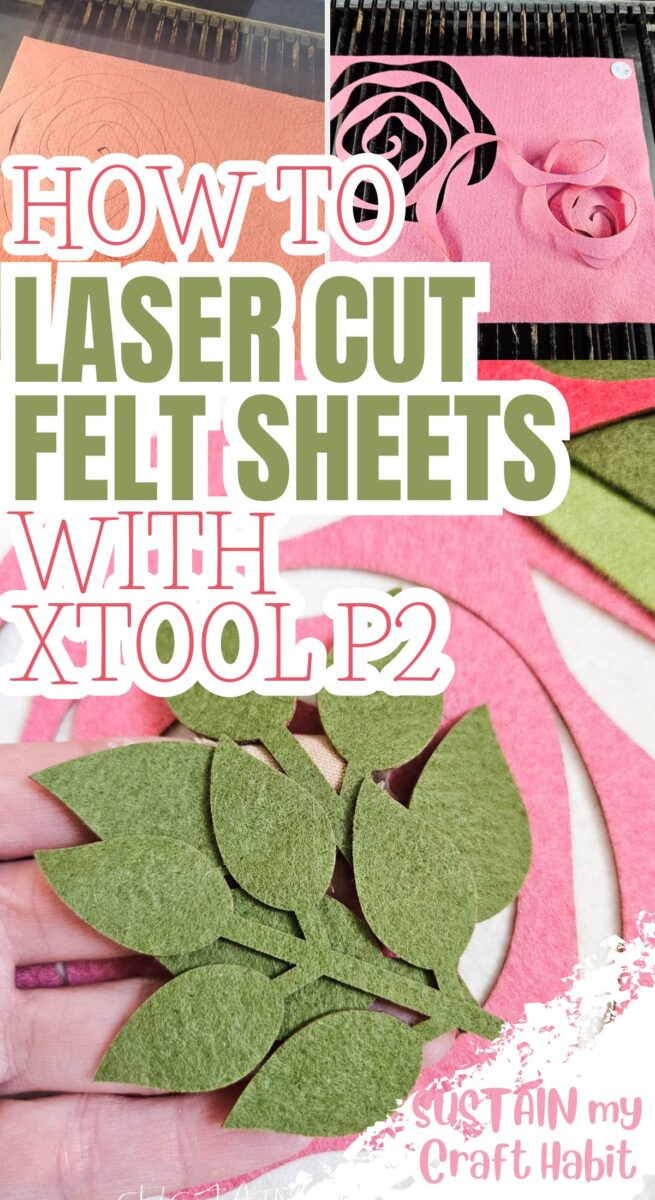
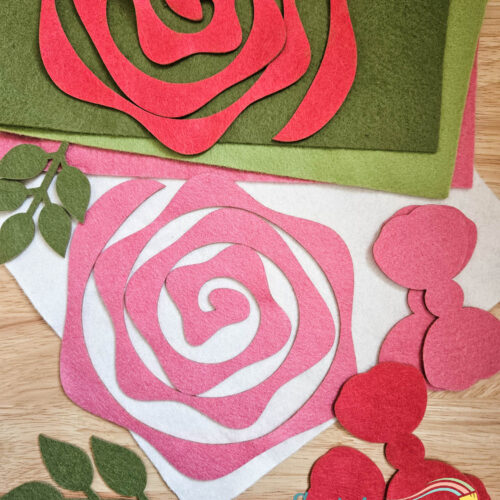
DIY Laser Cut Felt Sheets
Materials
- Felt sheets we used 20-35% wool and rayon blend
- xTool P2
- SVG cut file or other shape
Instructions
- Open Creative Space and select a new project.
- Insert the svg file onto the canvas or select any shape from the menu you want to use instead.
- Ensure the felt sheet is flat. You can press the felt sheet if it’s a wool/blend but if it’s 100%polyester, then you can not apply direct heat on to the felt sheet.
- Open the lid and place the felt sheet flat on top of the slats. No need to clamp the felt sheet.
- Position the design over the felt sheet.
- Set the material type to .3mm kraft paper but do an aimed measure of the felt to capture the correct thickness.
- Press start and watch as the xTool P2 cuts through the felt.
- When finished remove the piece from the machine.