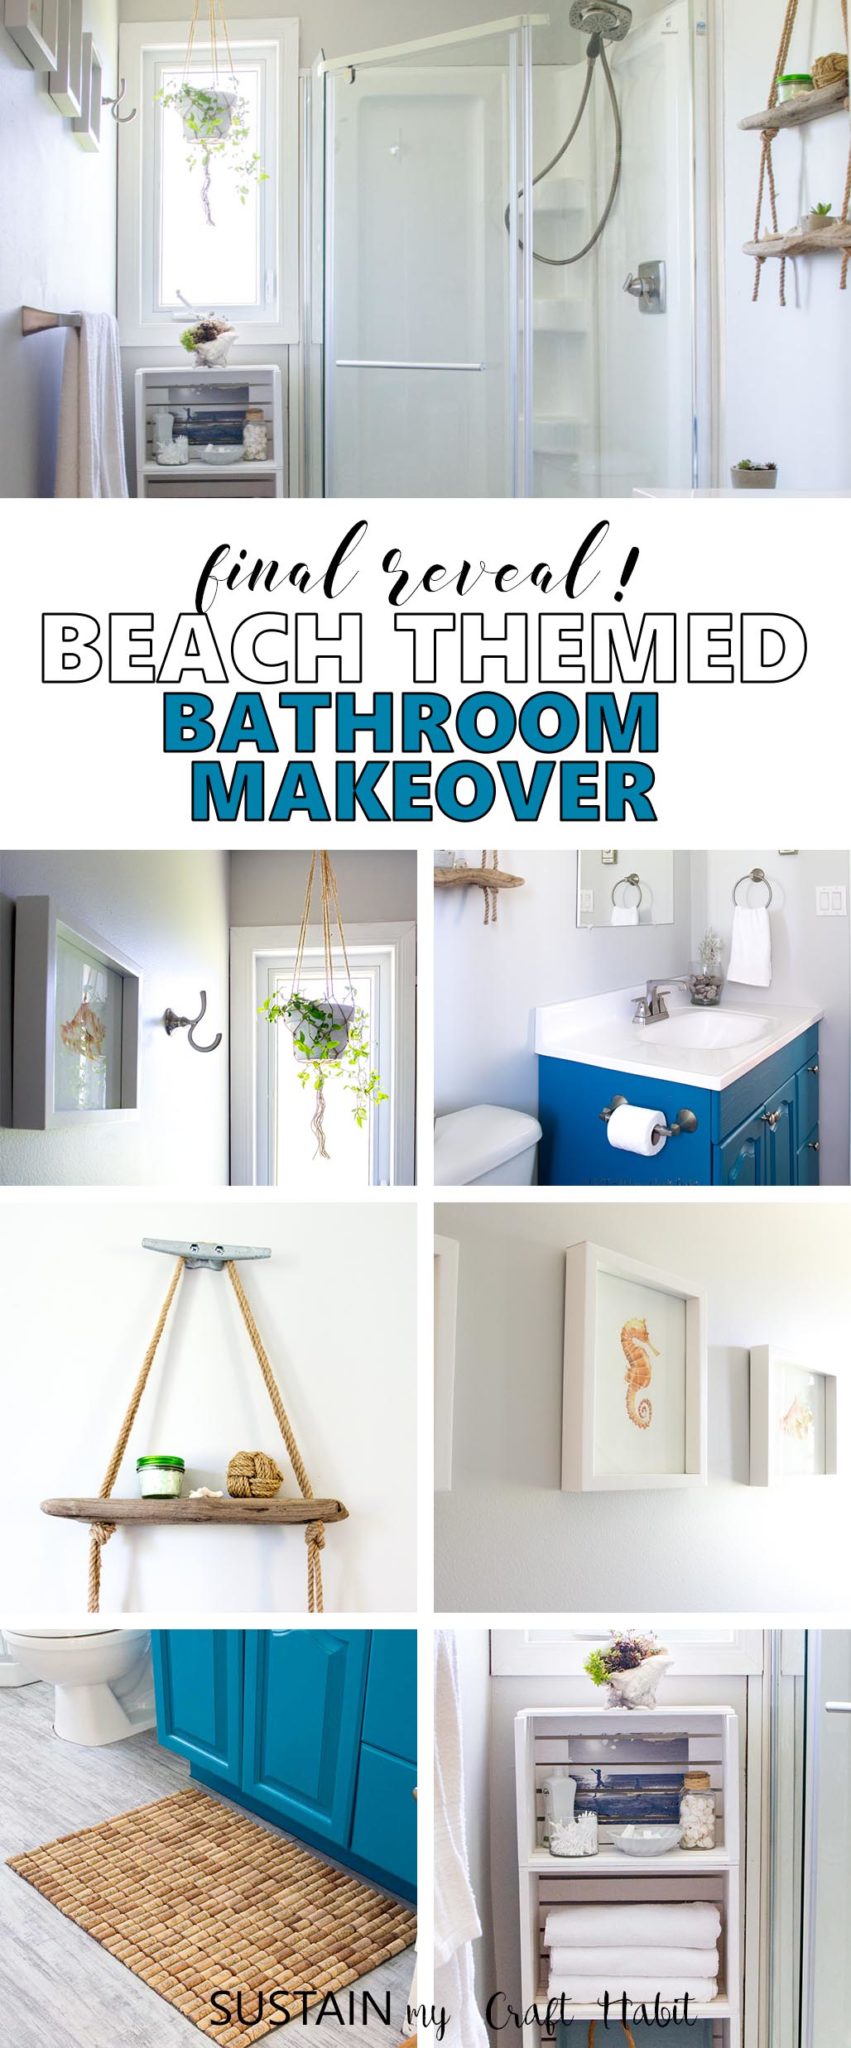
Budget-Friendly Beach Themed Bathroom Makeover
We don’t run marathons. BUT…we can relate to how it must feel to a runner as they cross the finish line. In one word…exhausted.
Welcome to week 6 of the One Room Challenge – the final reveal! We can in all honesty say this has been the busiest of the entire beach themed bathroom renovation. And it’s not at all that we procrastinated until the very end. Living 2 hours away from the reno site meant that we had to pack in the projects on the few weekends we were all able to make it up there.
For those of you new to the One Room Challenge, here’s a refresher: it was created by Linda of Calling it Home to challenge designers to complete a room makeover in 6 weeks, sharing their progress along the way. This was our first time participating and today, we’ve made it to reveal day!
If you missed the previous weeks you can catch up here:
![]()
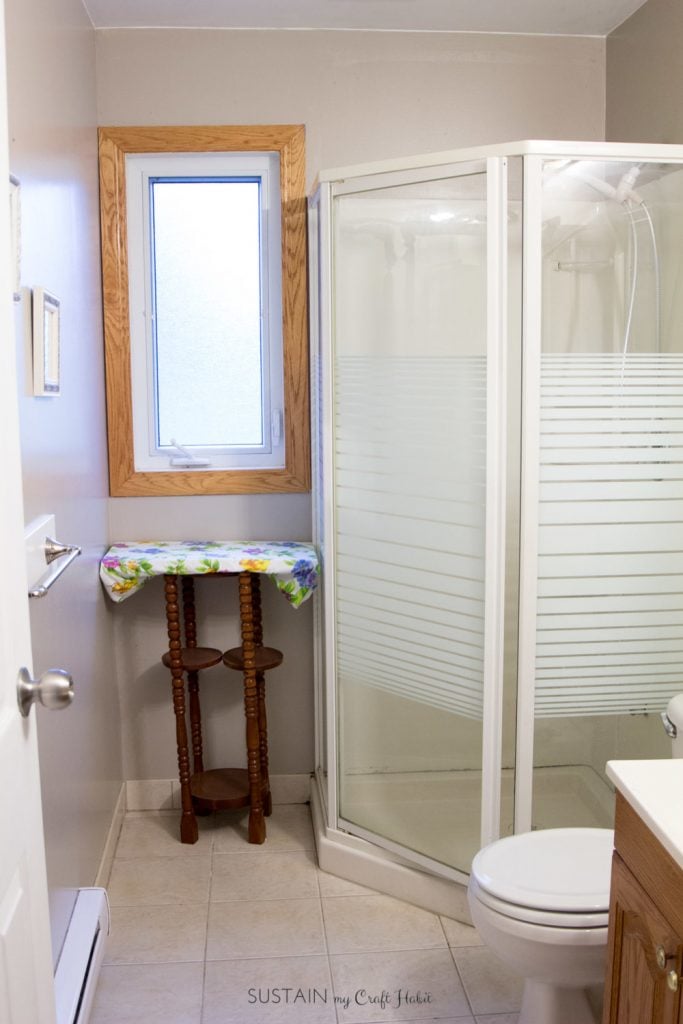
Week 1: The Before Photos and Video
Week 2: The Inspiration, Design Plans and our Sponsors
Week 3: Small Bathroom Remodel Tips
Week 4: DIY Wine Cork Bath Mat
Week 5: Upcycling the Bathroom Vanity
Week 6 (we are here): The Final Reveal!
Grab a coffee and visit all the other Guest Participants’ final reveals here as well as the final reveals for the 30 Featured Designers for the challenge.
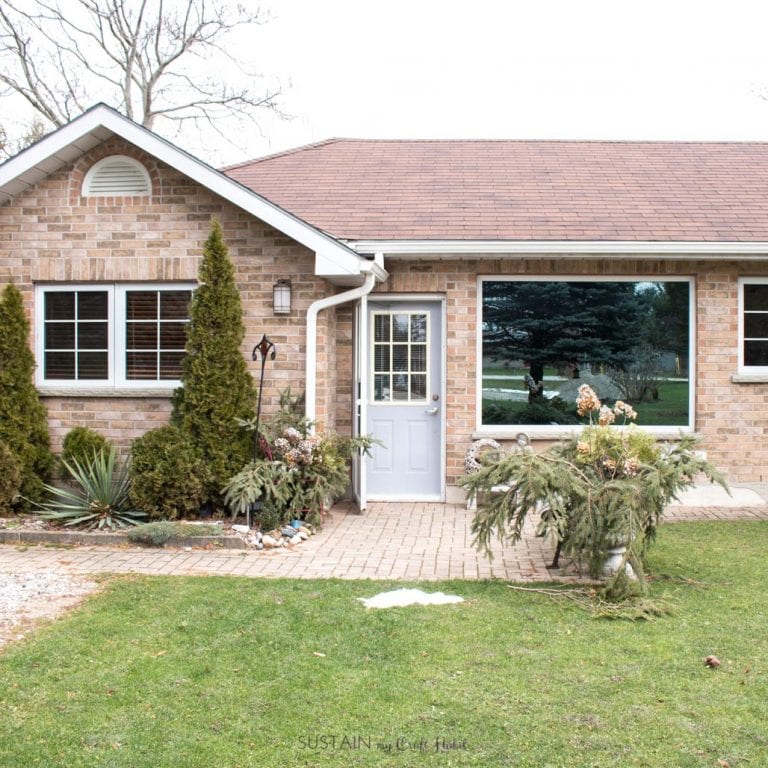
Here’s a reminder of what the bathroom of our Graystone Beach cottage looked like before…
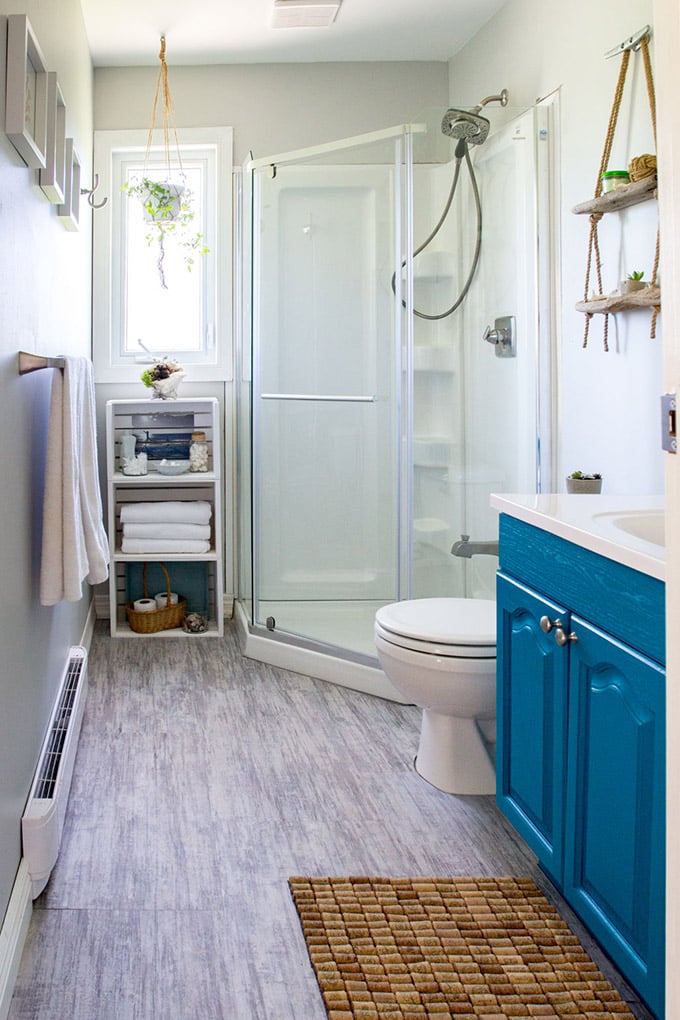
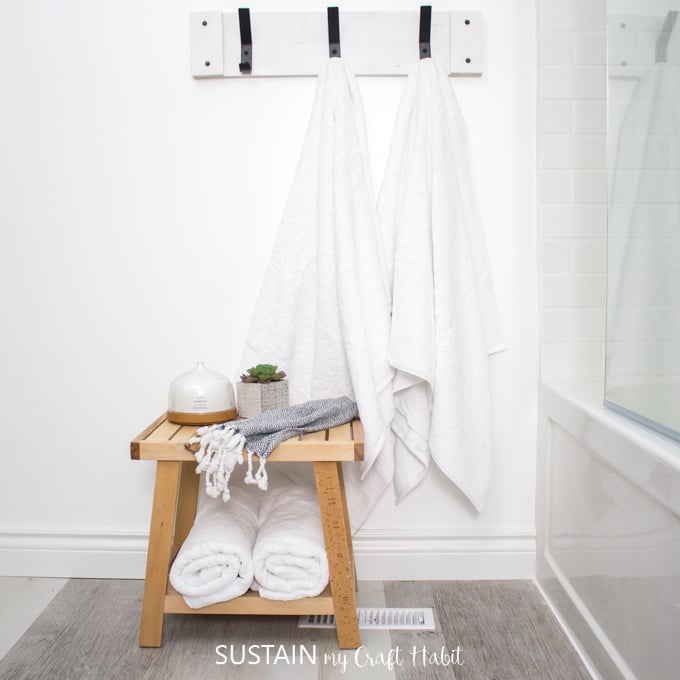
We are LOVING the new beach themed bathroom. It’s light, fresh and oh-so-coastal!
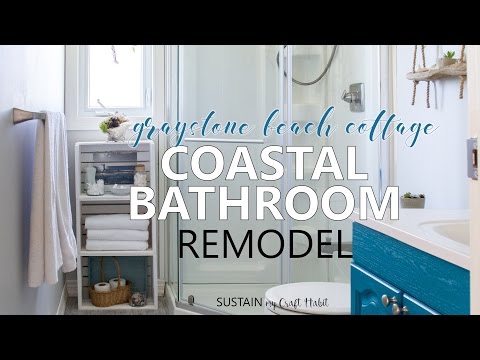
Come on a video tour with us through the new coastal style bathroom:
We managed to stay within our tight budget by patiently doing all of the DIYs ourselves. In the end, we spent less than $3000 for this complete coastal cottage bathroom reno, inclusive of product received from our generous sponsors:
DIY Projects Completed for this Beach Themed Bathroom Remodel
Installation of a new plank vinyl floor
We installed Allure ISOCORE brushed white plank vinyl flooring. Allure ISOCORE is a Home Depot Advantage product and exclusively available at the Home Depot. This waterproof flooring is just beautiful and extremely functional for a bathroom. Moreover, we were able to lay the large planks directly over top of our existing ceramic tiled flooring. You can appreciate what a huge benefit that is if you’ve ever tried to remove tile before! You can find our full how to install vinyl plank flooring tutorial here (includes a video!).
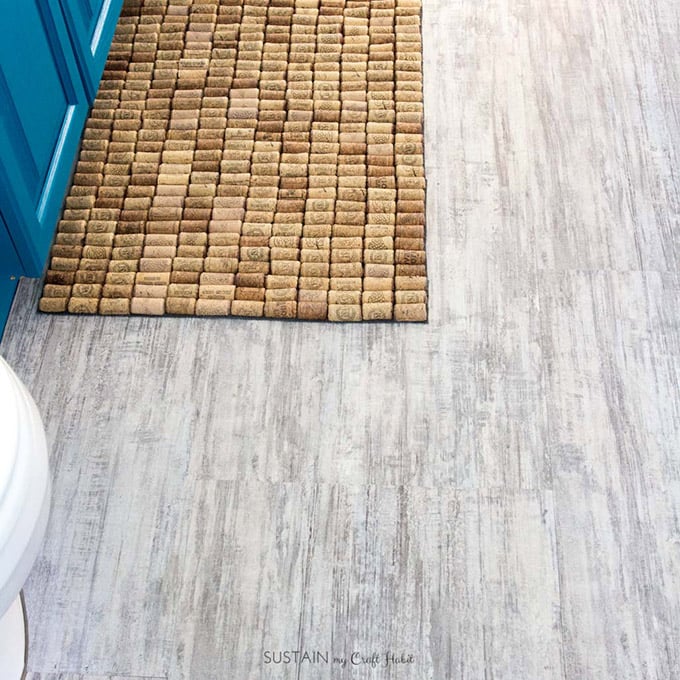
The DIY wine cork bath mat was a bit of an experiment: one of those crafts that you see and would love to try. Well, we did it and are pleasantly surprised with the result. You can find our full DIY wine cork bath mat tutorial here along with updates on how it’s holding up over time!
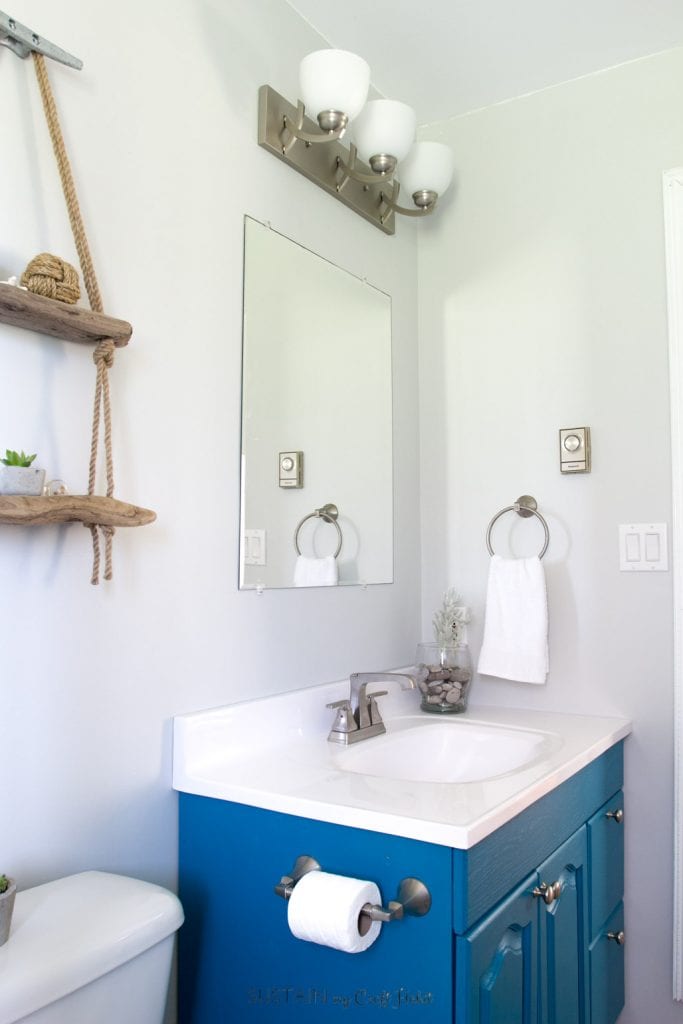
Upcycling the existing vanity
We saved some money by updating to the existing vanity rather than buying a new one. We gave it a pop of colour with True Teal Satin Enamel paints by Decoart. It’s the perfect paint to use for a bathroom vanity and it covers over the existing wood stained vanity without any priming. We replaced the old vanity top which was rust-stained and the hardware to give the piece a complete coastal refresh!
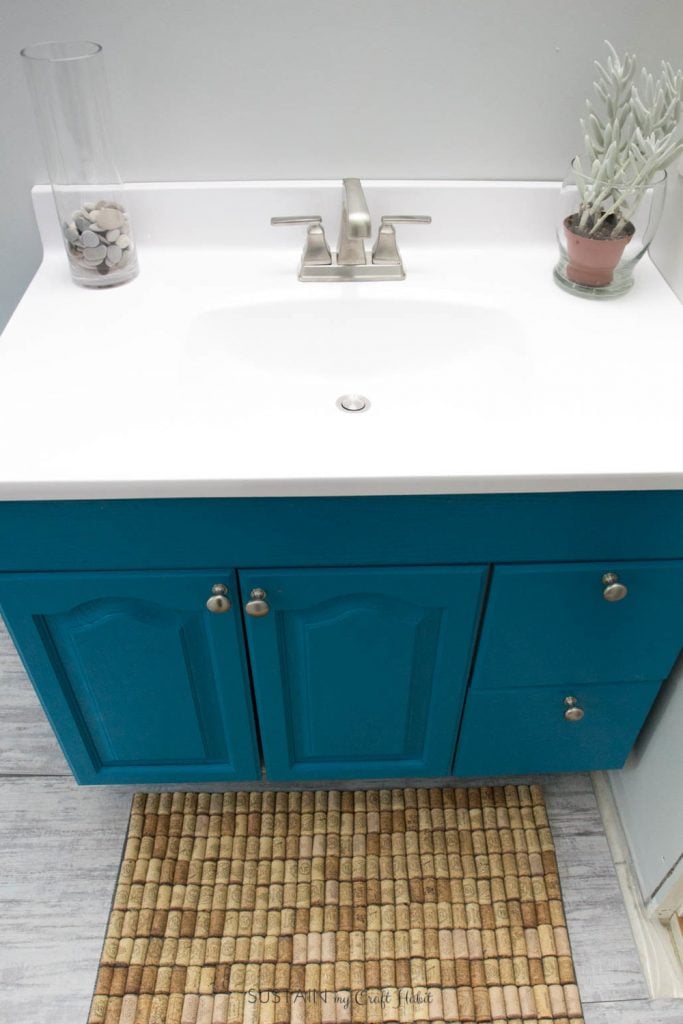
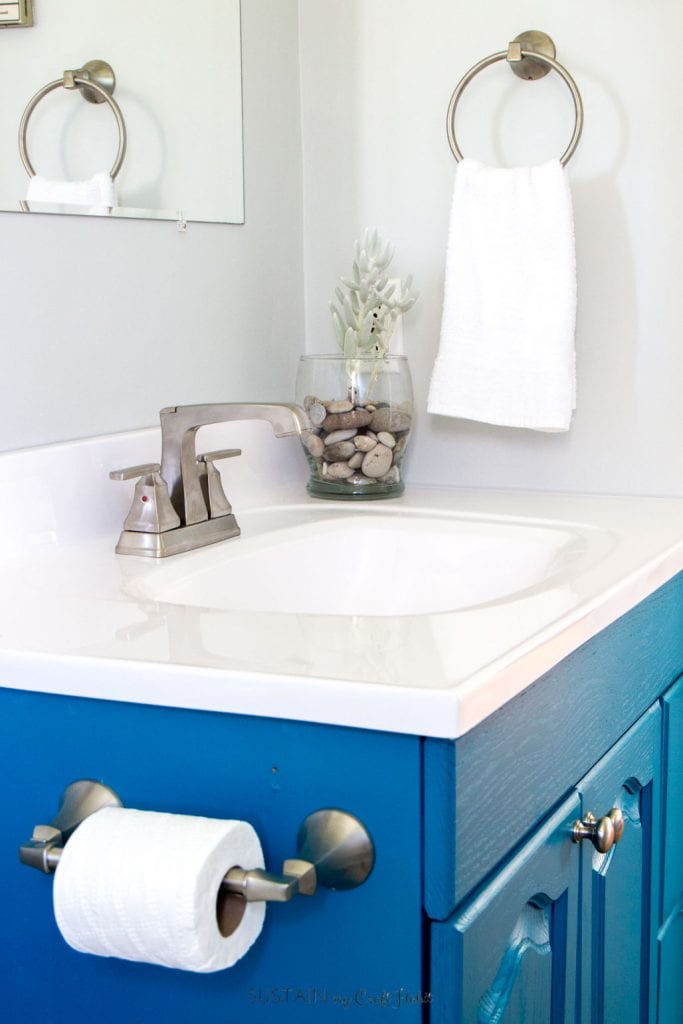
New Faucets and Hardware Fixtures
We updated all of the faucets and fixtures in the room with pieces in the Brilliance® Stainless finish from Delta Faucet Canada. They generously provided us the vanity faucet, the shower faucet, hand-towel ring, and toilet roll bar from their Ashlyn Collection as well as a toilet tank lever and new towel bar from their Tesla Collection. These pieces were just the classic yet modern style we were envisioning.
Installation of a new shower enclosure
We installed a new corner shower unit, the Mirolin Sorento Neo-Angle 38″ enclosure, which was the bulk of our bathroom remodel budget. Our parents had installed these shower enclosures in their home and are completely thrilled with them.
We saved a lot on other costs by accessorizing with DIYs and thrift store finds. We’ll be sharing the full tutorials for these projects over the coming weeks including:
A white washed stacked crate storage unit
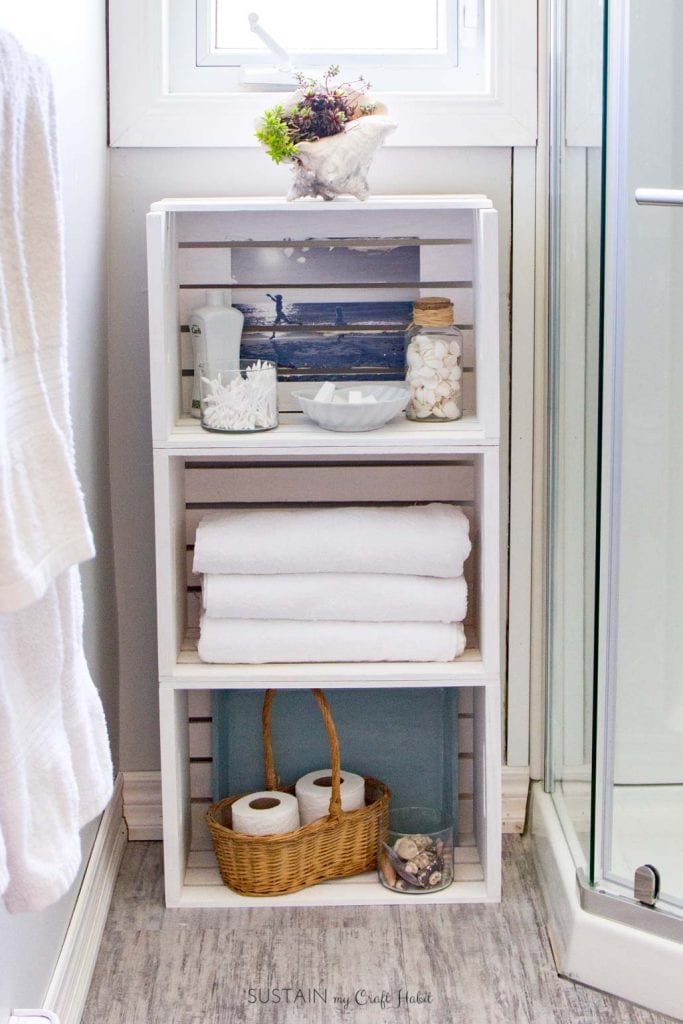
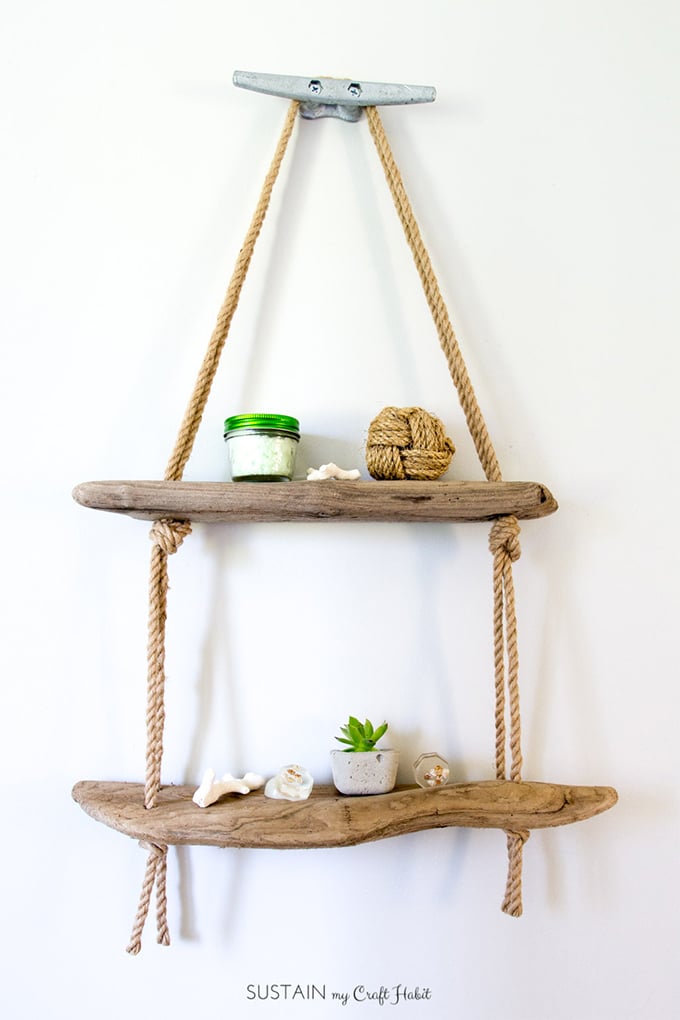
Hanging Rope Shelf with Driftwood
Fisherman knotted twine plant hanger
Rust-Toned Coastal Watercolor Art
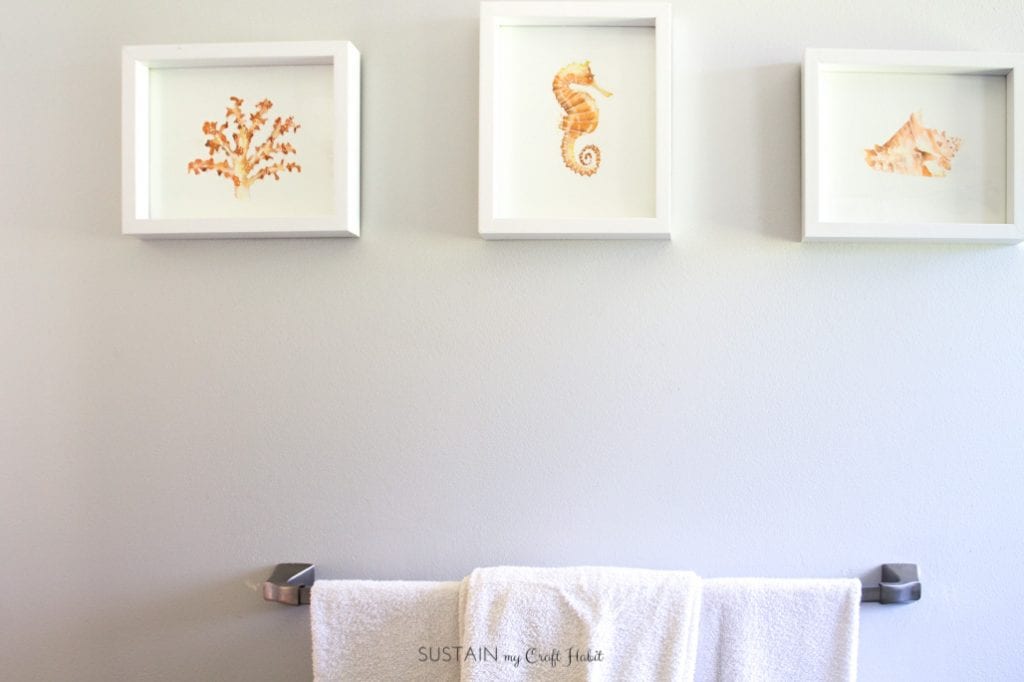
Jane painted these and has named the seahorse Rusty 🙂
Whew, that’s it! We still can’t believe we did all this. To be completely honest, we weren’t really feeling it until we added in all the fun accessories at the end which just seemed to tie everything together and bring us the beach themed bathroom feel we were striving for.
We’re going to take a bit of a renovating rest now, but not for too long as we’ll soon be starting a whole new makeover: the cottage’s Lakeview Bedroom! Be sure to subscribe to follow along with all the coastal cottage reno fun (and get our free Rustic Tablescape Guide as a thank you)!
Like it? Pin it for later!
If you could choose any room in your house to renovate, which would it be?
Shared at these great Link Ups: The Creative Gallery
Great job ladies! It looks so much better, brighter and more coastal. I was following along on Instastories and hoping you’d get it all finished and I’m so glad you did. Love that little driftwood shelf. Well done.
Thank you so much Dannyelle! It seemed pretty straightforward when we started but as these things go, we hadn’t anticipated everything. But we’re thrilled with how it all came together in the end.
This looks fantastic! Way to go ladies! I still love that vanity colour, and all the little natural nautical touches are very you. Bravo!
We thought you might like the bright pop of colour Ariel! We actually love it too – is such a nice fresh touch, like the lake. Thank you so much for stopping by (and we love your outdoor space makeover!).
That little driftwood shelf is so genius! What a transformation – it’s such a cute space now!
Thank you so much Lizzie! Sonja had this idea and these two particular pieces of driftwood just brought it all together. We’re so happy you stopped by!
That little driftwood shelf is so genius! What a transformation – it’s such a cute space now!
That little driftwood shelf is so genius! What a transformation – it’s such a cute space now!
love the new flooring and shelves, and that vanity adds a great touch of color!
Thank you so much Cassie. We think the floor brings so much needed texture to the room. So happy you stopped by!
the perfect beachy retreat! such a fun space!
Thank you Bre. We’re really looking forward to enjoying it a bit this summer. 🙂
Love that cheery blue vanity!! What a transformation. Nice job, you guys!! xo.
Thank you so much Gemma! The vanity colour was definitely brighter than what we usually go for, but we’re so happy with how it turned out.
LADIES! This is STUNNING! SO beautiful. That blue vanity pops out so beautifully, and the driftwood shelves are so creative. Love it all! You should definitely be proud of this space!
You are so sweet Lindi. We honestly weren’t sure how it was all going to look together and weren’t quite feeling it until everything came together in the end. Now we’re so happy to have this room all fresh and new.
This looks so wonderful! The vanity color is my absolute favorite – so fun and coastal 🙂 Nice work ladies!!
Best,
Kelly
Kelly, thank you so much! The vanity is definitely one of our favourite parts of the room too.
I love the color of the vanity. So refreshing and coastal indeed.
Thank you, Ola! We are finding very refreshing as well!
Oh my goodness, my friend you outdid yourself! I love the cork rug and the driftwood shelf! Wonderfully done!
Thanks, Keila. We thought it would never come together but somehow it all did (just in the nick of time)!
This room was definitely a challenge, but it truly turned out so perfectly in the end! LOVE that gorgeous driftwood shelf and the blue vanity is such a fun touch in the space! Well done friends!
Thanks Kristi! We are a little in love with that driftwood shelf too, it’s the one thing in the room that came together almost organically, with the least amount of effort!
Yikes, not sure where my comment went? If this is 2 comments from me, just know I love your space that much! Excellent job ladies, I know how hard you and your family worked to get this space done! LOVE that darling driftwood shelf, it’s the cutest! Oh and that water colour art, so sweet! xo
Thank you, Laurie! We are so grateful to have had the help from our family. Without them, this bathroom would still be in week 2 (mood board) stage of the reno, lol!
What a great coastal bathroom makeover – love the bright vanity!
Thank you, Nicole! So glad we opted for a bright vanity in this little space!
We definitely have had floor tile removed before. We didn’t even do it ourselves and it was awful. So putting a floor overtop of the old one sounds like a great idea! All the diy touches are so lovely – the driftwood shelves, Jane’s watercolours – and you know I love the teal vanity. Great job all around! Renters will be lucky to use your cottage.
Removing old tiles has got to be one of the biggest reasons people put off starting a reno. These vinyl plank flooring was the perfect solution. Thankyou for all your kind words, Joann!
It turned out beautifully! And I love the watercolor art. Rusty is super cute!
Thank you Sarena! I’m still trying to get Jane to paint me another Rusty for my house:)
such a beautifully soothing room! I have featured your new room on a round up of my favorite ORC bathroom makeovers!
http://myoldcountryhouse.com/one-room-challenge-guest-stars-fantastic-bathroom-makeovers/
congrats