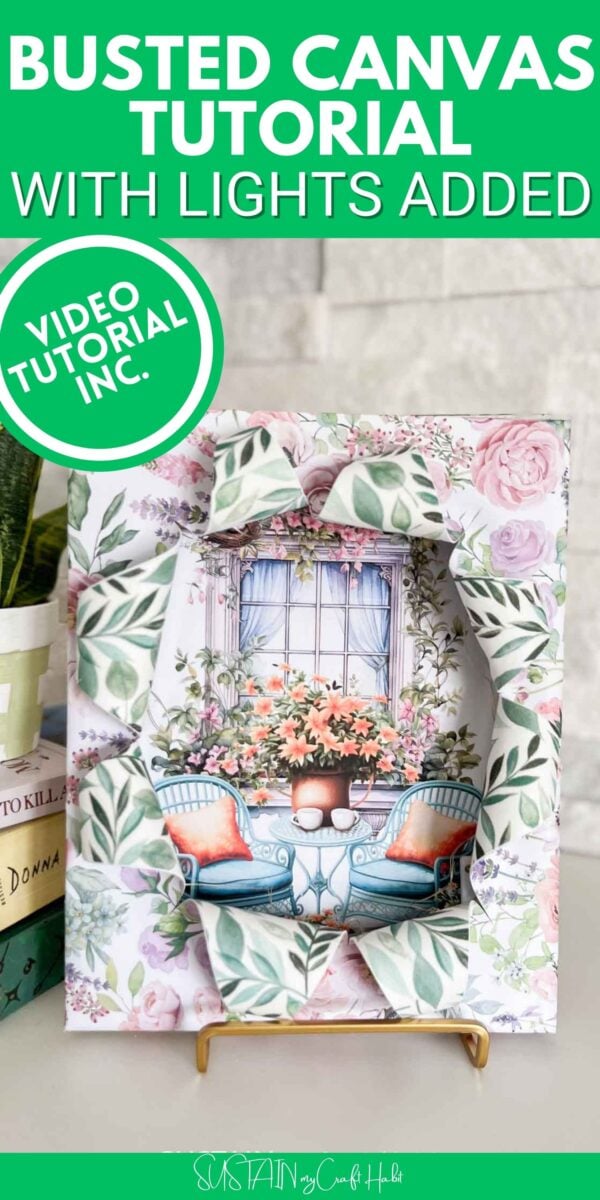
Busted Canvas Tutorial with Lights
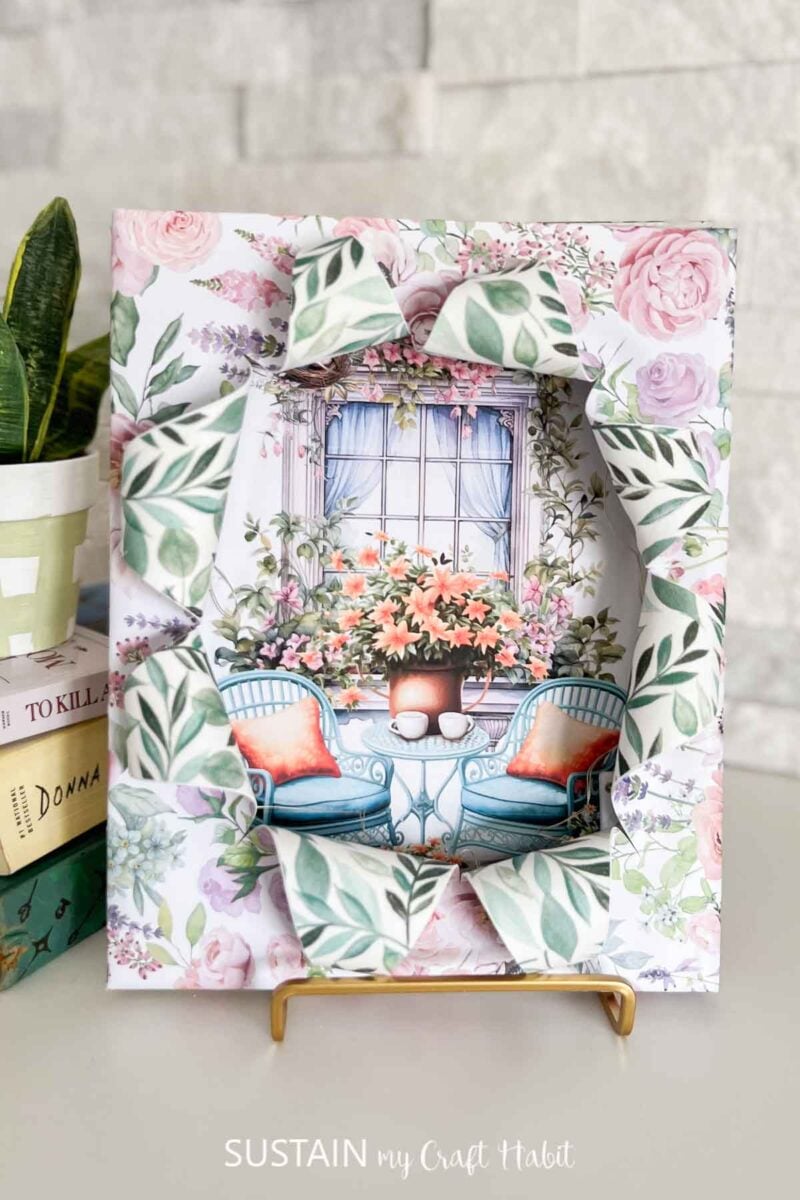
There’s something uniquely magical about transforming ordinary materials into pieces of art that glow—literally. The busted canvas craft is a blend of rustic charm and modern lighting that breathes new life into a broken or repurposed canvas. And we have the complete tutorial here!
Why You Will Love This Busted Canvas Tutorial
Ever since we made our first busted canvas craft we’ve been hooked! They’re fun and easy to create and make beautiful decor. Best part, you can customize this method to create gifts for a friend, hostess, teacher, etc. – the sky’s the limit!
The project is more than just a creative outlet—it’s a satisfying experience for any skill level. Here’s why it’s sure to become one of your favorite DIYs:
- Minimal Supplies, Maximum Impact: You don’t need a ton of fancy tools—just a canvas (repurpose an old one!), a strand of LED fairy lights, a bit of Modge Podge with decoupage paper, and your imagination.
- Upcycling Win: It’s a great way to give new life to damaged or discarded canvases, making it an eco-friendly project.
- Customizable Aesthetic: From soft pastels to bold abstracts, the background design is entirely up to you. Add stenciled quotes, silhouettes, or textured elements to make it uniquely yours.
- Therapeutic and Fun: The process of designing, decoupaging, and embedding the lights is both calming and exciting—perfect for an afternoon of crafting.
Gifting and Display Ideas
One of the most charming aspects of this project is how versatile the final product is. Here are some ways to use your glowing masterpiece:
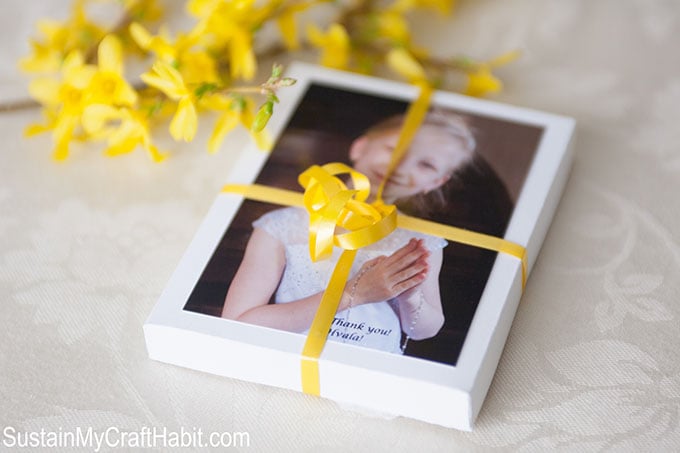
- Thoughtful Gifts: Personalize it with meaningful quotes, initials, or symbols for birthdays, anniversaries, or holidays.
- Nursery or Kids’ Room Art: Use soft lighting and cheerful designs to create a comforting glow in a child’s room.
- Holiday Decor: Think snowflakes, stars, or ornaments for festive-themed versions during Christmas or New Year.
- Wall Art with a Twist: Hang it above your bed, in an entryway, or on a gallery wall to add a warm, inviting ambiance.
- Event Backdrops: Ideal for weddings, baby showers, or graduation parties—especially with thematic customization.
Want to receive a ton of inspiration and money saving ideas for decorating, gift-giving and crafting? Join HERE!
Materials Needed
Disclosure: This post contains affiliate links for your shopping convenience. Should you choose to purchase through them, we will make a small commission at no extra cost to you. You can read our full disclosure policy here.
- Framed Canvas (we got ours from Dollar Tree)
- Image of your choice (we got ours from Creative Fabrica)
- Decorative paper or paper napkin
- Mod Podge
- Paintbrushes
- Hot glue gun
- Twinkle lights
How to Make a Busted Canvas with Lights
We’re happy to share this video tutorial of making this busted canvas idea. Or if you prefer reading the step-by-step tutorial, continue below.
- Start by separating the two plies of napkin using just the top layer and cut to fit into the back of the canvas.
- Add a coat of Mod Podge glue to the back of the canvas and gently press your paper napkin onto it.
- Next, turn your canvas over and repeat with a different napkin or decorative paper. Fold over the edges of the canvas and cut off any excess from the sides.
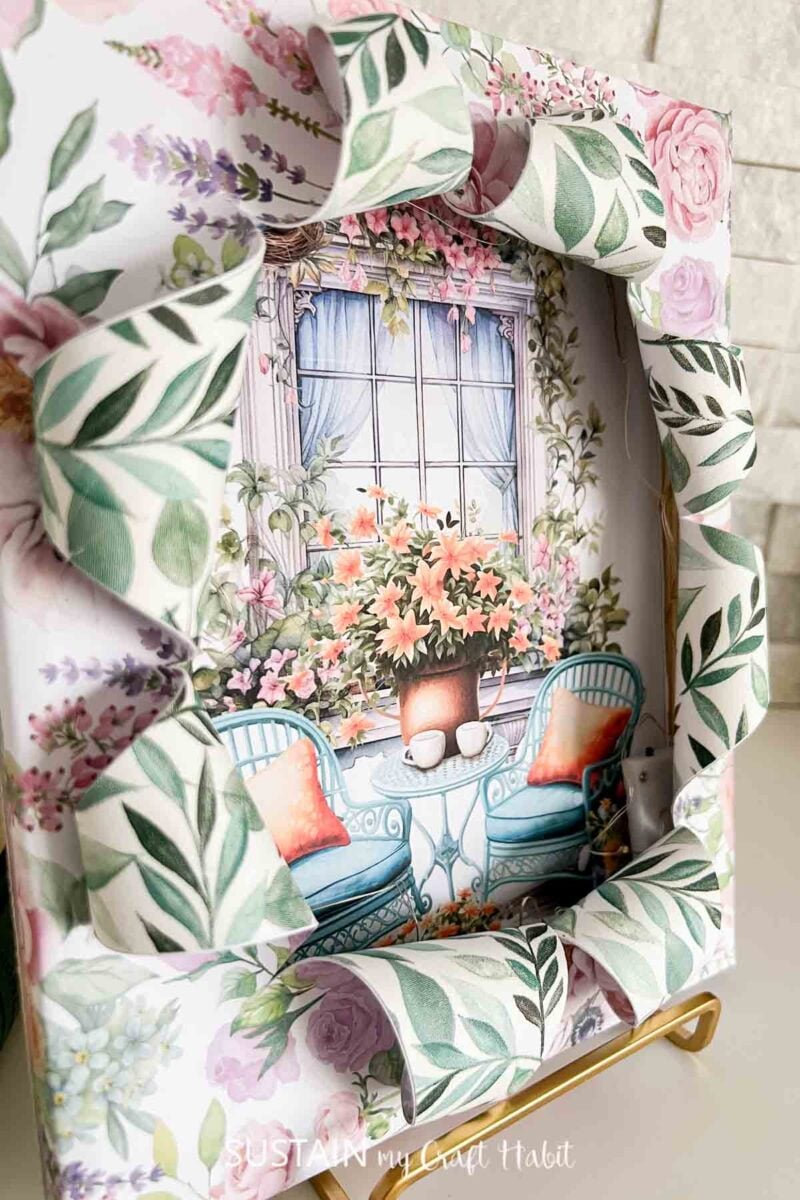
- Take your craft knife or scissors and carefully cut slashes into the canvas in the center where you plan to place the image. Make sure not to cut all the way to the edges.
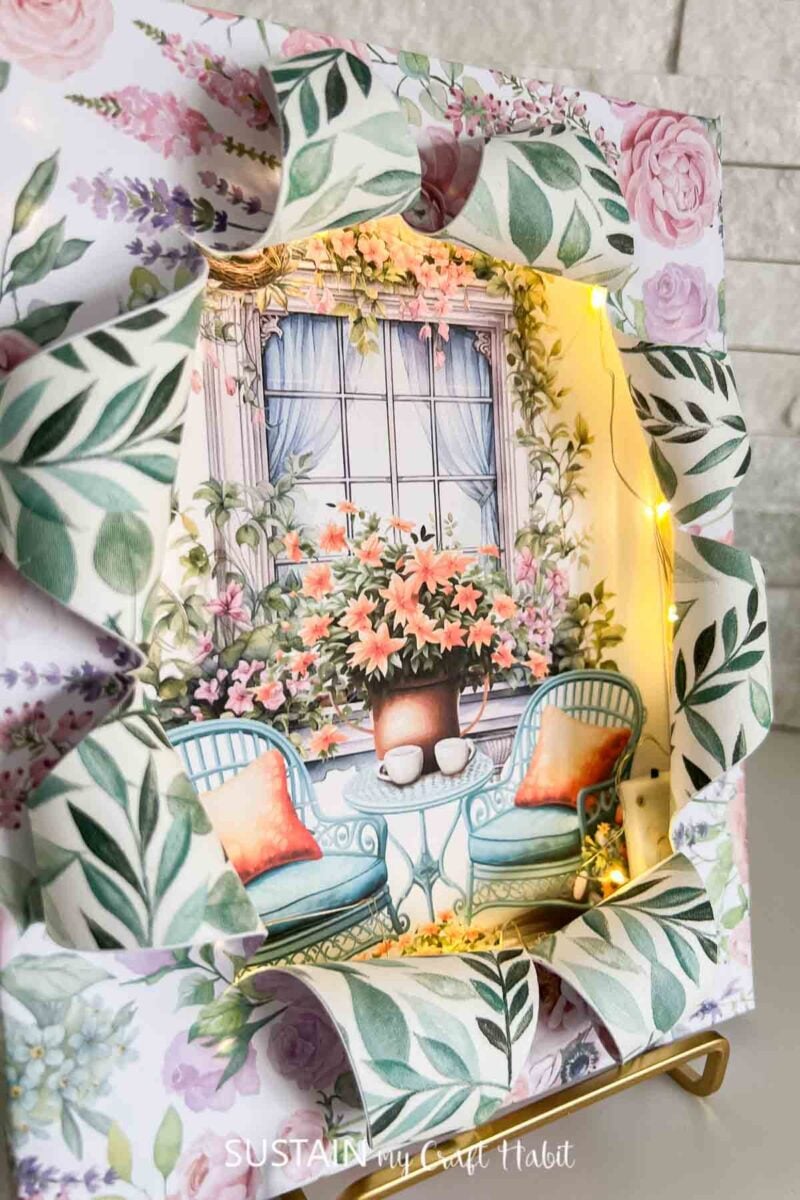
- Flip the canvas over and gently fold back the edges of the slashes. Hot glue the ends to the front of the canvas. Continue until all the edges have been folded over.
- Hot glue the twinkle lights to the back of the canvas along the frame.
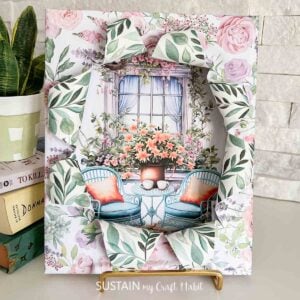
- Finally, glue the image onto the frame of the canvas and trim off any excess.
More Crafts using Twinkle Lights
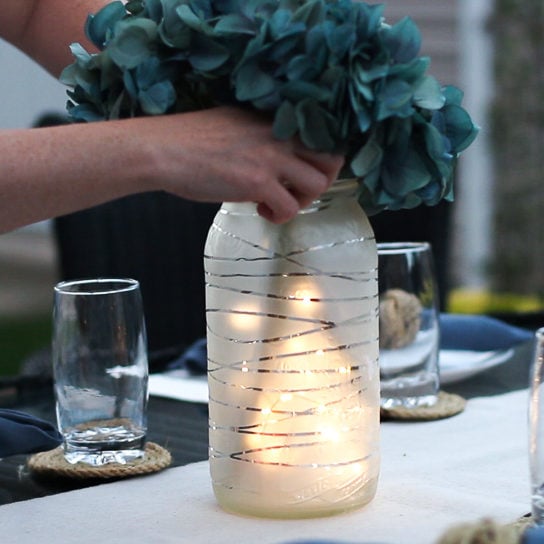
- DIY Mason Jar Lanterns
- Frosted Wine Bottle Centerpieces
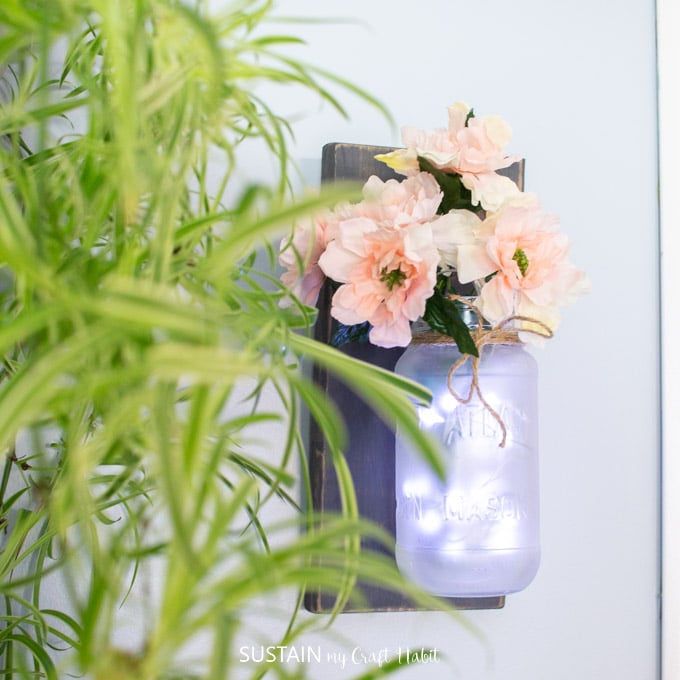
- Mason Jar Lights with Flowers
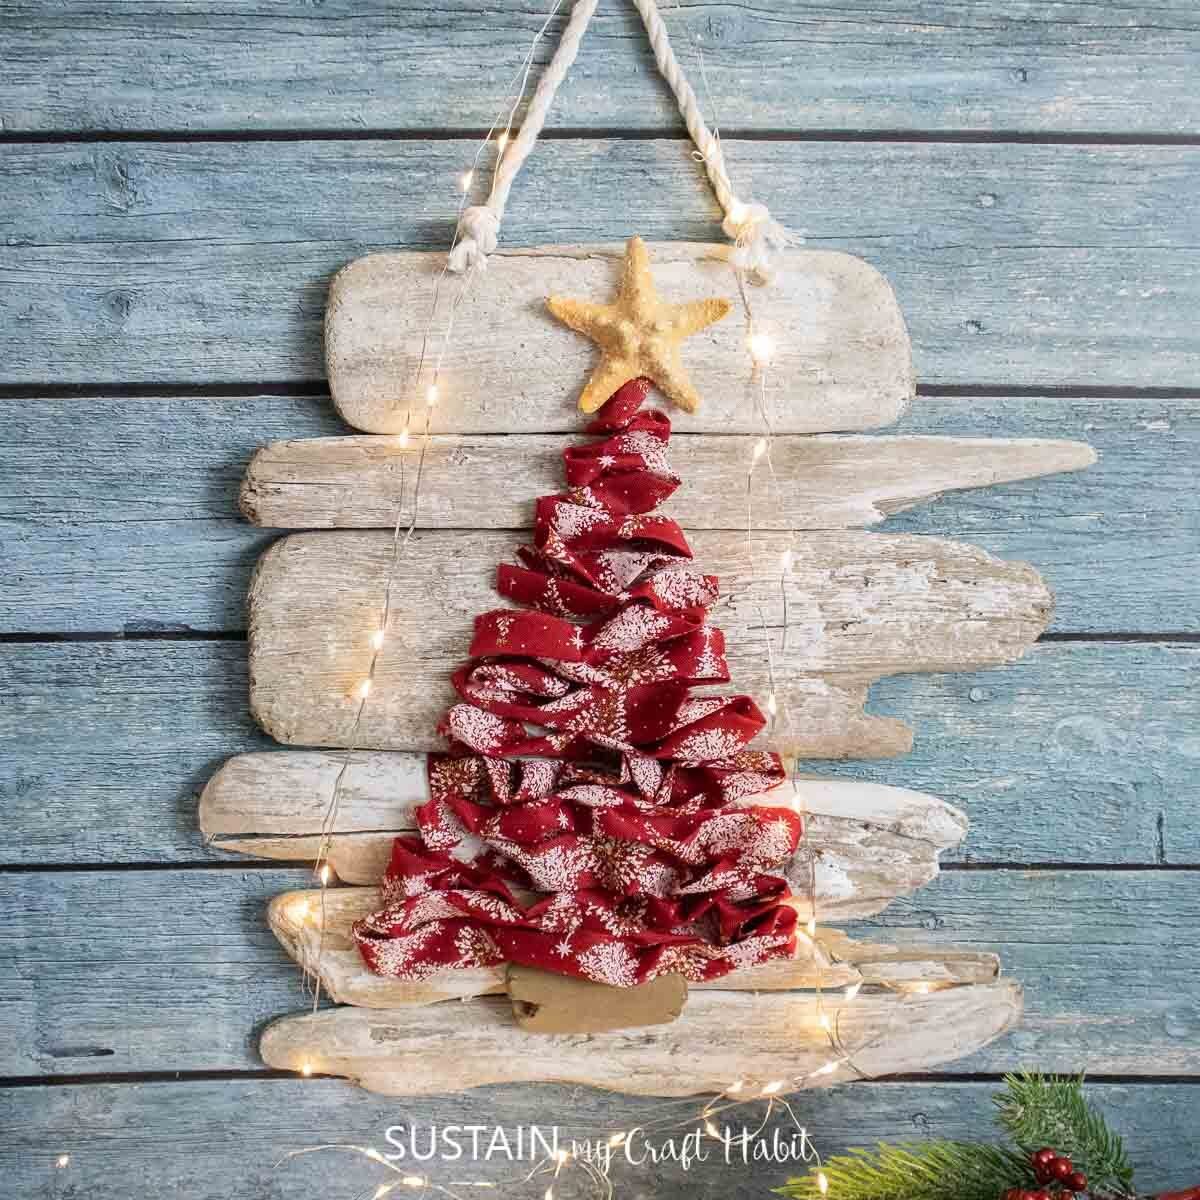
- Ribbon Christmas Tree
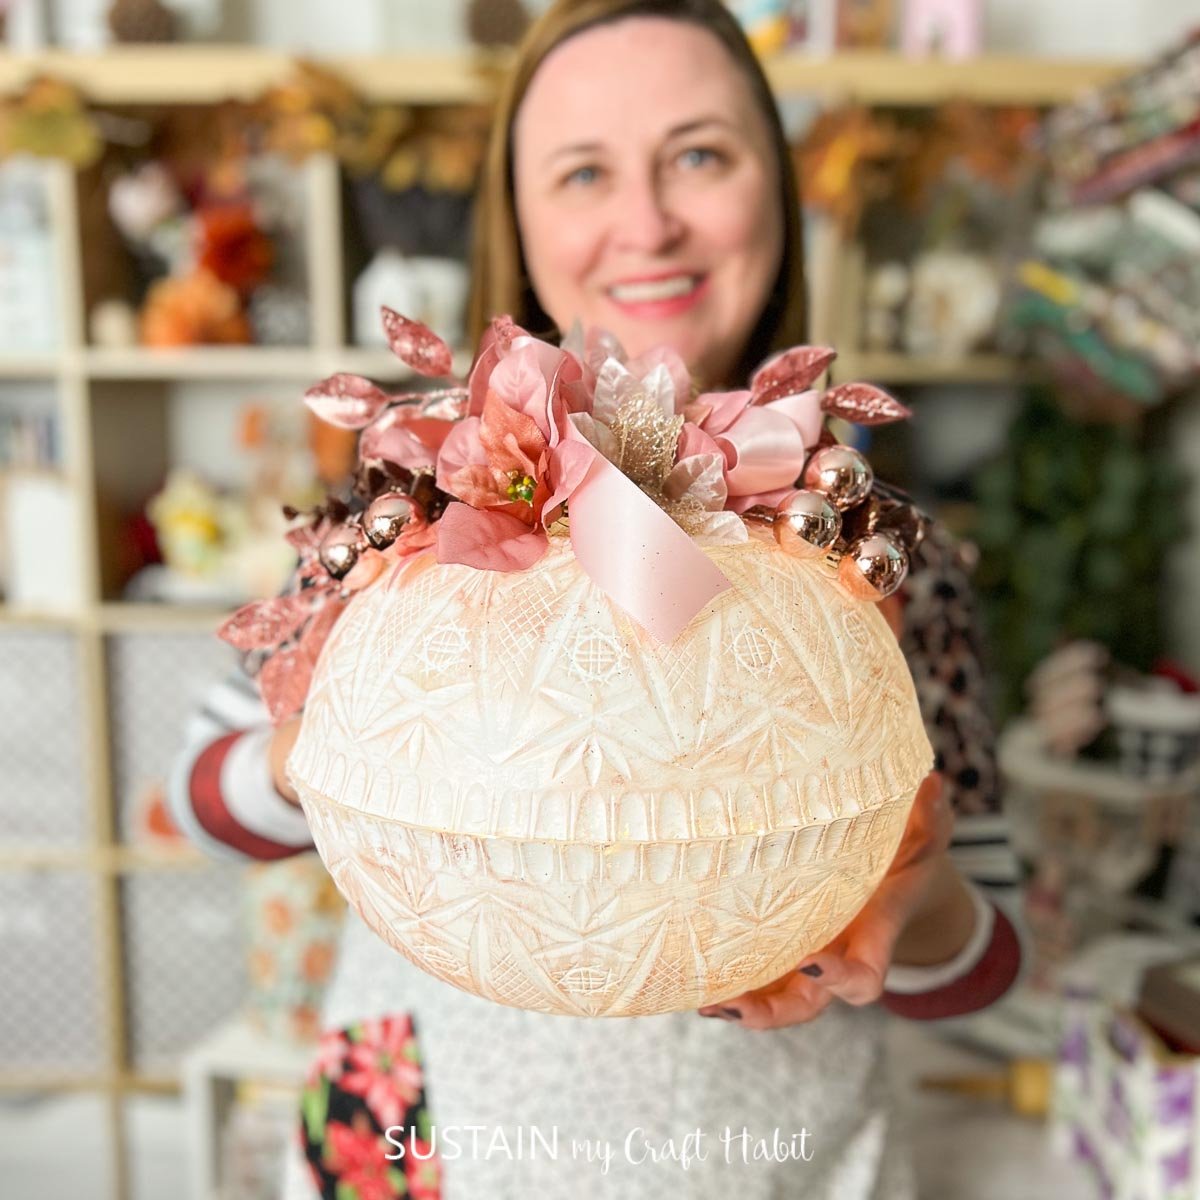
- Dollar Tree Bowl Ornament
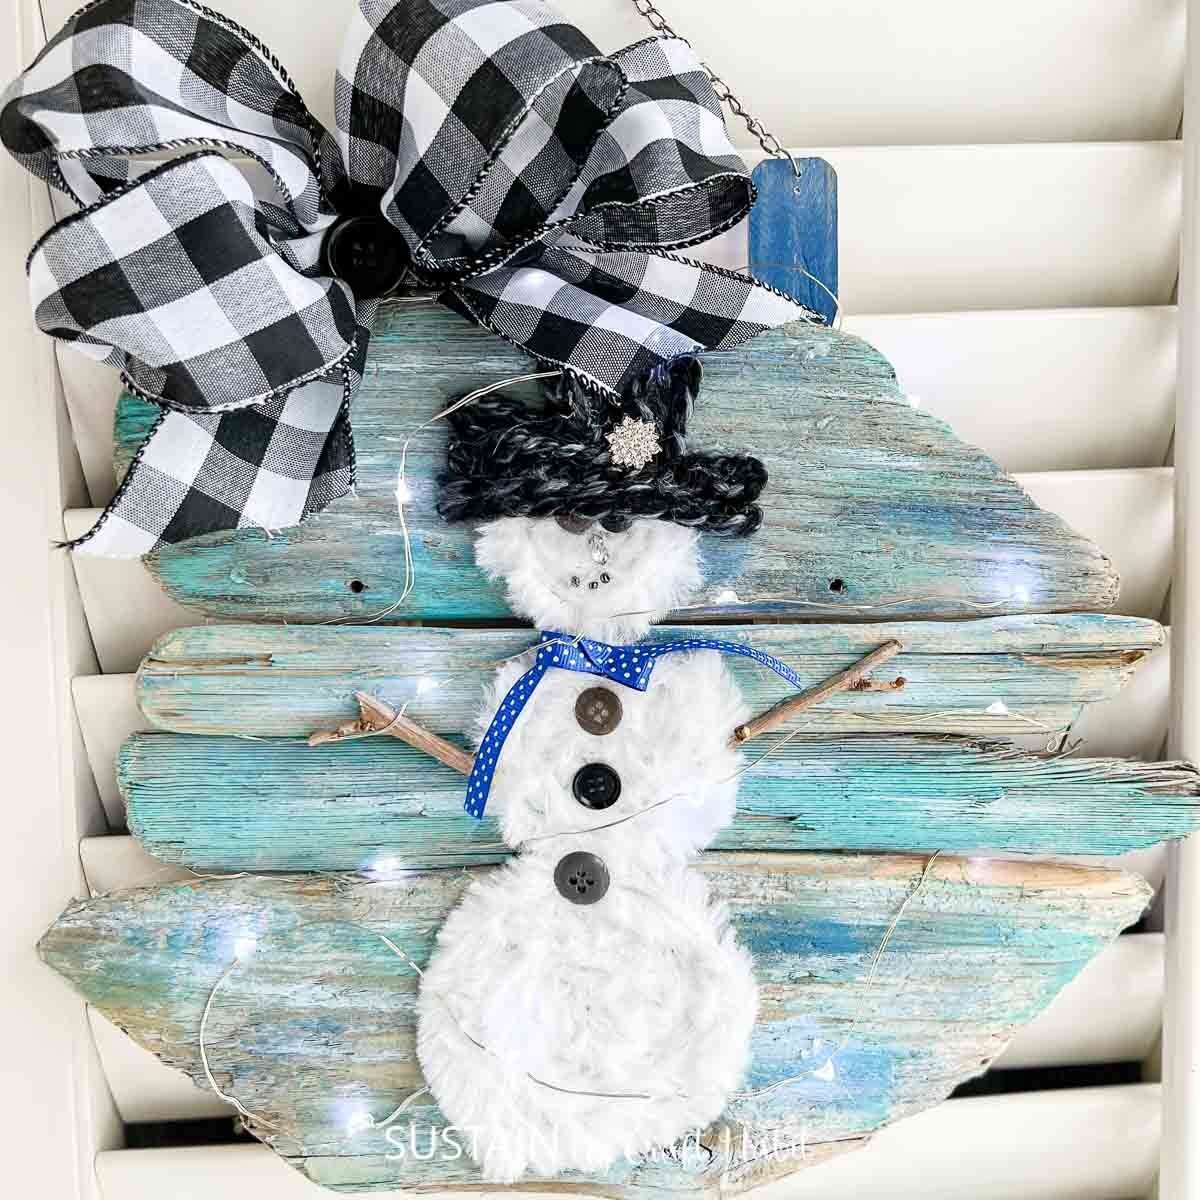
- Wintry Snowman Craft

Become a Sustain My Craft Habit insider to receive fun freebies!
Like it? Pin for later!
Busted Canvas Tutorial with Lights
Materials
- Framed Canvas
- Image of your choice we got ours from Creative Fabrica
- Decorative paper or paper napkin
- Mod Podge
- Paintbrushes
- Hot glue gun
- Twinkle lights
Instructions
- Start by separating the two plies of napkin using just the top layer and cut to fit into the back of the canvas.
- Add a coat of Mod Podge glue to the back of the canvas and gently press your paper napkin onto it.
- Next, turn your canvas over and repeat with a different napkin or decorative paper. Fold over the edges of the canvas and cut off any excess from the sides.
- Take your craft knife or scissors and carefully cut slashes into the canvas in the center where you plan to place the image. Make sure not to cut all the way to the edges.
- Flip the canvas over and gently fold back the edges of the slashes. Hot glue the ends to the front of the canvas. Continue until all the edges have been folded over.
- Hot glue the twinkle lights to the back of the canvas along the frame.
- Finally, glue the image onto the frame of the canvas and trim off any excess.