Cutting Felt with Cricut: The Ultimate Guide
Cutting felt with Cricut opens up a world of possibilities for crafting, from creating unique hair accessories to designing custom home décor. This guide will walk you through the process of cutting felt sheets using your Cricut machine, ensuring perfect results every time.

Why You’ll Love This Tutorial on Cutting Felt with Cricut
Working with felt on your Cricut cutting machine is a game-changer for crafters of all skill levels. The precision of machine cutting eliminates the frustration of uneven hand-cutting and allows you to create intricate designs that would be nearly impossible to achieve with scissors. Plus, you’ll be able to complete projects faster and with more consistent results.

Other Materials You Can Cut with Your Cricut
Your Cricut machine is an incredibly versatile tool capable of cutting a wide variety of materials beyond felt.
- For paper crafting enthusiasts, the machine expertly handles cardstock, construction paper, vellum, and delicate crepe paper with precision.
- When it comes to fabric cutting, your Cricut can slice through cotton, denim, canvas, and polyester with ease, making it perfect for quilting and sewing projects.
- The machine also excels at cutting specialty materials like adhesive and iron-on vinyl, leather, craft foam, and glitter paper, opening up possibilities for custom décor and accessories.
For more unique projects, your Cricut can even tackle materials like wooden veneer, aluminum foil, craft metal sheets, and cork, allowing you to explore different textures and effects in your crafting adventures.
Get access to our resource library filled with SVG cut files and other Cricut craft ideas!
Where to Buy SVG Files to Use with Cricut
If you like this holiday cactus design, head over to our Etsy shop to purchase the pattern files. We also have loads of other felt pattern files in the shop to get you started! Or if you’d like to check out some freebie SVG files, head over to our online Sustain My Craft Habit shop. Thankyou!


Materials Needed
Disclosure: This post contains affiliate links for your shopping convenience. Should you choose to purchase through them, we will make a small commission at no extra cost to you. You can read our full disclosure policy here.
Cricut Maker or Maker 3 or Cricut ExploreStandard Grip Mat Transfer Tape (a must for protecting your cutting mat for repeated uses)- Rotary Blade with Housing
- Brayer

How to Cut Felt Sheets with Cricut
Uploading the Pattern
Download the SVG file or files you wish to use and go to computer’s downloads to find SVG file or files.
Save the SVG file to the desired location or folder on the computer. Open Cricut Design Space to a blank canvas and select the Upload button from the left side toolbar.

Click on Browse button to upload SVG file. Select the SVG file from the download folder (or whatever folder you’ve saved the SVG file to) and click Open.
Click on Insert Images. The pattern pieces will appear on the Design Space canvas. All pattern pieces will be grouped together.

Click on the Ungroup button to separate the pattern pieces.
You can reorganize the pattern pieces by color and material by using the color sync option in Design Space.

If you want to assign a different felt sheet color to the pattern pieces you can do so by clicking on the pattern piece and then clicking on the color tab.
The color sync tab will display all the pieces in their corresponding material color for a visual overview.

Cutting Felt with Cricut
On a standard grip mat, peel off the protective plastic covering.
Cut a piece of Transfer Tape the size of the grip mat and lay it on top with the sticky side facing up. This will protect the cutting mat for repeated future cuts.

Next, press the felt sheet on top of the mat and proceed cutting as usual.

When ready, proceed to “Make” and select “on mat” for the cutting option and continue following the prompts on the screen.

When finished cutting, unload the mat from the machine and peel away the cut felt pieces.

For more felt cuts, press a new felt sheet onto the mat and repeat.


When finished or when the Transfer tape appears damaged, remove using the Brayer tool. Gently scrape away the transfer tape leaving the protected cutting mat underneath.

Mastering Felt Cutting with Cricut
Mastering felt cutting with your Cricut machine opens up endless creative possibilities. Whether you’re making decorative pieces or craft projects, the precision and ease of Cricut felt cutting will elevate your crafting game.

Remember to start with simple designs and work your way up to more complex projects as you become comfortable with the process. Keep experimenting with different types of felt and designs to discover what works best for your specific projects.

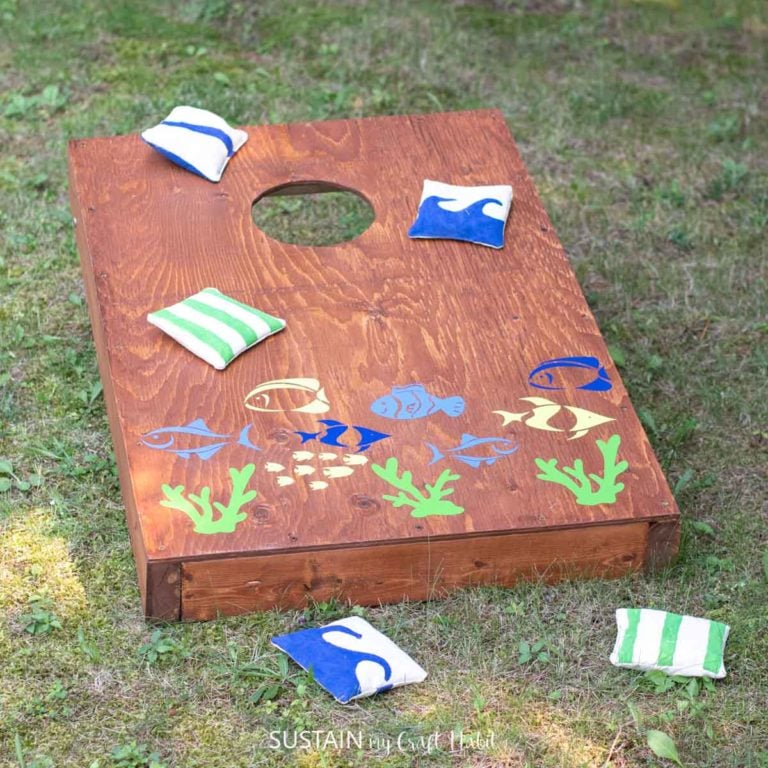
More Felt Crafts to Make
- Felt Sunflower Wreath
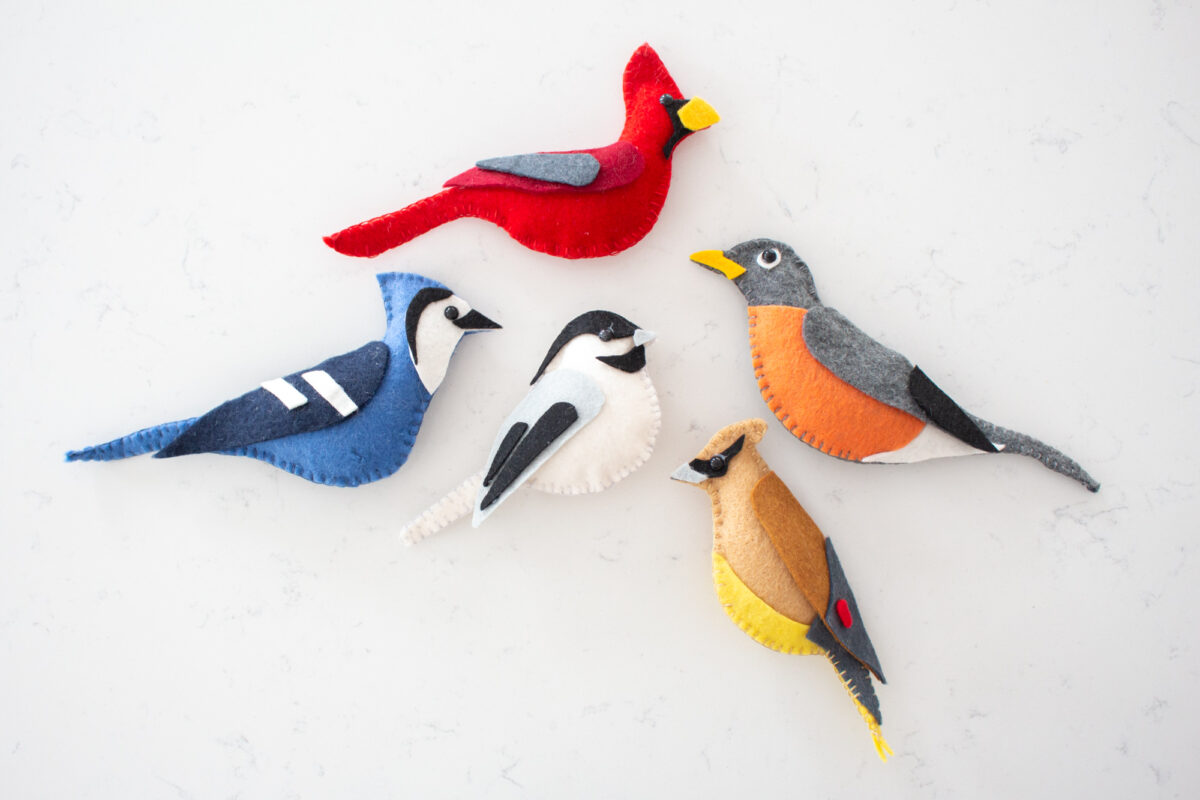
- Felt Birds with Printable Patterns
- Hoop Wreath with Felt Flowers
- 2 Ways to Make a Felt Rose
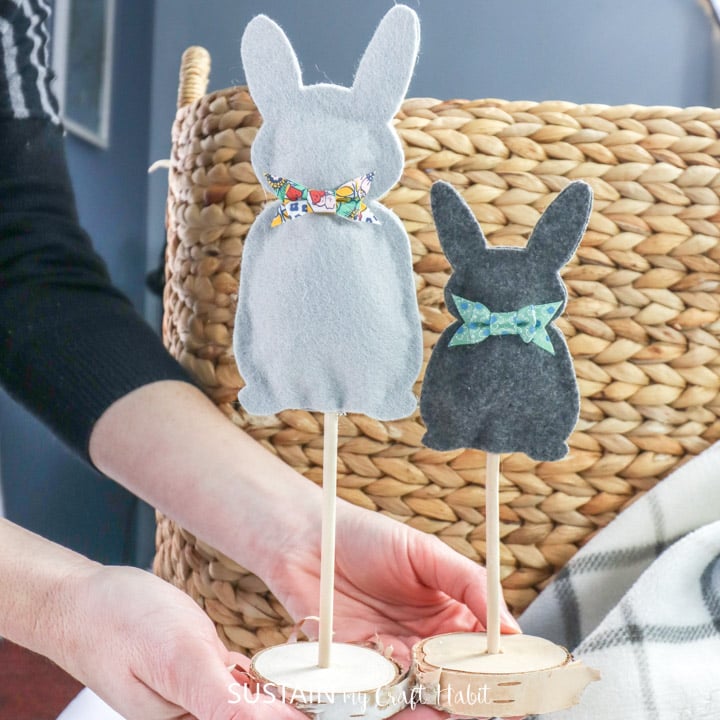
- Felt Bunny Decor


Want to receive a ton of inspiration and money saving ideas for decorating, gift-giving and crafting? Join HERE!
Like it? Pin for later!


How to Cut Felt Sheets with Cricut
Materials
- Cricut Maker or other cutting machine
- Standard Grip Mat
- Transfer Tape To Protect Your Mat
- Rotary Blade with Housing
- Brayer
Instructions
Uploading the Pattern
- Upload the SVG file to Cricut Design Space
- Download SVG file or files.
- Go to computer’s downloads to find SVG file or files.
- Save the SVG file to the desired location or folder on the computer.
- Open Cricut Design Space to a blank canvas.
- Select the Upload button from the left side toolbar.
- Click on Browse button to upload SVG file.
- Select the SVG file from the download folder and click Open.
- Click on Insert Images.
- The pattern pieces will appear on the Design Space canvas. All pattern pieces will be grouped together.
- Click on the Ungroup button to separate the pattern pieces.
- You can reorganize the pattern pieces by color and material by using the color sync option in Design Space.
Cutting
- If you want to assign a different felt sheet color to the pattern pieces you can do so by clicking on the pattern piece and then clicking on the color tab.
- The color sync tab will display all the pieces in their corresponding material color for a visual overview.
- Cut out the shapes in felt with the Cricut Maker
- On a standard grip mat, peel off the protective plastic covering.
- Cut a piece of Transfer Tape the size of the grip mat and lay it on top with the sticky side facing up. This will protect the cutting mat for repeated future cuts.
- Next, press the felt sheet on top of the mat and proceed cutting as usual.
- When ready, proceed to “Make” and select “on mat” for the cutting option and continue following the prompts on the screen.
- When finished cutting, unload the mat from the machine and peel away the cut felt pieces.
- For more felt cuts, press a new felt sheet onto the mat and repeat.