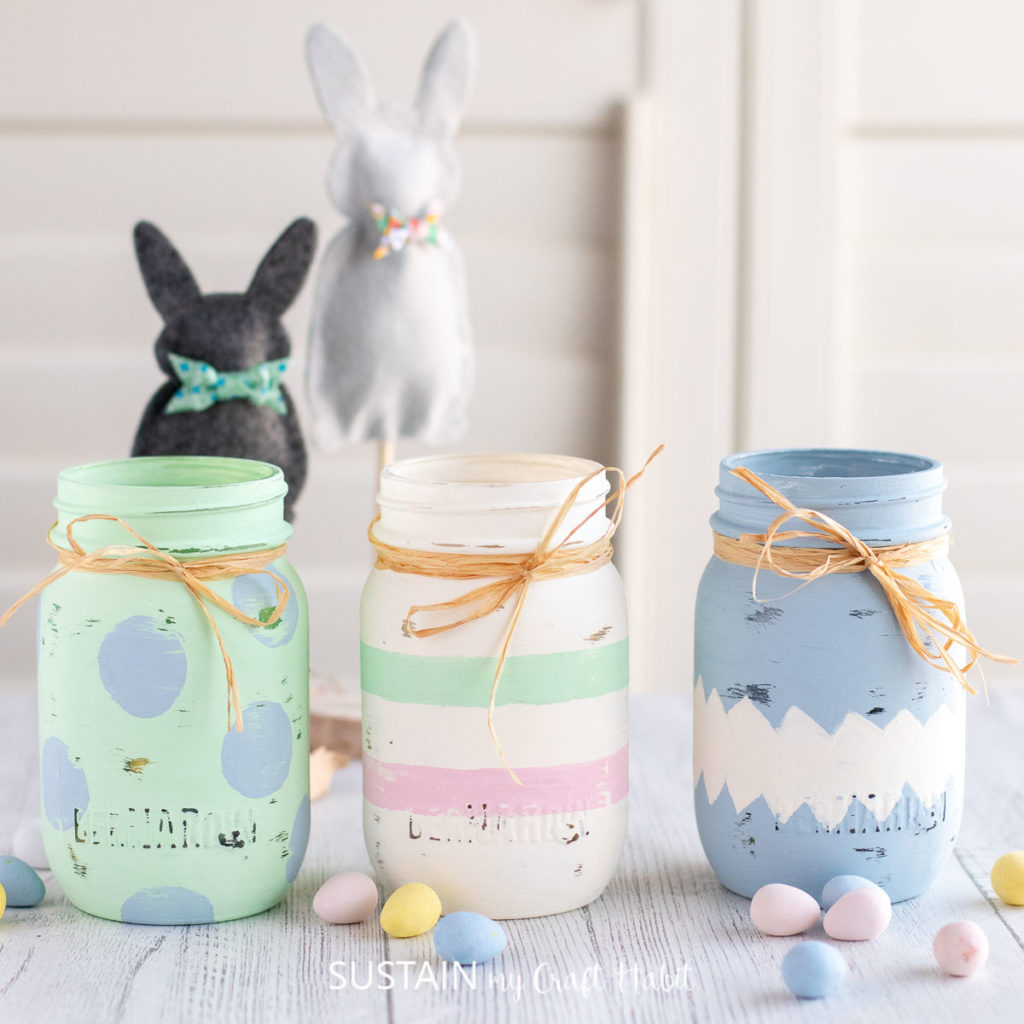
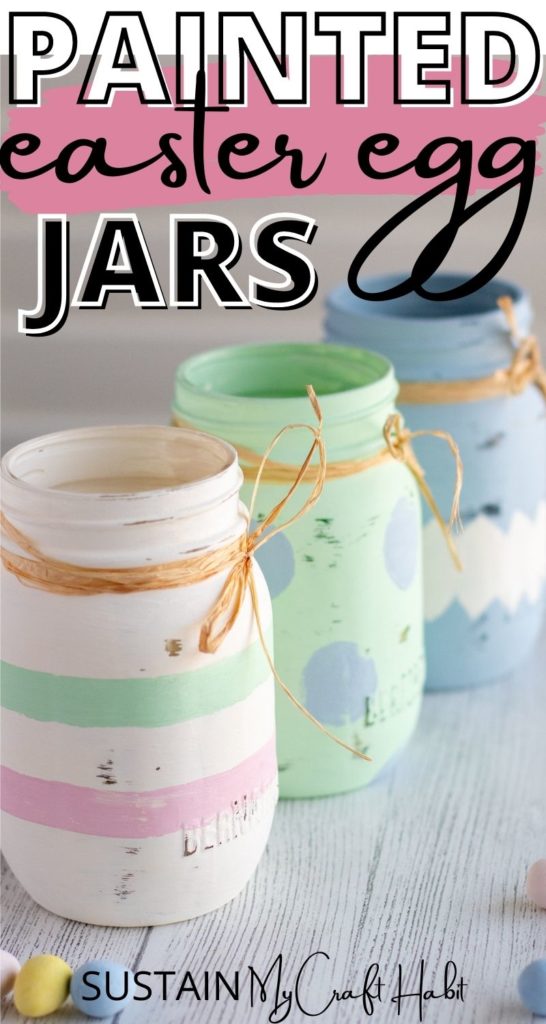
Decorative Painted Easter Jars
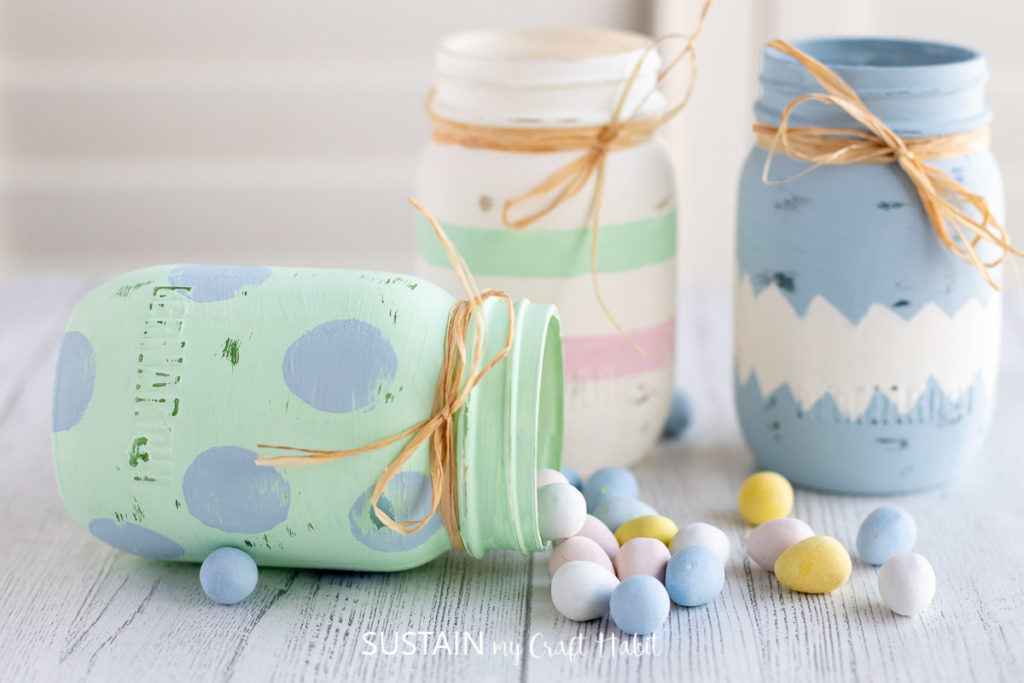
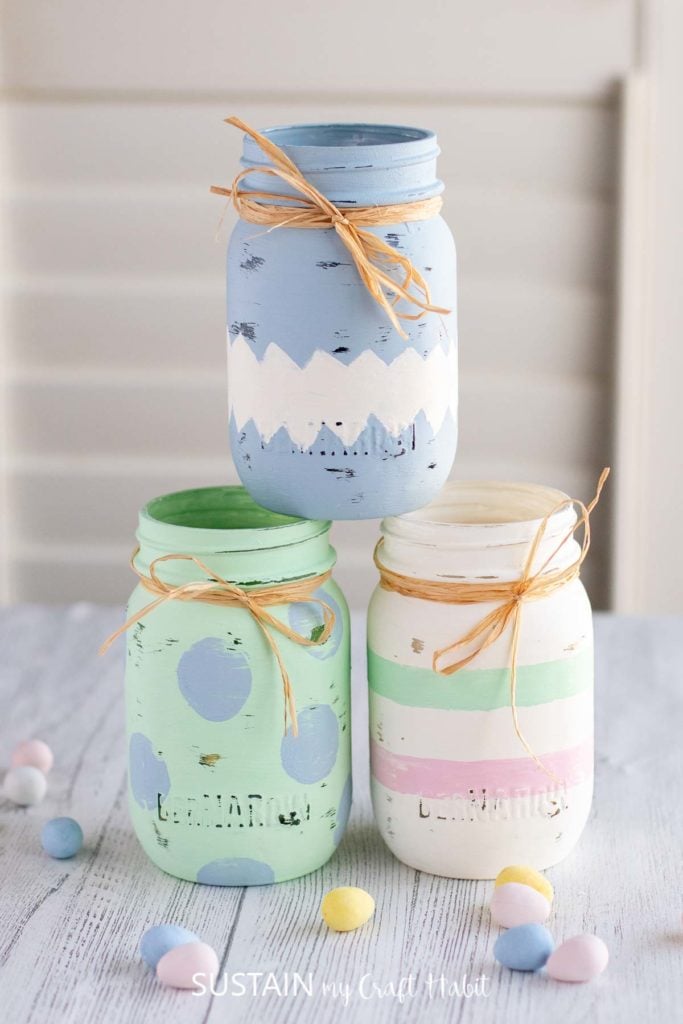
Every time I look at these pretty painted Easter jars, I’m reminded of colorful Easter eggs and can’t help but smile. The soft pale colors symbolize that Spring is here and a fresh start is upon us.

Decorative Easter Jars
We used Chalky paint on the jars which give them a nice, matte finish and then distressed them making them perfectly imperfect.
The classic painted Easter egg style of stripes, zig zags and polka-dots were a lot of fun to do on the jars. We’ve filled ours with candy coated chocolate eggs but they could also be used just for decoration.
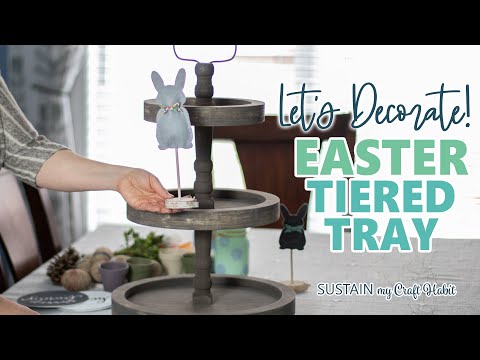
Actually, Jane added these Easter jars to her 3 tiered tray and they look super cute as part of her centerpiece.
To see how she put together her Easter centerpiece, watch this quick video on our YouTube channel.
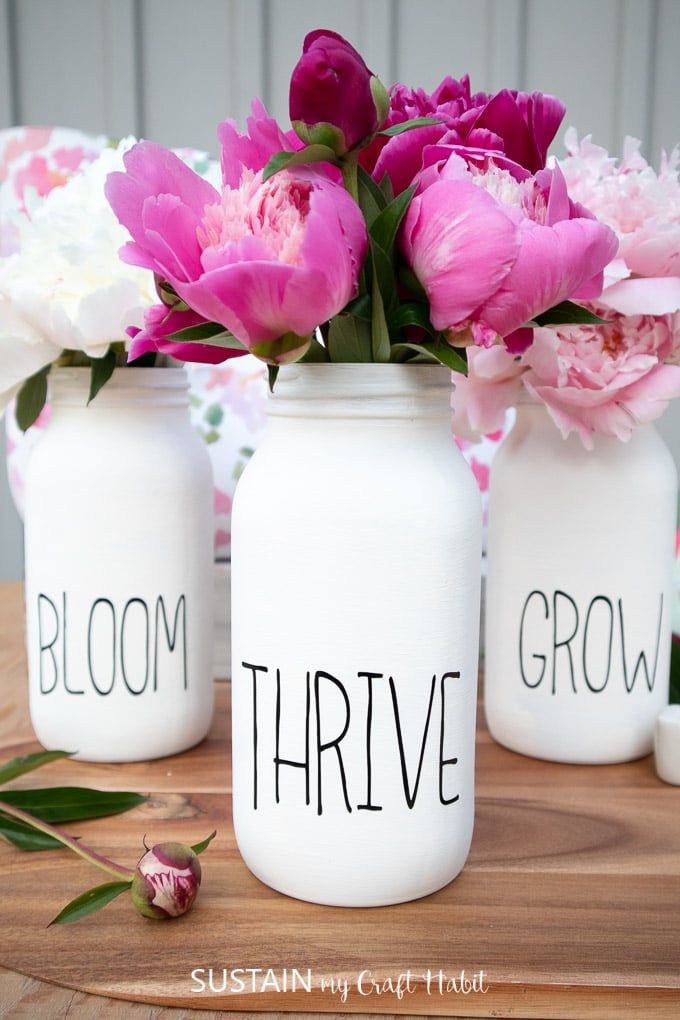
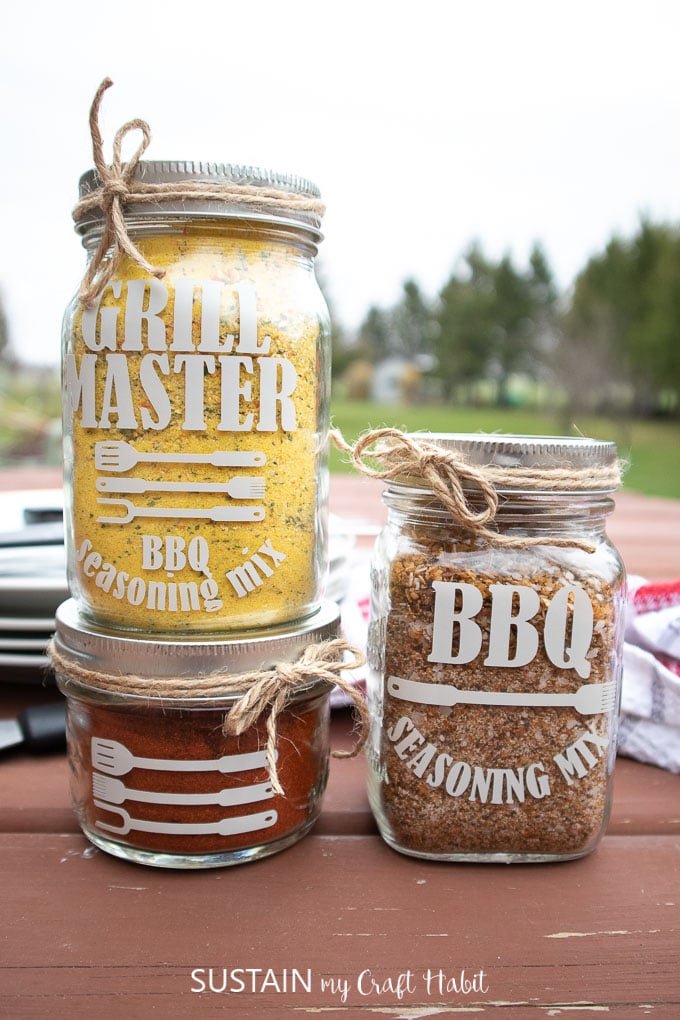
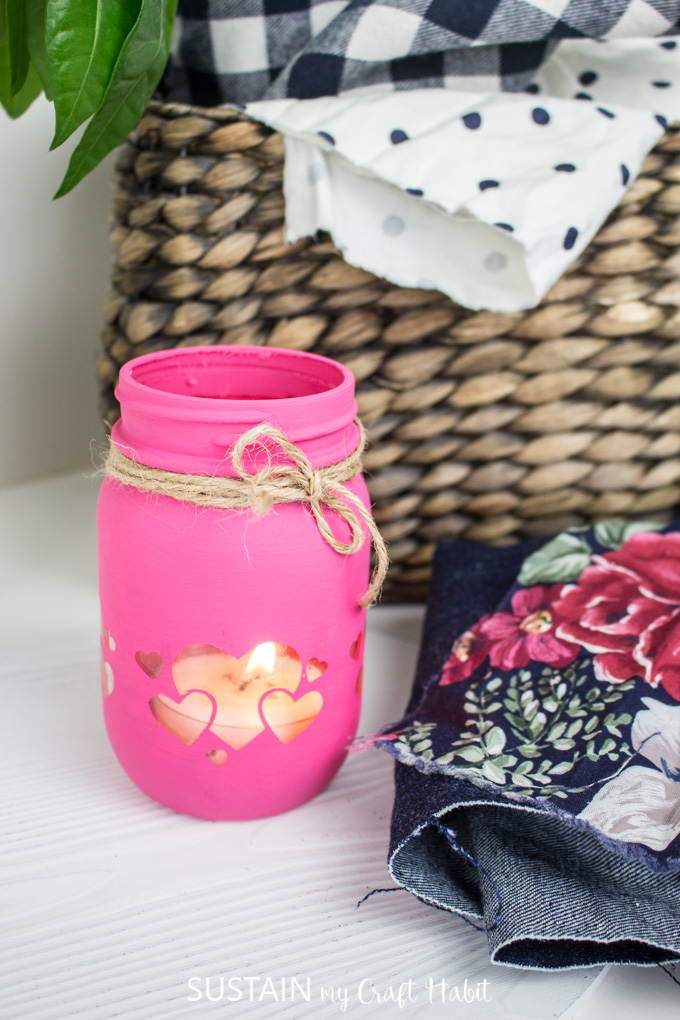
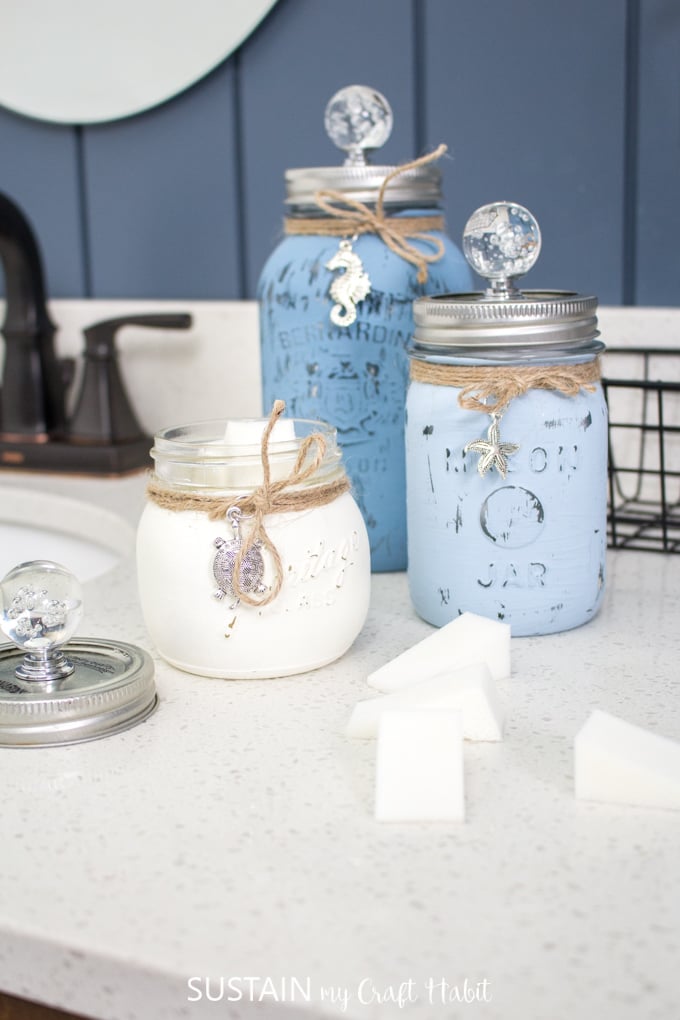
More Glass Jar Crafting Ideas
One of our favorite surfaces to craft with has got to be glass jars! Just looking through our past posts proves this point entirely. And it’s really no surprise with all the creative ways to use from candy jars, flower vases, cooking uses, decorative jars, and candle holders and the list goes on and on.

Farmhouse Vases Seasoning Mix Jars Upcycled Mason Jar Candle Holder Beachy Containers
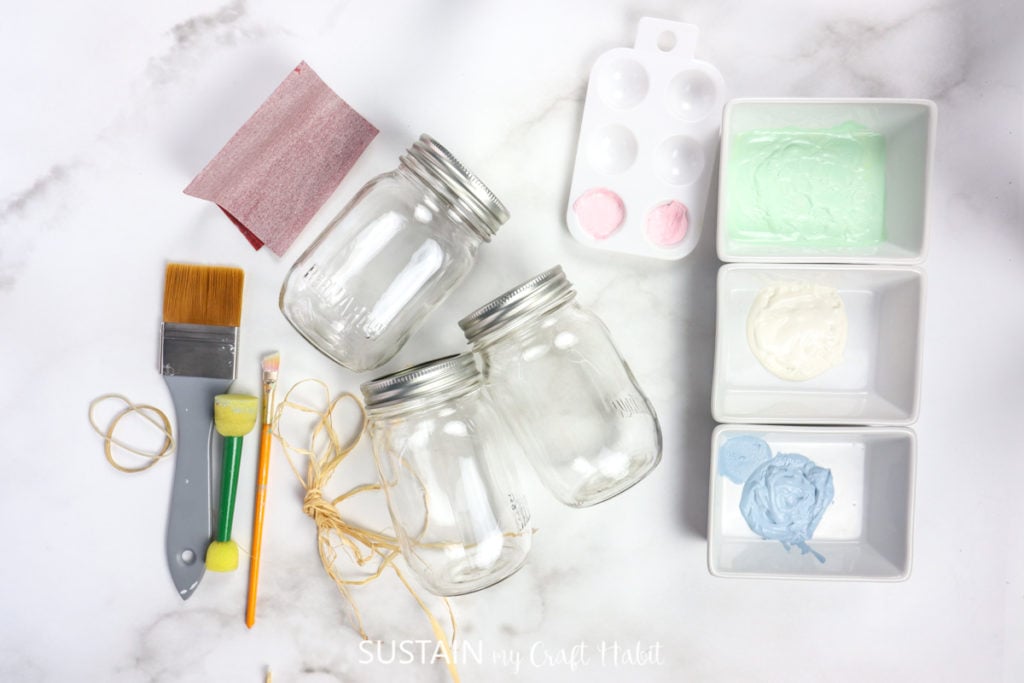
Materials Needed to Make These Easter Jars:
Disclosure: This post continues affiliate links for your shopping convenience. You can find our full disclosure policy here.
- Set of 3 Jars, 500ml smooth rounded, with shoulders; lids removed
- Chalky paint in
- Paintbrush
- Circle Foam Pouncer, ½” diameter
- Rubber bands
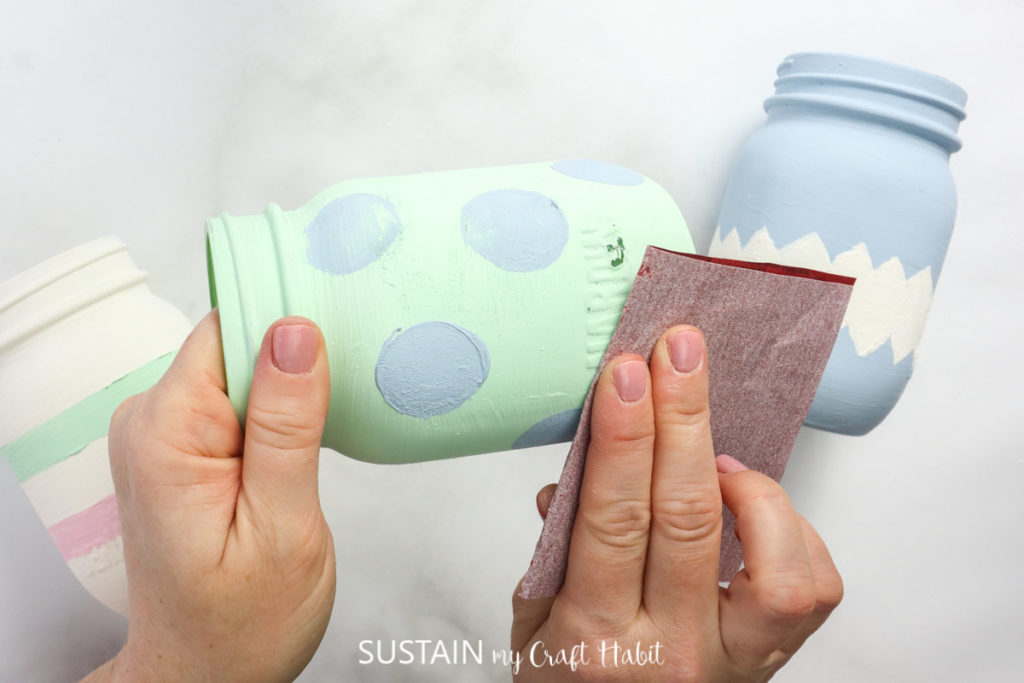
- Sandpaper, 200grit
- Rafia
How to Make Decorative Painted Easter Jars
Thoroughly wash jars with soap and hot water and let them dry completely before using. Additionally, use rubbing alcohol and a clean paper towel to wipe away any prints or smudges.
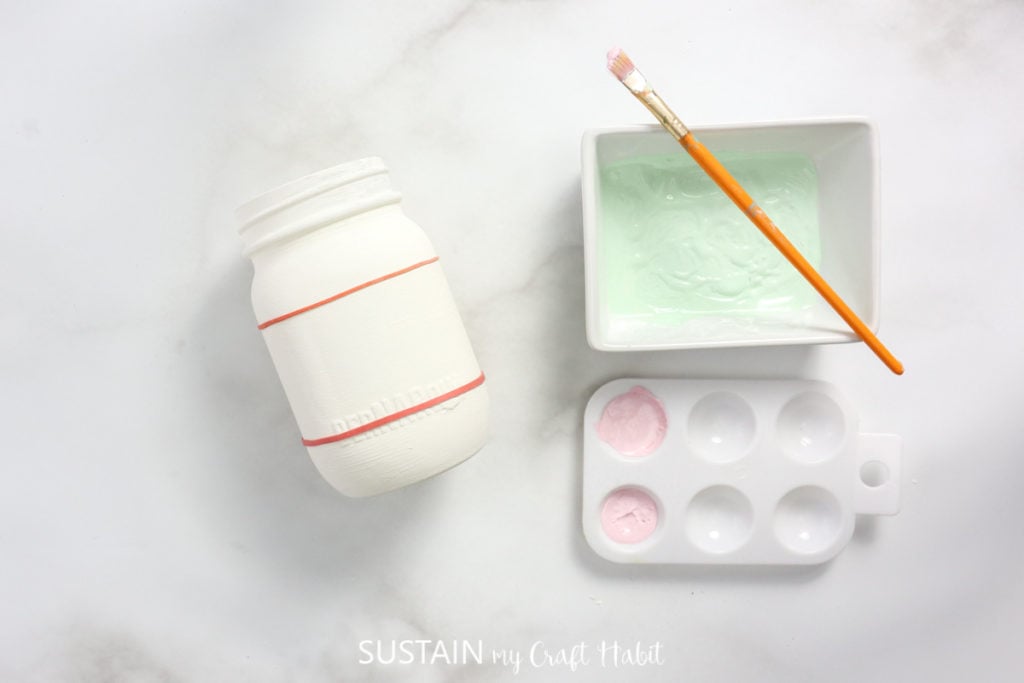
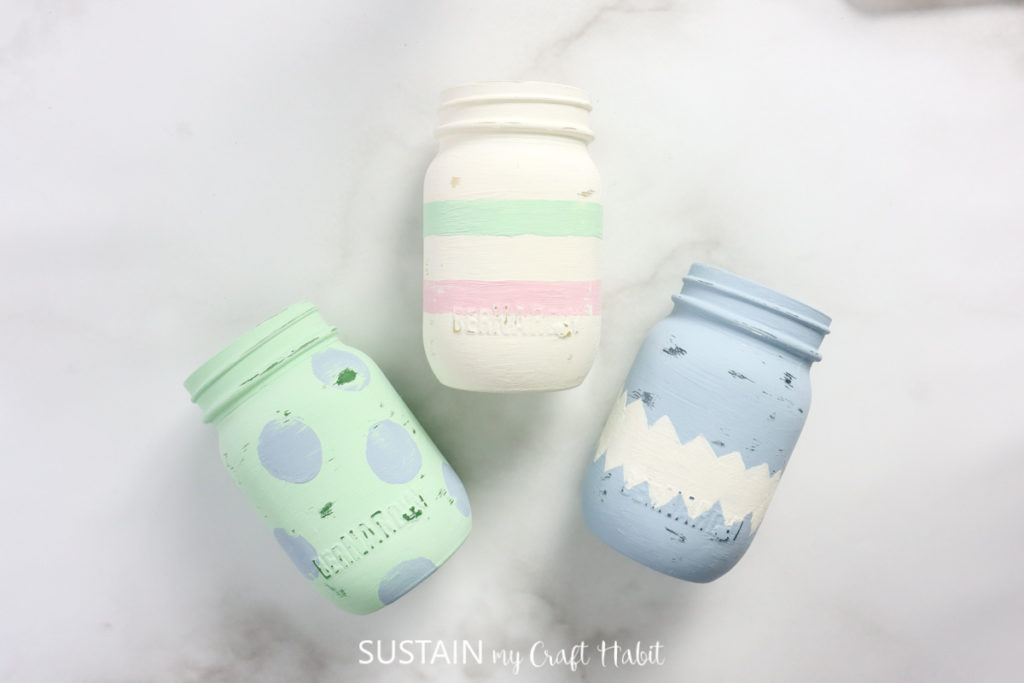
Using a medium sized paintbrush, apply chalky paint in pale blue over the entire surface of one jar. Paint a second jar in cream and the third jar in a mix of pale green.
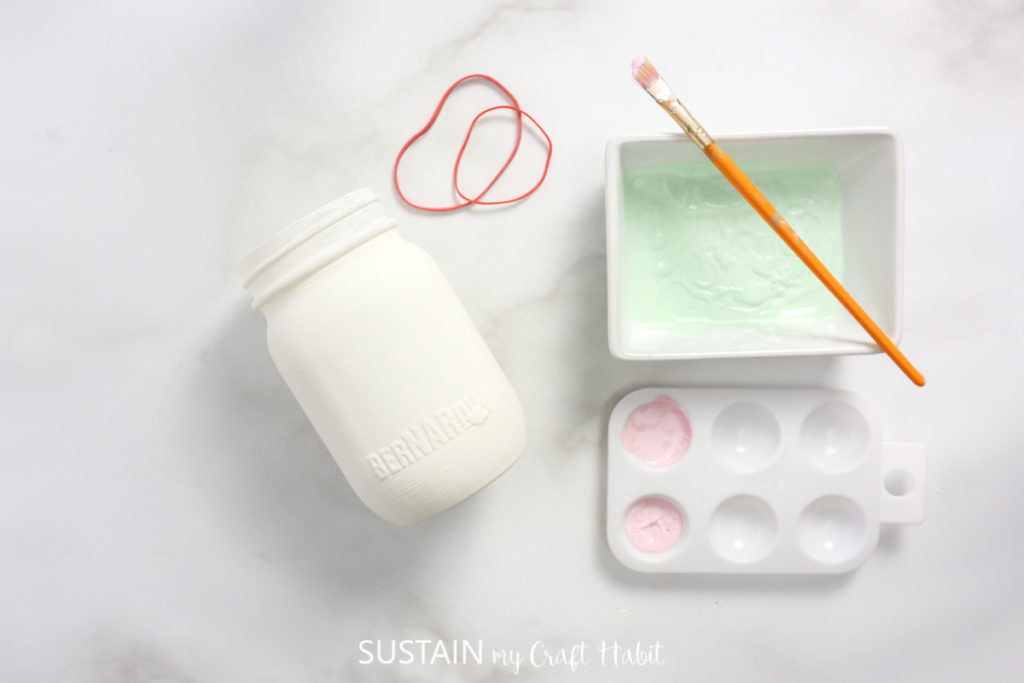
Allow paint to fully dry before applying a second coat of paint and before moving on to the next step.
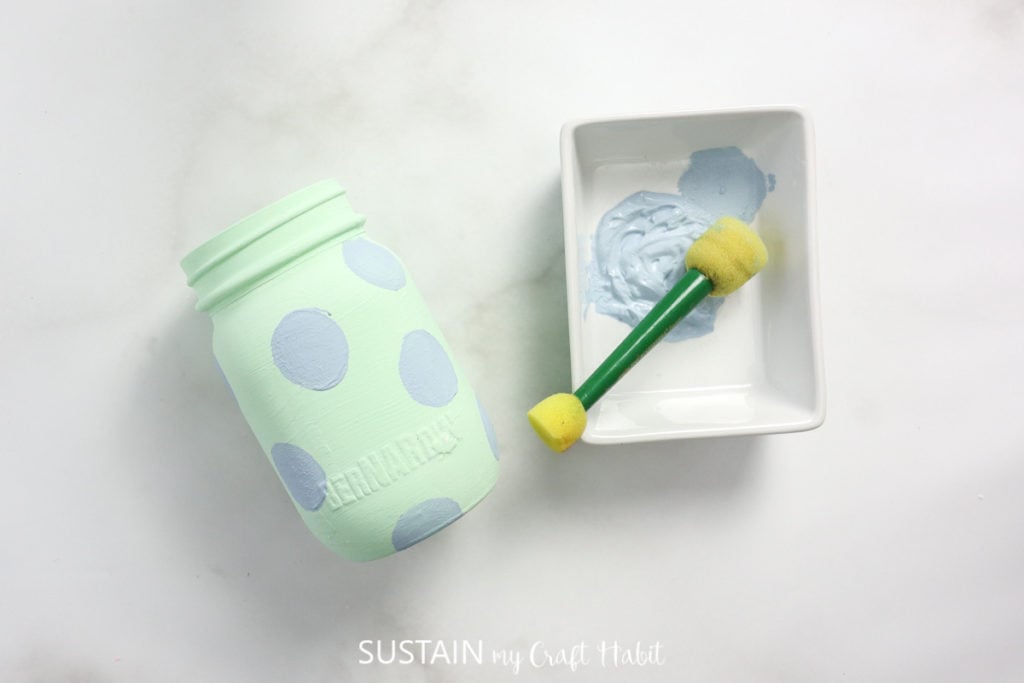
Dip the foam pouncer in pale blue chalky paint and dab circles all over to the green jar.
Gently place a couple of rubber bands around the cream colored jar. Use the rubber bands as a guide to paint horizontal stripes on the jar in pale pink and green. Remove rubber bands when the paint dries.

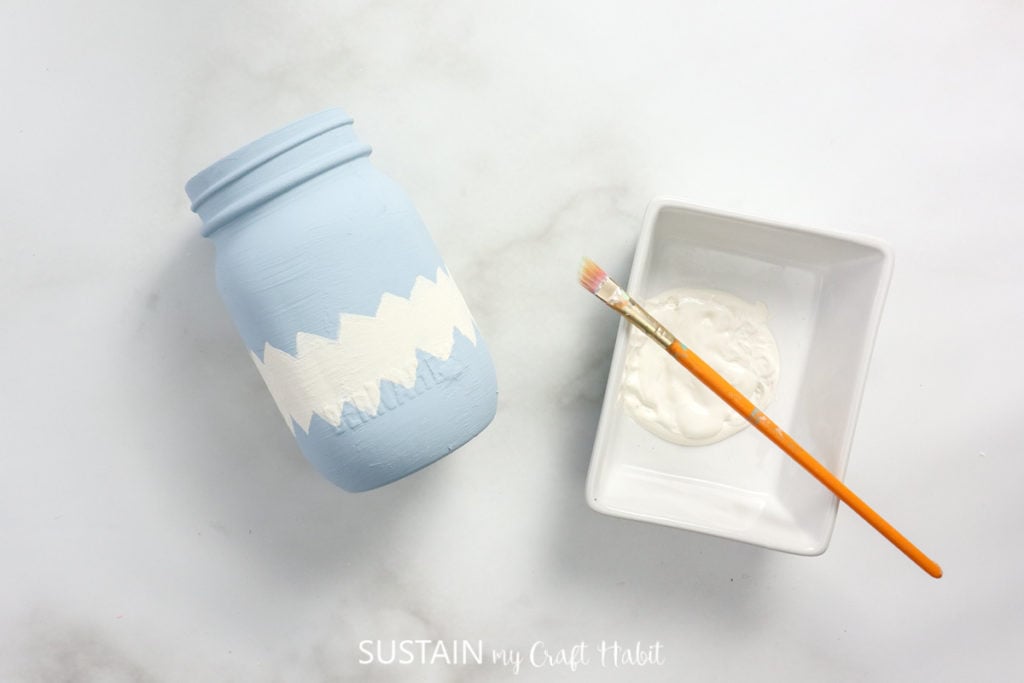
Paint a wide zig zag stripe using chalky paint in a cream color through the center of the pale blue painted jar.
Allow paint to dry fully on all the jars.
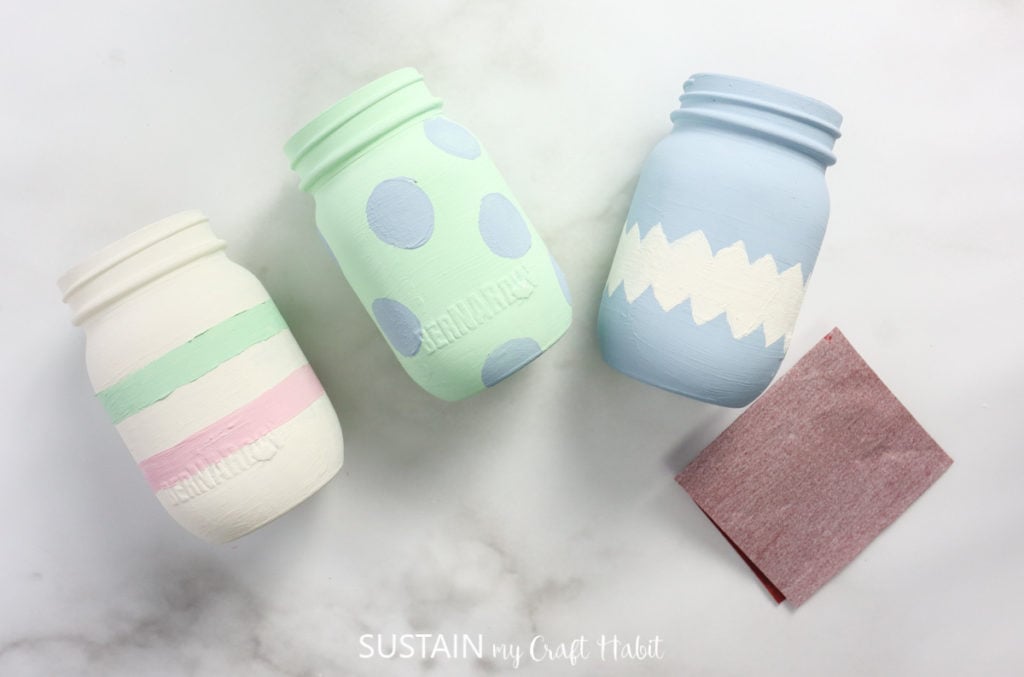
Using a fine grit sandpaper, gently sand the painted jars to distress the edges.
Tie a piece of rafia into a bow around the neck of the jars.
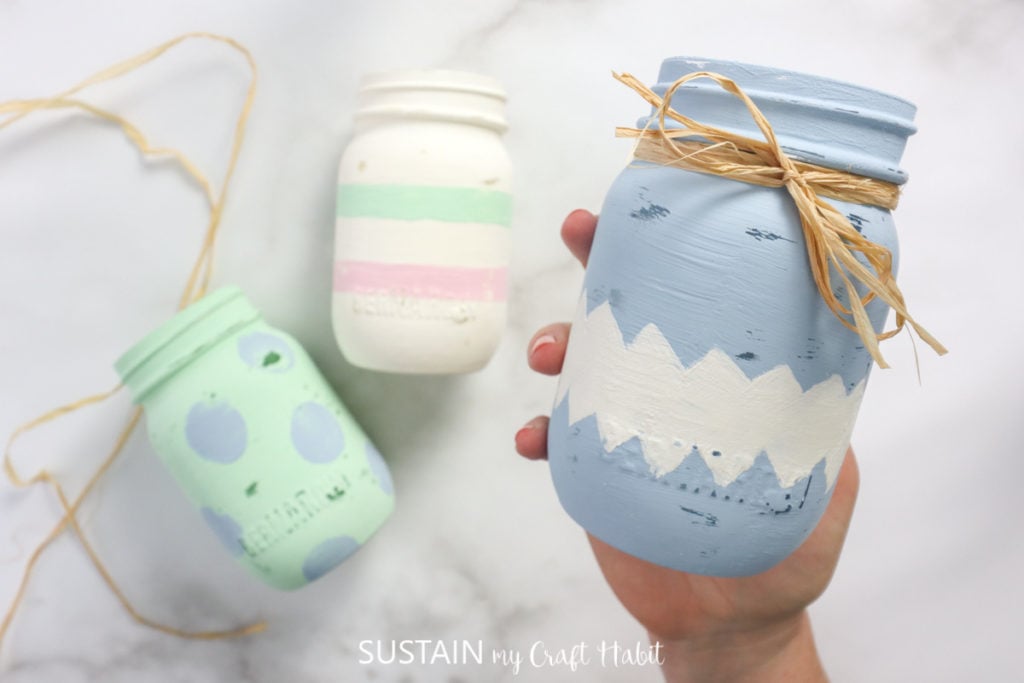
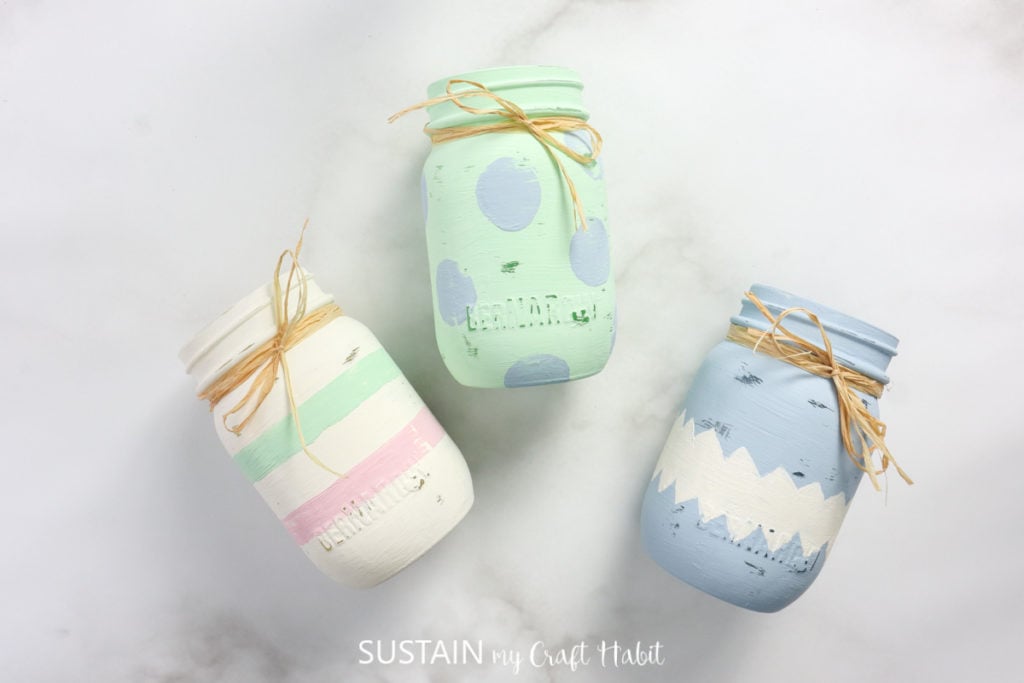
Fill the jars with Easter treats and chocolate eggs.
More Easter Crafting!
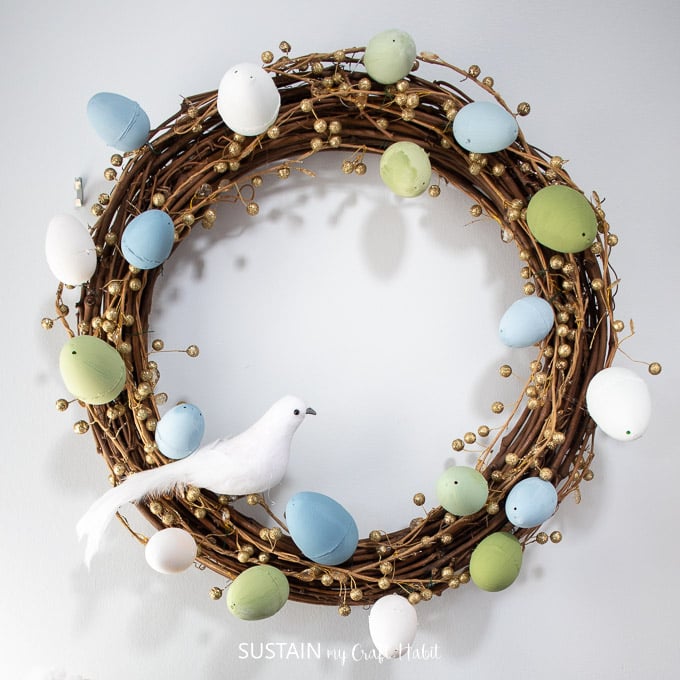
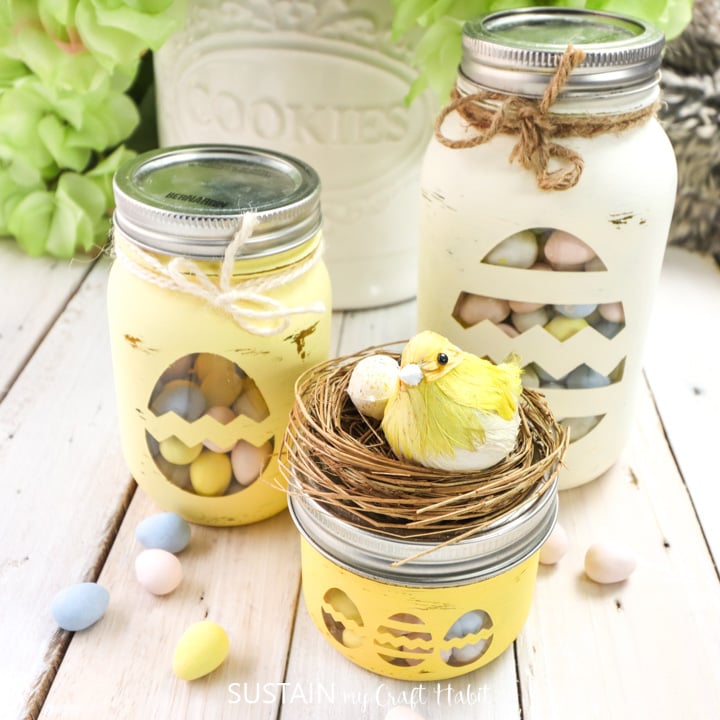
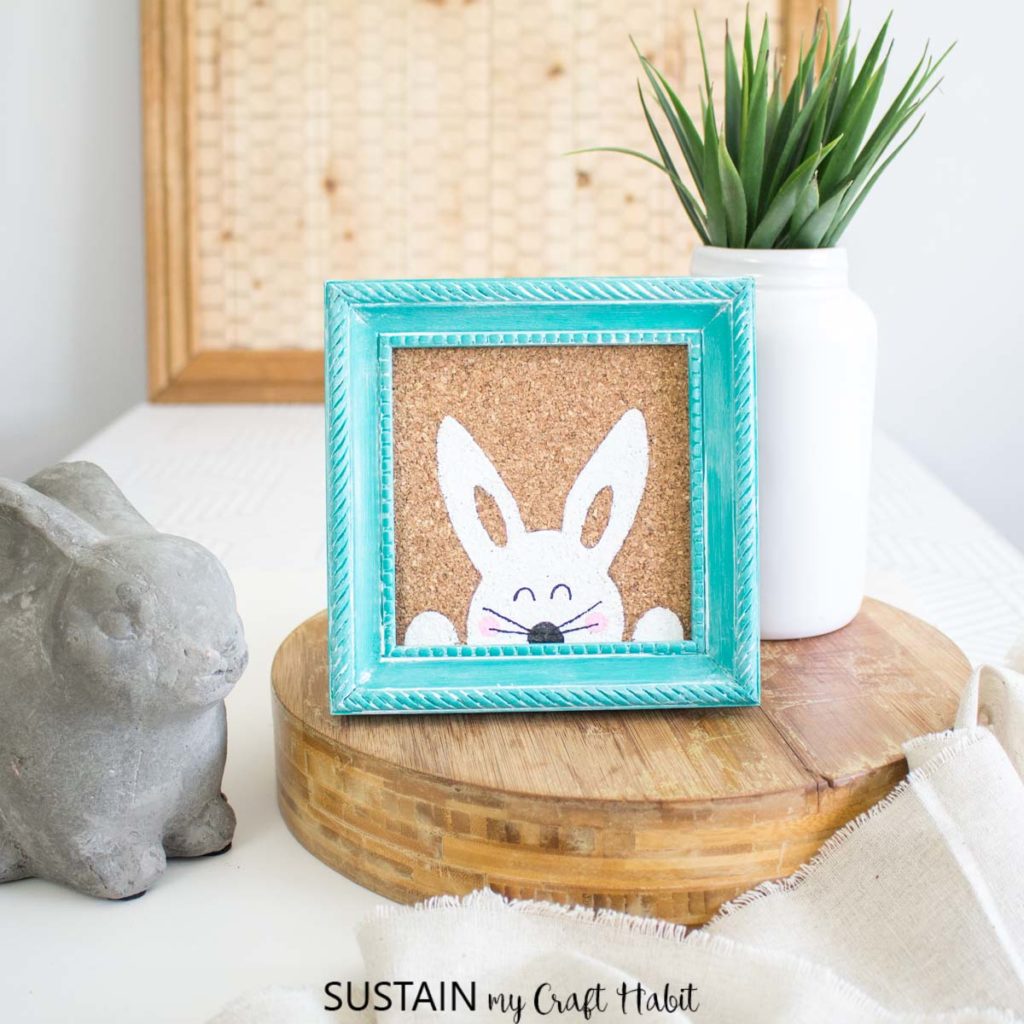
If you’re looking for more Easter crafts check out this chalky painted Easter wreath, these Easter candy jars, mini Easter basket or this framed Easter bunny.

Chalky Painted Easter Wreath 
Easter Candy Jars Mini Felt Easter Baskets 
Framed Easter Bunny

Like it? Pin it for later!

Decorative Painted Easter Jars
Materials
- Set of 3 Jars 500ml smooth rounded, with shoulders; lids removed
- Chalky paint in pale blue, green, pink and cream (we used Americana Decor Chalky Finish in Serene, Lace, Lace mixed with Romance, Lace mixed with Fortune)
- Paintbrush
- Circle Foam Pouncer ½” diameter
- Rubber bands
- Sandpaper 200grit
- Rafia
Instructions
- Thoroughly wash jars with soap and hot water and let them dry completely before using.
- Using a medium sized paintbrush, apply chalky paint in pale blue over the entire surface of one jar. Paint a second jar in cream and the third jar in a mix of pale green.
- Allow paint to fully dry before applying a second coat of paint and before moving on to the next step.
- Dip the foam pouncer in pale blue chalky paint and dab circles all over to the green jar.
- Gently place a couple of rubber bands around the cream colored jar. Use the rubber bands as a guide to paint horizontal stripes on the jar in pale pink and green. Remove rubber bands when the paint dries.
- Paint a wide zig zag stripe using chalky paint in a cream color through the center of the pale blue painted jar.
- Allow paint to dry fully on all the jars.
- Using a fine grit sandpaper, gently sand the painted jars to distress the edges.
- Tie a piece of rafia into a bow around the neck of the jars.
- Fill the jars with Easter treats and chocolate eggs.