I love Spring. Is there anybody who doesn’t love Spring? From the budding trees to the chirping birds, Spring brings about a renewed excitement and energy. A time to start fresh, get active and create!
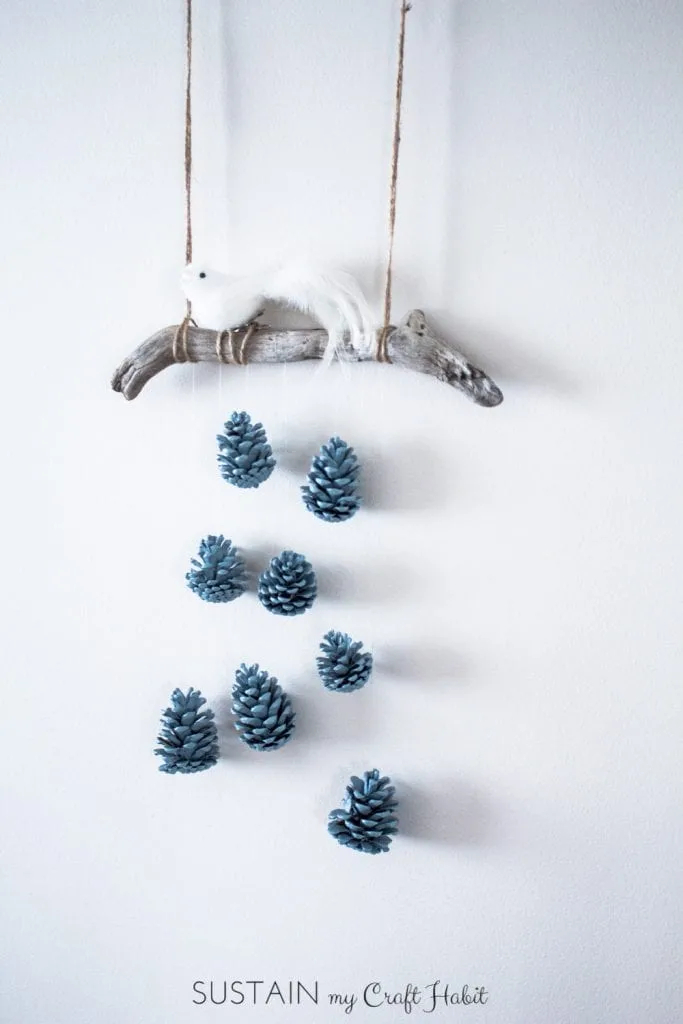
As I was clearing out my foraged greens front porch decor from the winter, I thought of another way to use up those bird-caged pine cones. I don’t know if it’s just me but those little pine cones look a lot like eggs. And with leftover Champness Blue Fusion Mineral Paints from our recent Beach-inspired Dresser Makeover, they reminded me of robins’ eggs. The thought of a bird perched over her eggs inspired this DIY wall art project.
And the best thing about our rustic wall hanging is that is was super quick and easy to make. It took less than an hour to put together, the bulk of which time included painting and drying the pine cones. The cones could in fact be left au-natural, which would also make for a beautiful wall decor idea.
What you’ll need to create your own DIY rustic wall art:
- Pinecones (various sizes and shapes; as many or as little as you want)
- Paint and paintbrush (optional)
- Twine: 2 strands each cut to 39” length + 1 strand cut to 10” length
- Fishing Line
- Branch (I used driftwood but any branch will do)
- Clip-on bird ornament (my white bird is from my Christmas ornament stash BUT I would have loved to have used this adorable feathered Blue and Red Robin Clip-On ornament)
- Scissors
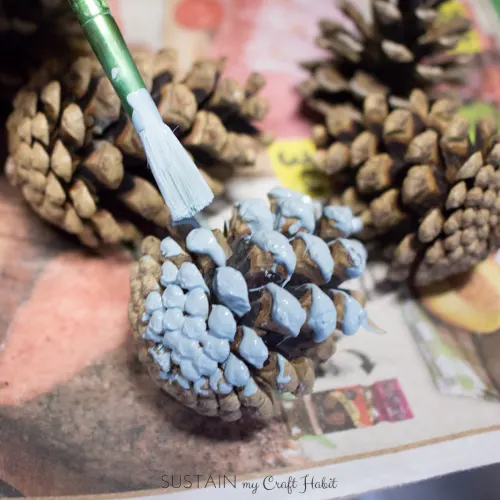
To begin making your wall hanging, place your pine cones on a protected surface. Using a small paint brush begin to apply the paint to the underside of the pine cones. I painted one side of each pine cone and then set it down to dry. I returned later to finish painting the other side.
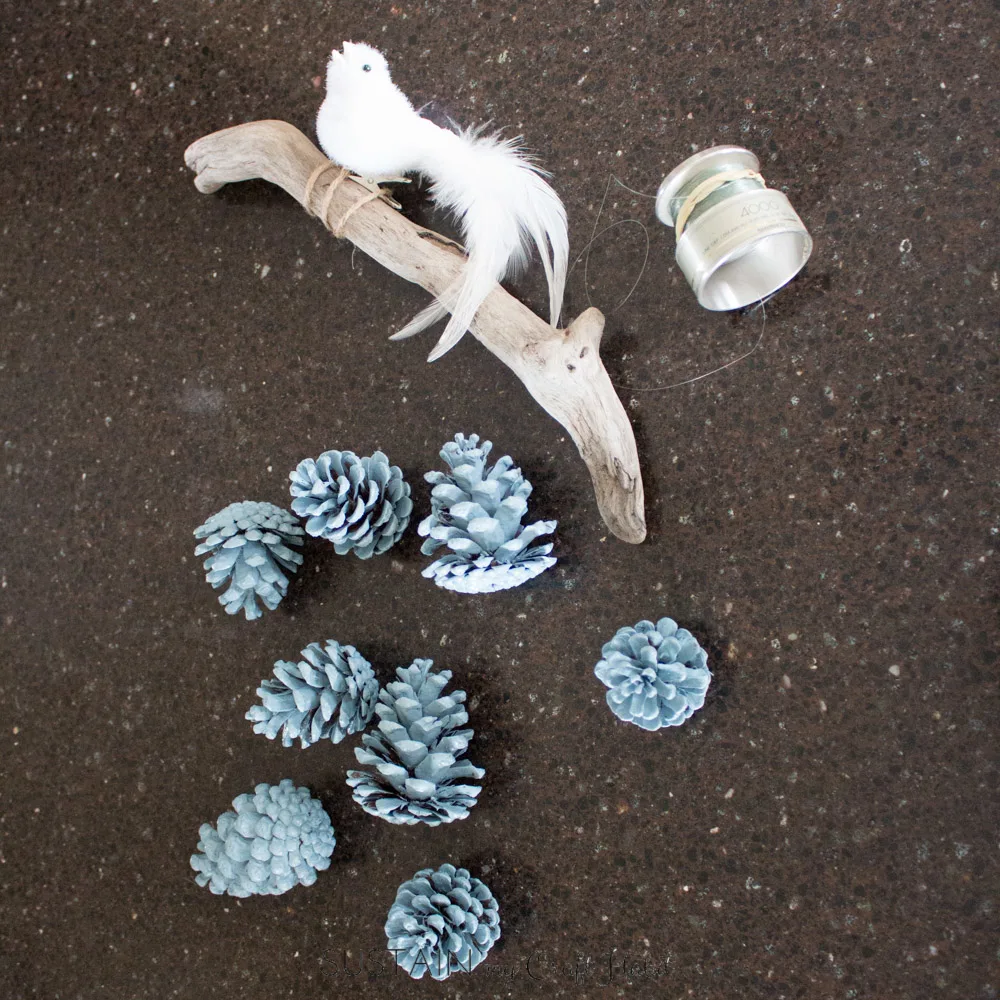
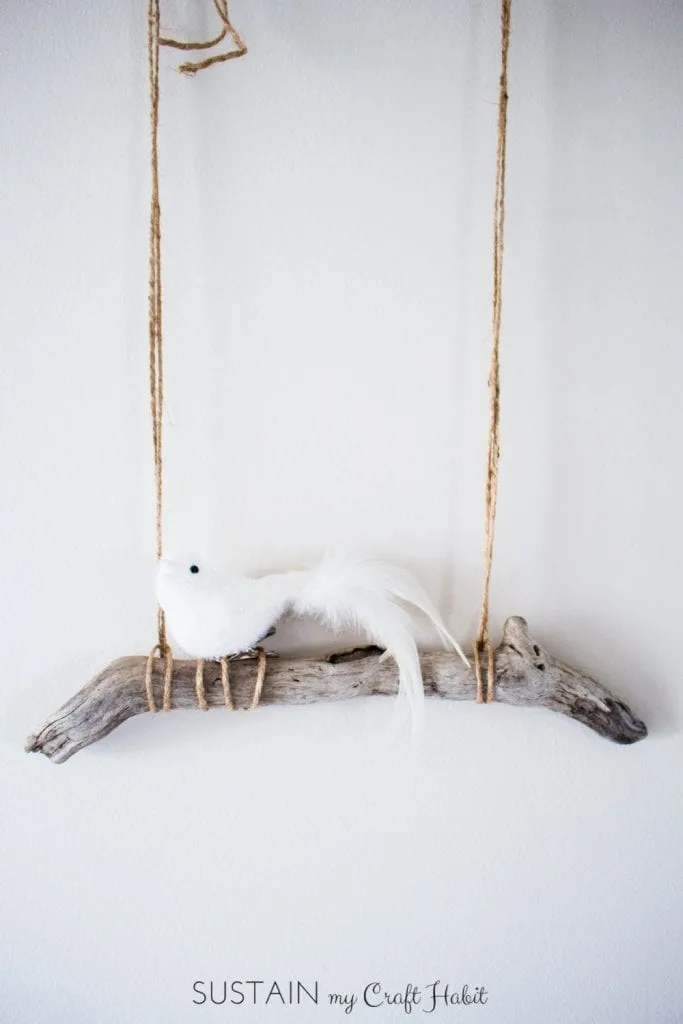
In the meantime, prepare your branch for hanging on the wall. Cut two long strands of twine and tie one to each end of the branch. The twine will be used to fasten to any standard wall hooks. You could even hang your DIY wall art on a curtain rod and have your bird look out the window!
Decide where along the branch you want your bird to perch and with the additional shorter strand of twine, wrap it around the branch 3 or 4 times and knot into place. Cut off any excess twine. Secure the birdie on top of the branch. Actually, even without the pine cones this looks like a beautiful rustic wall decor idea!
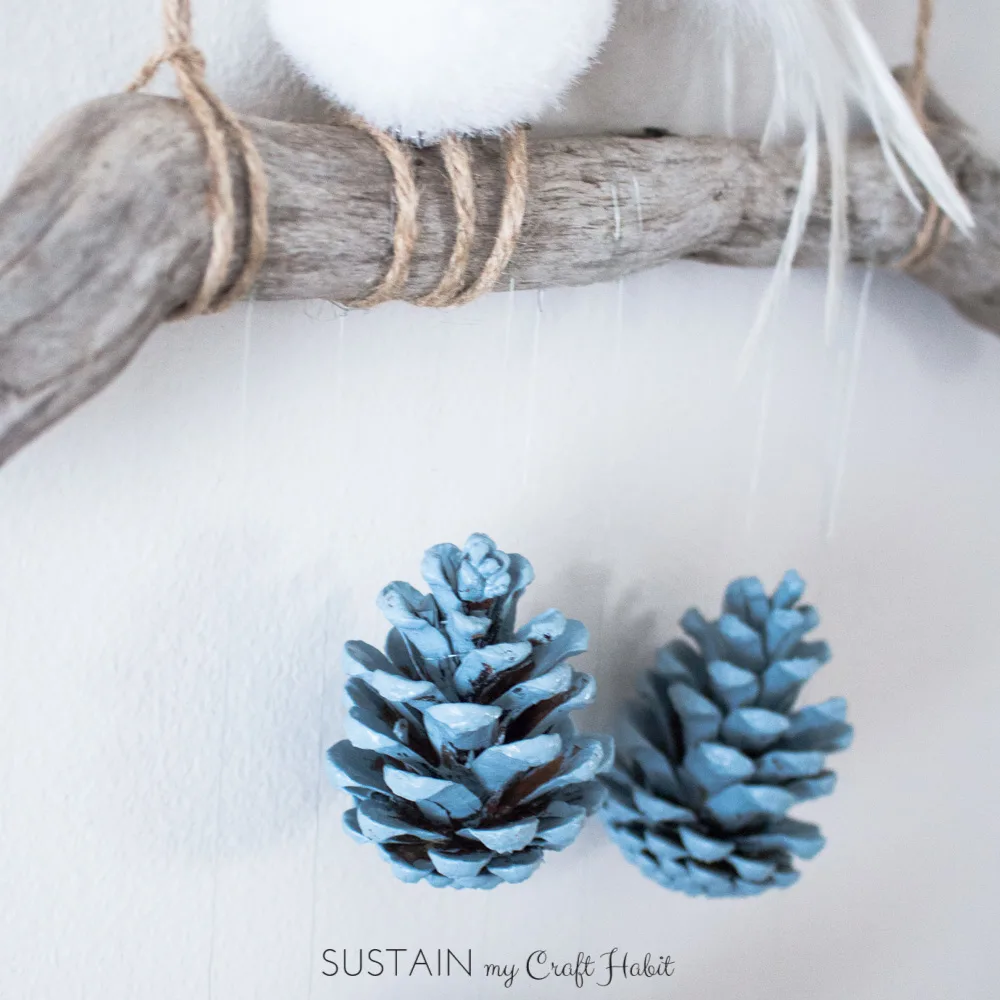
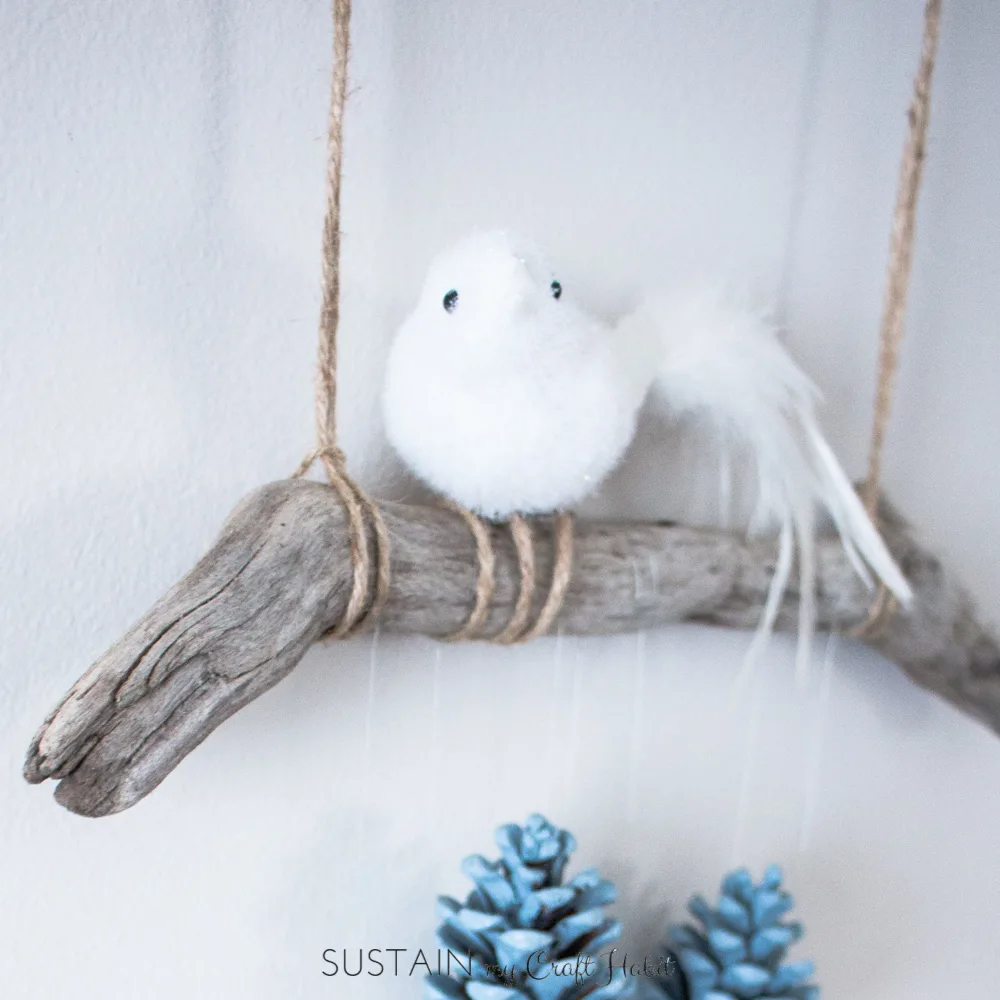
I found this next step easier to do with the branch hanging on the wall…it avoided the fishing line from getting all tangled up!
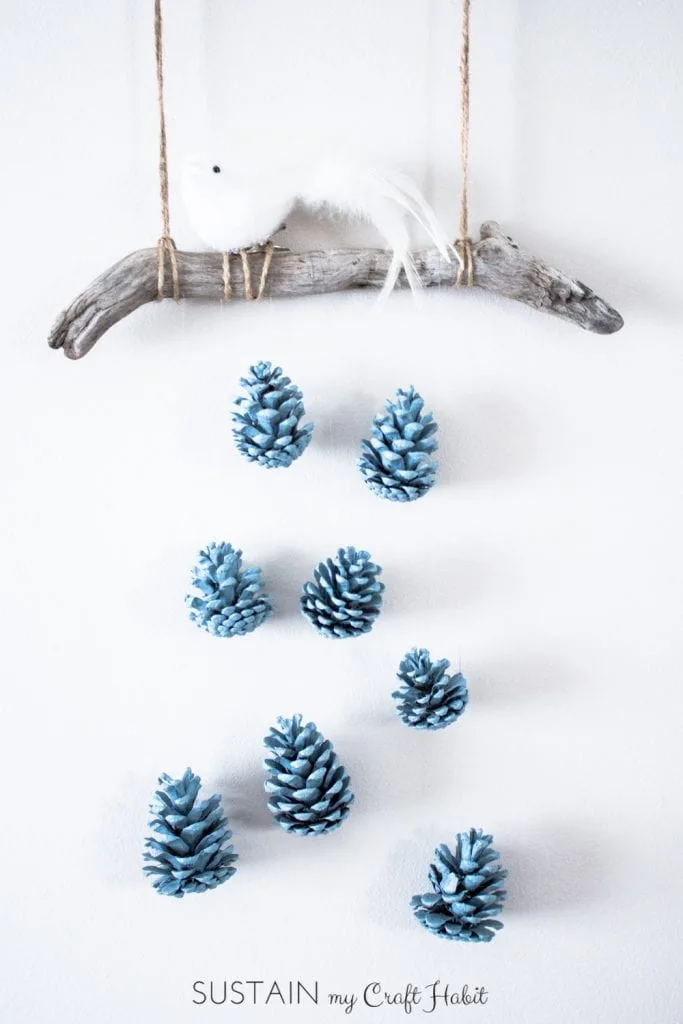
Once the painted pine cones are dry, tie the fishing line to the top of the pine cone. Knot securely.
With the other end of the fishing line, tie it to the branch. Cut all loose hanging ends. Continue this last step with varying lengths of fishing line until you have as many pine cones hanging on your DIY wall art as you’d. We hung eight on ours.
And there you have it: a simple, quick and inexpensive DIY rustic wall decor idea for your home or cottage. What springtime elements have you added to your home decor? Also take a look at this pretty spring floral wall decor and paper feather wall decor.

Rebecca Payne
Thursday 1st of October 2020
So cute. I love the blue pinecones.
Clara Burro
Monday 18th of April 2016
Beautiful and simple project. Great!
Jane and Sonja
Tuesday 26th of April 2016
Thanks, Clara! It was also very quick to put together!