Driftwood Village Upcycled Mirror Frame
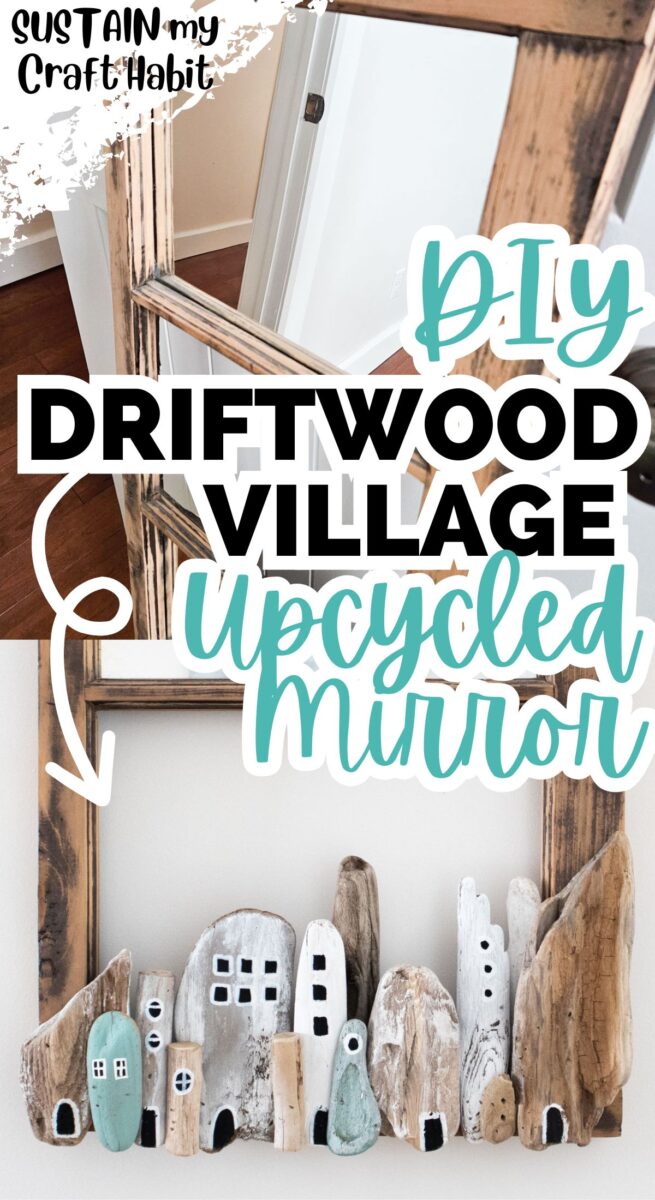
A little bit of driftwood and paint turned this thrifted mirror into a charming piece of coastal home decor!
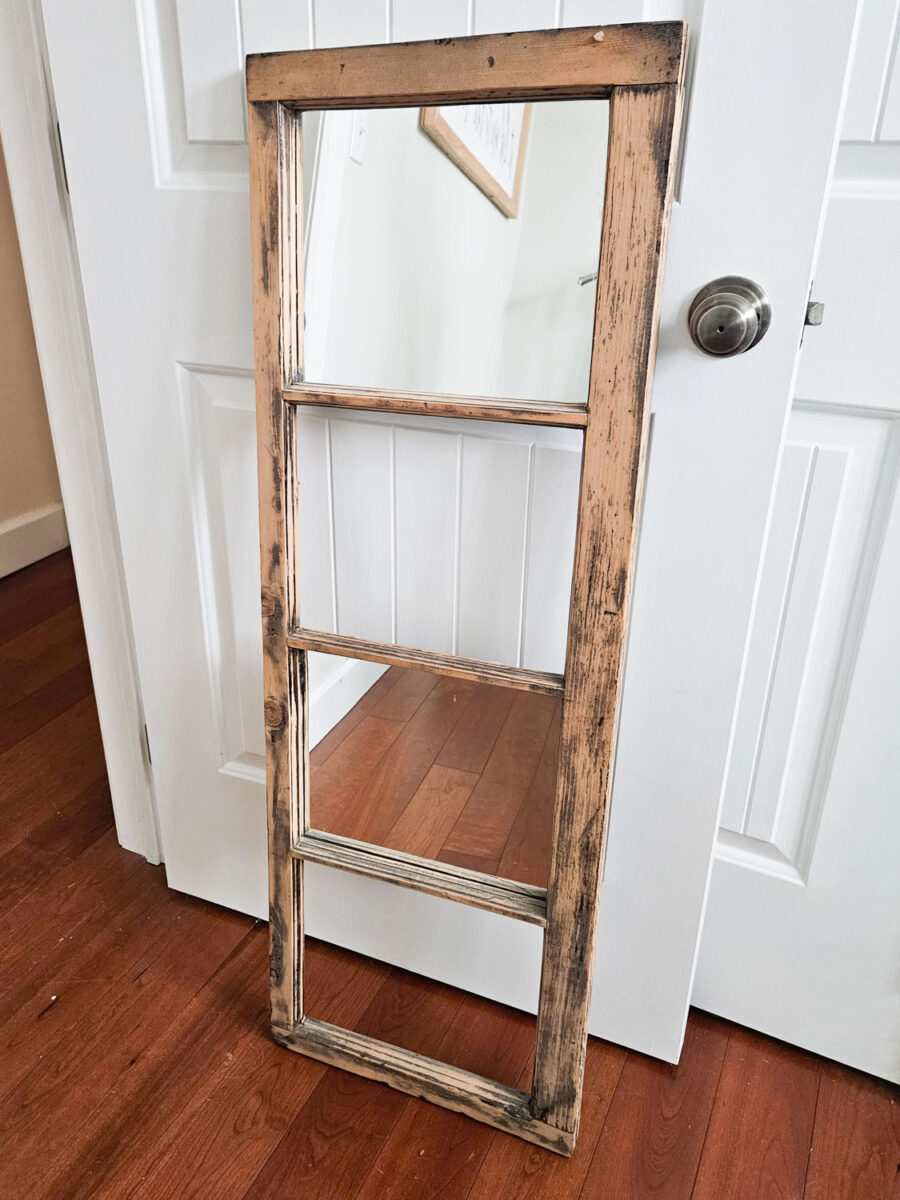
There’s something special about turning beach finds into statement décor. Using a framed mirror from a local thrift store and driftwood I collected from the beach, I transformed this piece into a one-of-a-kind personalized work of art.
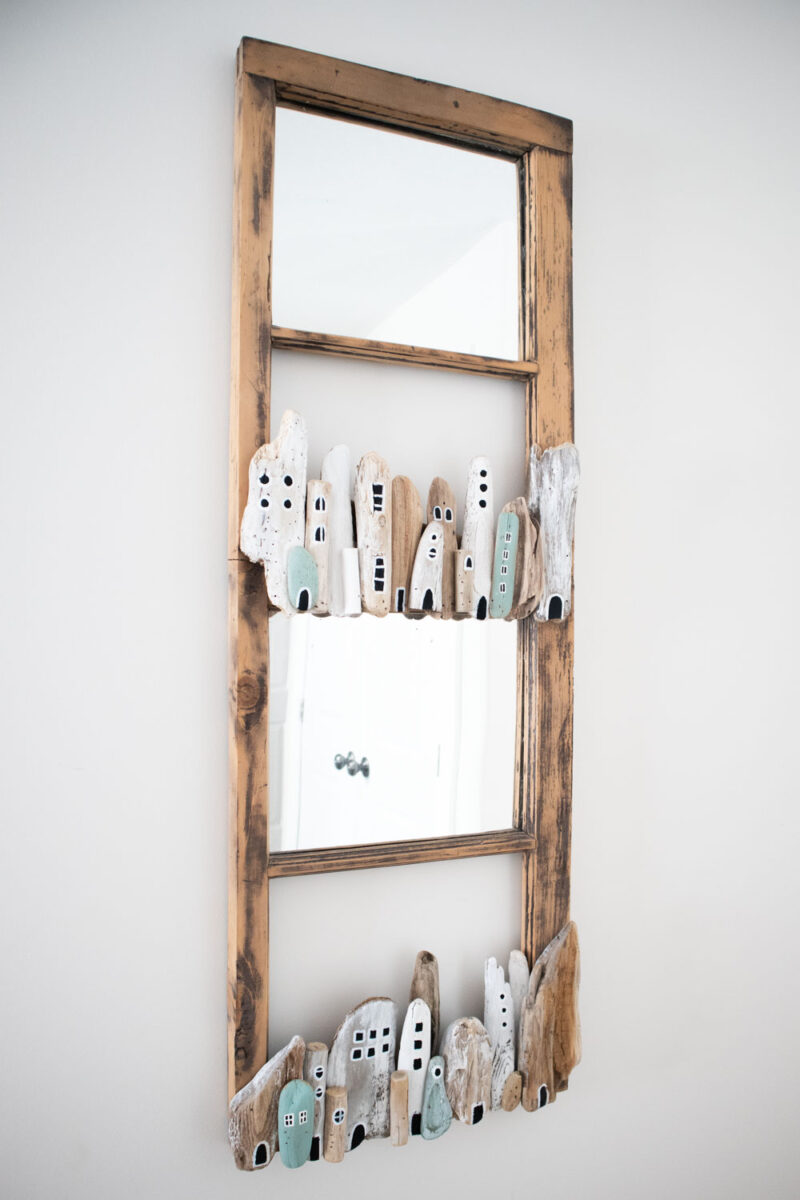
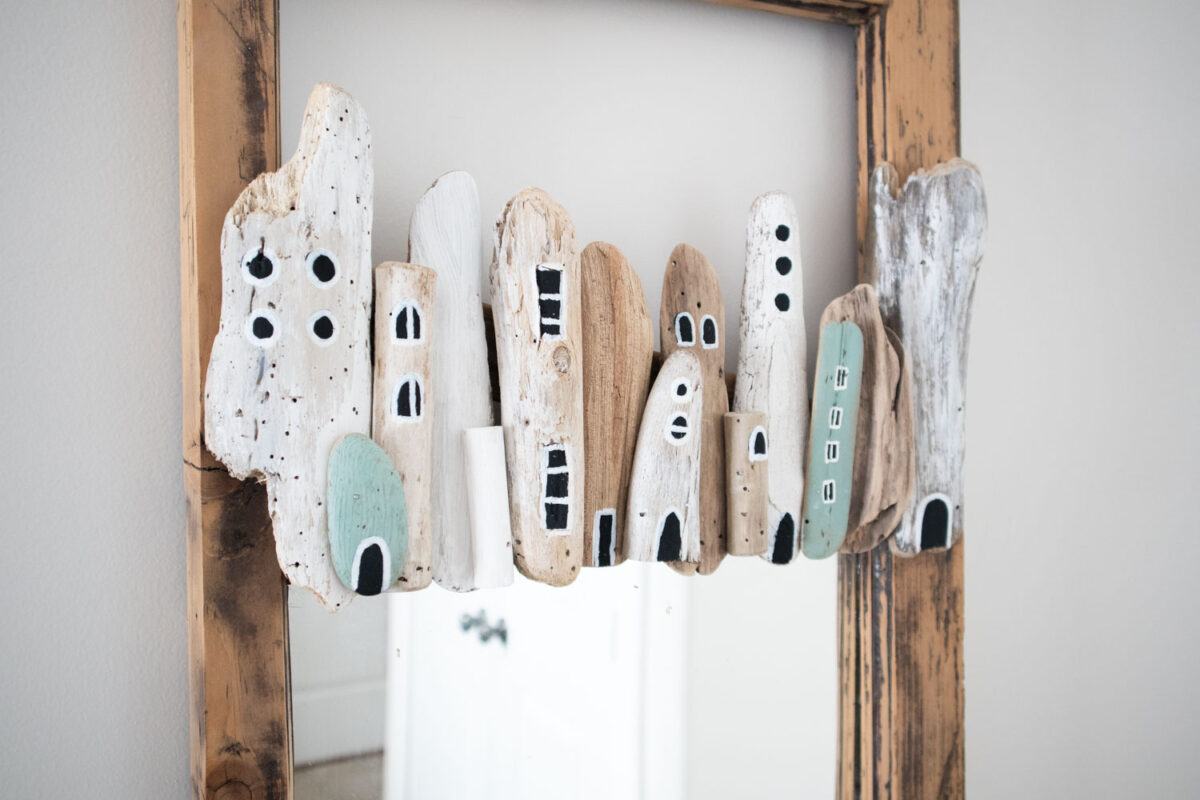
Creating a layered “village” effect around a plain mirror frame using driftwood pieces in different heights and widths. The result feels rustic, slightly whimsical, and completely one-of-a-kind. I’ll walk you through the process step by step, along with tips for arranging your pieces so the finished frame looks balanced rather than cluttered. We hope you find this post inspiring!
Why You’ll Love This Project
- Uses driftwood and scrap materials you may already have
- Budget-friendly coastal home décor idea with high-end impact
- Full step-by-step tutorial that’s beginner-friendly
- Completely customizable in size, shape, and finish
- Makes a thoughtful handmade gift décor idea
This driftwood mirror frame works in beach homes, neutral living rooms, or even modern spaces that need a touch of warmth and texture.
Join our crafting community to find more DIYs and upcycled craft ideas. It feels good to repurpose and upcycle!
Materials Needed
- Upcycled Wood Frame, solid wood square frame with 2” border
- Driftwood in assorted sizes and shapes
- Vintage Effects in Gray
- White Chalky Paint diluted with water
- Teal acrylic paint
- Black and white paint pens
- Nail Gun
How to Make a Driftwood Village Upcycled Mirror Frame
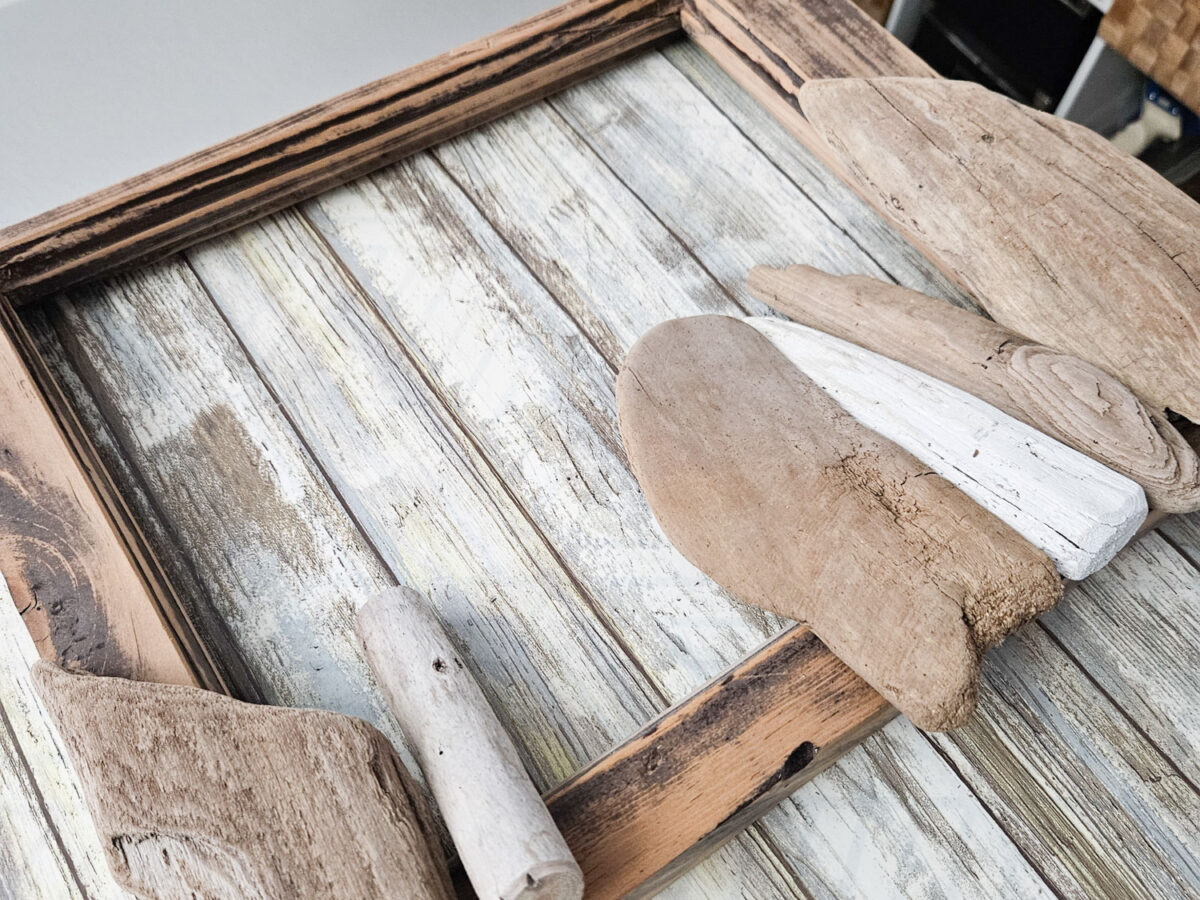
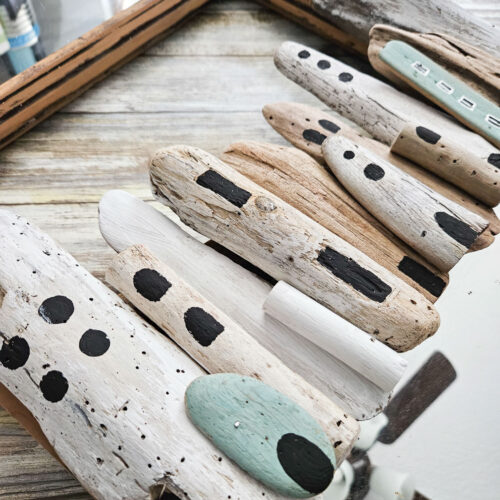
Place the driftwood pieces in a layering effect over top of the wooden frame. Play around with the placement until you are happy with the look. Try to mimic the look of a village with smaller pieces overlapping bigger driftwood pieces.
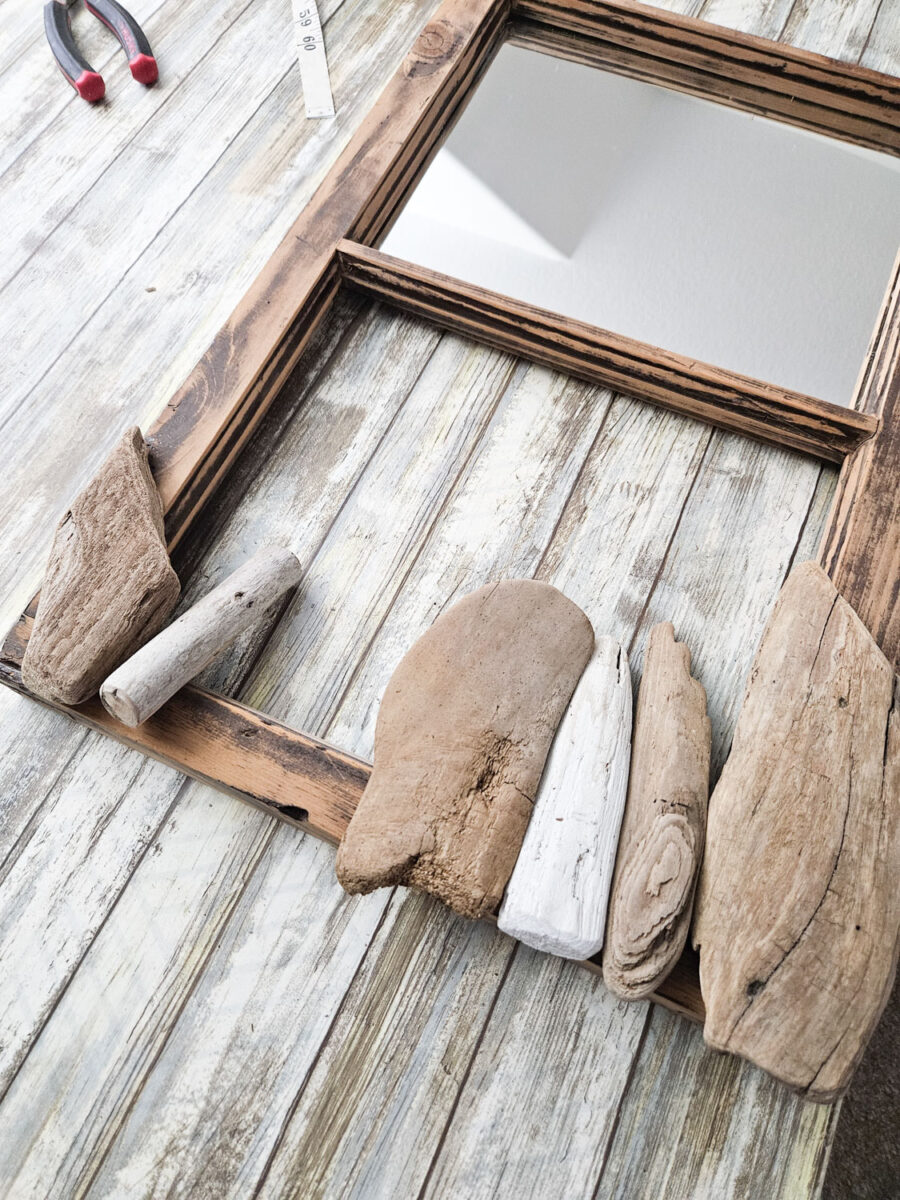
I’d suggest removing the mirror from the frame if possible before attaching the driftwood pieces. This will make it much easier to nail through the wood frame.
Apply a light coat of vintage effects paint over some of the driftwood pieces and then wipe away the excess with a paper towel or clean rag.
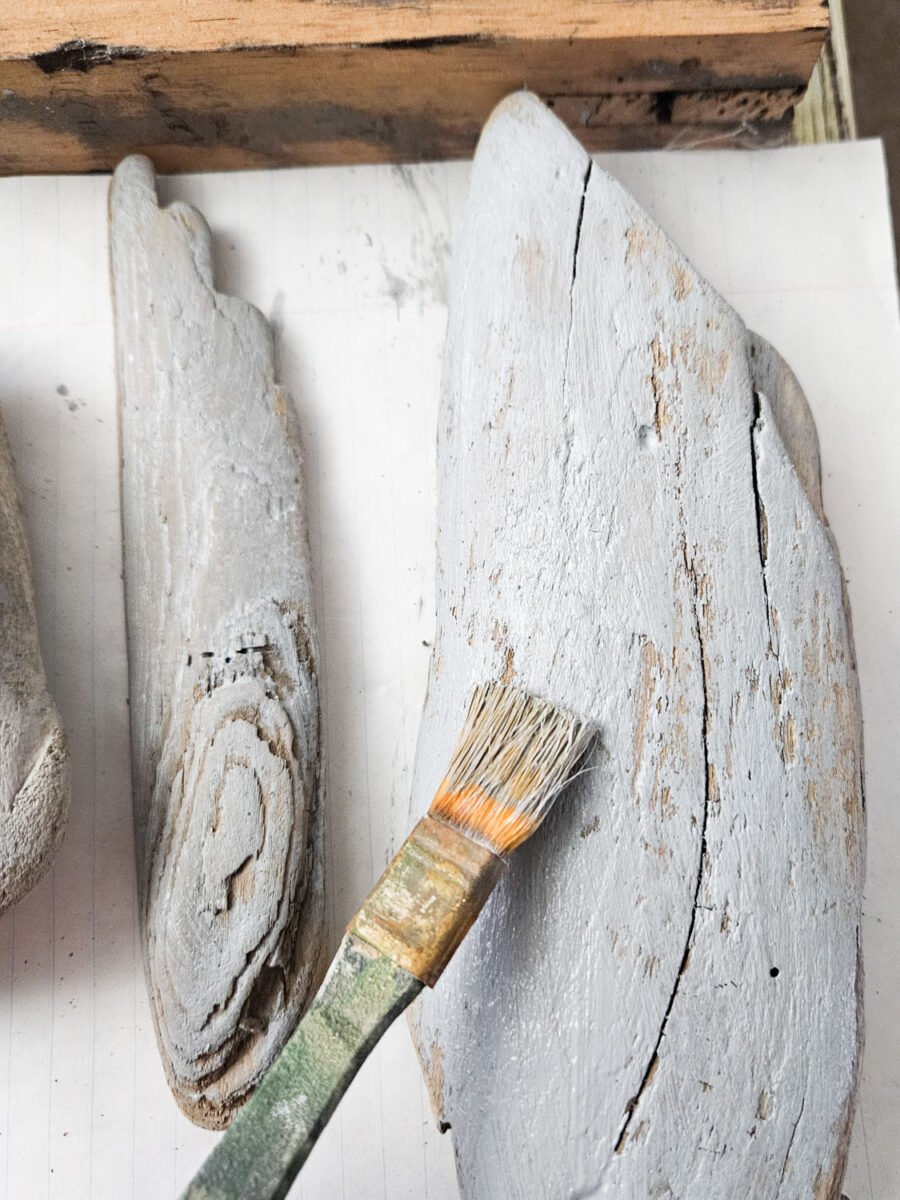
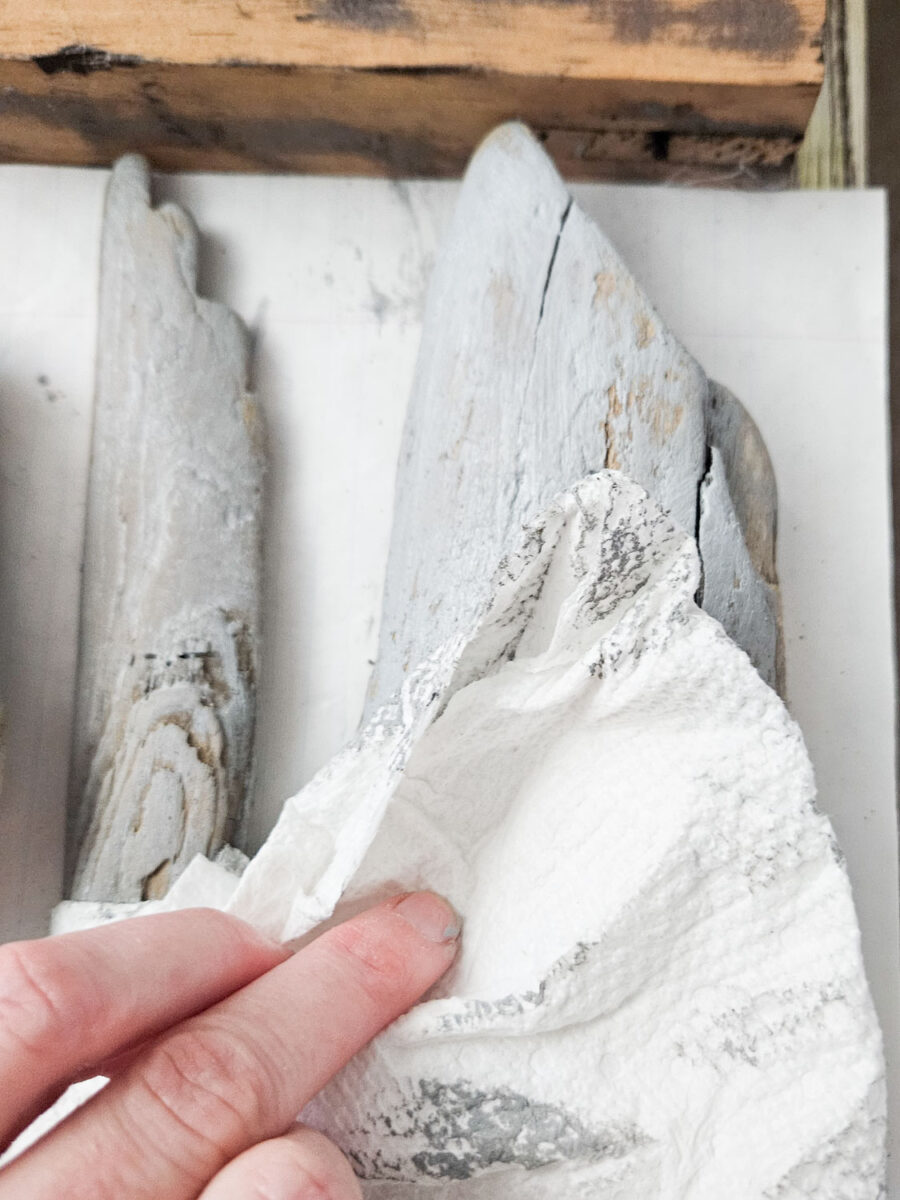
Next, layer on a coat of diluted white paint and wipe away the excess.
In our case, we painted the driftwood pieces that had a yellowish tone and kept the natural wood colored pieces without paint.
Once dry, begin to nail the driftwood pieces in place, starting with the larger pieces in the back.
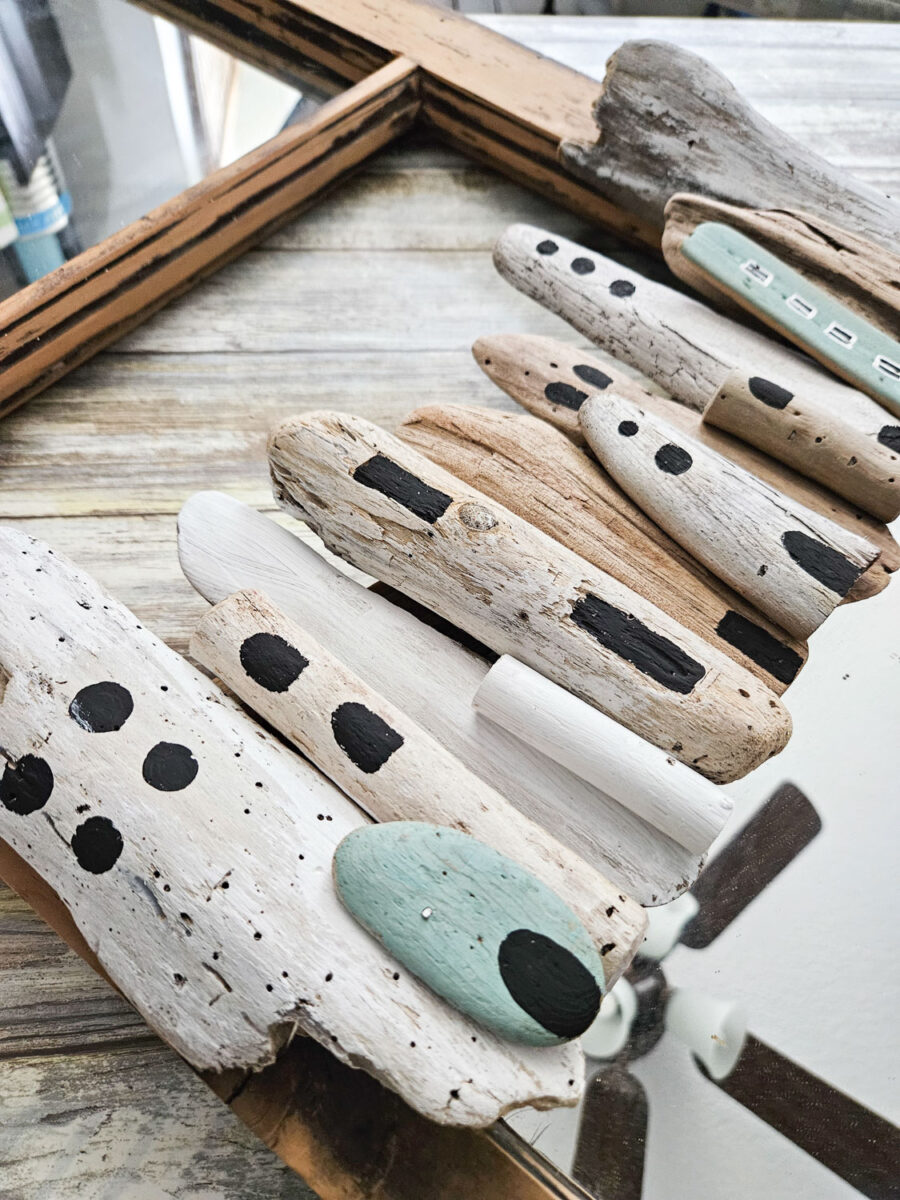
Continue to add the smaller pieces – you can also glue the smaller pieces in place.
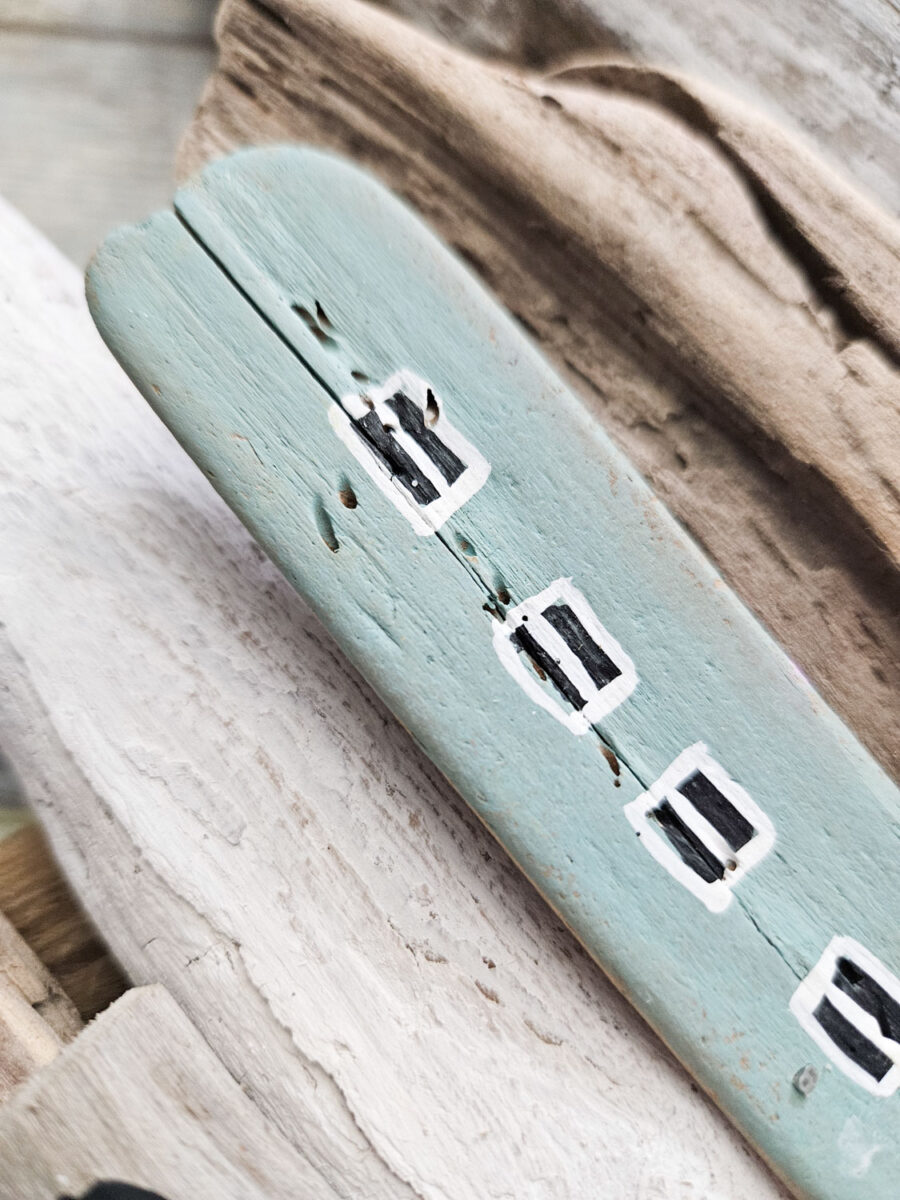
Repeat until you’re happy with the finished look.
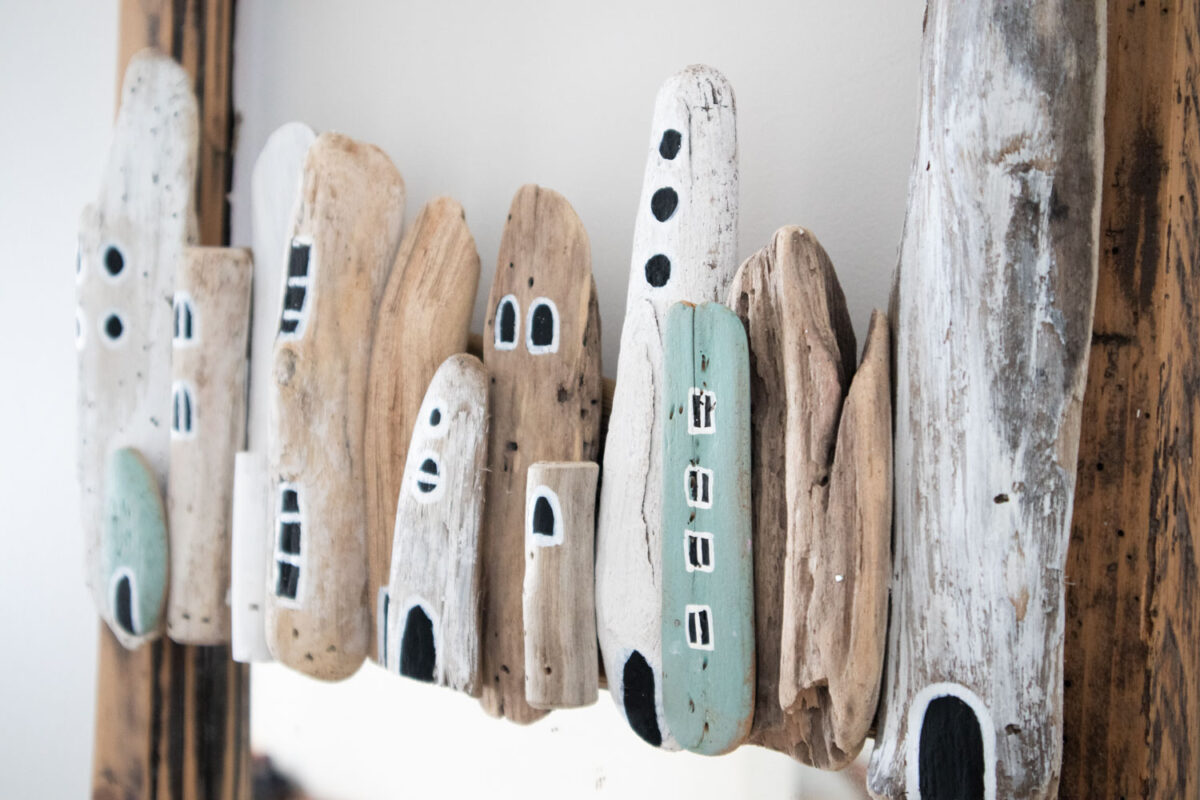
Replace the glass mirror if you removed it and display.
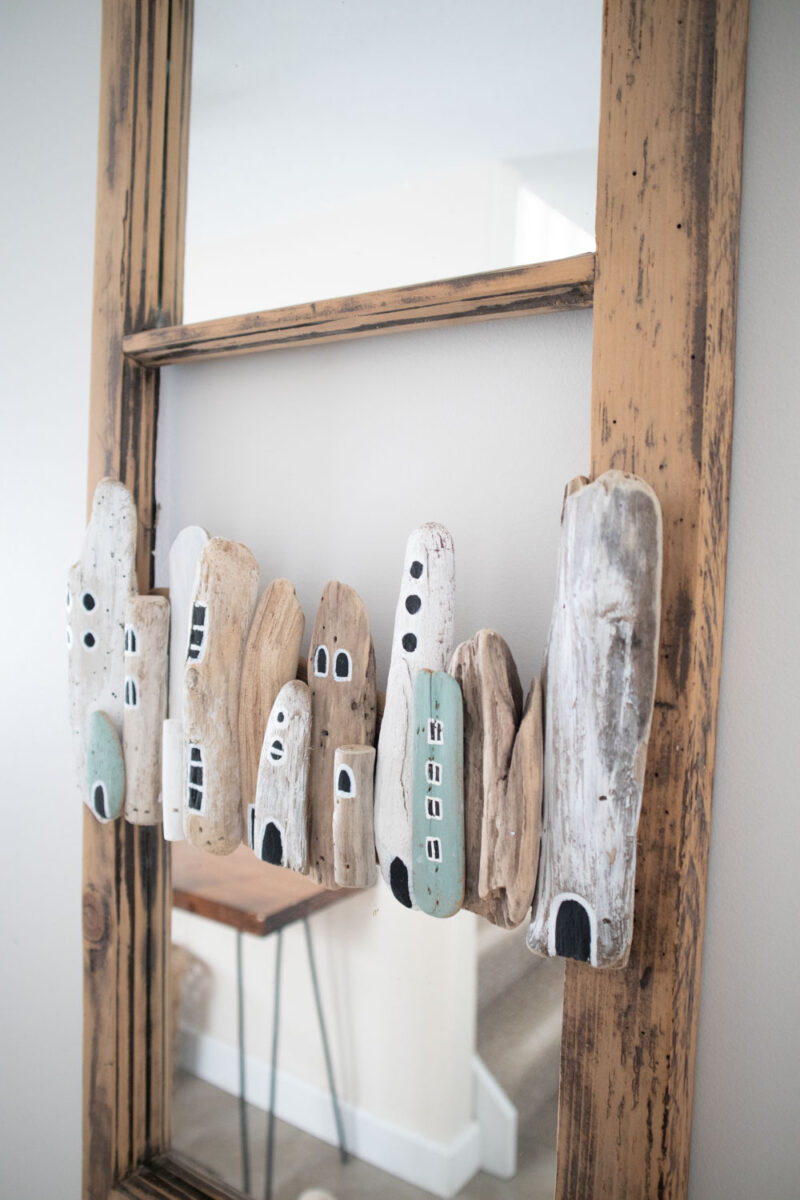
Tips, Variations & Troubleshooting
Driftwood Village Frame Variations
If you don’t live near a beach, craft stores often carry decorative driftwood, or you can use reclaimed pallet wood cut into narrow strips for a similar effect.
Choosing the Right Mirror Size
A small square mirror makes a sweet accent for an entryway. A larger rectangular mirror becomes a striking wall feature. Lay out all your driftwood pieces around the mirror before gluing to check proportions.
If your frame starts to look uneven, step back and squint slightly. Your eye will quickly spot areas that feel too heavy. Swap pieces around until the top and sides feel balanced.
Adhesive & Stability Tips
Use a strong construction adhesive or hot glue for lighter pieces. Heavier driftwood may need wood glue plus small finishing nails if you’re working with a wooden base frame.
Allow everything to dry fully before hanging. If the frame feels heavy, add proper wall anchors for safety.
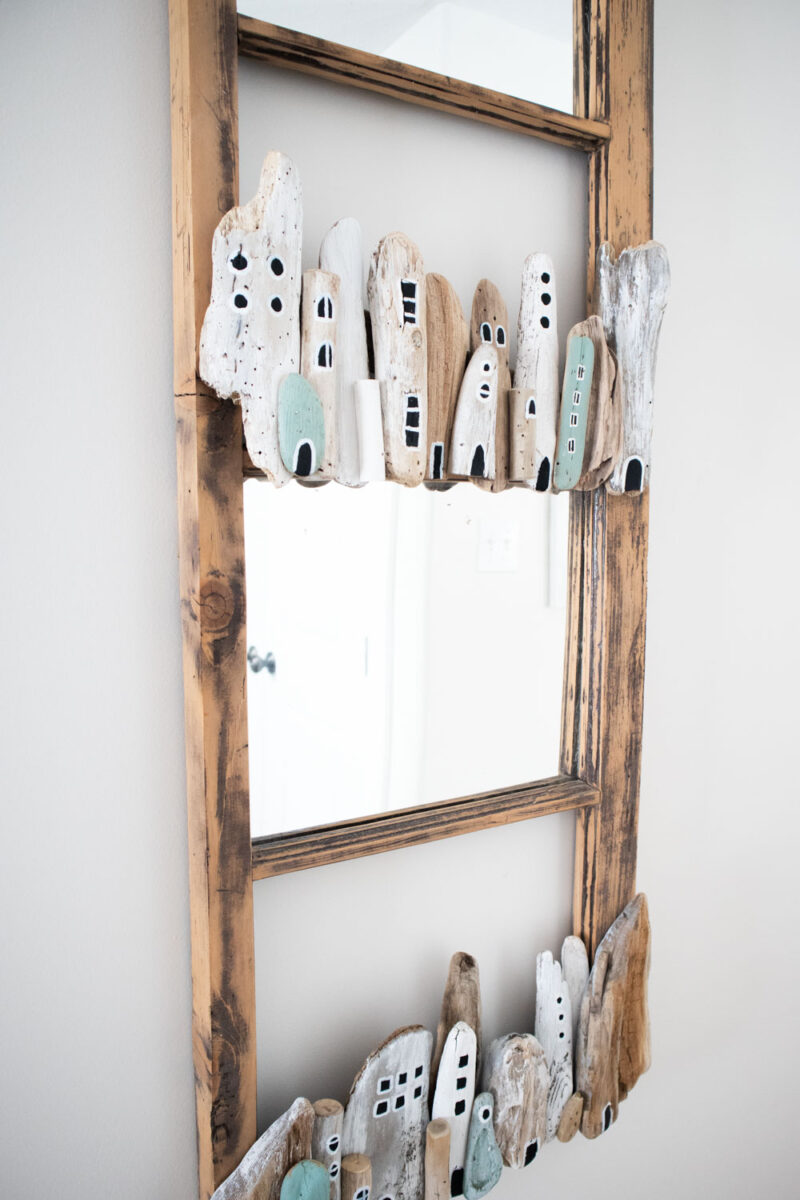
How to Display / Style Your Project
Hang your driftwood village upcycled mirror frame in an entryway with woven baskets, a jute rug, and soft neutral tones. The layered wood adds texture against clean white or cream walls.
This project blends creativity with sustainability, turning natural materials into meaningful décor. Once you make one, you may start collecting driftwood with a whole new purpose in mind.
More Driftwood Crafts to Make
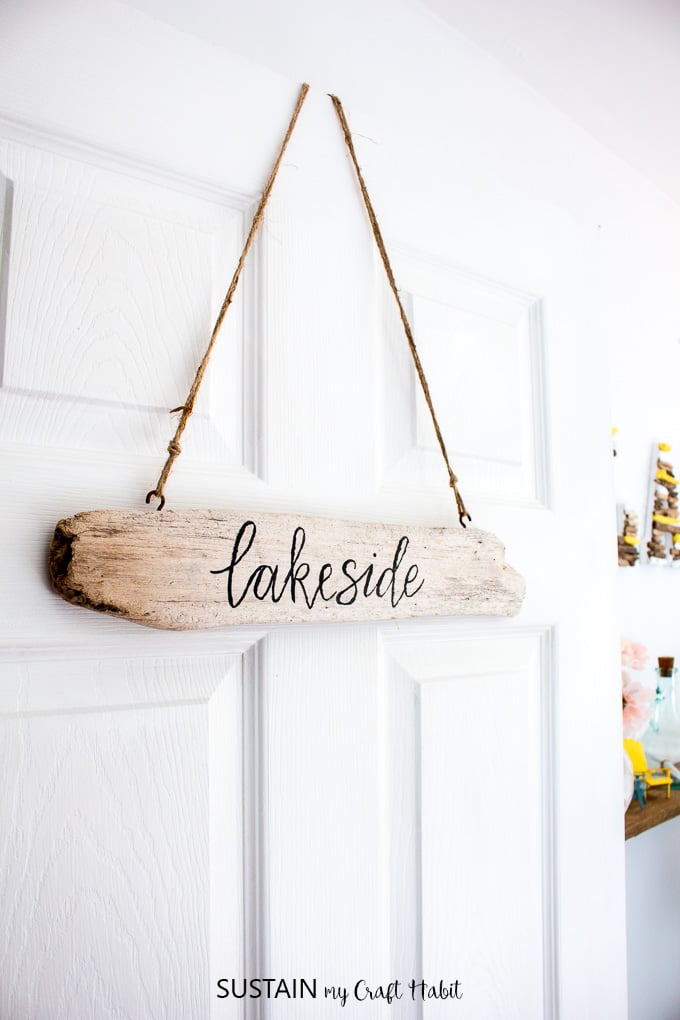
- Hand Lettered DIY Driftwood Sign
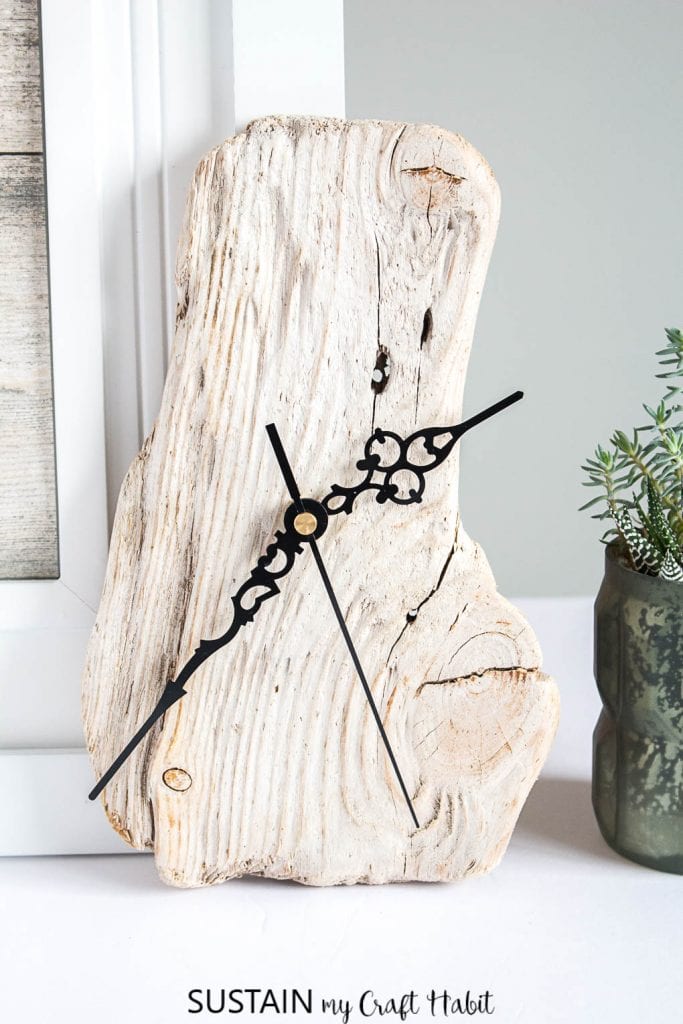
- Make a Clock with Driftwood
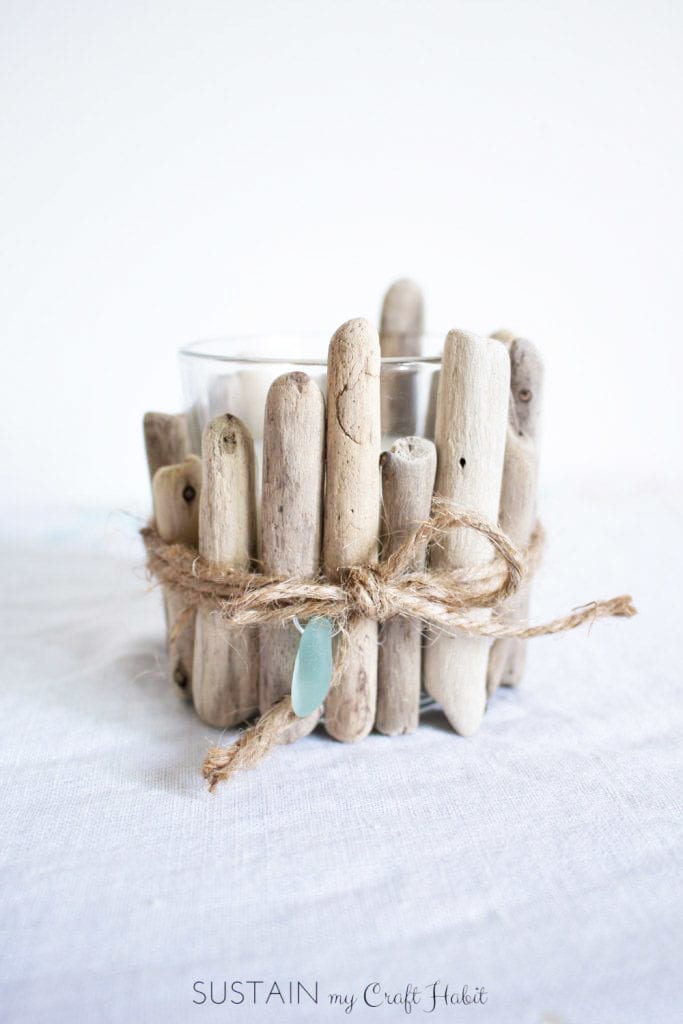
- Driftwood Candle Holder
- Coastal Lighthouse Driftwood Craft
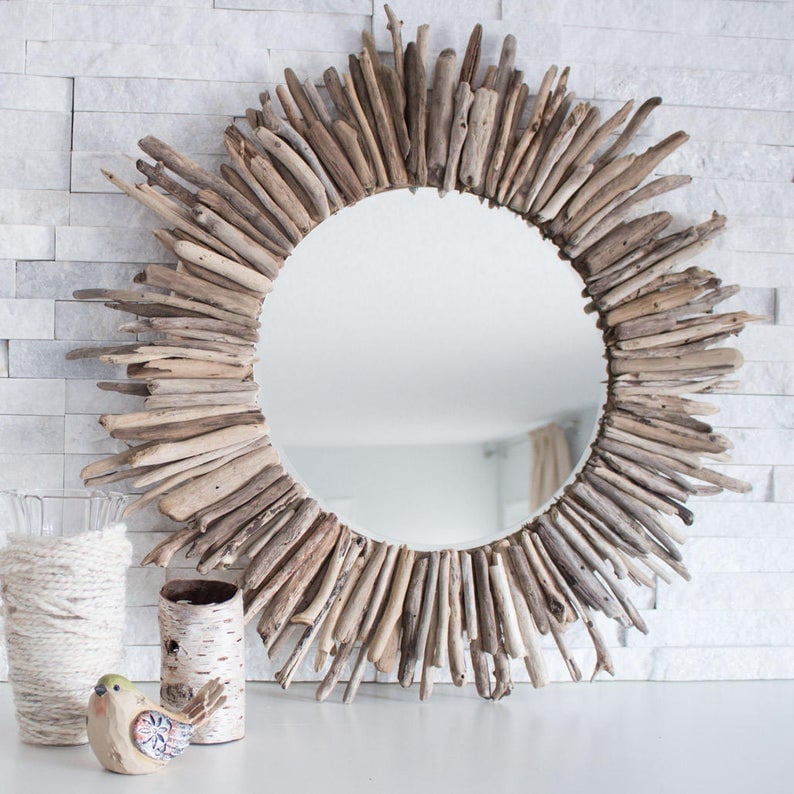
- DIY Driftwood Mirror
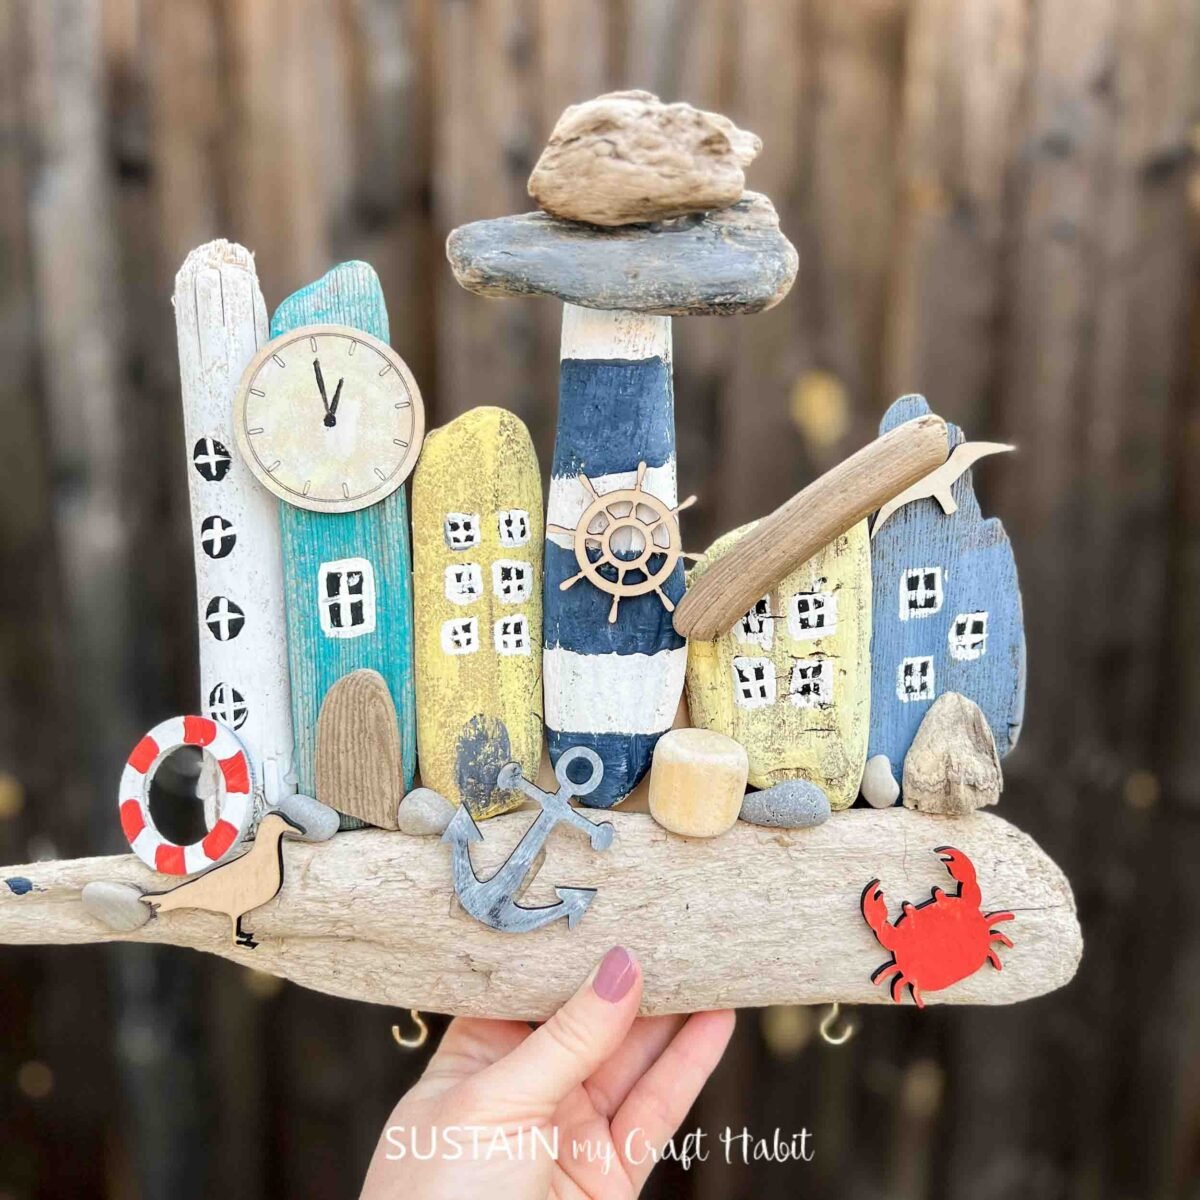
- Beachy Driftwood Village

Become a Sustain My Craft Habit insider to receive fun freebies!
Like it? Pin for later!
Driftwood Village Upcycled Mirror Frame
Materials
- Upcycled Wood Frame solid wood square frame with 2” border
- Driftwood in assorted sizes and shapes
- Vintage Effects in Gray
- White Chalky Paint diluted with water
- Teal acrylic paint
- Black and white paint pens
- Nail Gun
Instructions
- Place the driftwood pieces in a layering effect over top of the wooden frame. Play around with the placement until you are happy with the look.
- Apply a light coat of vintage effects paint over some of the driftwood pieces and then wipe away the excess with a paper towel or clean rag.
- Next, layer on a coat of diluted white paint and wipe away the excess.
- Once dry, begin to nail the driftwood pieces in place, starting with the larger pieces in the back.
- Continue to add the smaller pieces – you can also glue the smaller pieces in place.
- Repeat until you’re happy with the finished look.
- Replace the glass mirror if you removed it and display.