How to Dye Wooden Beads with Blueberries

Would you like to add some color to your wood beads without harsh chemicals? For wearable crafts such as jewelry which will be worn against your skin, a natural wood stain is always a better option. Today we’re showing you how to dye wooden beads with something from your fridge: blueberries!
Making Wood Bead Jewelry
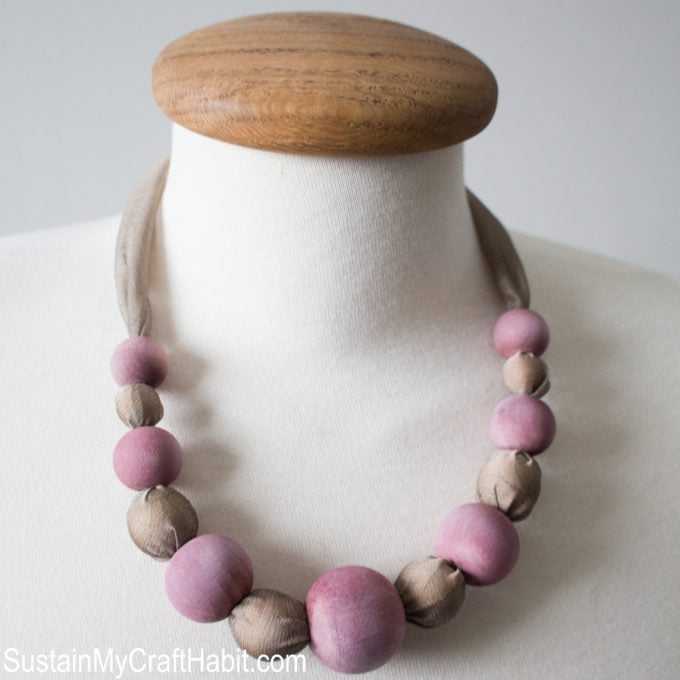
My daughter received an old costume necklace which inspired this makeover. I was able to reuse the wooden beads to make a new fashionable necklace! I came across the silk fabric scrap while I was rummaging through my sister’s craft supplies…I snatched it up so quick, I don’t think she even noticed!
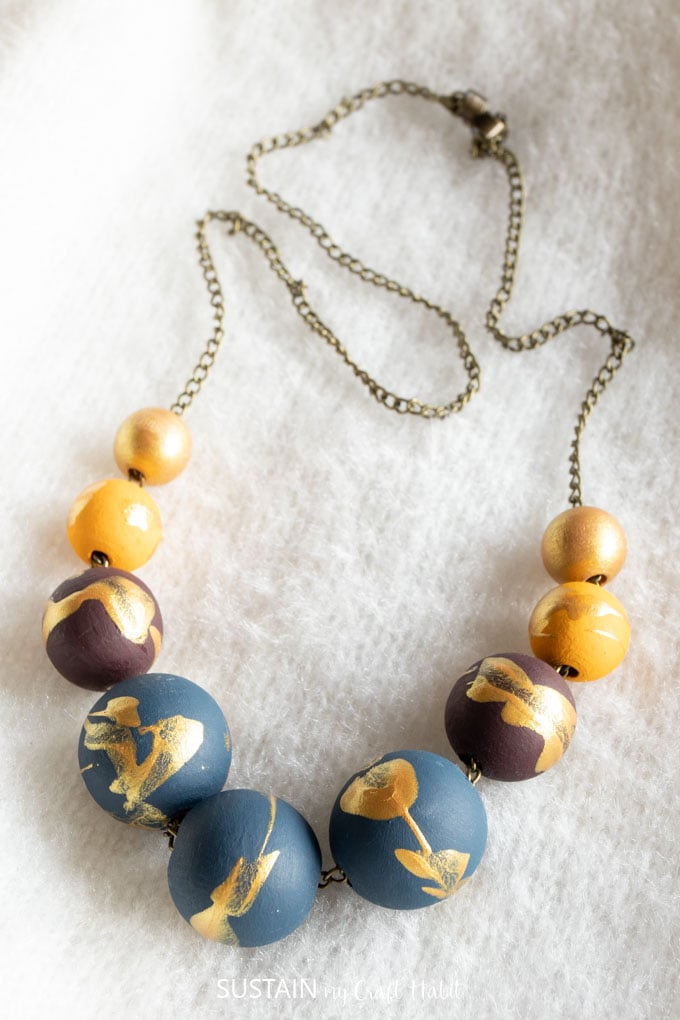
For different wooden bead jewelry option, check out this pretty hand-painted variation!
Different Ways to Dye Wood Beads
There are a variety of different methods you can use to stain and color your wood beads:
- paint them with an acrylic craft paint: this is great if you’d like a variety of colors or different types of finishes (ie. matte, satin or glossy)
- stain them with a wood stain or make your own by mixing equal parts water with an acrylic paint color of your choice
- use food coloring
- experiement with different foods (such as blueberries, strawberries, avacado pits and skins) for a gentler, more natural wood dye option.
Once you’ve decided on the dye, either brush it on to the wooden beads, or place them in a small container (or plastic bag) and coat the beads that way.
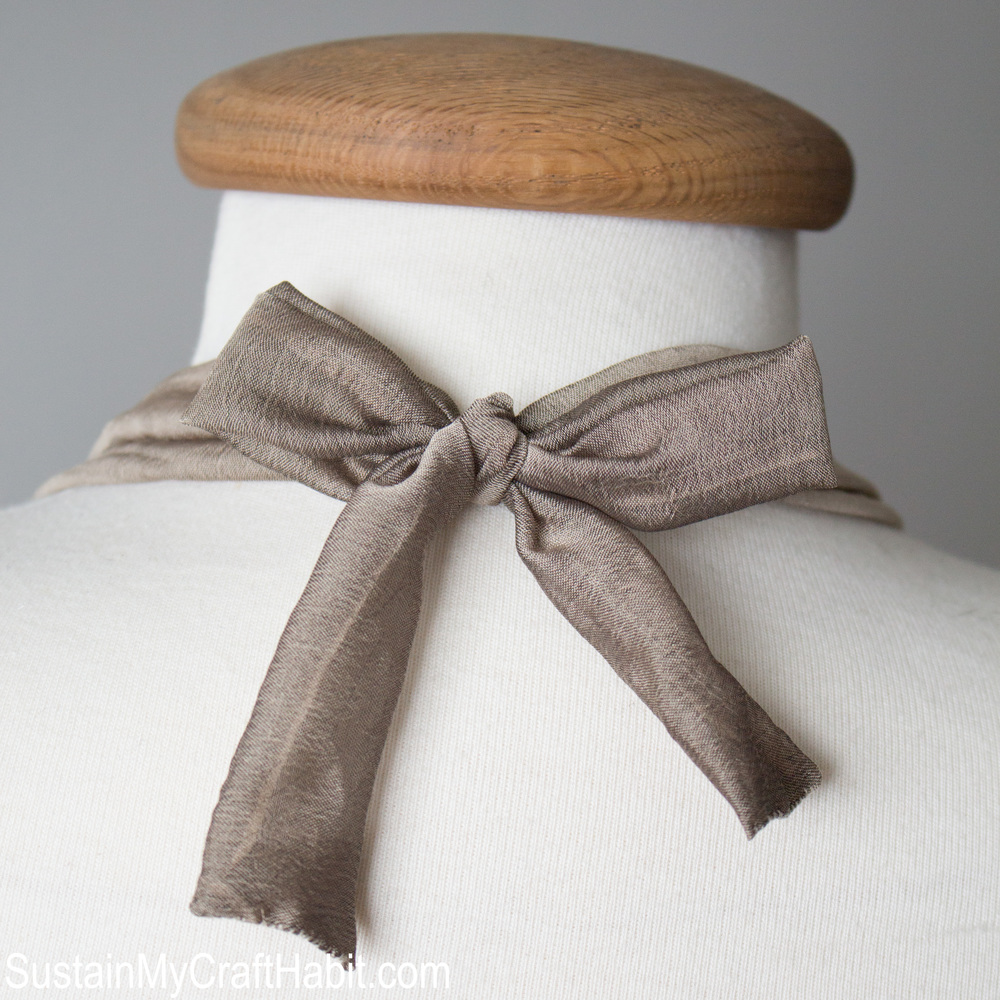
Once done, set aside to dry. Read on below for more details on making the wood dyed silk necklace with blueberries. The necklace is so simple and so much fun to make! The colour combinations just happened to work out perfectly!
Materials Needed for this Wood Jewelry Idea
Disclosure: This post contains affiliate links for your shopping convenience. Should you choose to purchase through them, we will make a small commission at no extra cost to you. You can read our full disclosure policy here.
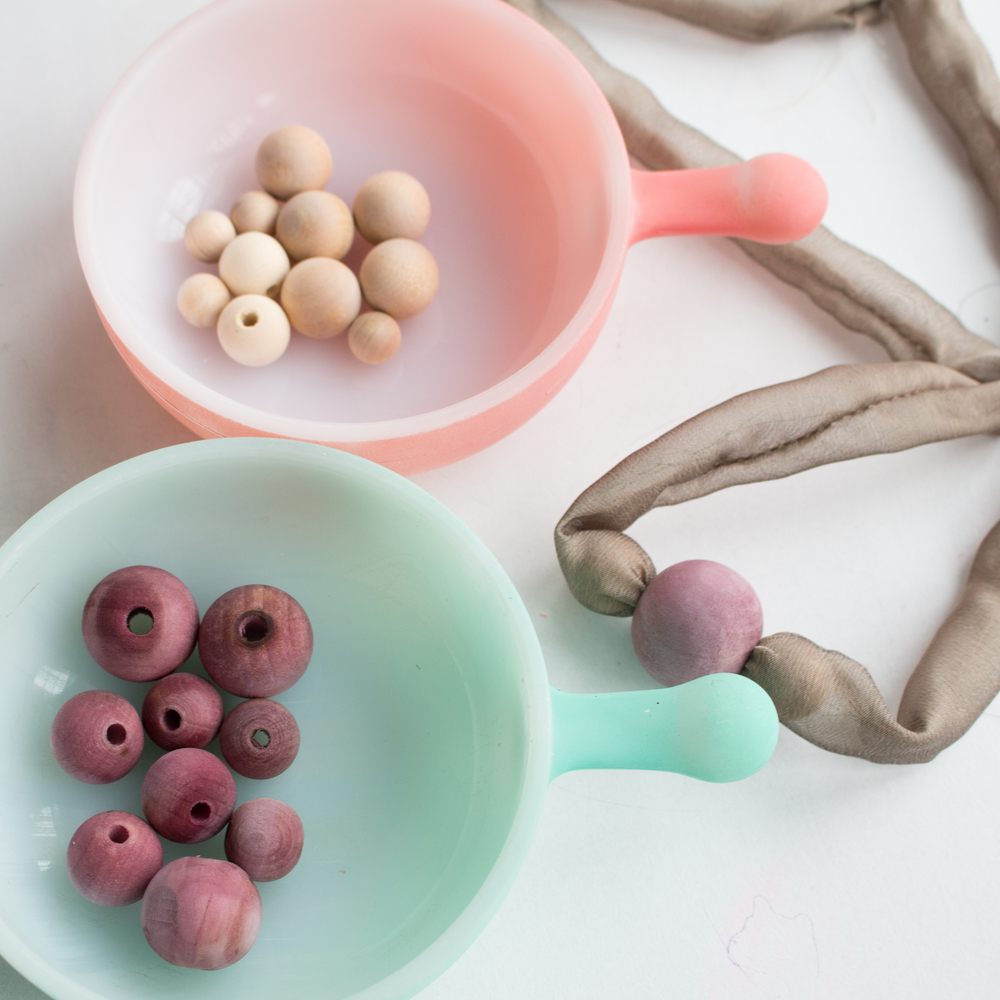
- x7 natural unfinished wooden beads –1x 30mm; 2x 25mm bead, 2x 15mm, 2x 10mm
- x6 wooden beads or wood balls – 4x 15mm, 2x 10mm
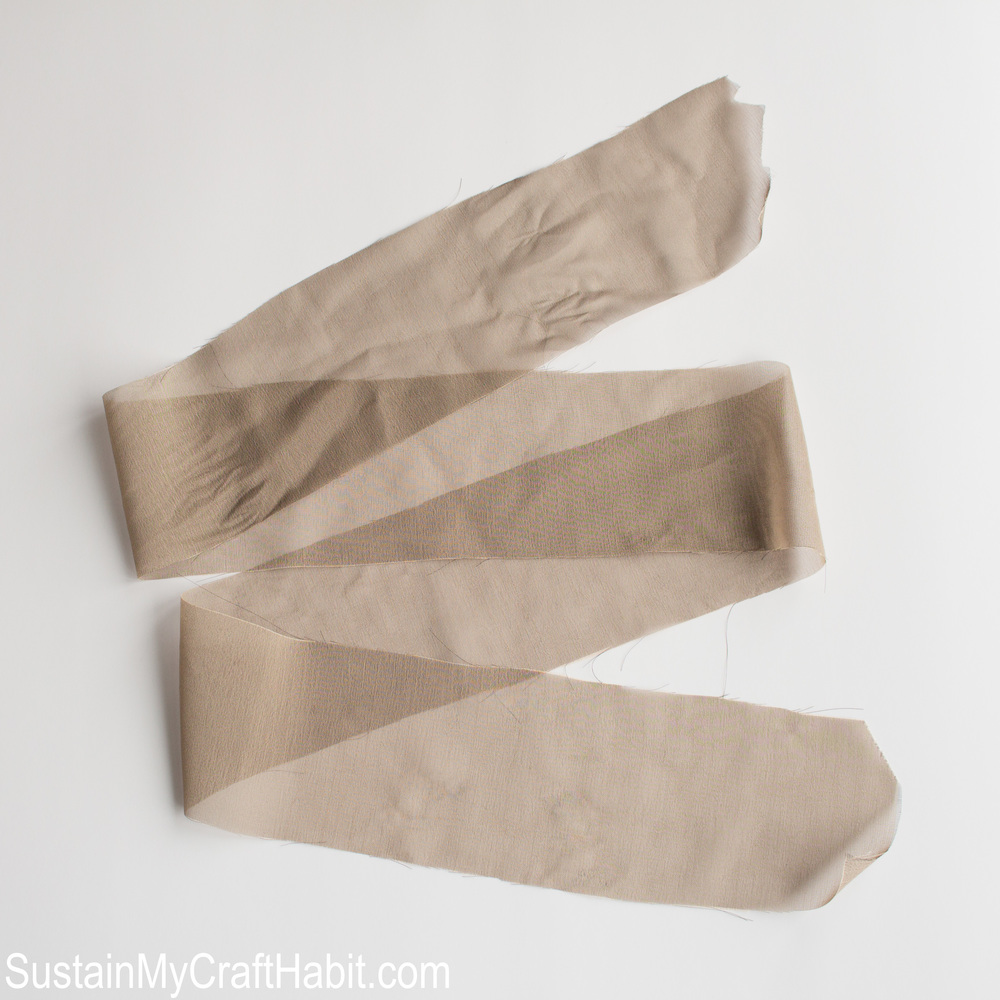
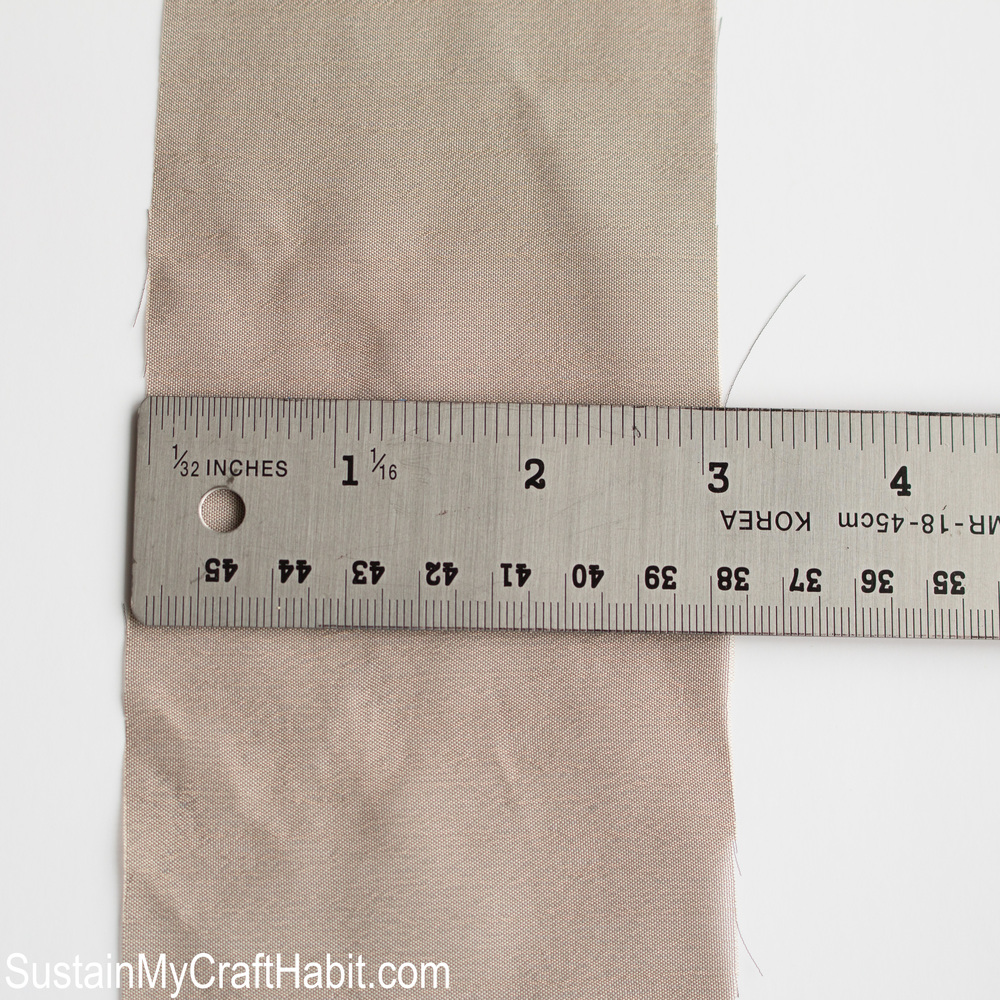
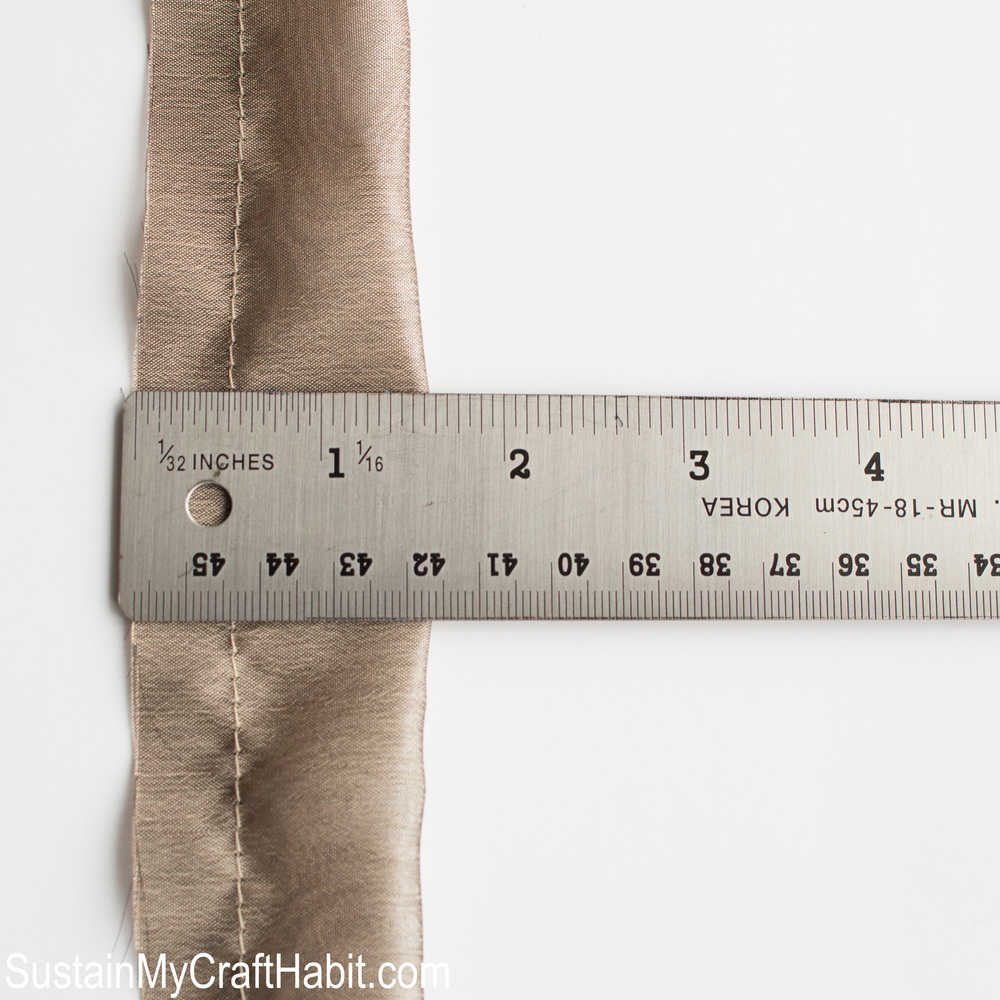
- 48” long piece of scrap fabric at least 3” wide – preferably silk or a similar lightweight fabric
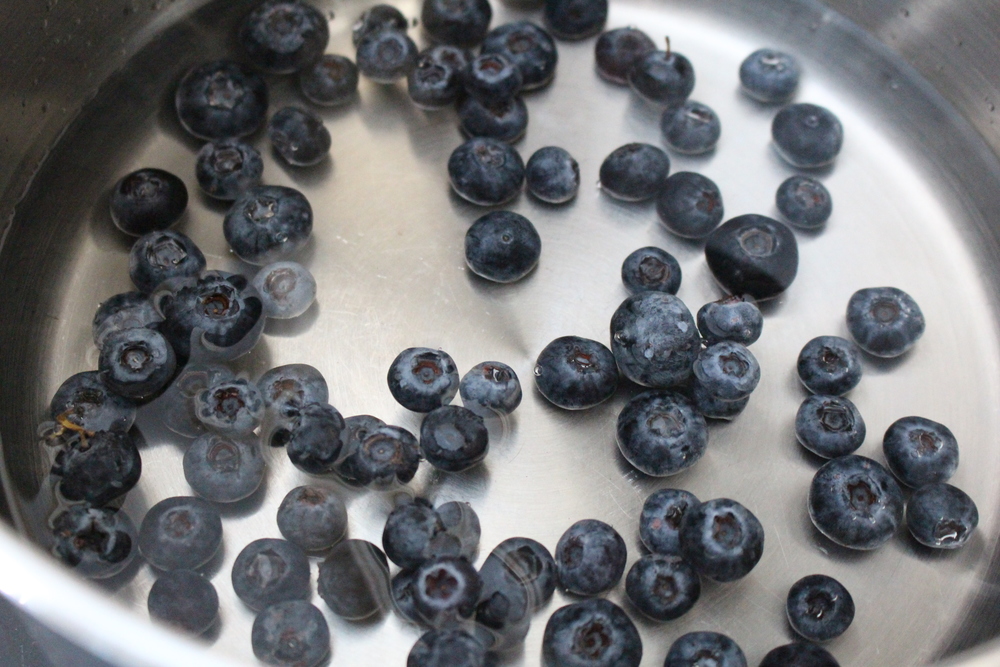
- 1 cup blueberries (for dyeing wooden beads)
- 1 cup salt (for colour fixative)
- large and small cooking pot
- sewing machine and matching thread
How to Make a Natural Wood Bead Dye
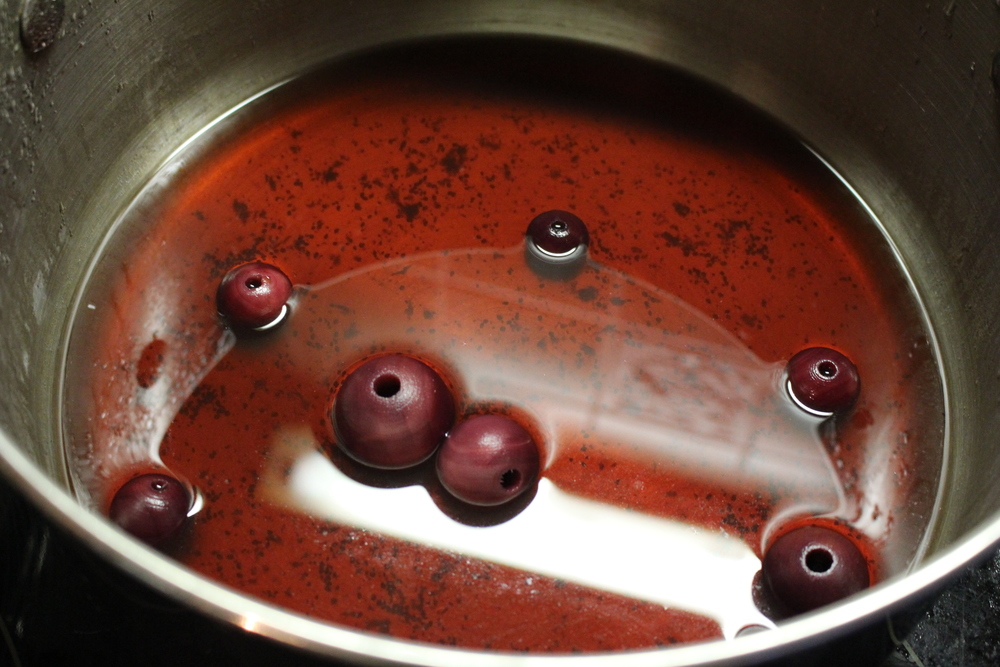
Prepare Dye: Add 1 cup of blueberries to cooking pot. Add double the amount of water. Bring to a boil, then simmer for one hour. Strain.
Colour Fixative: To get beads ready for dyeing, you will need to soak beads in a color fixative before dyeing. Colour fixative consists of ⅛ cup salt to 2 cups cold water. Add beads to fixative and simmer for one hour. Rinse the beads in cold water before adding to dye bath.
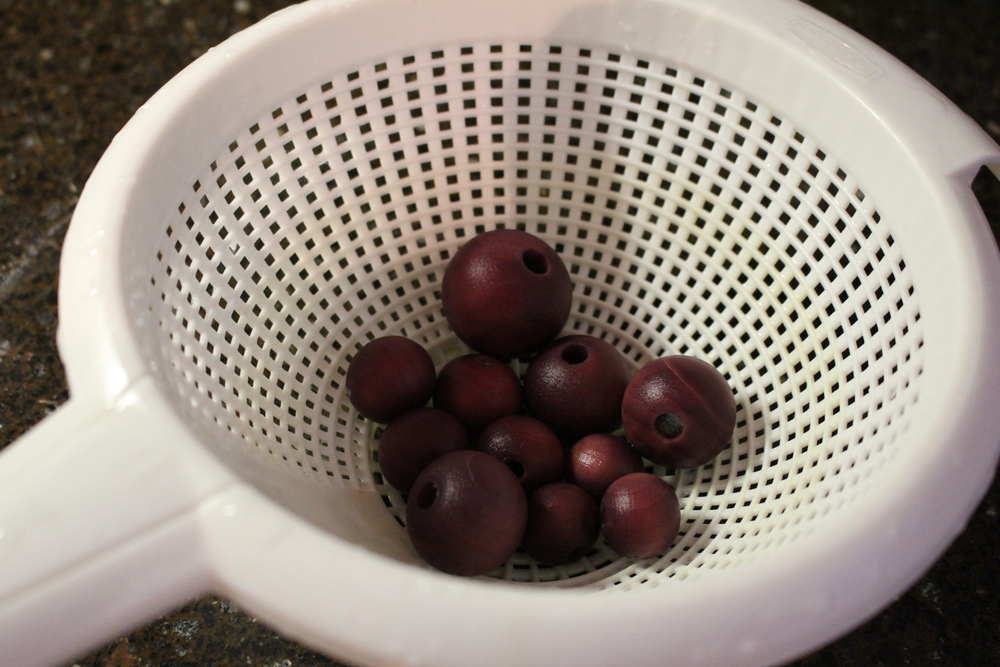
Dye Bath: Place wet beads in dye bath. Simmer together until desired color is obtained. I simmered my beads for one hour and than left the beads to soak overnight. I found the beads would float to top so in order to keep them submerged, I covered them with a old cotton fabric scrap. Note: the actual colour will be lighter when its dry.
Prepare Silk Fabric for Necklace
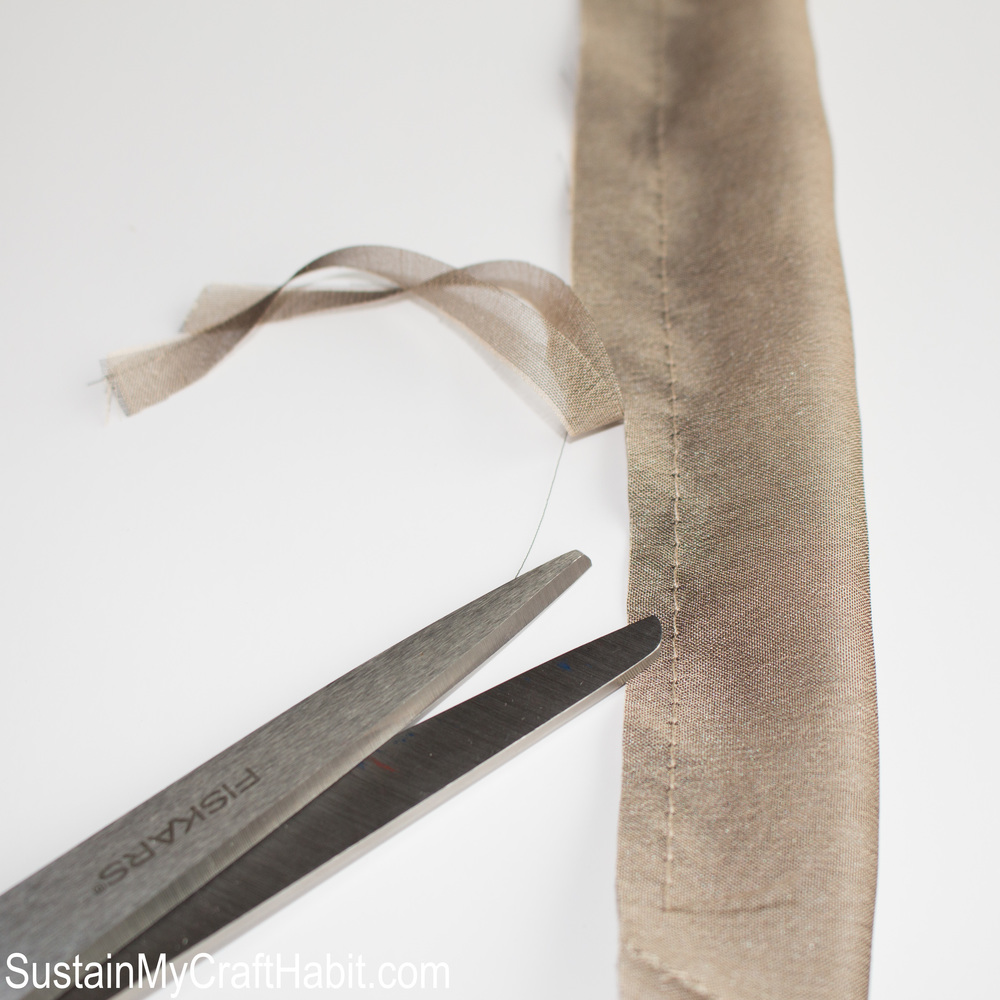
Cut silk fabric scrap into long rectangular strip: 3” wide x 48” long. Fold fabric strip in half and sew along edge with 1/2” seam allowance. Turn stitched fabric strip inside out (use a safety pin to help feed fabric inside out). Now fabric tube is ready to be assembled into a necklace.
Instructions for Assembling Necklace:
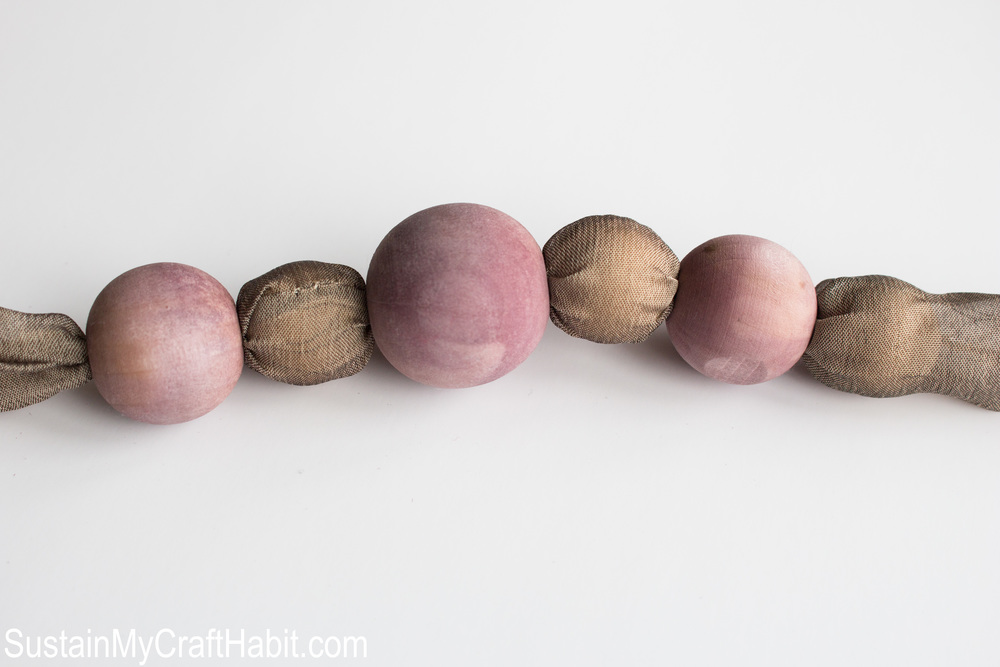
1. Thread silk tube through largest dyed bead, 35mm and center bead along silk
2. Insert 1x 15mm wooden bead into silk tube on either side of center bead; push bead all the way until it meets center bead
3. Continue threading dyed beads and inserting unfinished beads around necklace (working from center outward). Tip – use a narrow skewer to help push fabric through smaller dyed beads
4. When all beads are used and desired look is achieved, necklace is almost finished!
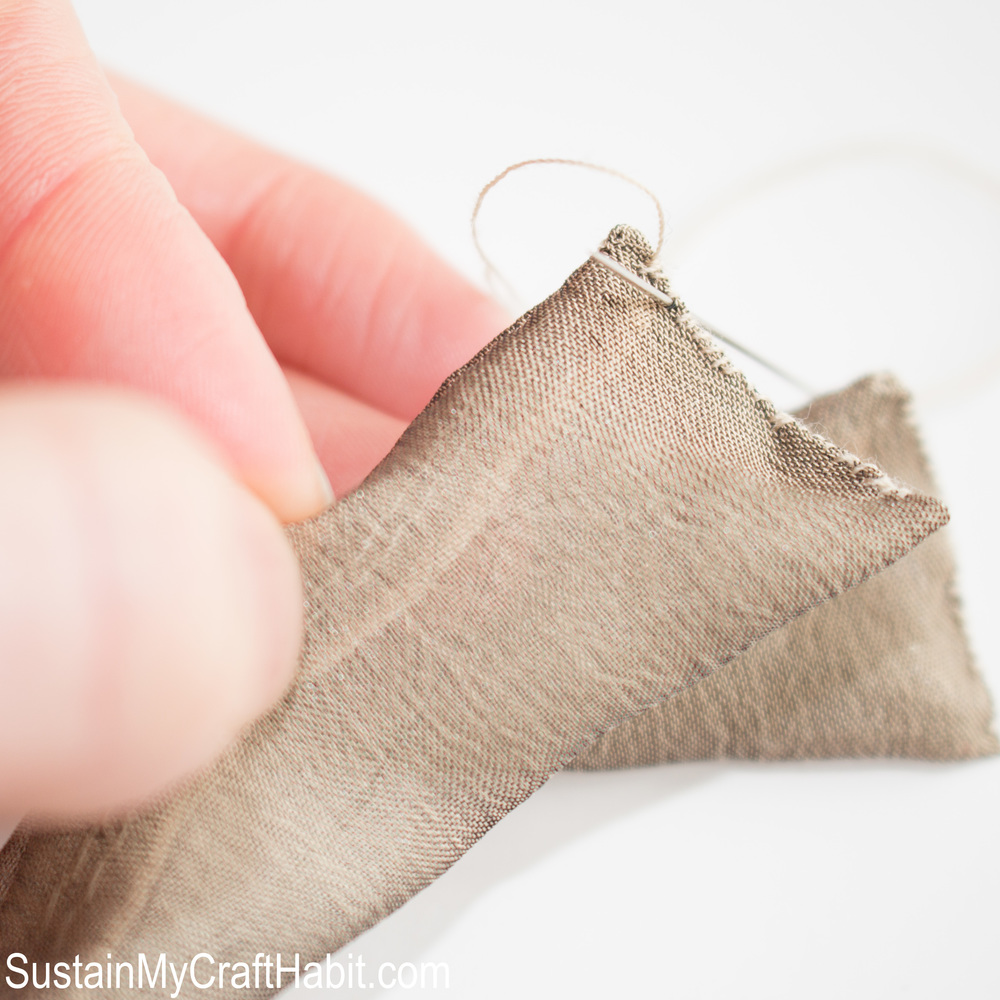
5. Fold raw edges of silk tube ends under and hand sew edges closed
Wear and Enjoy!
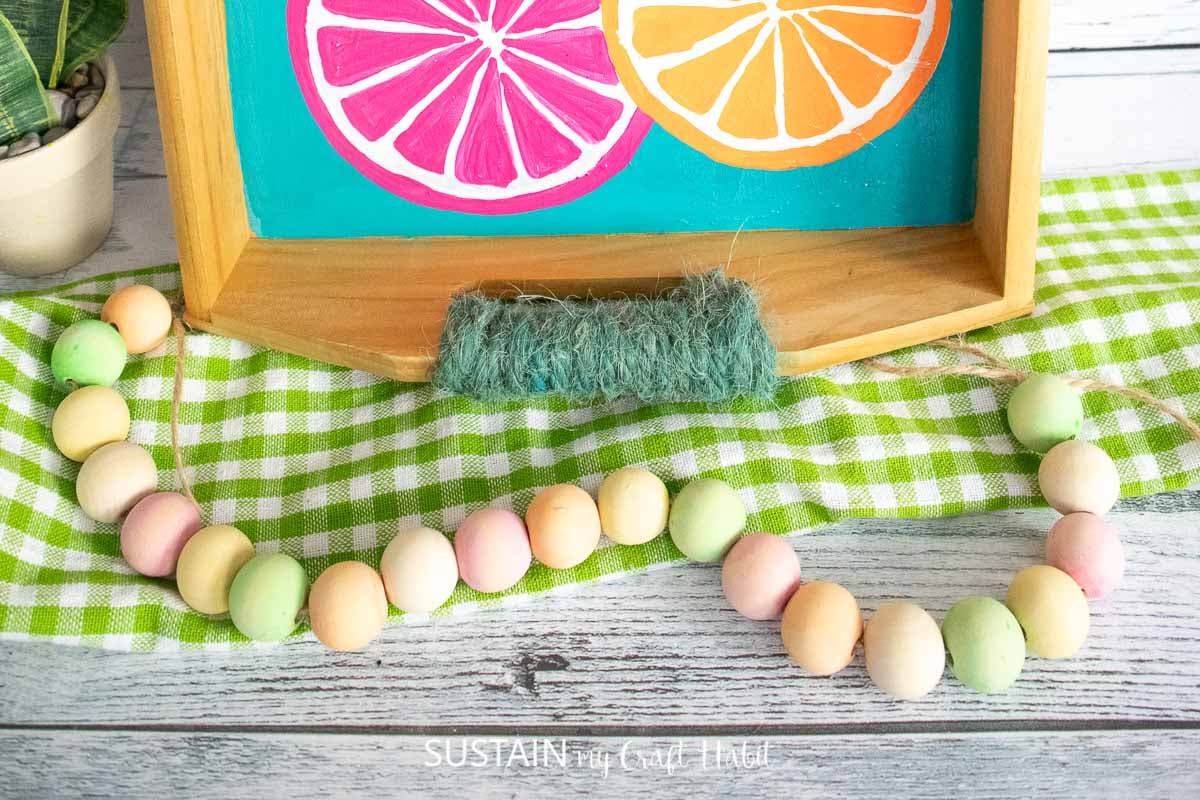
More Wood Bead Craft Ideas
Now that you’ve learned how to dye wooden beads, here are a few additional crafts to try:


Like it? Pin it for later!