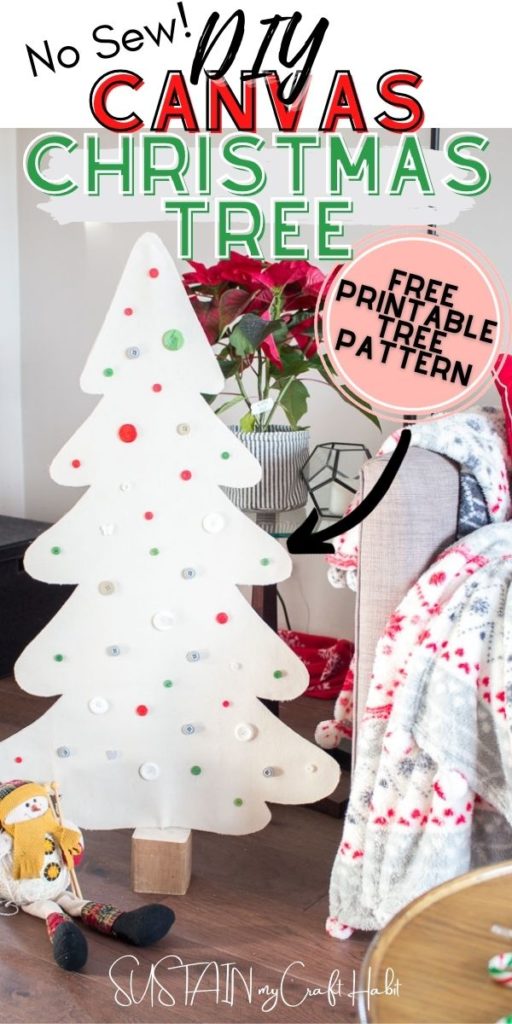
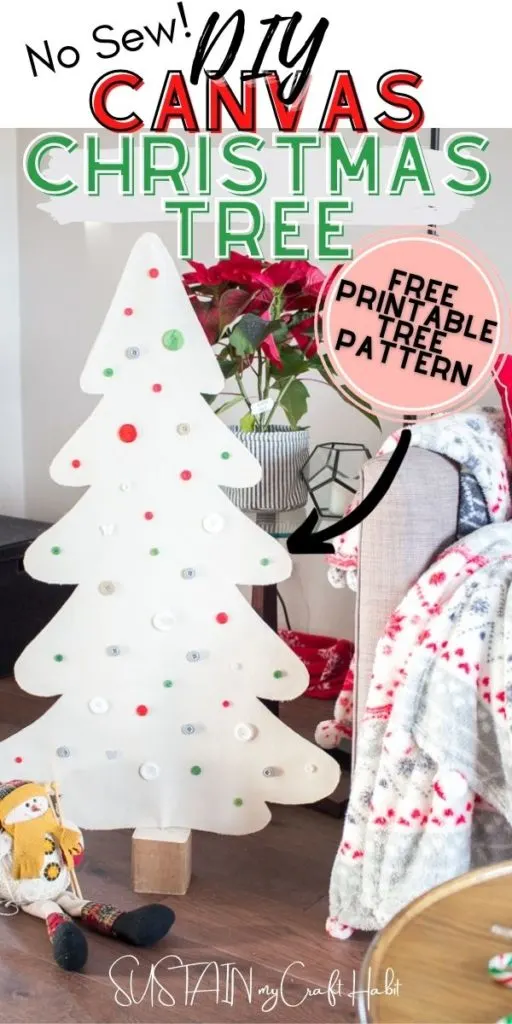
Looking for a non-traditional tree idea for the holidays? Well this no-sew DIY Christmas tree using a heavy-weight cotton canvas fabric may just be the perfect holiday decor to add to your home!


Making a Homemade Christmas Tree
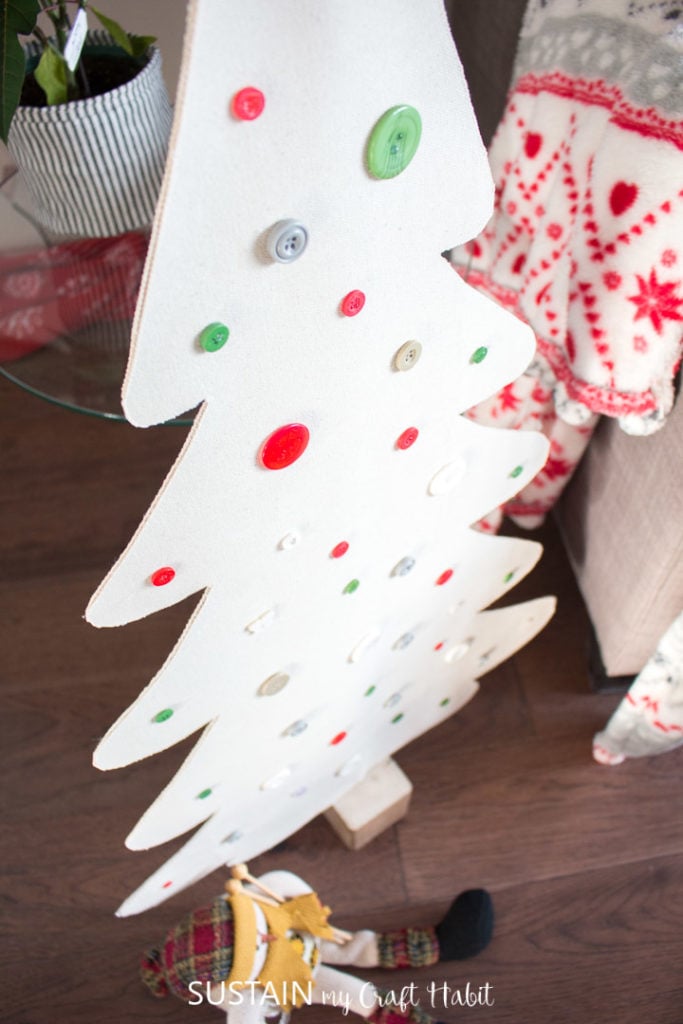
Although it’s not likely to be substantial enough to replace your actual Christmas tree, this canvas tree is a good option for any one living in smaller spaces or looking for a pet-friendly tree option!. The finished tree with the base measures over 3 feet tall (40” high and 22” wide to be exact) so it is a pretty good size.


These handmade ornaments are so much fun to make and will beautiful on your Christmas tree year-after-year. Or make a set of these festive Christmas ornaments to give as gifts to coworkers and neighbors.
This easy Christmas craft idea is also a fun way to spend an afternoon crafting with friends for the holiday season.
We used a really heavy weight cotton canvas material from Canvas Etc., similar to what we used to make this modern canvas floor rug earlier in the year but even heavier. In fact, I wouldn’t recommend sewing this canvas with a domestic sewing machine, it may be too much to handle and maneuver…but using a hot glue gun makes this DIY quick and easy!
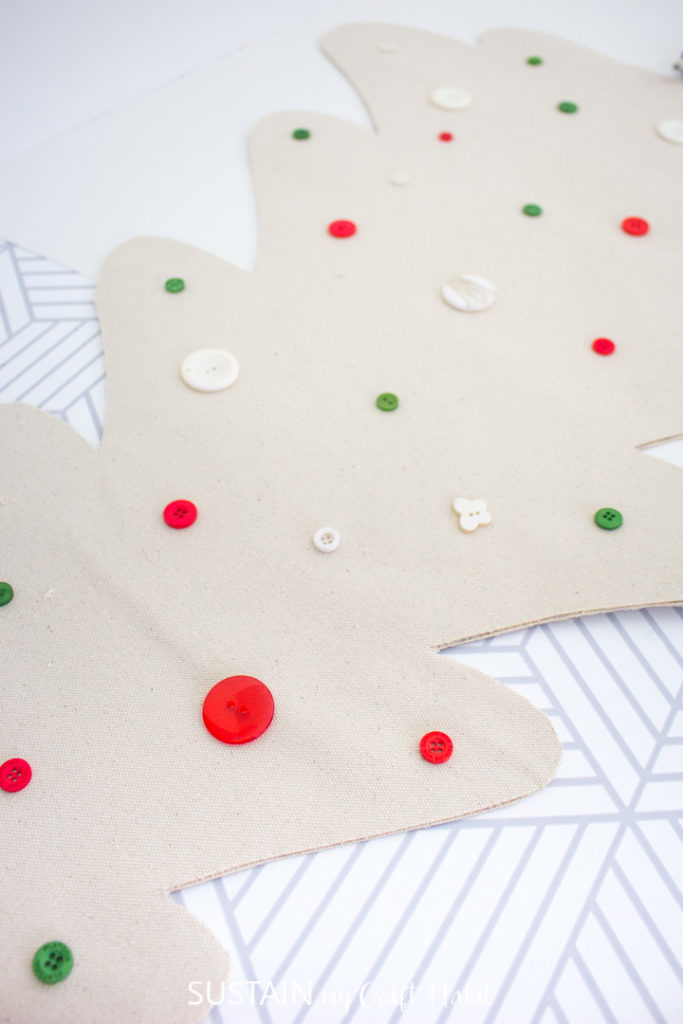
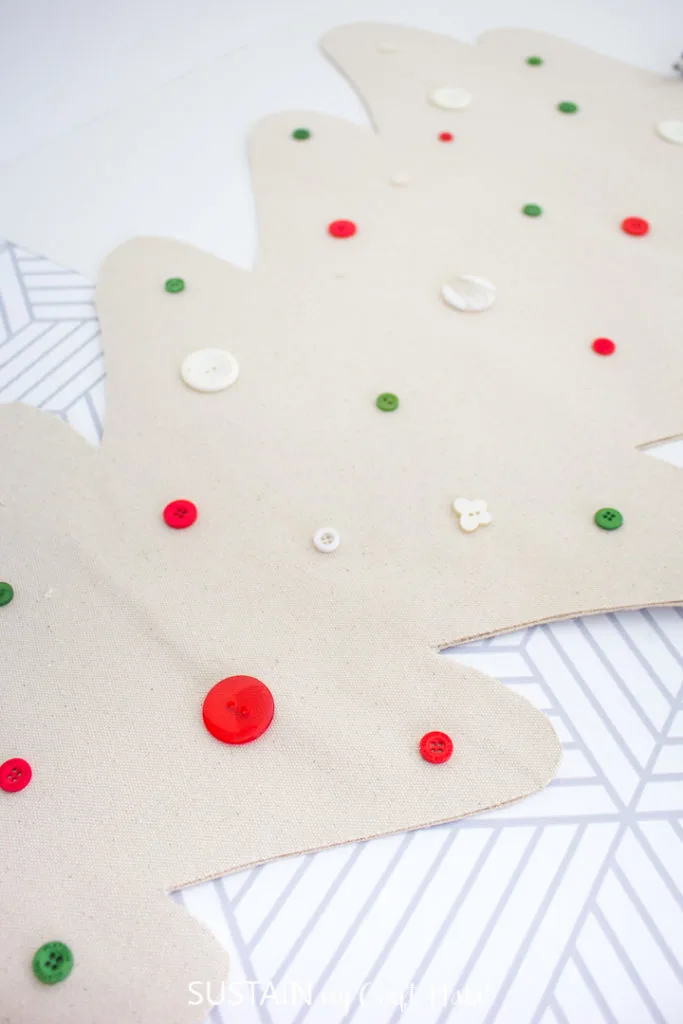
I glued a bunch of spare buttons I had lying around on top of the canvas. I was happy to use up those buttons and it also gives you an option to add mini ornaments to the tree.

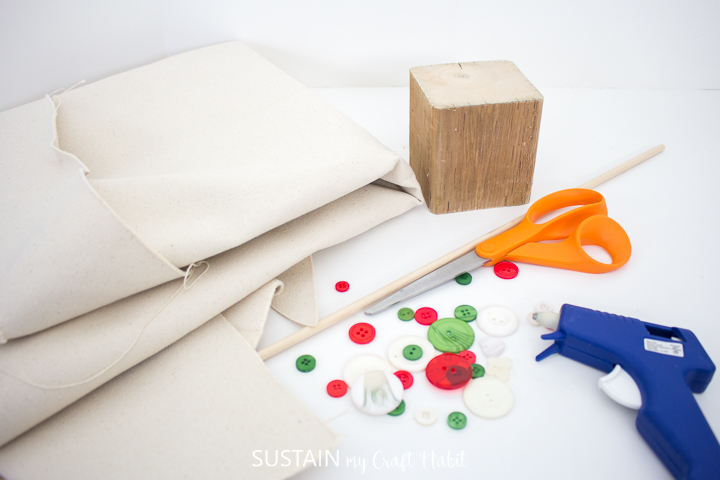
Materials Needed:
Disclosure: This post contains affiliate links for your shopping convenience. Should you choose to purchase through them, we will make a small commission at no extra cost to you. You can read our full disclosure policy here.
- Heavy Cotton Canvas, 1 yard in natural
- 3′ Christmas Tree printable pattern
- Fabric scissors (a good pair of fabric scissors is needed to cut through the heavy canvas)
- Hot glue gun and clear glue sticks
- Assorted buttons in traditional Christmas colors
- Wooden dowel, ½” x 36” long
- 4×4 wood post cut to 4” high (for the base), pre-drilled in the center to fit dowel

How to Make a DIY Christmas Tree:
Cutting
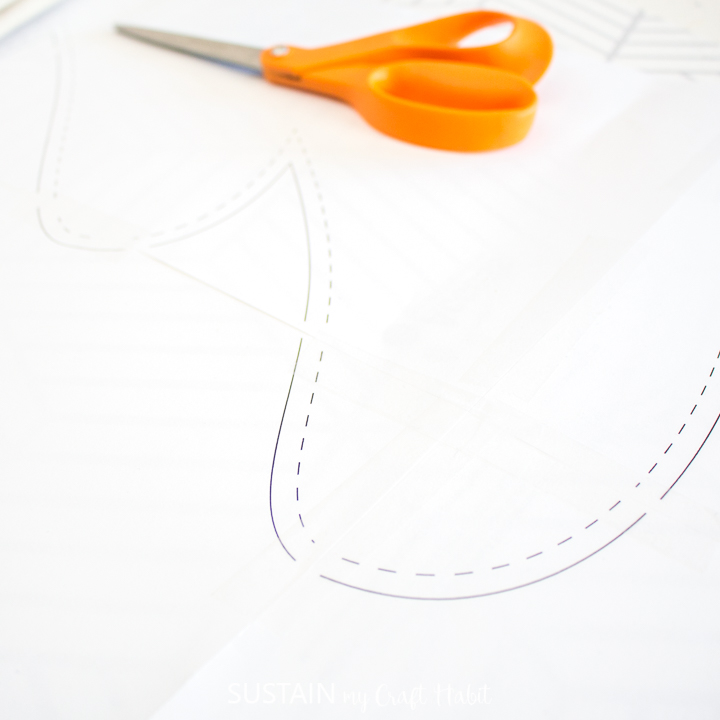
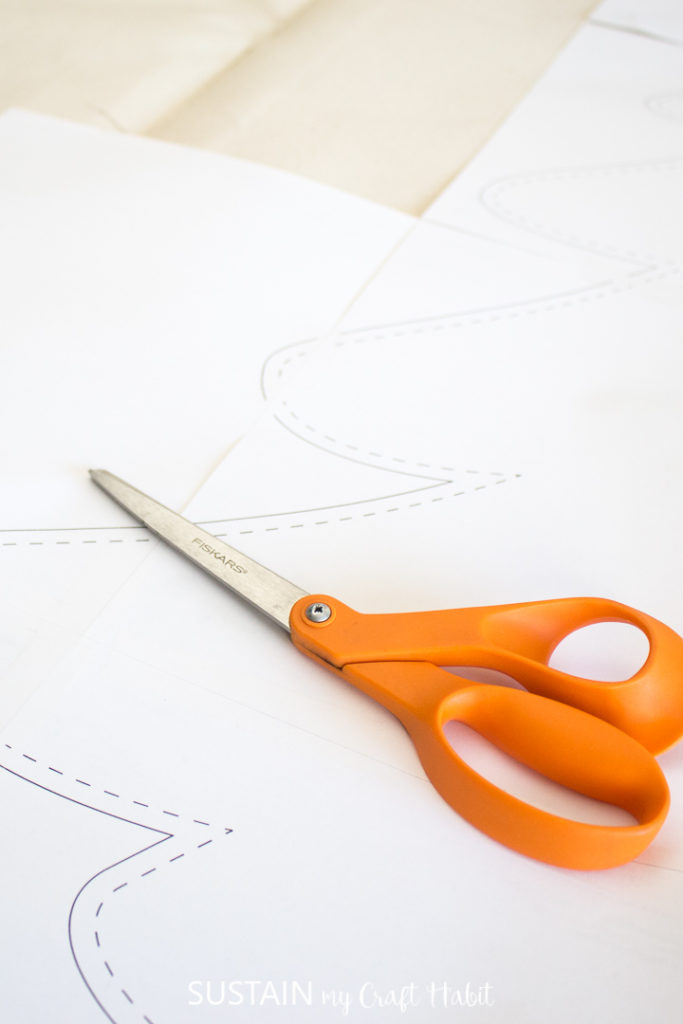
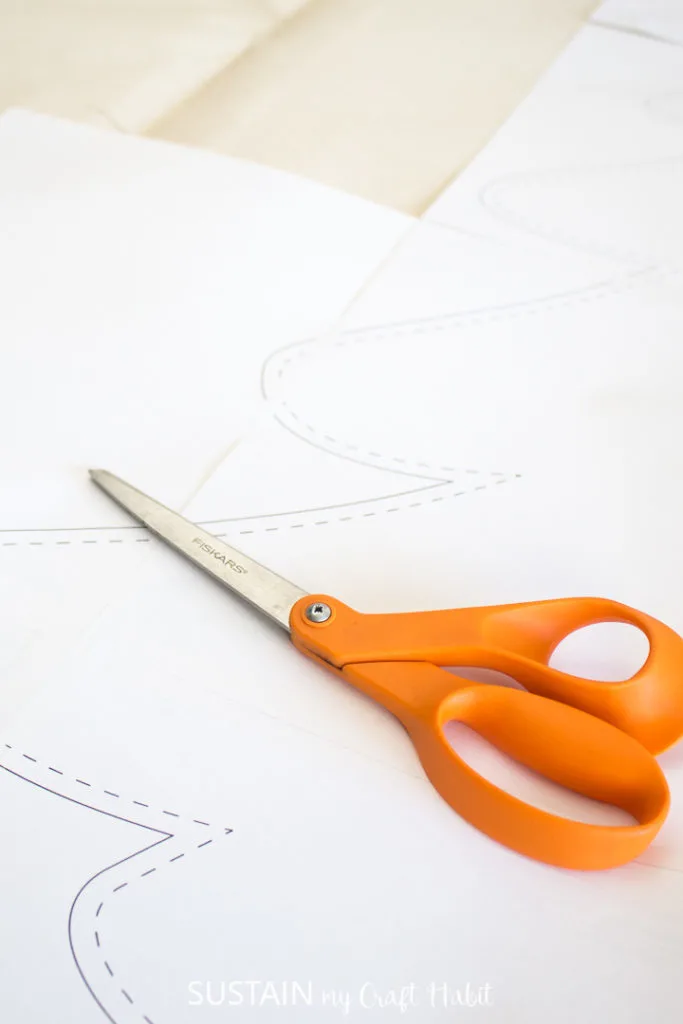
Print off the Christmas Tree pattern on 9 sheets of 8.5×11 paper. Align the paper edges and tape the pieces together as shown. To save on paper, the pattern only prints one side of the tree with the fold line down the center of the tree.

Before you start, try to get rid of any wrinkles or creases in the fabric. Use a high temperature setting on your iron with steam to remove the deep creases as best as possible.
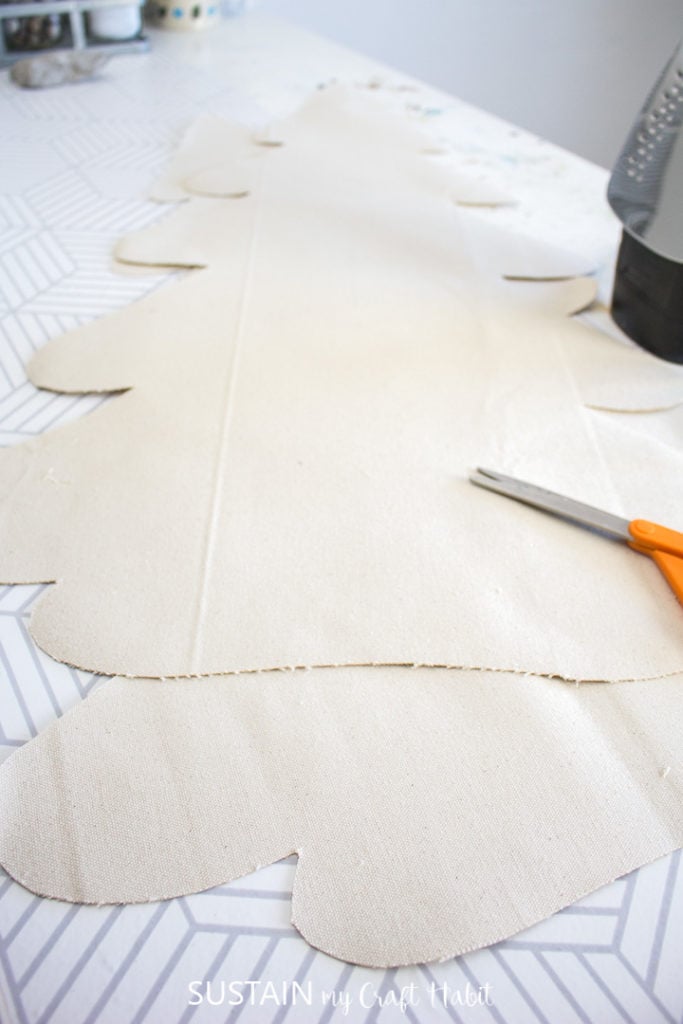
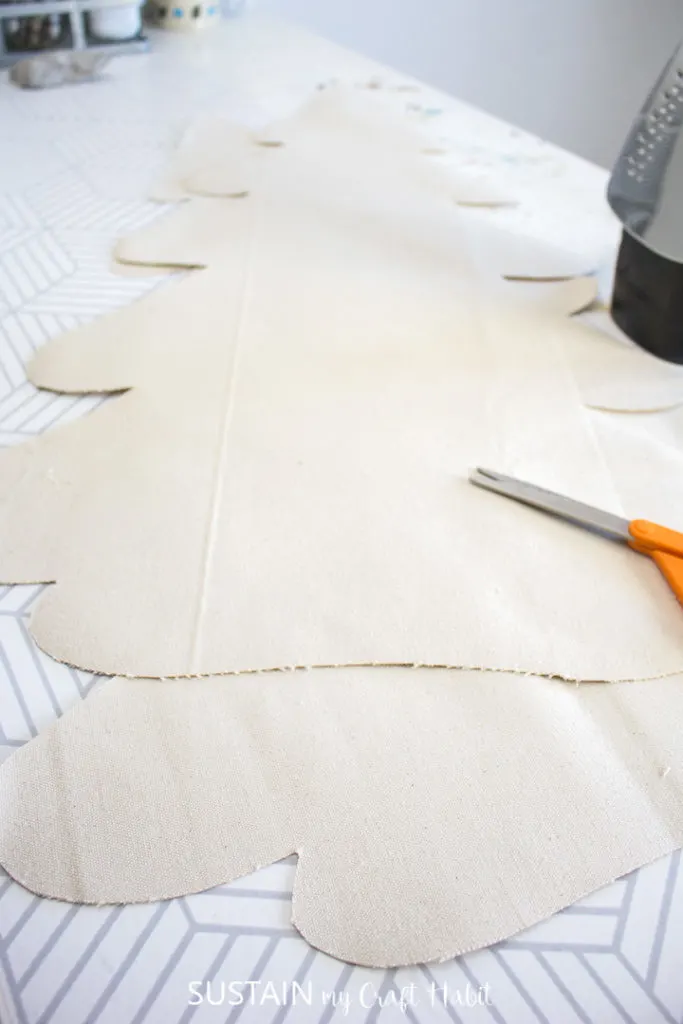
Lay the canvas fabric out on a flat surface and fold in half widthwise ensuring the grainline of the fabric is straight. Place the pattern on top of the fabric aligning the center fold line of the pattern with the centerfold of the fabric. Since we’re using a really heavyweight canvas, I used rocks as paperweights to hold pattern in place instead of pinning.
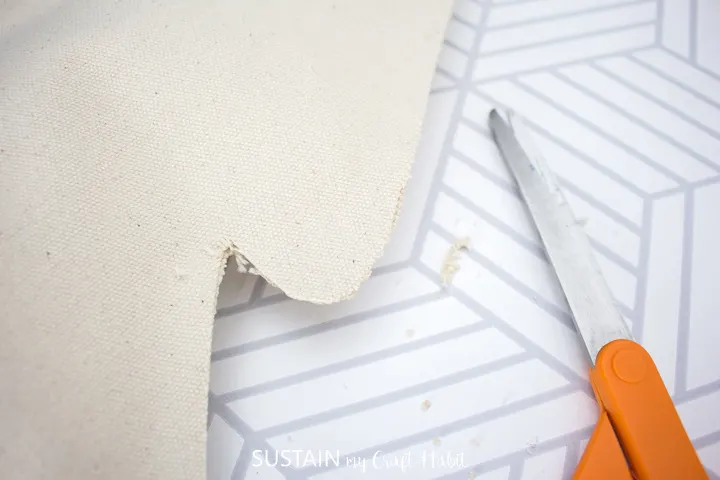
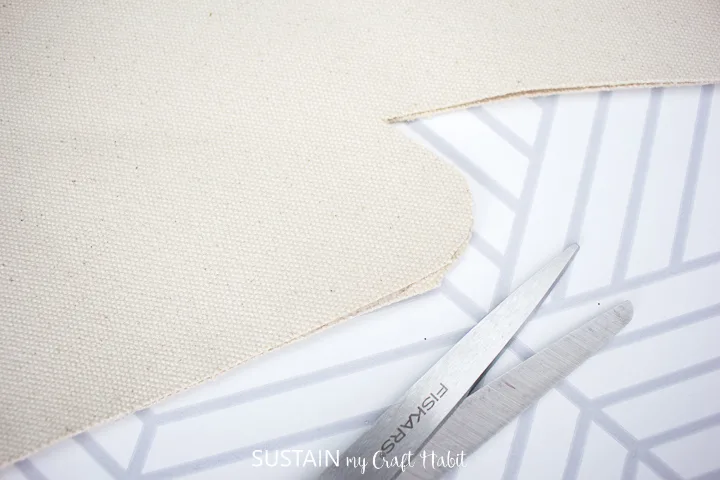
Cut the tree out along the solid line using a good pair of fabric scissors. If you find the fabric is too thick to cut two layers at one time then cut one side of the tree at time to reduce the cutting layer in half.


Cut two identical pieces of the tree pattern.
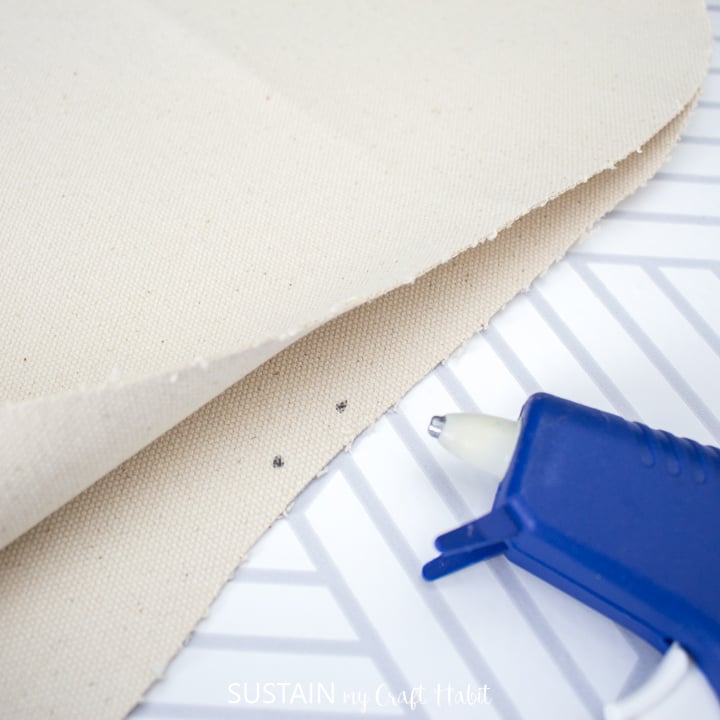
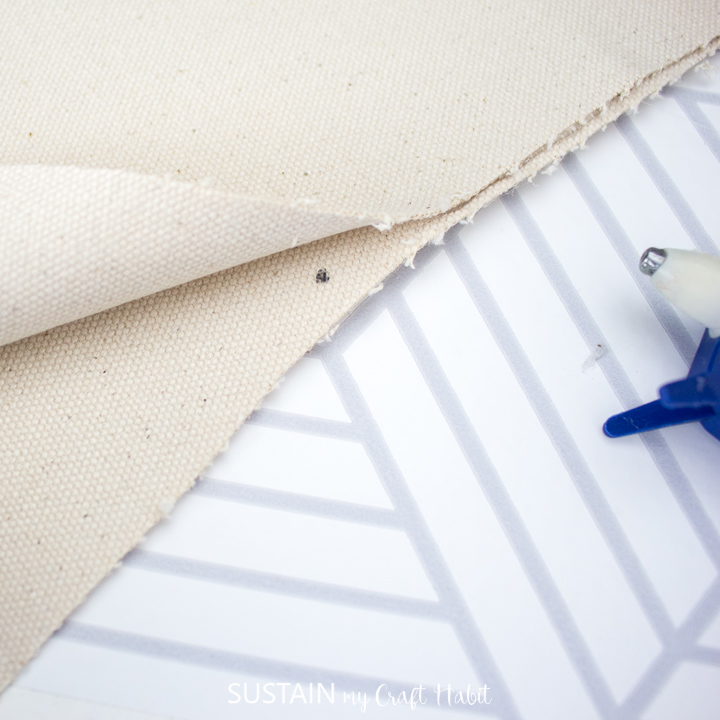
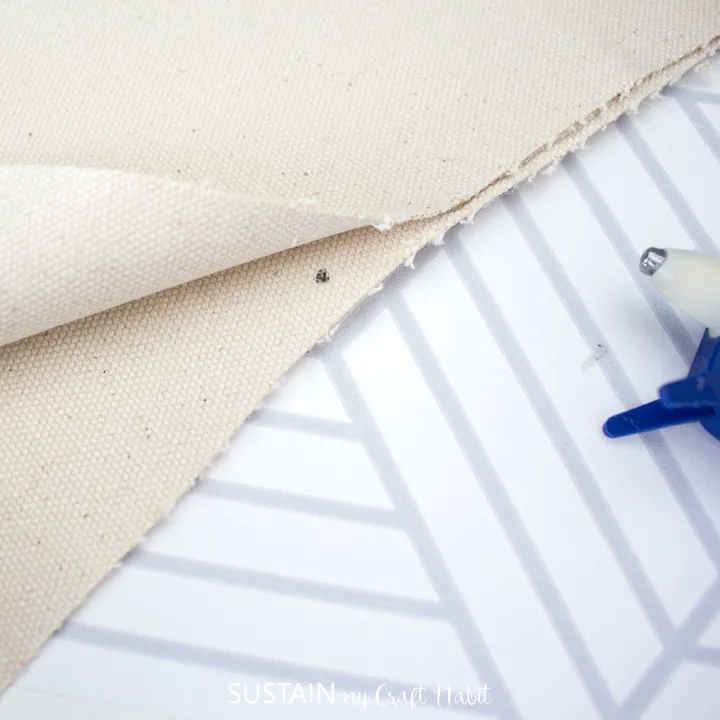
Mark the small dots on the wrong side of the tree with a pencil. These dots mark the start and stop points when assembling (glueing).

Assembling the Canvas Tree
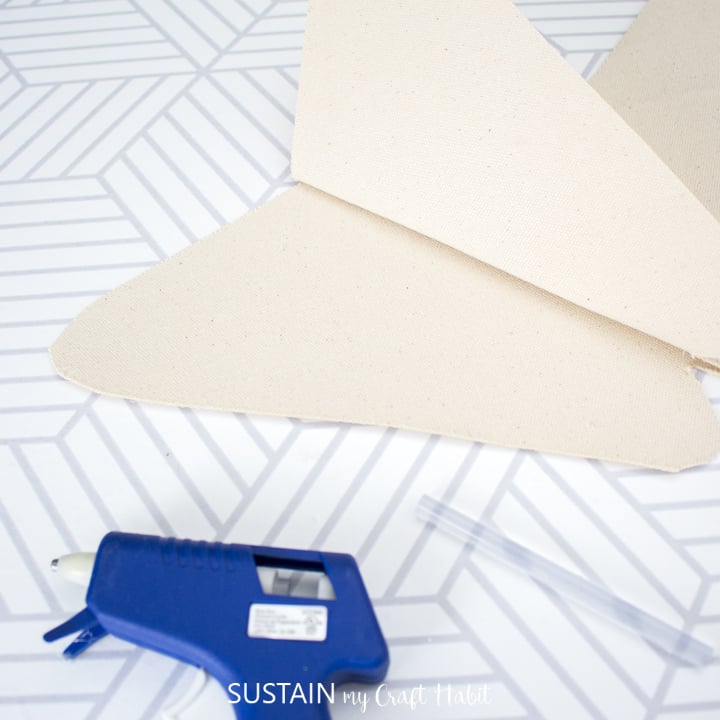
Preheat a hot glue gun.
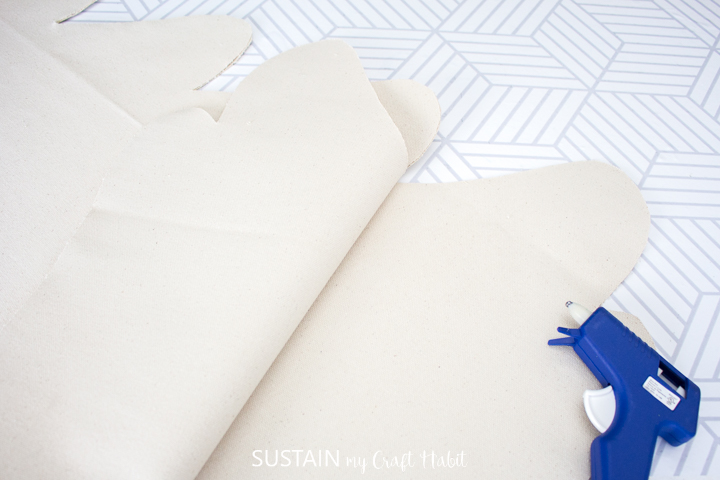
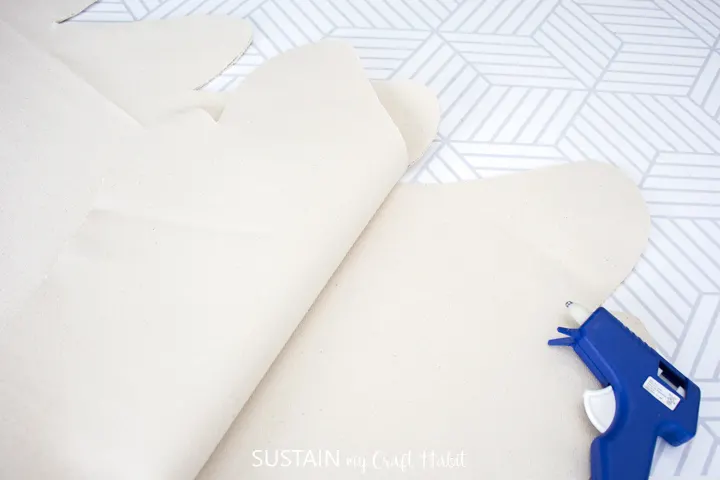
Begin at the top of the tree, working one tier at a time and work your way down to the bottom.
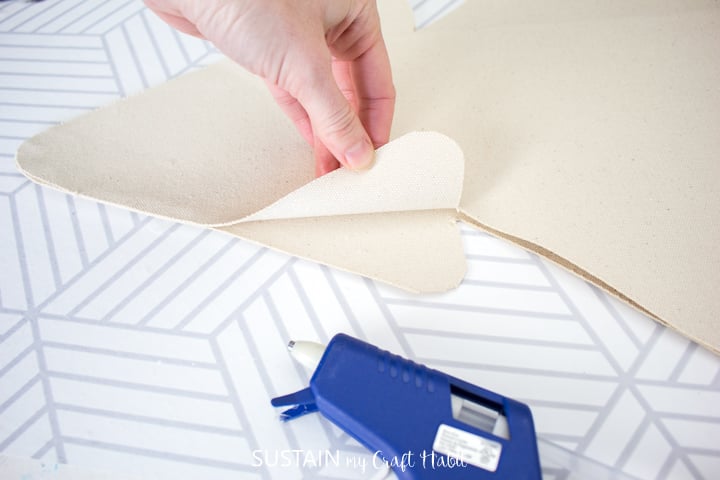
With WRONG sides of the tree pieces together, apply a bead of glue along the inner edge of the bottom tree piece. Hot glue dries quickly so work small sections at a time.

Apply a good amount of glue to the very top of the tree.
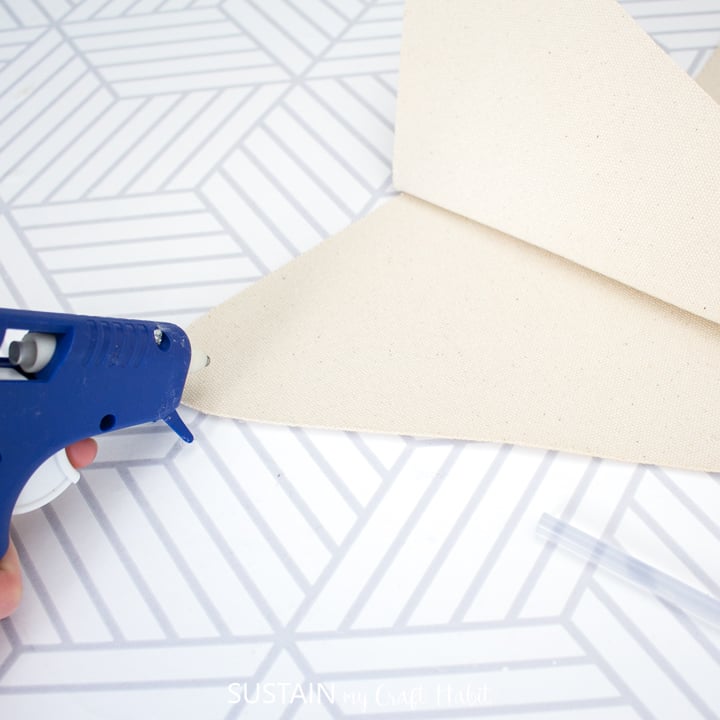
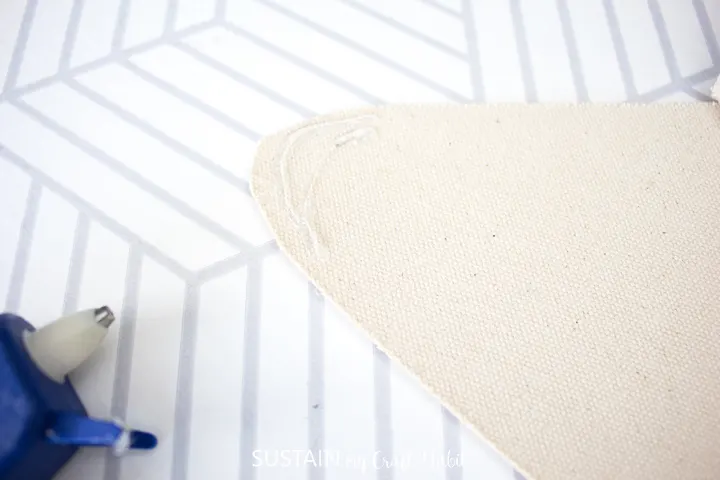
Press the top tree piece down onto the glued area and hold until glue sets.
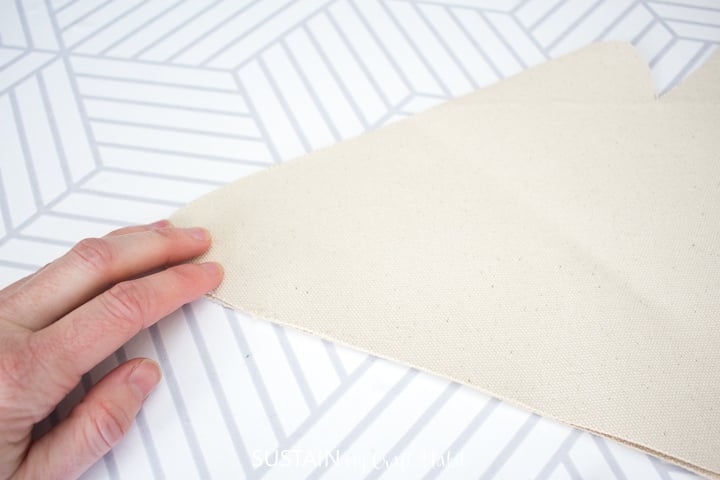
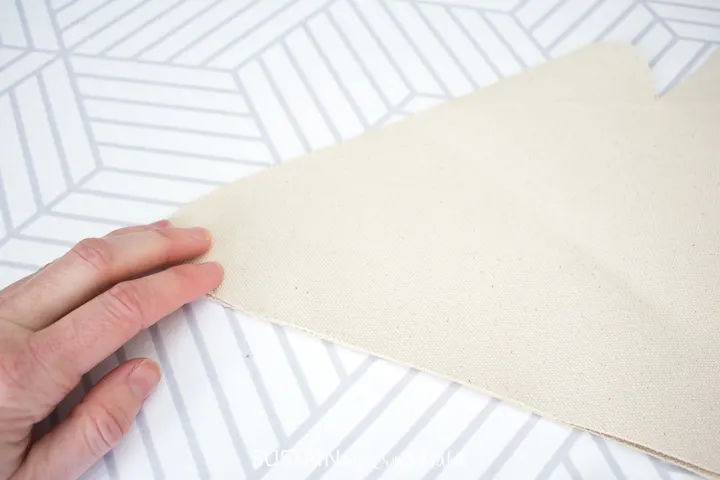
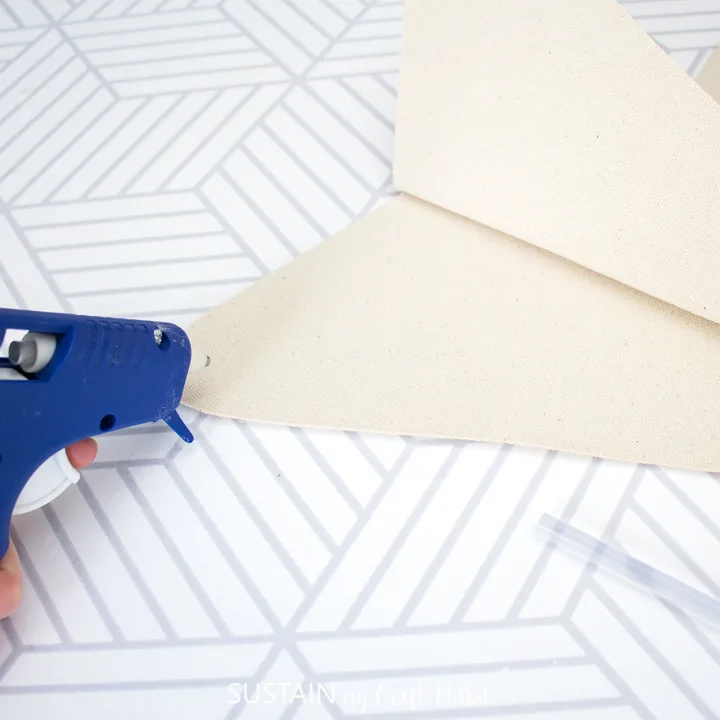
Continue working small sections at a time until the top tier is completely glued on both sides.


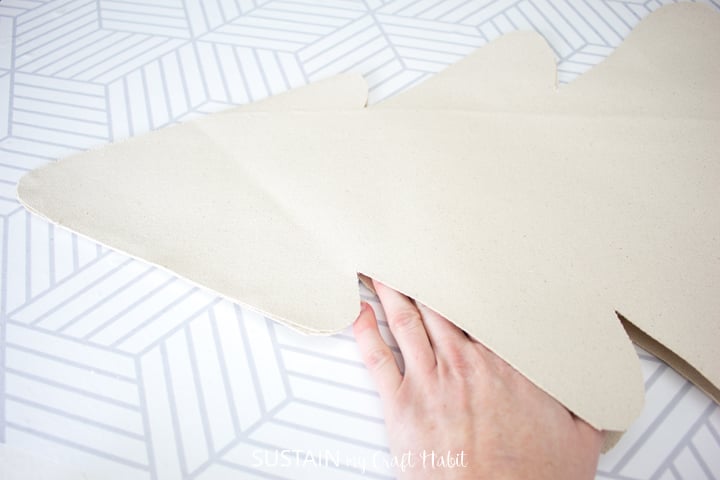

Once both sides of the top tier are glued together, move on to the second tier, then the third and so on until you reach the bottom tier.

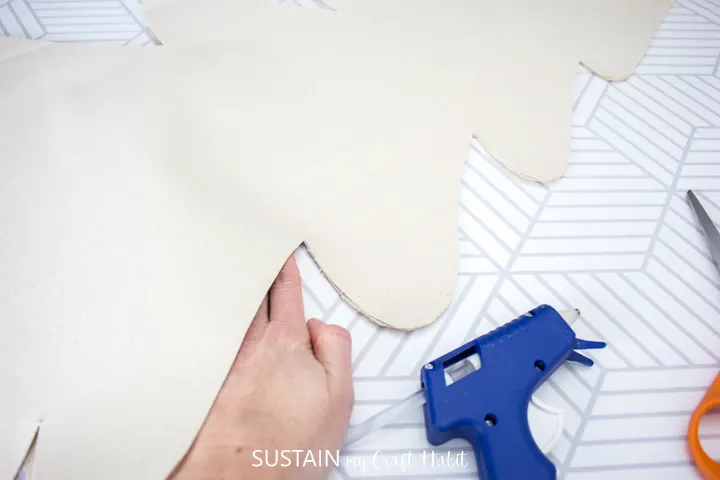
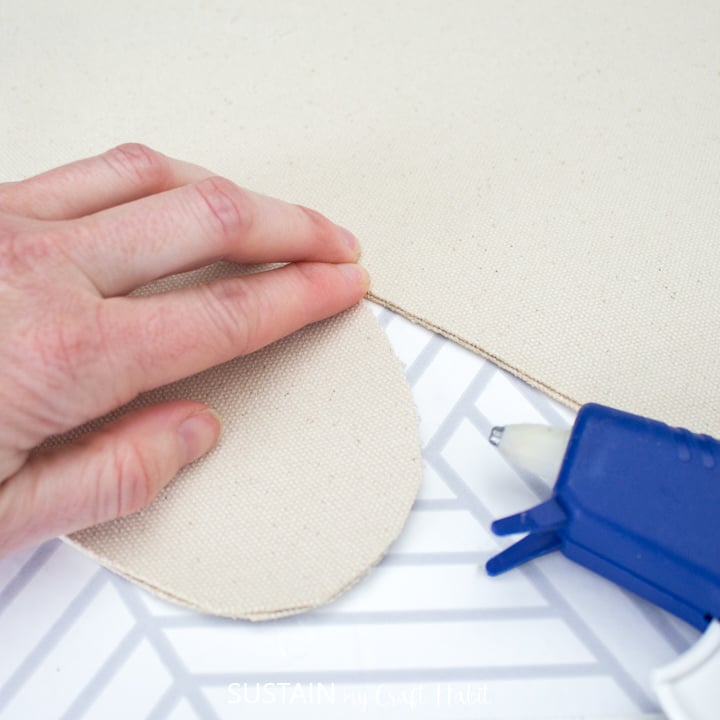

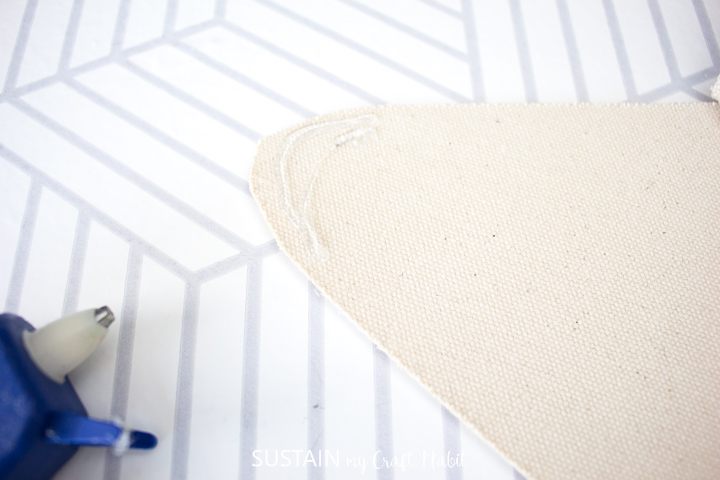
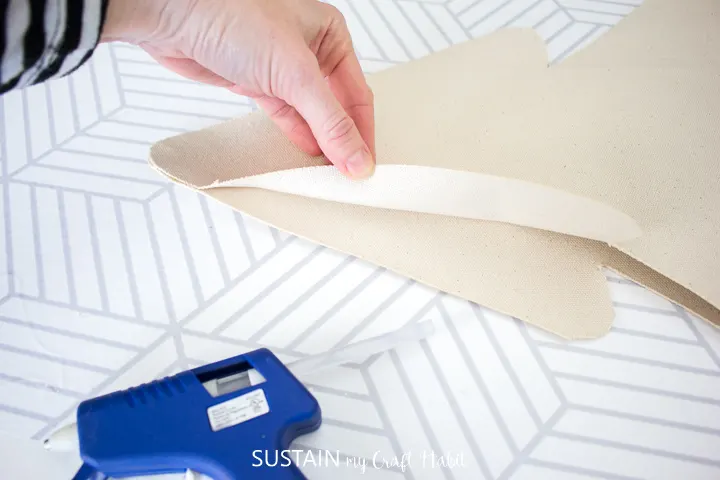
At the bottom tier, glue each side just until you get to the small dot. Leave an opening at the bottom large enough for the wooden dowel to be inserted.


Trim any fraying or uneven edges afterwards and use a lint roller (or strip of packing tape) to remove any loose pieces.


Finishing
Drill a hole in the center of the 4×4 post that matches the size of the wooden dowel. Insert the dowel into the post so that it is secure.
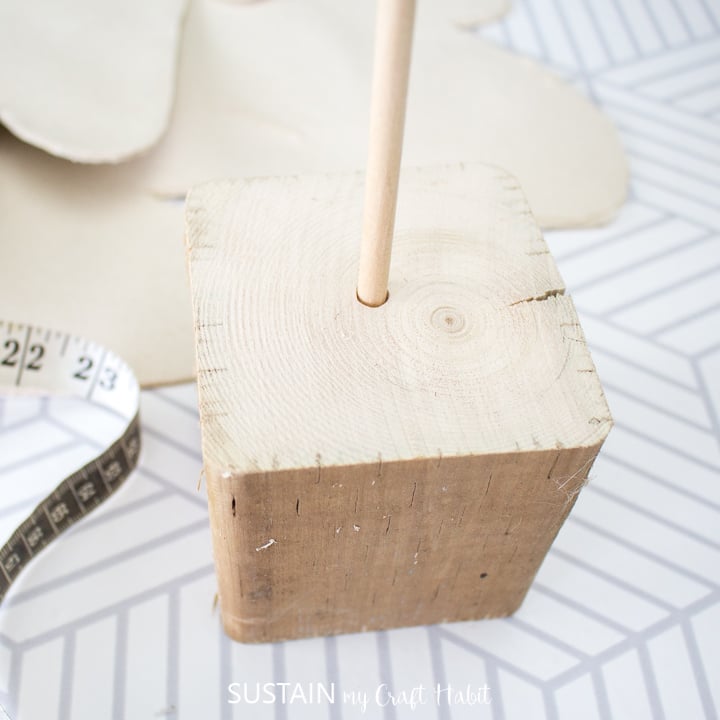

Next, insert the top end of the dowel into the small opening of the glued tree and push it all the way to the top of the tree.
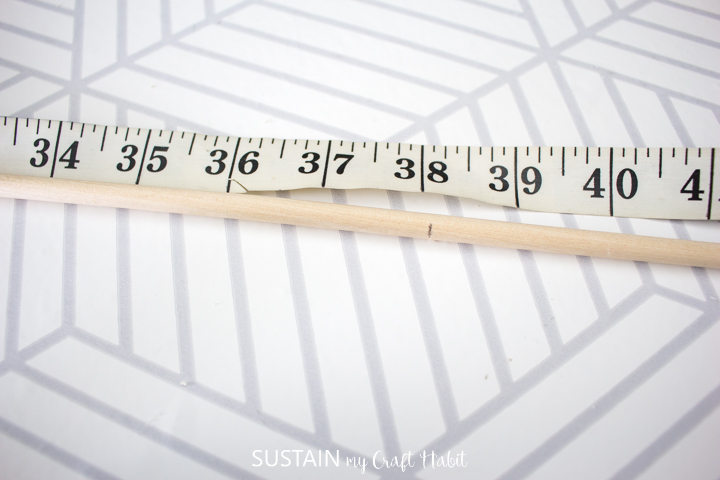
Check the length of the wooden dowel. You can adjust the length of the wooden dowel if you like but a length of 36″ to 38″ is a good place to start. Depending on the amount of glue at the top of the tree as well as how deep of a hole you drill into the 4×4 block will determine the length needed for the wooden dowel.

Place buttons randomly on one side of the tree or both sides if desired. We left one side plain to have a simpler Christmas tree decor option later.
Using your hot glue gun, bad a bit of the glue to the back side of each button and press them on to the fabric to secure.

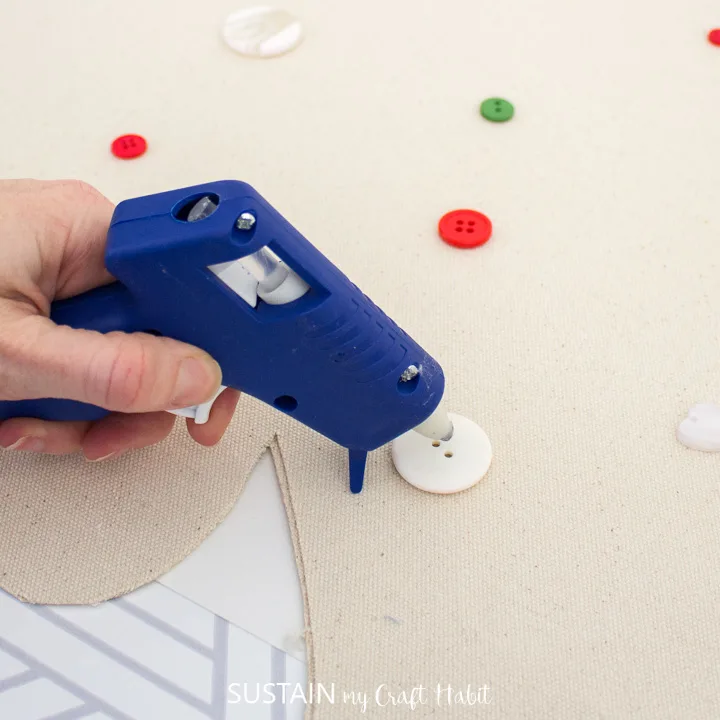

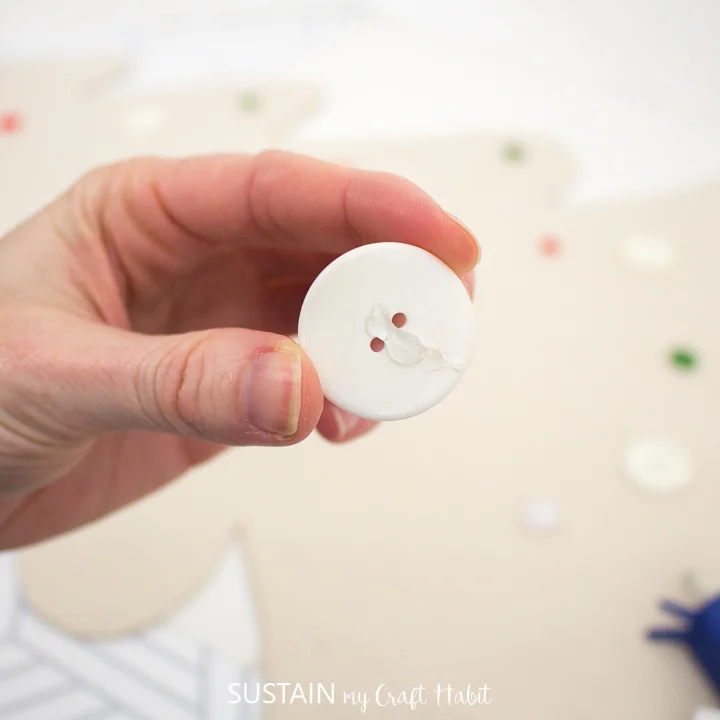
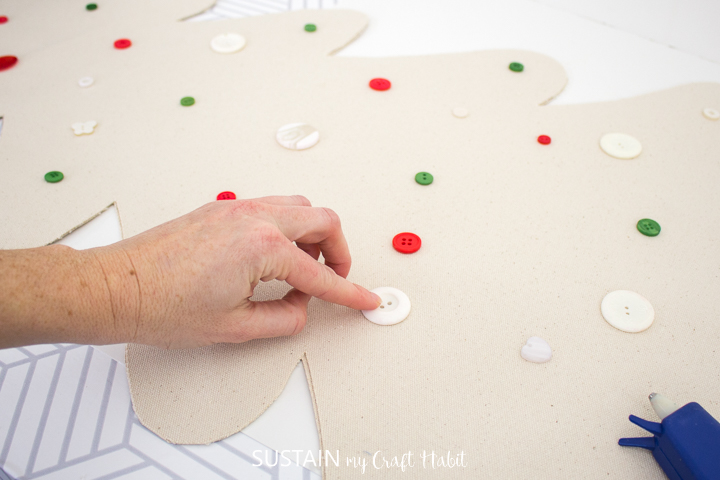
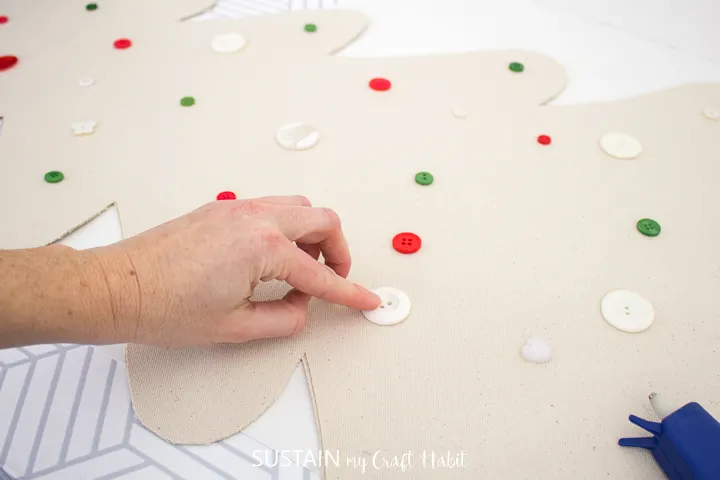
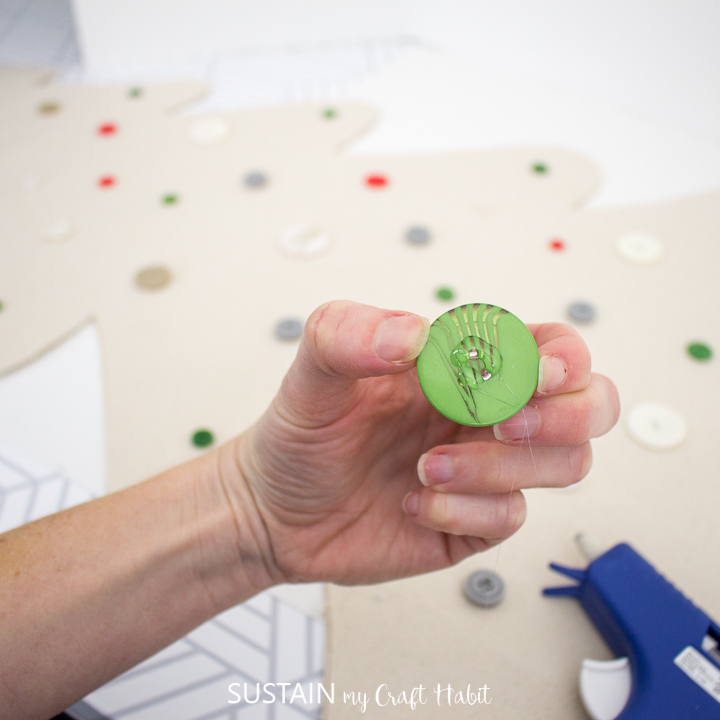

If you want to be able to hang mini ornaments off the buttons, then make sure to only apply a small dab of glue in the center so the ornament hanger can fit in behind.


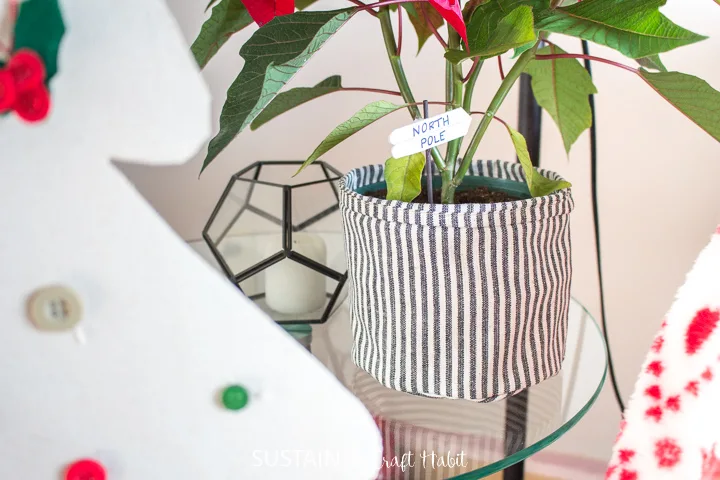
With that, your no-sew canvas DIY Christmas tree is complete!


Additionally, the tree is easy to store after the holidays. Simply remove the dowel and roll up the canvas tree until next year.
Did you know that CanvasEtc. offers their fabric remnants for free! Just pay a nominal shipping fee for a 5lb box of remnants for your DIY and crafting projects!

More DIY Christmas tree decor ideas:
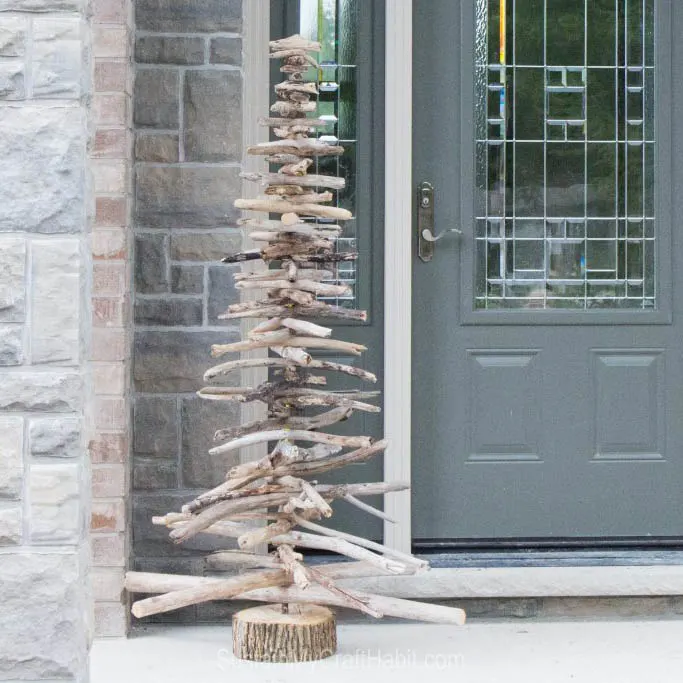
We have plenty of Christmas tree crafts here on the blog, check out our mini 3D felt trees, this DIY driftwood tree and our driftwood tree ornaments and if you’d rather buy than make, we also have tabletop driftwood trees and zero-waste sustainable tree decor in our Etsy shops.


Tabletop Driftwood Trees 

Eco-Friendly Zero Waste Tree Decor 
3D Felt Tree Decor 

Seaglass Trees 

Driftwood Christmas Tree 
Mini Driftwood Tree Ornaments


Like it? Pin it for later!


No Sew Canvas DIY Christmas Tree
Materials
- Heavy Cotton Canvas 1 yard in natural
- 3 ' Christmas Tree printable pattern
- Fabric scissors a good pair of fabric scissors is needed to cut through the heavy canvas
- Hot glue gun and clear glue sticks
- Assorted buttons in traditional Christmas colors
- Wooden dowel ½” x 36” long
- 4×4 Wood post cut to 4” high for the base, pre-drilled in the center to fit dowel
Instructions
Cutting
- Print off the Christmas Tree pattern on 9 sheets of 8.5×11 paper. Align the paper edges and tape the pieces together.
- Before you start, try to get rid of any wrinkles or creases in the fabric. Use a high temperature setting on your iron with steam to remove the deep creases as best as possible.
- Lay the canvas fabric out on a flat surface and fold in half widthwise ensuring the grainline of the fabric is straight. Place the pattern on top of the fabric aligning the center fold line of the pattern with the centerfold of the fabric.
- Cut the tree out along the solid line using a good pair of fabric scissors.
- Cut two identical pieces of the tree pattern.
- Mark the small dots on the wrong side of the tree with a pencil. These dots mark the start and stop points when assembling (glueing).
Assembling the Canvas Tree
- Preheat a hot glue gun.
- With WRONG sides of the tree pieces together, apply a bead of glue along the inner edge of the bottom tree piece.
- Apply a good amount of glue to the very top of the tree.
- Press the top tree piece down onto the glued area and hold until glue sets.
- Continue working small sections at a time until the top tier is completely glued on both sides.
- Once both sides of the top tier are glued together, move on to the second tier, then the third and so on until you reach the bottom tier.
- At the bottom tier, glue each side just until you get to the small dot. Leave an opening at the bottom large enough for the wooden dowel to be inserted.
Finishing
- Drill a hole in the center of the 4×4 post that matches the size of the wooden dowel. Insert the dowel into the post so that it is secure.
- Next, insert the top end of the dowel into the small opening of the glued tree and push it all the way to the top of the tree.
- Place buttons randomly on one side of the tree or both sides if desired.
- Using your hot glue gun, bad a bit of the glue to the back side of each button and press them on to the fabric to secure.