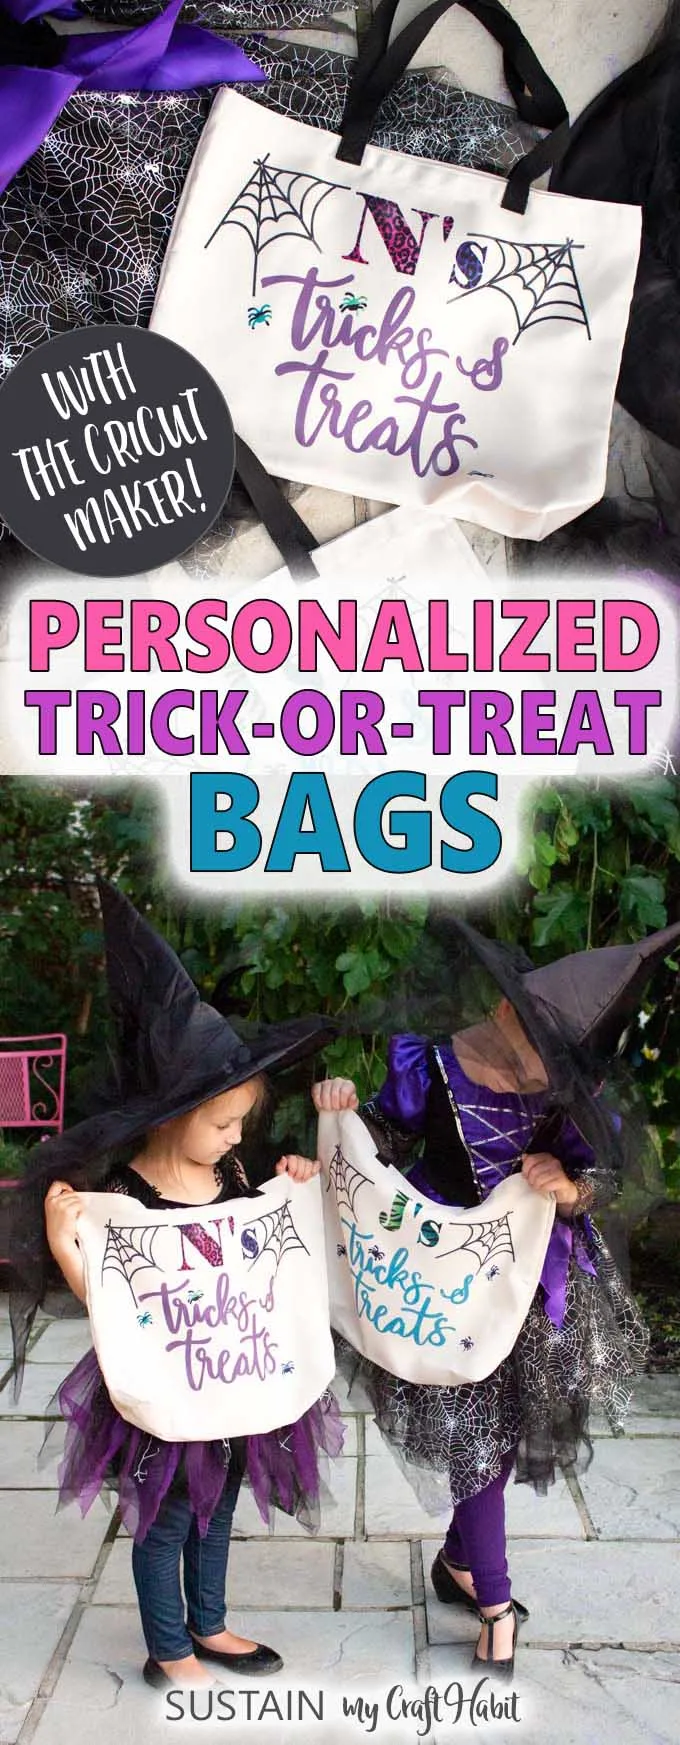
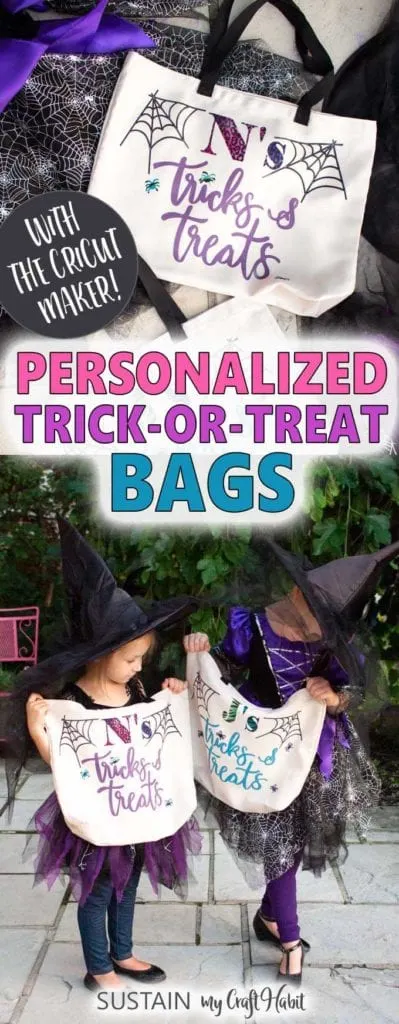
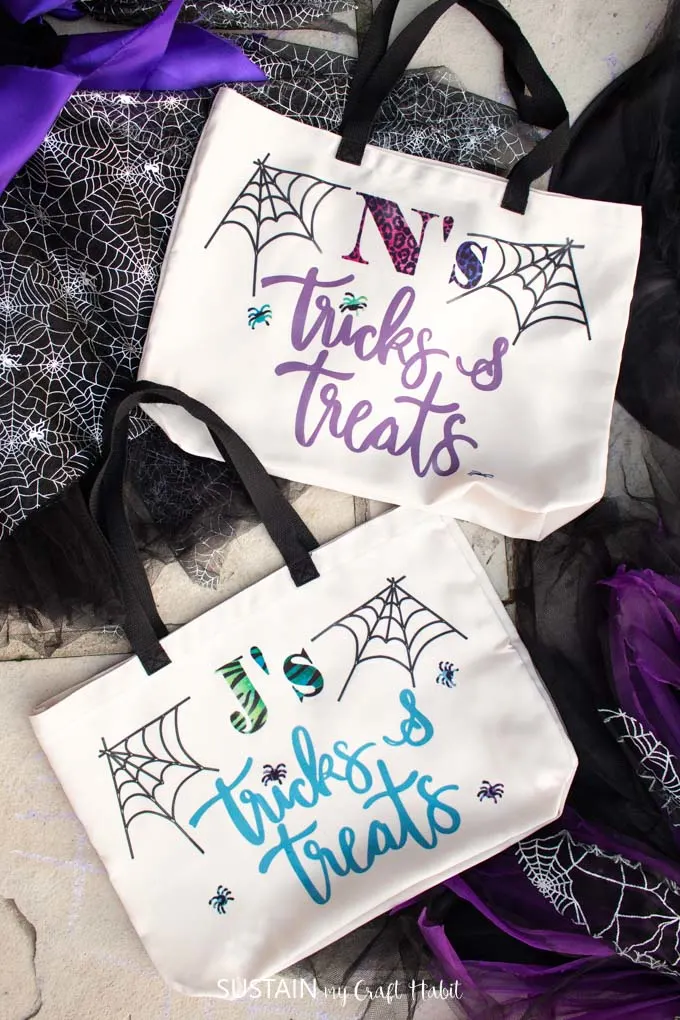
To keep the peace in my house at Halloween this year, I made my youngest girls personalized trick or treat bags using our Cricut Maker, Infusible Ink and tote bags. Now my little monsters are all set for the big night out!
This is a sponsored conversation written by me on behalf of Cricut. The opinions and text are all mine.
Personalized Trick or Treat Bags for Halloween
Halloween gets scary around our home.
Not because of the ghouls and goblins but because my littlest ones always fight over their trick-or-treat bags! They inevitably will argue over which bag belongs to whom.
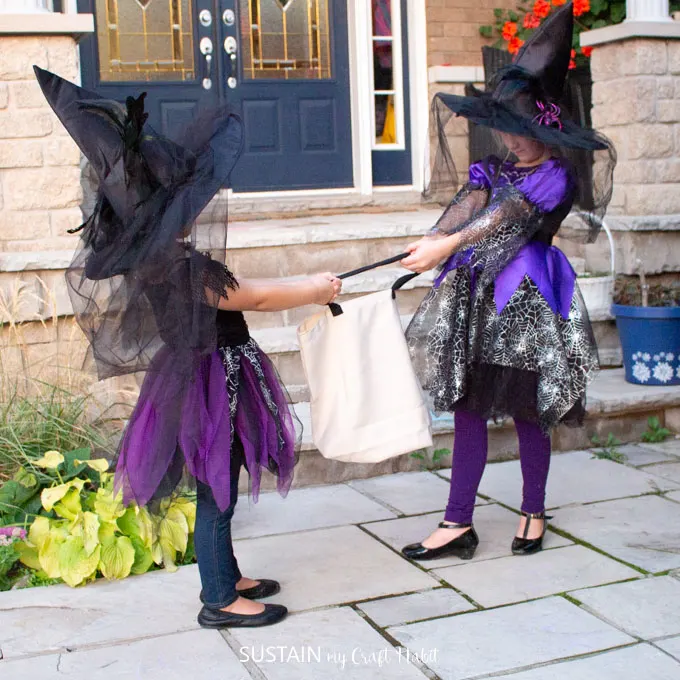
However, this year will be different! I designed these personalized trick-or-treat bags with the first letter of their names so they can easily and quickly identify the owner of all the treats.
The Cricut Maker has been such a great addition to my crafting tool box. I’m still learning about all the creative ways it can be used. So far we’ve made some of my favourite projects using it:
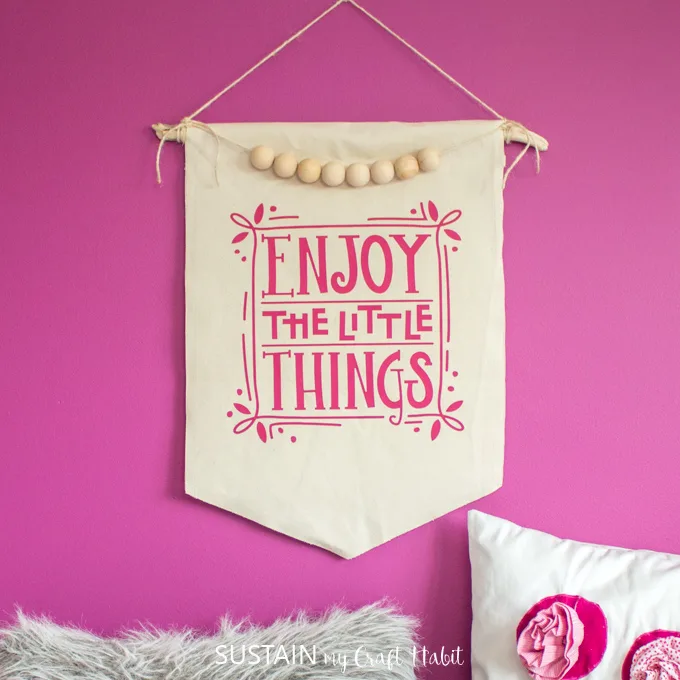
- a gorgeous canvas wall hanging;
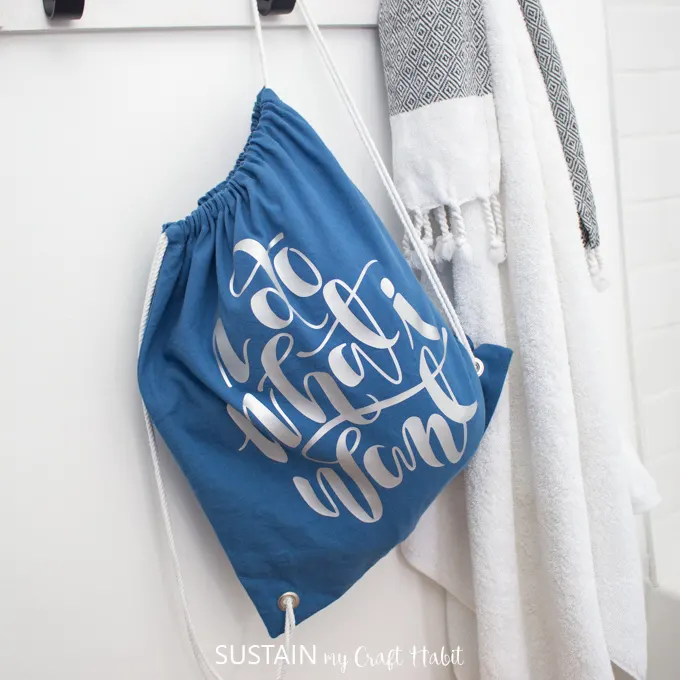
- embellished drawstring bag;
- potted felt succulents;
- personalized back-to-school binders.
Ever since we got a taste of using the Cricut Infusible Ink for our girls’ craft night in, we been itching to use it again! Personalizing some tote bags for Halloween was the perfect opportunity to create with it again.
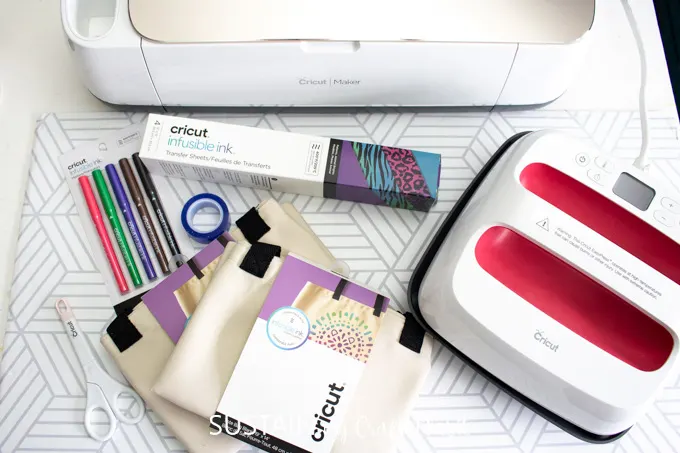
Materials Needed for these Halloween Trick or Treat Bags
To make two coordinating personalized bags you’ll need:
- Cricut Infusible Ink maker – black, 1mm
- Infusible Ink Patterned transfer paper – Animal Brights
- 2 sheets of Copy Paper
- 2 Cricut Infusible Ink Tote Bag, large 14”high x 19” wide
- Scissors
- Butcher paper, cardstock paper
- Cricut Maker
- Cricut Standard Grip Mat
- EasyPress 2
- EasyPress Mat
- Design Space pattern – Personalized Trick or Treat Bags
How to Make Personalized Halloween Trick or Treat Bags Using Infusible Ink on Cricut Tote Bags
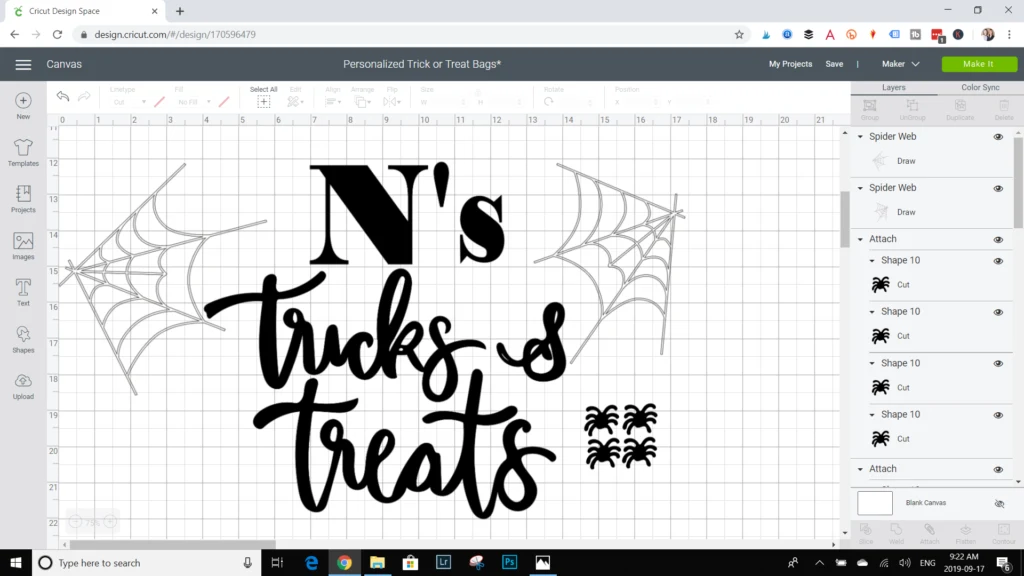
Upload the “Personalized Halloween Trick & Treats Bags” pattern template from Design Space.
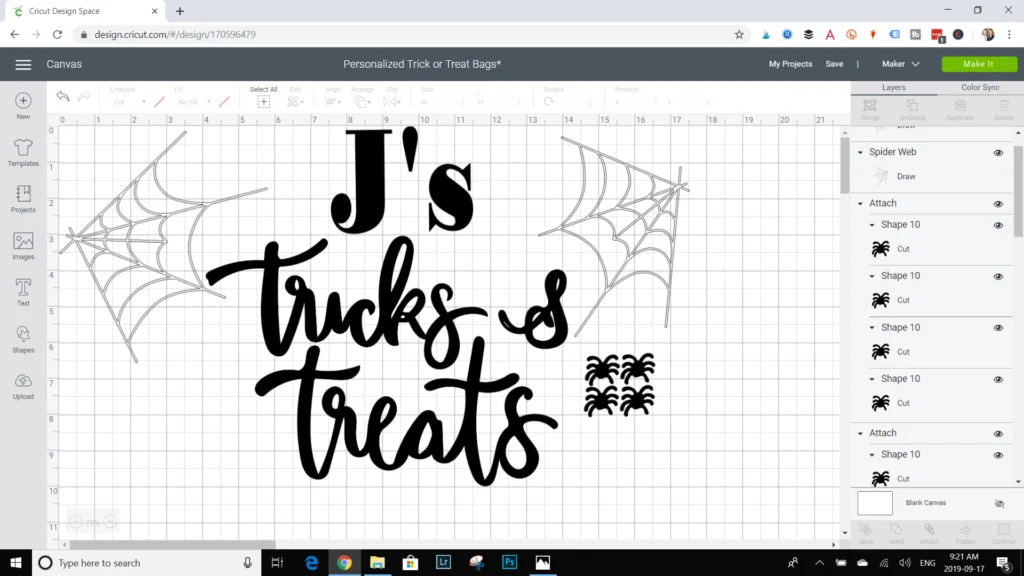
Select Customize in the toolbar to personalize the letters to reflect your little one’s name.
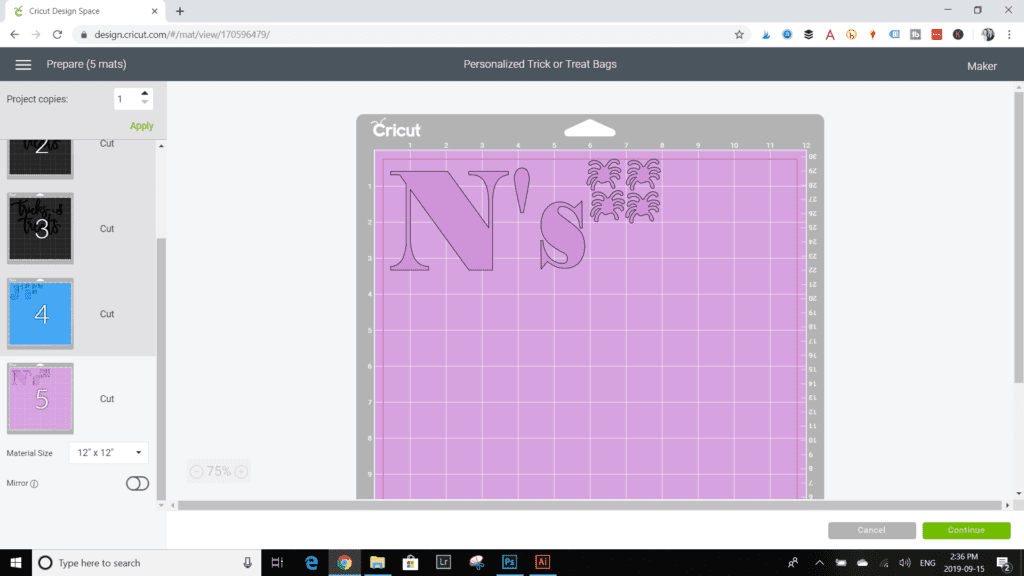
Click on the letters (the “J’s” and “N’s”) and select detach Click on the text box on the left hand side and change out the letter to personalize the design. Once the changes are made, highlight the letter along with the apostrophe S and select the attach button (this will keep the individual pieces together when you move to the next step).
Click on Make It.
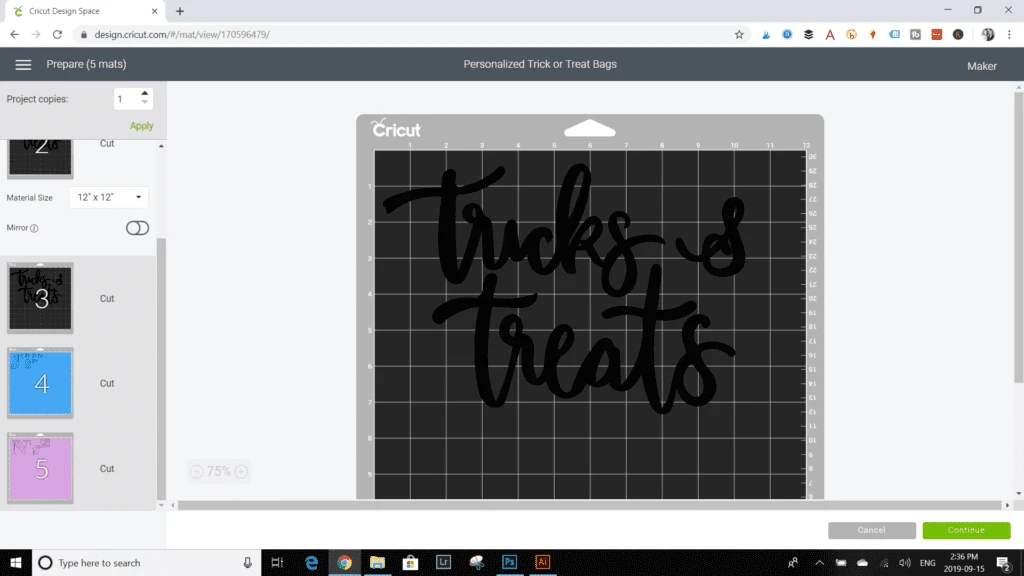
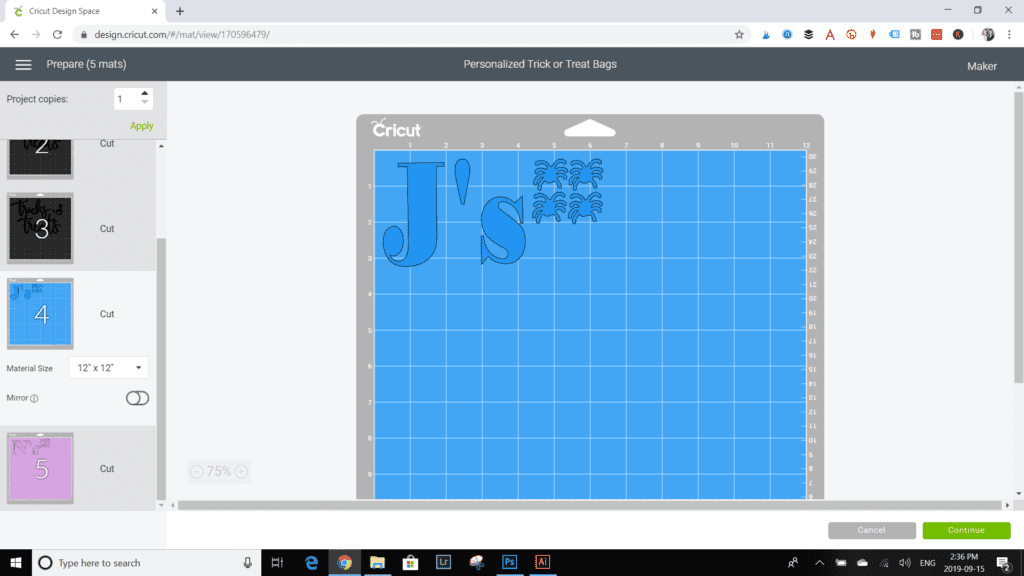
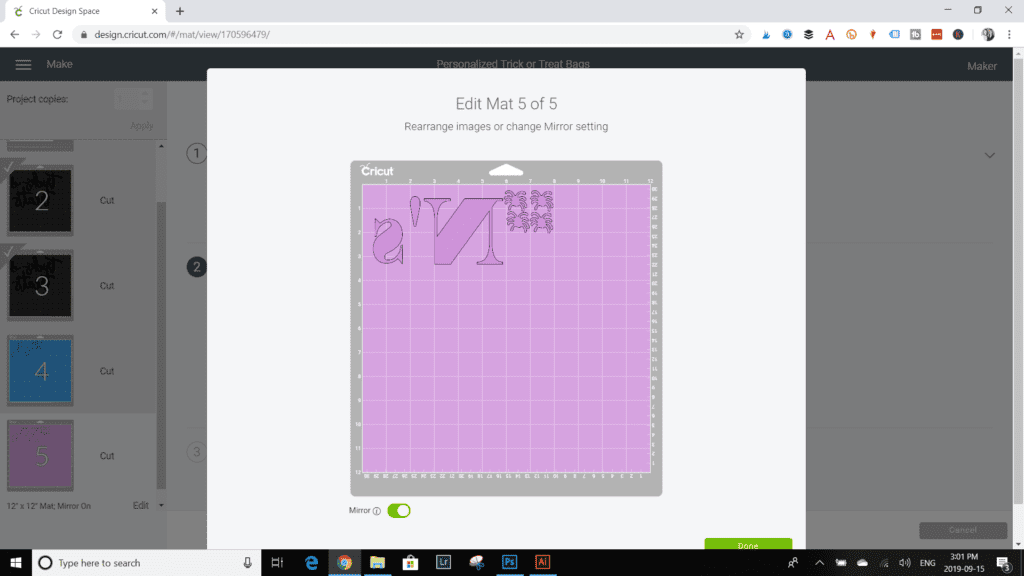
Move the pattern pieces on to different mats grouping them by the colors you want to cut them out in. For example, keep the spider webs together on one mat. Then right click on the “tricks & treats” text and move each one to a different mat. Next, move the personalized letters (in our case, the “J’s” and the “N’s” along with the small spider patterns) to two separate mats.
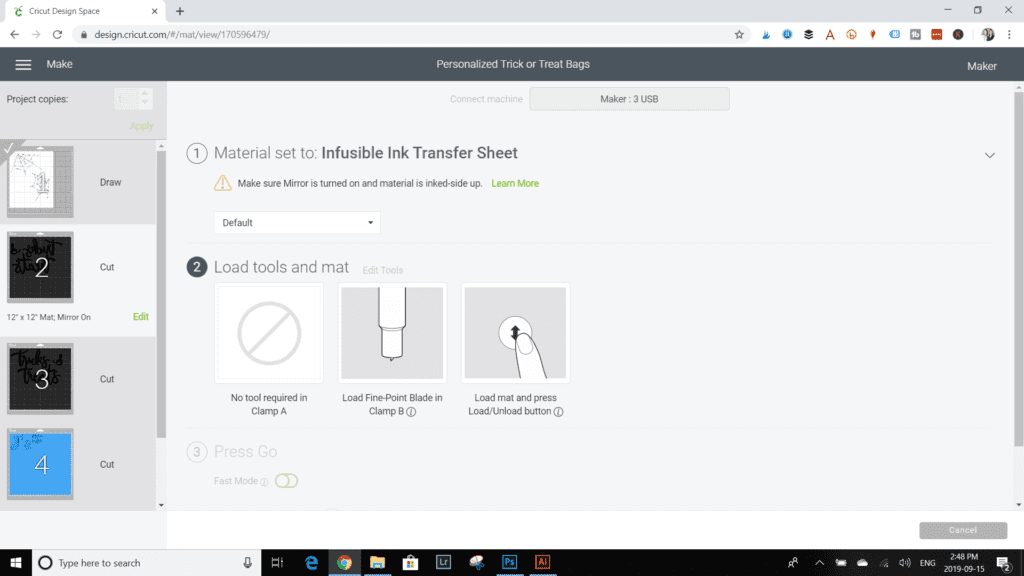
Using the Infusible Ink markers with the Cricut Maker:
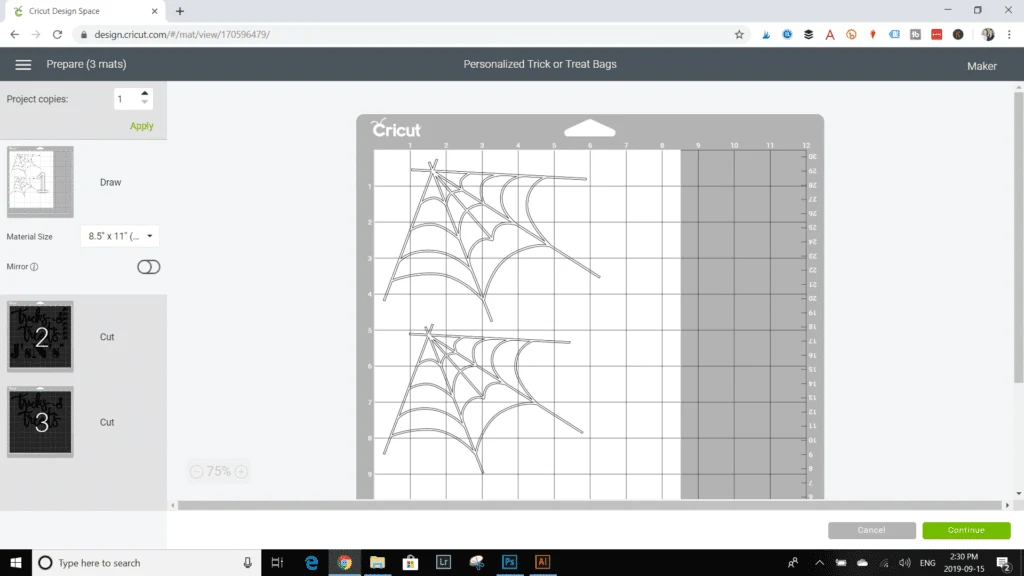
For the spider web patterns on mat 1, adjust the paper size to 8.5 x 11 and rearrange the pattern pieces to fit.
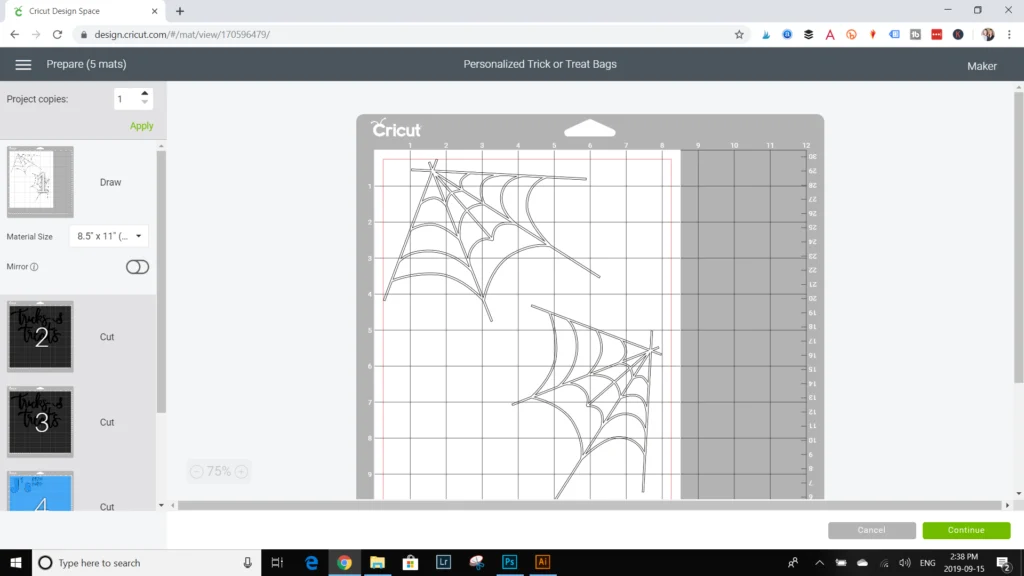
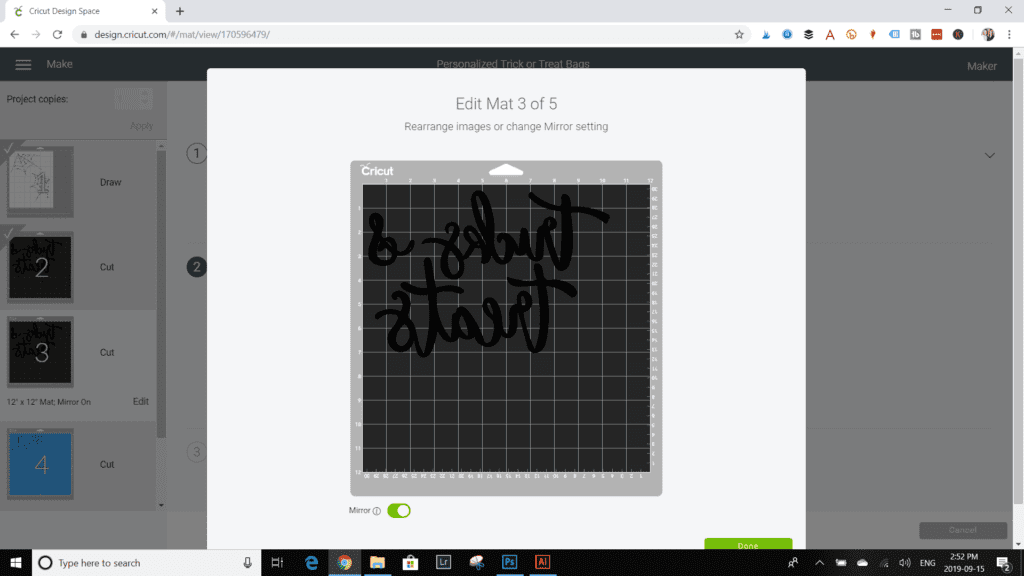
Since the direction of the webs doesn’t make much of a difference, we didn’t select the mirror toggle button but it is a necessary step whenever there is text involved (see more below).
Click Continue.
Set the material option to copy paper.
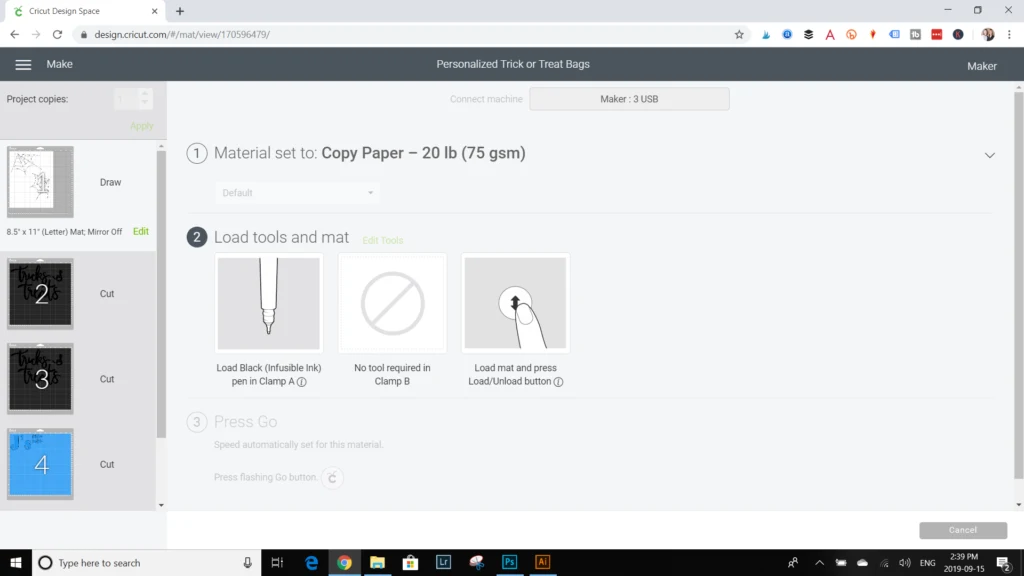
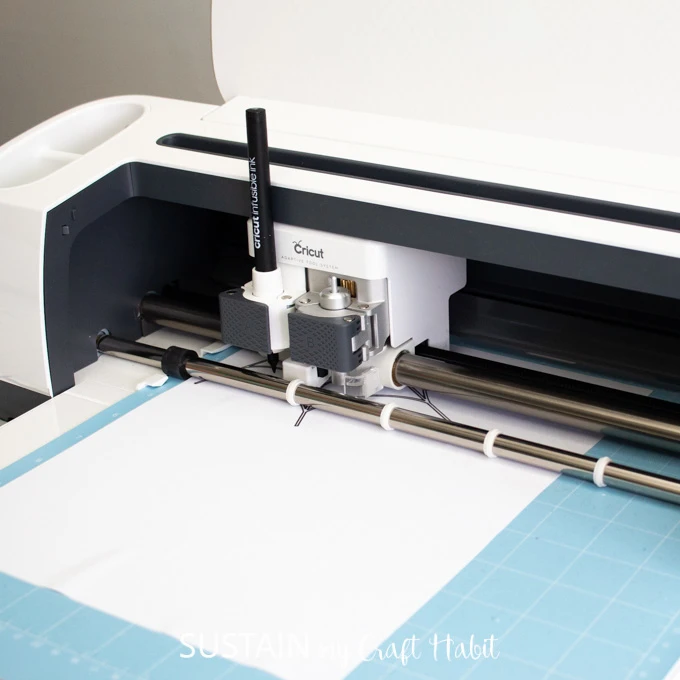
Place a plain sheet of laser ink copy paper on to the standard grip mat. Insert the marker color indicated on the screen in clamp A and upload the prepared mat to the Maker.
Select the start button on the Cricut Maker to begin transferring the spider web design on to the paper.
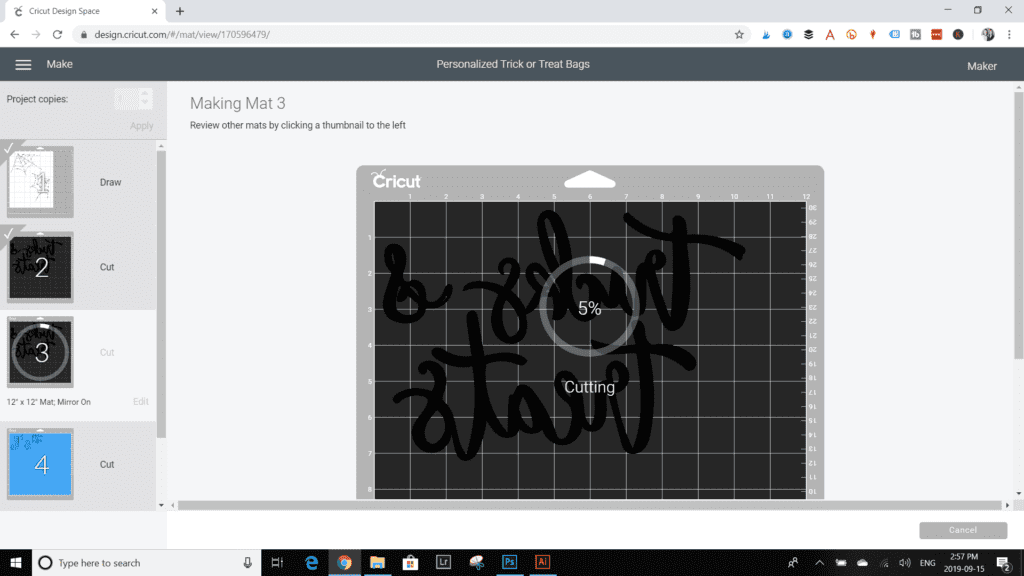
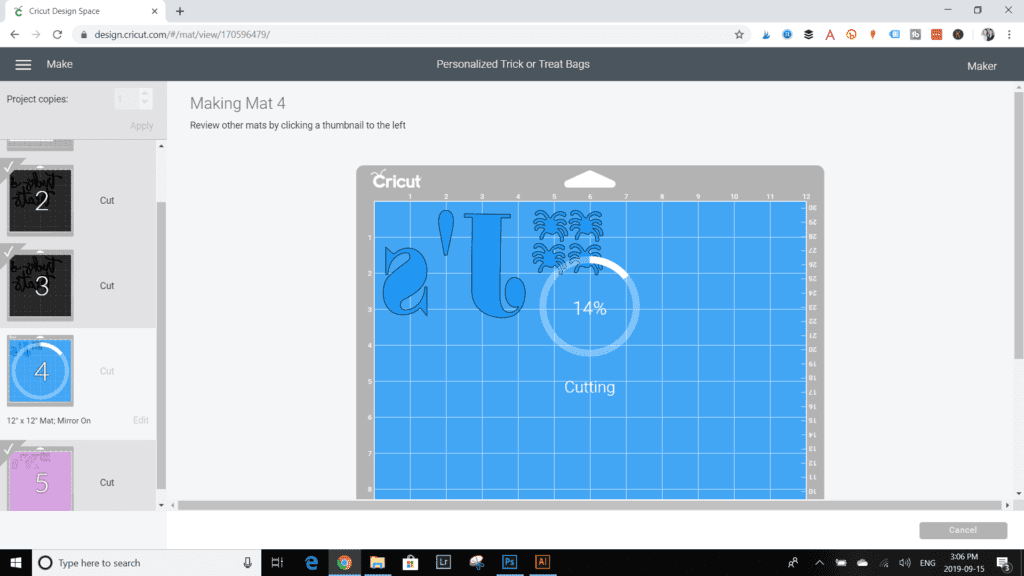
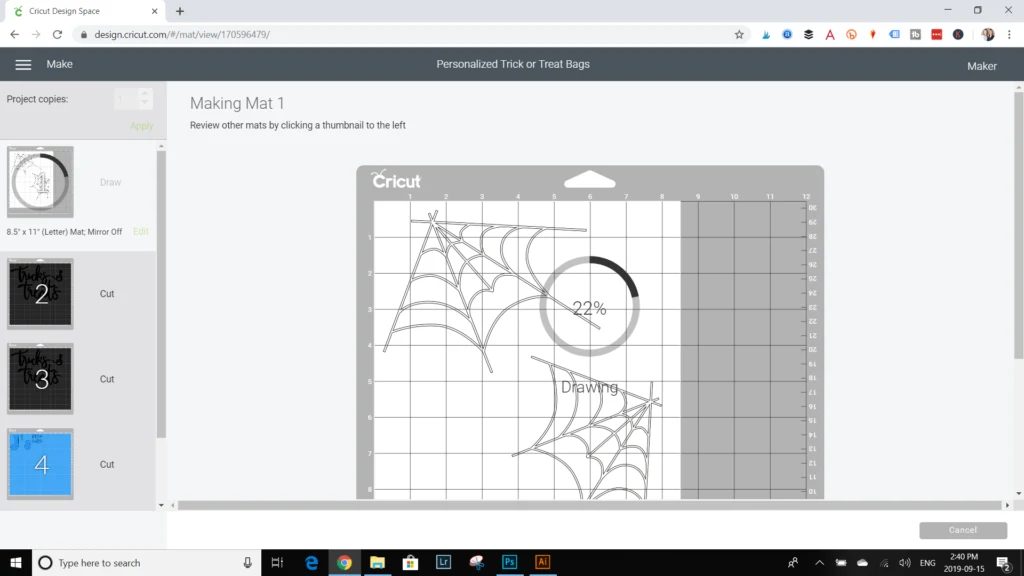
The Cricut Design Space will display the progress of the drawing (as it does with cutting) right there on the screen.
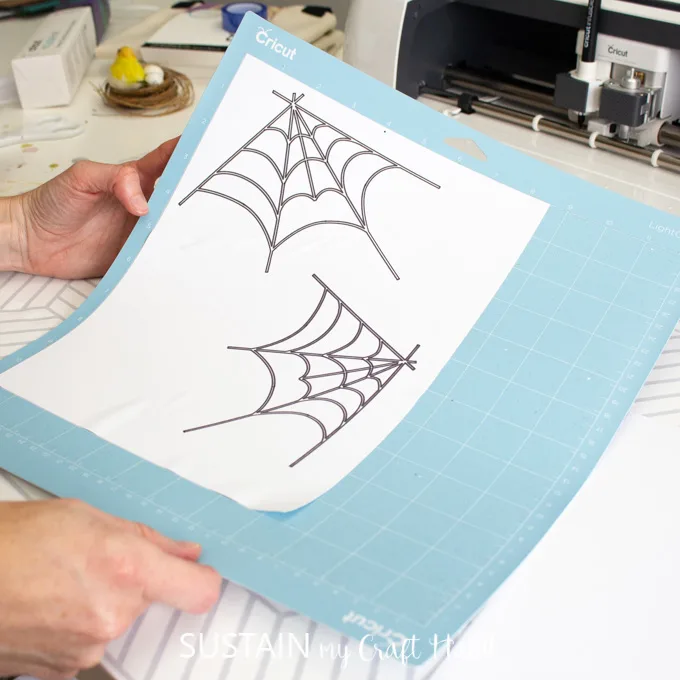
Unload the mat when complete and carefully peel off the copy paper and put aside for the time being.
Cutting out the Infusible Ink Transfer Sheet with the Cricut Maker:
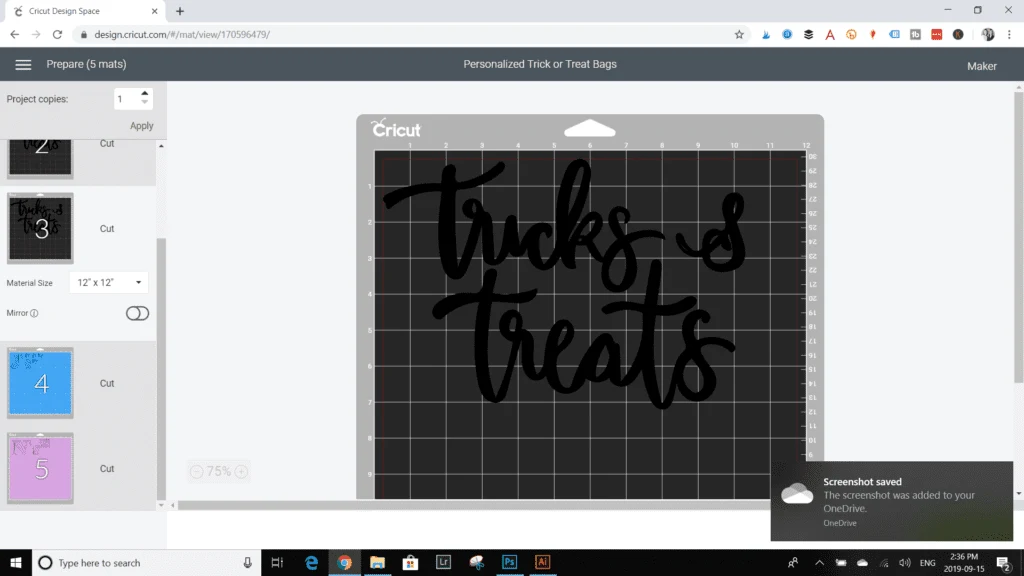
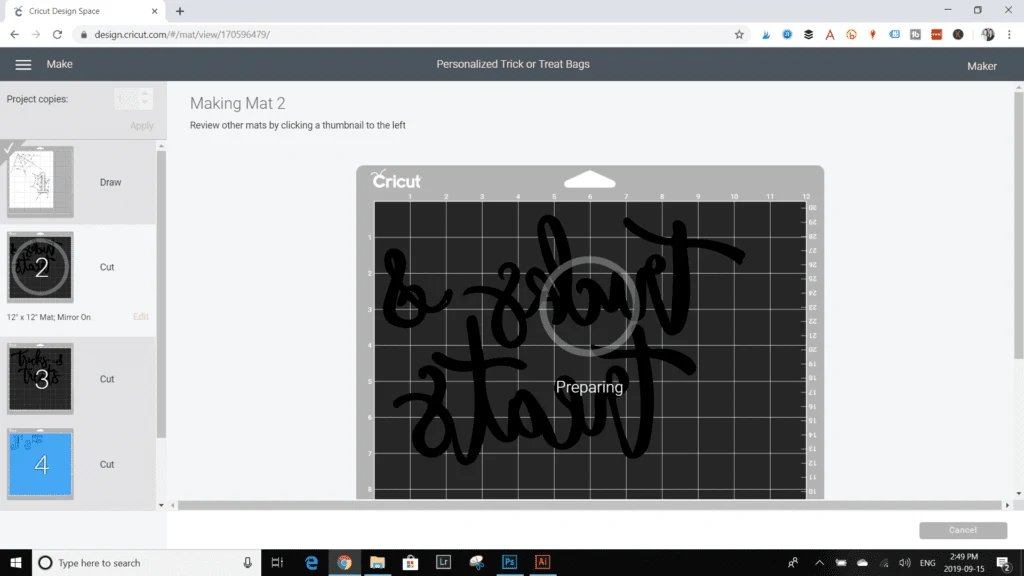
For the remaining pieces that will be cut out on infusible ink transfer sheets, adjust the paper size to 12”x12” on all of the mats. Be sure to turn on the toggle button to flip the text. This is necessary for any designs that will be applied with the EasyPress afterwards AND especially when there is text involved.
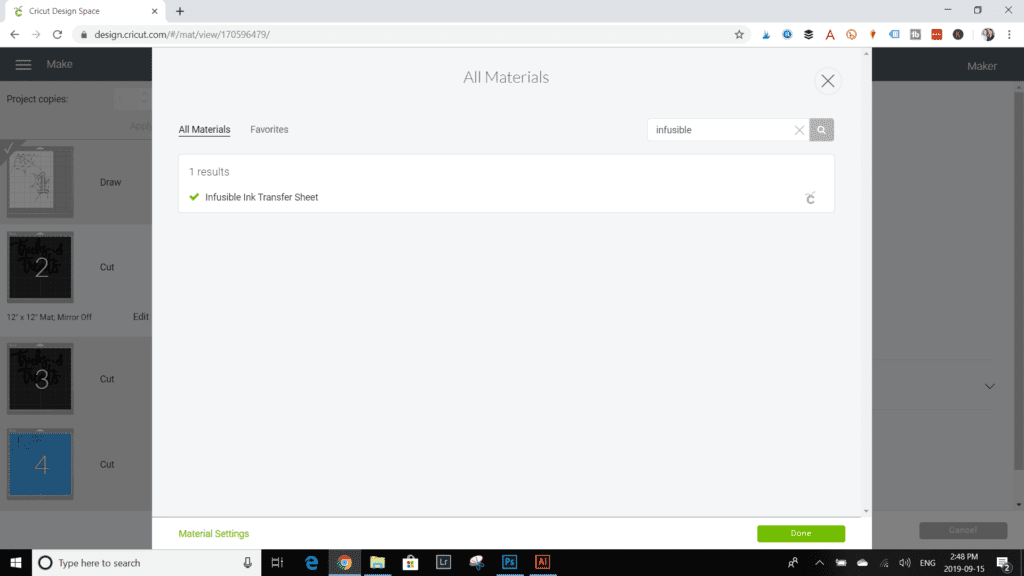
Press Continue. Set the material option to Infusible Ink Transfer Sheet.
Position the desired Infusible Ink Transfer Sheet from the Animal Brights pack on the Cricut standard grip mat with the shiny side facing down.
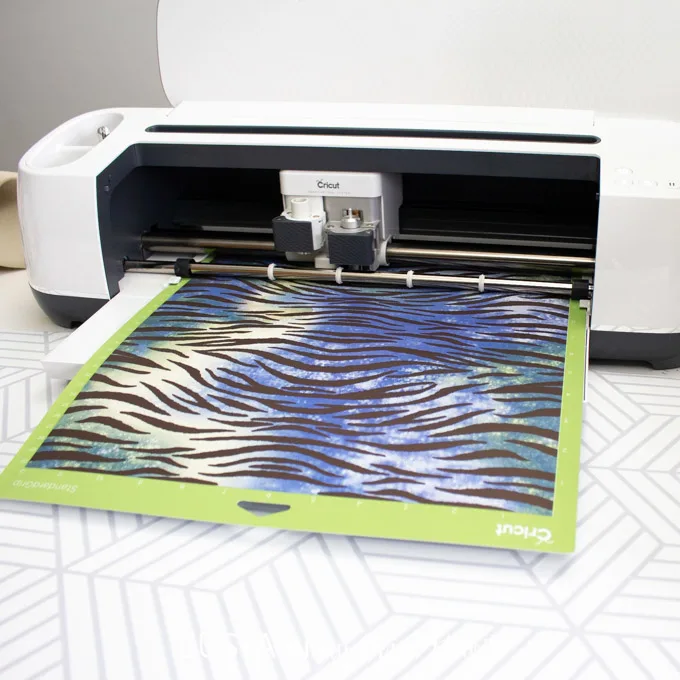
Ensure the fine point blade is inserted in the Maker and load the prepared mat.
In no time at all, the Maker will cut out the pattern precisely and when prompted unload the mat.

Continue with the remaining pattern pieces by following the prompts in Design Space.
Unlike vinyl, there is no need to use the weeding tool with infusible ink transfer sheets. Simply use your fingers to peel away the excess part of the cut design.
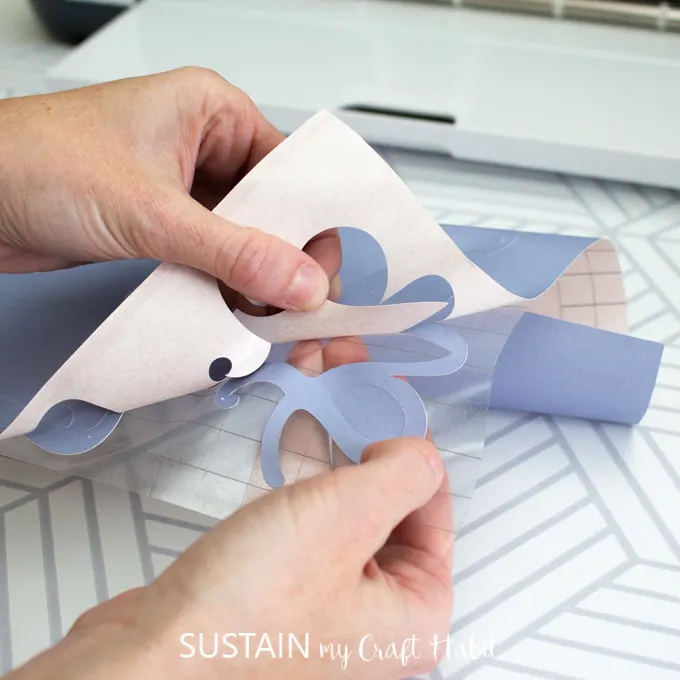
Applying the Infusible Ink with the EasyPress 2:
Now that the personalized design has been cut, drawn and weeded, it’s time to assemble all the pieces together!
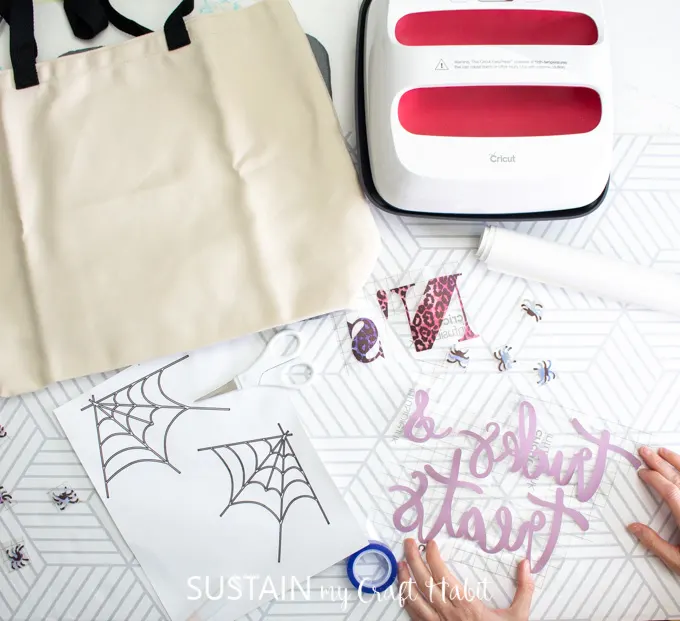
Preheat the EasyPress2 to 400F and set the time to 40 seconds. Although the EasyPress Reference Guide suggests a temperature of 385F, in our experience, setting the heat to 400F works best at transferring the infusible ink dyes on the tote bag.
Preparing the tote bags:
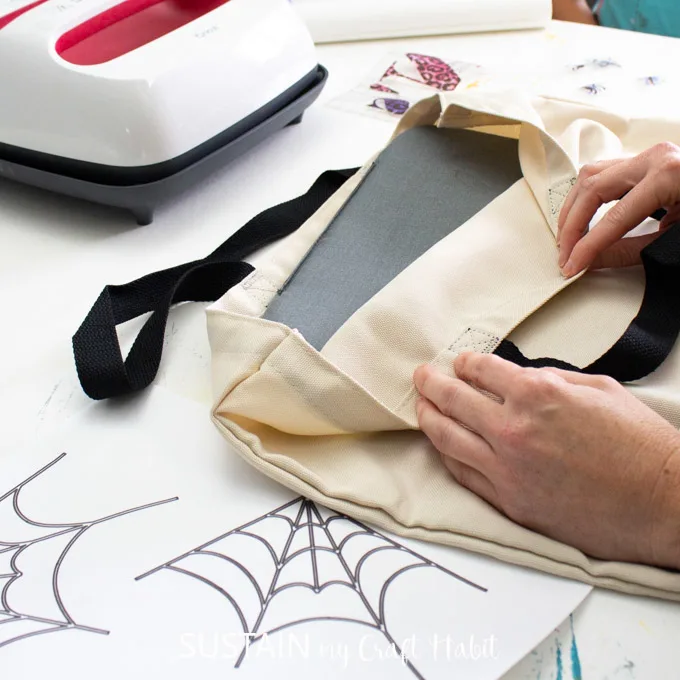
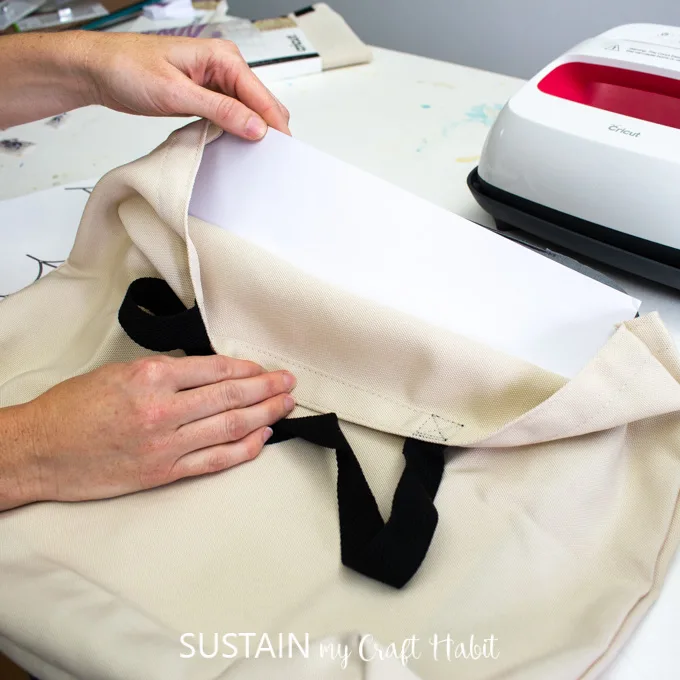
Place the tote bag down on top of the mat and insert the cardstock into the bag. This is important in preventing bleedthrough from the ink.
Use the lint roller over the tote bag to eliminate any loose fibers before heat pressing.
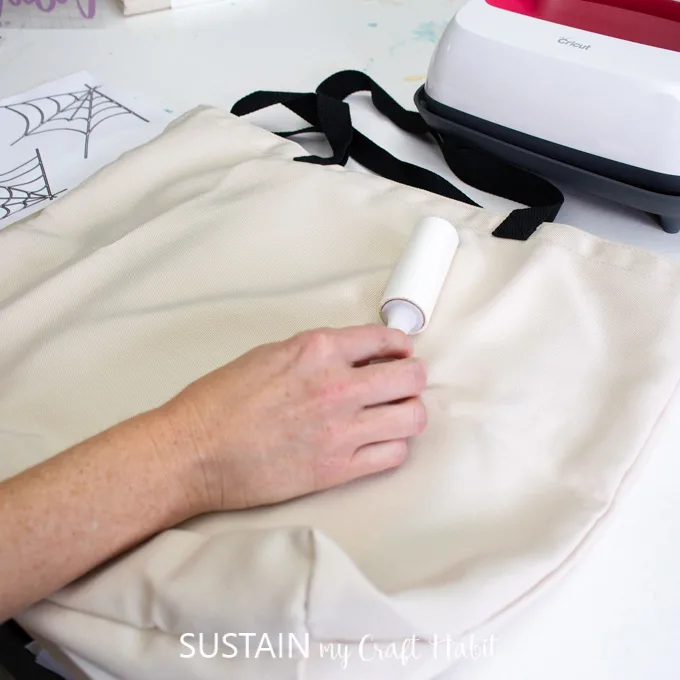
Cover the surface of the tote bag with a sheet of butcher paper and preheat the tote bag for 15 seconds. Remove the butcher paper carefully as it may be warm to the touch. Be sure to preheat all areas you will be placing the design.
Heat pressing the design on to the tote bags:
Position the prepared design face down on to the tote bag with the liner side facing up. To be sure the design doesn’t shift when pressing, apply some heat resistant tape to hold it in place. We started with the personalized letters at the top but first made sure the tricks and treats would also fit on the tote bag. Since our EasyPress2 is smaller than the full design, we had to apply the designs in sections.
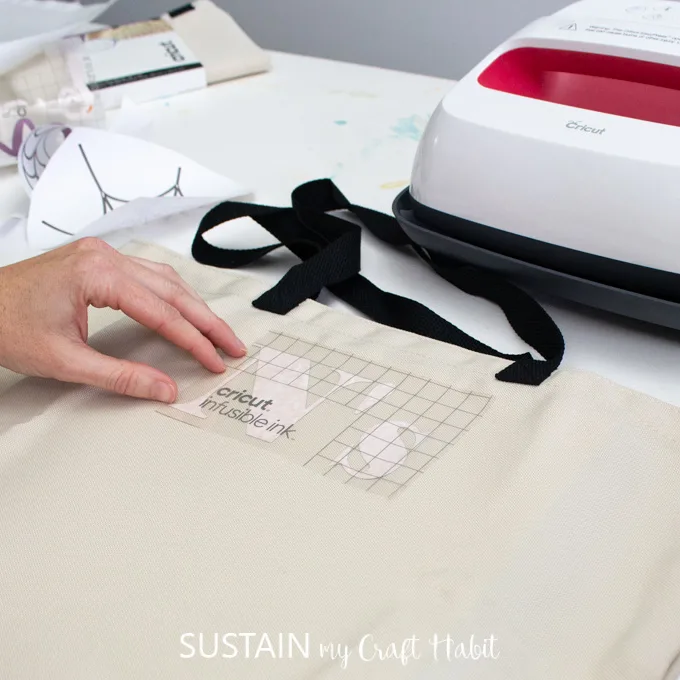
Cover with a clean sheet of butcher paper and steadily press the EasyPress on top of the design for 40 seconds with some light pressure.
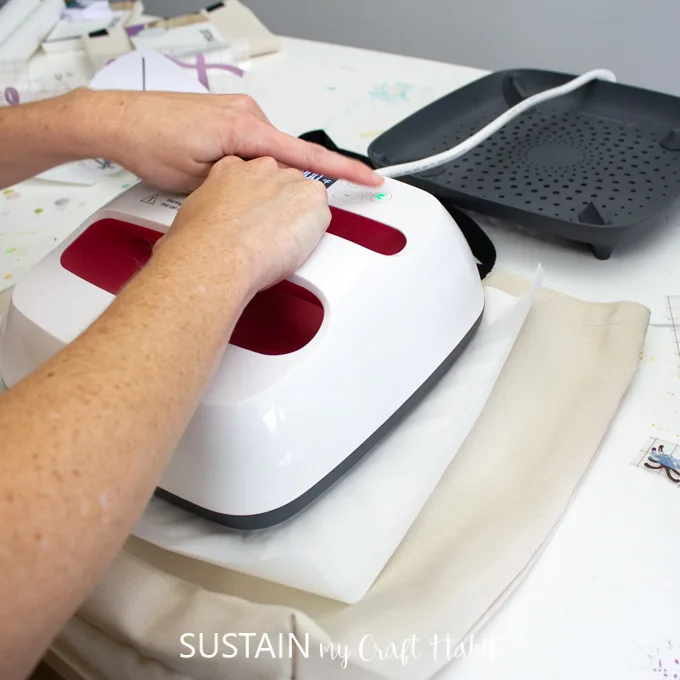
Lift the press and carefully remove the butcher paper. Wait for the surface to cool completely before peeling away the liner.
Move on to the other pattern pieces next. Peel off one of the spider webs from the shiny backing and stick it over top of the “i” in the word “tricks”.
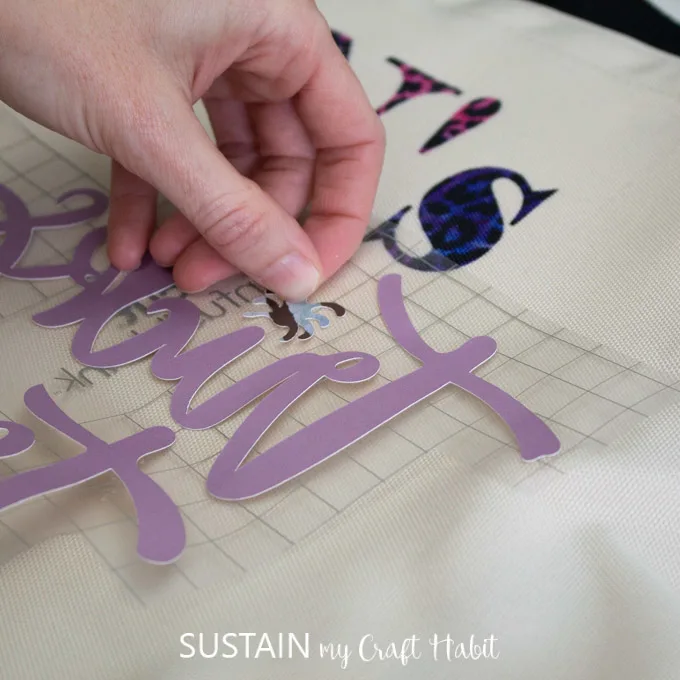
Position the design face down (shiny backing side up). Place the other spider cut outs next to the tricks and treats text and apply heat with the EasyPress 2 in the same way as the personalized letters.
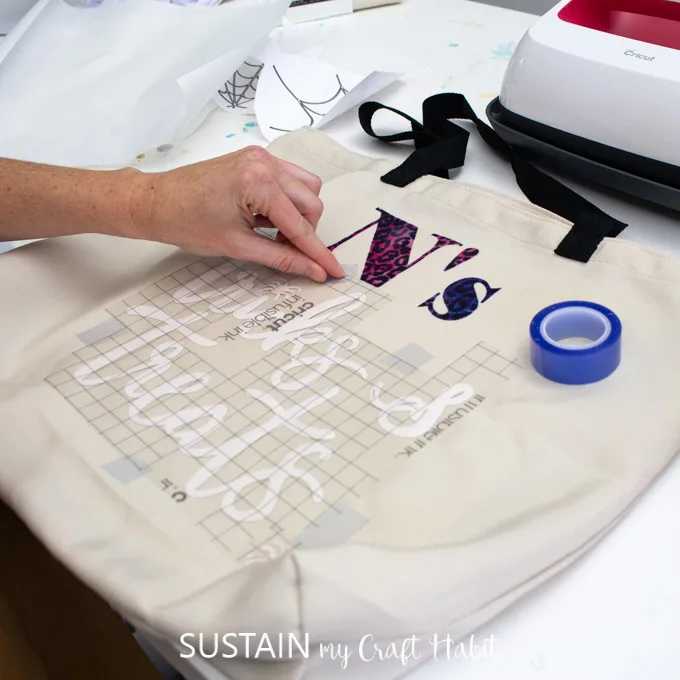
Lastly, position the spider web pattern with the ink side down at the top right and left corners. Tape the pieces in place. Working one spider web at a time, cover with a sheet of butcher paper and apply heat for 40 seconds. Repeat for the other spider web pattern on the opposite corner.
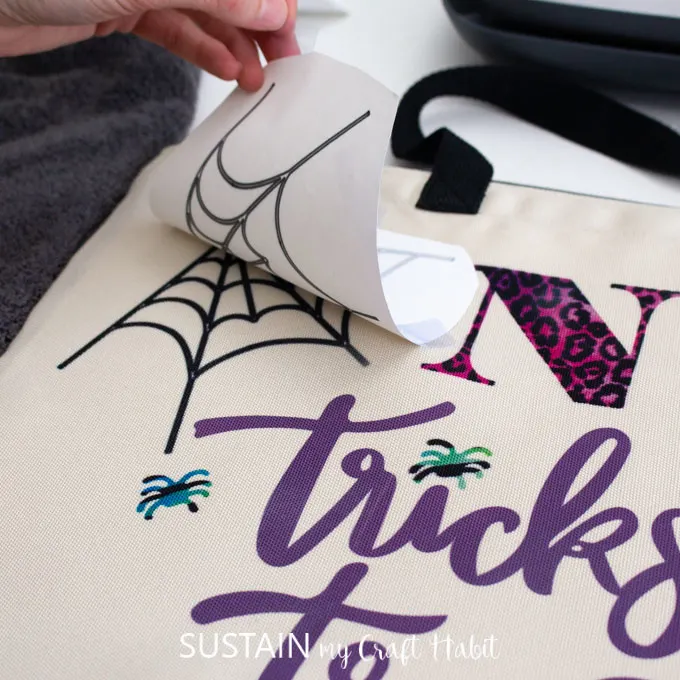
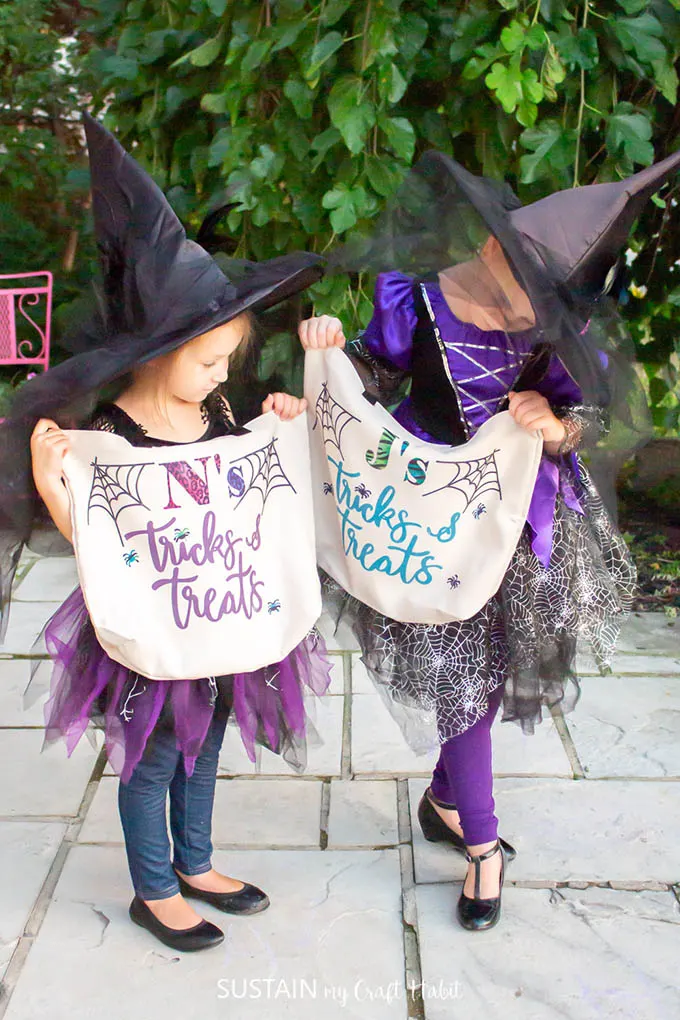
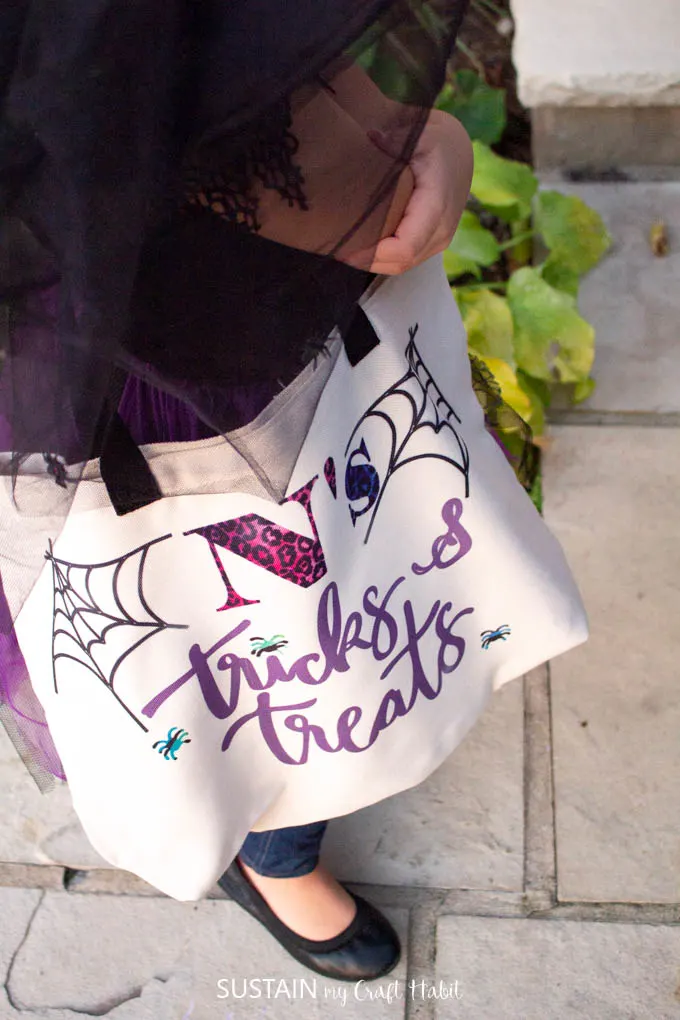
Our personalized trick-or-treat bags turned out absolutely beautifully.
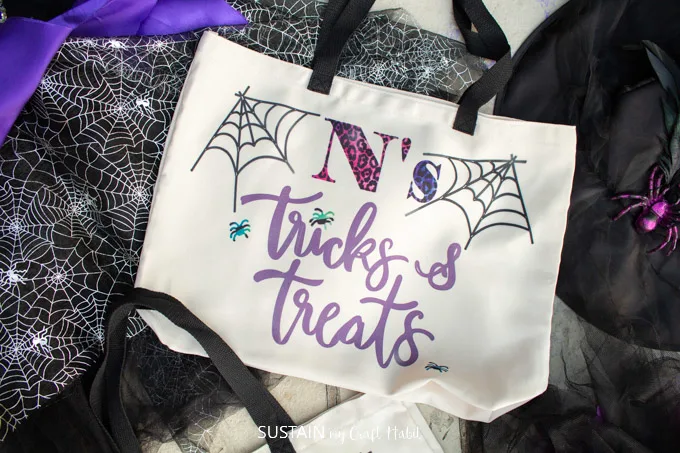
And the girls loooove them! They’re only sad that it isn’t quite time yet to go collecting candy :).
Be sure to check out Cricut.com for all of your Halloween personalization needs!
Are your little goblins excited for trick-or-treating?
Like it? Pin it for later!
