This shop has been compensated by Collective Bias, Inc. and its advertiser. All opinions are mine alone. #NewYearNewCloset #CollectiveBias
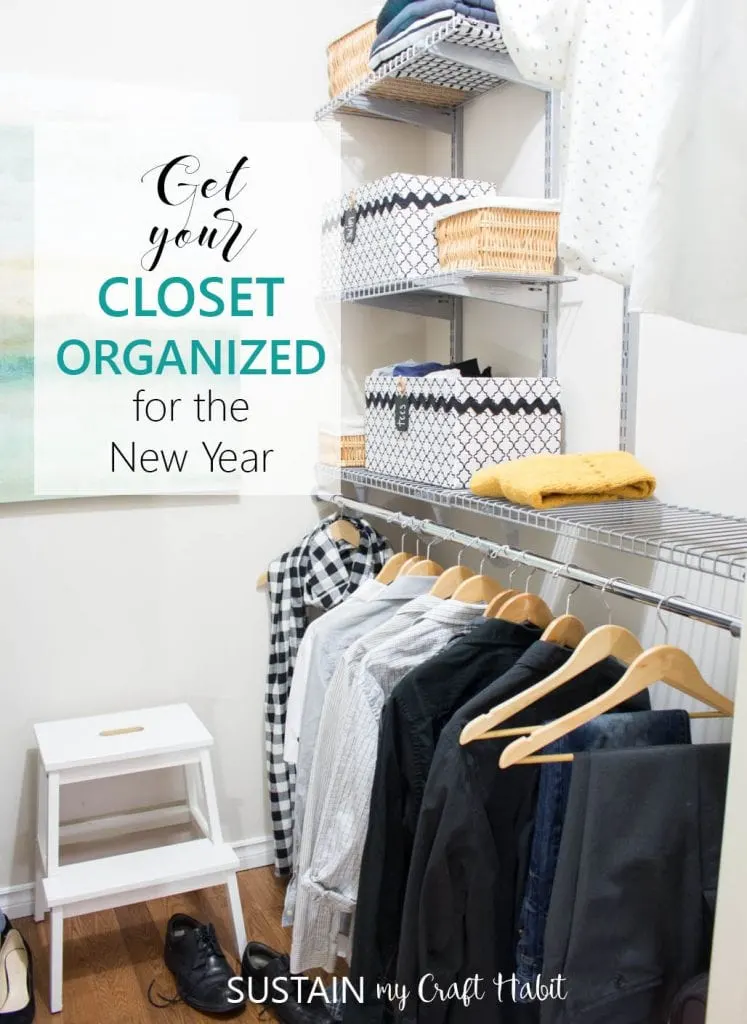
When we moved into our home over three years ago, our bedroom walk-in closet still had the original clothing racks from 40 years ago! There was limited storage and the racks themselves were poorly functioning: the hangers had to all face a certain way and some hangers didn’t even hook onto the racks properly! Soon after, we installed a Rubbermaid Closet Organizer system into just my side of the closet. Sorry hubby!
ORGANIZING PROJECTS: Get 7 days of free tips and resources for organizing any room in your home. Join HERE!
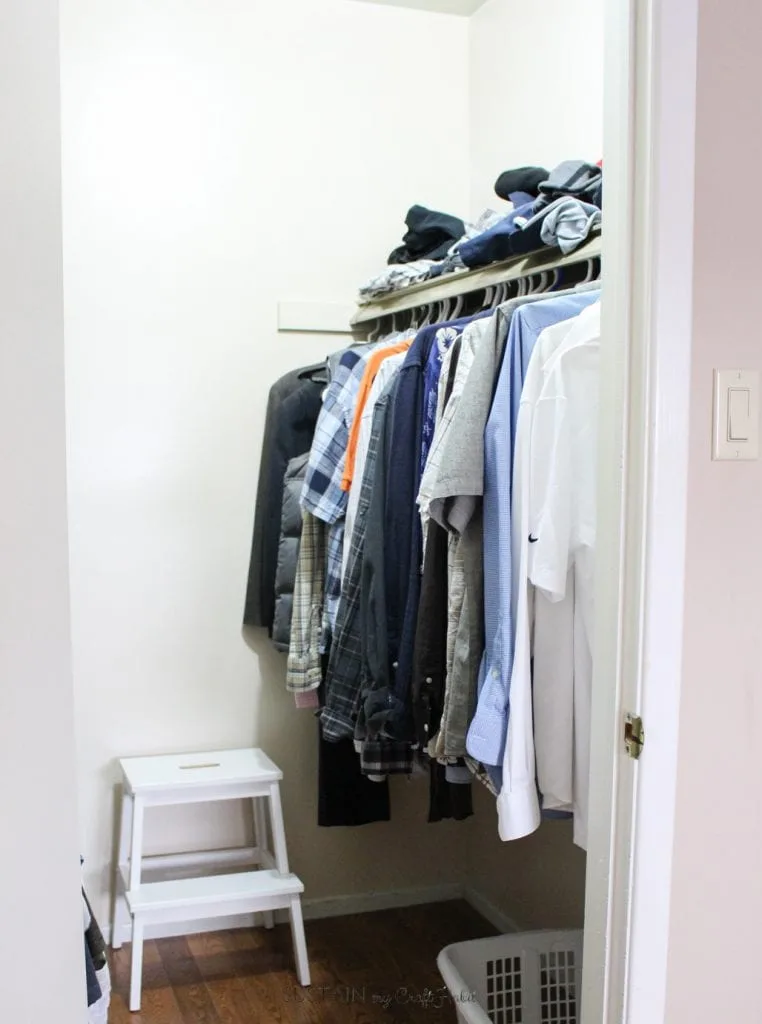
Actually, sorry me: nearly a day didn’t go by without me hearing “how nice it must to be have a place for all your clothes” or a comment about the seemingly large amount of clothes I had in the closet (which I really don’t)! Needless to say, we were both pretty excited (and relieved) to partner with Rubbermaid and give my husband a chance to get some organization into his life for the New Year.
After determining the perfect product for our closet using the Rubbermaid Closet Designer, we headed to our local Home Depot to pick up the closet kit. The online Rubbermaid Closet Designer is a useful tool to help you customize and design your closet from home and then print the material list and plans for your project.
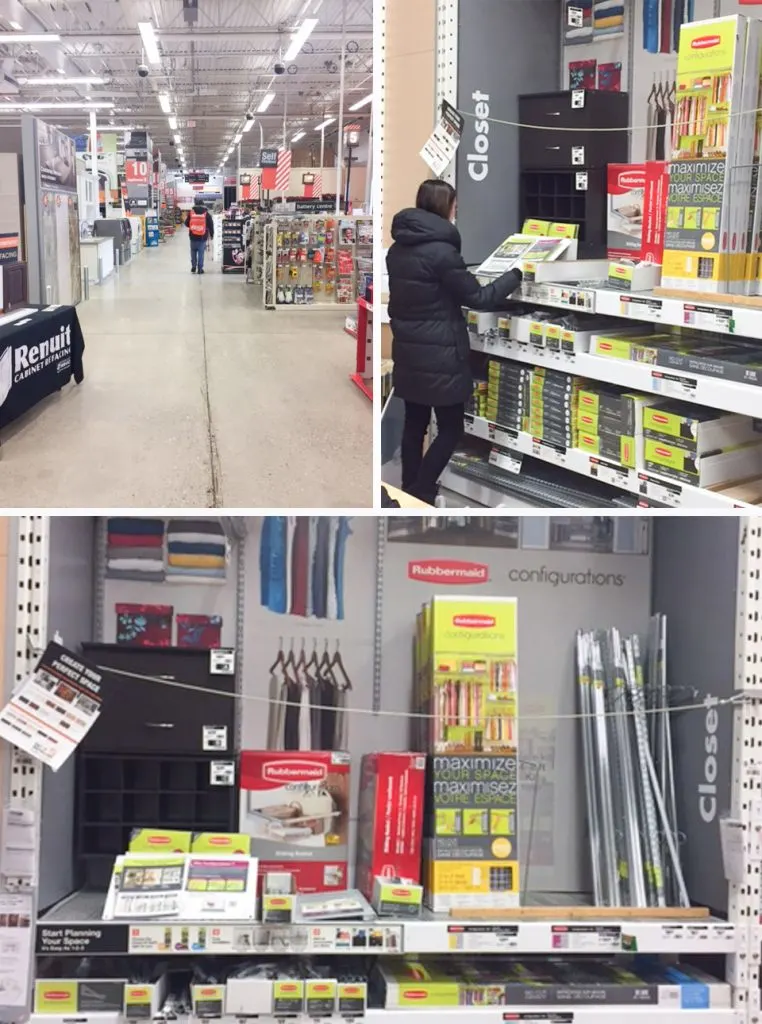
Having one Rubbermaid® Configurations® Custom Closet Kits in the closet already, I knew about the versatility of the kit, ease of installation and ability to maximize the storage of our closet with additional accessories.
My husband is very excited to have his side of the closet looking as good as mine (we’ll see how long it stays this way!). All of his clothes are now organized and easy to find. With an added 12 feet of shelving space and 10 feet of hanging space; there is also room to keep seasonal clothing and accessories inside the closet. He says he needs to go shopping for more clothes to fill his spacious closet. I’ve reminded him that “my large amount of clothes” needs some extra storage space too!
How to Install a Rubbermaid Configurations Custom Closet Kit
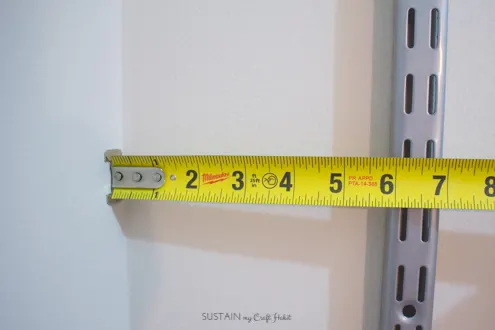
You can get the full list of tools needed to assemble the Rubbermaid Configurations Closet Kit provided with the instructions in the kit itself. All mounting hardware is included but some tools such as a hammer, level, drill, screwdriver and measuring tape are necessary.
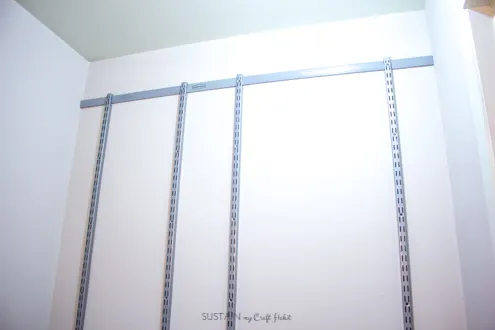
The kit comes with easy-to-follow instructions and clear pictures. With my 5’ wide closet, I needed to place four vertical tracks for the configuration we had created with the Rubbermaid Closet Designer. However, the kit is easy to reconfigure and can be changed as needed to meet our storage needs in the future.
To begin, attach the horizontal track about 12″ from the closet ceiling, ensuring it is level. Slip on the vertical tracks. A plastic sleeve is provided to cover the exposed top track- just cut it to the appropriate size!
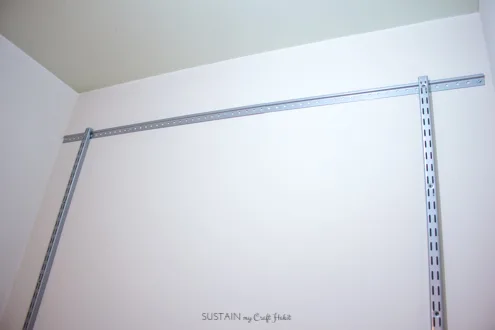
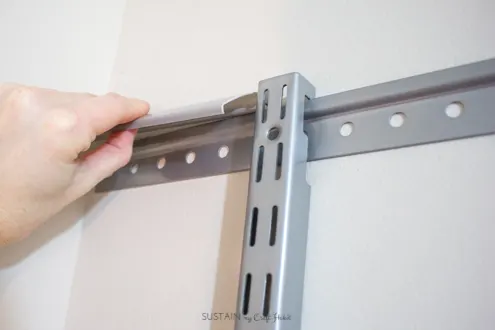
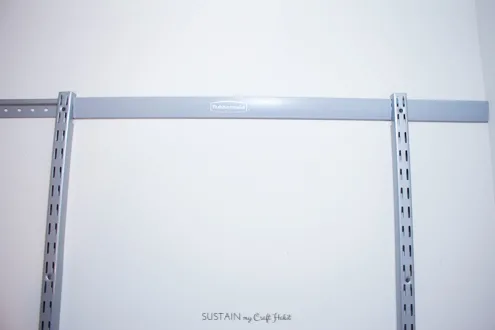
Space, measure and install the vertical tracks referring to the instructions and your plans from the Rubbermaid Closet Designer. Use the drywall plugs to stabilize any screws.
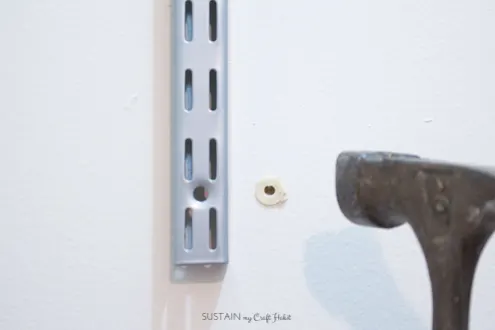
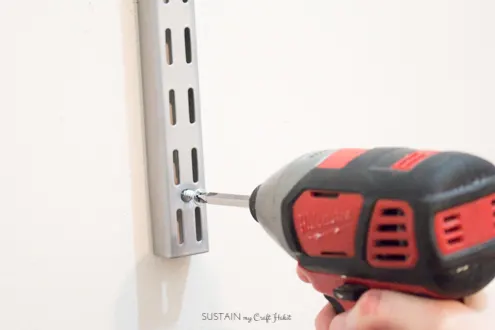
This is what our tracks looked like when finished. Next, clip the arm bars into the vertical rail slots according to where you want your shelves to be.
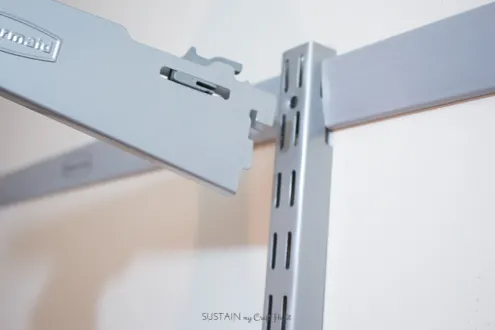
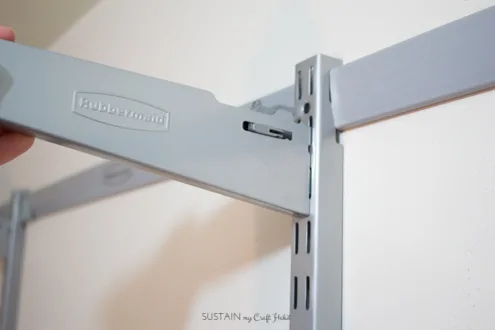
The shelves will simply set into place on the arms. The accessories such as hanging bars are easy to add on: just clip the hooks into place and add the bar onto the hook!
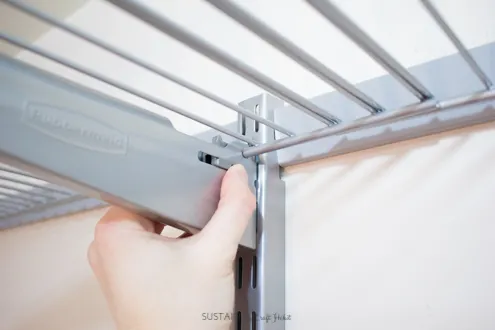
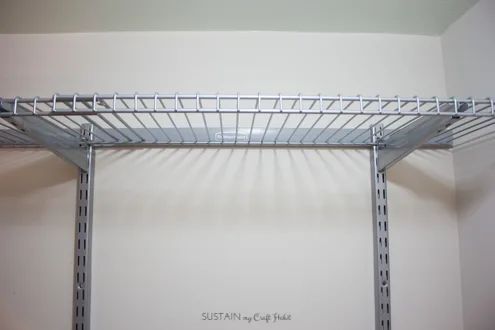
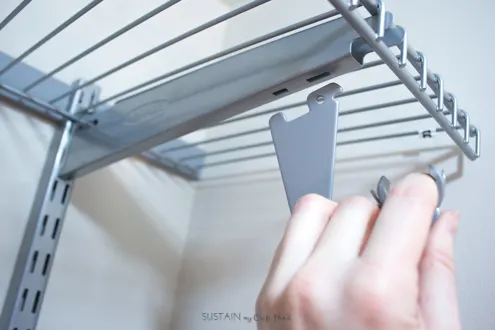
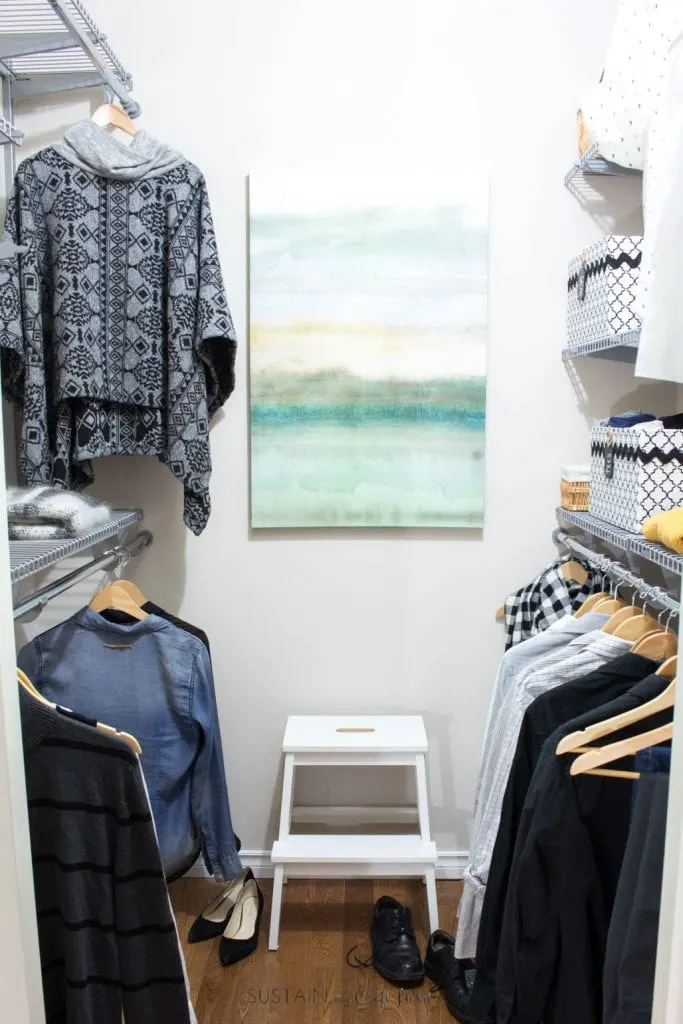
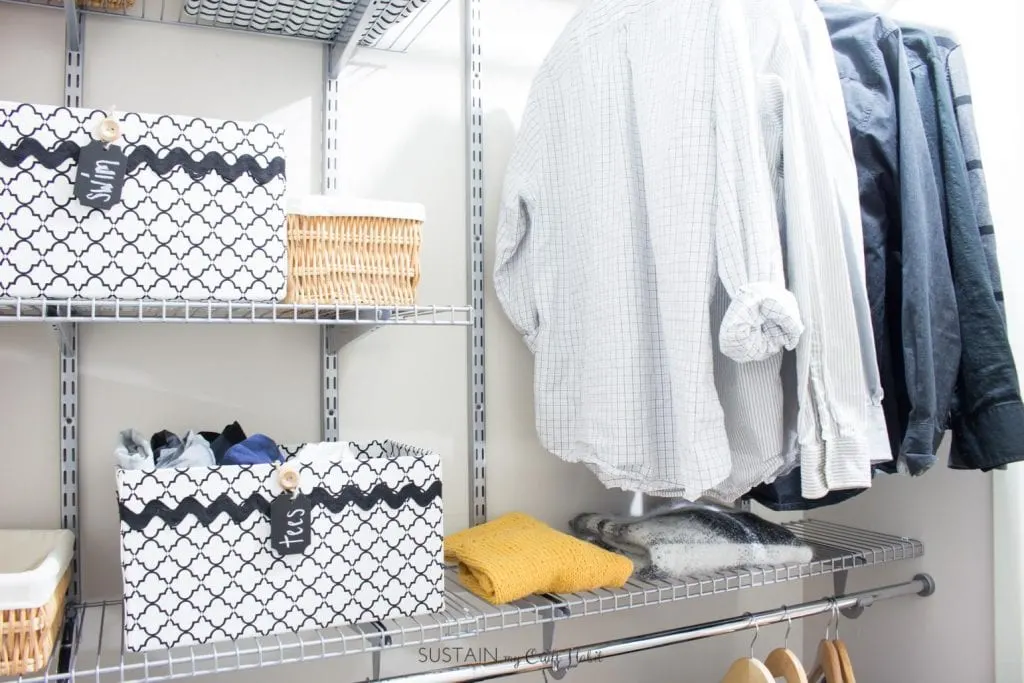
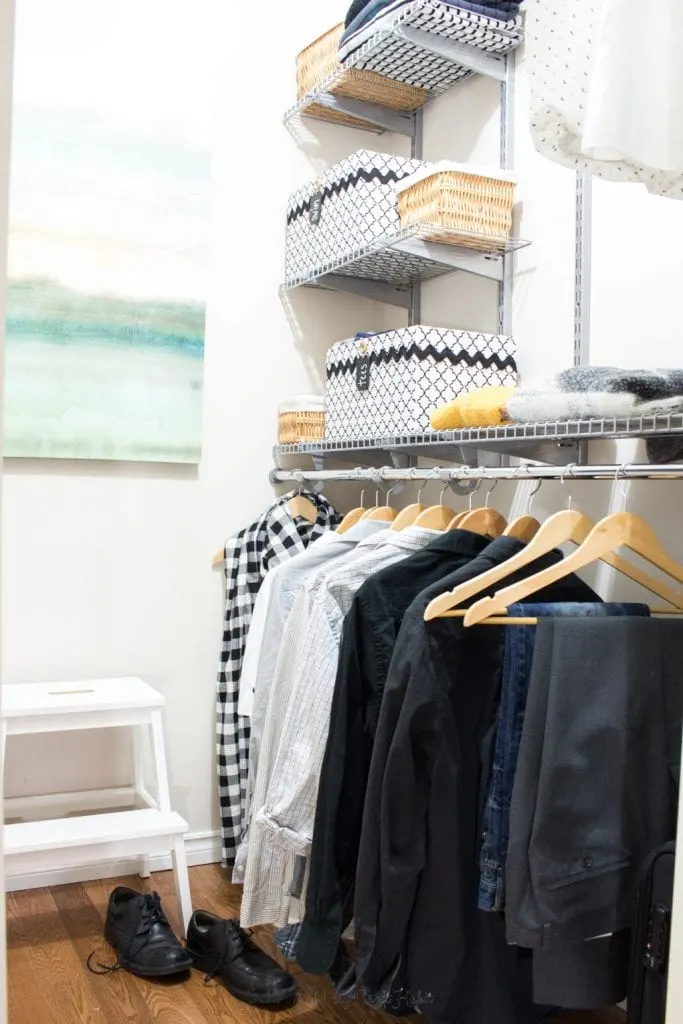
We configured hubby’s side of the closet with one main shelf and hanging bar at waist-height for his pants and shirts and shorter bar and shelf at the top of the closet for any longer pieces. The two shorter shelves are great for folded items or storage bins.
We’ll likely still play around with the configuration a bit as he gets used to the new closet. It’s handy that all the pieces for the shelves and hanging bars can easily be moved around and should we choose to change the configuration in the future, the vertical tracks can easily be shifted as well.
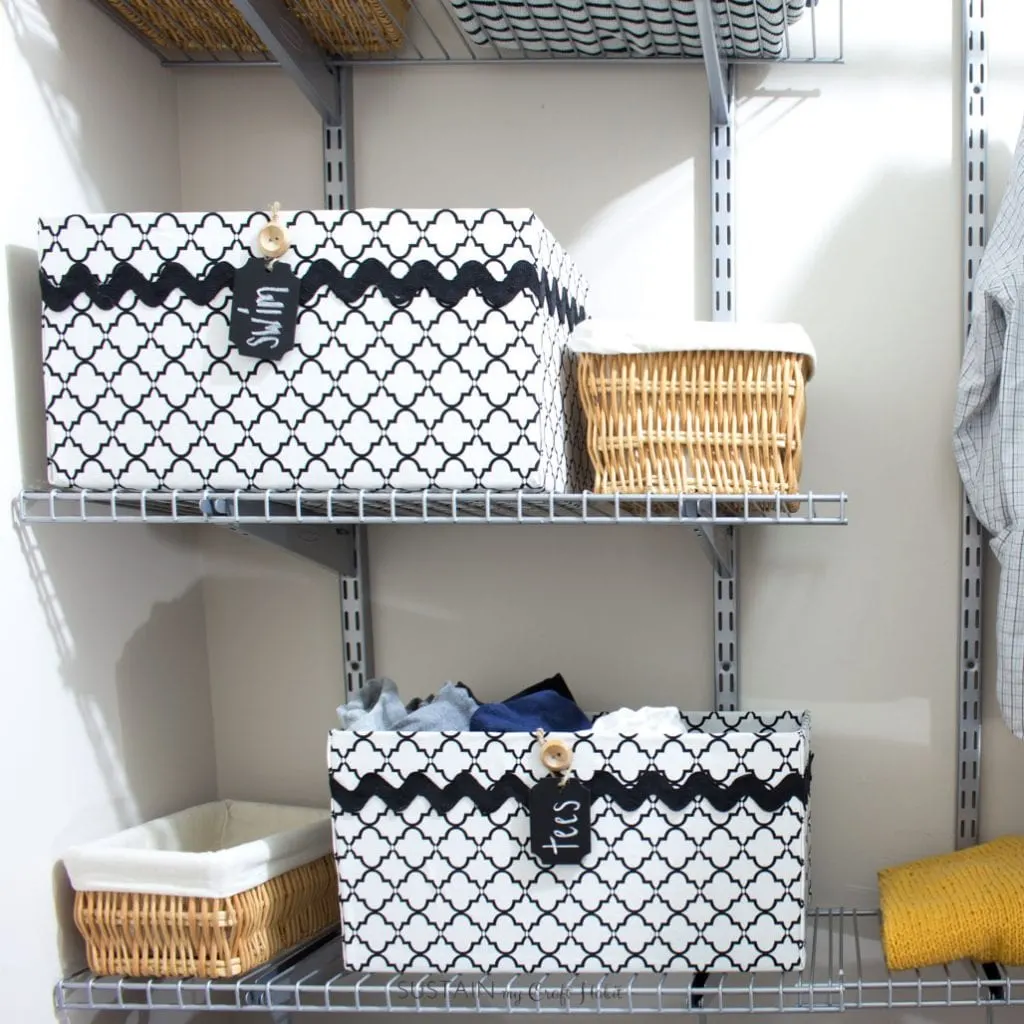
Although you can also buy additional Rubbermaid accessories (drawers, baskets, etc.) to add-on to the closet system, for now I decided to upcycle cardboard boxes into these decorative storage boxes for our newly organized closet. These DIY decorative storage boxes will hold our seasonal accessories such as t-shirts, tanks, scarves and mitts.
Want to receive a ton of inspiration and money saving ideas for decorating, gift-giving and crafting? Join HERE!
I must say our new closet is so much better for both of us. The matching Rubbermaid closet kits look great and aren’t overpowering. Even filled with both of our clothing, the closet feels light, airy and functional. Wonder what hubby will find to comment about in the mornings now 😉 ?
Do you and your spouse fight over space in the closet?

Kim Janocko
Tuesday 10th of January 2017
Looks great and so easy! I love the DIY baskets too, great project for all the fabric I have in my stash. #Client
Jane and Sonja
Sunday 15th of January 2017
Thank you so much for stopping by Kim! The fabric gives them such a luxurious touch. The closet looks and functions overall so much better.
Catherine
Monday 9th of January 2017
The closet looks great! You did such a great job...I need to organize mine.
Jane and Sonja
Sunday 15th of January 2017
Thank you so much Catherine. We are quite happy with it - now just need to purge some of the old clothes a bit.
christine
Sunday 8th of January 2017
I didn't realize they had whole kits like this. Great for those who are less than crafty!
Jane and Sonja
Monday 9th of January 2017
I know, right? The last shelving we bought for another room had to be cut to size so this was great to just install it all from one box. Thank you for stopping by Christine.
Cate
Sunday 8th of January 2017
This looks so great! I'll definitely need this for my closet organizing
Jane and Sonja
Monday 9th of January 2017
Thank you Cate! We were pretty impressed that you could use the same kit to fit a closet anywhere between 3'-6' wide. It's so adaptable.
Kim
Saturday 7th of January 2017
I need a new organized closet for the new year!! I will definitely be checking out these handy products!
Jane and Sonja
Monday 9th of January 2017
Thank you for popping by Kim. Yes, my husband's really happy with his newly organized side so far.