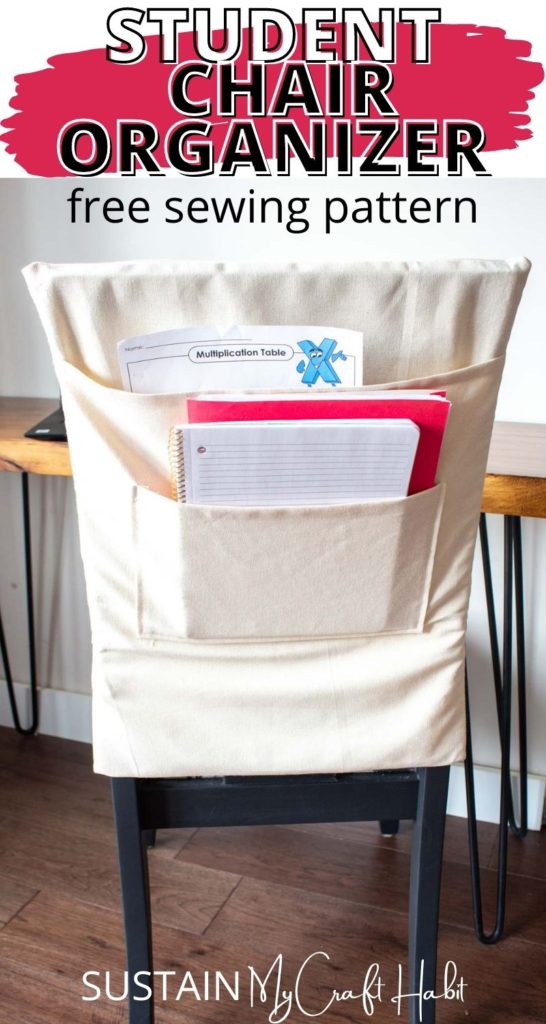

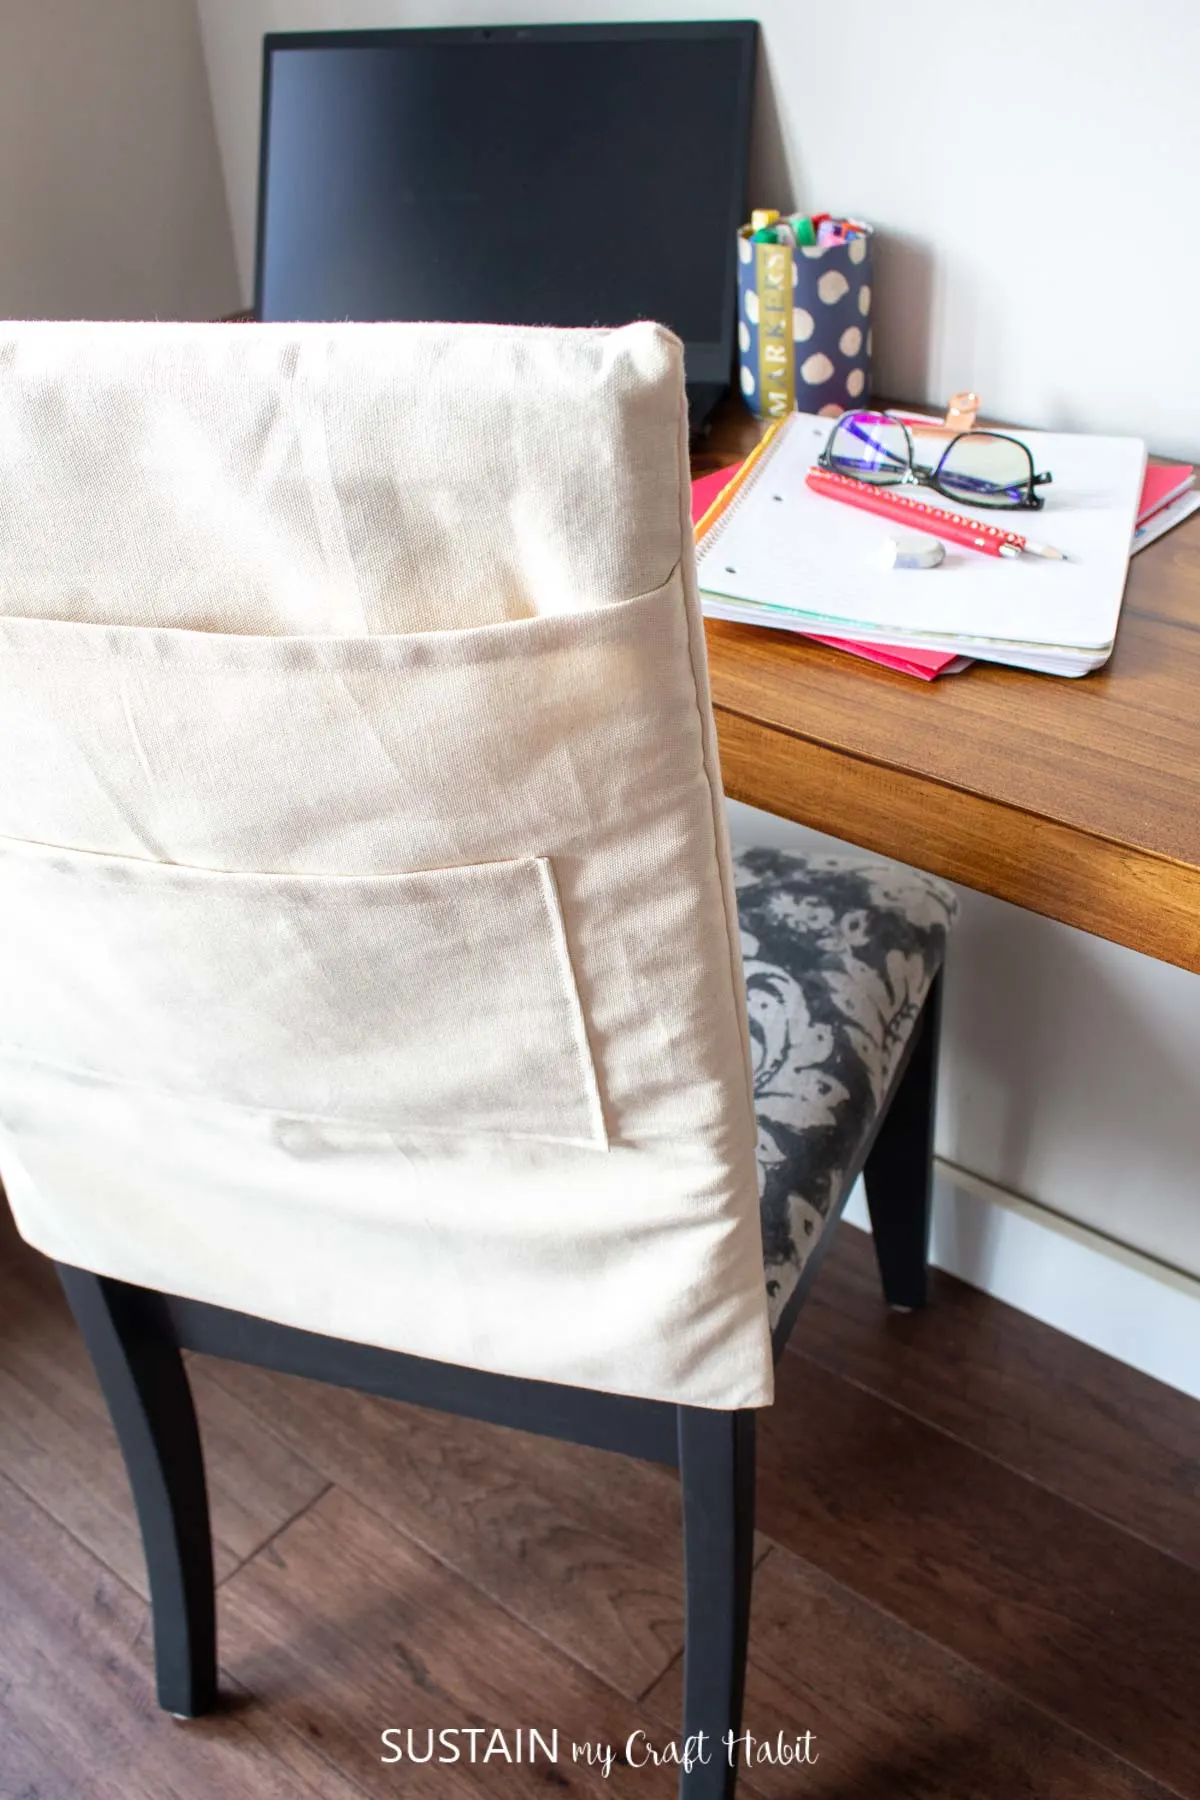
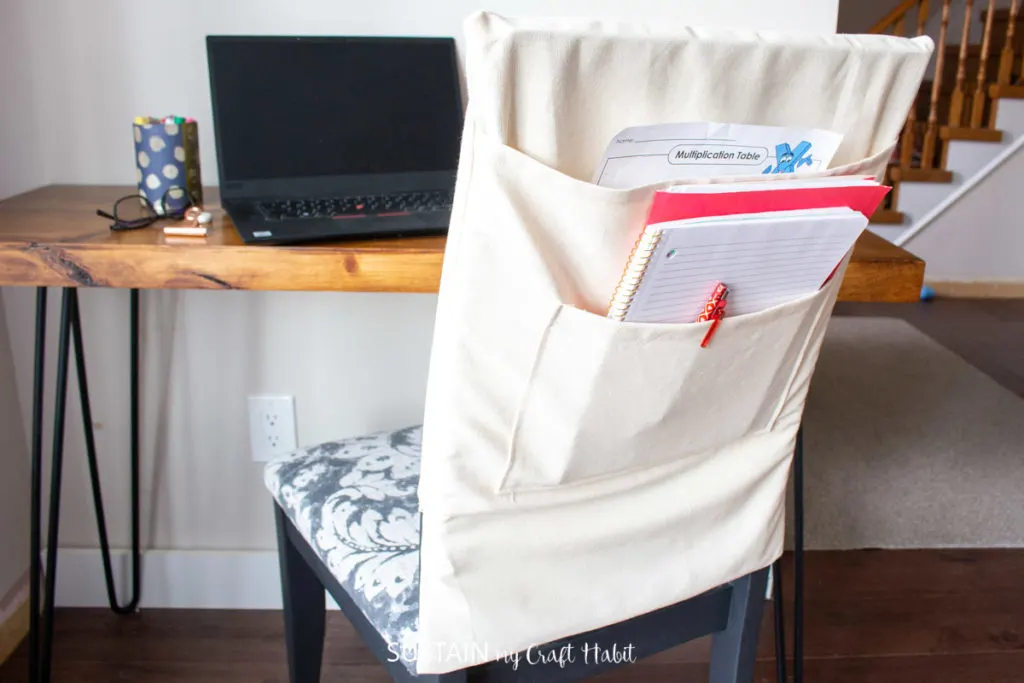
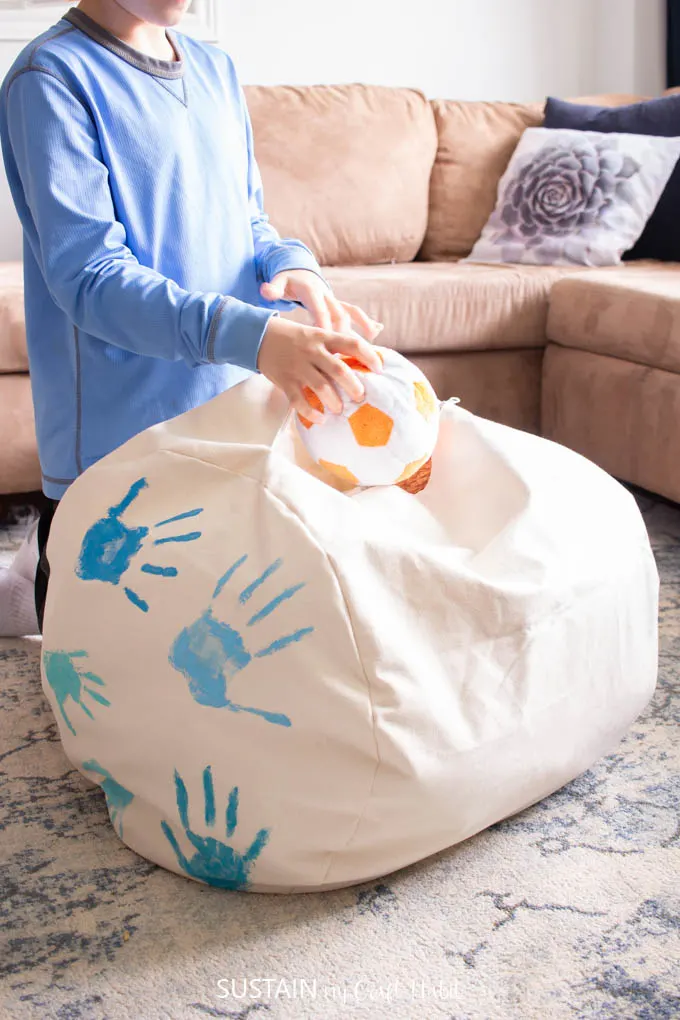
For a while now, I’ve been thinking of ways to help keep my daughter’s school stuff tidy, neat and easy to find. With a mix of homework assignments and after school tutoring, I’m hoping this student chair organizer will do the trick.

DIY Chair Organizer for Students
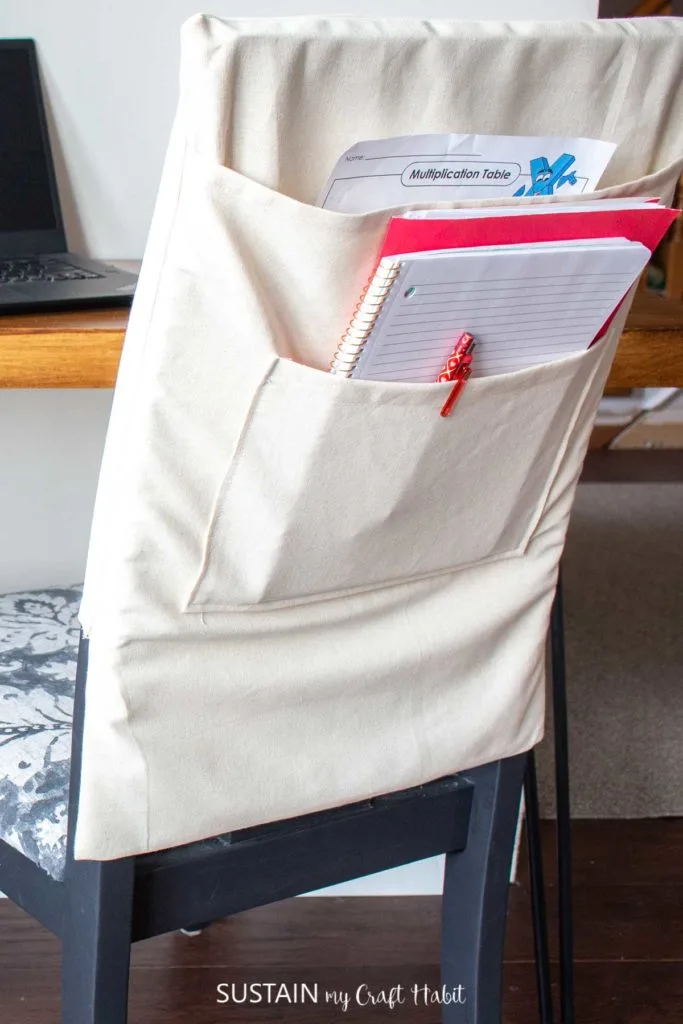
I can’t even count the number of times my eleven year-old has said, “where’d my pencil go?!” and “I need paper” and “where’s my eraser”; which perhaps are all ways of procrastinating but now I have a solution to this problem.
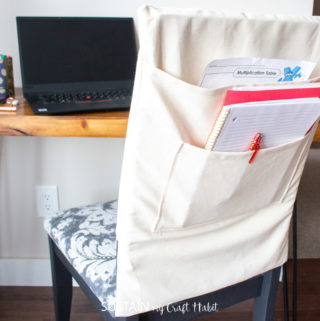
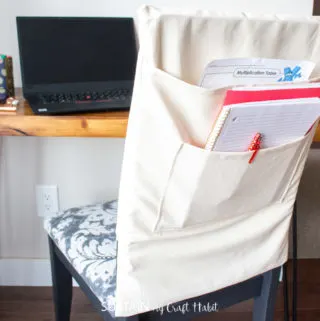
All of her supplies, notes and papers can be neatly stored in this chair organizer! So when we need to clear the table off for dinner, it’ll convienently go inside one of the pockets instead of getting misplaced throughout the house.
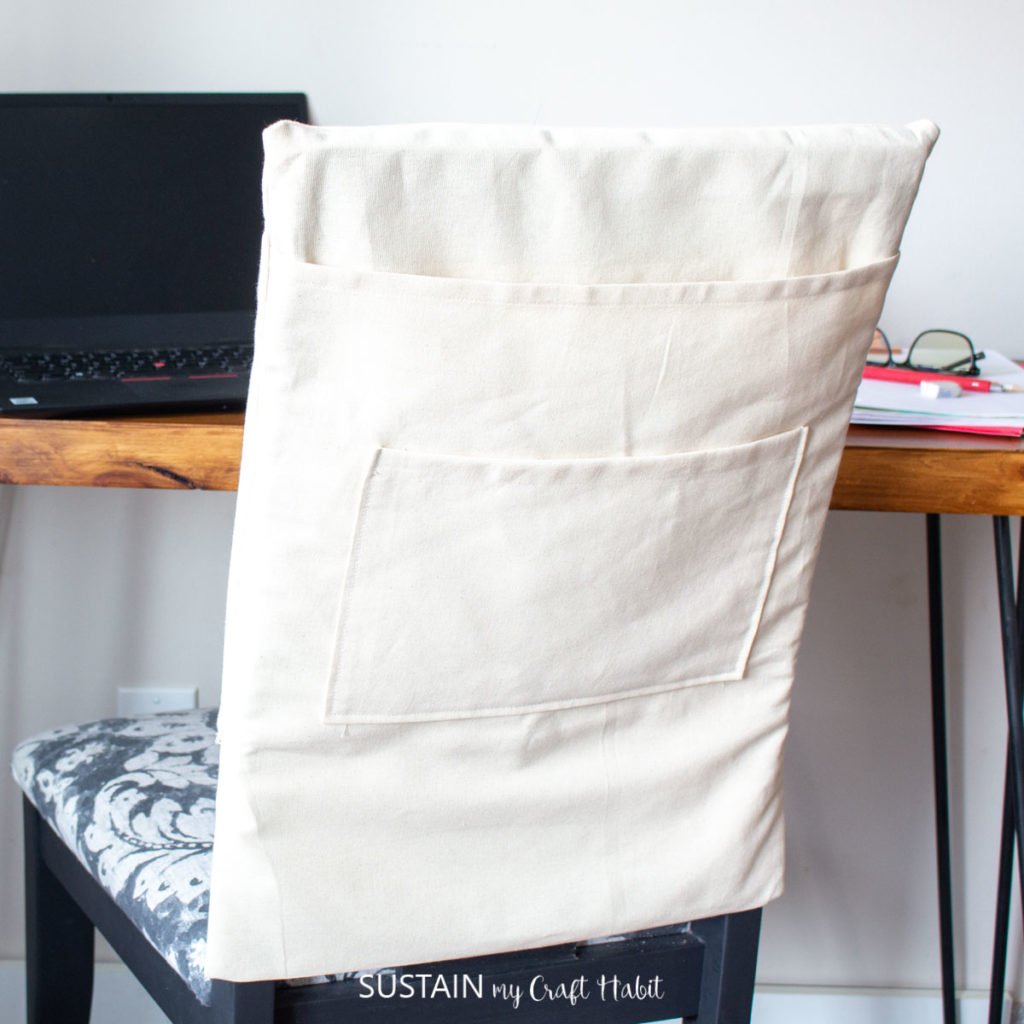
The sewing pattern is designed to fit a chair back that measures no more than 18″ wide. The organizer fits over my dining room chair which is a standard parson’s style with a higher back. This is the same one I made dining chair slipcovers for last year.
Alternatively, the pattern can be adjusted to fit your chair if needed, just be sure to measure before cutting to make sure it’ll slide over the back of your chair.

Materials Needed:
Disclosure: This post continues affiliate links for your shopping convenience. You can find our full disclosure policy here.
- 7oz 100% cotton canvas in natural, 63″ wide
- Sewing machine and matching thread
- Fabric scissors
- Printable Student Chair Organizer sewing pattern
- Iron and ironing board
Instructions for Making a Student Chair Organizer:
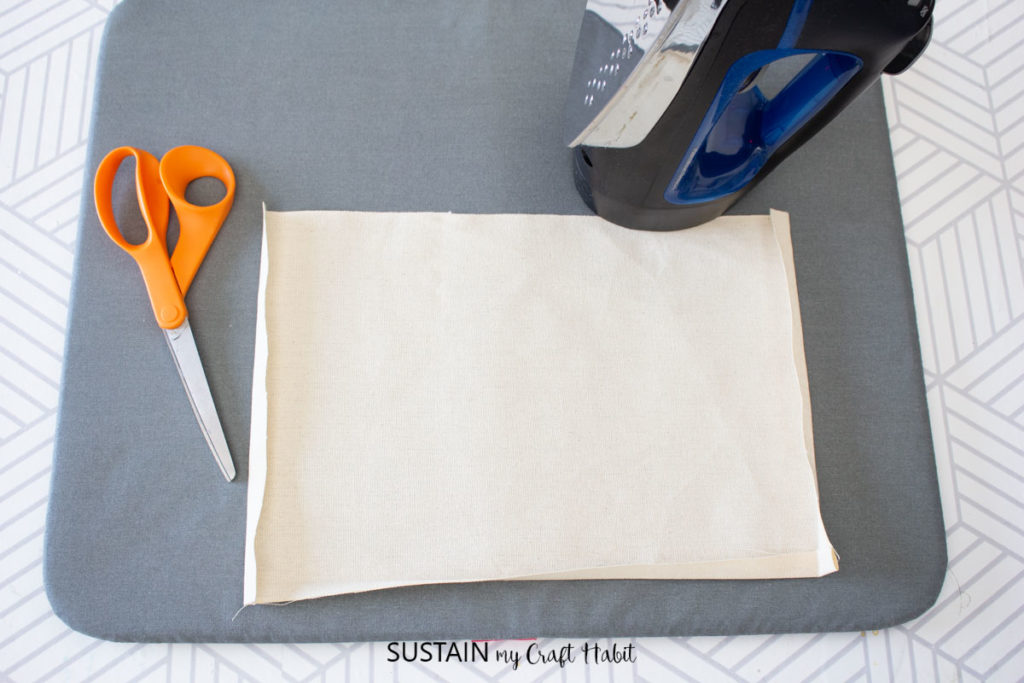
Cutting
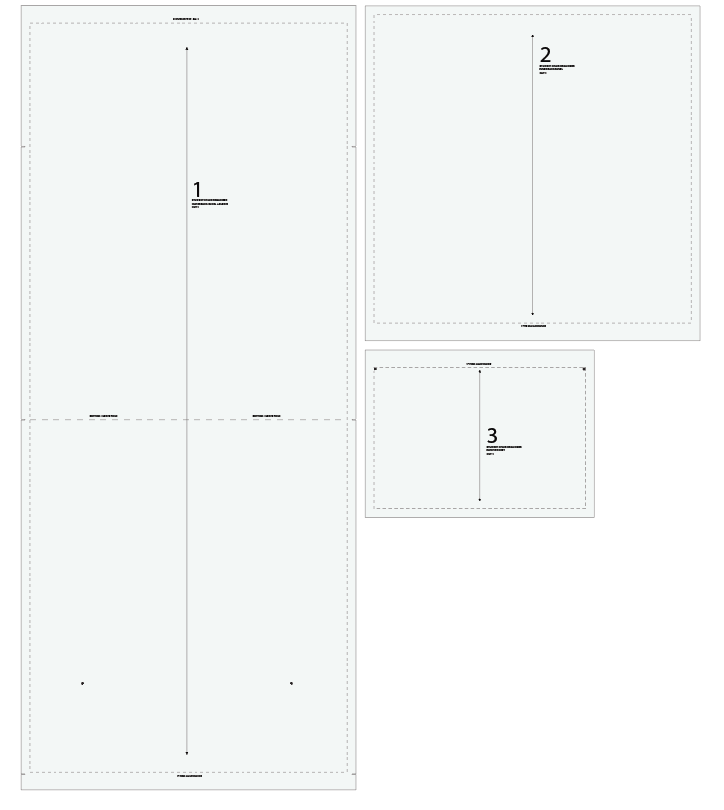
If you’re using the printable pattern, send the downloaded PDF file to print maintaining the scale as is and once printed tape all the connecting red borders together to form a complete pattern.
The chair organizer includes 3 pattern pieces: Chair Organizer FRONT (1); Chair Organizer BACK (2); and POCKET (3).

Sewing
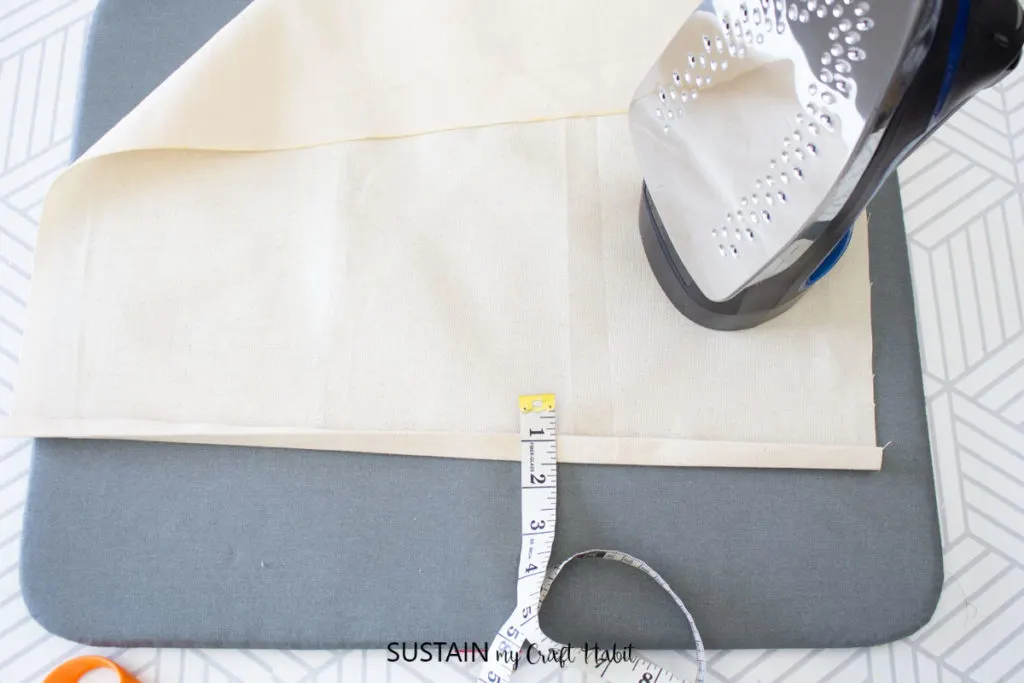
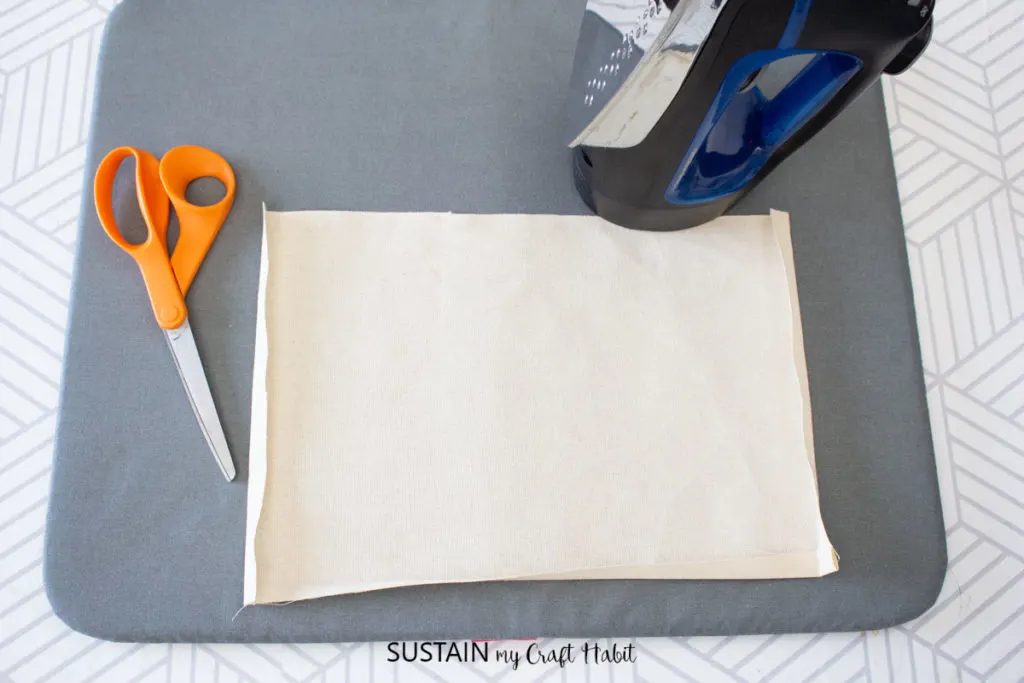
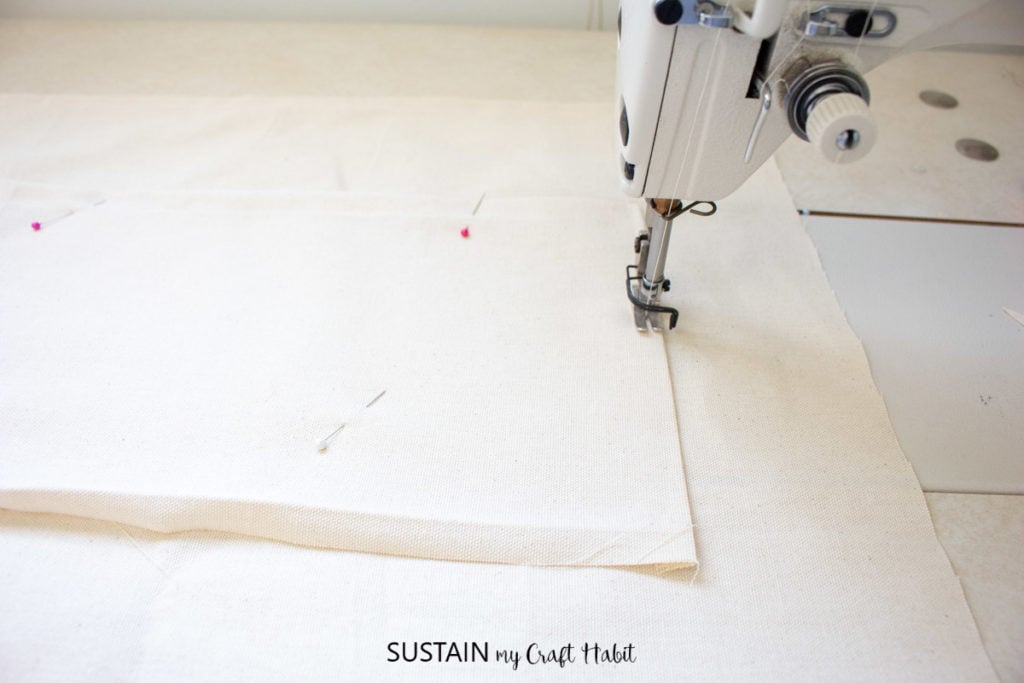
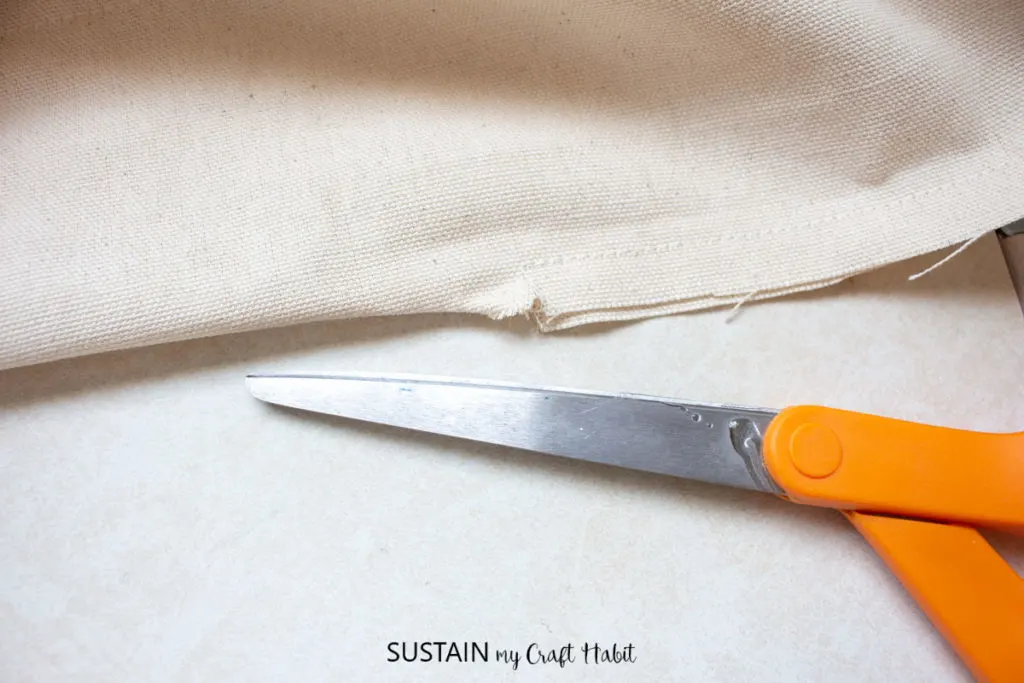
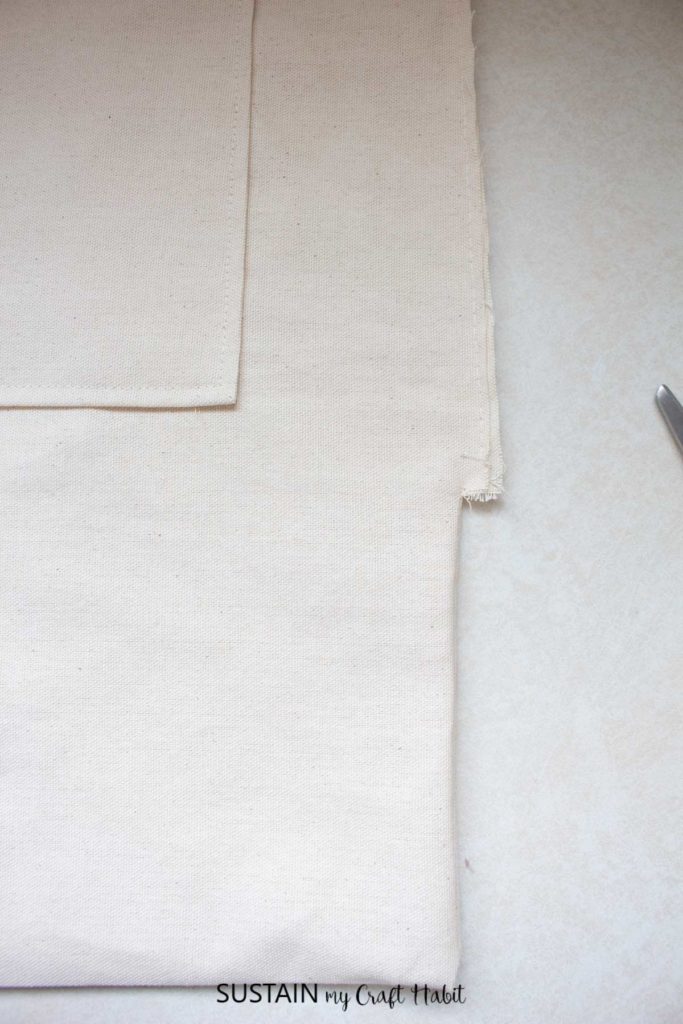
Finish one of the short ends of the shorter rectangular piece; the chair organizer FRONT (1). This will form the finished hem on the front side.
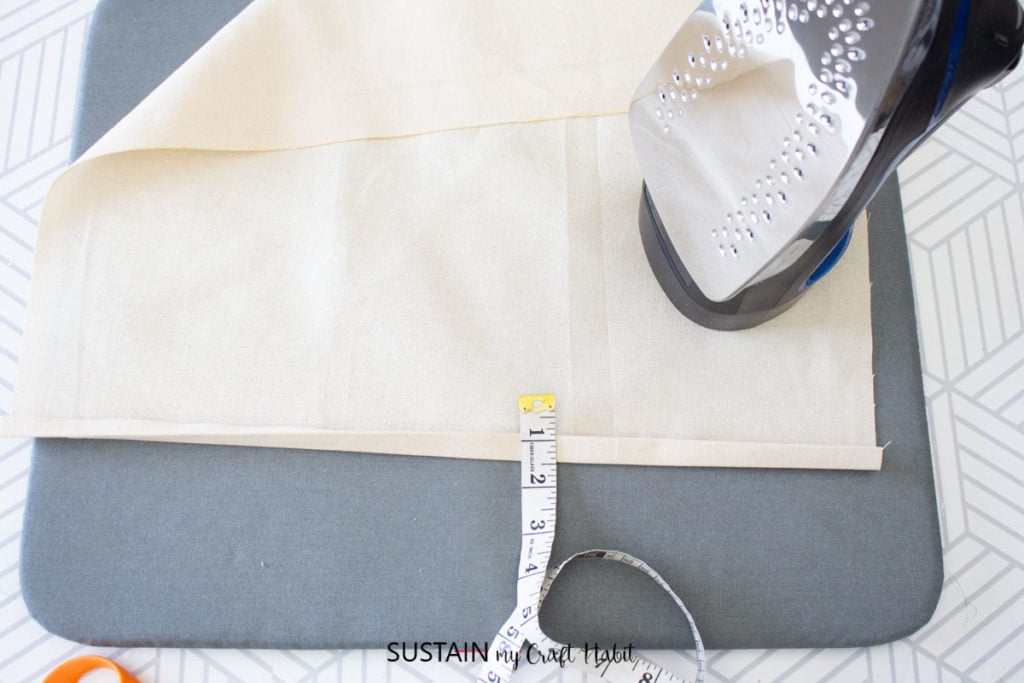

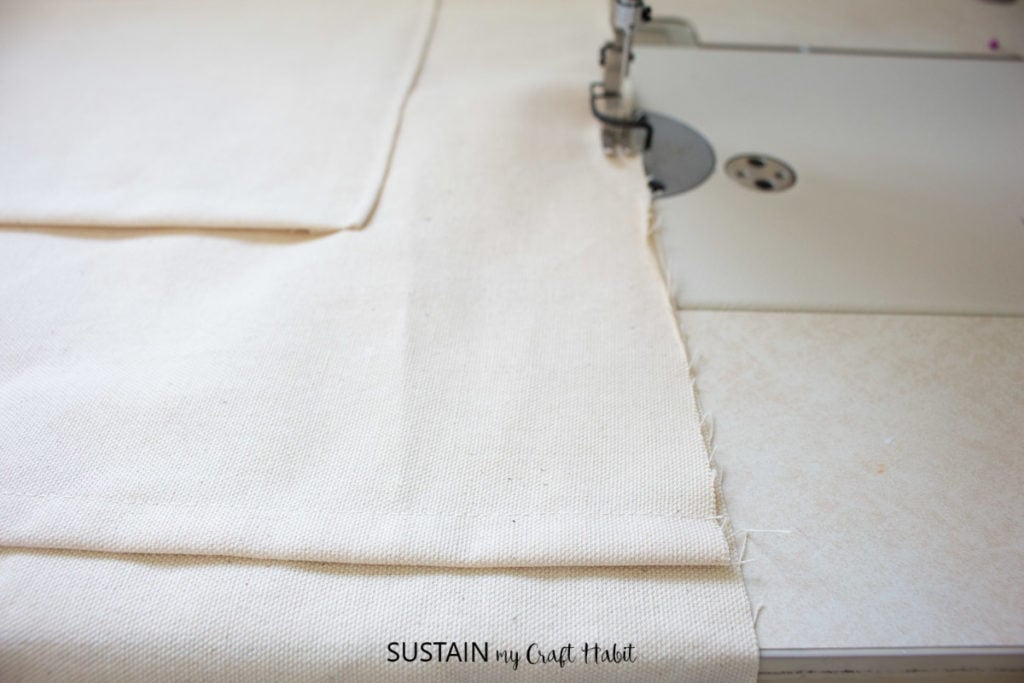
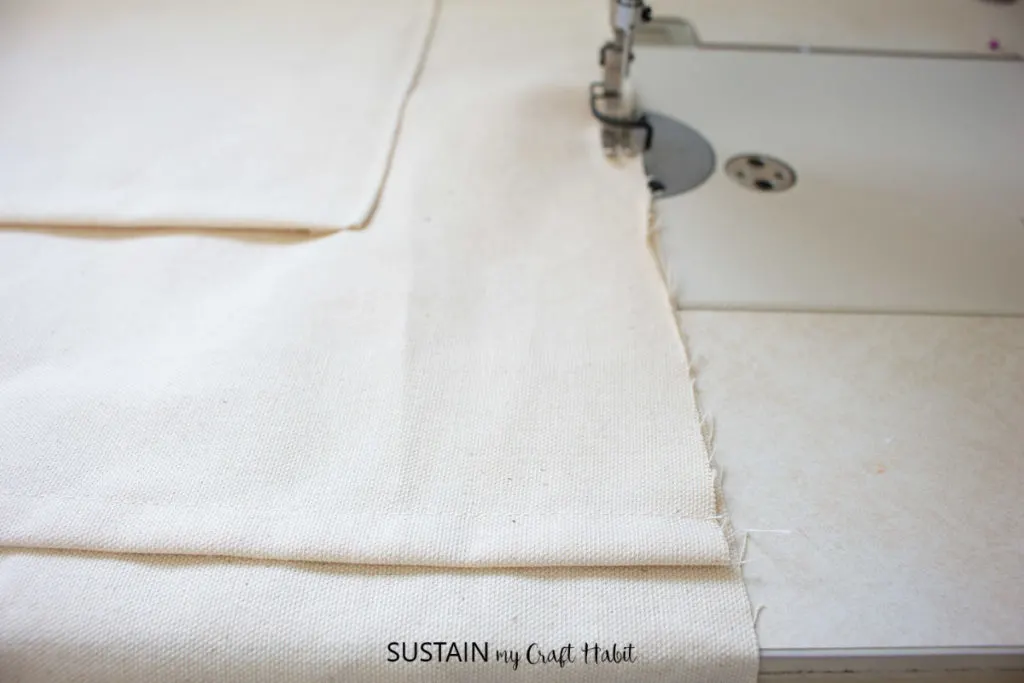
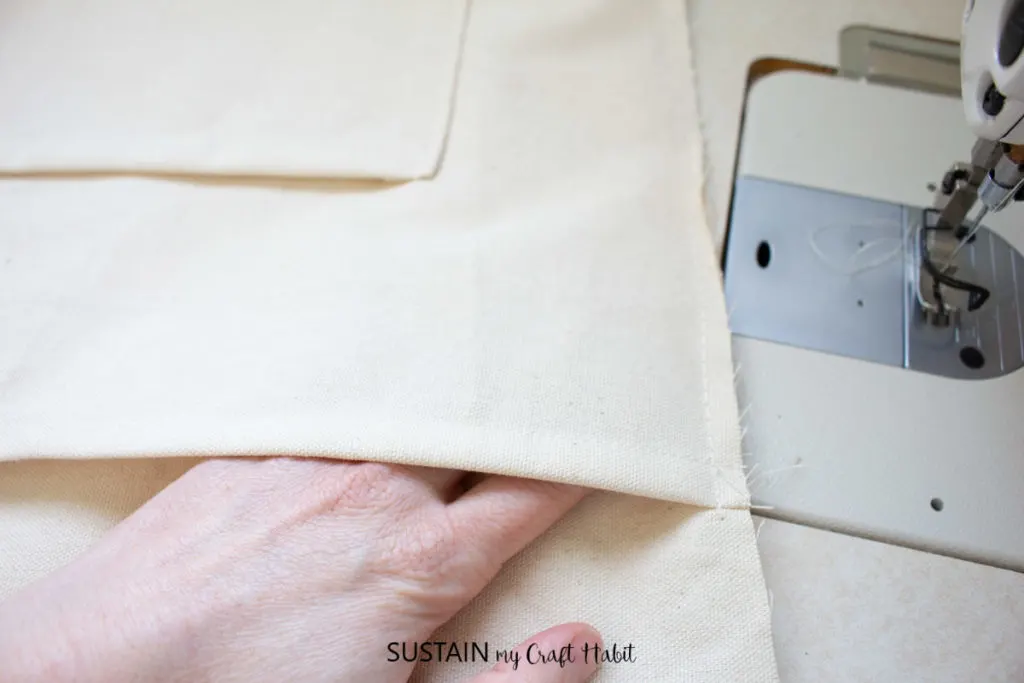
FRONT: Double fold the hem and press with iron 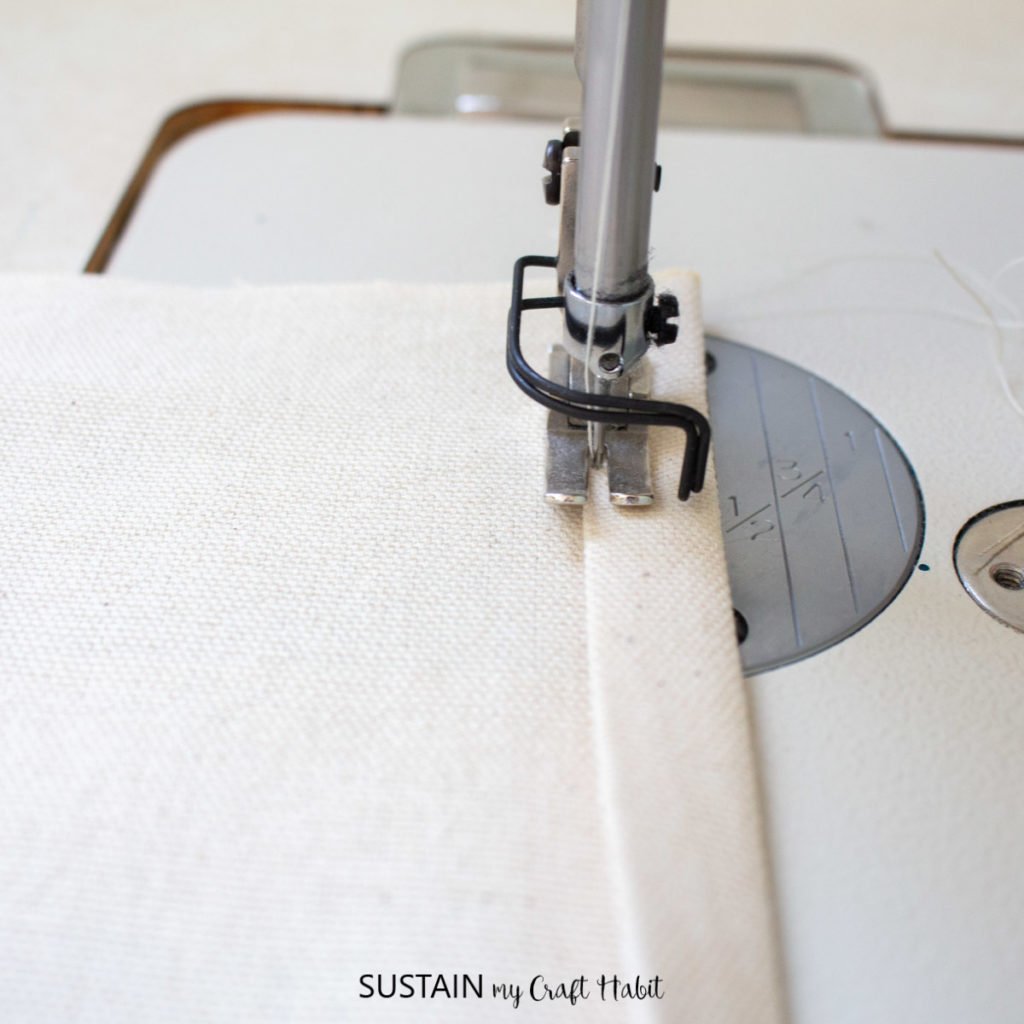

FRONT: Sew the hem in place with a 1/2″ topstitch

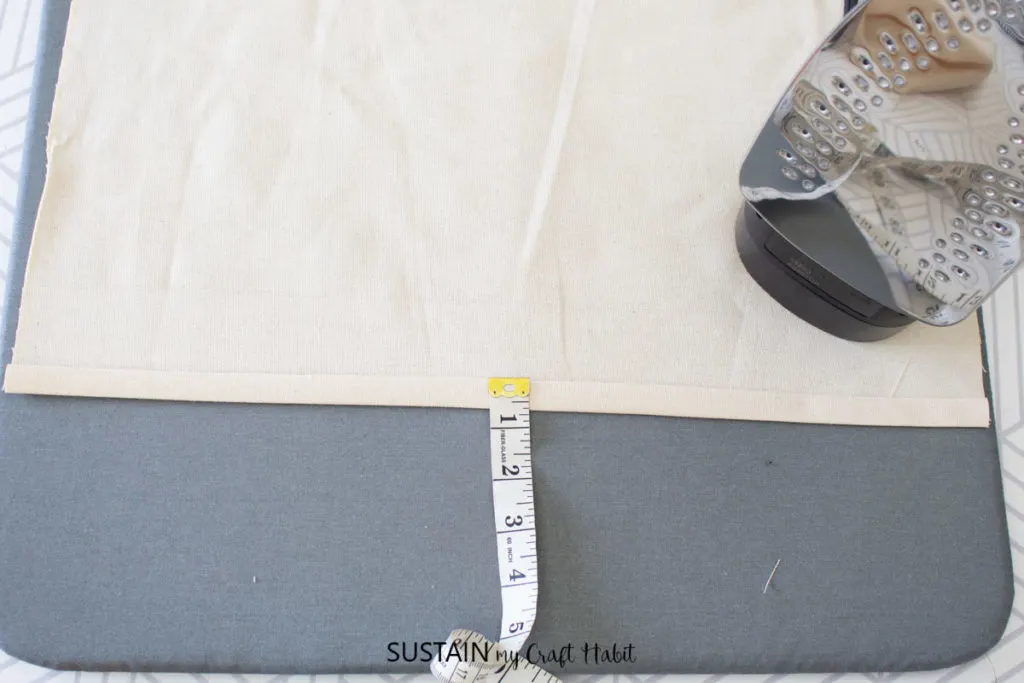
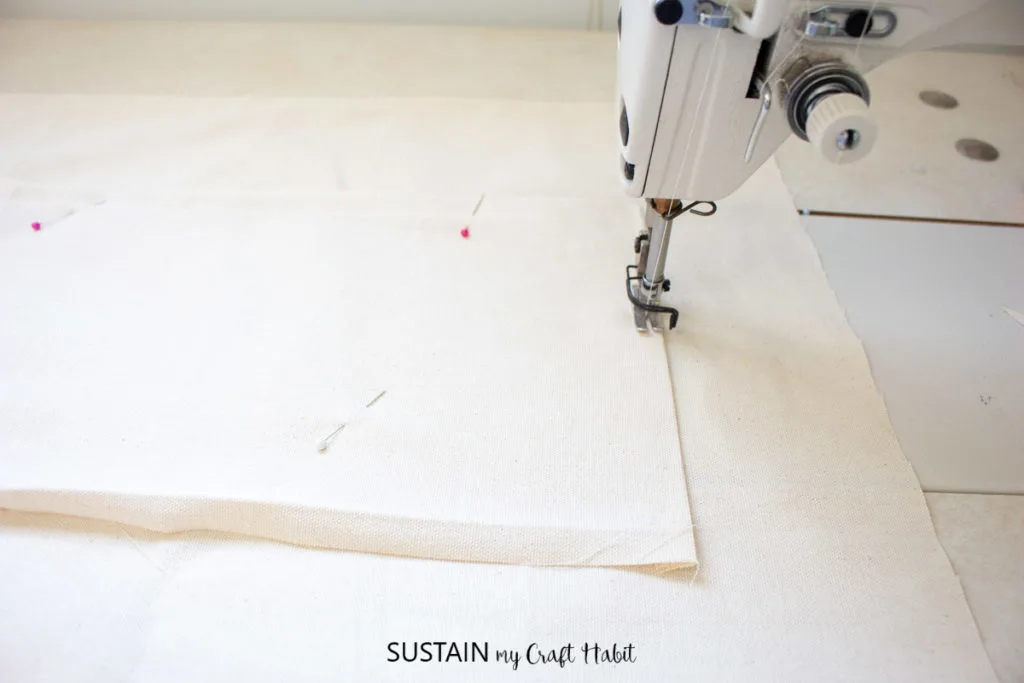
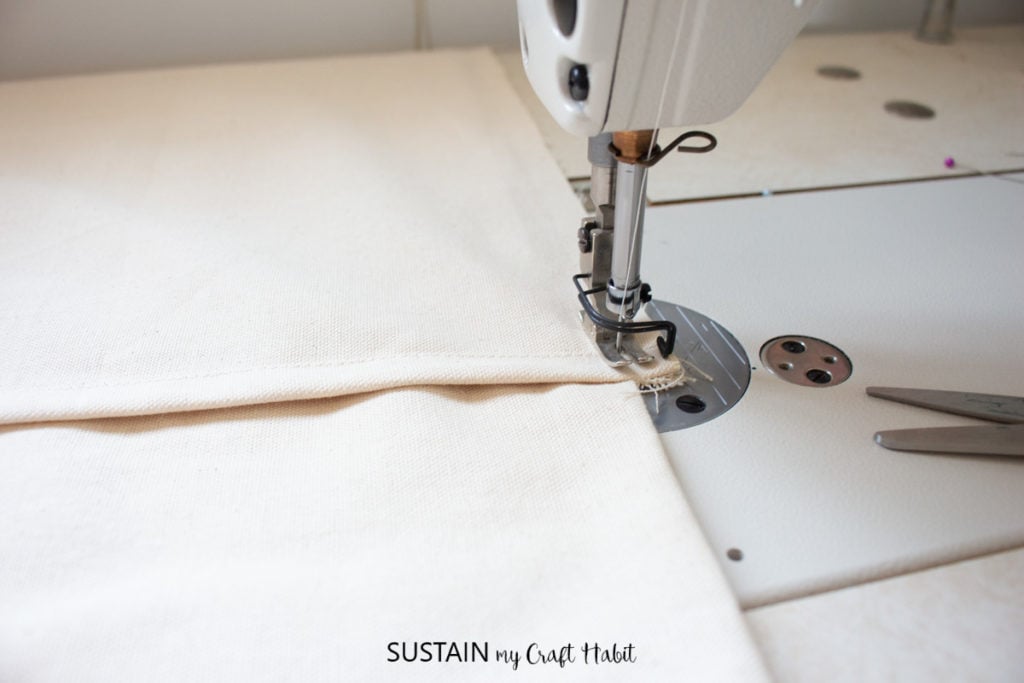
Finish one of the short ends of the long rectangular piece; the chair organizer BACK (2). This edge will form the opening to the chair organizer.
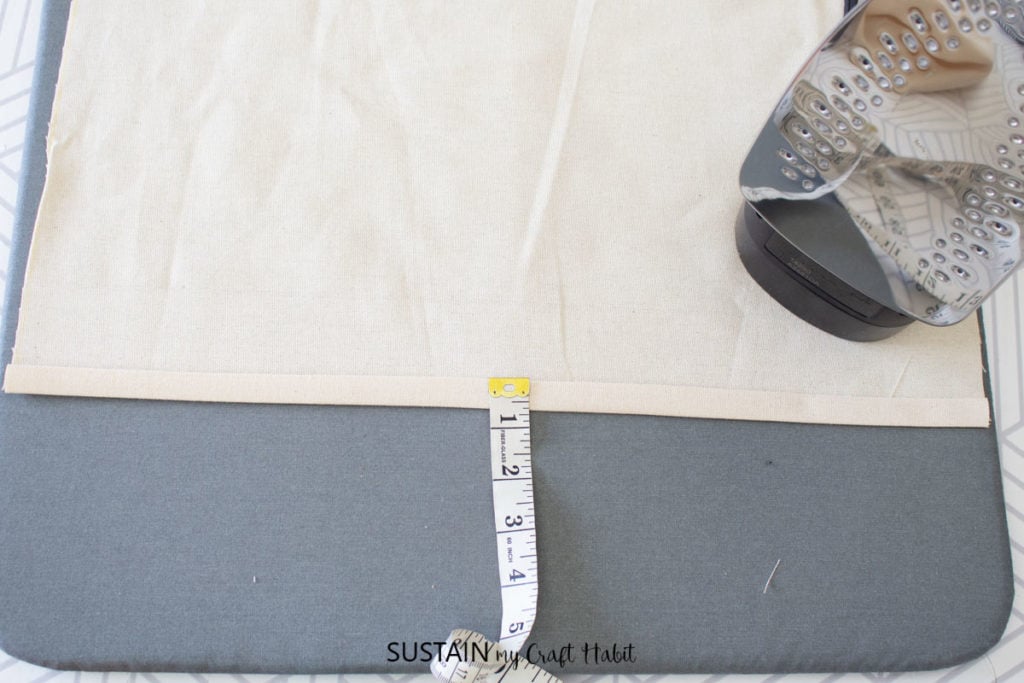
BACK: Double fold the hem and press with iron 
BACK: Sew the hem in place with a 1/2″ topstitch

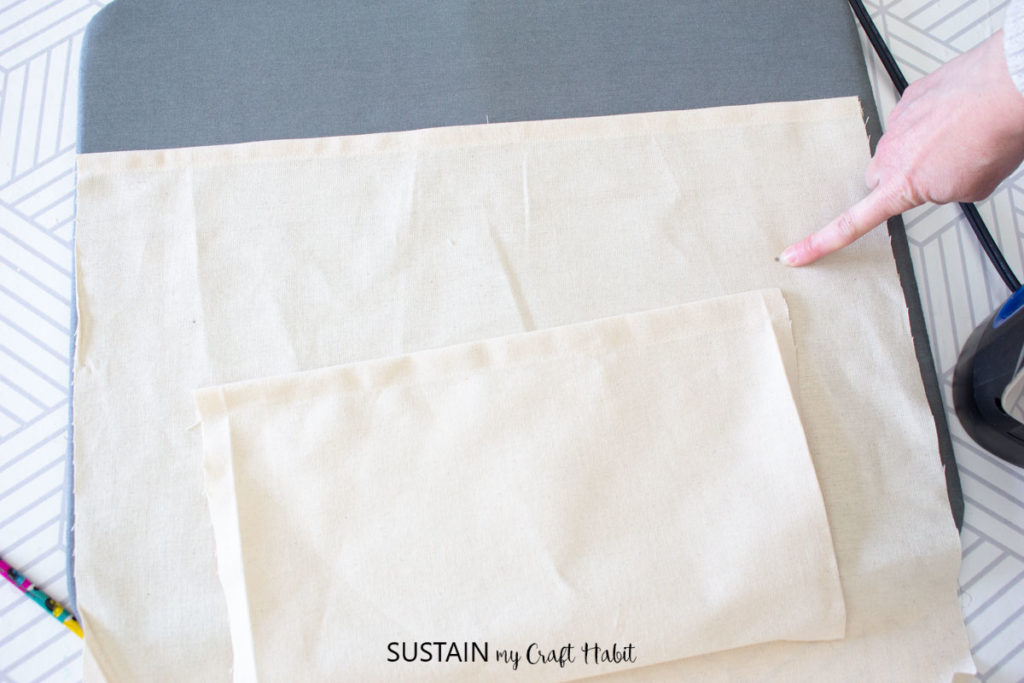
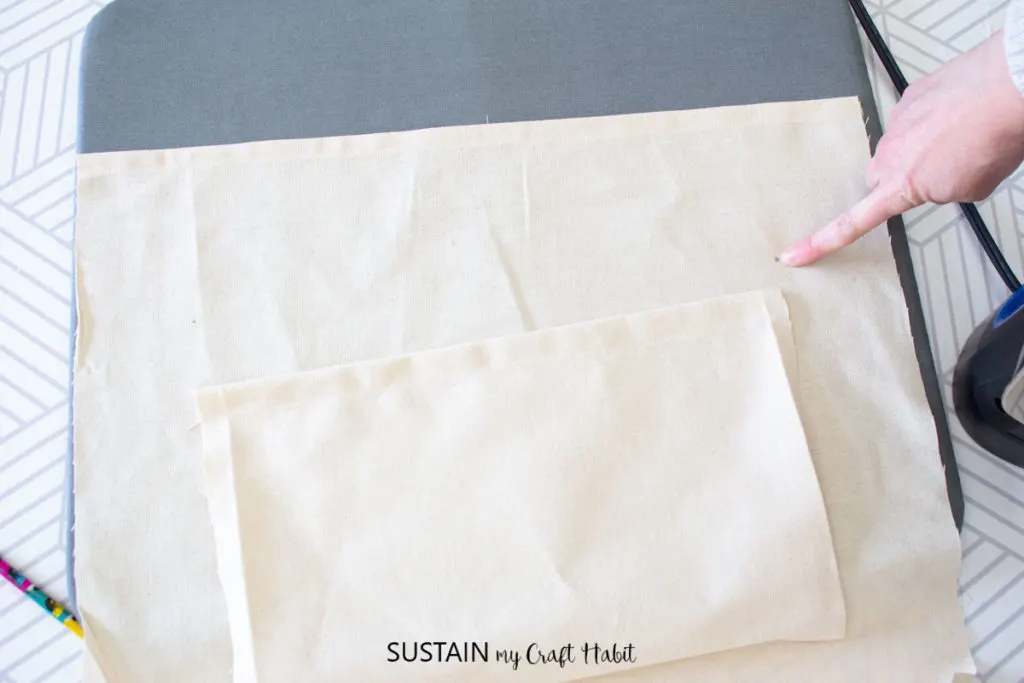
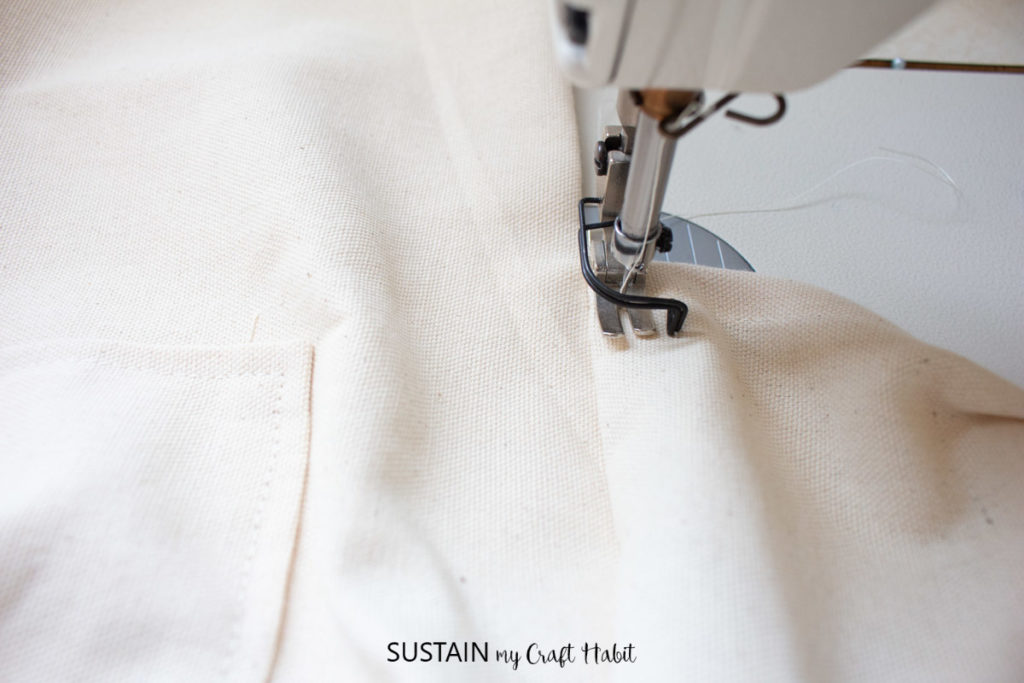
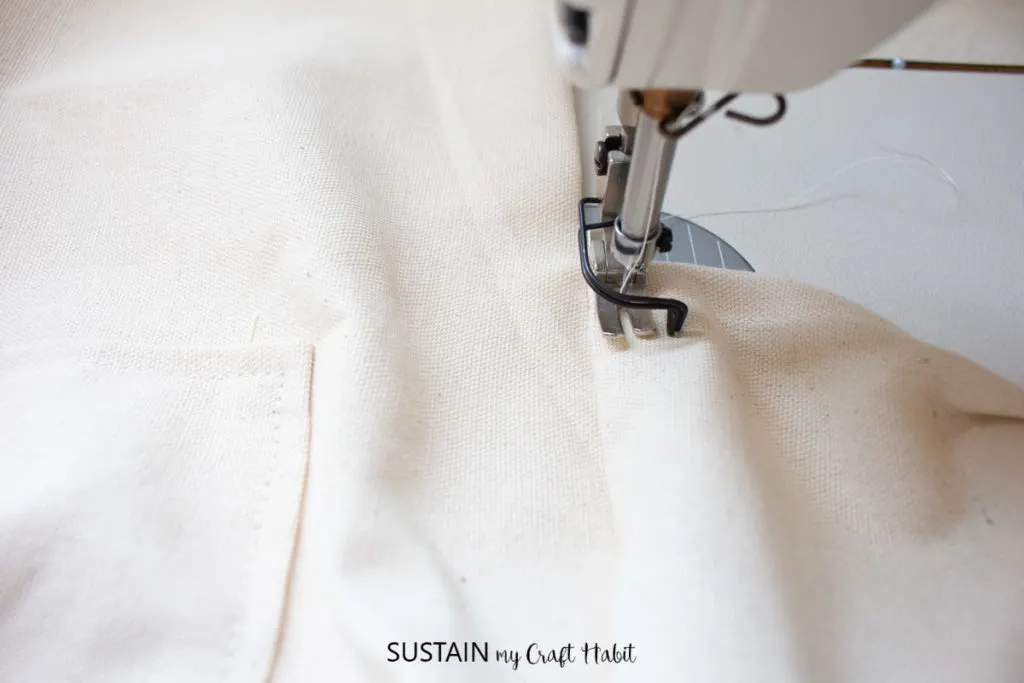
Fold and press the edges of the POCKET (3) piece in by ½” (WRONG side facing up) and then fold the pocket opening edge another ½” before stitching the hem along the opening.
Position the prepared POCKET piece on top of the BACK piece matching circles and pin in place.
Be sure to place the pocket in the right direction: the pocket opening edge should be closest to the finished hem.
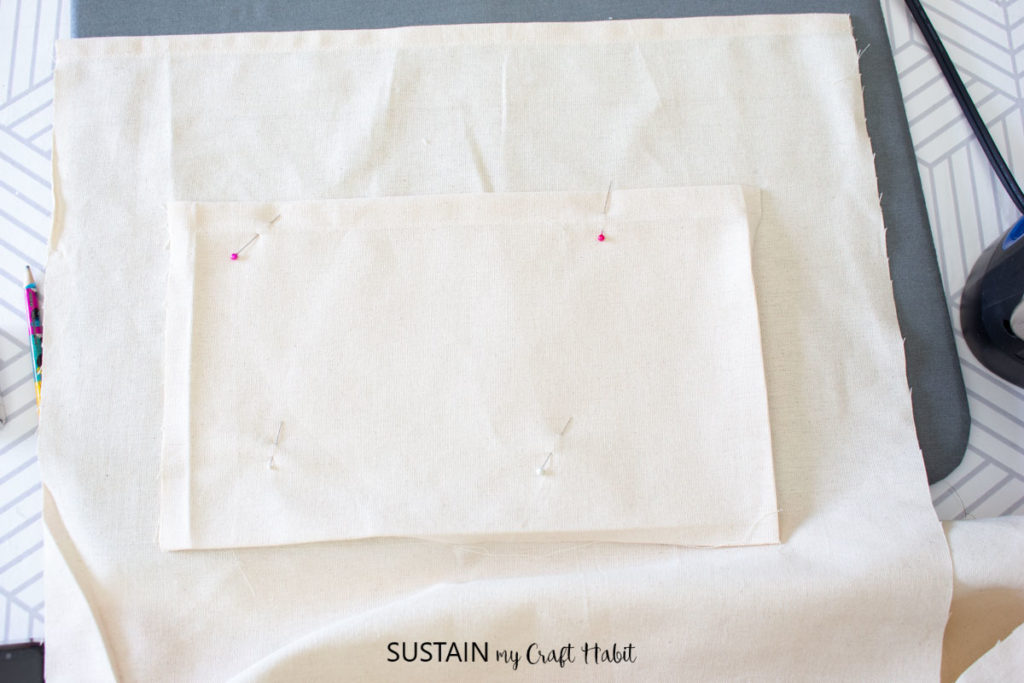

Stitch the POCKET piece to the BACK piece with a ¼” topstitch along all three sides.
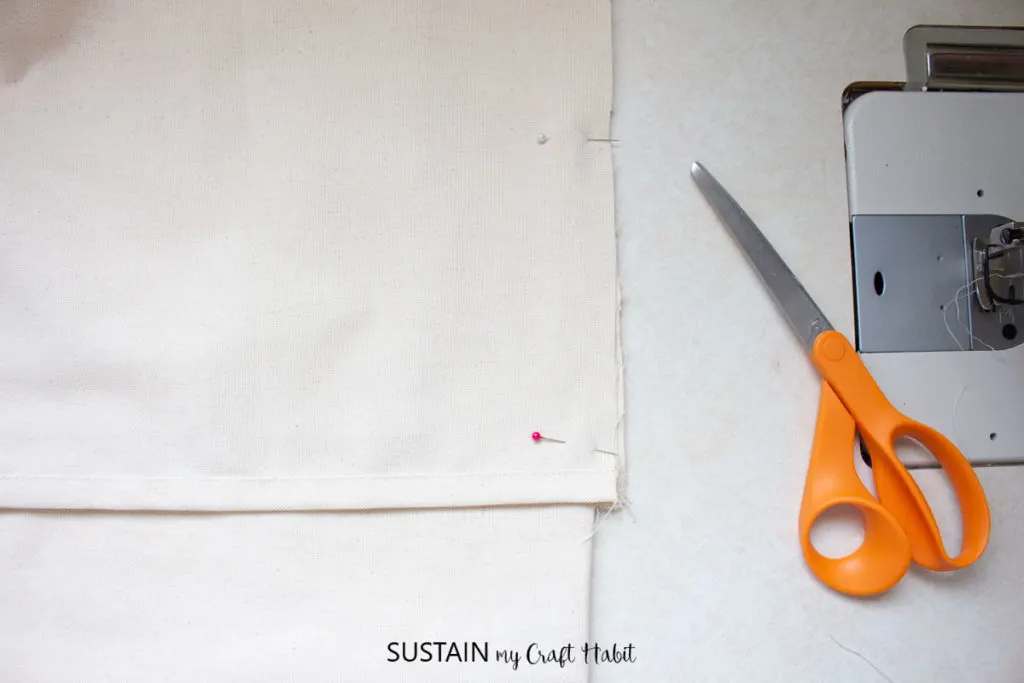
Fold the BACK piece RIGHT sides together matching notches. Sew from the folded edge to the first notch on both sides with a ½” seam allowance.
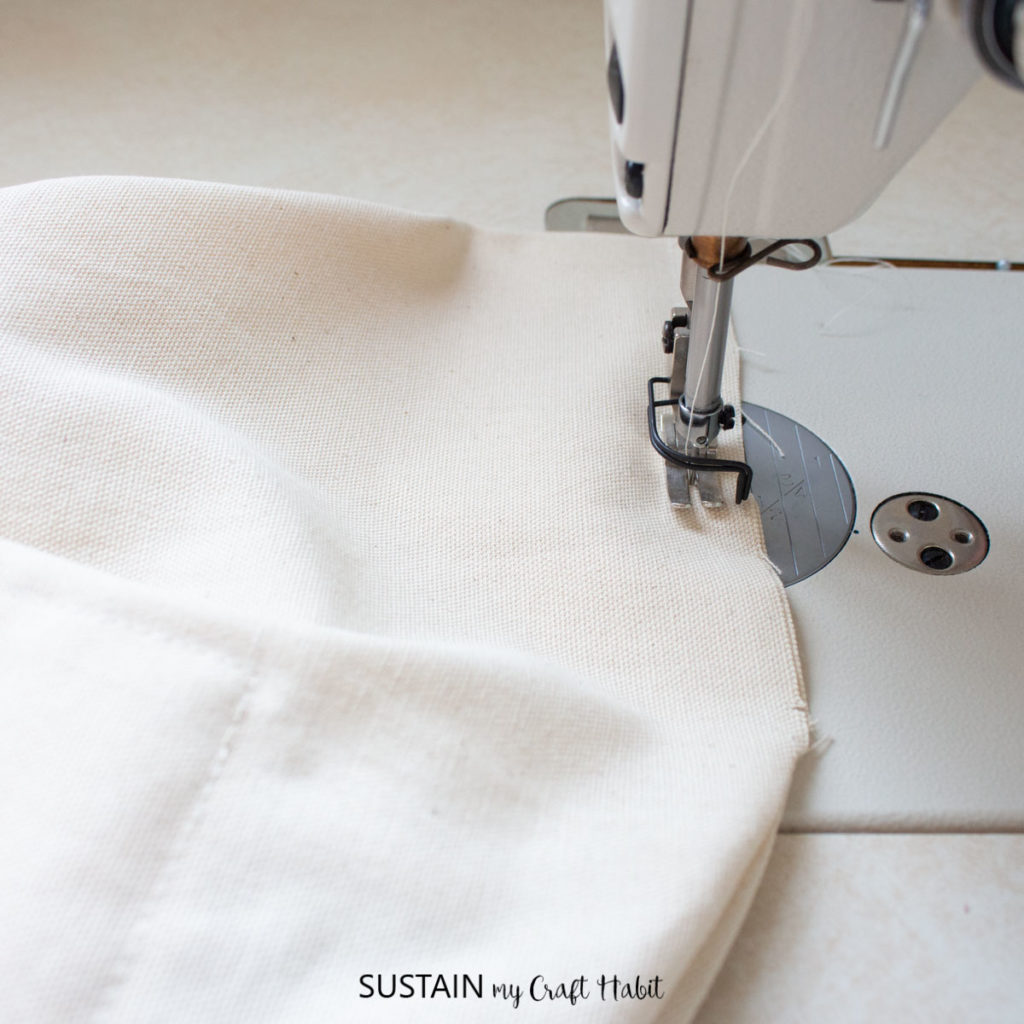

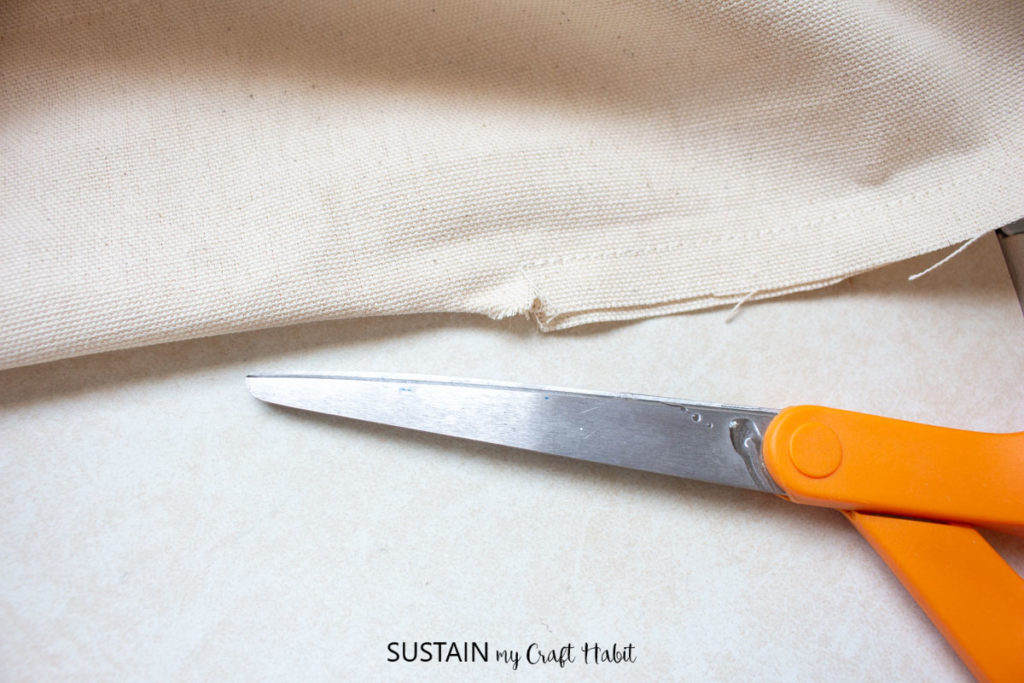
Clip the notch as close to the stitch as possible without going past it.
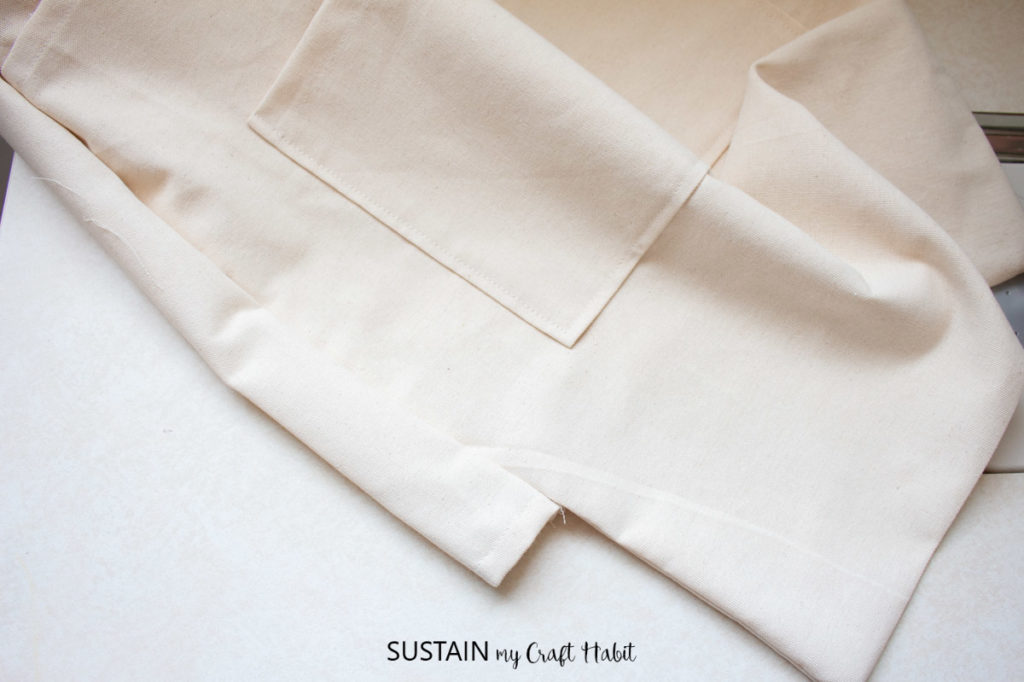
Turn the BACK piece right side out and poke the corners out so they lay flat.

With WRONG sides together, sew the two layers together along both sides from the first notch all the way to the top edge. Use a basting stitch.

Place FRONT and BACK pieces RIGHT sides together. Sew the pieces together along all three sides with a ½” seam allowance.


Turn the chair organizer right side out. Stitch the seam allowance at the opening towards the back.


More Sewing Patterns and Tutorials
If you’re looking for more free sewing patterns and tutorials, you’ve come to the right place! Check out any or all of these sewing projects:
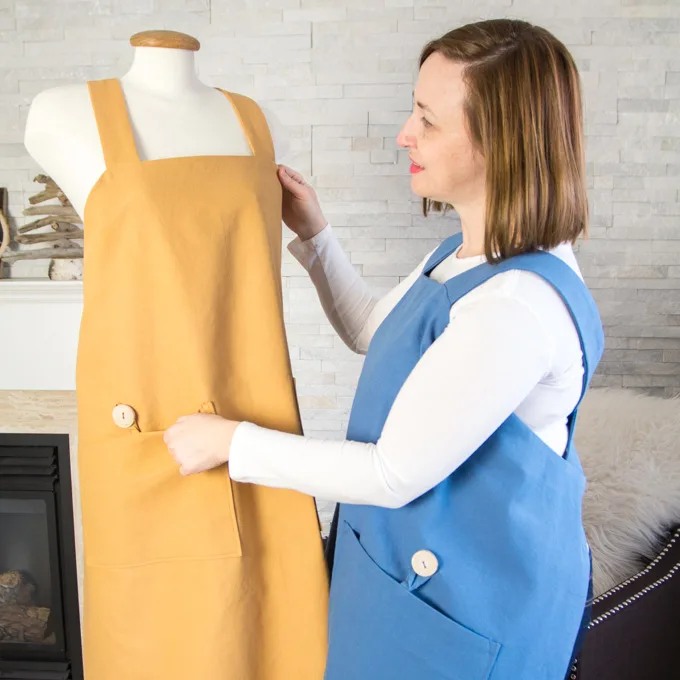
- Utility Apron sewing pattern for adults
- Half Apron sewing pattern
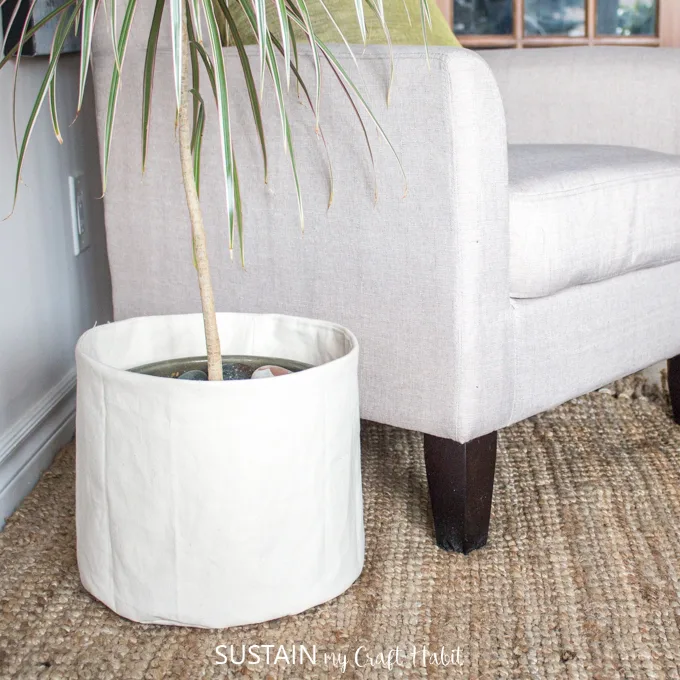
- Modern canvas planter cover


DIY Half Apron 

Ladies Utility Apron 
Modern Canvas Planter
And if you want to get yourself more organized, check out these other free sewing patterns:
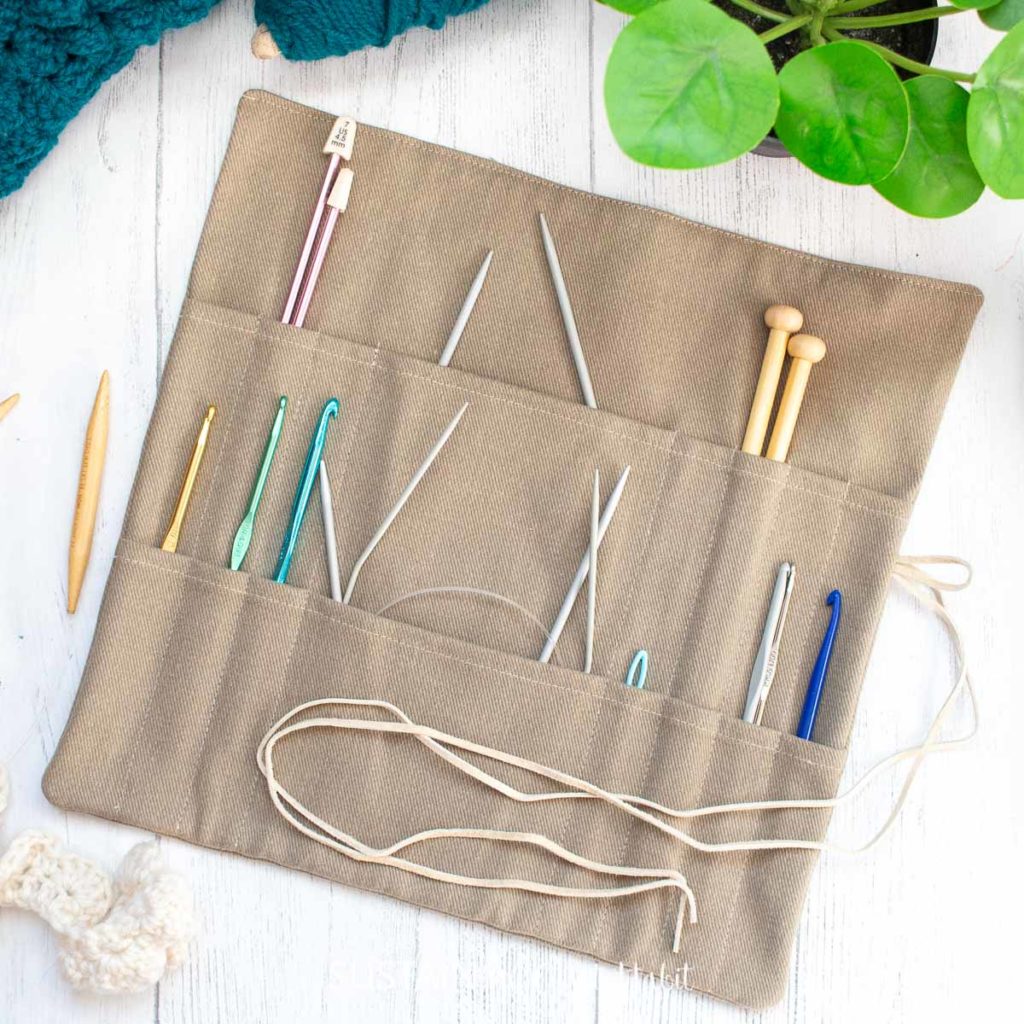
Knitting Needle Organizer 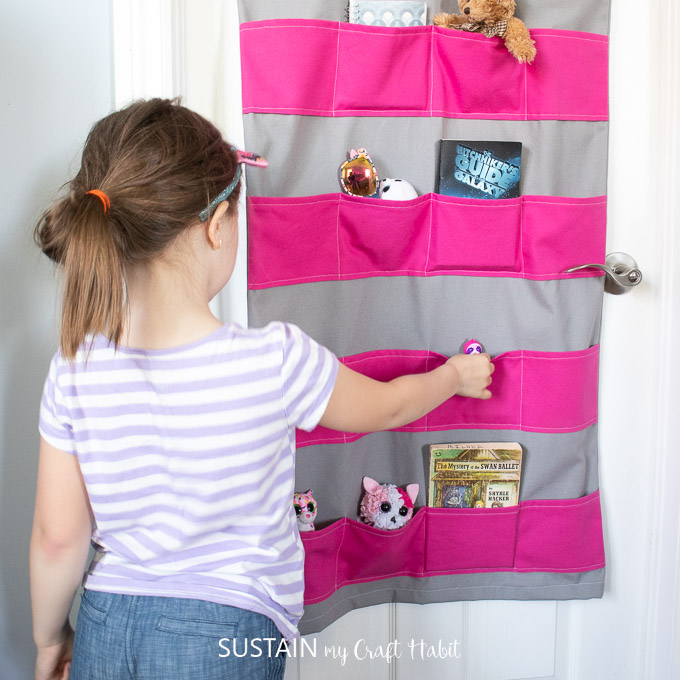
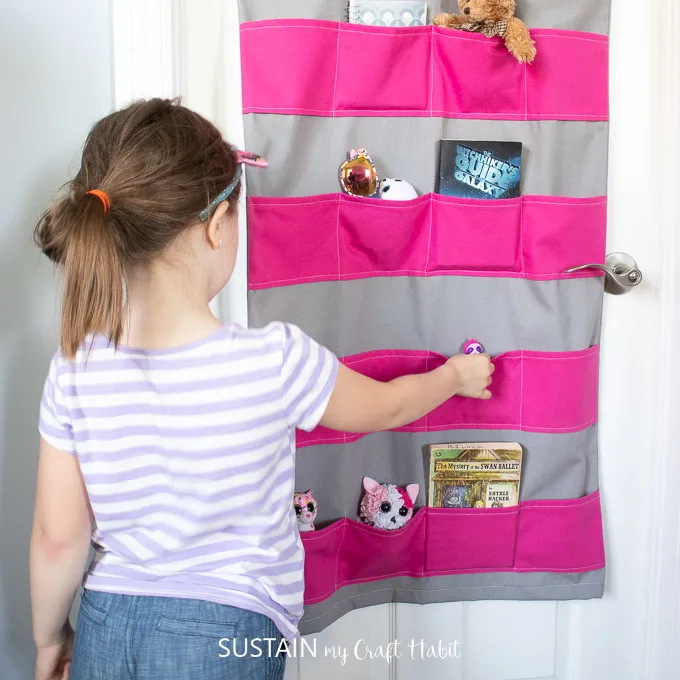
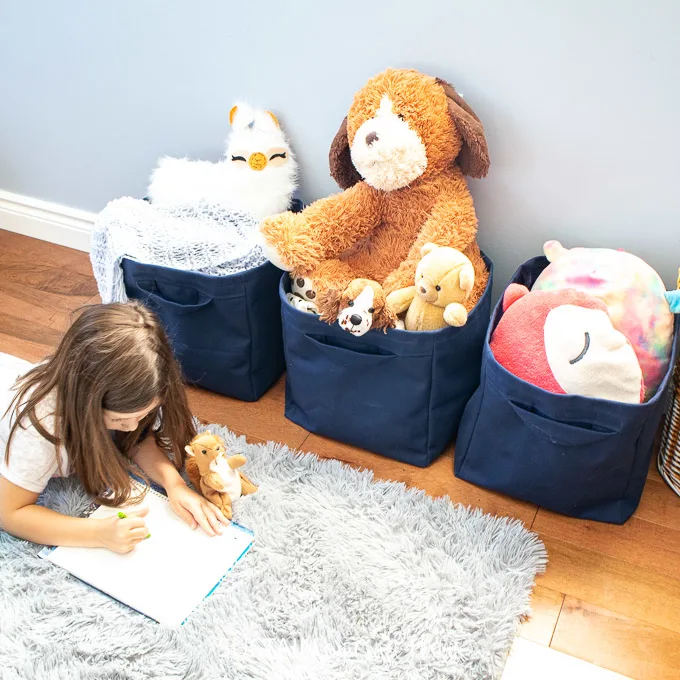
Hanging Toy Storage 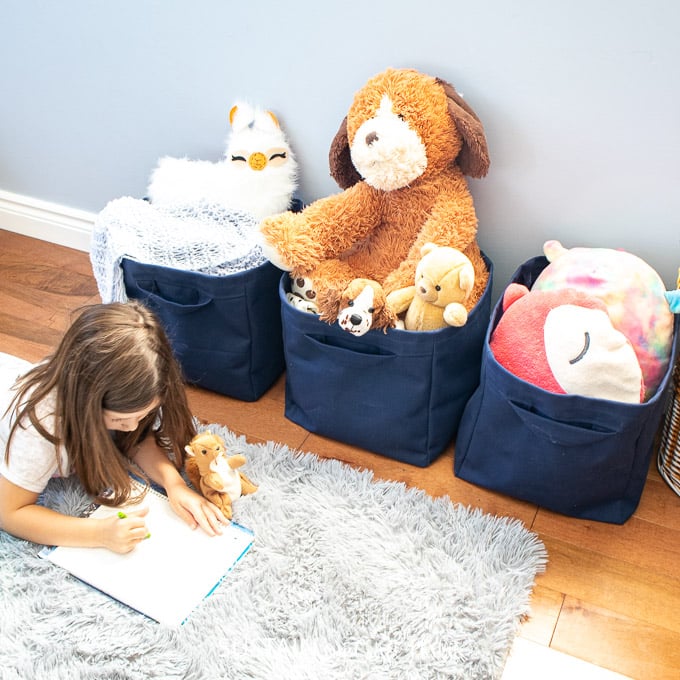
Fabric Cubes 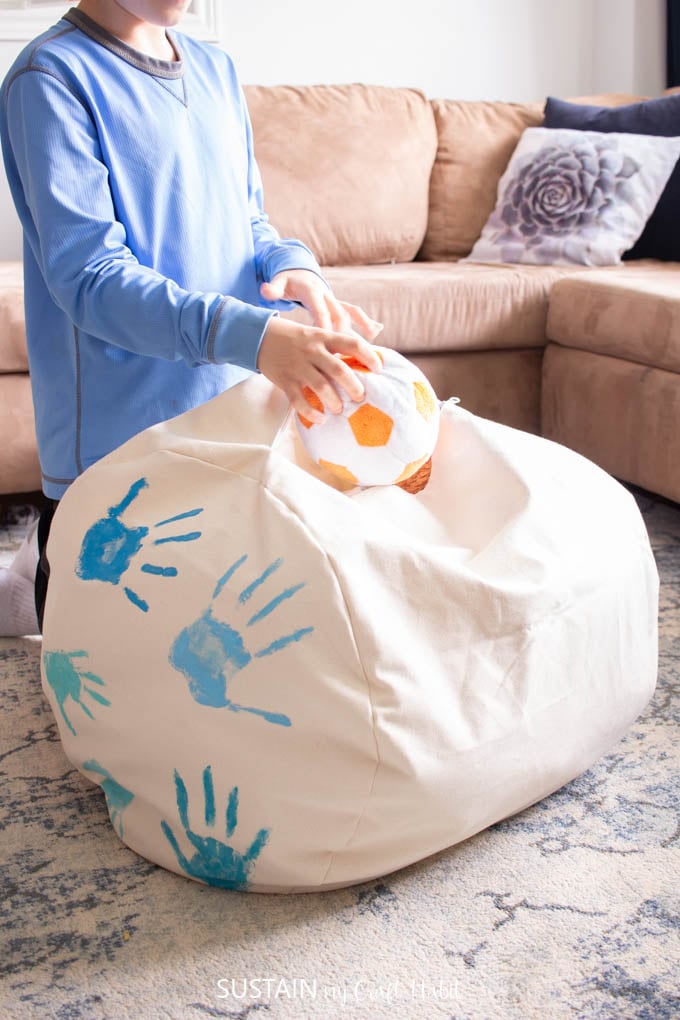

Storage Ottoman

Like it? Pin it for later!


Student Chair Organizer Sewing Pattern
Materials
- 7 oz 100% cotton canvas in natural 63″ wide
- Sewing machine and matching thread
- Fabric scissors
- Printable Student Chair Organizer sewing pattern
- Iron and ironing board
Instructions
Cutting
- If you’re using the printable pattern, send the downloaded PDF file to print maintaining the scale as is and once printed tape all the connecting red borders together to form a complete pattern.
Sewing
- Finish one of the short ends of the shorter rectangular piece; the chair organizer FRONT (1). This will form the finished hem on the front side.
- Finish one of the short ends of the long rectangular piece; the chair organizer BACK (2). This edge will form the opening to the chair organizer.
- Fold and press the edges of the POCKET (3) piece in by ½” (WRONG side facing up) and then fold the pocket opening edge another ½” before stitching the hem along the opening.
- Position the prepared POCKET piece on top of the BACK piece matching circles and pin in place.
- Stitch the POCKET piece to the BACK piece with a ¼” top stitch along all three sides.
- Fold the BACK piece RIGHT sides together matching notches. Sew from the folded edge to the first notch on both sides with a ½” seam allowance.
- Clip the notch as close to the stitch as possible without going past it.
- Turn the BACK piece right side out and poke the corners out so they lay flat.
- With WRONG sides together, sew the two layers together along both sides from the first notch all the way to the top edge. Use a basting stitch.
- Place FRONT and BACK pieces RIGHT sides together. Sew the pieces together along all three sides with a ½” seam allowance.
- Turn the chair organizer right side out. Stitch the seam allowance at the opening towards the back.