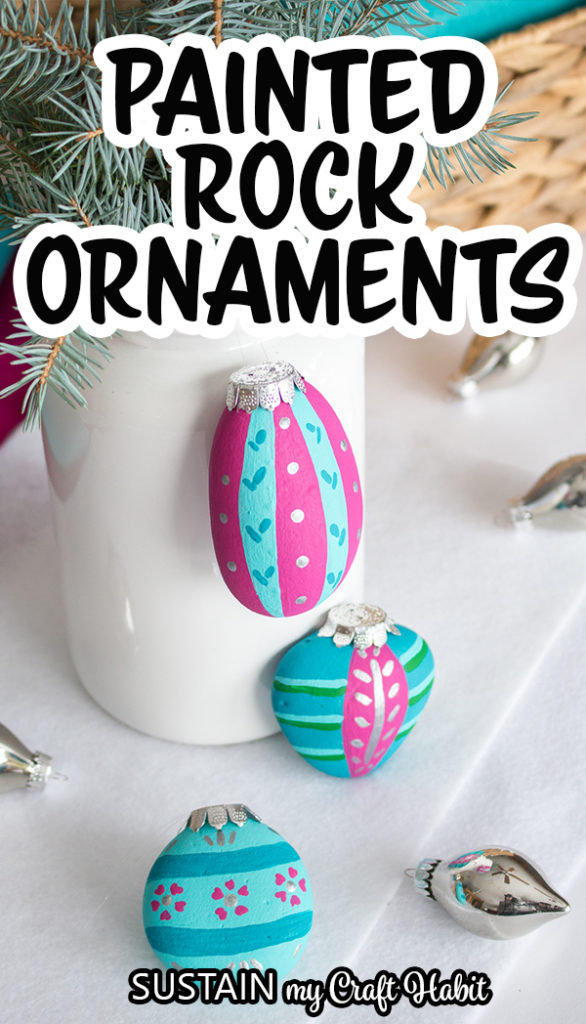

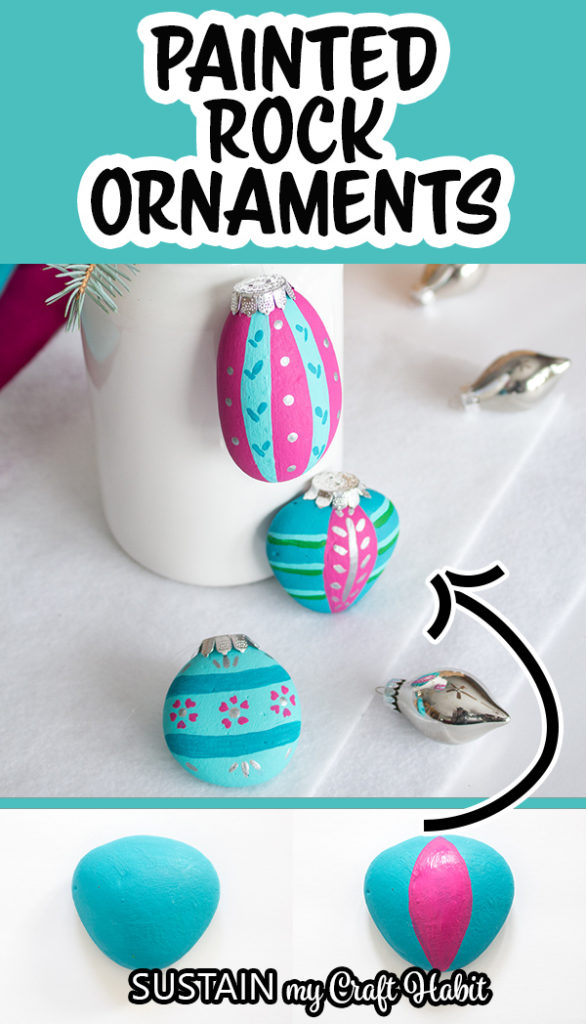
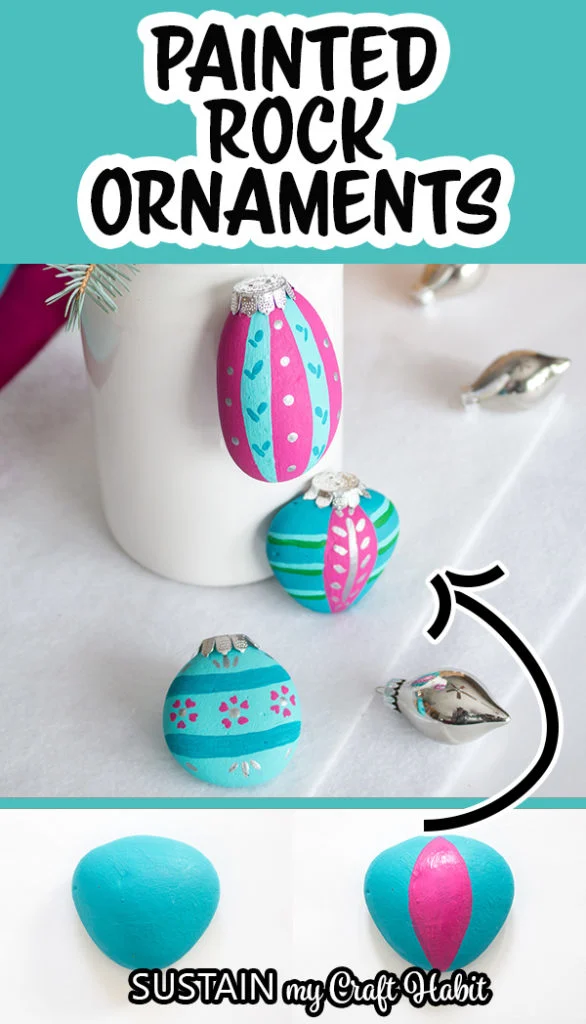
Add some nostalgia to your holiday decor with these vintage-inspired DIY Christmas ornament painted rocks.

Painted Rock Christmas Ornaments
After years of painting rocks; everything from sunflowers and daisies to shamrocks and sharks; we’re still finding creative ways of rock painting. One look at these vintage styled Christmas ornaments was just the inspiration needed to get out my paint supplies and get crafting!

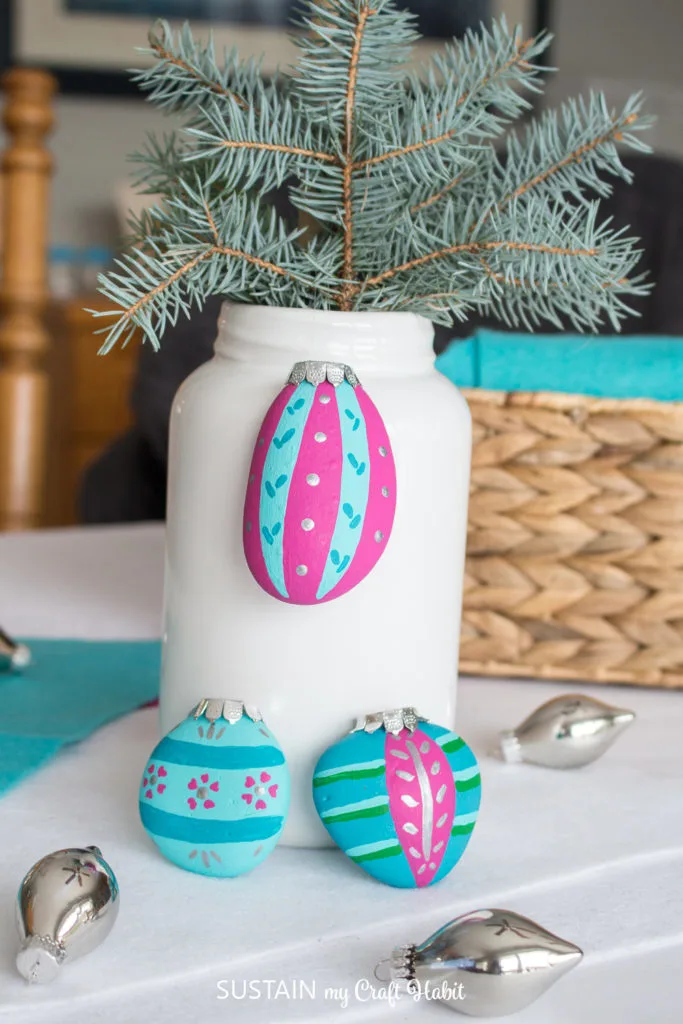
Beautiful, intricate and colorful glass ornaments bring back loads of memories from my childhood. As a kid, I remember admiring the detail in each of the Christmas ornaments that hung from the tree. Although these rocks won’t hang in quite the same way; they do look really pretty scattered throughout the house:)
Supplies Needed:
Disclosure: This post contains affiliate links for your shopping convenience. Should you choose to purchase through them, we will make a small commission at no extra cost to you. You can read our full disclosure policy here.
- Rocks (medium sized)
- Acrylic paint brushes, assorted sizes and tips
- Ornament Caps
- Hot glue gun and clear glue sticks
- Decoart Americana Acrylics
- Decoart Americana Multi Surface Satin
A Few Tips To Get You Started
- Protect work surface with sheet of newspaper.
- Wash the stone and let it dry completely before painting.
- Allow paint to fully dry between steps and when changing to a new color.
- Repeat with as many coats as needed to achieve desired coverage.
- Take extra care when using a hot glue gun to avoid injury.
How to Make Christmas Ornament Painted Rocks
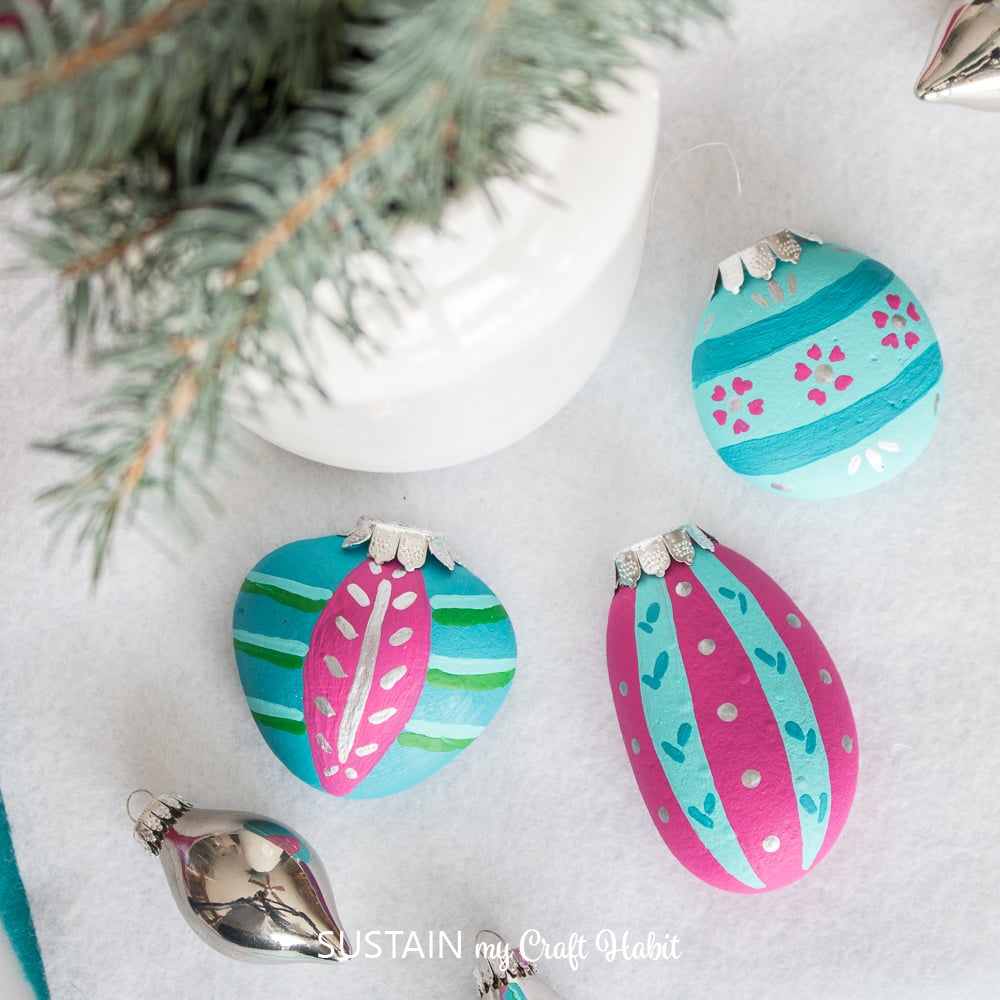
For Circular Ornament:
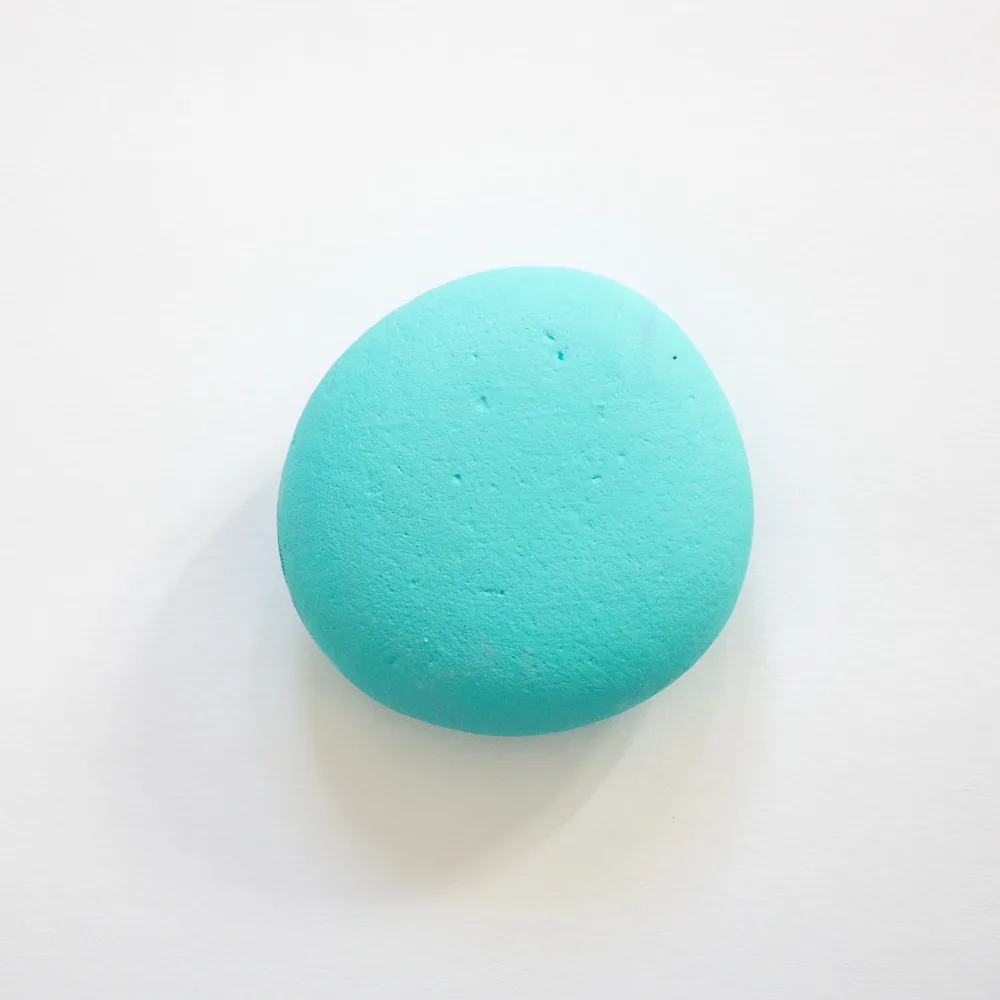
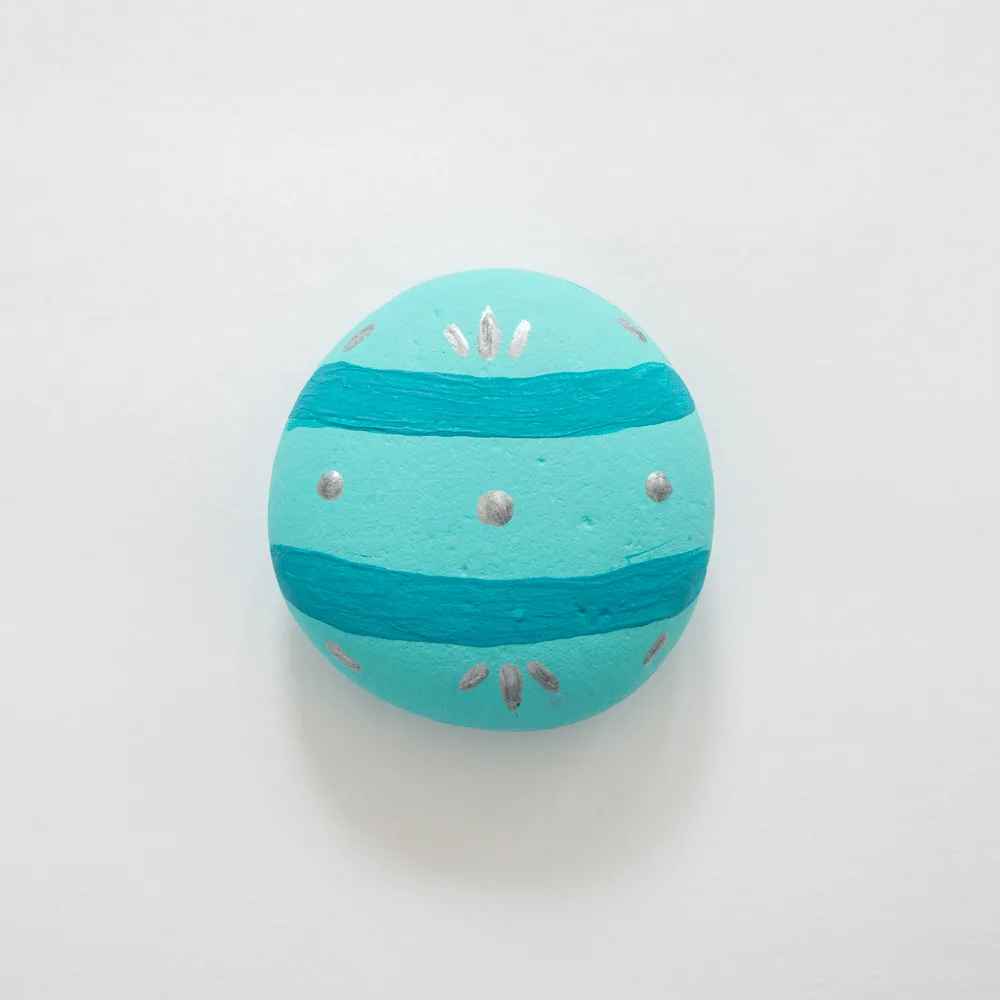
Paint the surface of the rock in bahama blue.
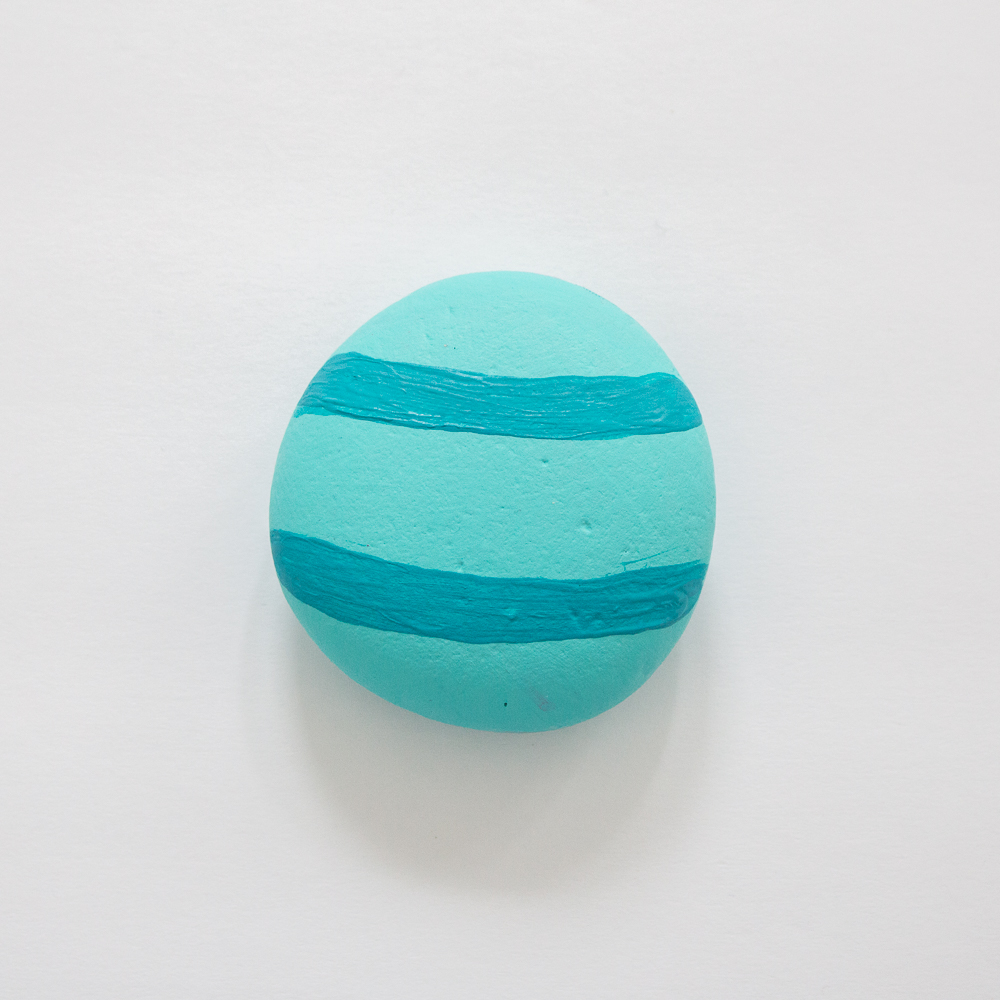
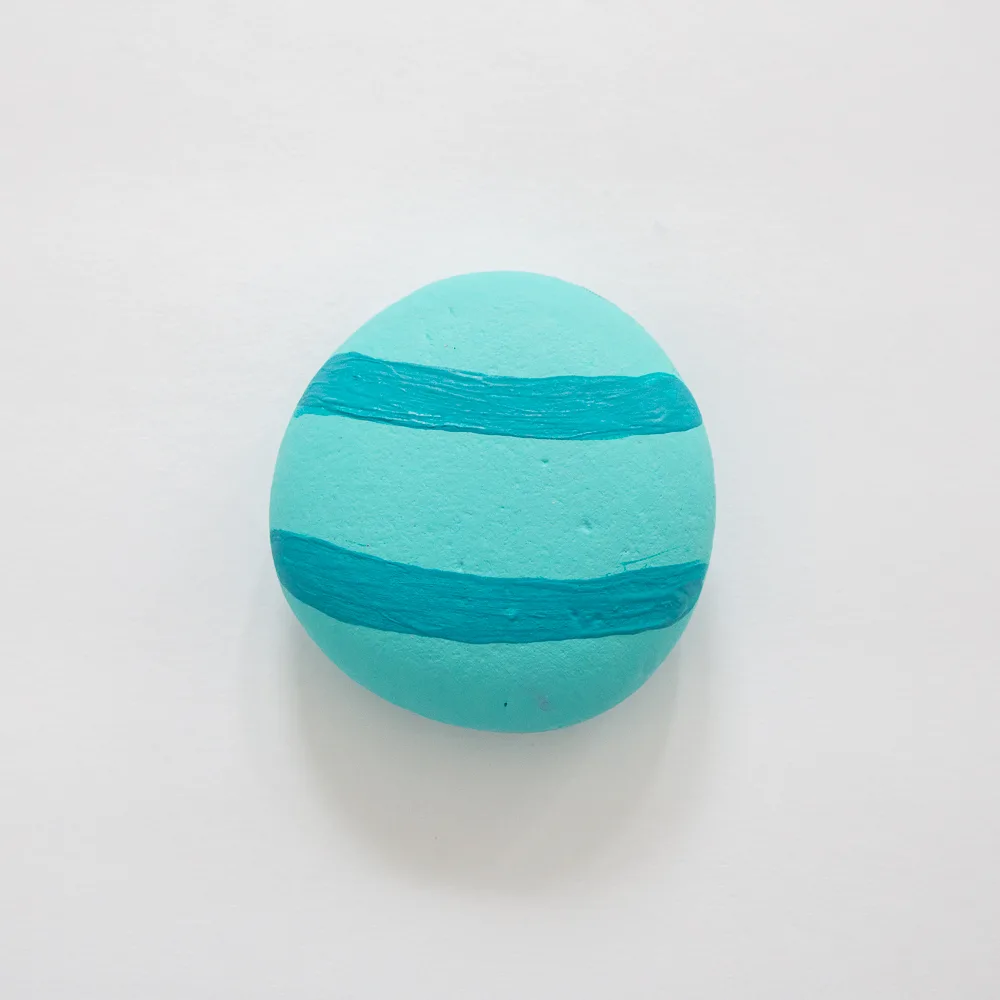
Next, paint two curved horizontal stripes on either side of the middle section.
Paint decorative shapes on either end of the rock as shown using a fine tip paintbrush and then using the opposite end of the paint brush, dip it into metallic silver and dab three small dots along the middle section.
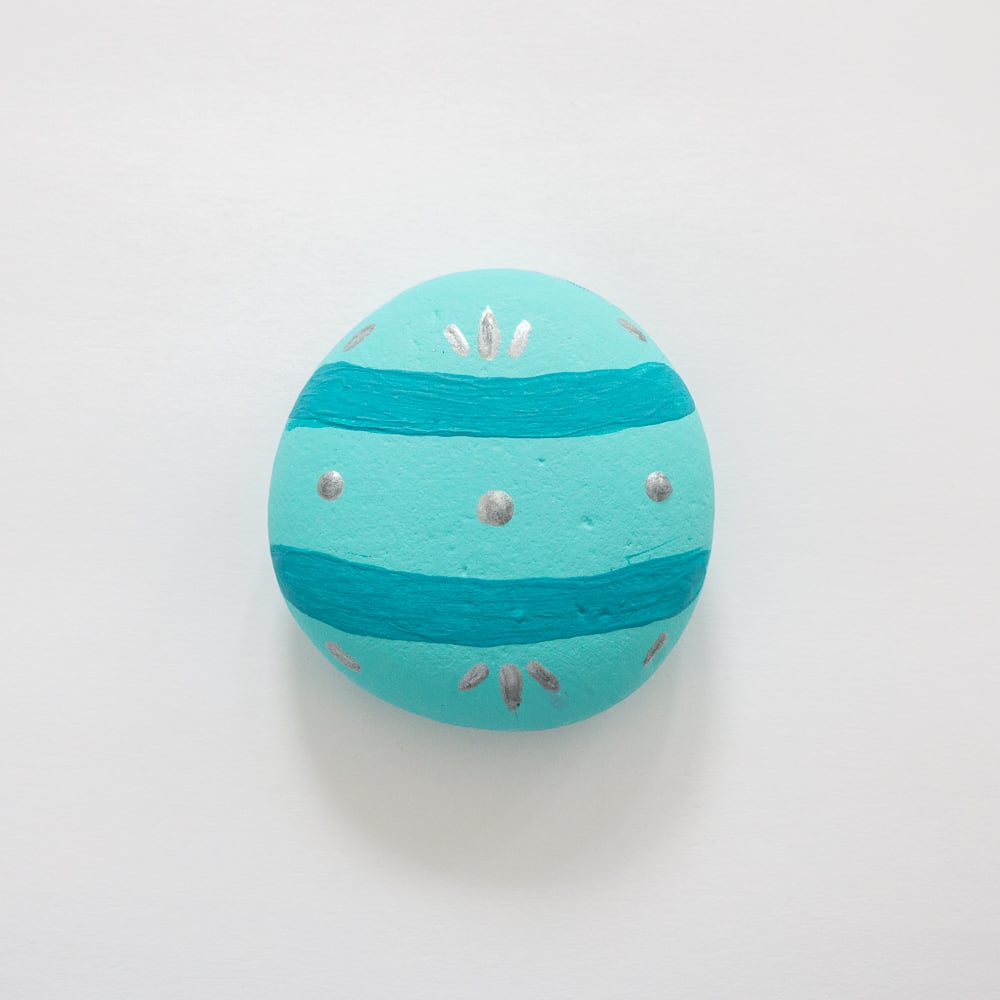
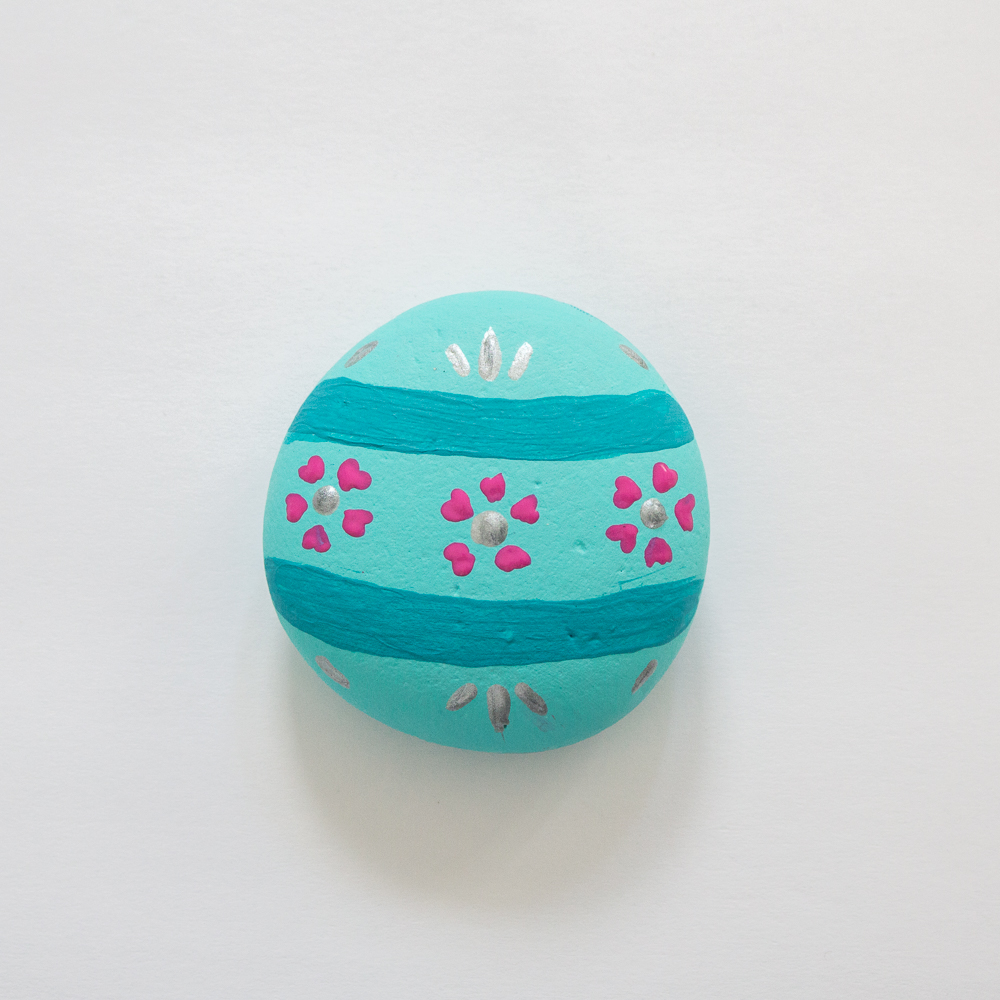
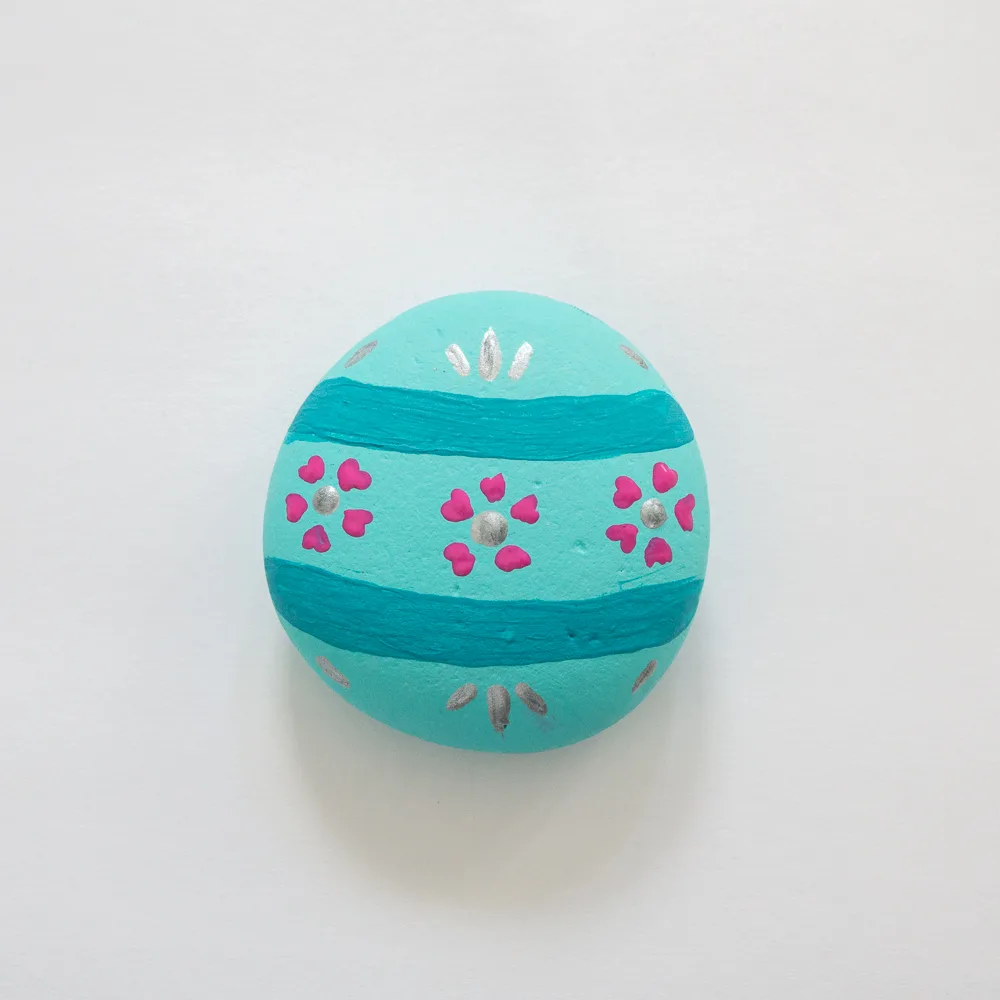
With a fine tip brush, paint flower petals around each of the three silver dots, each one similar to a small heart shape.
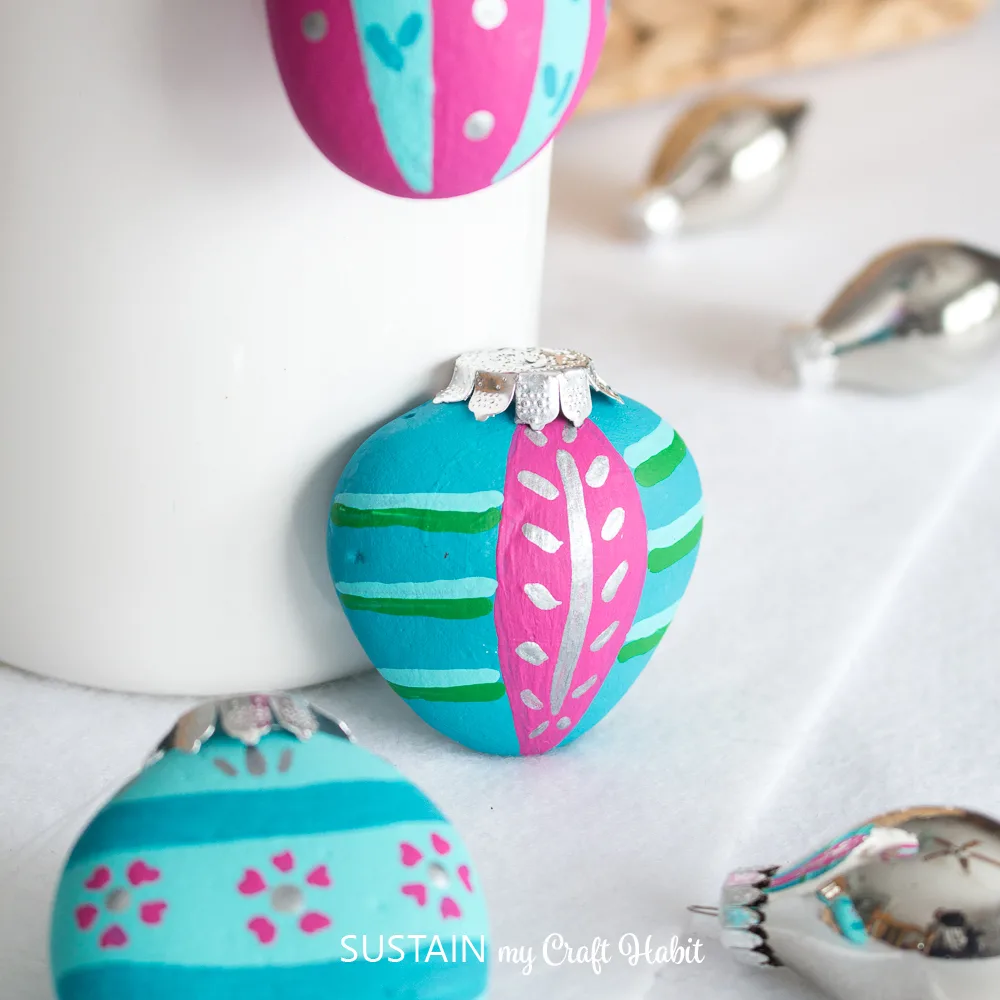
For Oblong Ornament:
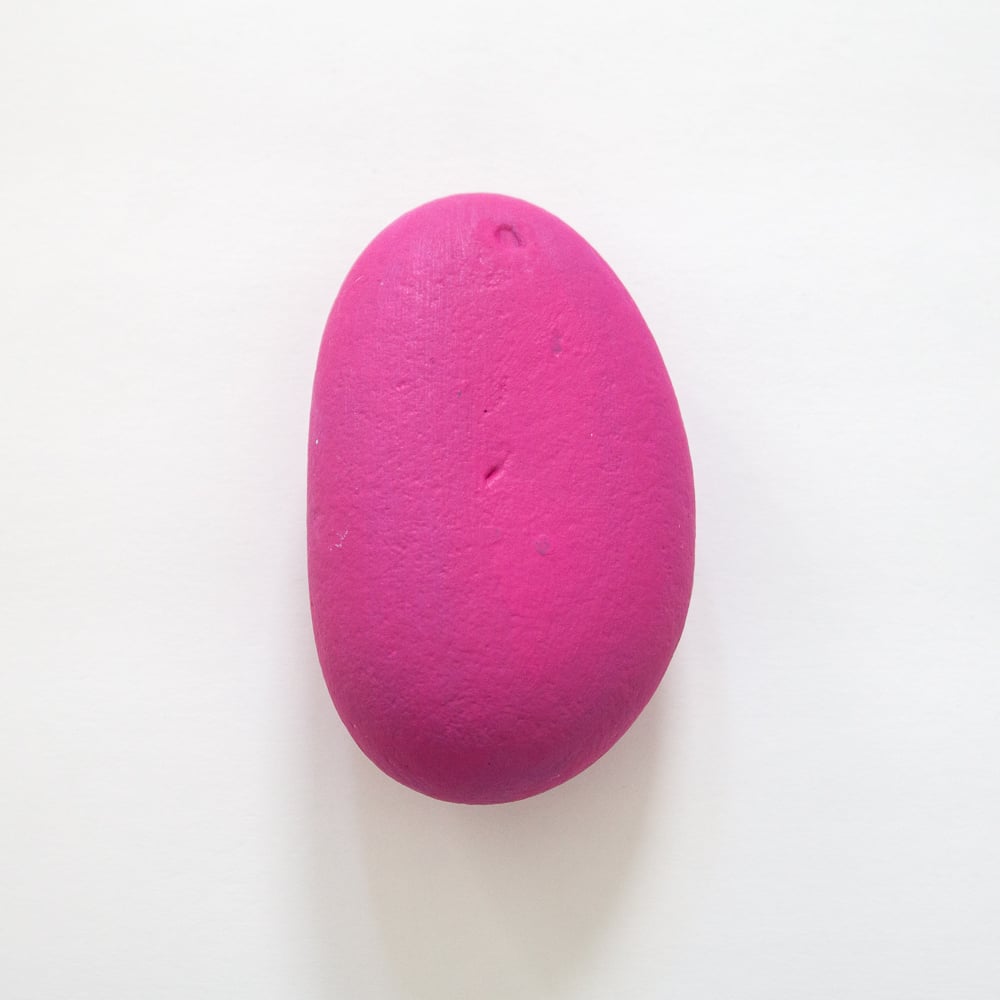
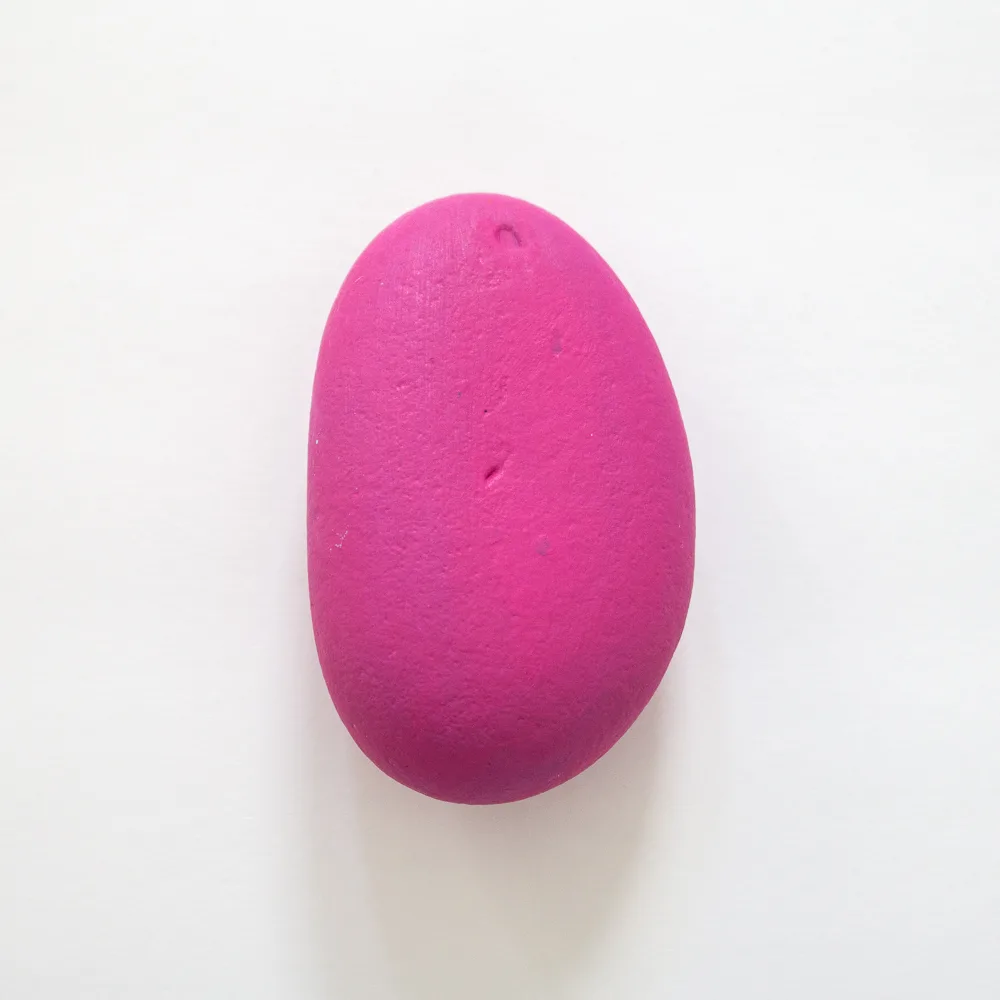
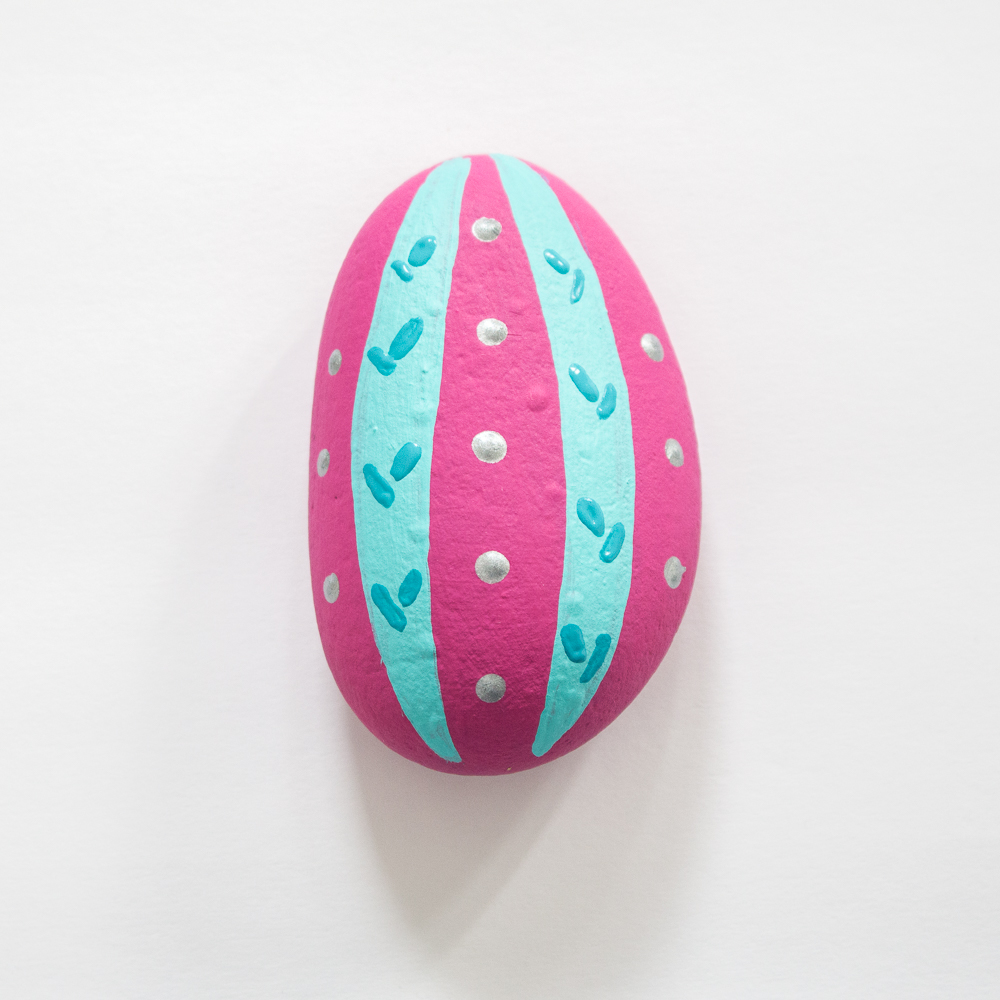
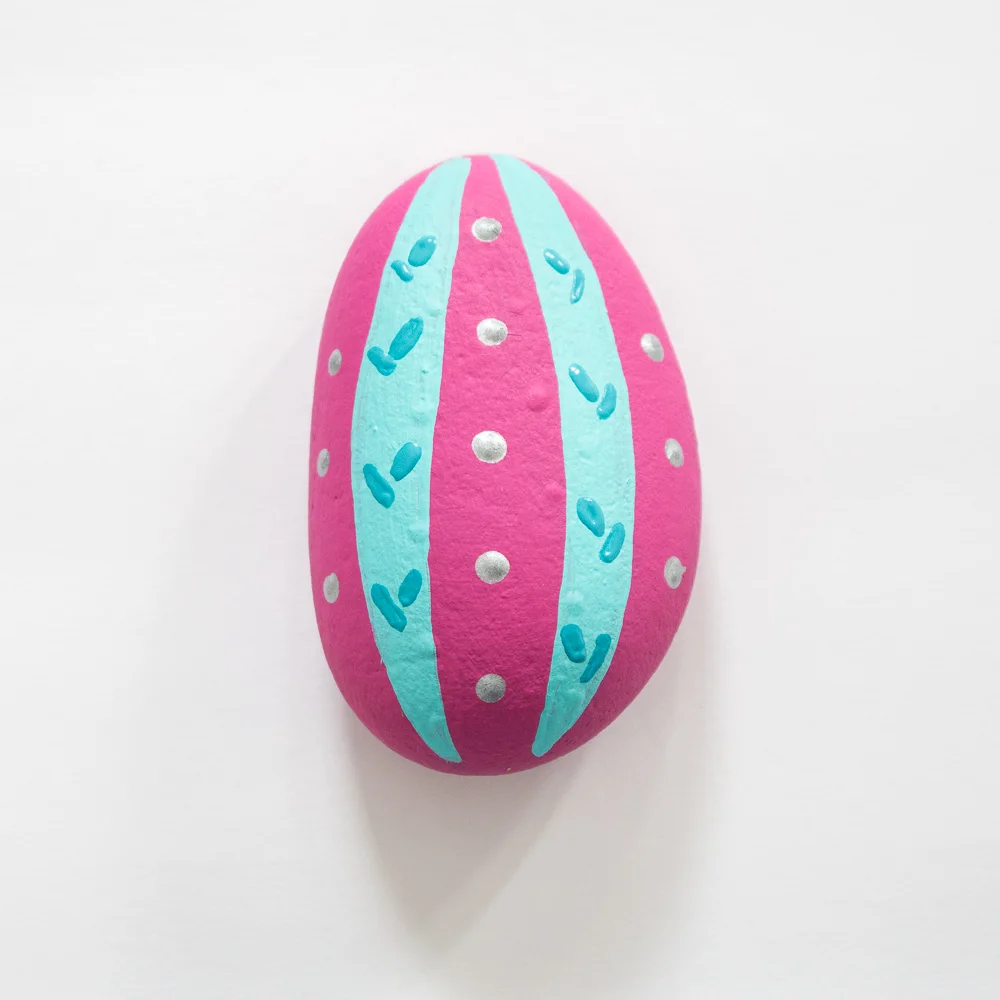
Paint the surface of the rock in royal fuchsia.
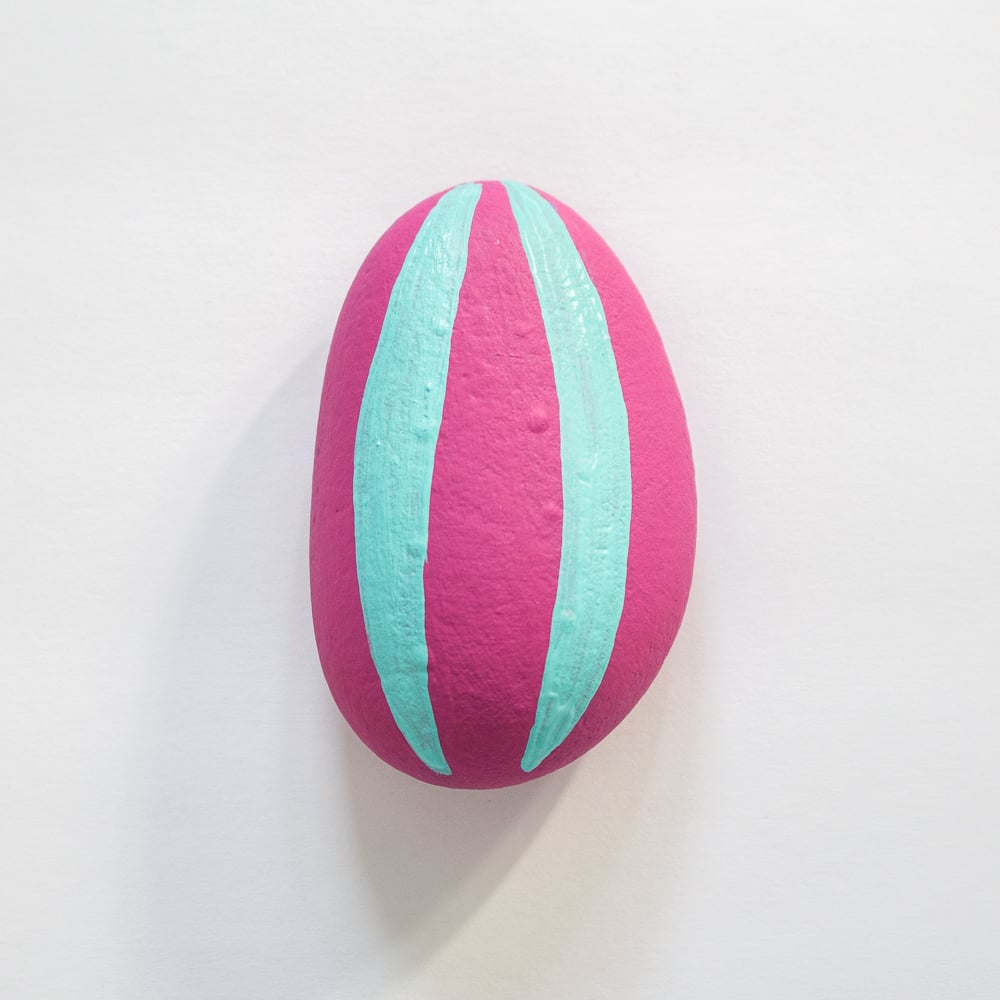
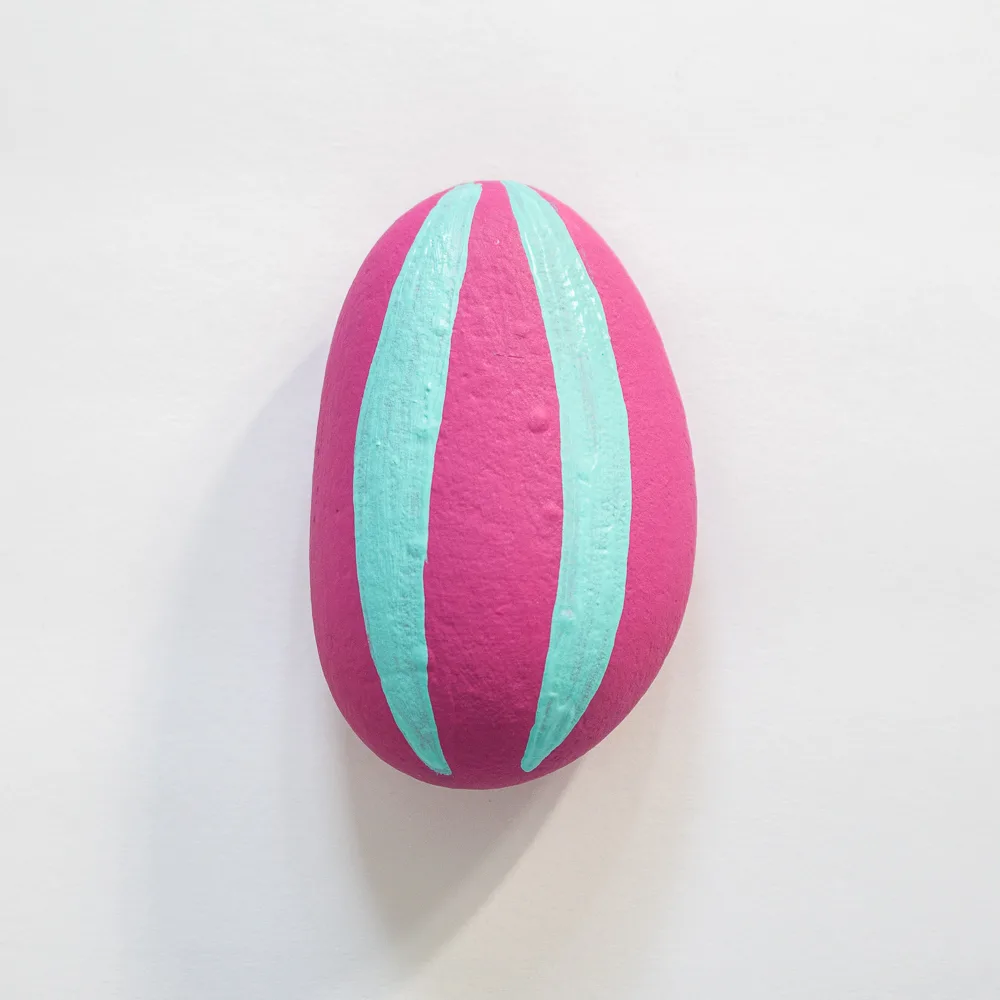
Paint two alternating curved vertical stripes in bahama blue.
Dip the opposite end of the paintbrush in metallic silver and dab a series of small dots along the center of each royal fuchsia stripe.
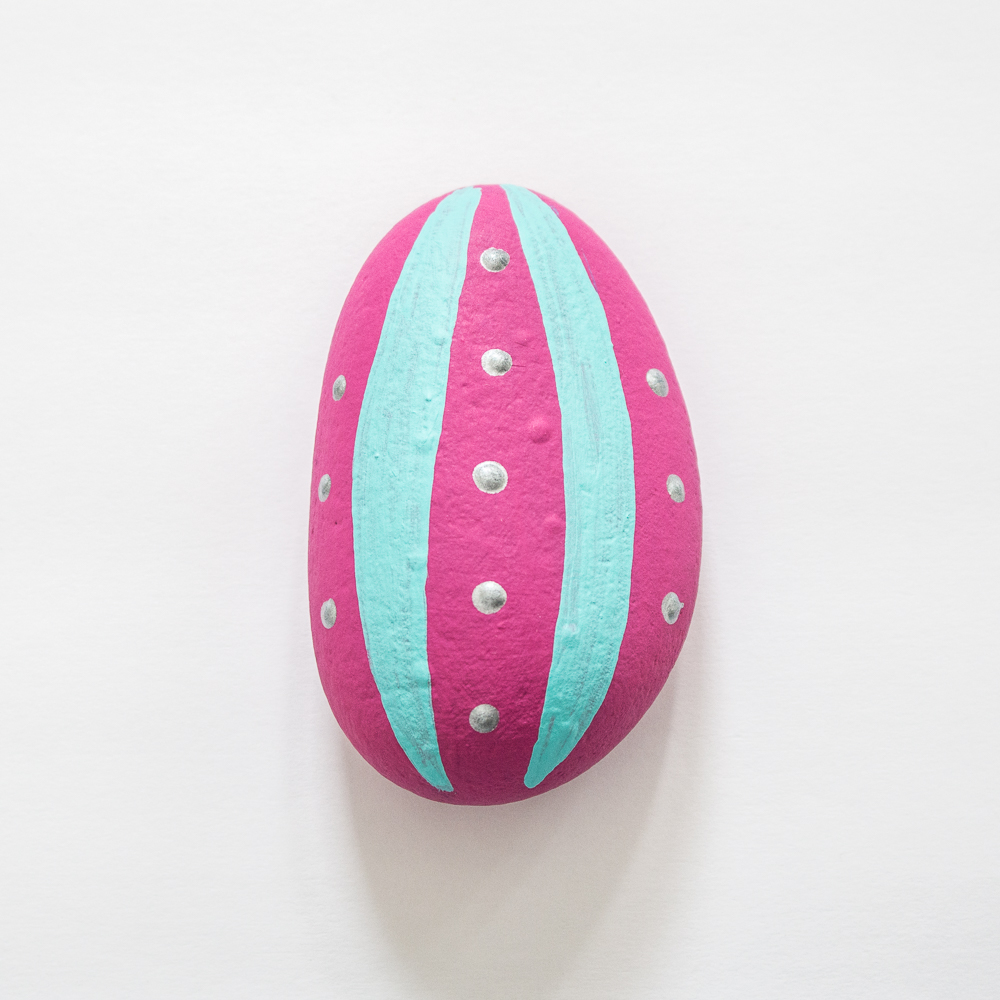
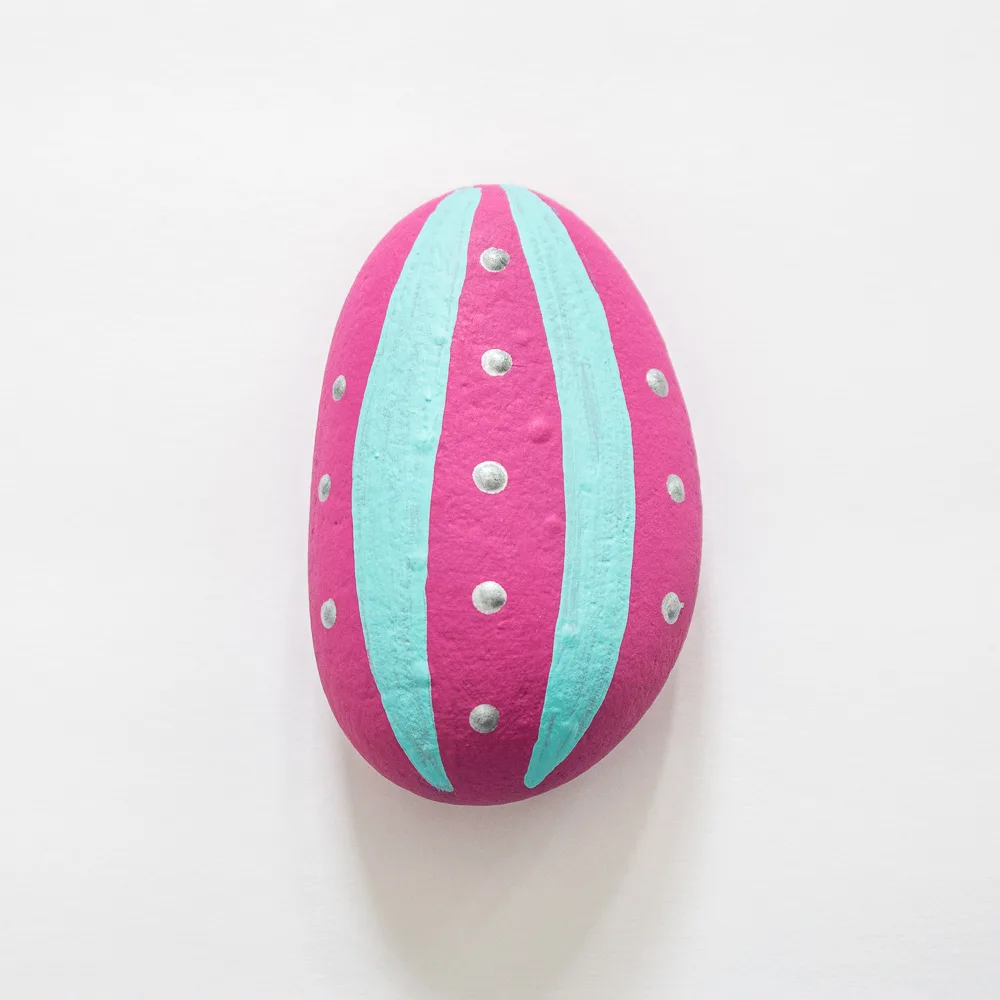
Using a fine tip brush, paint decorative shapes along the length of the bahama blue stripes in metallic silver.
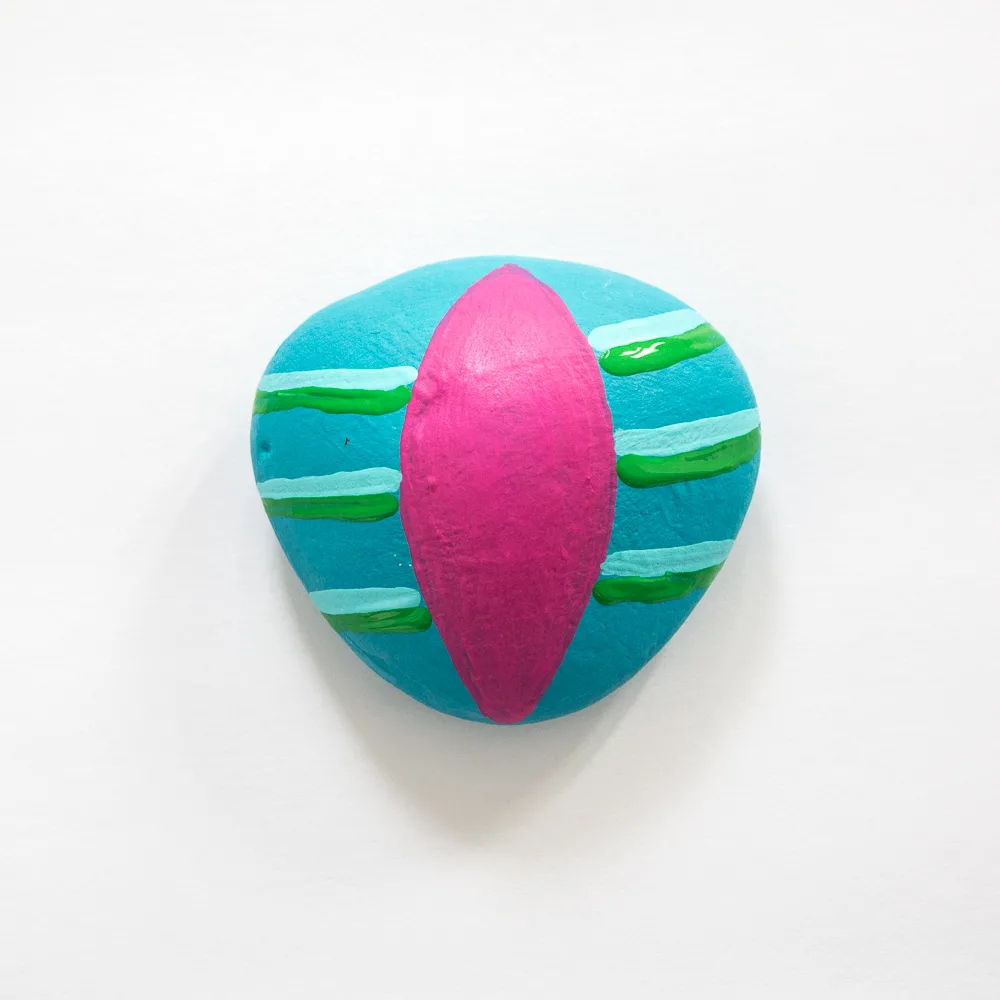
For Triangular shaped Ornament:
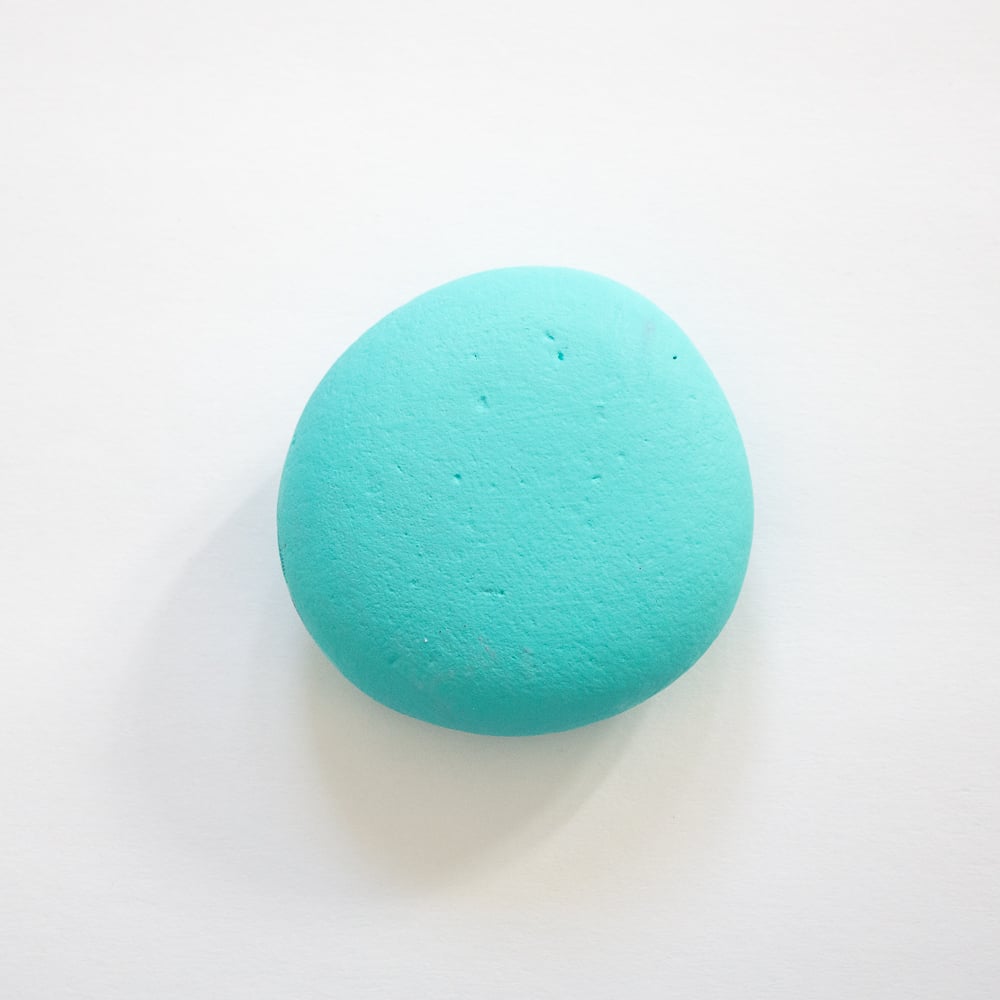
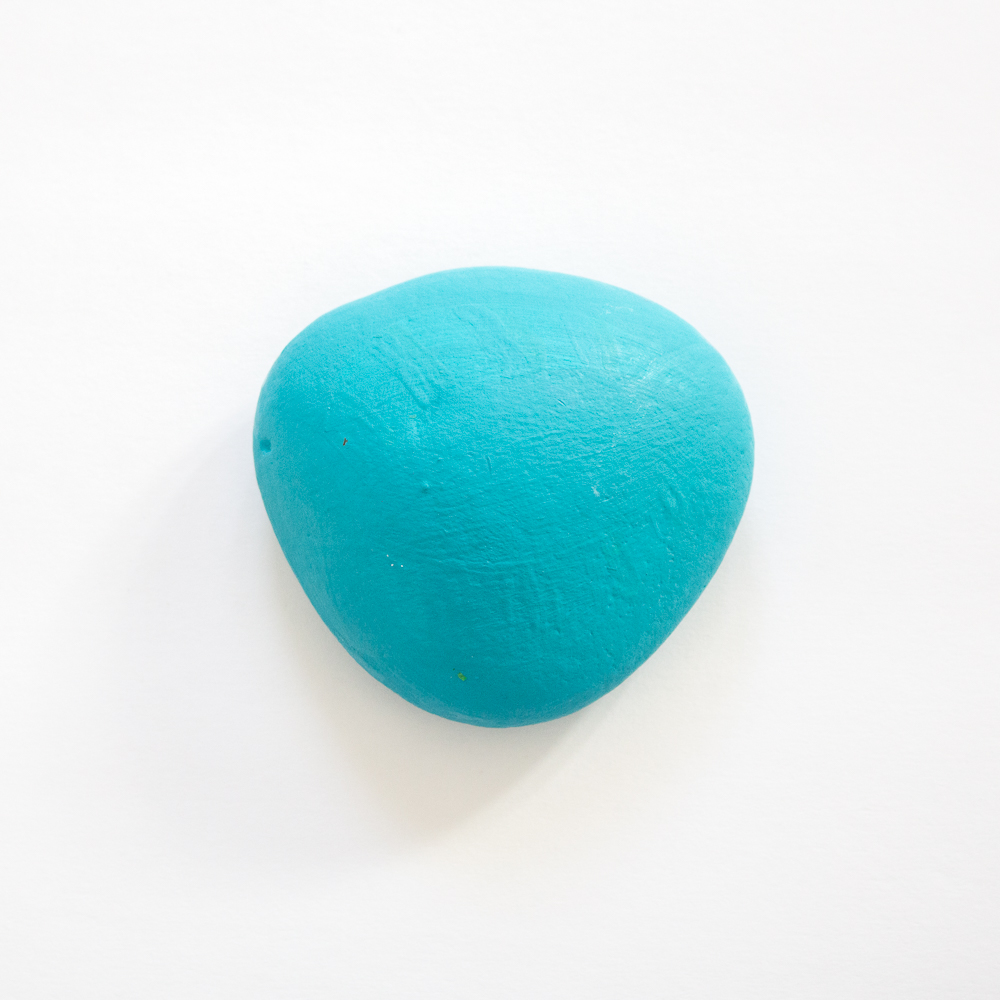
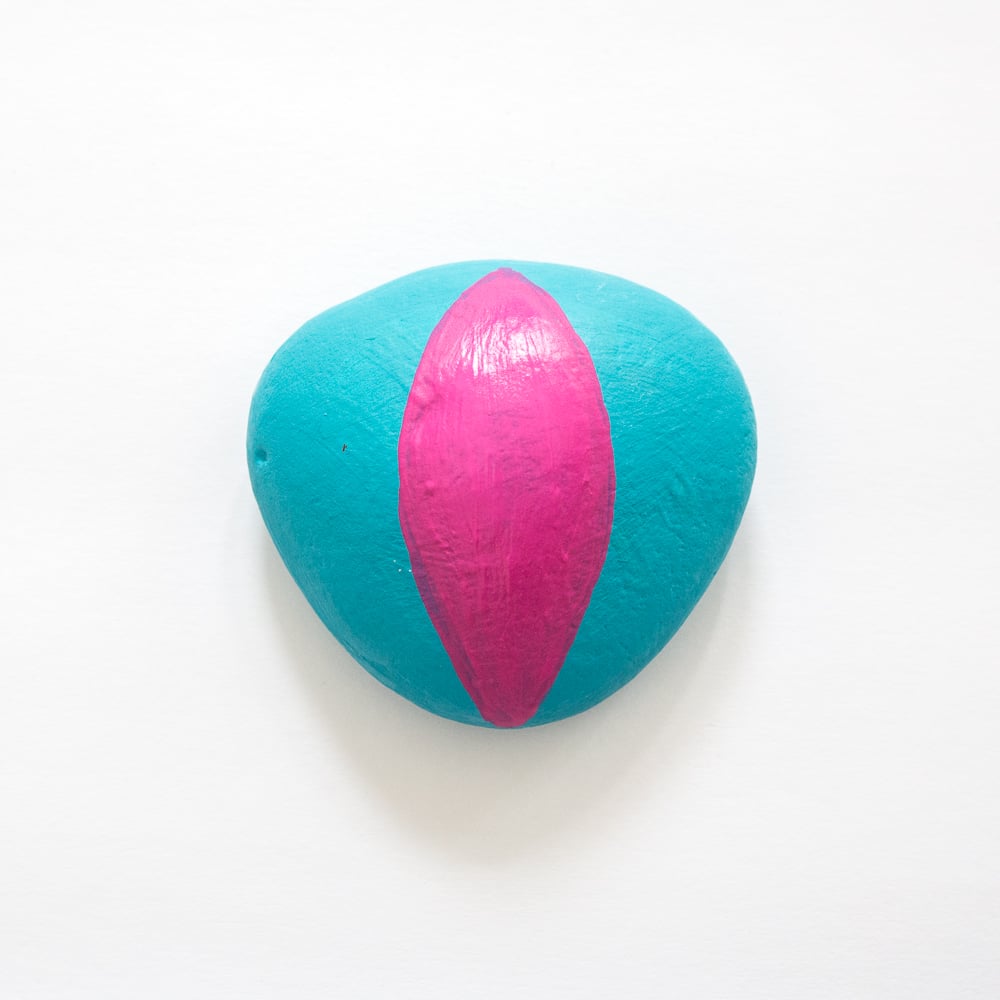
Paint the surface of the rock using desert turquoise and let it dry fully before changing colors.

Then paint an oval shape with pointed ends in the center of the rock using royal fuchsia.

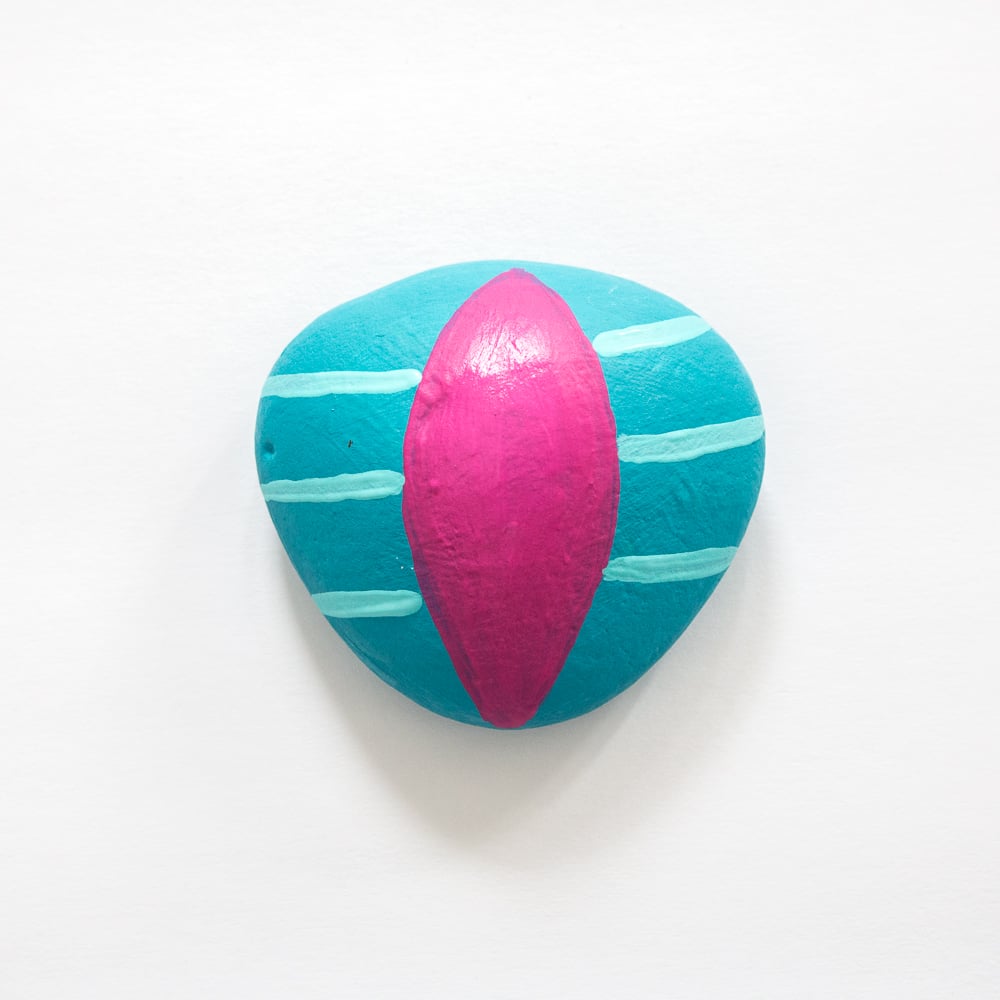
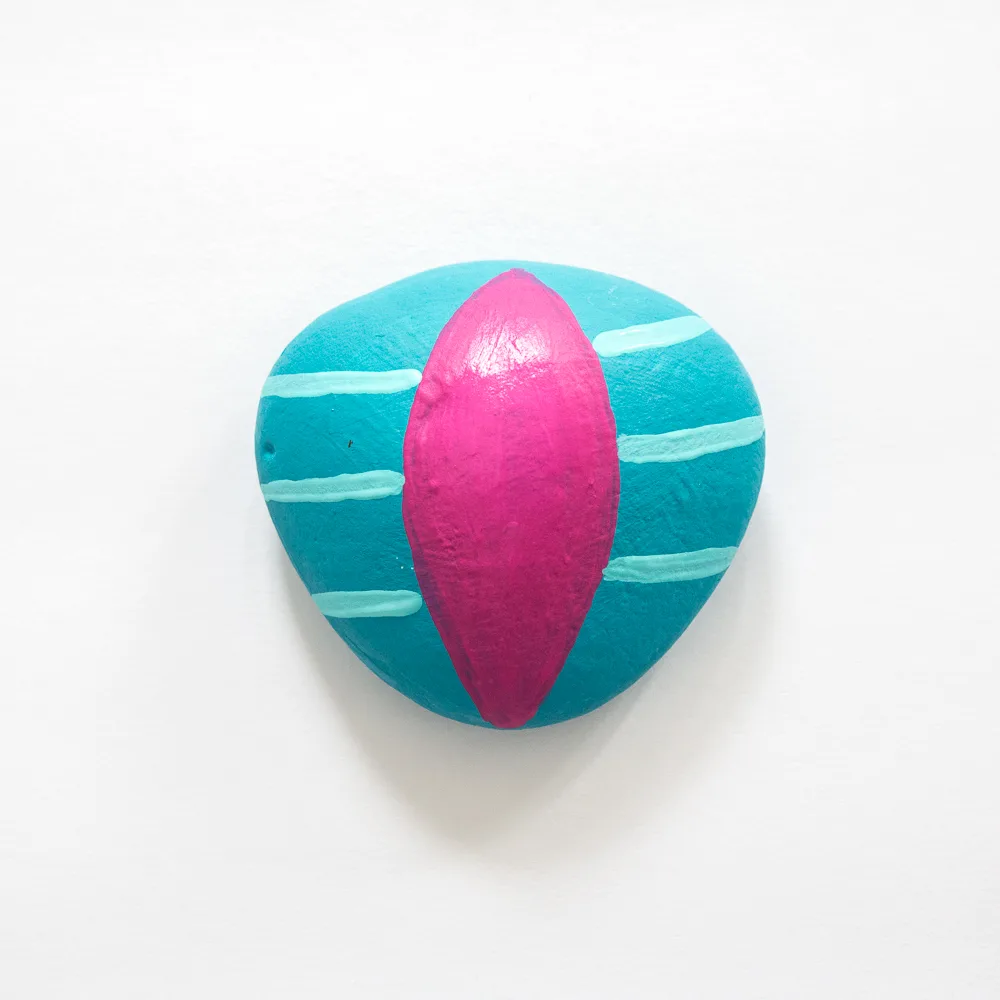
Next, paint narrow horizontal stripes in bahama blue along the sides.
And then paint narrow horizontal stripes in festive green just under the bahama blue stripes.
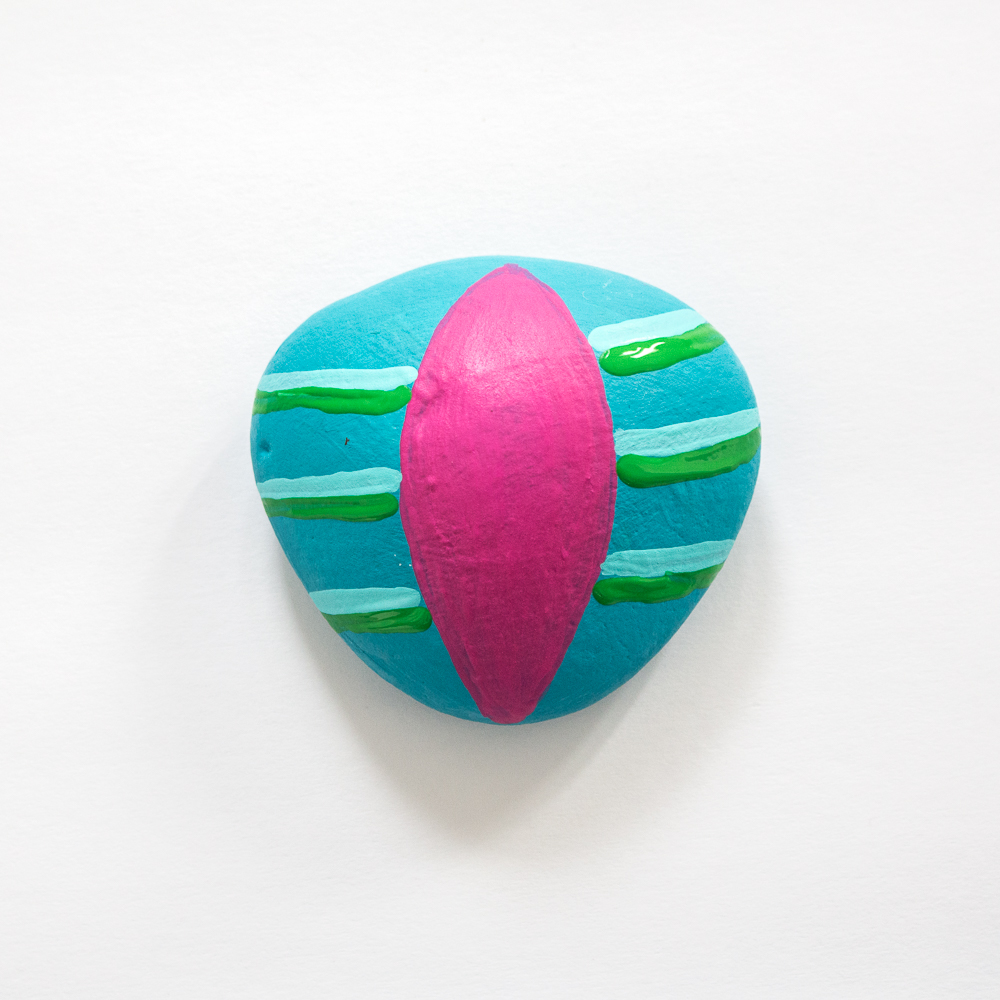
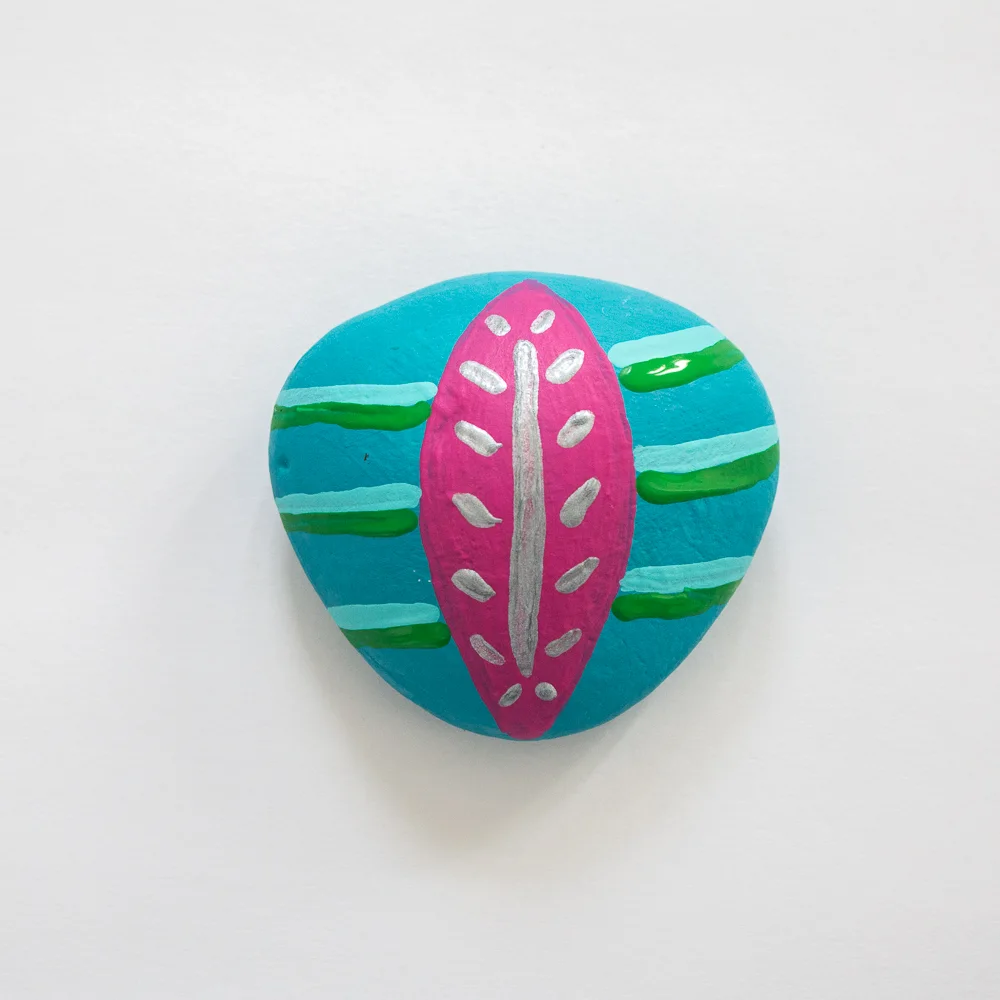
Using a fine tip paint brush, paint decorative details in the center using metallic silver.

Finishing
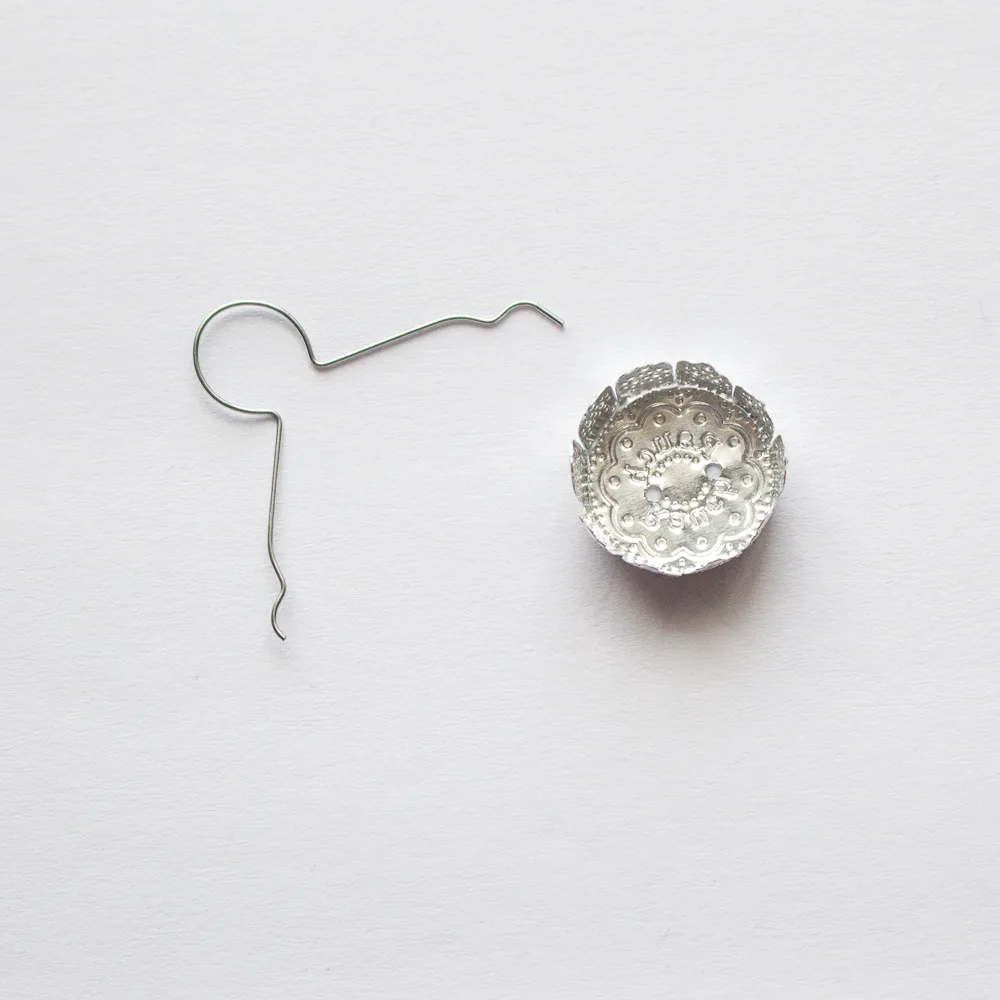
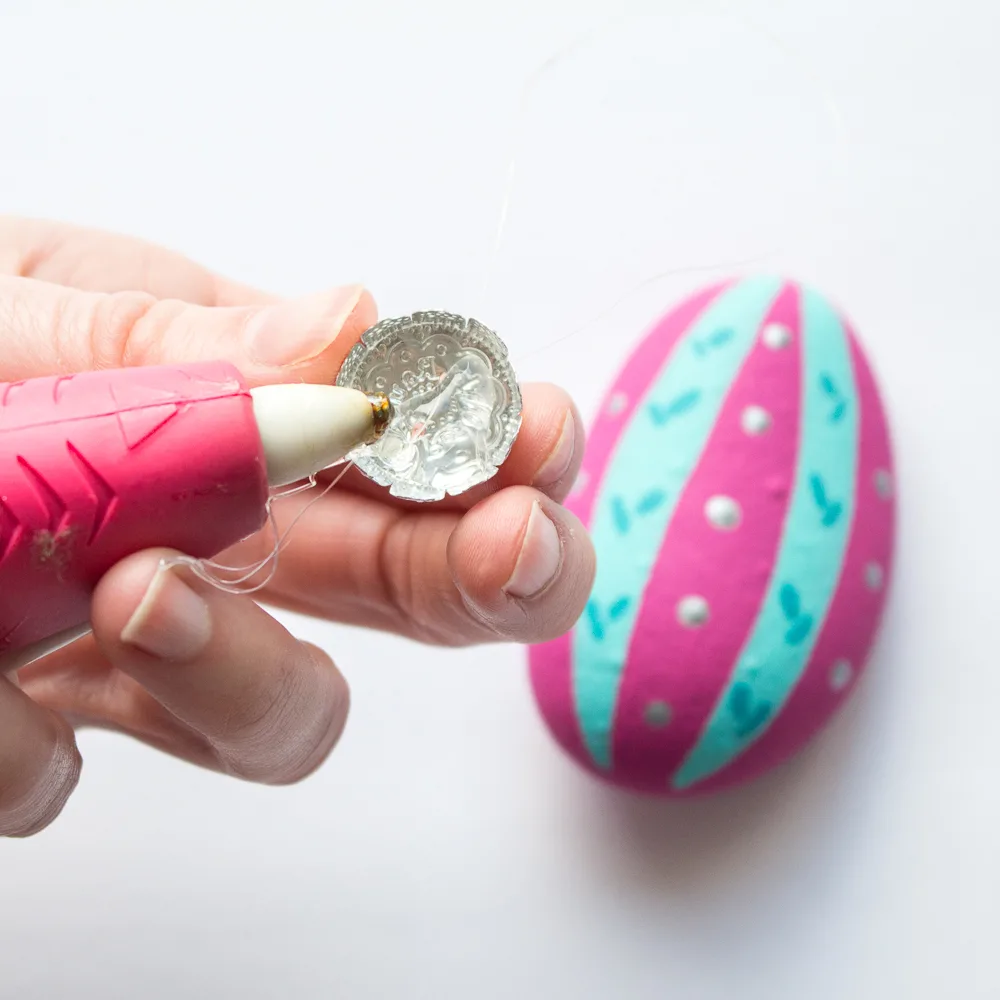
Add the ornament caps to the tops of each paint rock by first removing and discarding the cap loop. The caps are purely decorative.
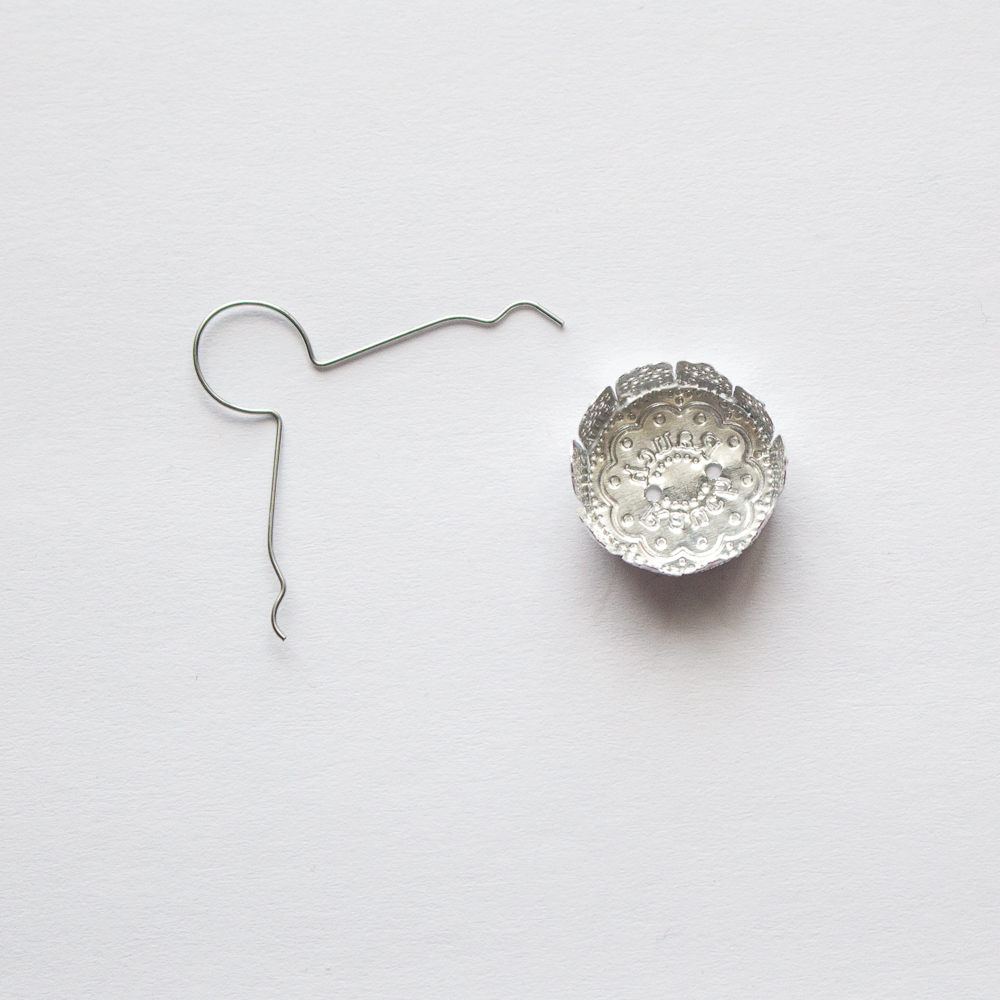
Apply a good amount of clear hot glue to the inside of each cap and quickly, yet carefully press it firmly to the top of the painted rock ornament. Hold in place until glue sets. The glue won’t be strong enough to hold the rocks on the tree so avoid hanging.

This project originally appeared on DecoArt’s project gallery.

Growing up, did you have a favorite Christmas ornament?
Other Christmas Decor and Crafts to Try
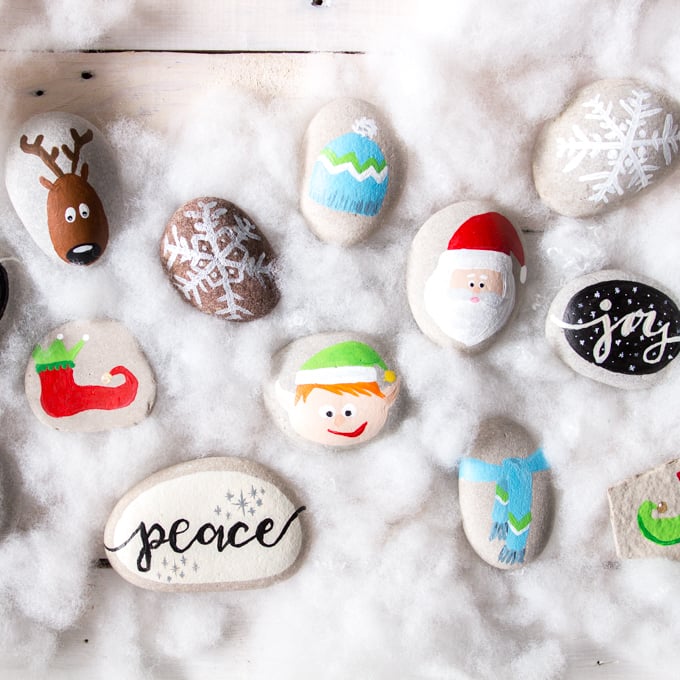
- Festive Christmas rock painting
- Snowflake rocks
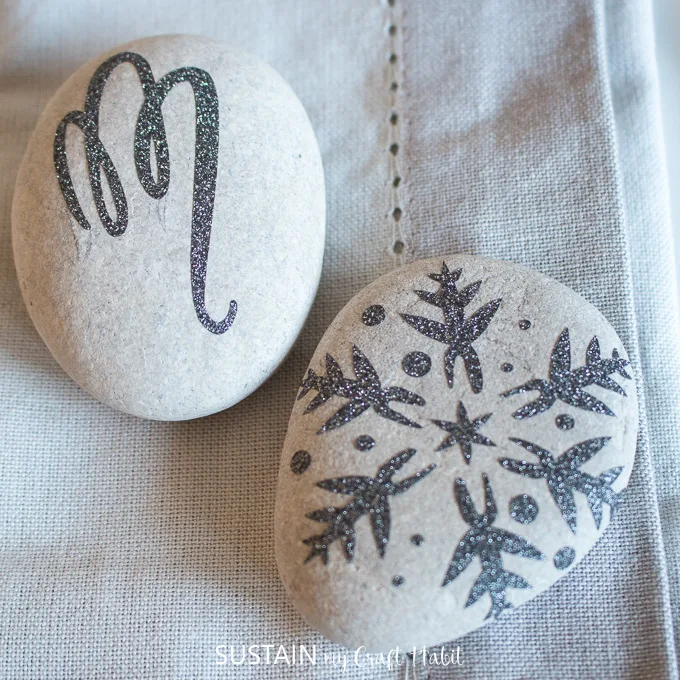
- Glittering snowflake and monogrammed rocks
- Coastal Christmas Ornaments
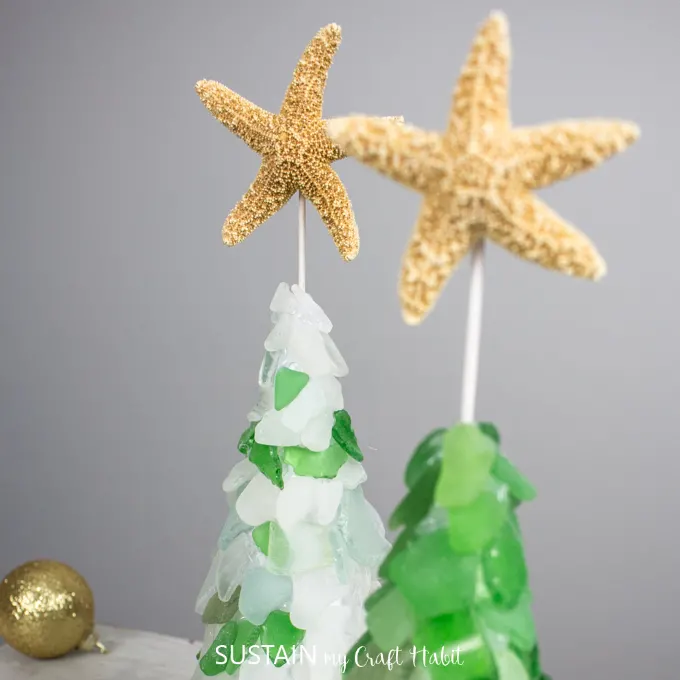
- Beach glass trees

Christmas Themed 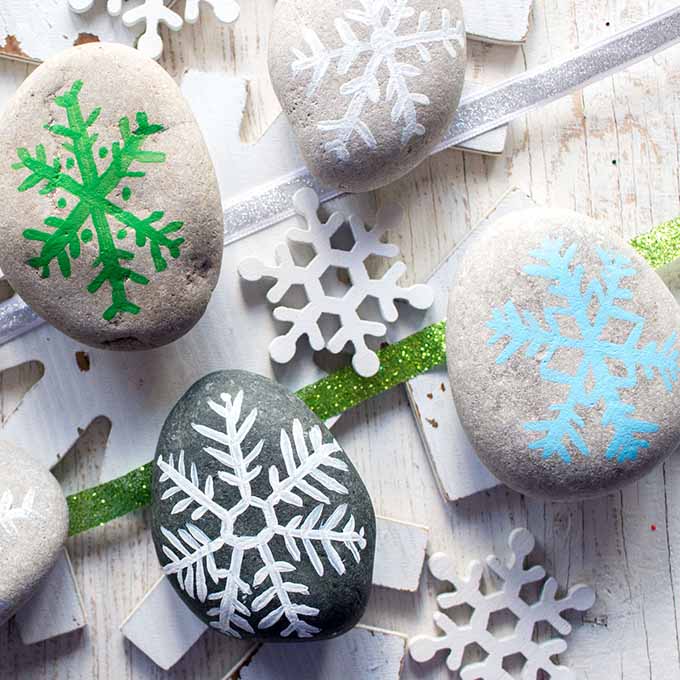
Snowflake Rocks 
Glittering Snowflake and Monogrammed Rocks 
Coastal Ornaments 
Beach Glass Trees


Like it? Pin it for later!


Christmas Ornament Painted Rocks
Materials
- Rocks medium sized
- Acrylic paint brushes assorted sizes and tips
- Ornament Caps
- Hot glue gun and clear glue sticks
- Decoart Americana Acrylics in Royal Fuchsia, Bahama Blue, Desert Turquoise, Festive Green
- Decoart Americana Multi Surface Satin in Metallic Silver
Instructions
For Circular Ornament:
- Paint the surface of the rock in bahama blue.
- Paint two curved horizontal stripes on either side of the middle section.
- Using a fine tip brush, paint decorative shapes on either end of the rock.
- Using the opposite end of the paint brush, dip it into metallic silver and dab three small dots along the middle section.
- Using a fine tip brush, paint flower petals around each of the three silver dots.
For Oblong Ornament:
- Paint the surface of the rock in royal fuchsia.
- Paint two alternating curved vertical stripes in bahama blue.
- Dip the opposite end of the paintbrush in metallic silver and dab a series of small dots along the center of each royal fuchsia stripe.
- Using a fine tip brush, paint decorative shapes along the length of the bahama blue stripes in metallic silver.
For Triangular shaped Ornament:
- Paint the surface of the rock using desert turquoise.
- Paint an oval shape with pointed ends in the center of the rock using royal fuchsia.
- Paint narrow horizontal stripes in bahama blue along the sides.
- Paint narrow horizontal stripes in festive green just under the bahama blue stripes.
- Using a fine tip paint brush, paint decorative details in the center using metallic silver.
- Add the ornament caps to the tops of each paint rock by first removing and discarding the cap loop.
- Apply a good amount of clear hot glue to the inside of each cap and quickly, yet carefully press it firmly to the top of the painted rock ornament. Hold in place until glue sets.