

In an age where sustainability and creativity go hand in hand, repurposing household items has become an exciting and eco-friendly trend. One charming yet practical craft is decoupaging an old coffee tin into a beautiful faux plant centerpiece.


This project not only breathes new life into a once-discarded object but also allows you to experiment with your personal style—whether it’s painting the tin in vibrant colors, adding intricate patterns, or keeping it simple and industrial-chic.
Why You Will Love This Coffee Tin Craft
Coffee tin crafts are an incredibly rewarding DIY! Firstly, the creative freedom it provides is unparalleled: you can paint, decorate, and personalize your coffee tin to reflect your unique style, making each coffee tin centerpiece a one-of-a-kind creation. Additionally, this project supports sustainability by repurposing an item that might otherwise be discarded, contributing to a greener planet.


The compact size of the coffee tin makes it a versatile option for centerpieces fitting perfectly in small spaces like windowsills, desks, or kitchen counters. Ultimately, crafting a coffee tin planter combines creativity, sustainability, and the joy of upcycling into a delightful and fulfilling project.
Want to receive a ton of inspiration and money saving ideas for decorating, gift-giving and crafting? Join HERE!
Can You Use Tin Cans As Planters?
Absolutely! Tin cans make excellent planters and provide a resourceful way to repurpose common household items. They are durable, readily available, and easy to customize, making them a fantastic option for both indoor and outdoor gardening.
Preparing tin cans for planting is a simple process: start by thoroughly cleaning the cans and removing any labels. Next, make sure to create drainage holes at the bottom to prevent water from accumulating, which can lead to root rot.
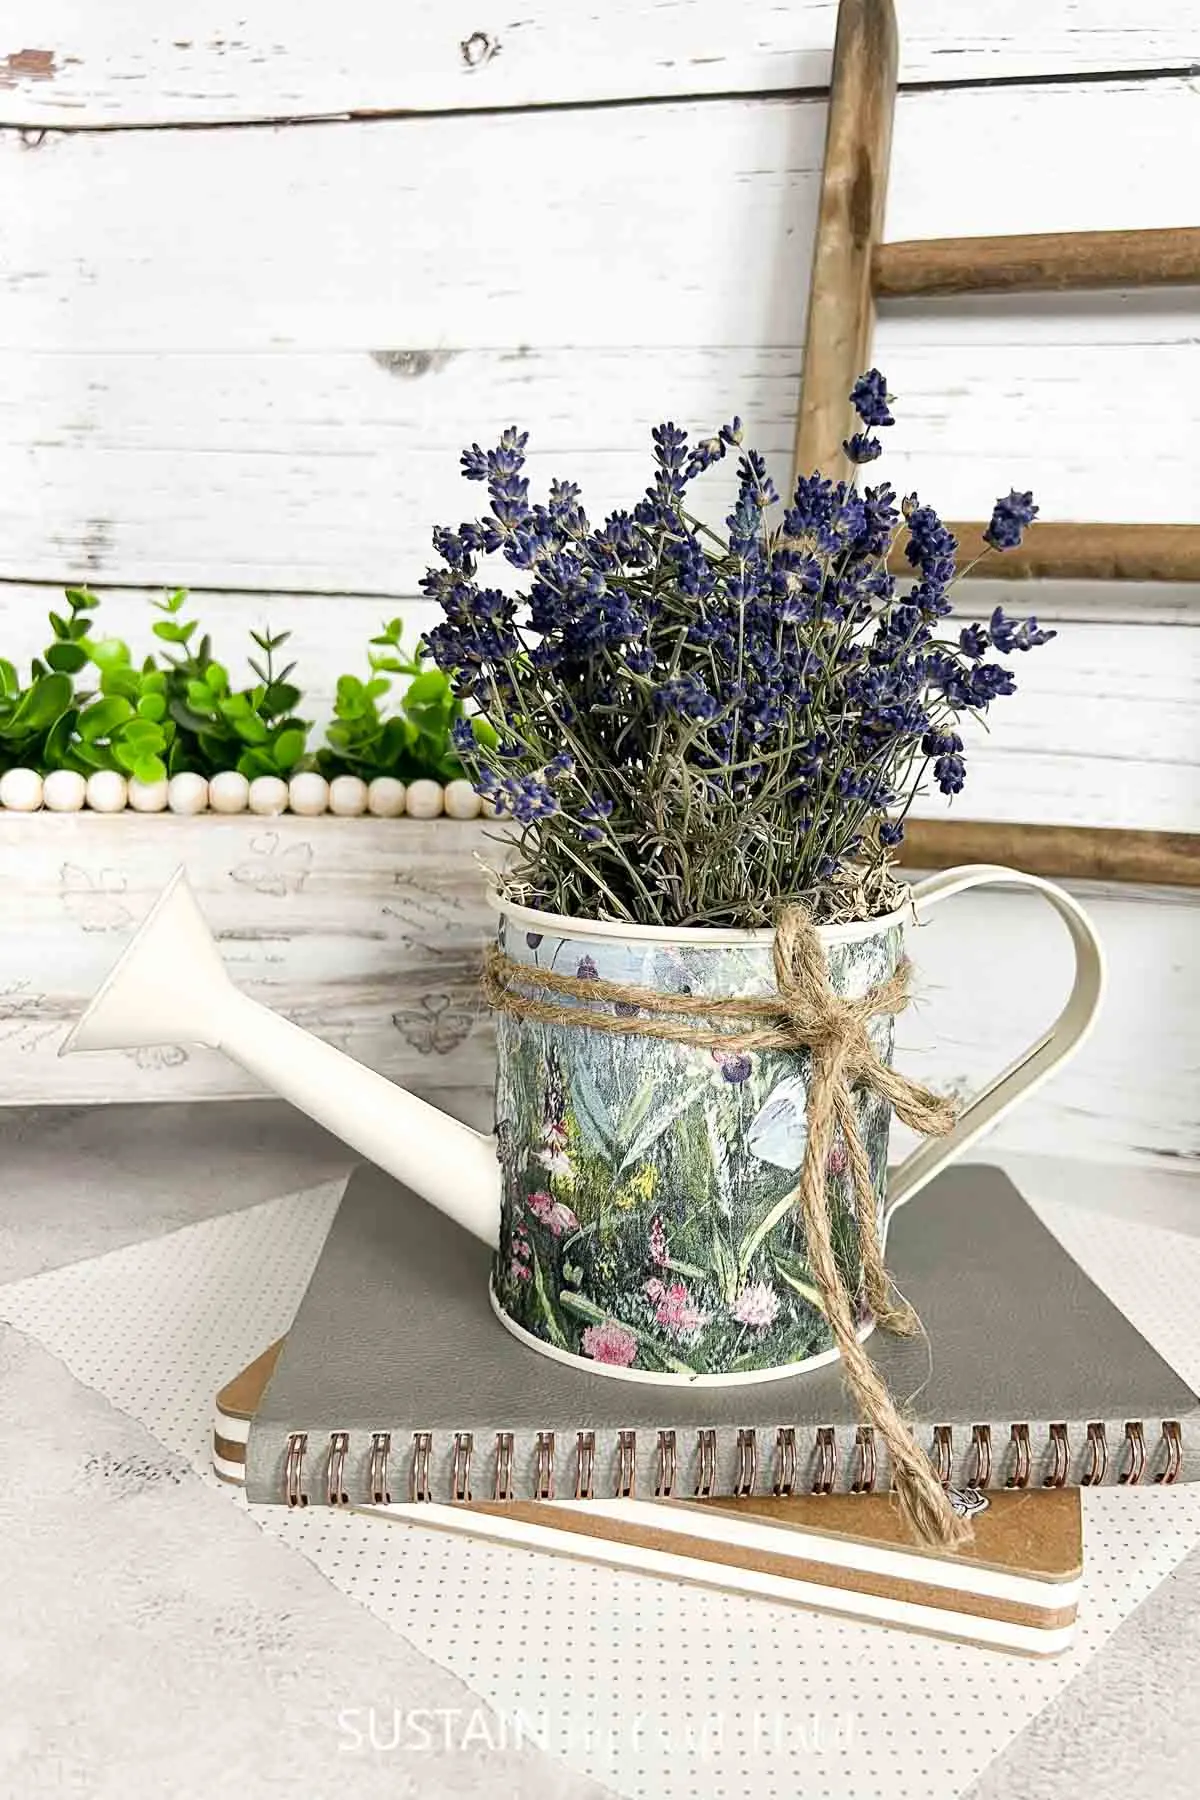
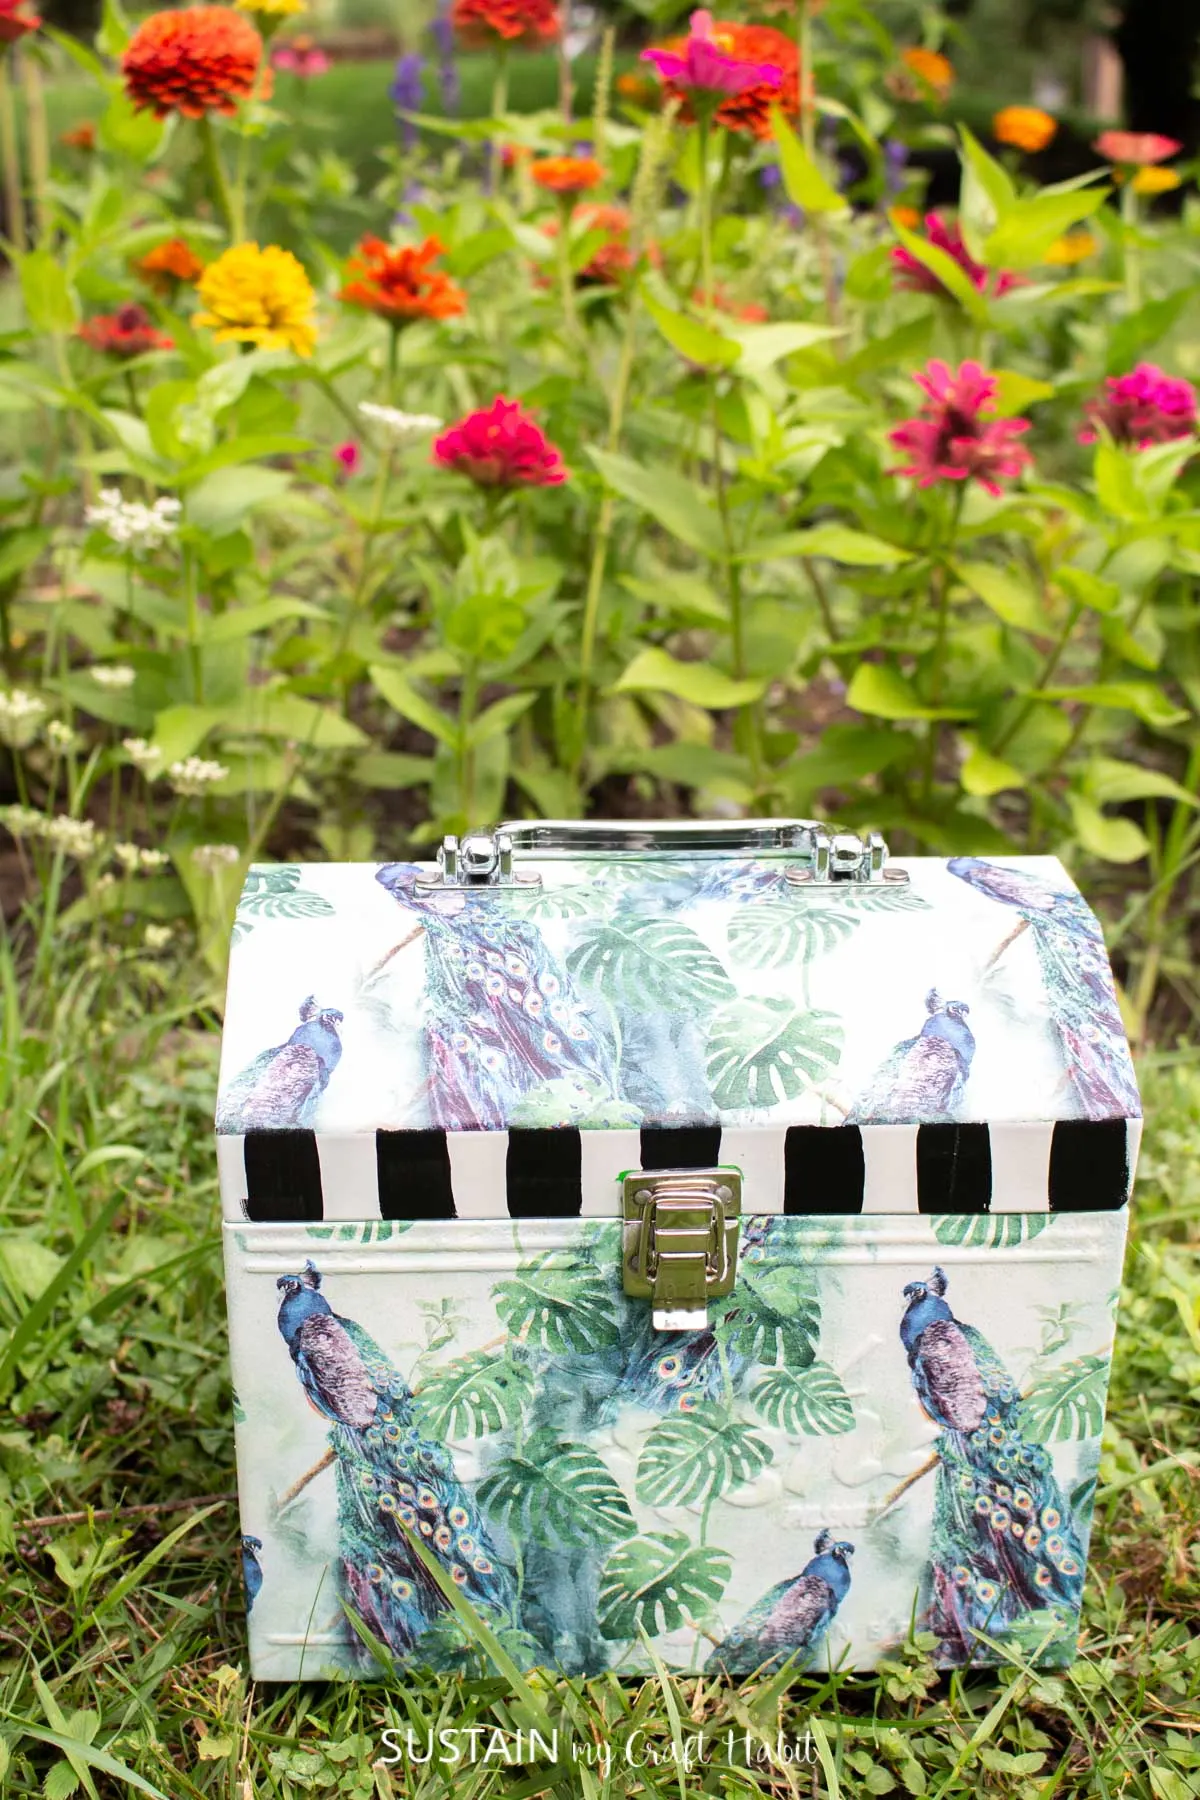
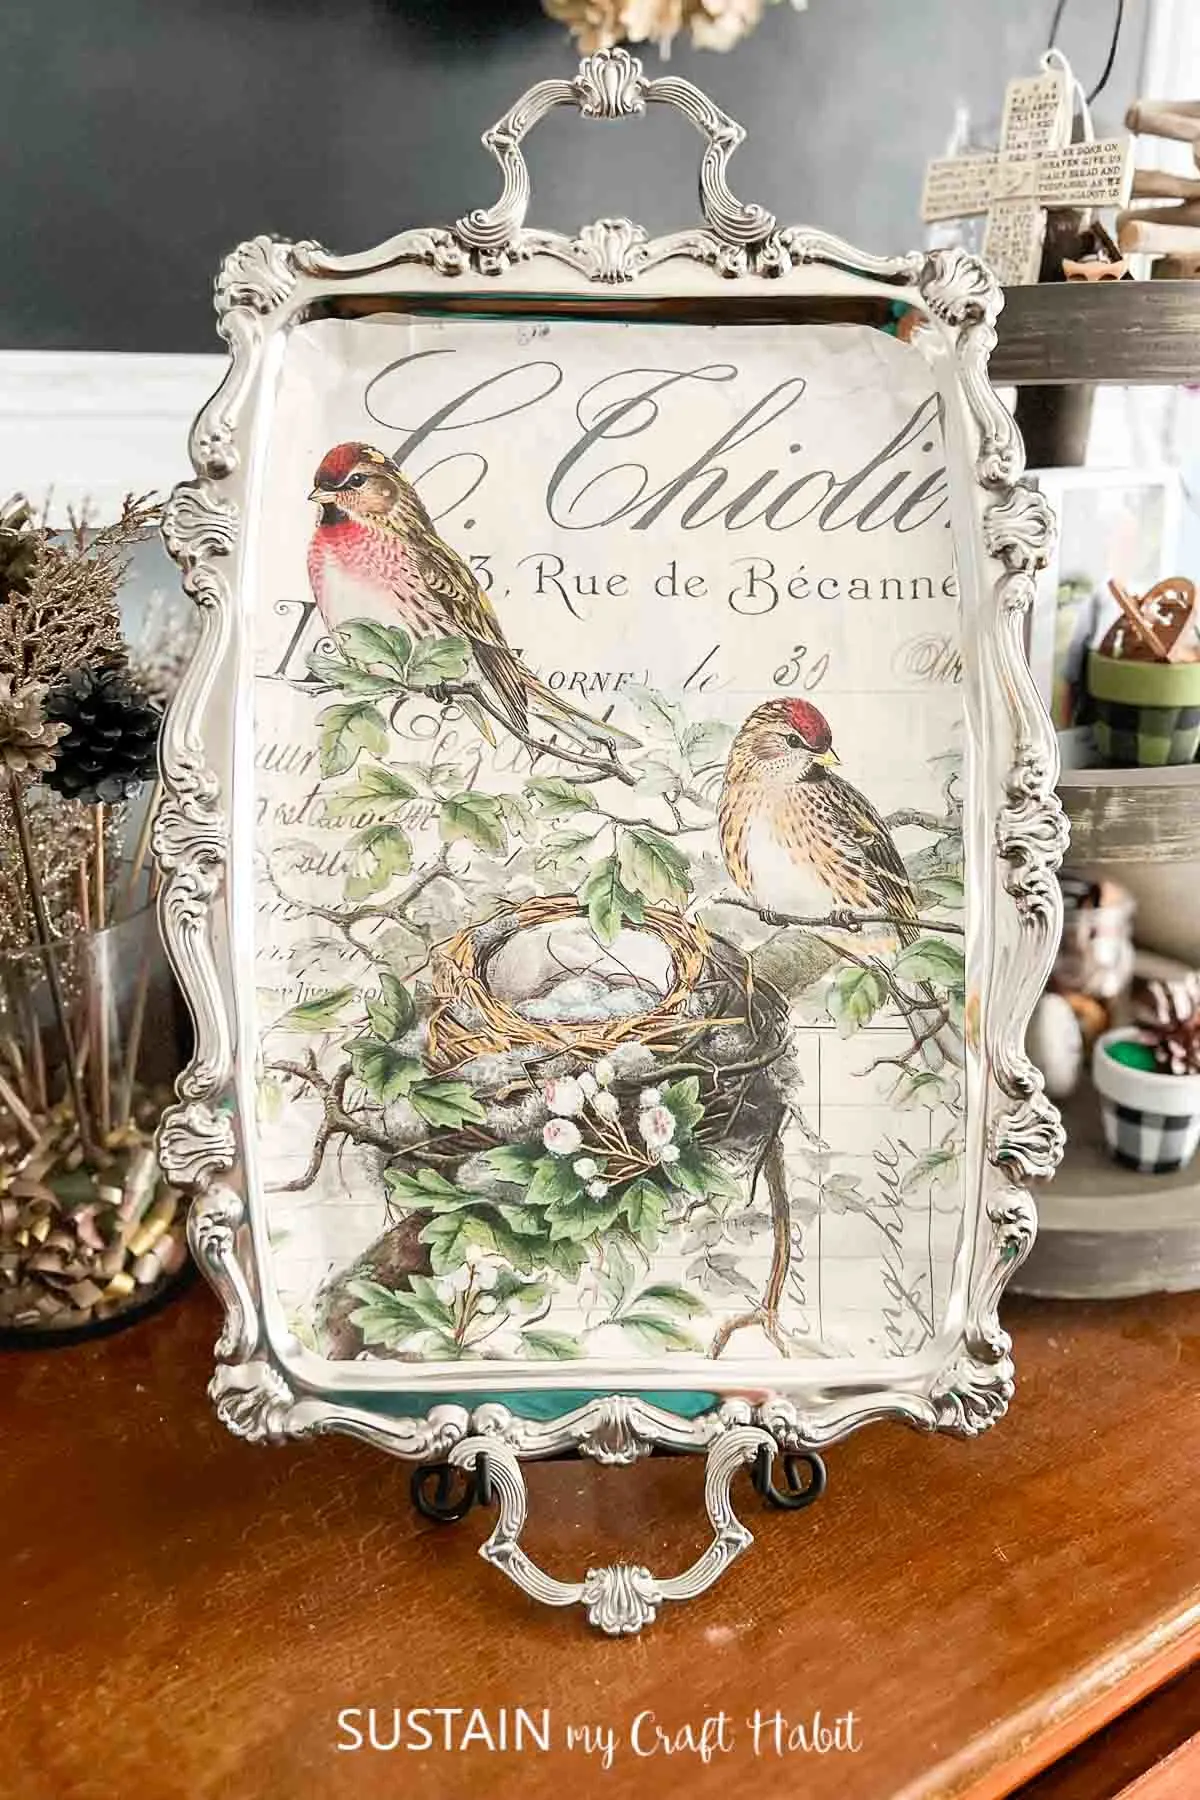
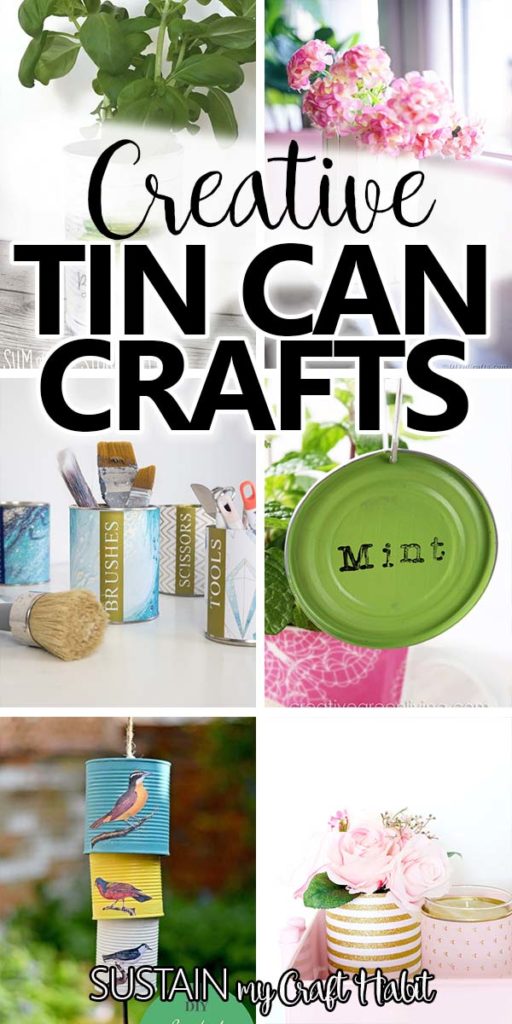
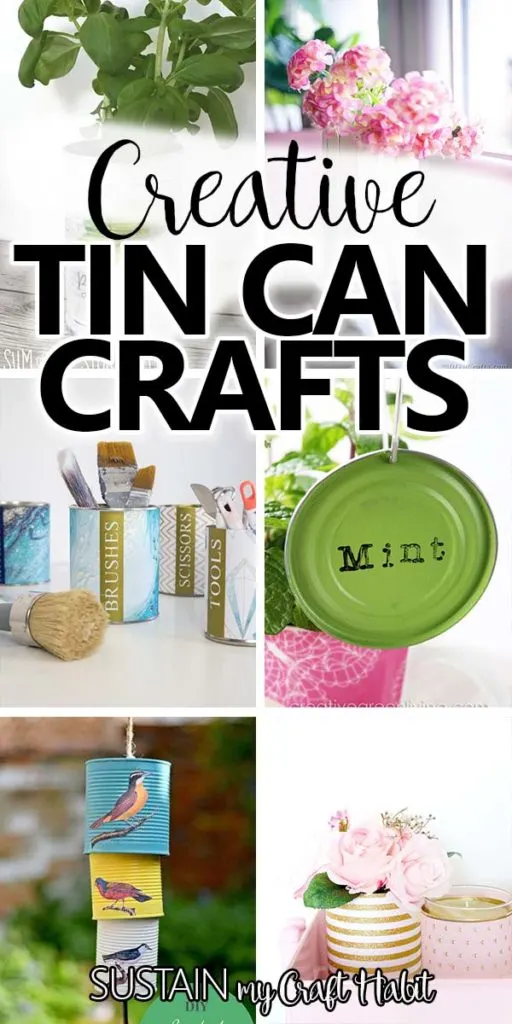
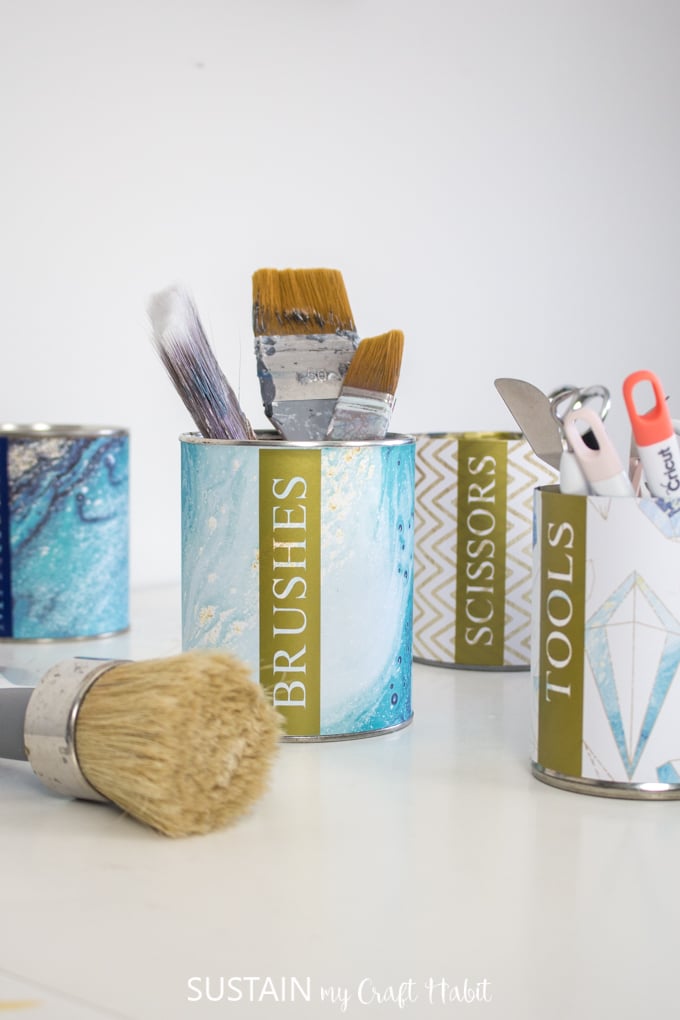
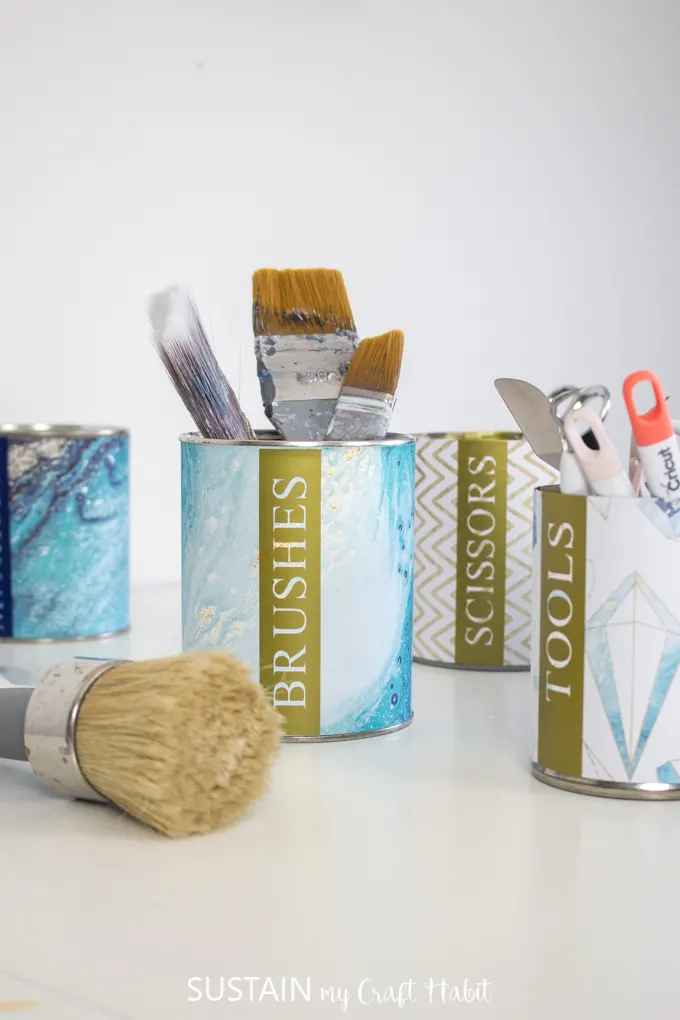
There are so many great ways to upcycle metal objects with decoupage including:


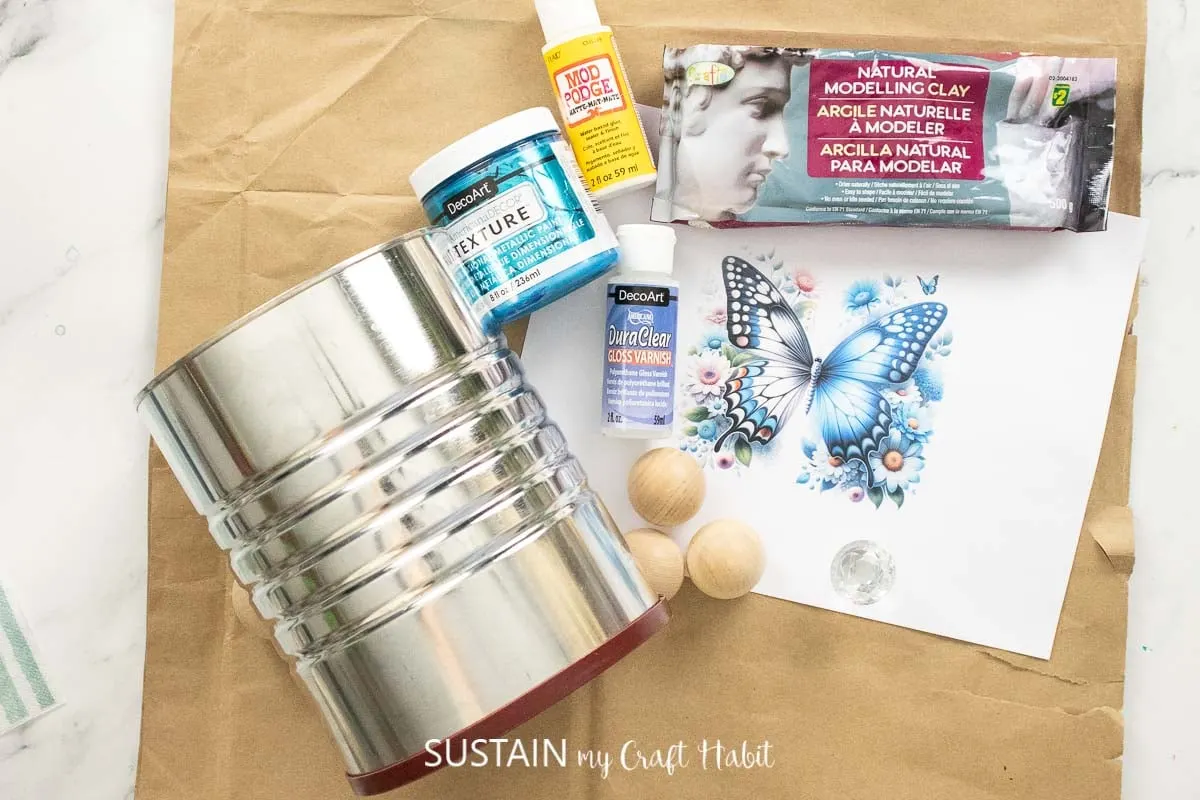
Materials Needed:
Disclosure: This post contains affiliate links for your shopping convenience. Should you choose to purchase through them, we will make a small commission at no extra cost to you. You can read our full disclosure policy here.
- Coffee tin
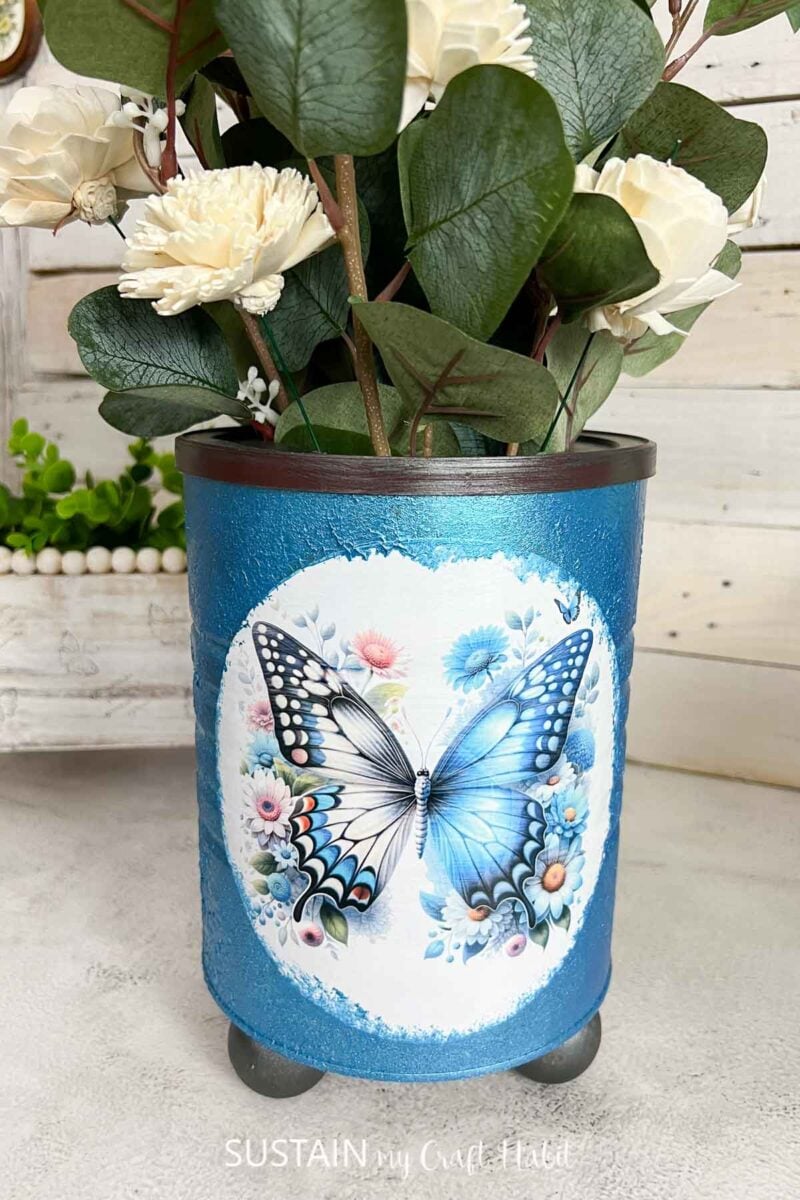
- Printable graphic picture of your choosing (we used this beautiful butterfly design)
- Wood Beads
- Paint in metallic texture blue and black
- Paintbrushes
- Mod Podge
- DuraClear Varnish
- Floral foam
- Faux flowers
- Gorilla glue

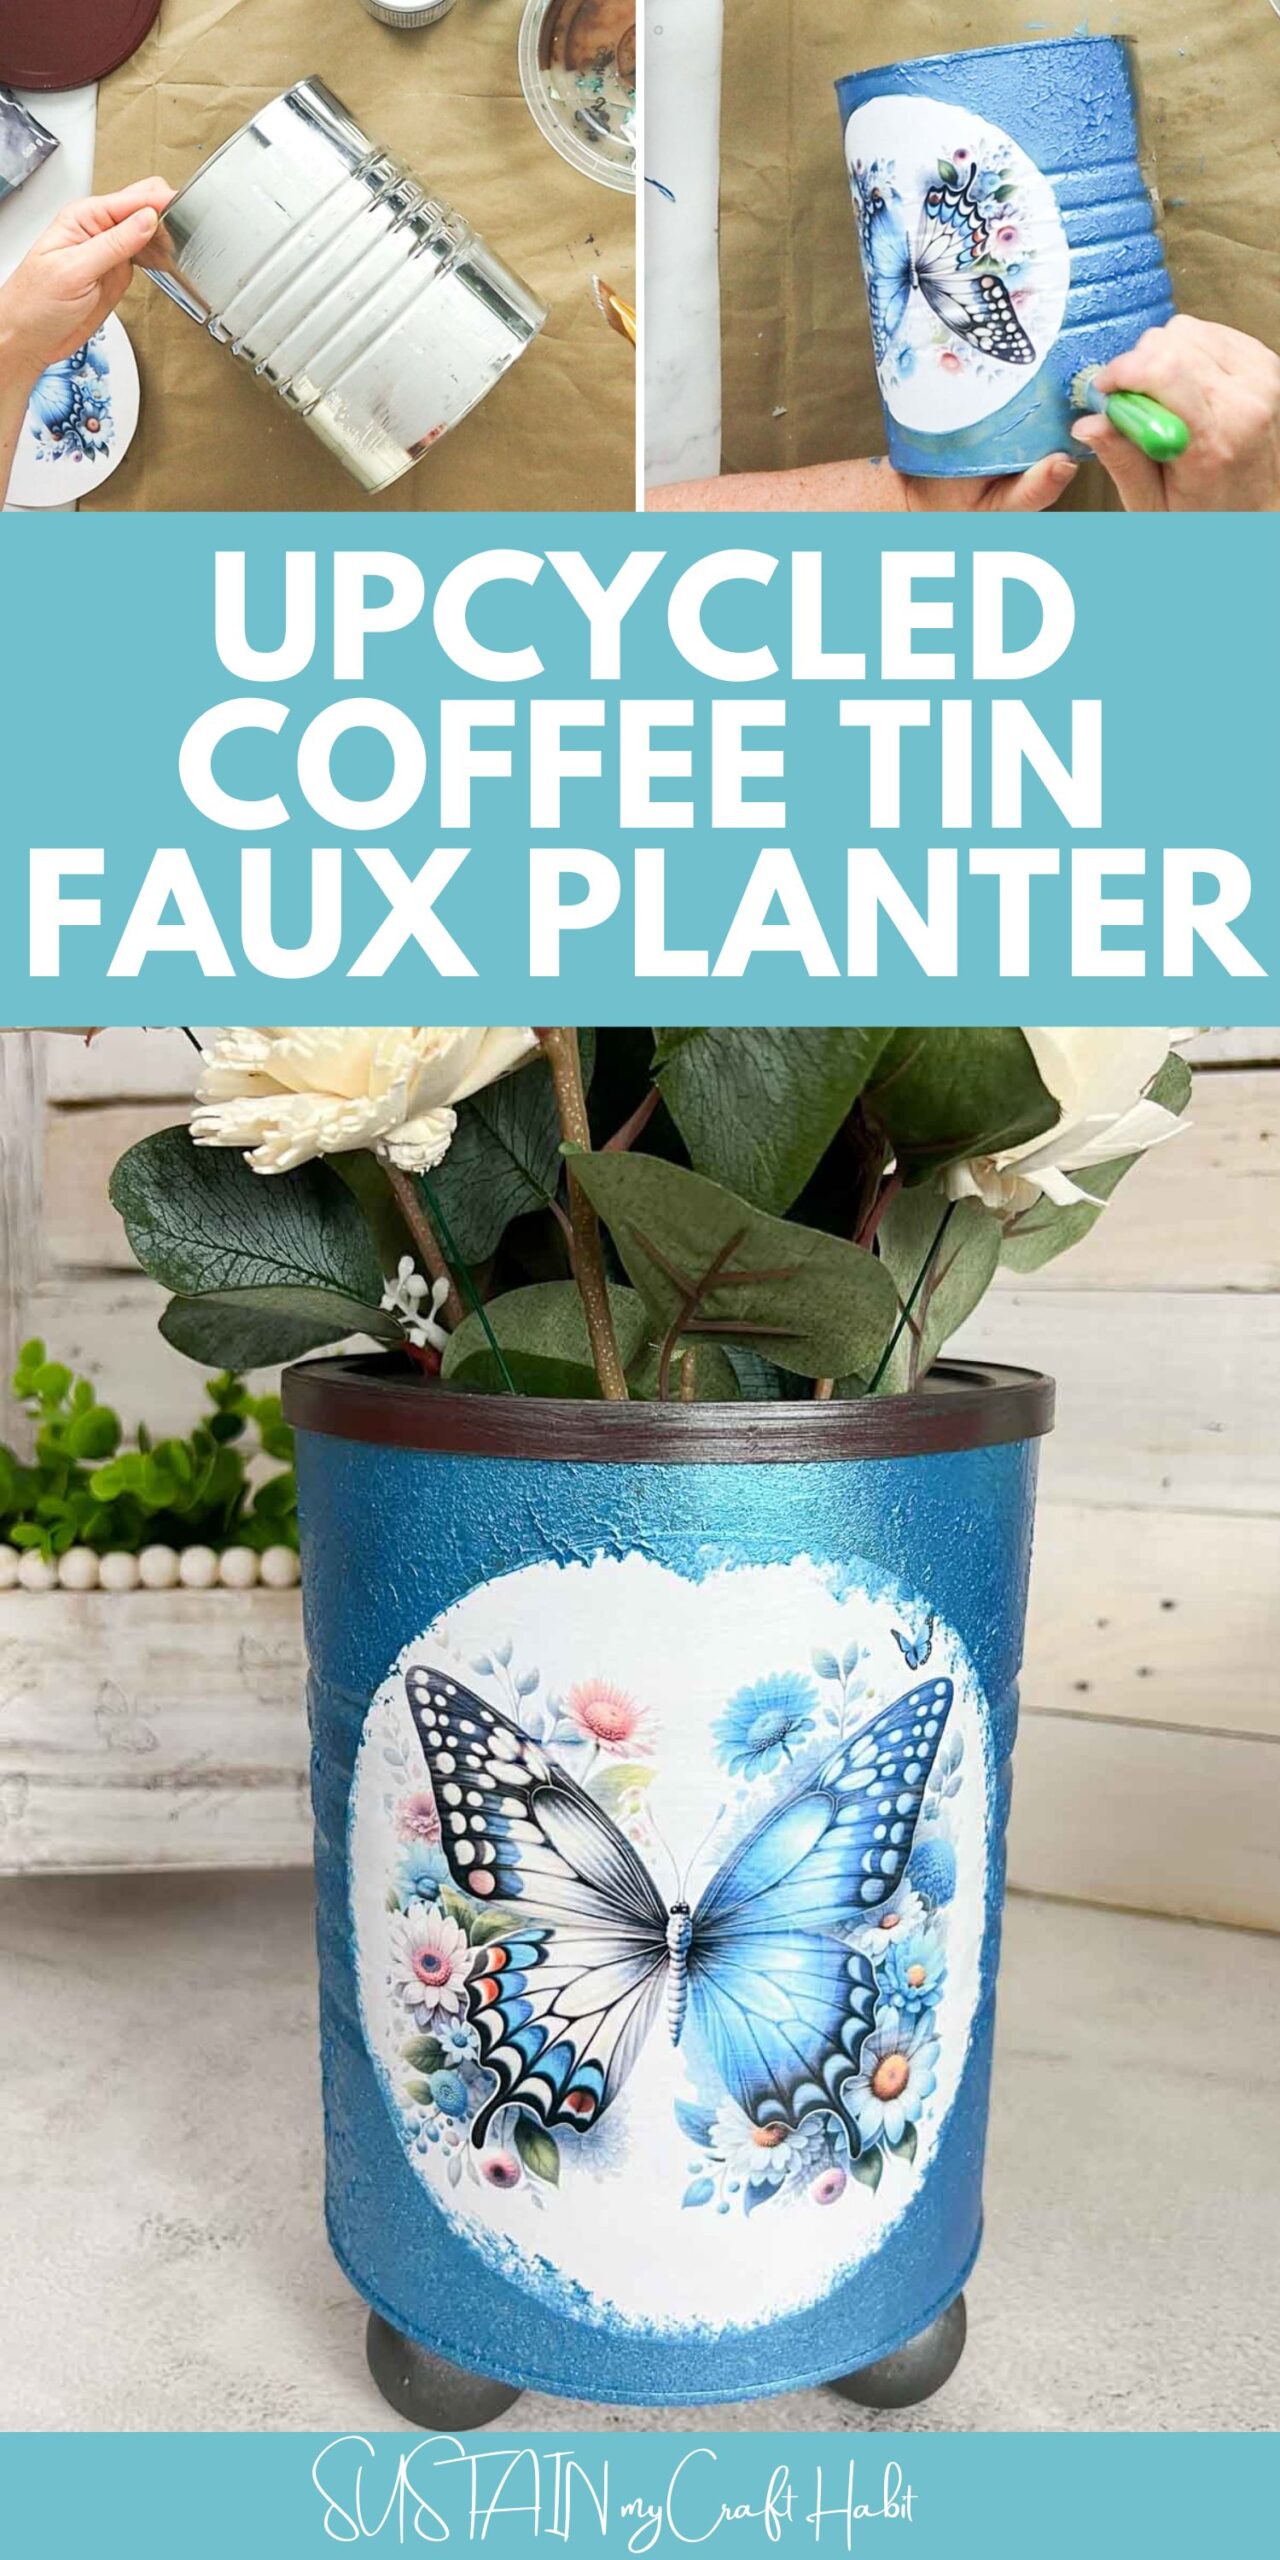
How to Craft a Coffee Tin Planter
I shared the tutorial for how to make this pretty planter on a Facebook live which you can watch here. Or if you prefer the photo tutorial, continue reading below.
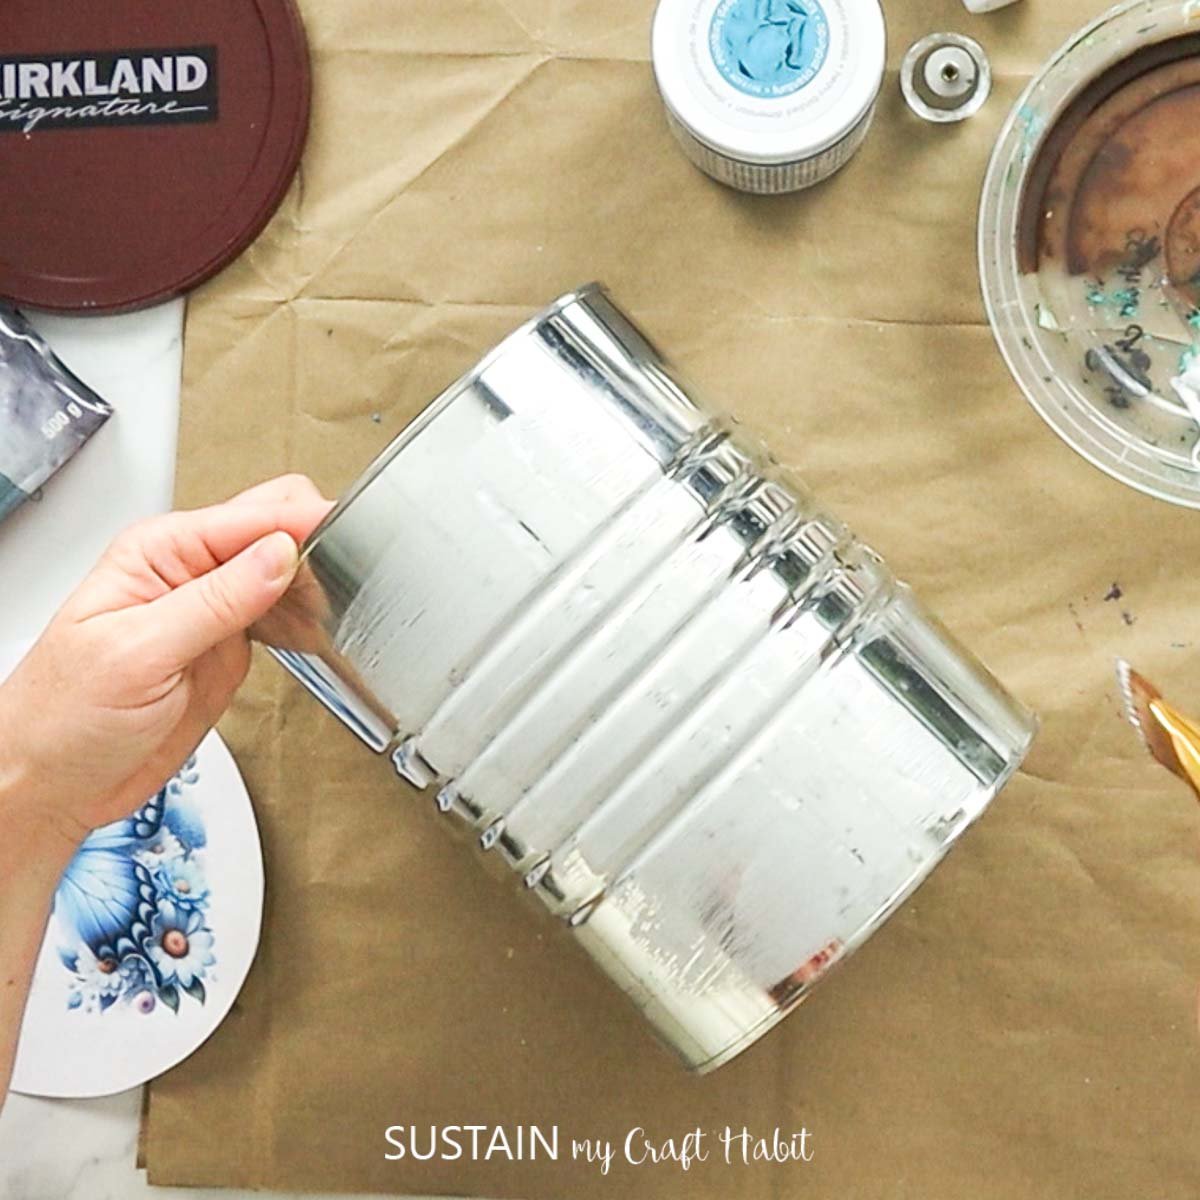
Start by removing the label from the coffee tin can and wash out any remaining coffee grinds. Leave the can to dry fully before proceeding.
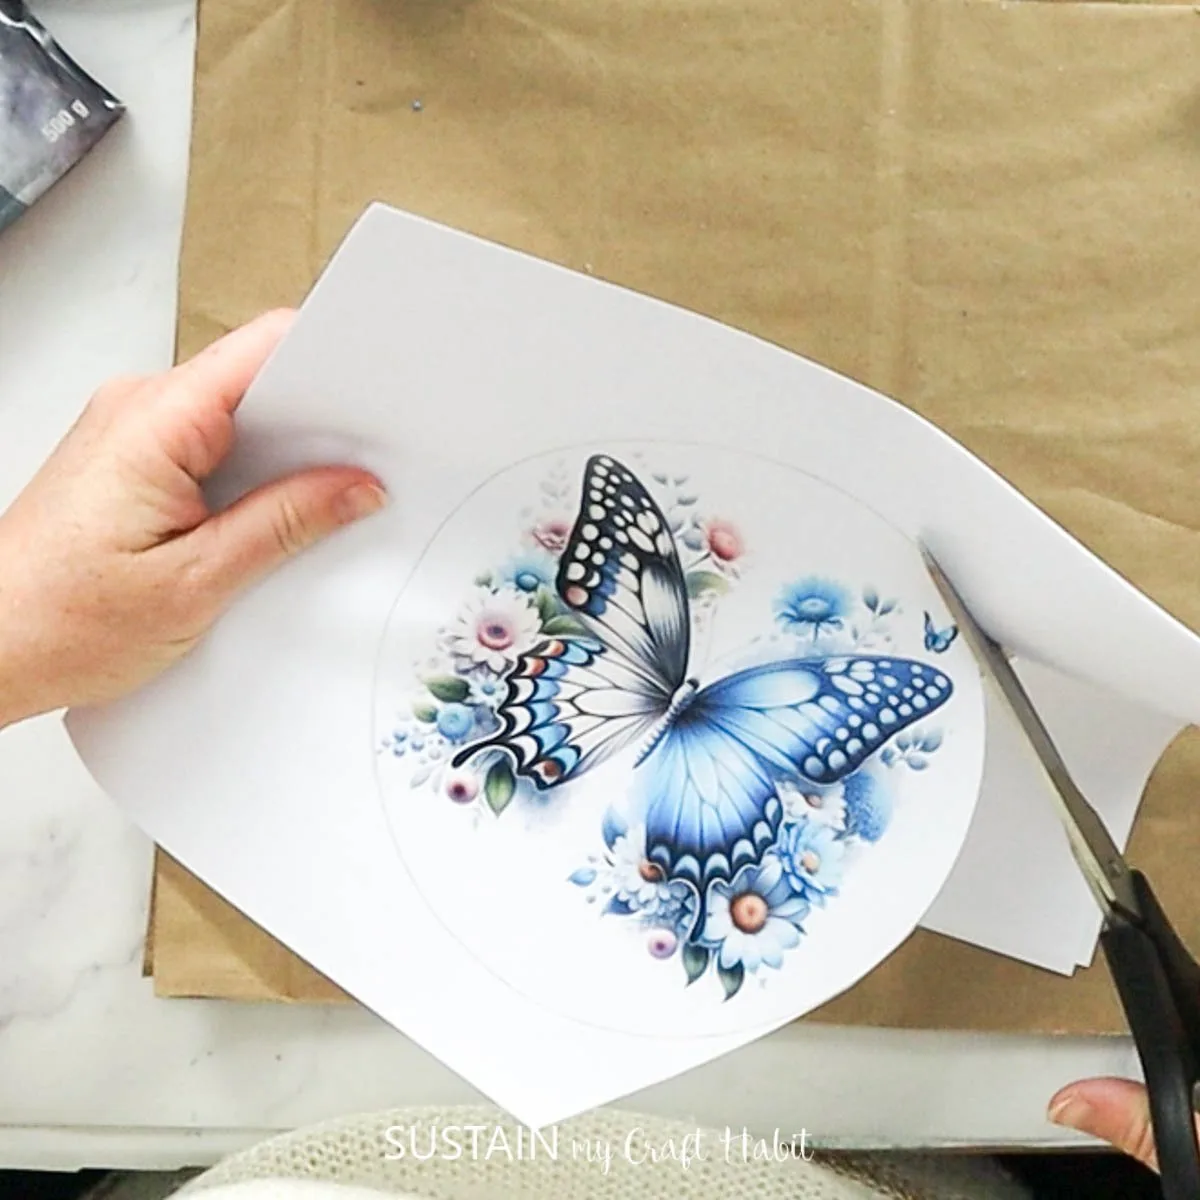
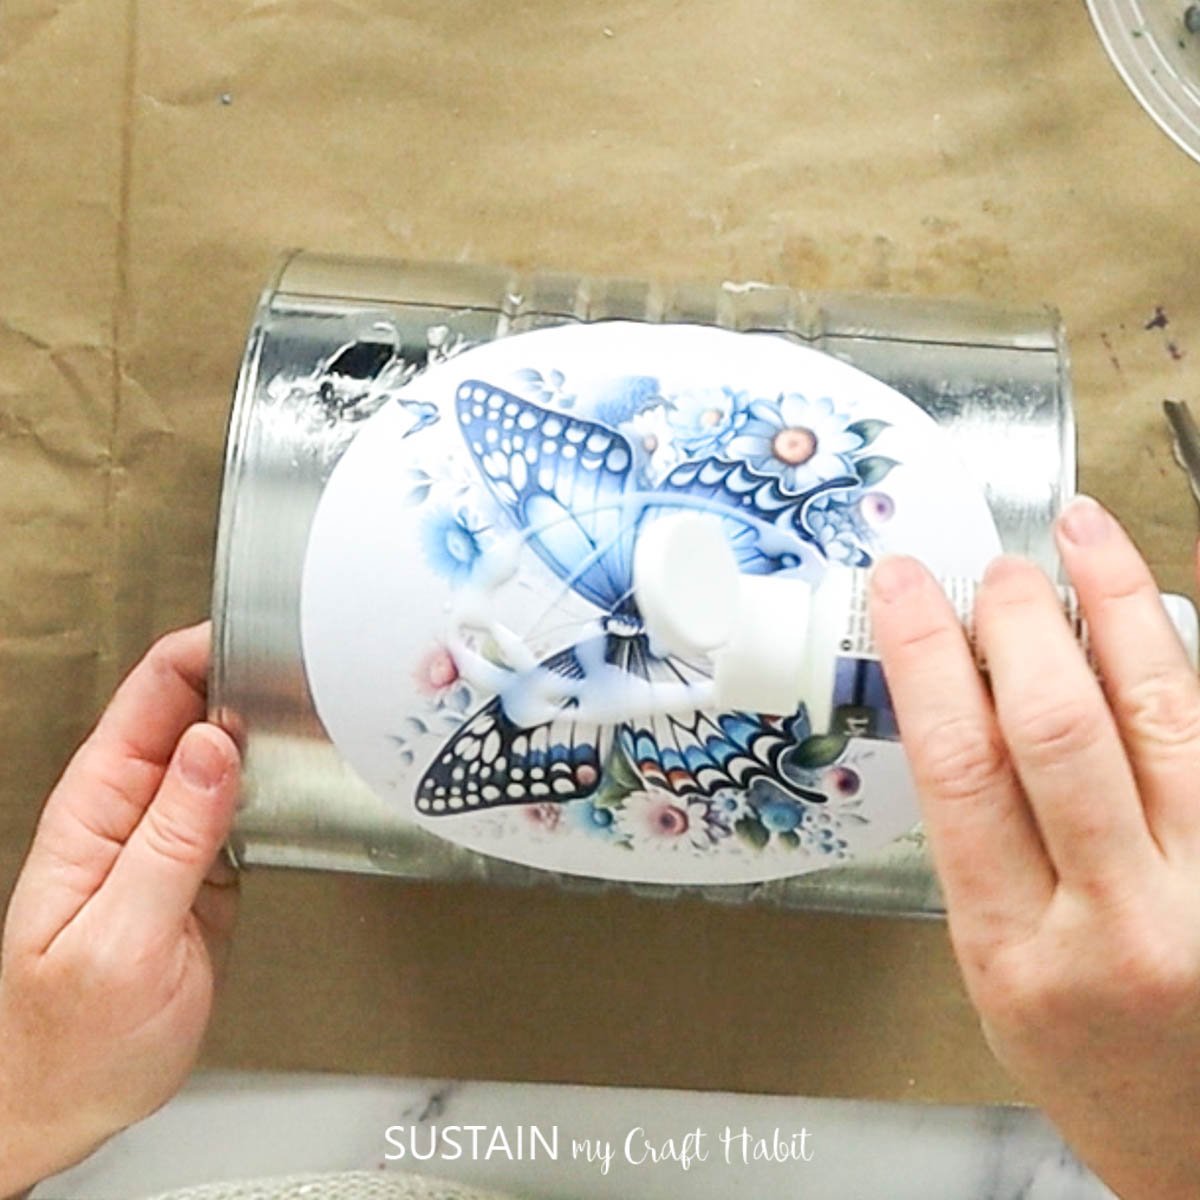
Cut out your graphic picture out to the desired size.

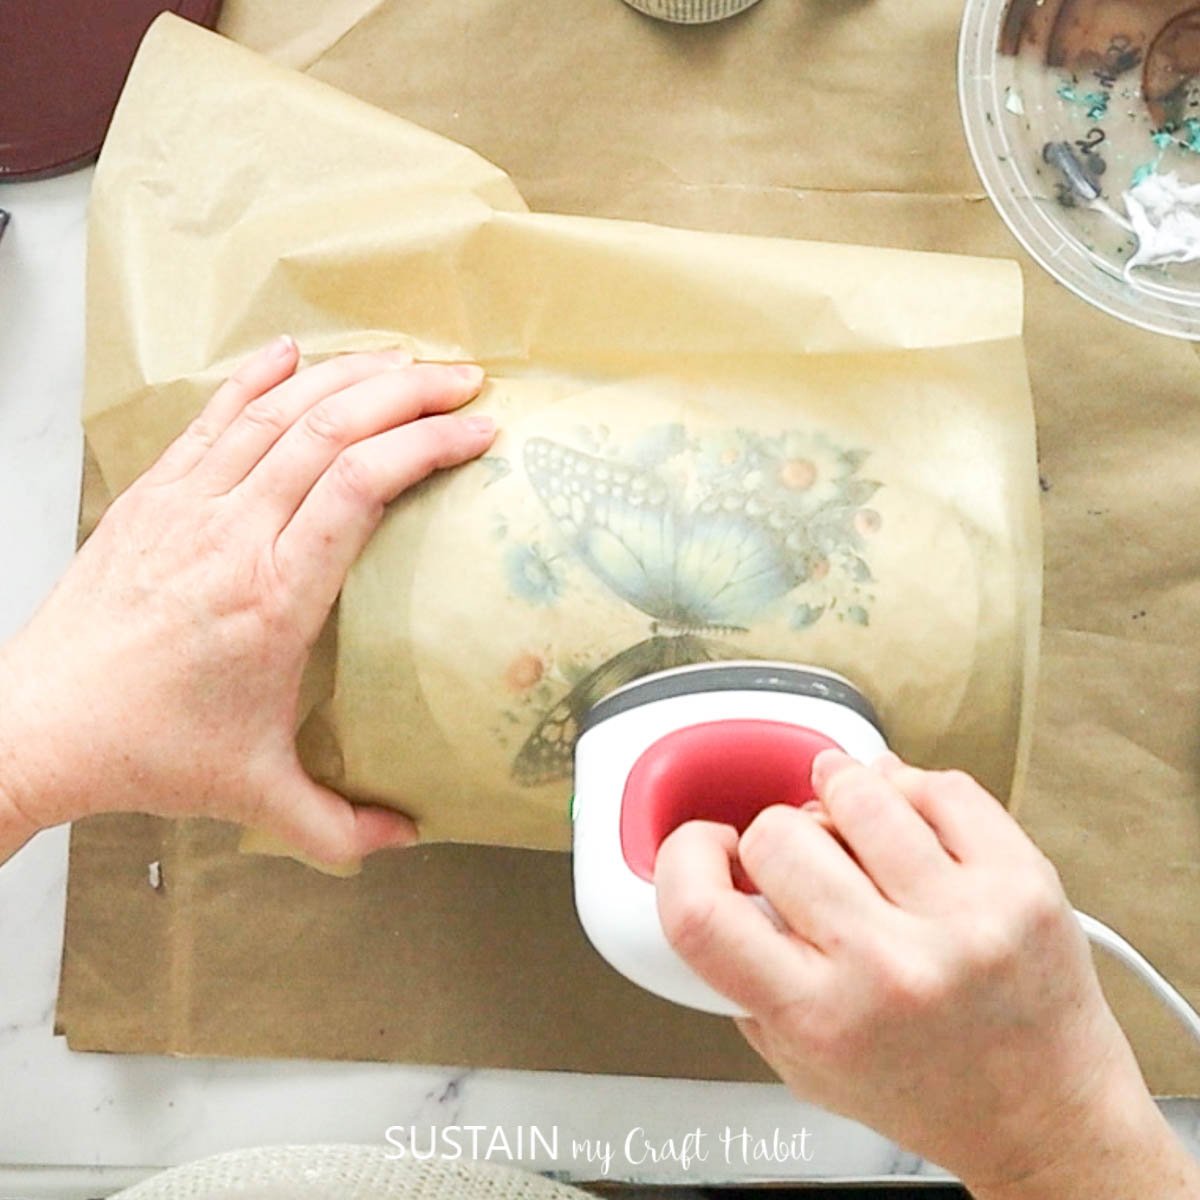
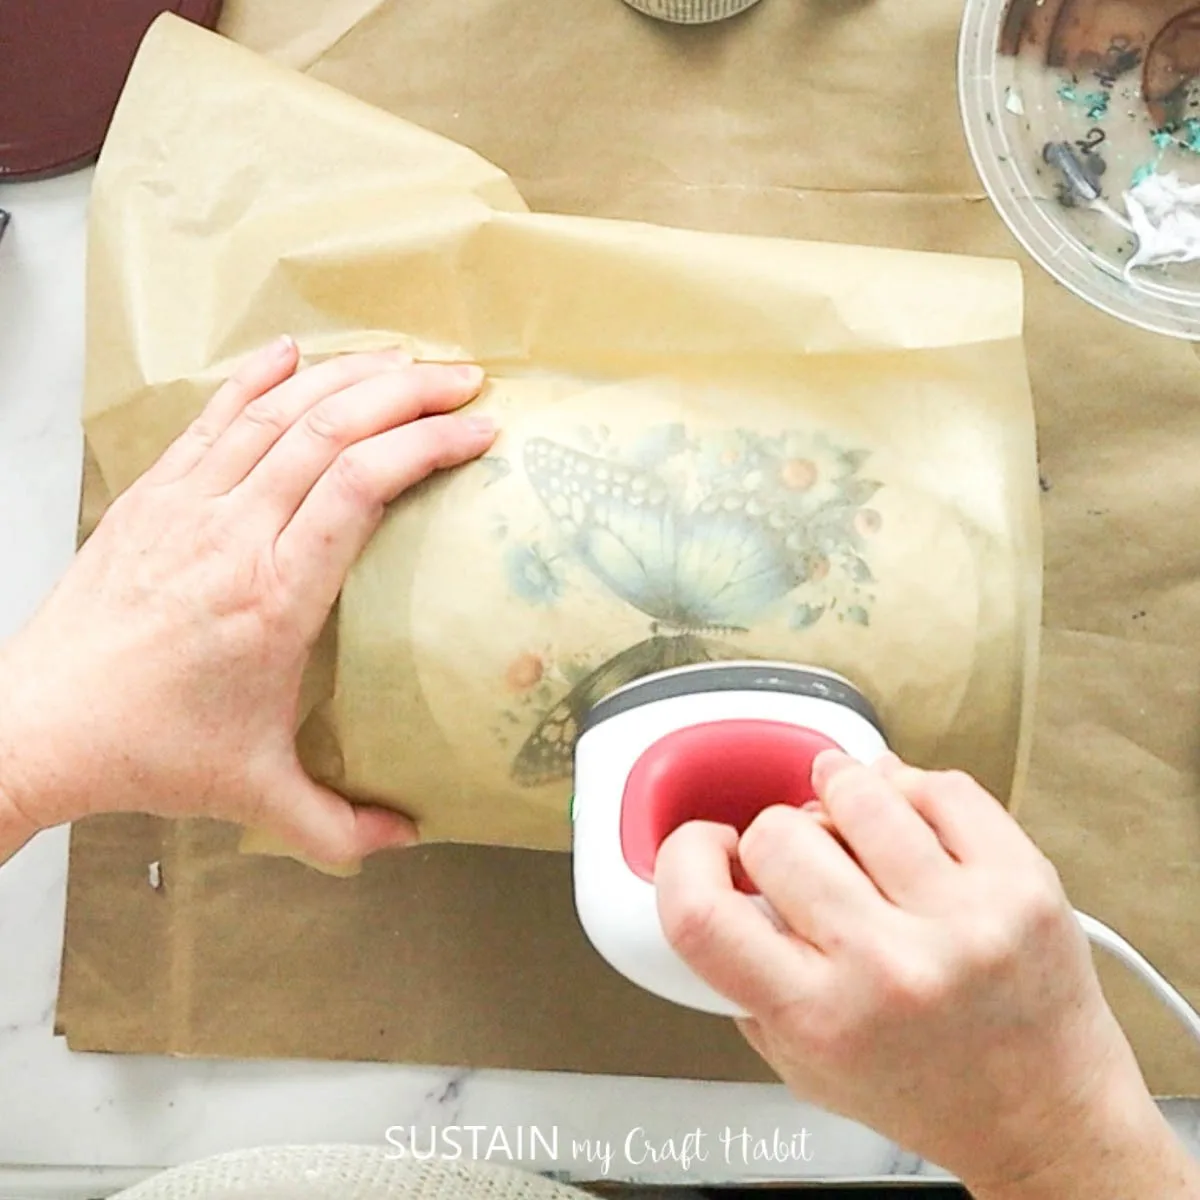
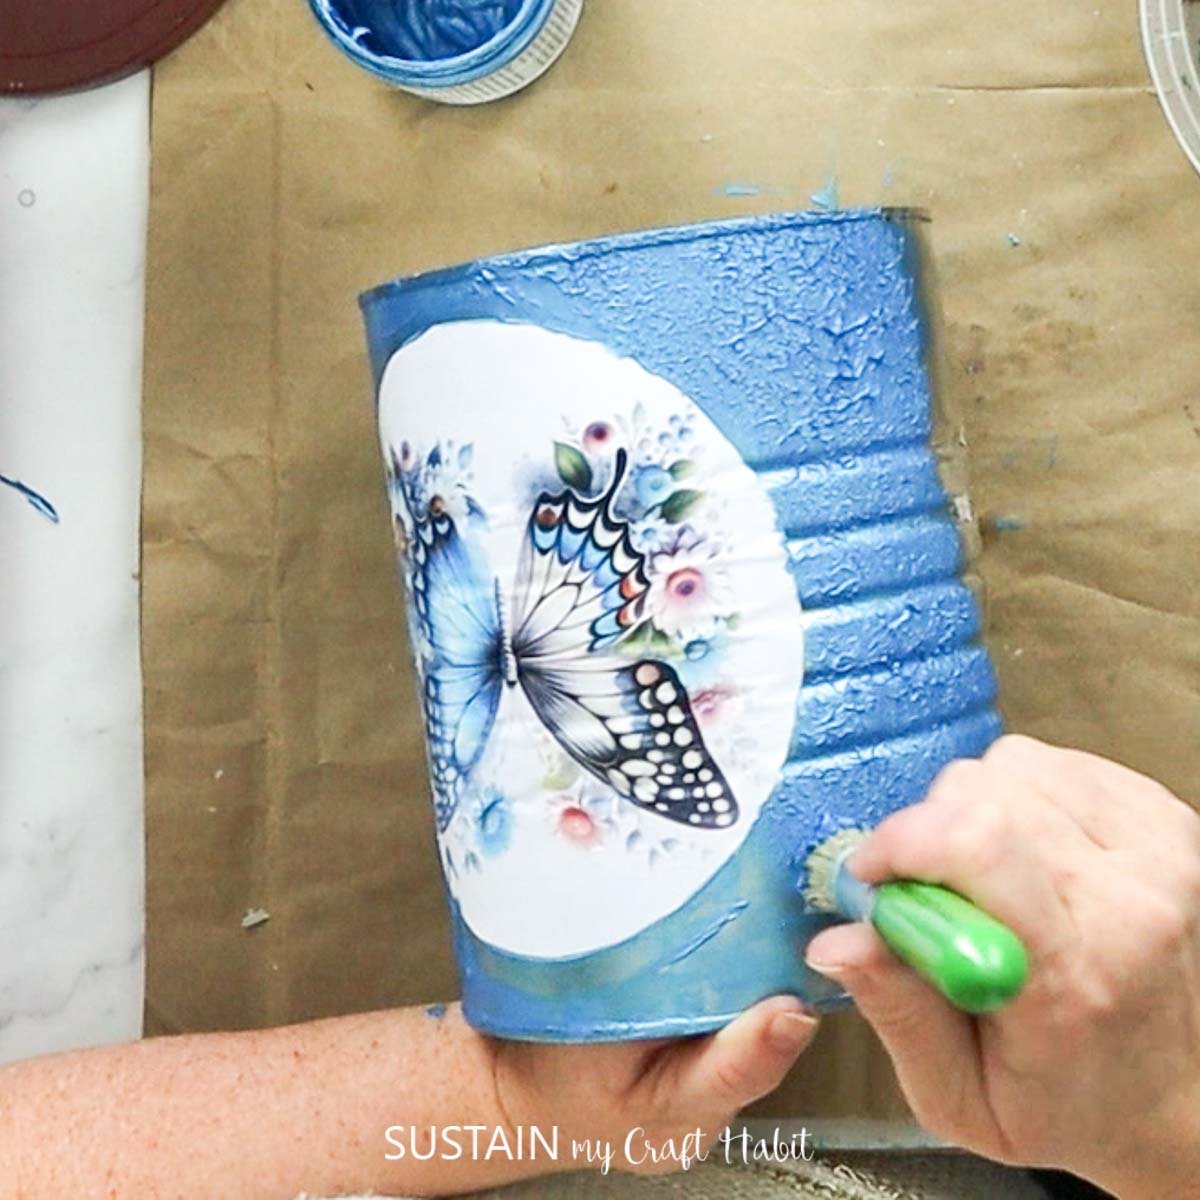
Add Mod Podge to the tin can and glue the picture onto your tin can. Place a piece of parchment paper over top of the glued picture and take your heated iron and gently rub back and forth.
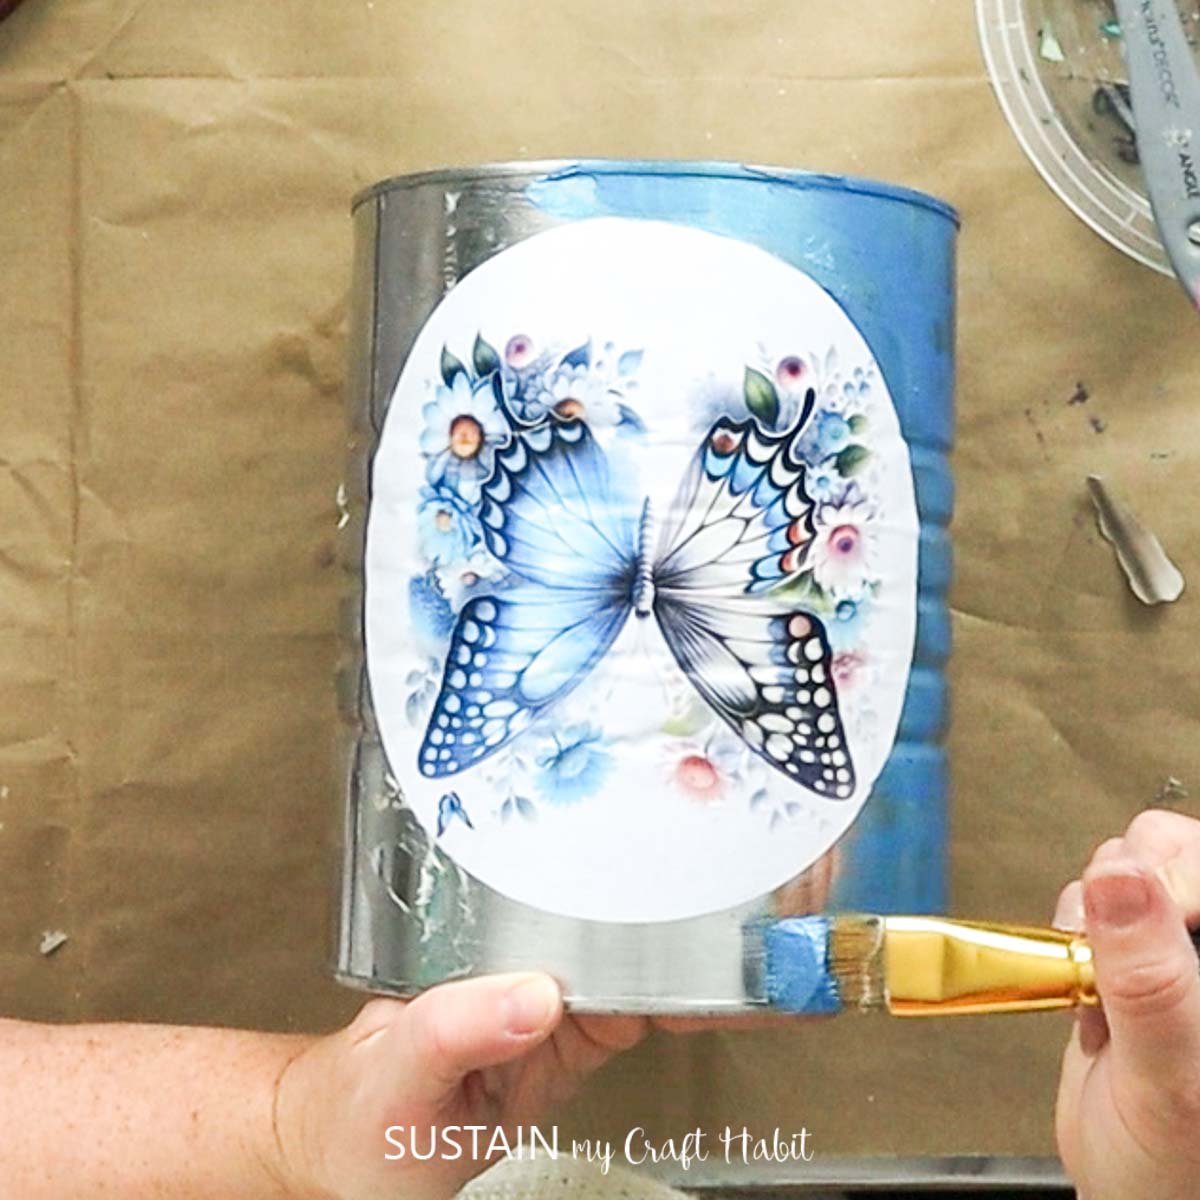
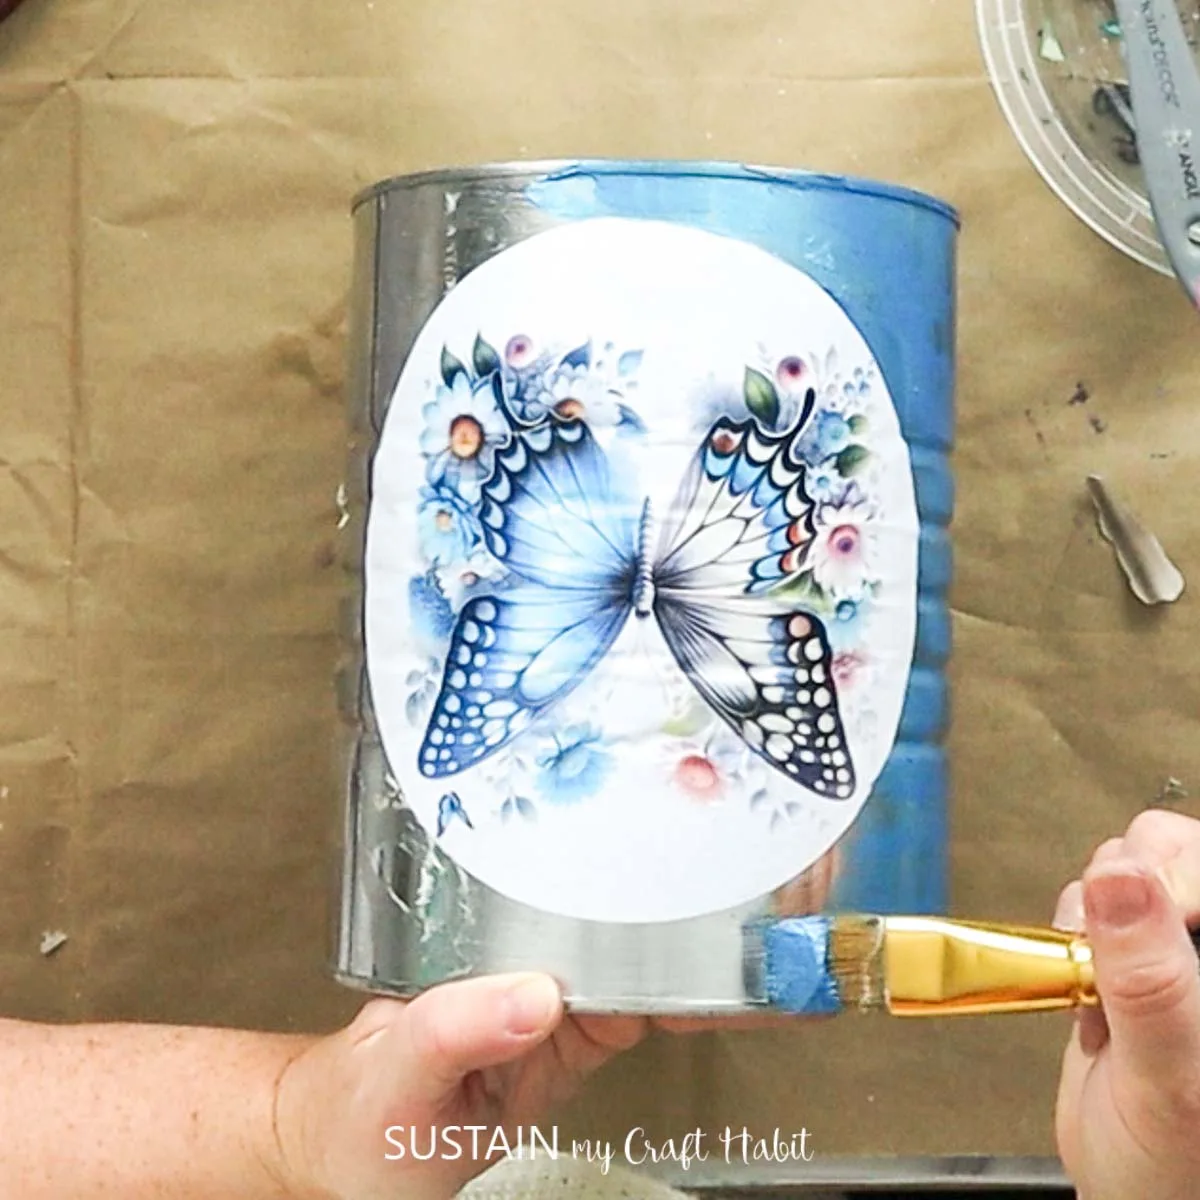
Add a coat of varnish over the picture and let dry.

Next, paint the coffee can with texture paint if you like. Before painting ensure to add a layer of Mod Podge of sealer to the tin can. Let is dry and then use a stencil brush to dab the paint on giving the texture look.

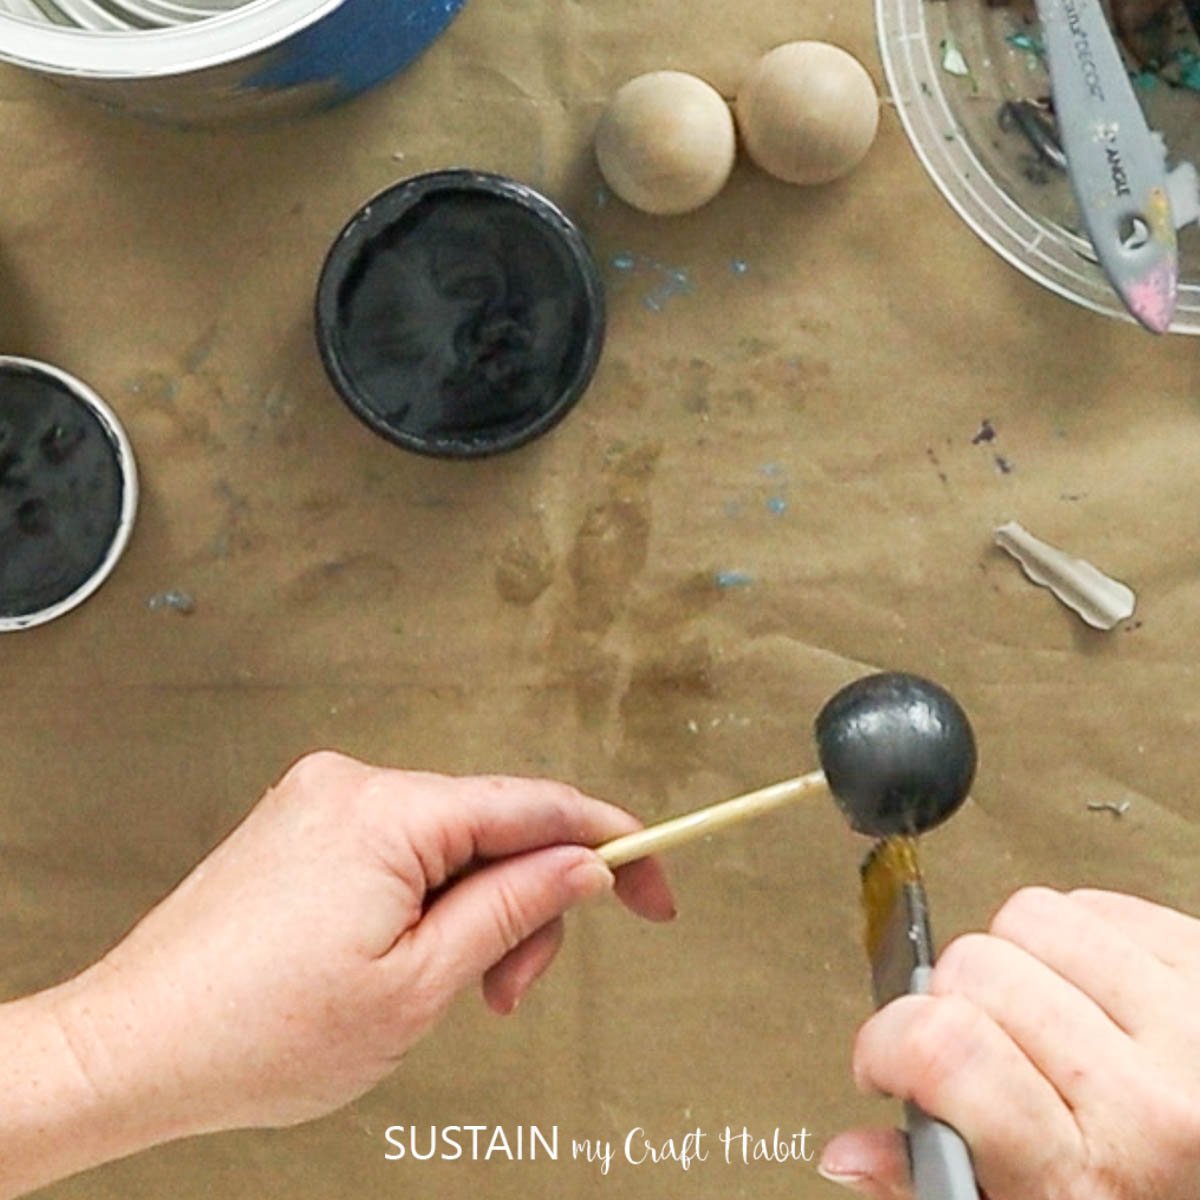
Paint the wooden beads with black paint.
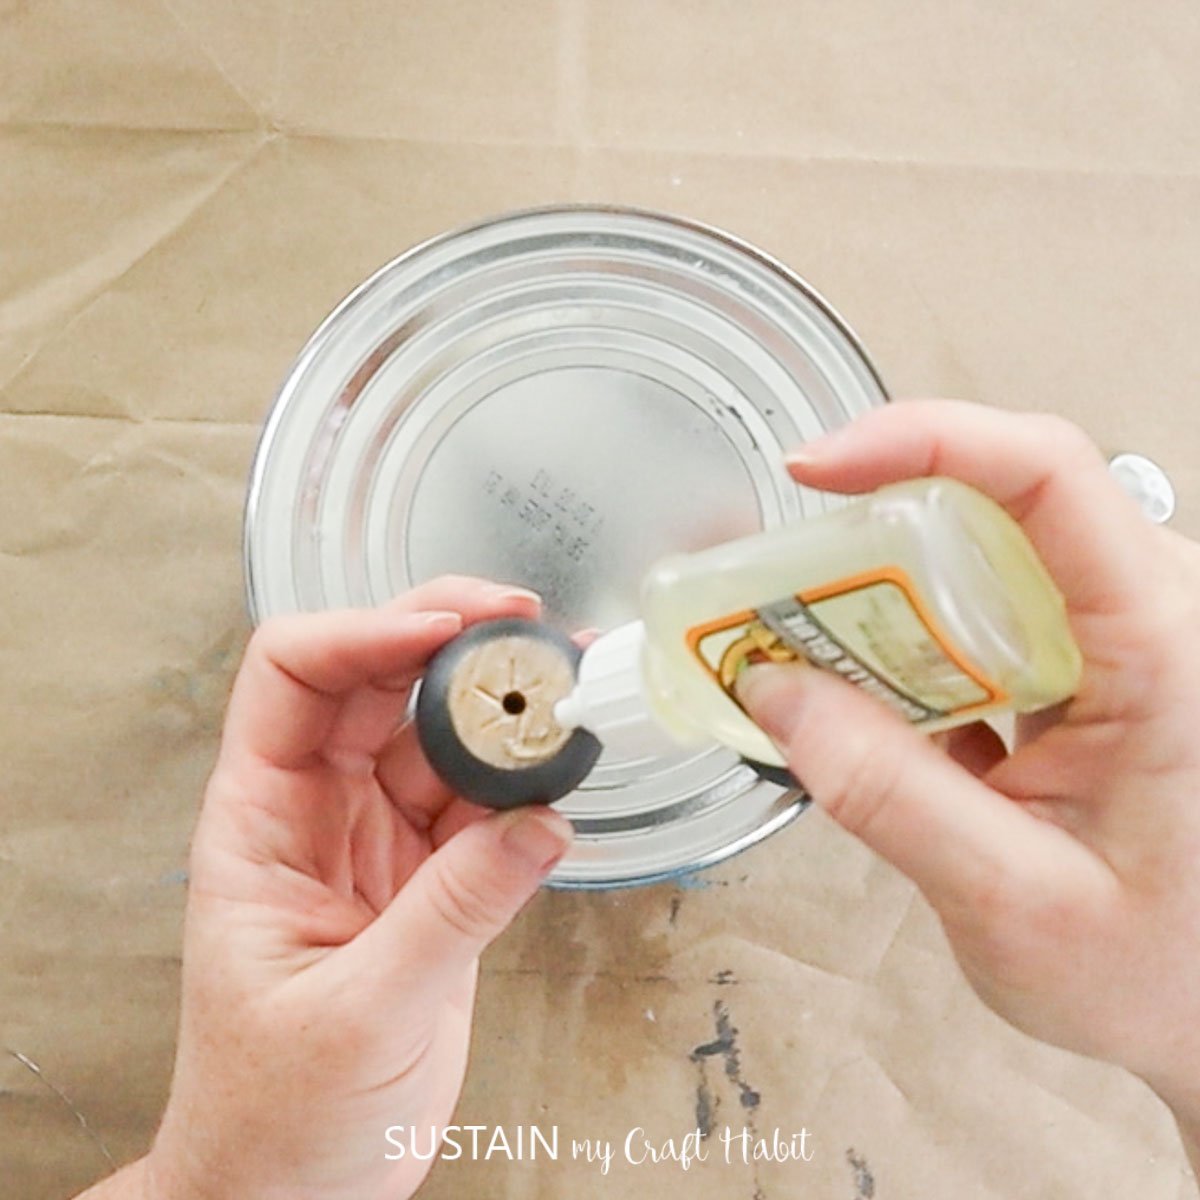
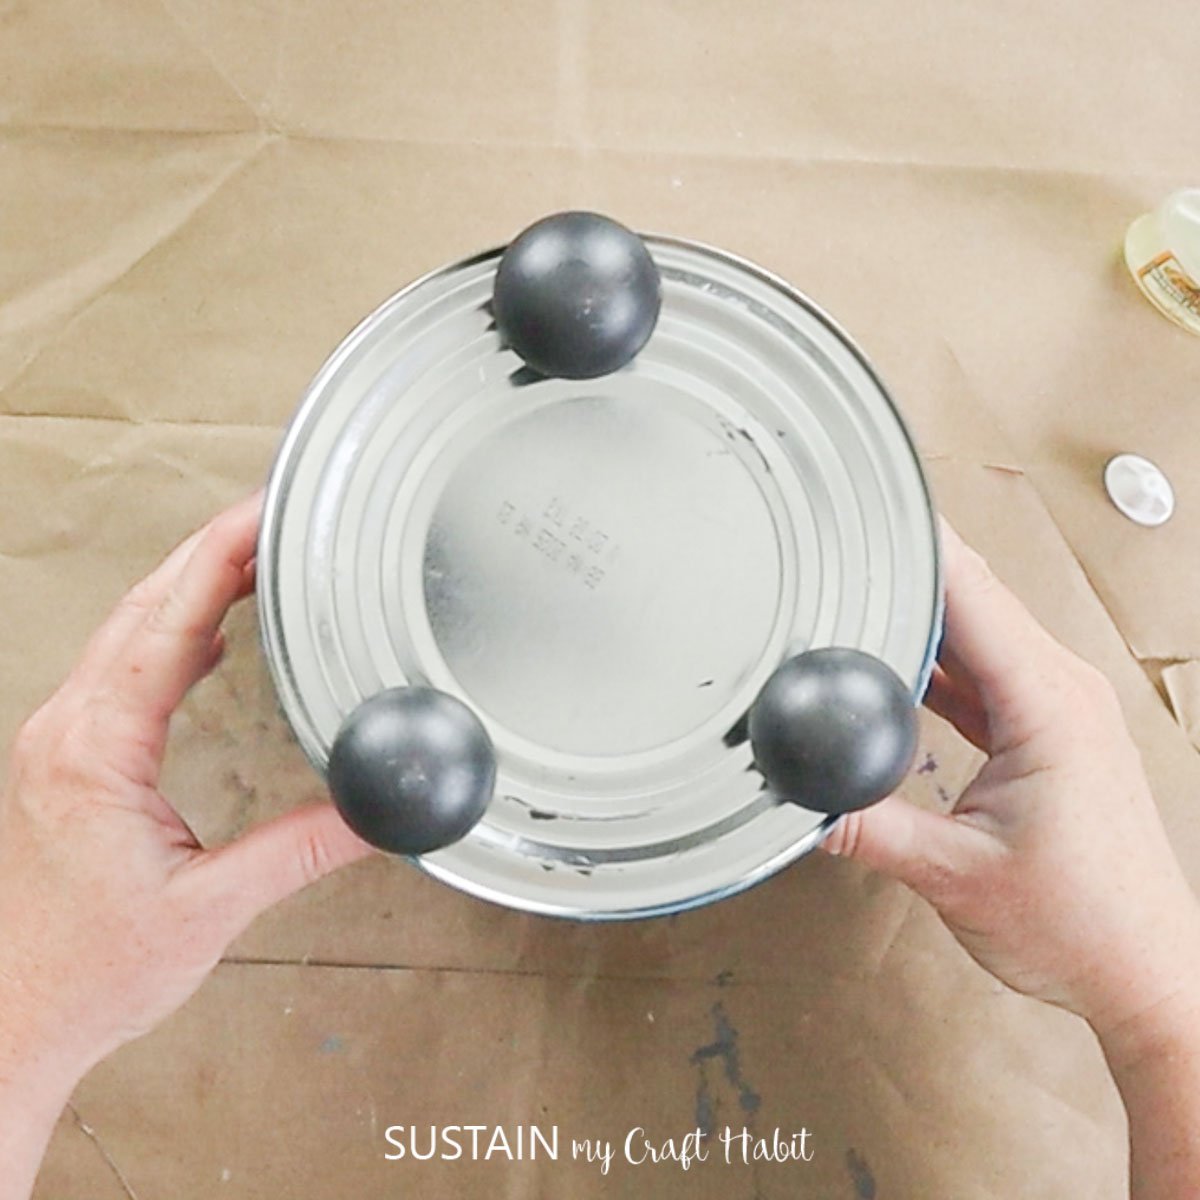
Glue the wooden beads, three in total, onto the bottom of the coffee tin can.
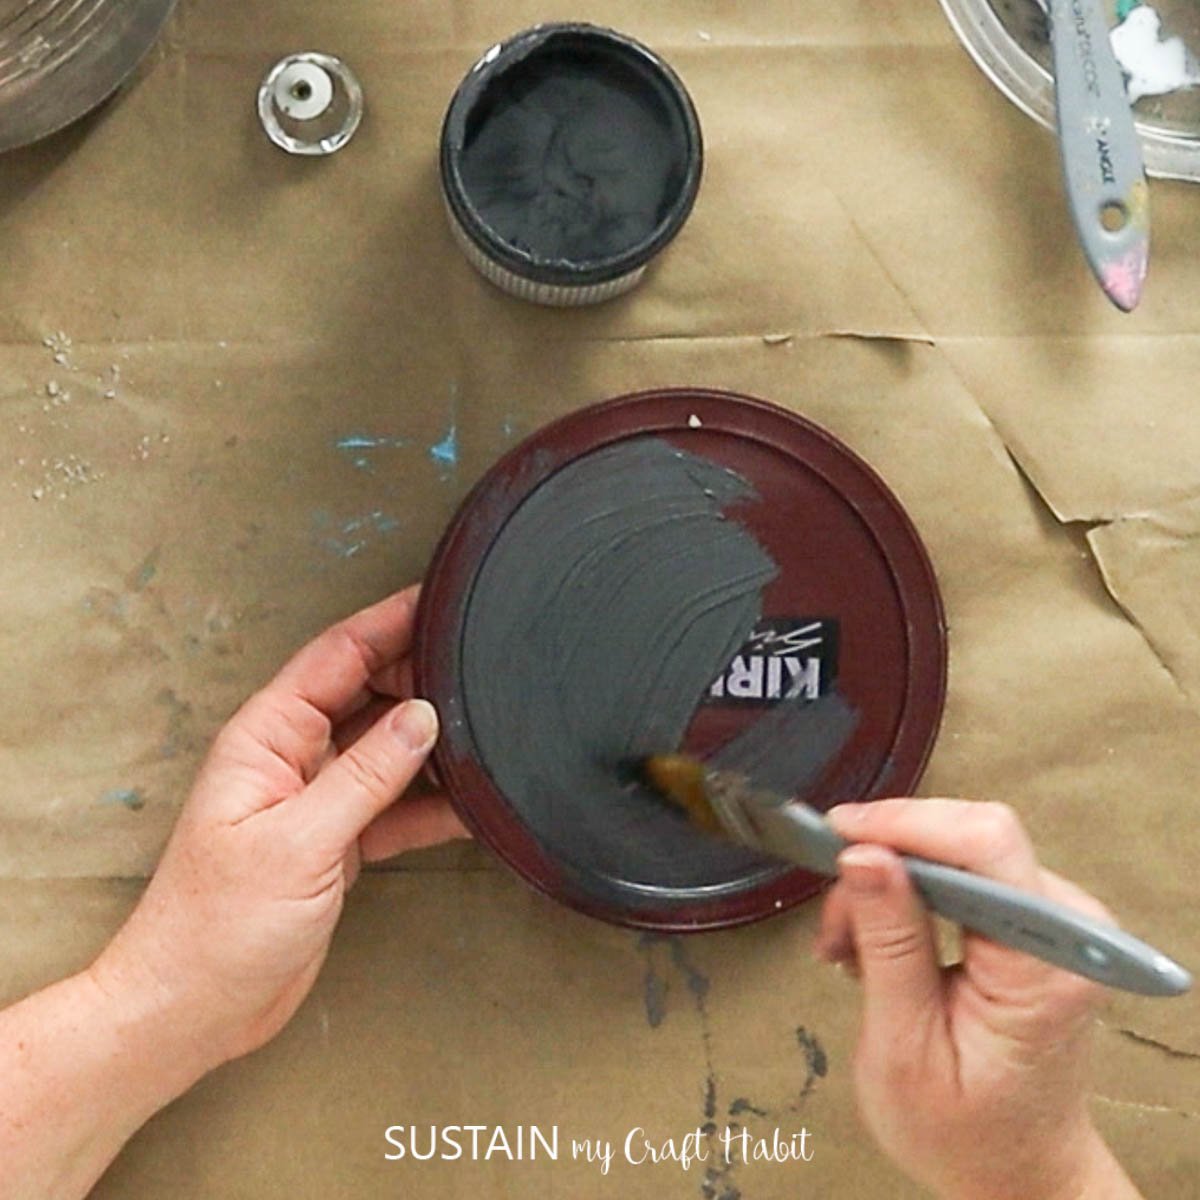
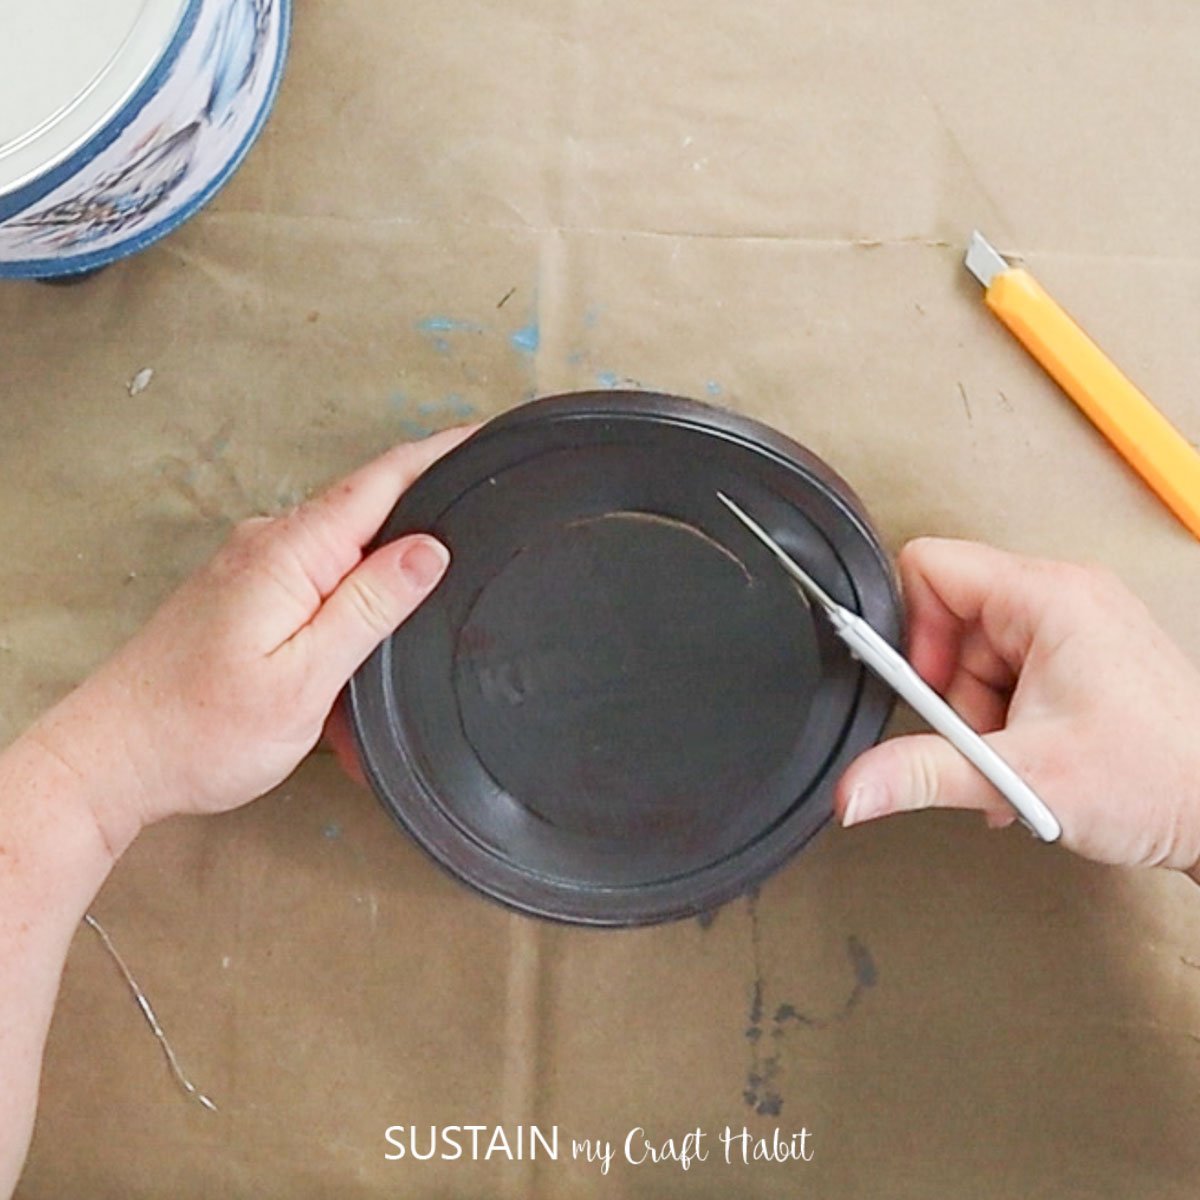
Paint the coffee can lid and cut a hole. This will go back onto the coffee tin can.
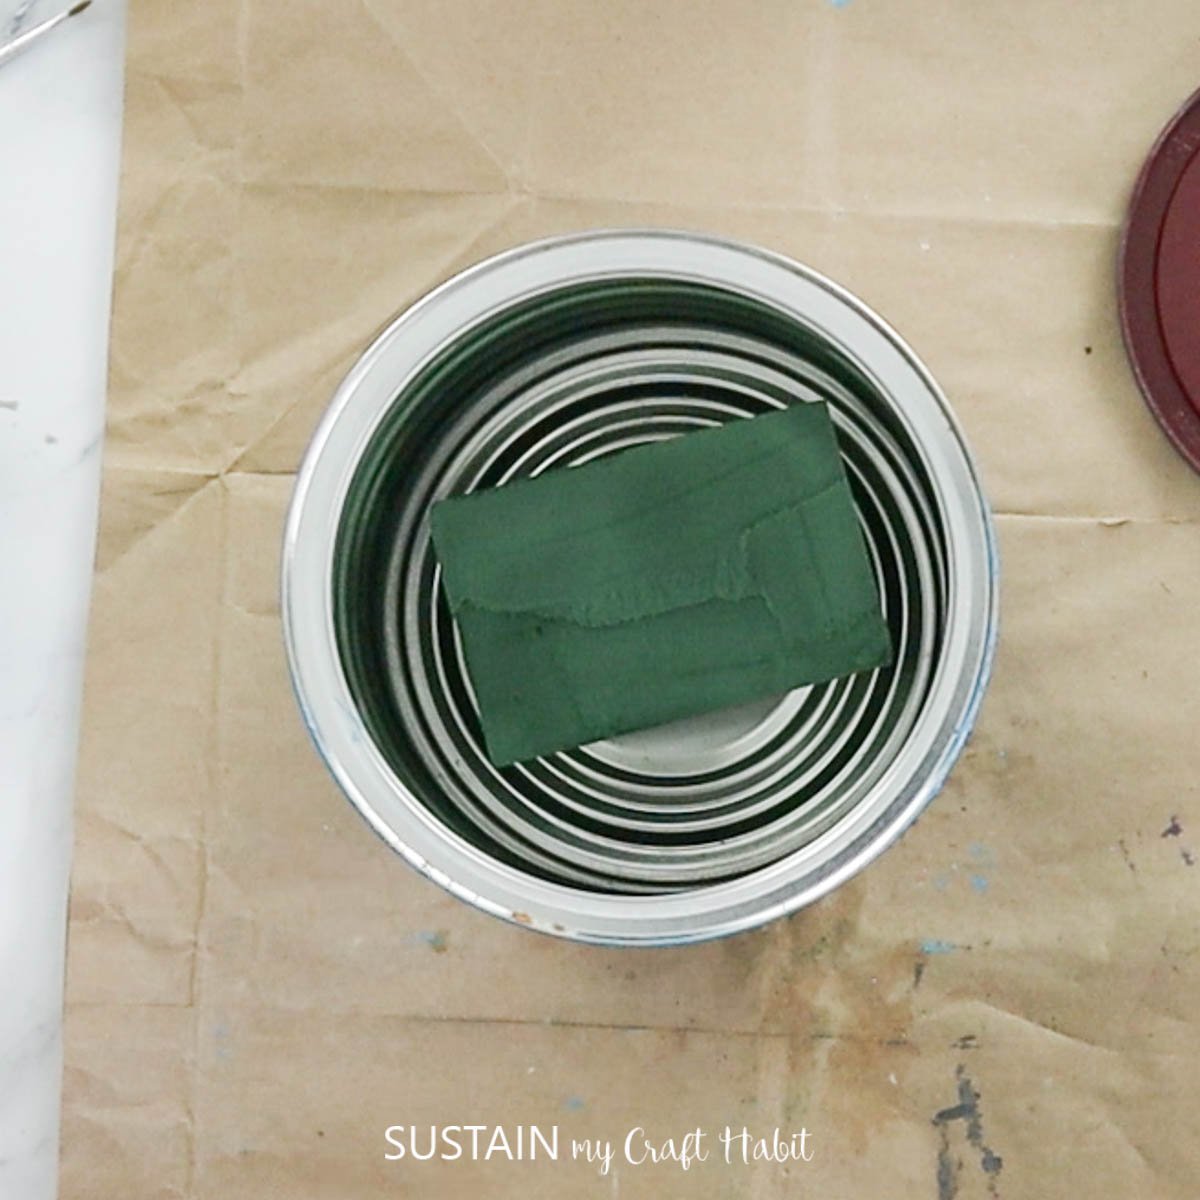
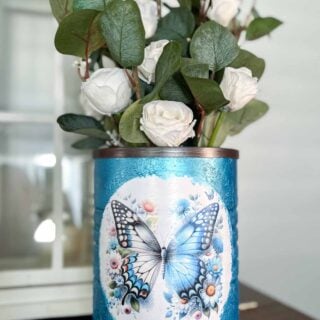
To use the tin can as a faux floral planter, add dry floral foam to the bottom of the can.
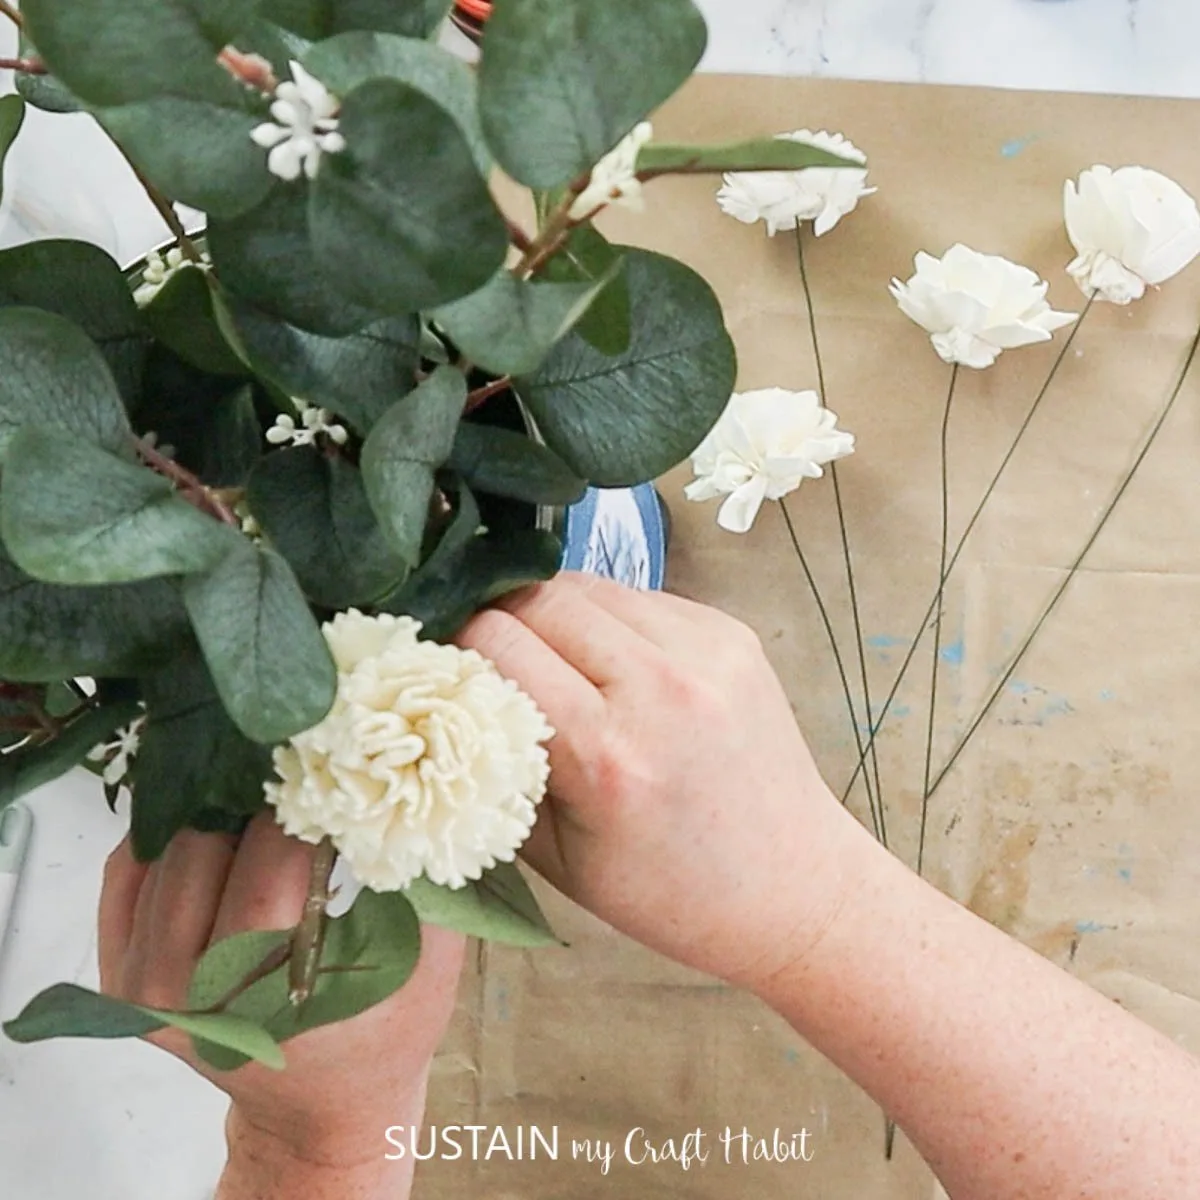
Finish by adding flowers to the can in an arrangement you like.

Sustainable DIY Craft
If you enjoyed this upcycling project be sure to check out 60+ creative decoupage ideas!
Gather your old coffee tins, let your imagination run wild, and enjoy the rewarding experience of turning everyday objects into beautiful centerpieces. Happy crafting!

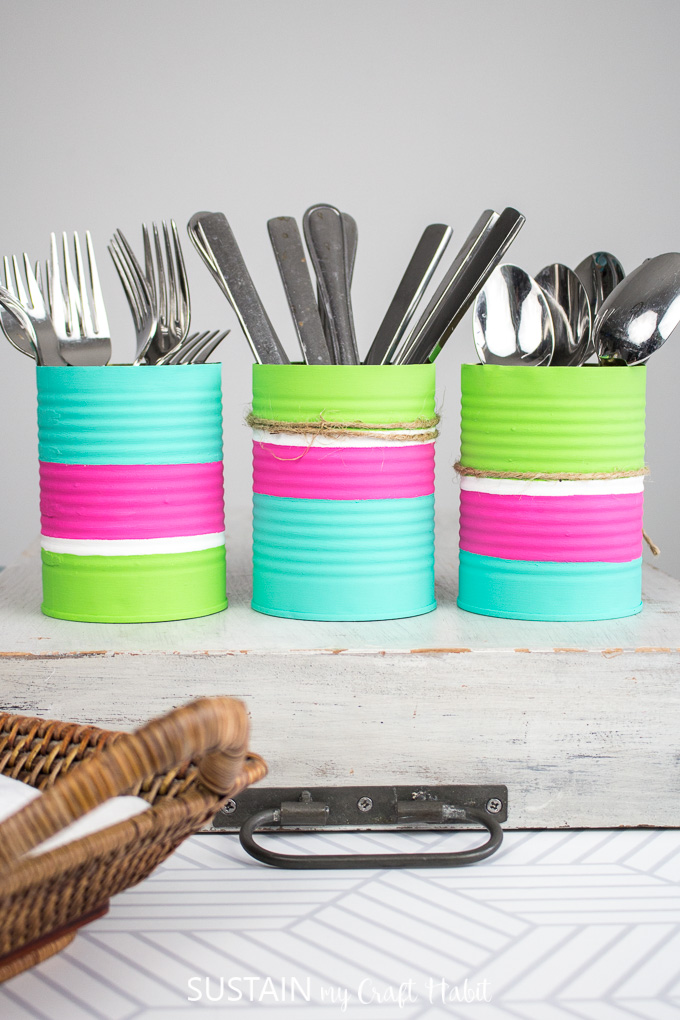
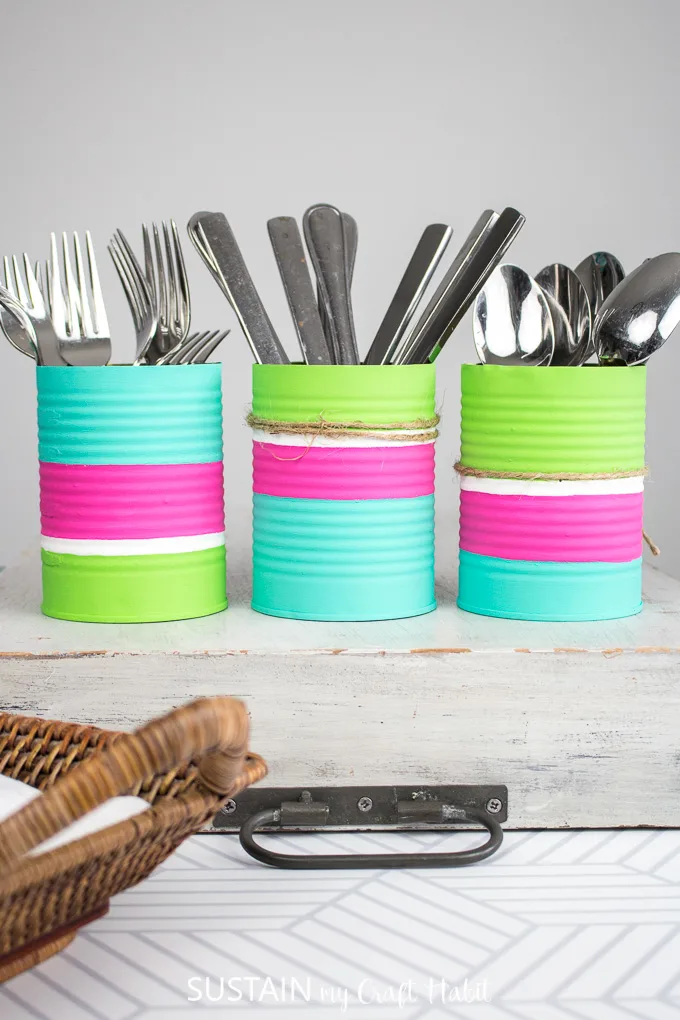
More Tin Can Crafts
- DIY Utensil Holder
- 50 Best Upcycled Tin Can Crafts
- Tin Can Craft Storage
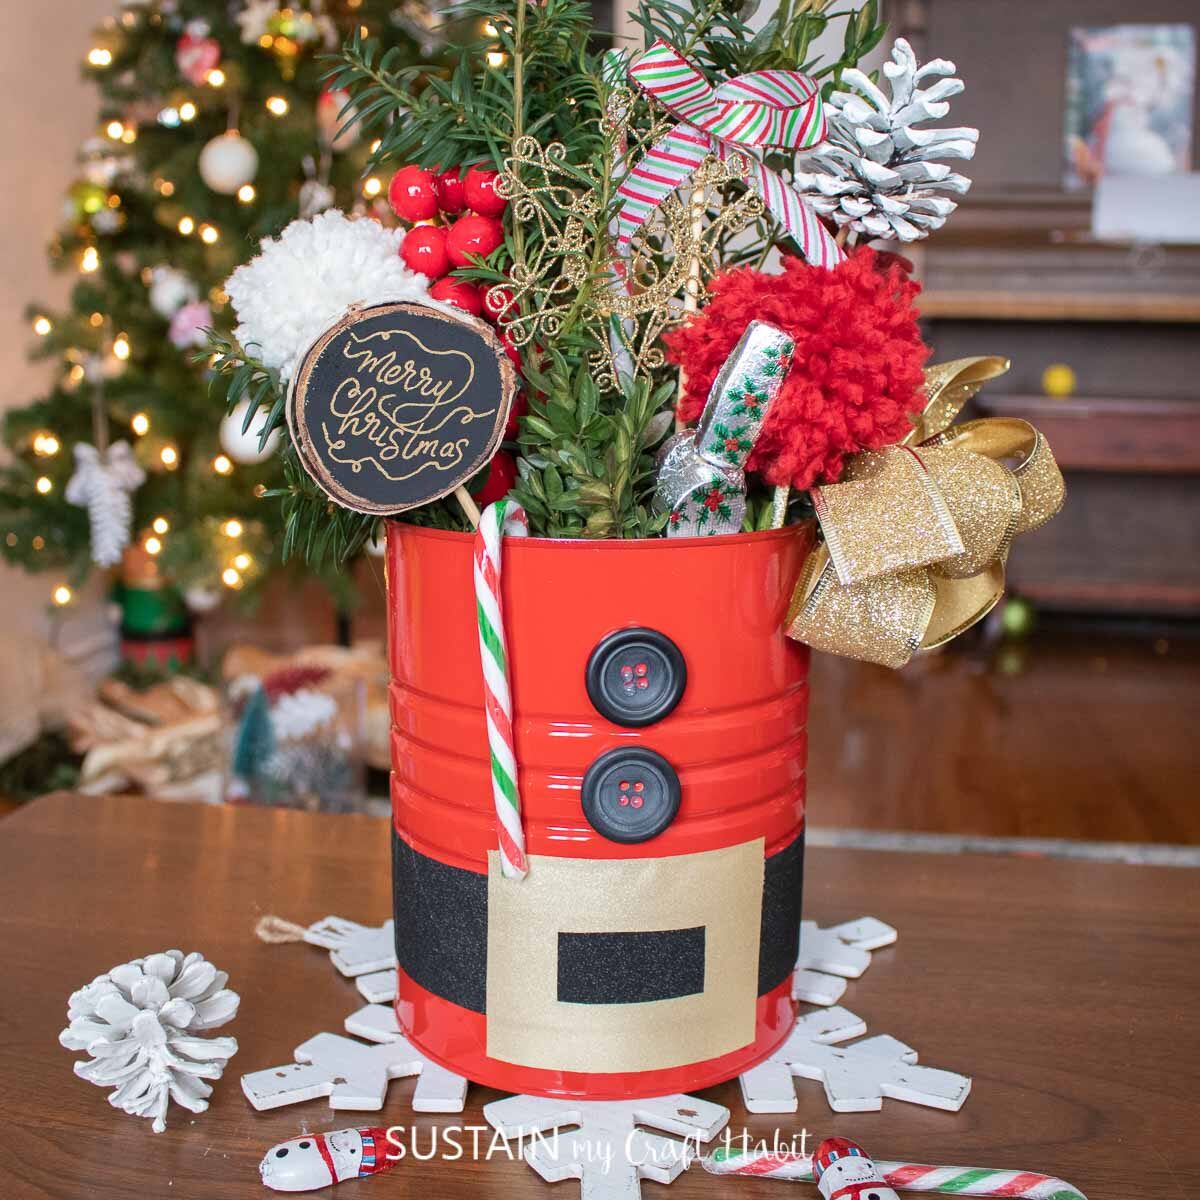
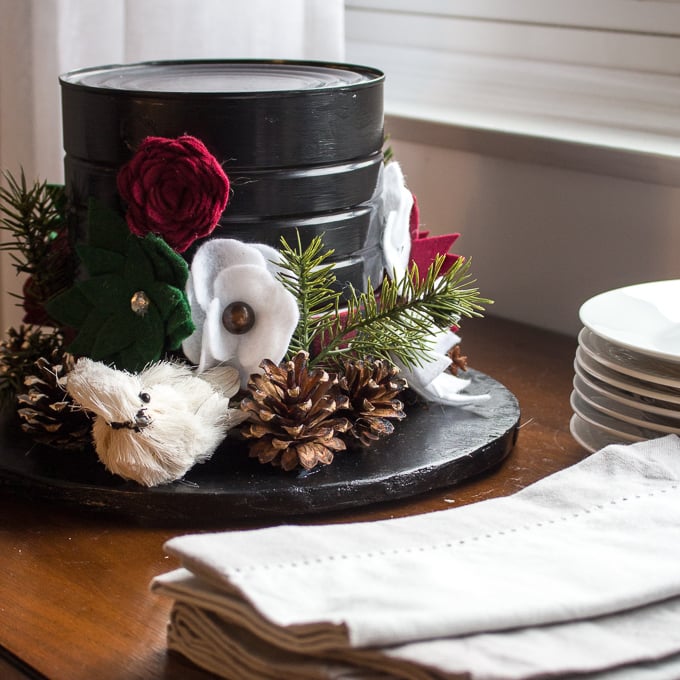
- Coffee Tin Santa Centerpiece
- Winter Centerpiece


Join our crafting community to find more nature-inspired DIYs and upcycled craft ideas. It feels good to repurpose, upcycle and create with nature!
Like it? Pin it for later!

Crafting a Coffee Tin Planter
Materials
- Coffee tin
- Printable graphic picture
- Wood Beads
- Paint in metallic texture blue and black
- Paintbrushes
- Mod Podge
- DuraClear Varnish
- Floral foam
- Faux flowers
- Gorilla glue
Instructions
- Cut out your graphic picture out to the desired size.
- Add Mod Podge to the tin can and glue the picture onto your tin can.
- Add a coat of varnish over the picture and let dry.
- Next, paint the coffee can with texture paint. Use a stencil brush to dab the paint on.
- Paint the wooden beads with black paint.
- Glue the wooden beads, three in total, onto the bottom of the coffee tin can.
- Paint the coffee can lid and cut a hole. This will go back onto the coffee tin can.
- Add floral foam to the bottom of the can.
- Finish by adding flowers to the can.