DIY Family Shaker Ornament with xTool P2
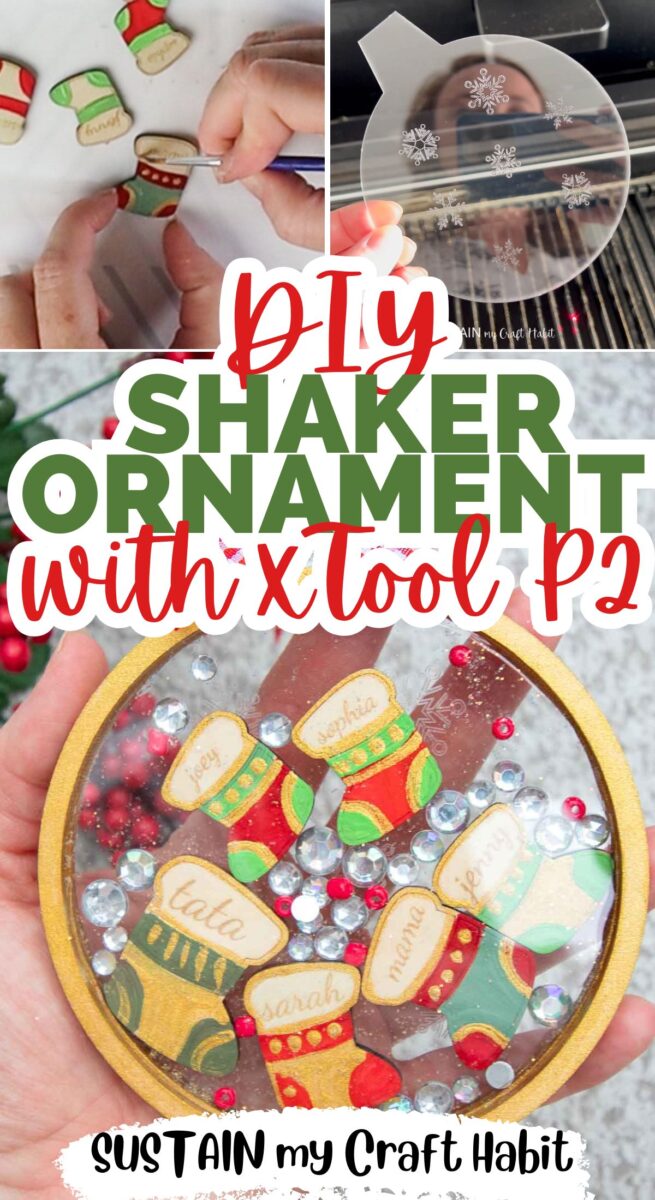
Creating a shaker ornament with the xTool P2 is a fun way to bring a personalised touch to your seasonal décor and gift giving.
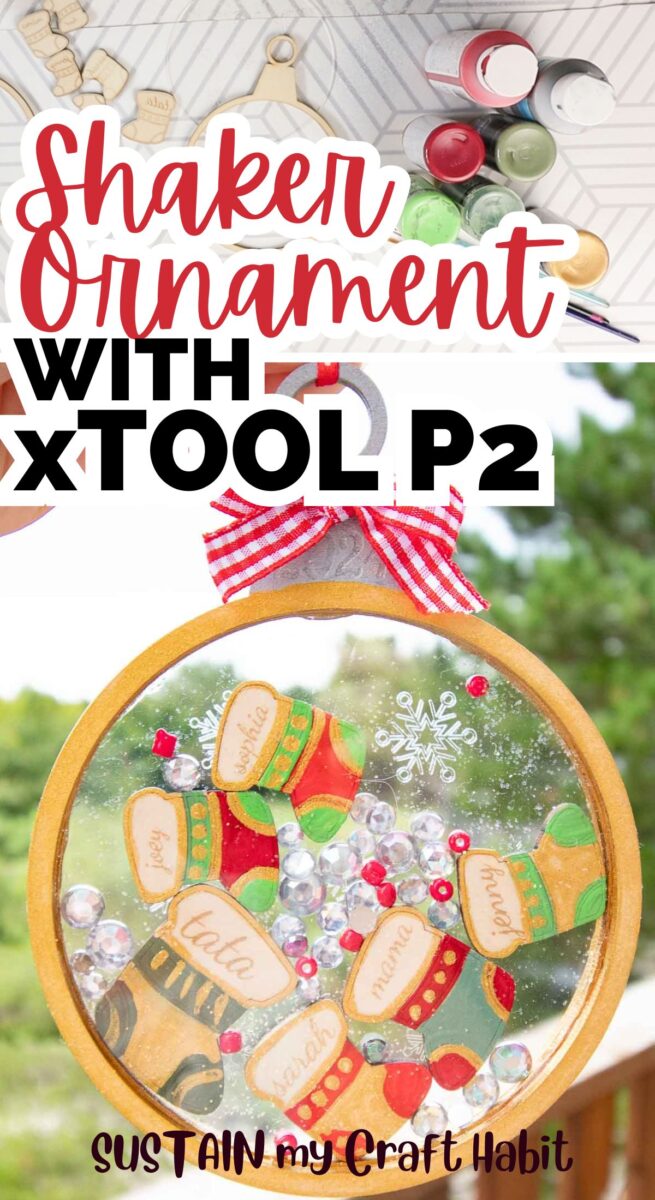
A thoughtful handmade gift they’re sure to love!
I’m a sucker for anything that represents my family: personalized ornaments that include their names are my absolute favorite gifts to receive!
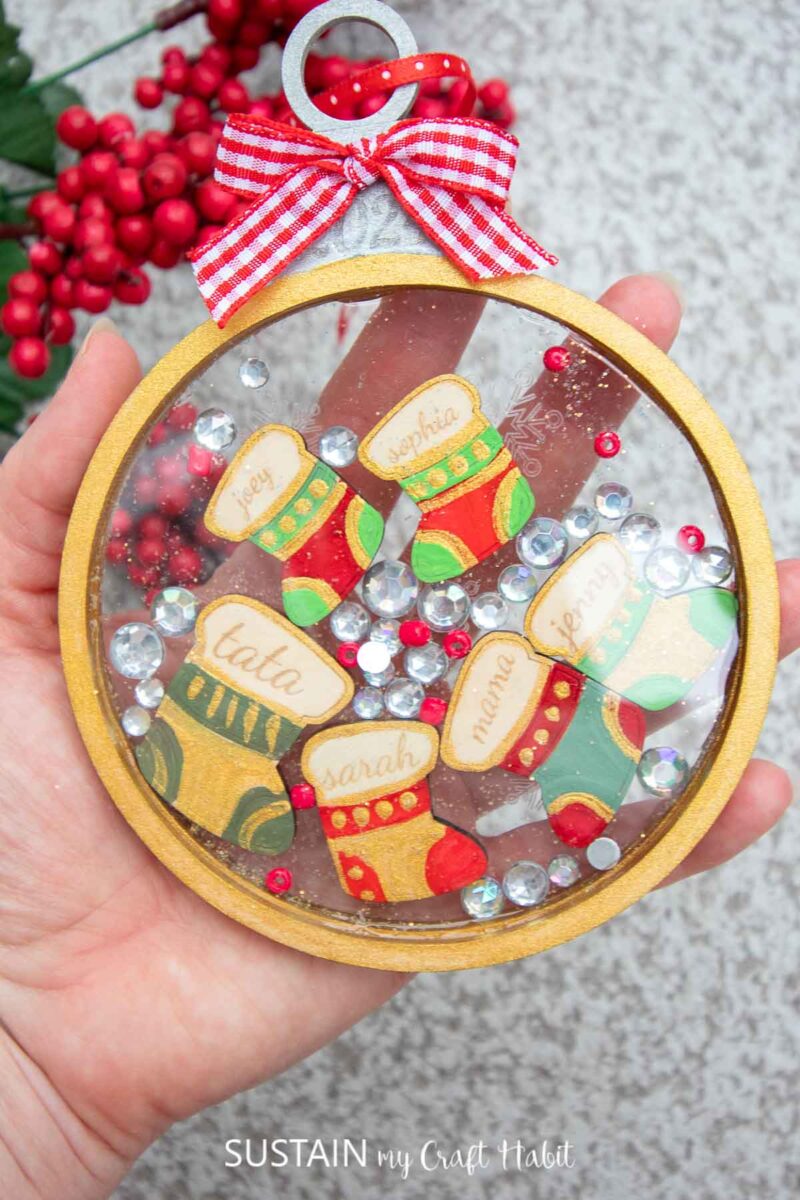
This shaker ornament project made with the xTool P2 laser cutter uses simple materials but delivers a polished look that feels handmade in the best possible way!
It’s ideal if you want something lightweight, eye-catching, and easy to customise for gifting or decorating your own tree. I’ll walk you through the process step by step, plus share a few tweaks to help you get the exact look you want. Let’s get started!
Why You’ll Love This Project
- Easy and inexpensive materials that work perfectly with laser-cut designs
- Full step-by-step tutorial using the xTool P2
- Great for personalised décor, handmade gifts, or small home projects
- Endless customisation options for colours, shapes, and fillers
- Beginner-friendly but still satisfying for experienced crafters
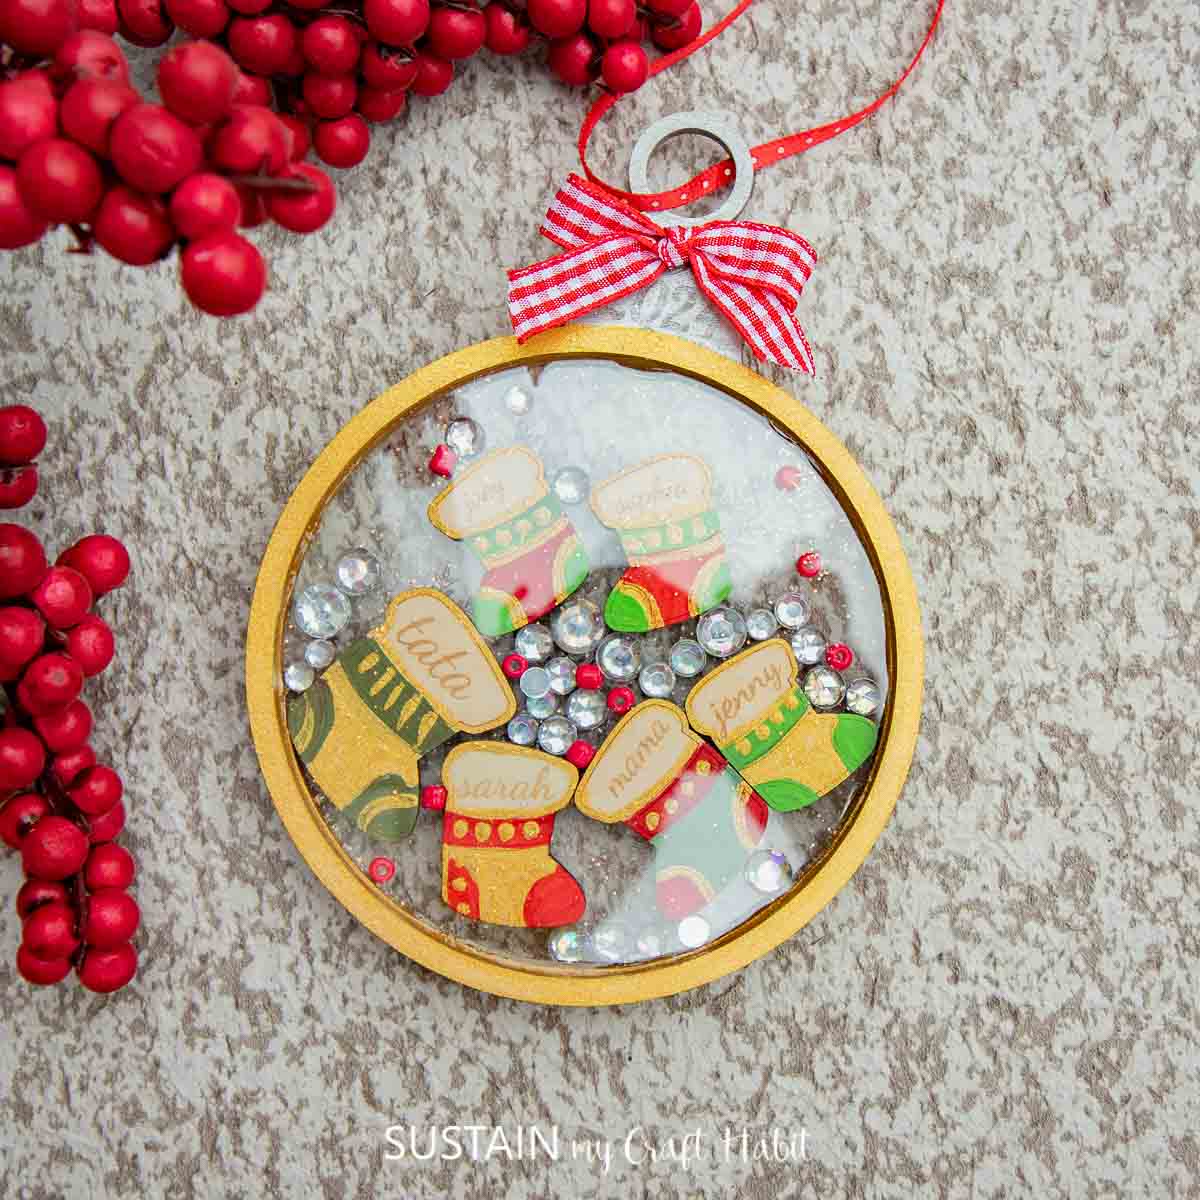
Materials Needed
- xTool P2
- Shaker Ornament SVG
- Basswood 1/8″ wood sheets
- 1/16″ Clear acrylic sheets
- Paints in any color of your choosing – we used metallic gold and silver; red and green acrylic paints
- Paint brushes
- Fillers such as rhinestones, beads, etc.
- ribbons in coordinating colors
- Tacky all-purpose Glue
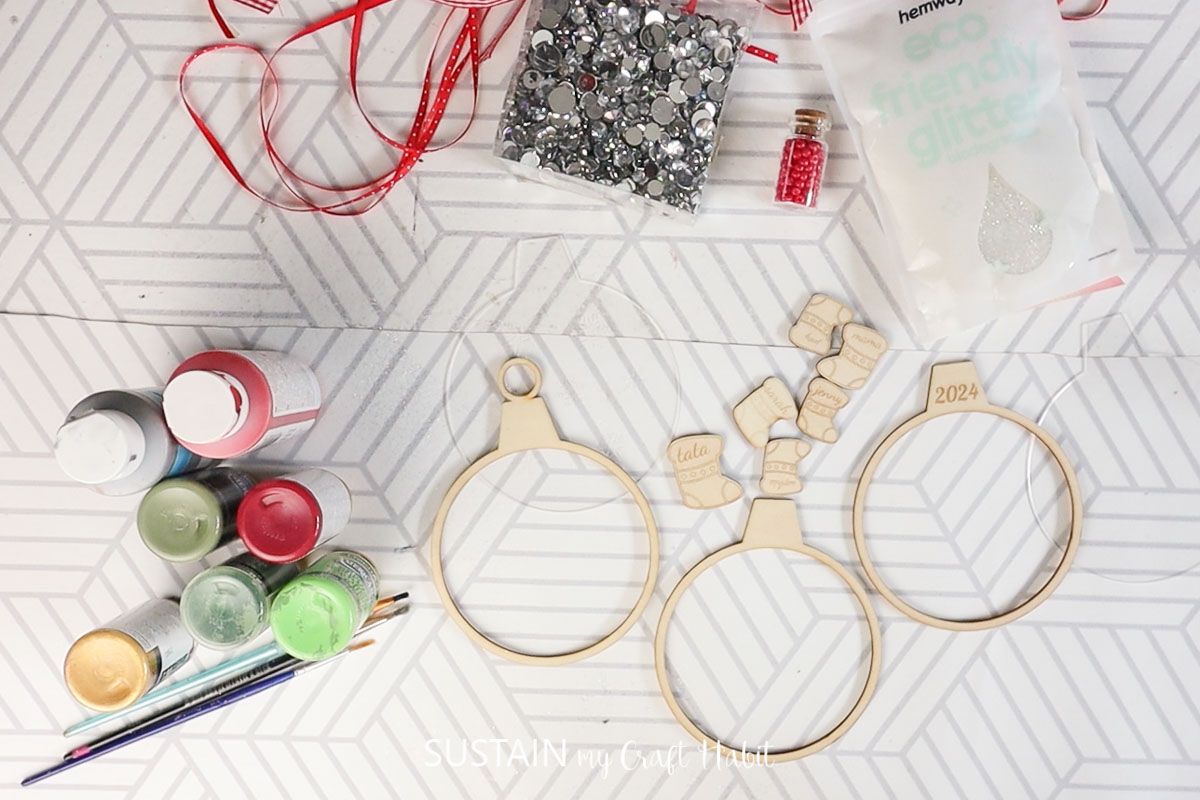
How to Make a Family Shaker Ornament with xTool P2
Gather your materials. Upload the project SVG file to xTool Creative Space and follow along with the steps and photos below.
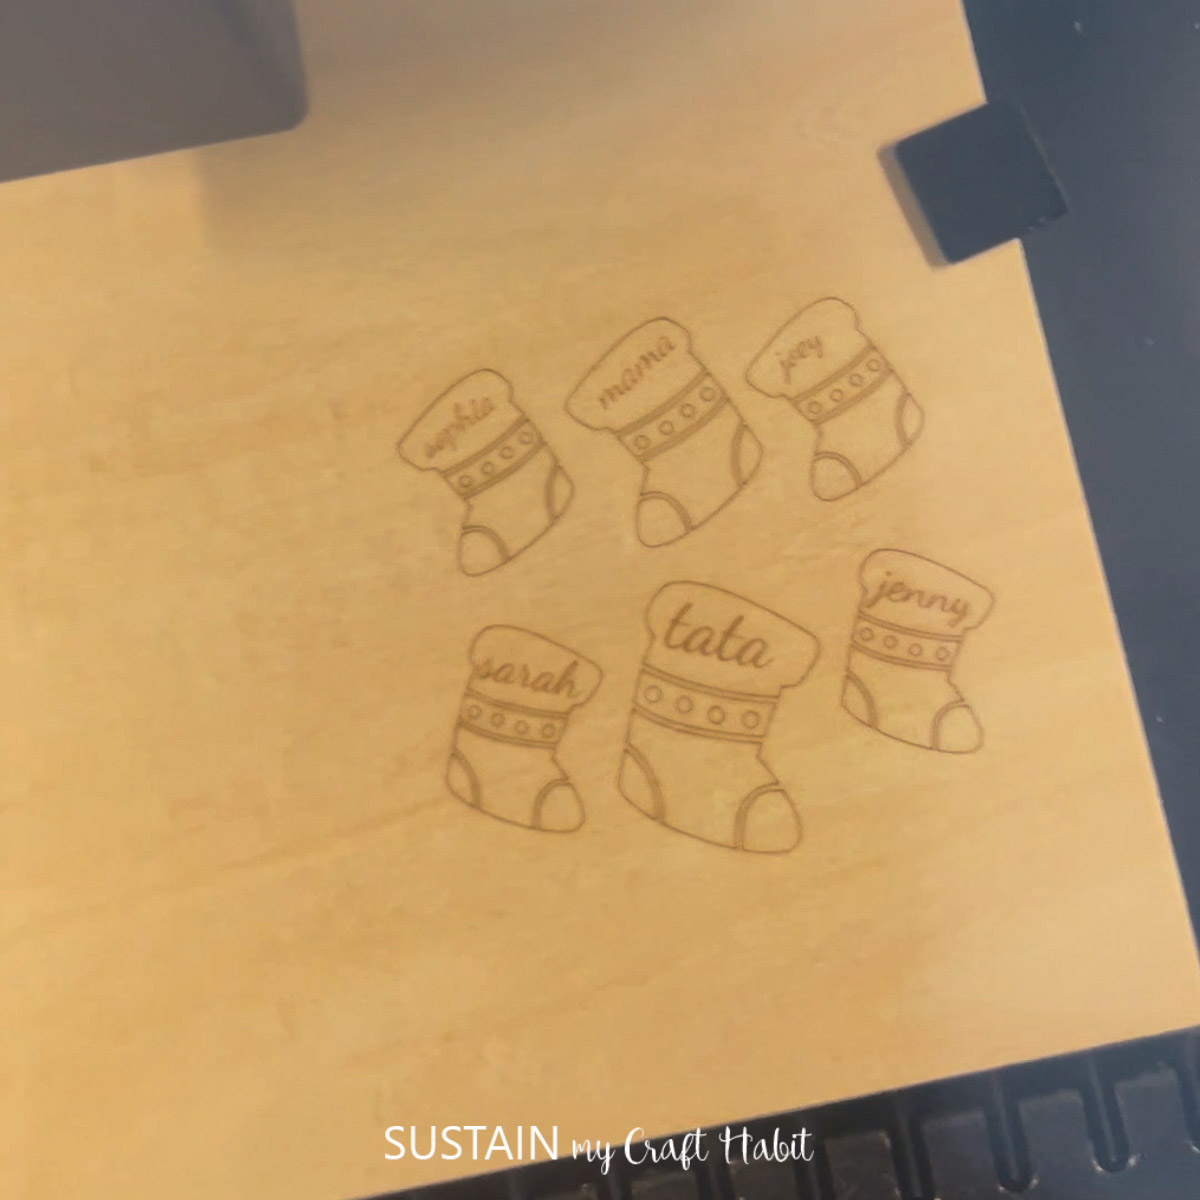
Customize the stockings to engrave the names of each family member. Use whatever font you like from the font dropdown menu. Also, if desired you can add the year to the top of the ornament as well as shown.
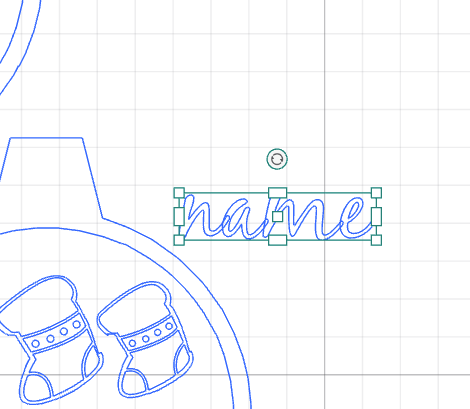
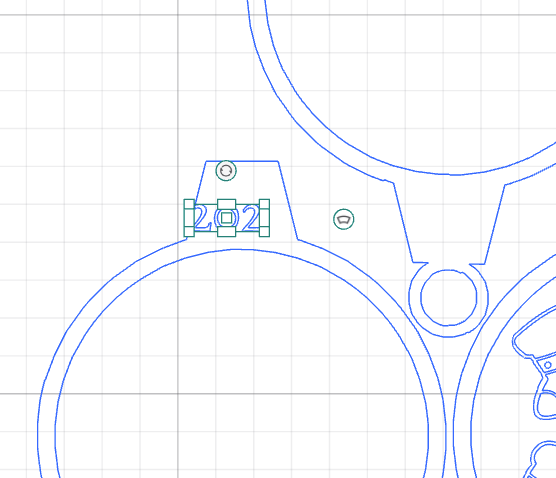
Engrave and cut out each of the layers and pieces as prompted by the software.
Work with one of the materials at a time, for example, add the basswood sheet in to the cutting machine.
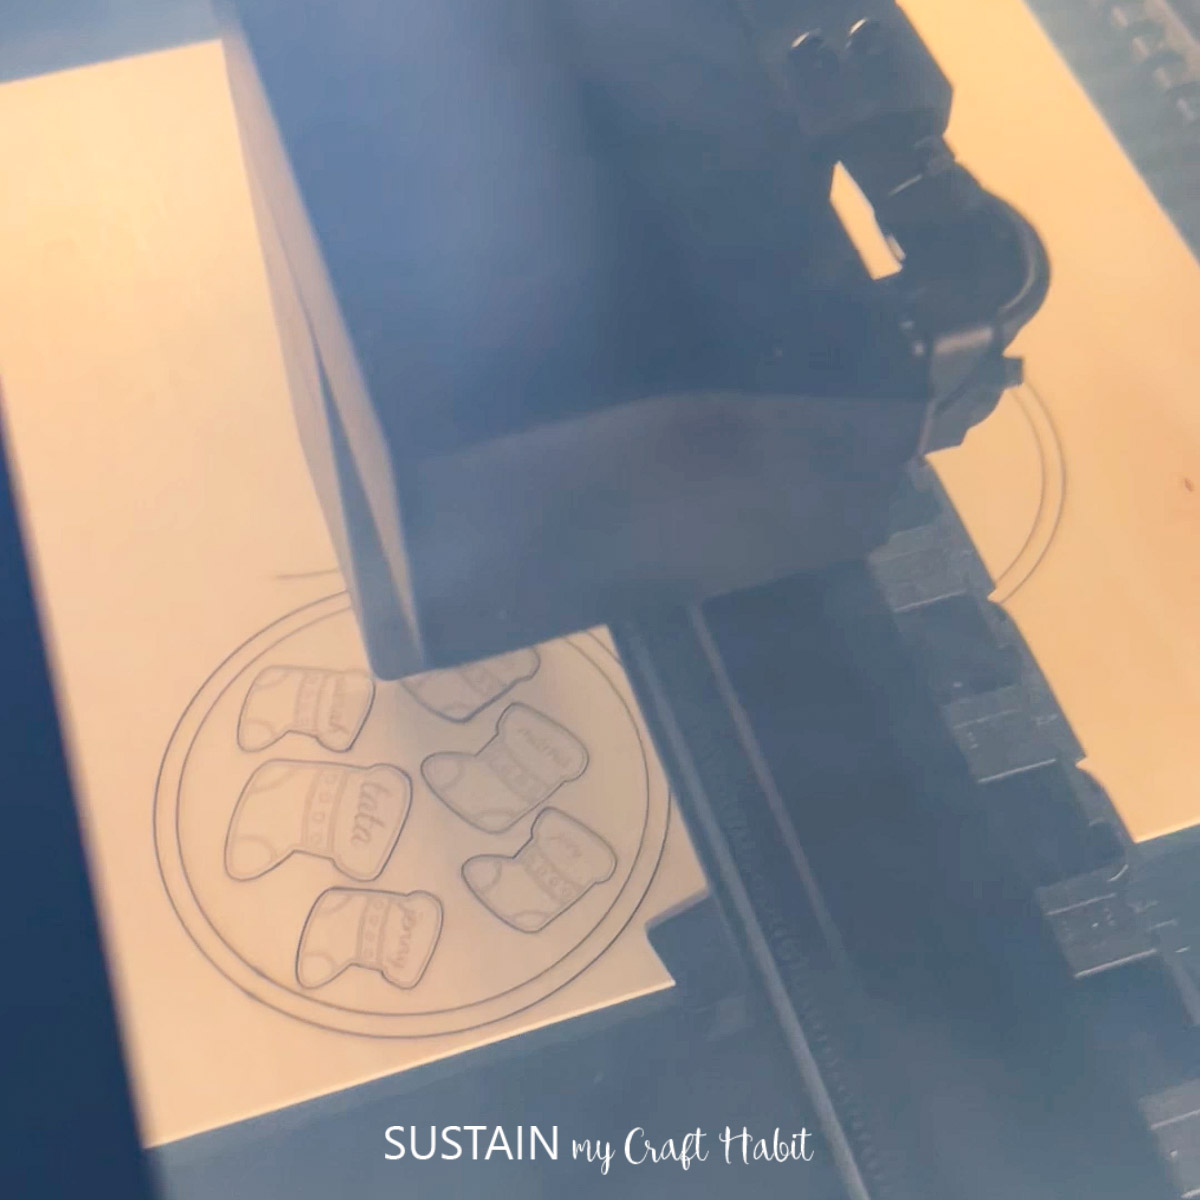
Next, cut out the other layers in the clear acrylic sheets.
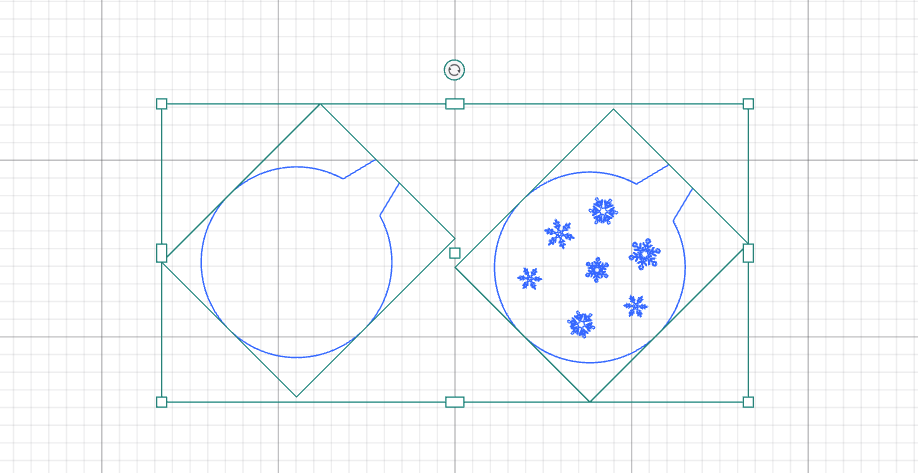
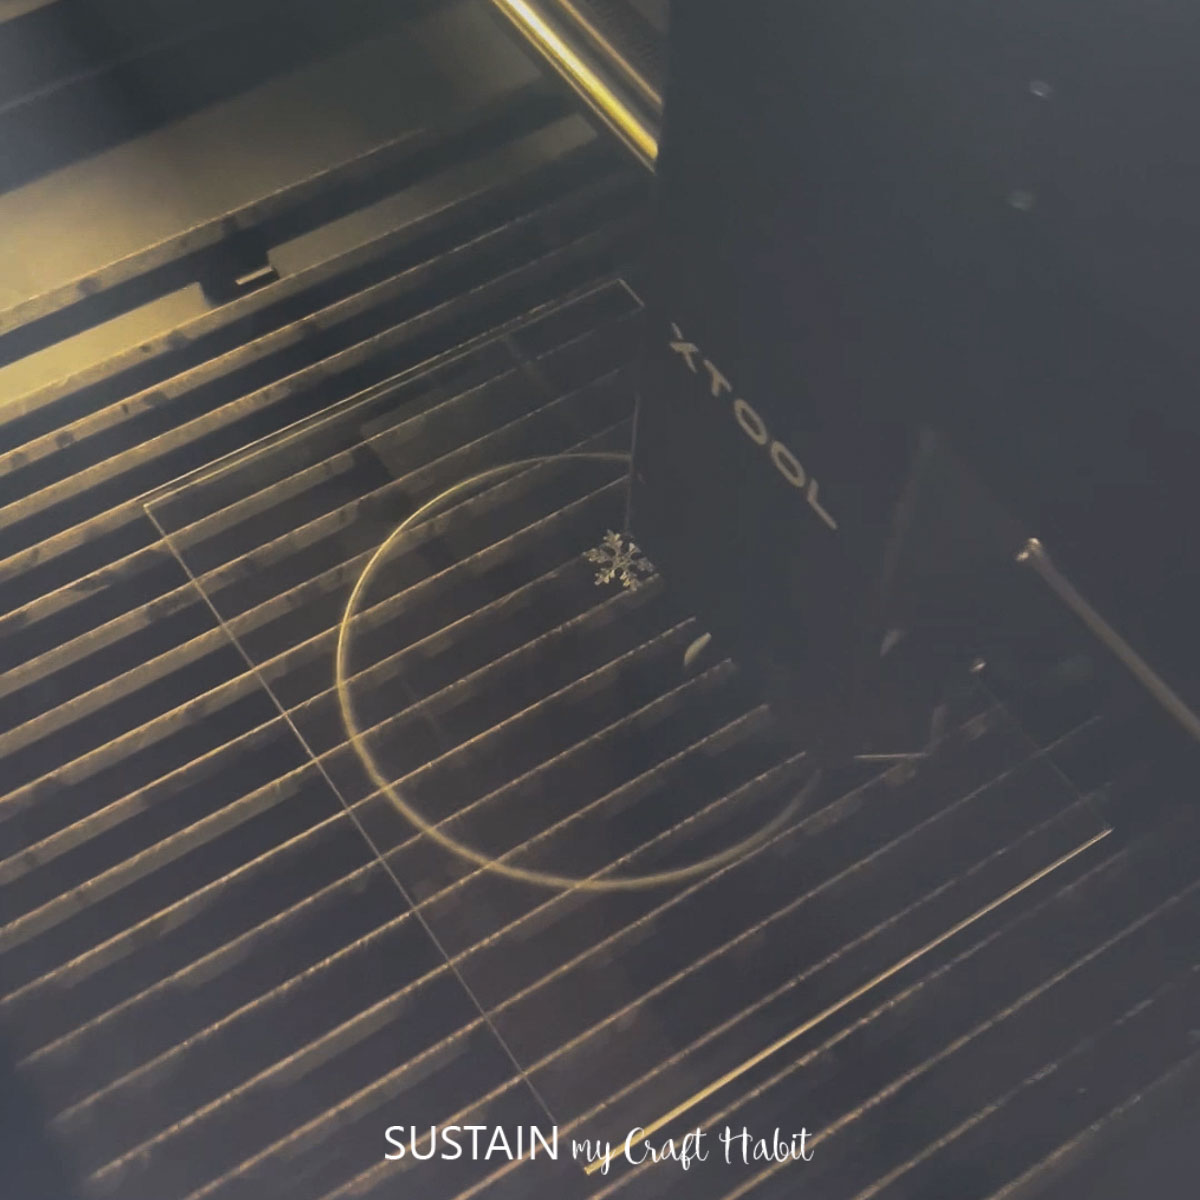
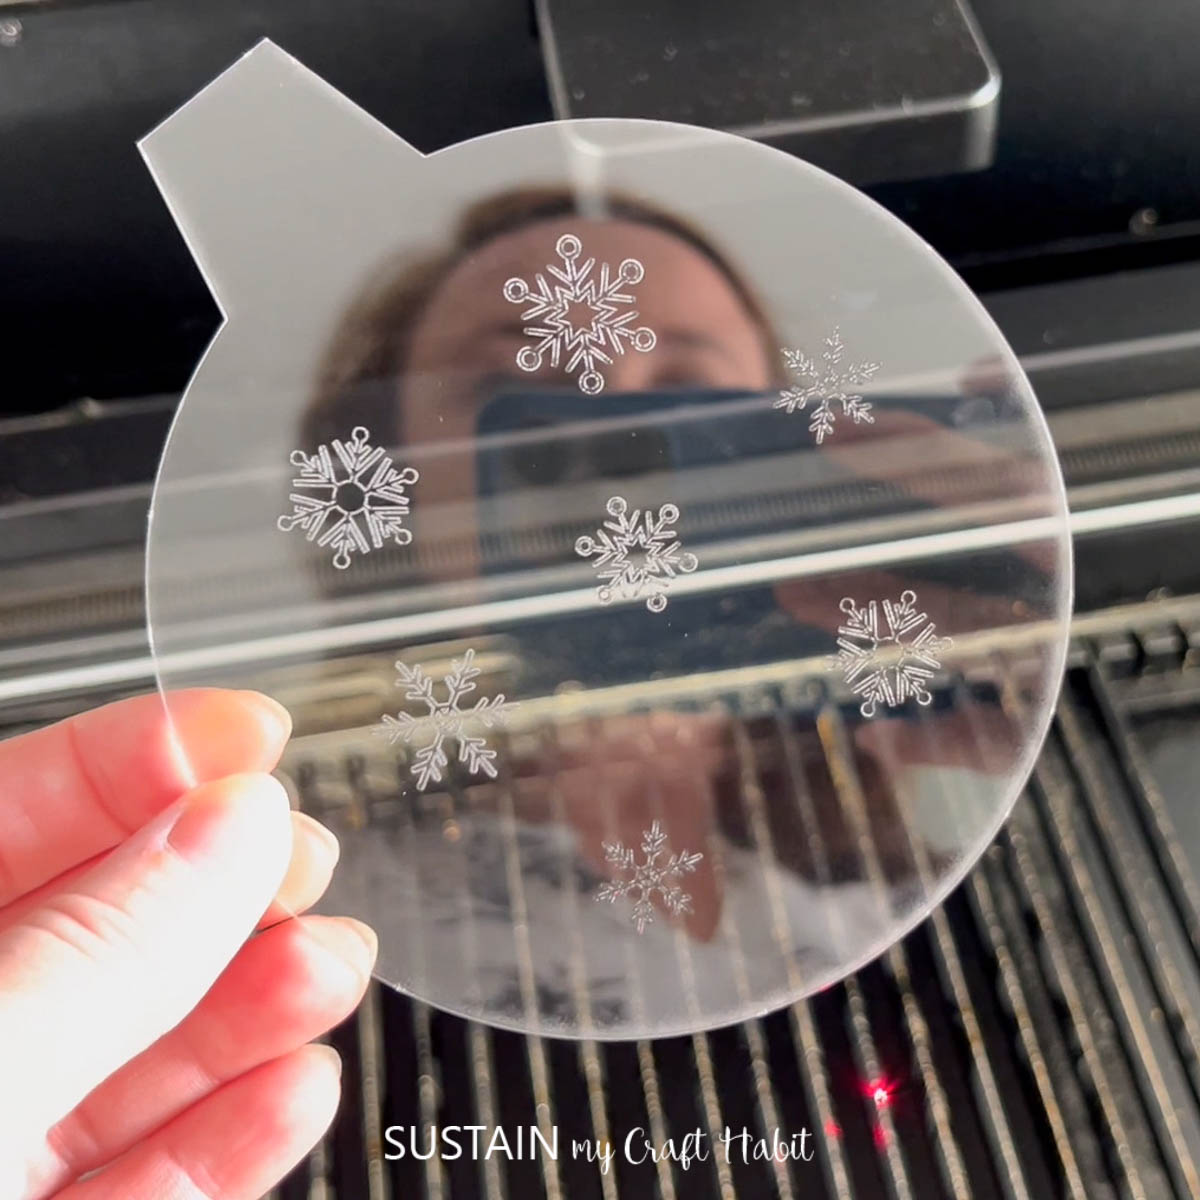
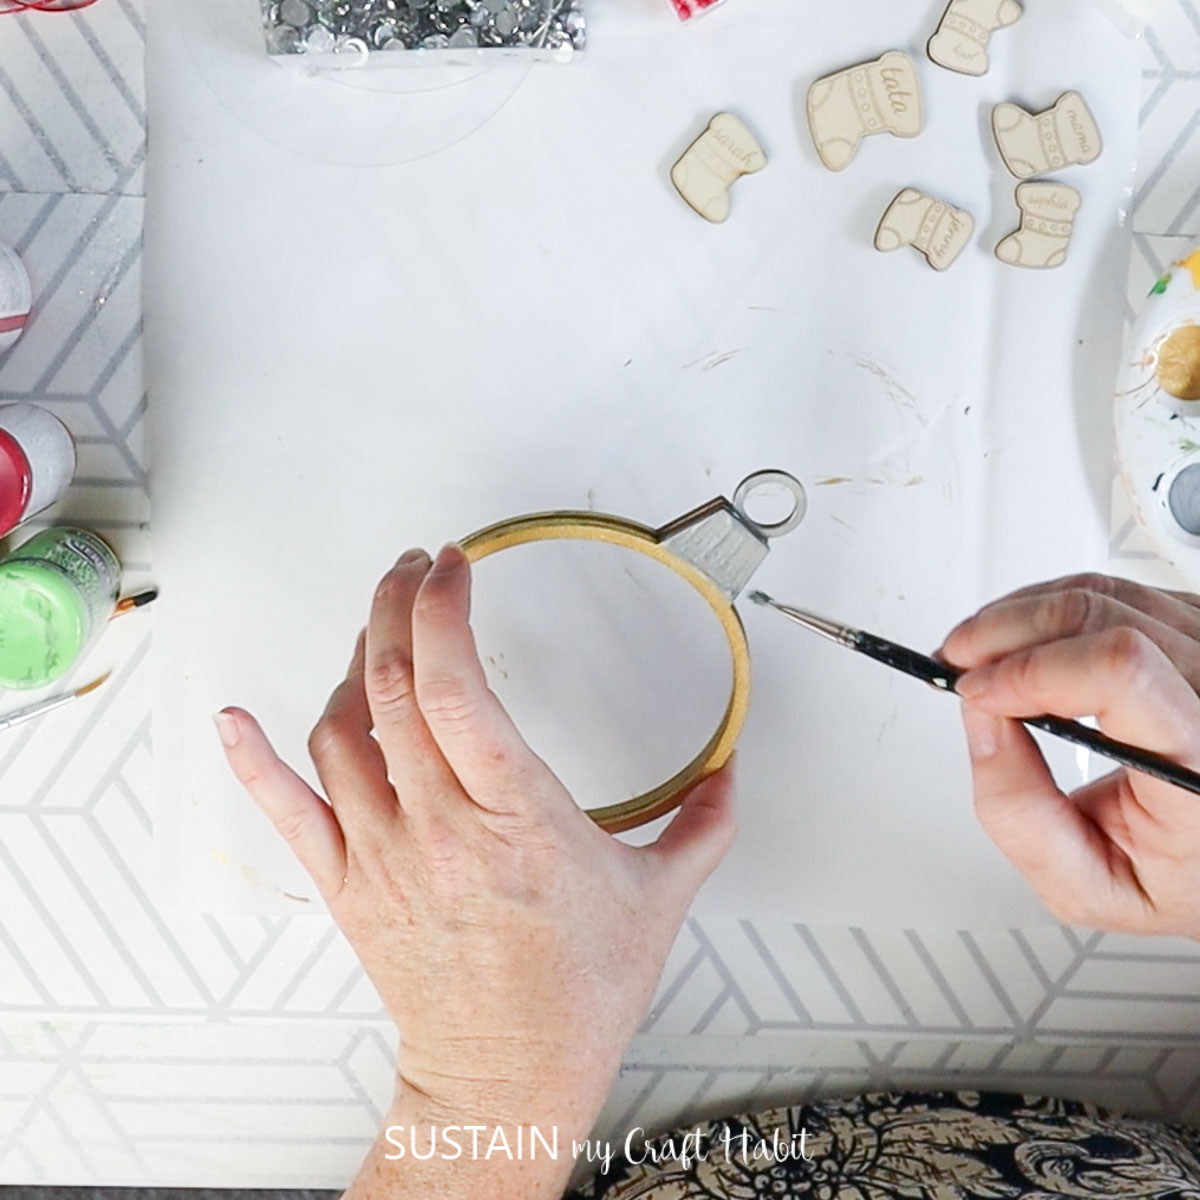
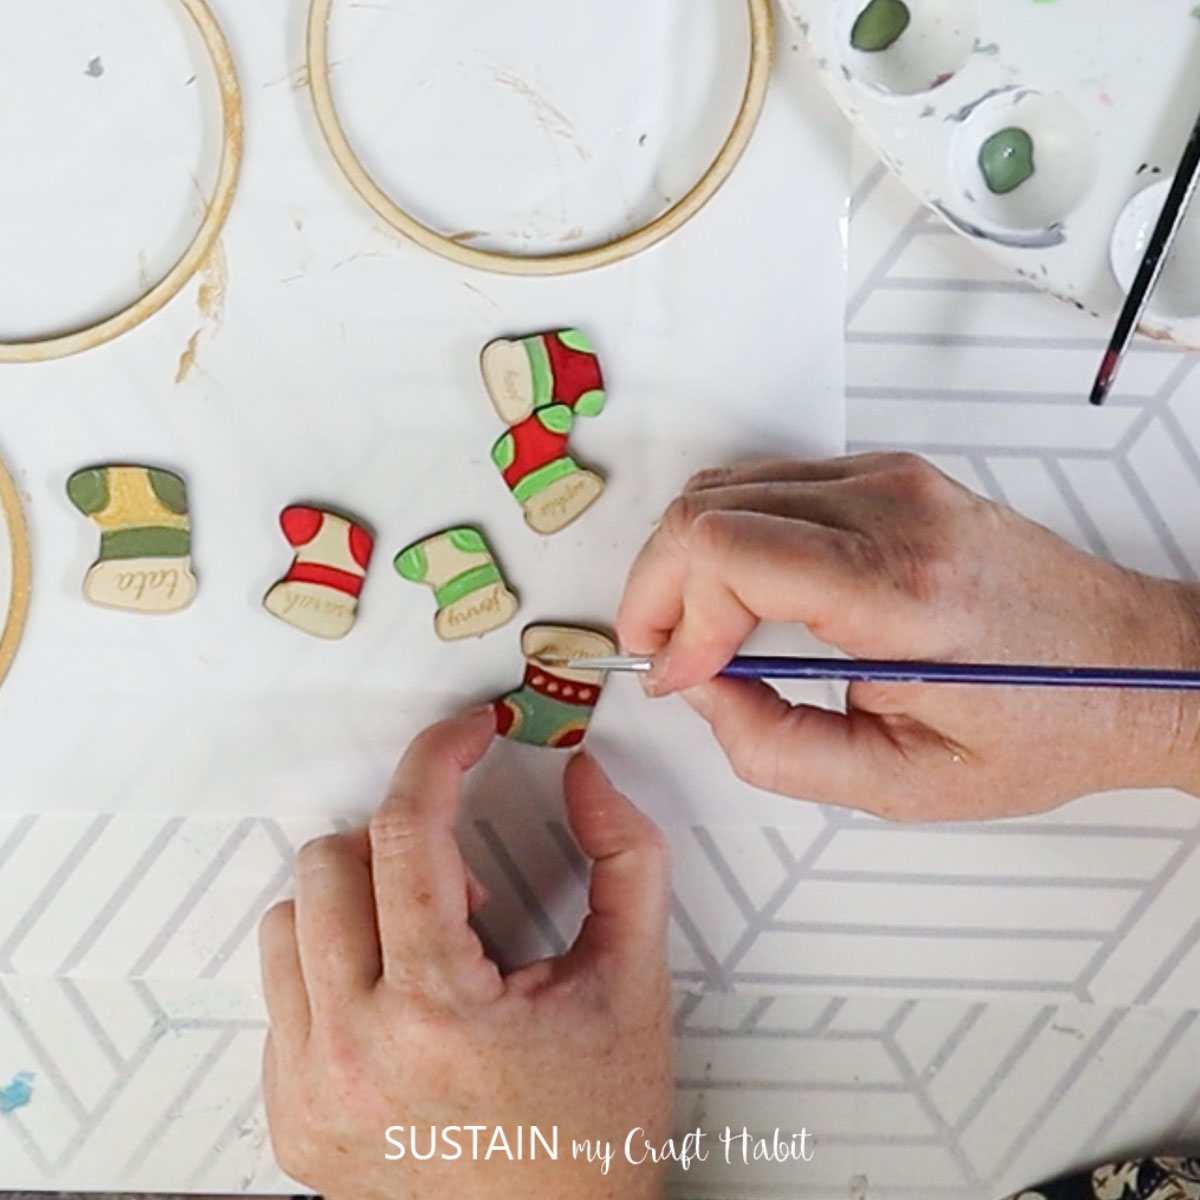
Paint the wood pieces in festive colors of your choice.
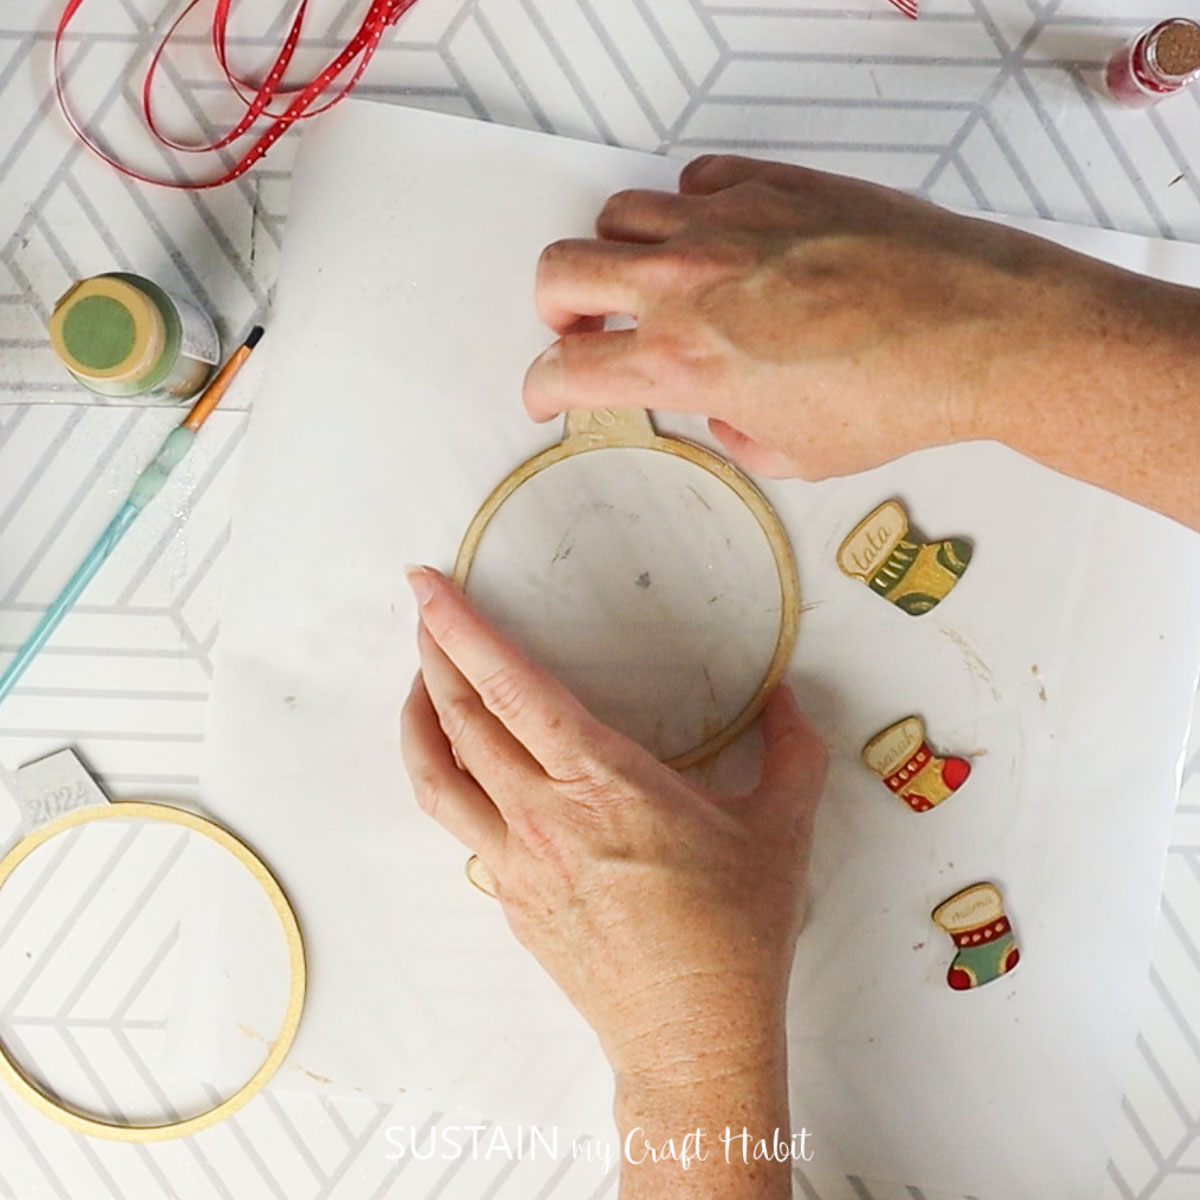
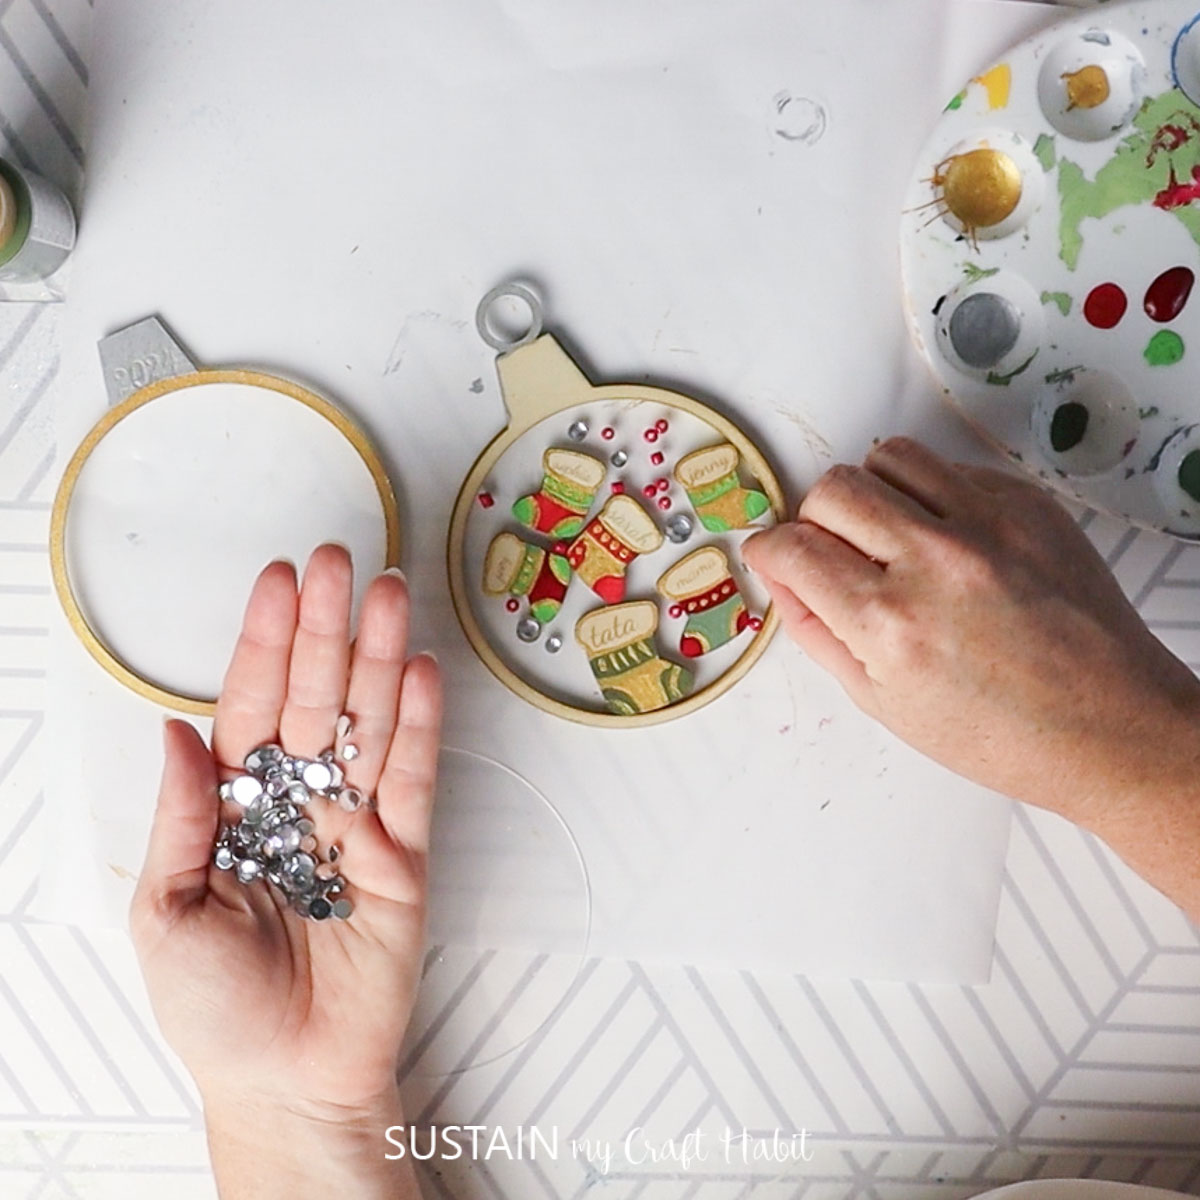
Glue the layers of the ornament together filling the center with the stockings and embellishments.
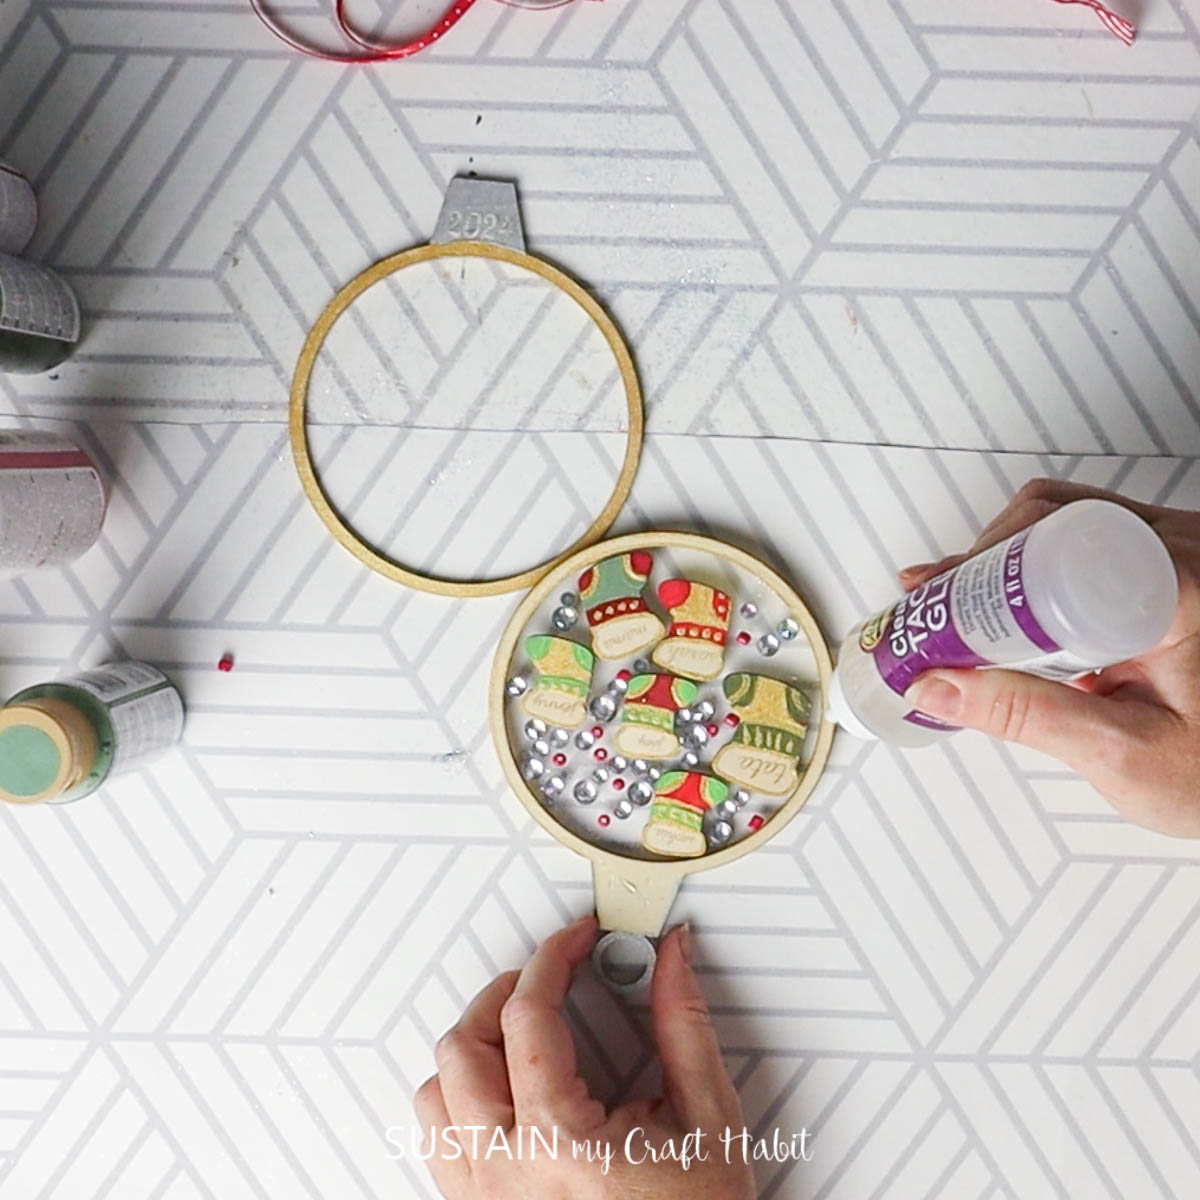
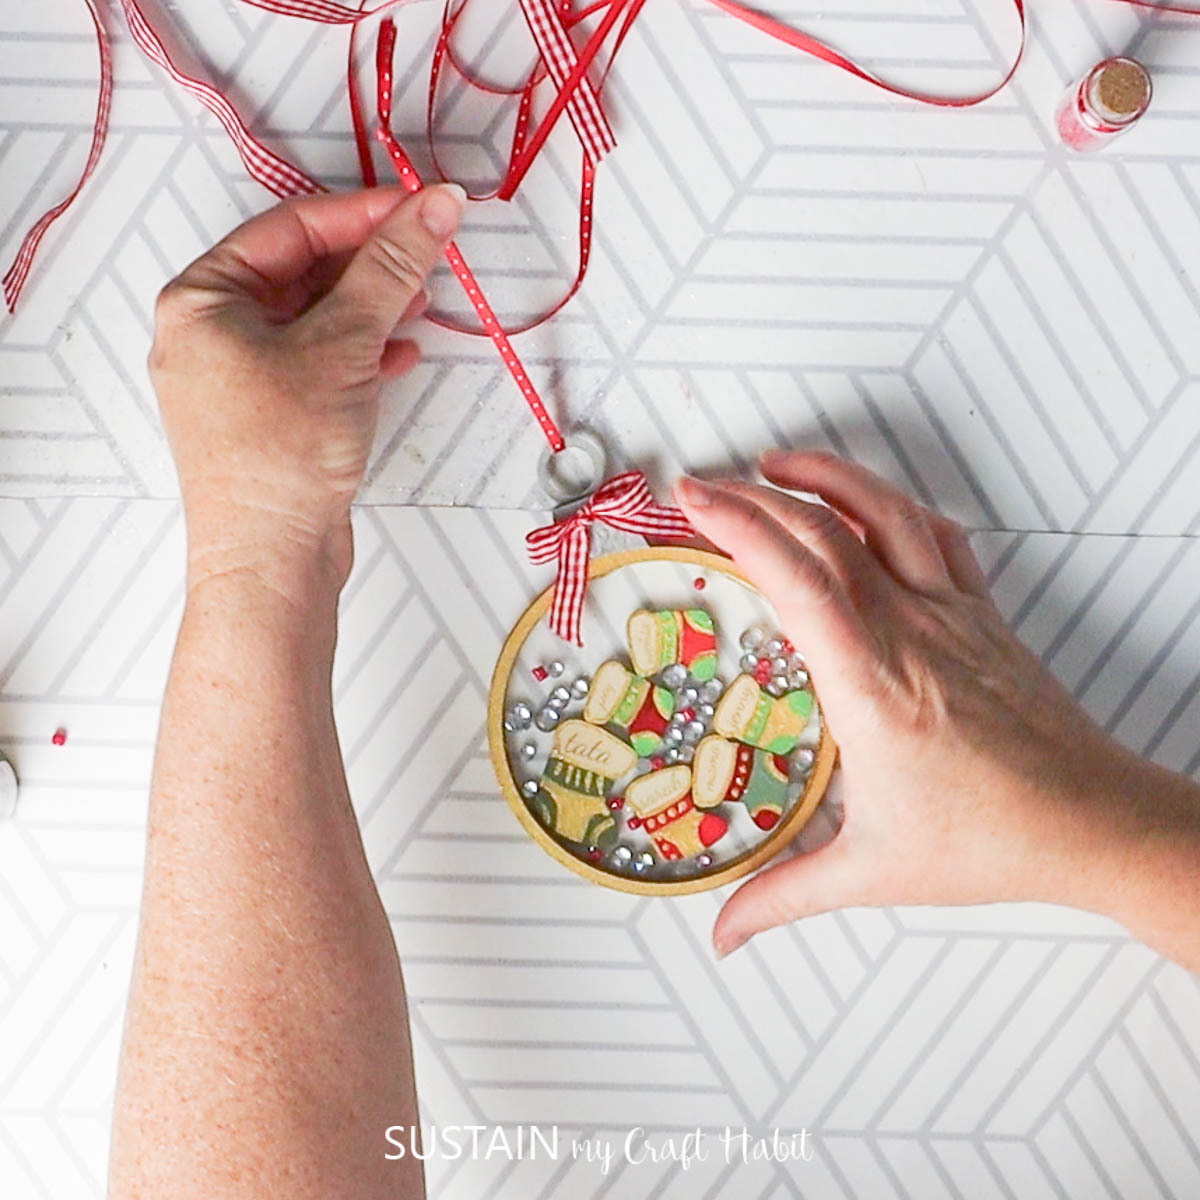
Add twine and a small bow as the finishing touch.
Tips, Variations & Troubleshooting
Design Variations
Shaker ornaments can be as simple or detailed as you want. Instead of stockings, make little snowmen or gingerbread people. You can add a name layer, or engrave a festive pattern on the back.
Troubleshooting
If the shaker contents get stuck, reduce the depth of inner contents: use thinner wood sheets, smaller beads and buttons, etc.
How to Display / Style Your Project
A shaker ornament looks lovely hung on a Christmas tree, especially when the lights hit the moving pieces inside. You can also use it as a home décor idea by tying it to a festive wreath or hanging it from a mantel garland.
For a gift décor idea, attach it to wrapped presents as a personalised gift topper the recipient can reuse year after year.

More Thoughtful DIYs with xTool to Try:



Final Touches
This little project adds a handmade sparkle to your holiday season, and it’s easy to adapt for any theme or colour palette. In fact, I made other ones as gifts for a neighbor this past season.
If you make your own shaker ornament with the xTool P2, feel free to share your creation or pin the tutorial for later inspiration. Happy crafting!
Like it? Pin it for later!