Easy DIY Fall String Art Tutorial [with Video]
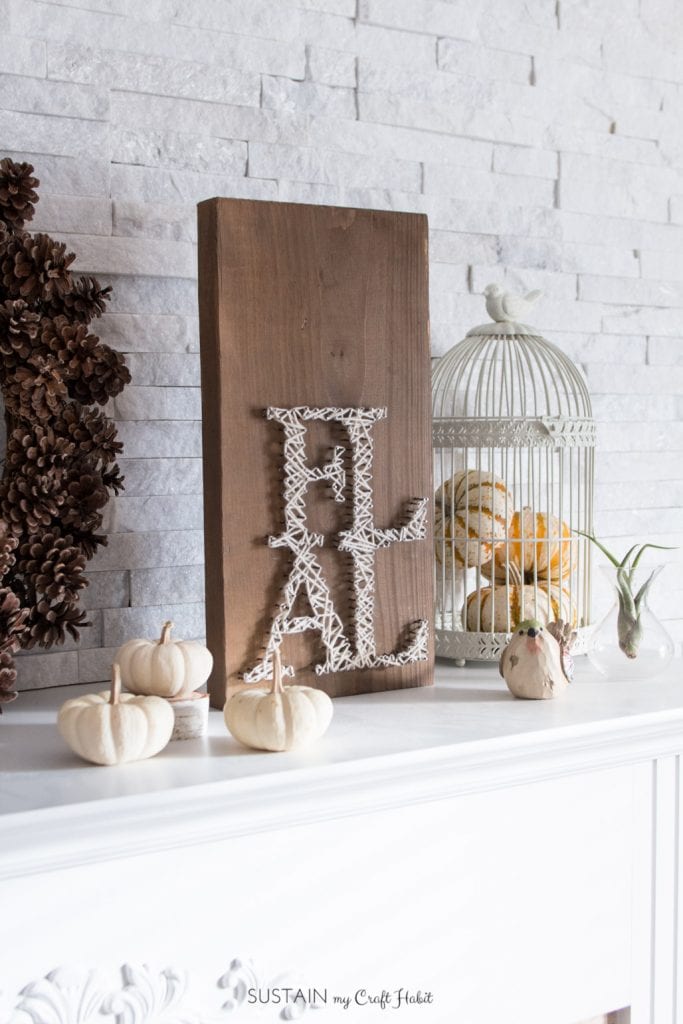
If you’re looking for a fun and inexpensive DIY project as the weather starts to call, fall string art is just the thing to try.
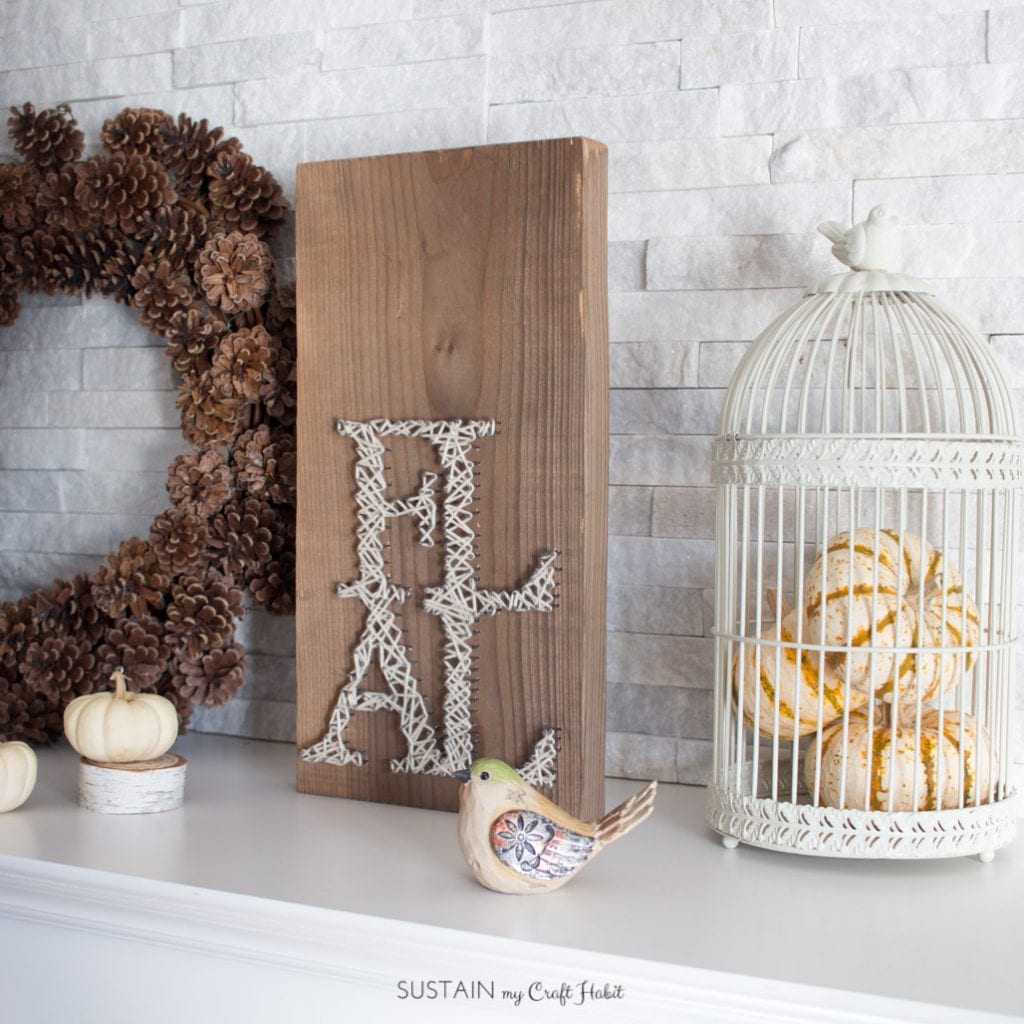
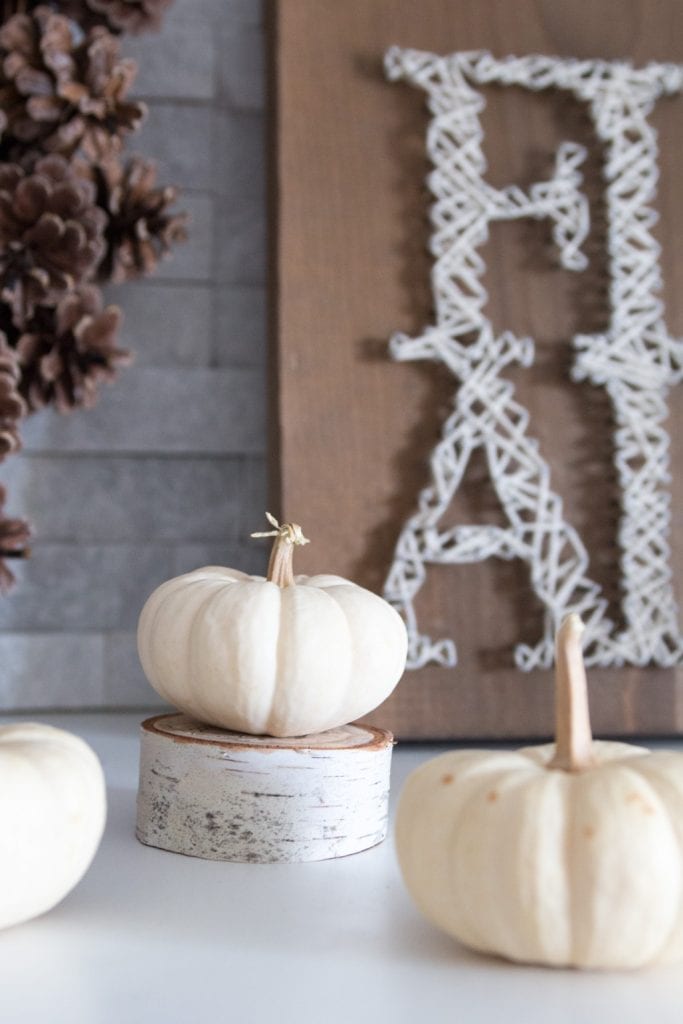
We’ve seen many variations on this craft idea but decided to make ours Fall themed. We love bringing in seasonal decor pieces to our homes throughout the year. So if you’re anything like us and enjoy having versatility with new decor pieces, than you’ll appreciate this craft!
DIY Fall String Art
All of the materials used are things we had lying around our houses. And if you don’t have all these supplies at home, they can be easily picked up at the nearest dollar store or hardware store, or consider buying a DIY kit (such as this fun owl one*) to give it a try.
Materials Needed to make your own Rustic Fall String Art Decor:
- Wood board (we used left over non-pressure treated 2” x 8” lumber cut to 24” long)
- Wood stain or a wood paint in the colour of your choosing
- Nails (1-1 ¼” long with nail head)
- Hammer
- Drill with small sized drill bit
- Printable FALL Template (grab the free template or create your own!)
- Yarn (medium gauge) or Embroidery Floss in the colour of your choosing
Instructions for this Simple Fall String Art Project:
Gather your materials and prepare your wood to begin. We used our own DIY Coffee Stain for the wood, which is perfect as an inexpensive and all natural option.
Check out our quick DIY video for steps on how to make your own string art wood sign using these materials.

We would definitely do this fall string art craft again in the near future with either a new seasonal design or a design that can be enjoyed all year long. We used it last year to decorate a shelf in Sonja’s rustic chic fall home tour.
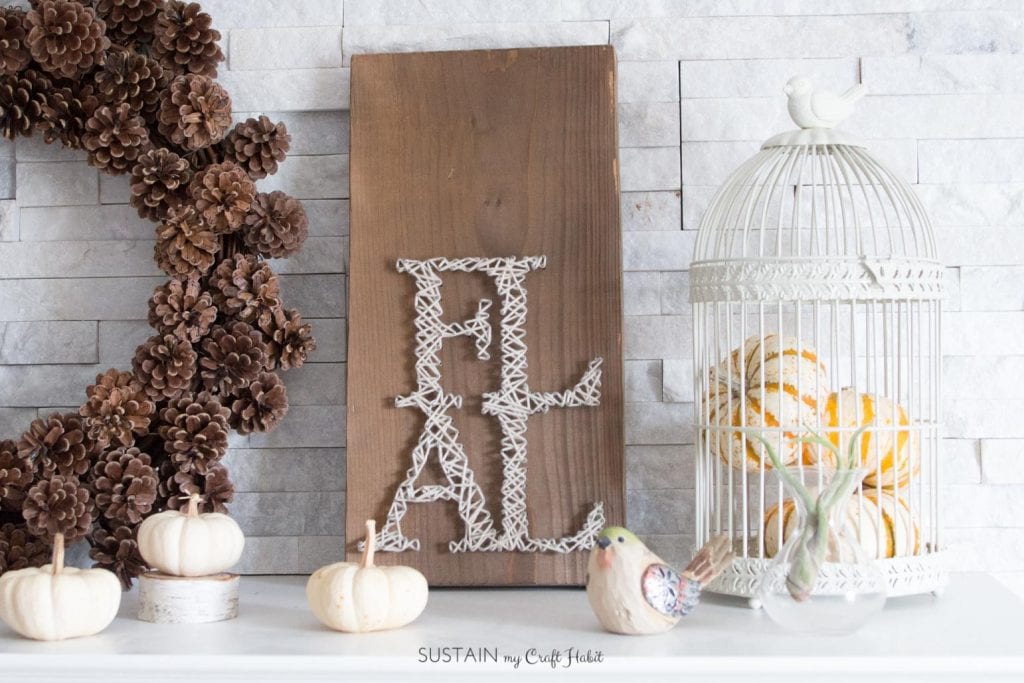
What about you? What design would you like to make your fall string art with?
Like it? Pin it for later!
