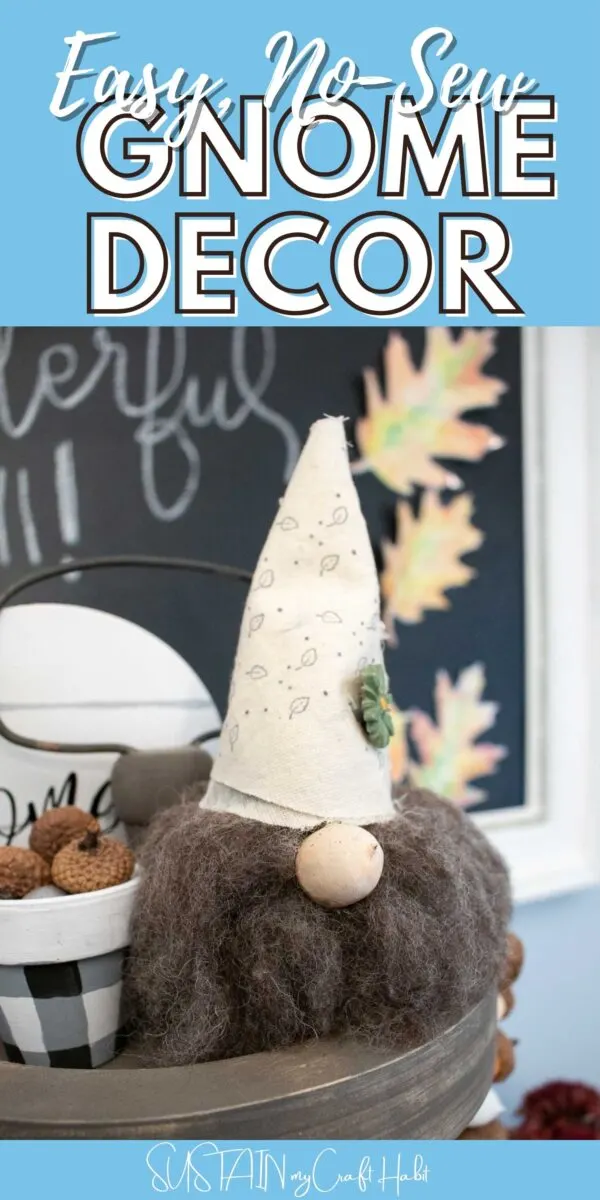
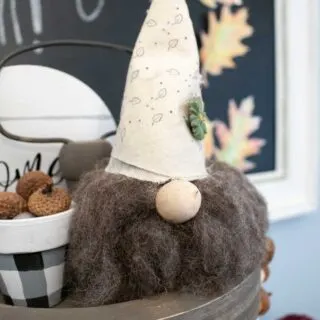
Did you know that gnomes are signs of good luck? And since we could all use a little more luck these days, we’re making easy, no-sew gnome decor for Fall using mostly supplies we found around the house.

More DIY Gnome Home Decor Ideas
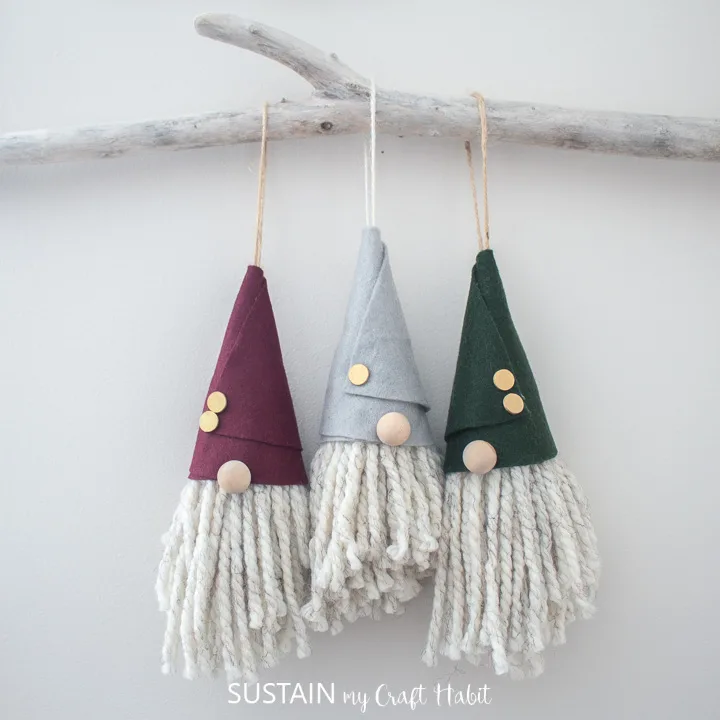
These gnomes have gotten to be such a popular decor trend in the last few years. It’s no wonder, really, since they are so utterly adorable! We previously created a super cute and free gnome SVG file to embellish a wine bag as one example and we’ve also shared this tutorial for making a set of adorable gnome Christmas ornaments.
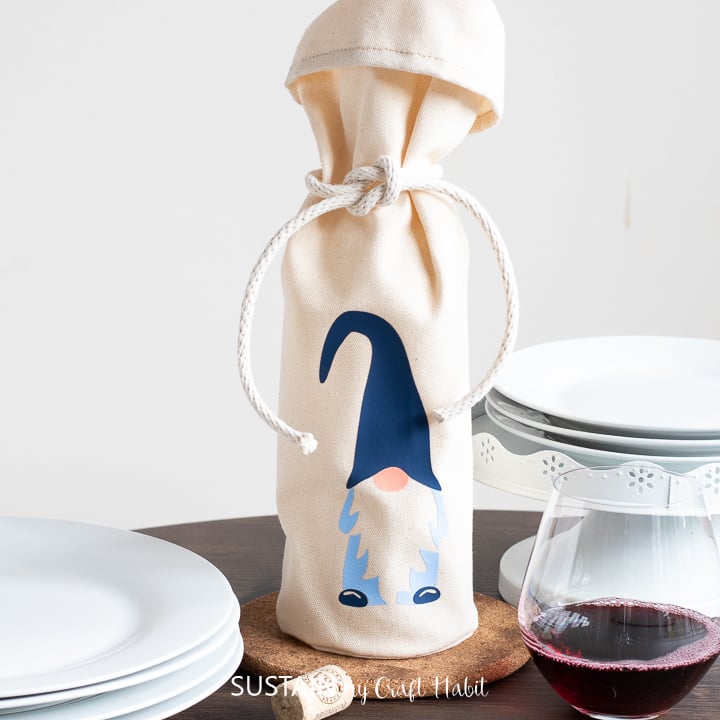

Gnome Wine Bag 

DIY Gnome Ornaments
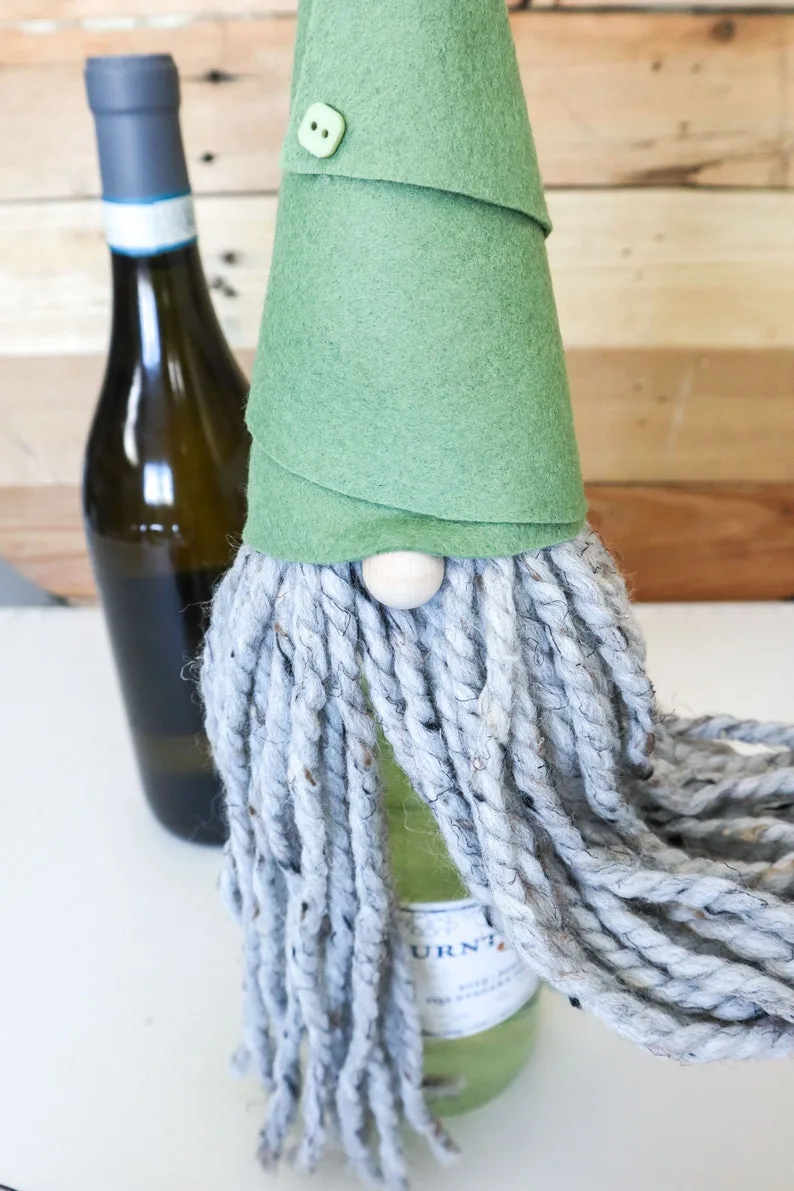
We even have gnome wine bottle toppers in our Etsy shop that make a really sweet gift giving idea for the holidays.

We originally made this gnome decoration on one of our Facebook Like videos so you can watch that video here or if you prefer, continue reading below.
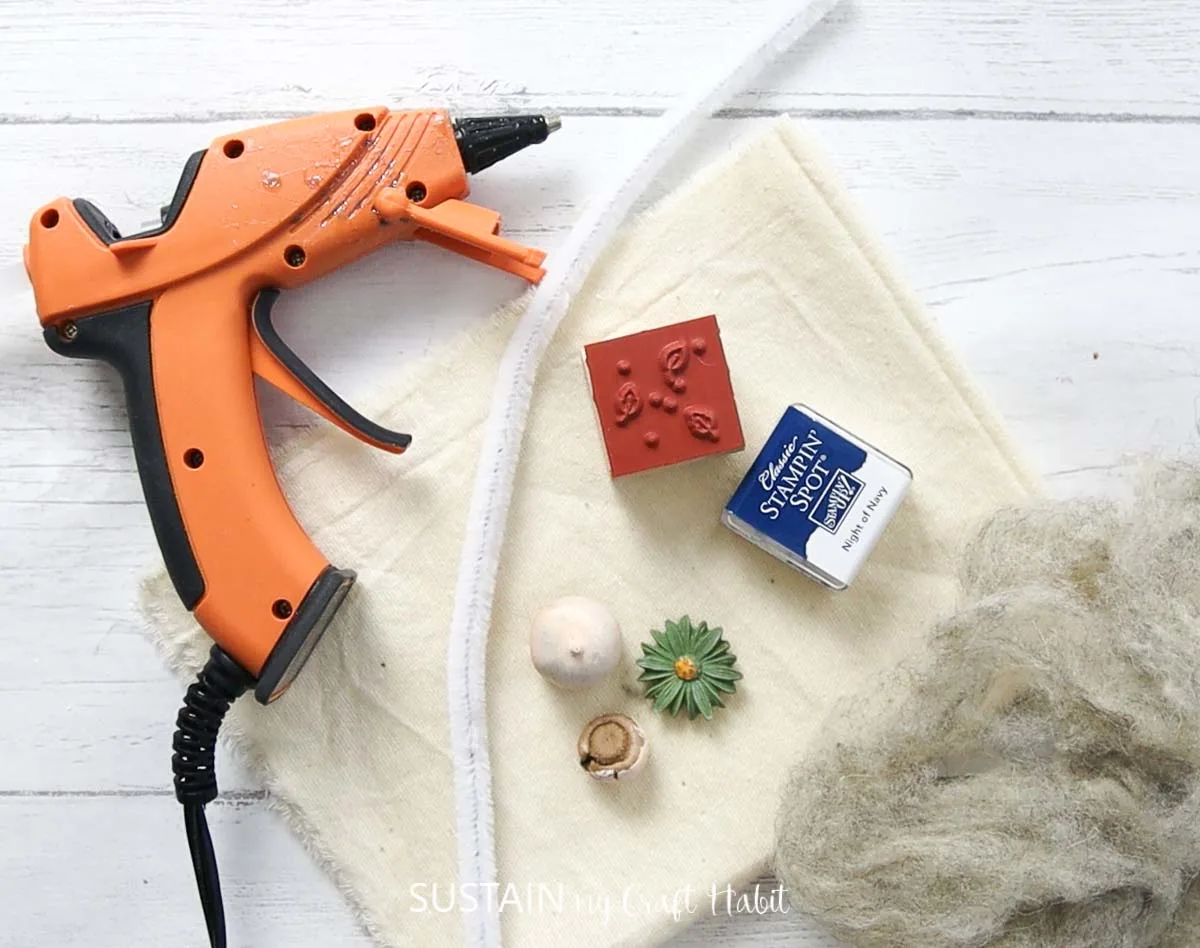
Materials Needed
Disclosure: This post contains affiliate links for your shopping convenience. Should you choose to purchase through them, we will make a small commission at no extra cost to you. You can read our full disclosure here.
- Wool felting
- Fabric – scrap fabric, we used 100% cotton canvas
- Fabric Scissors
- Hot Glue Gun
- Stamps and Stamp Pad (optional)
- Pipe Cleaner
- Decorative Flower (optional) or button
- Wooden Ball, unpainted, approx 1” diameter

How to Make an Easy No-Sew Gnome Decor
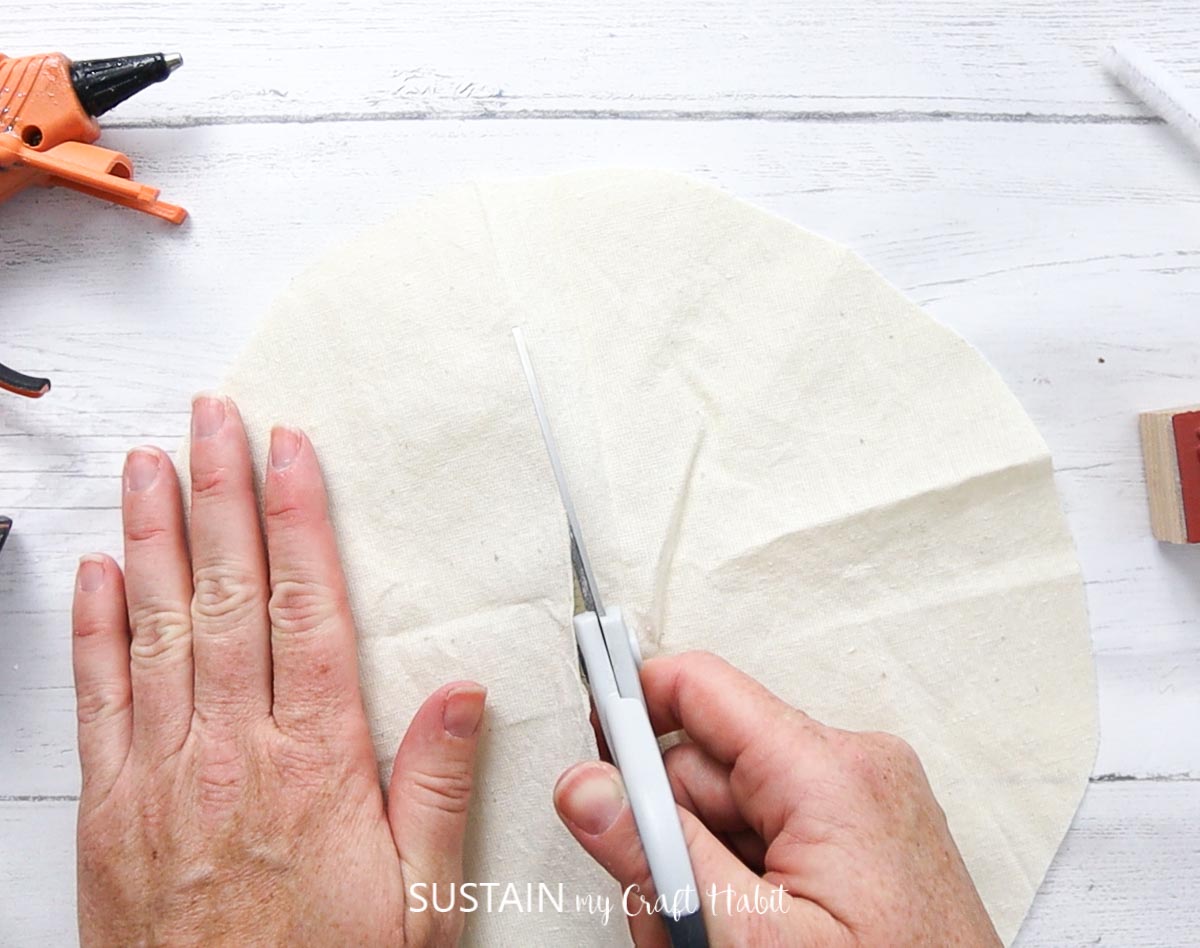
Cut a half circle shape that measures approx. 10” in length.

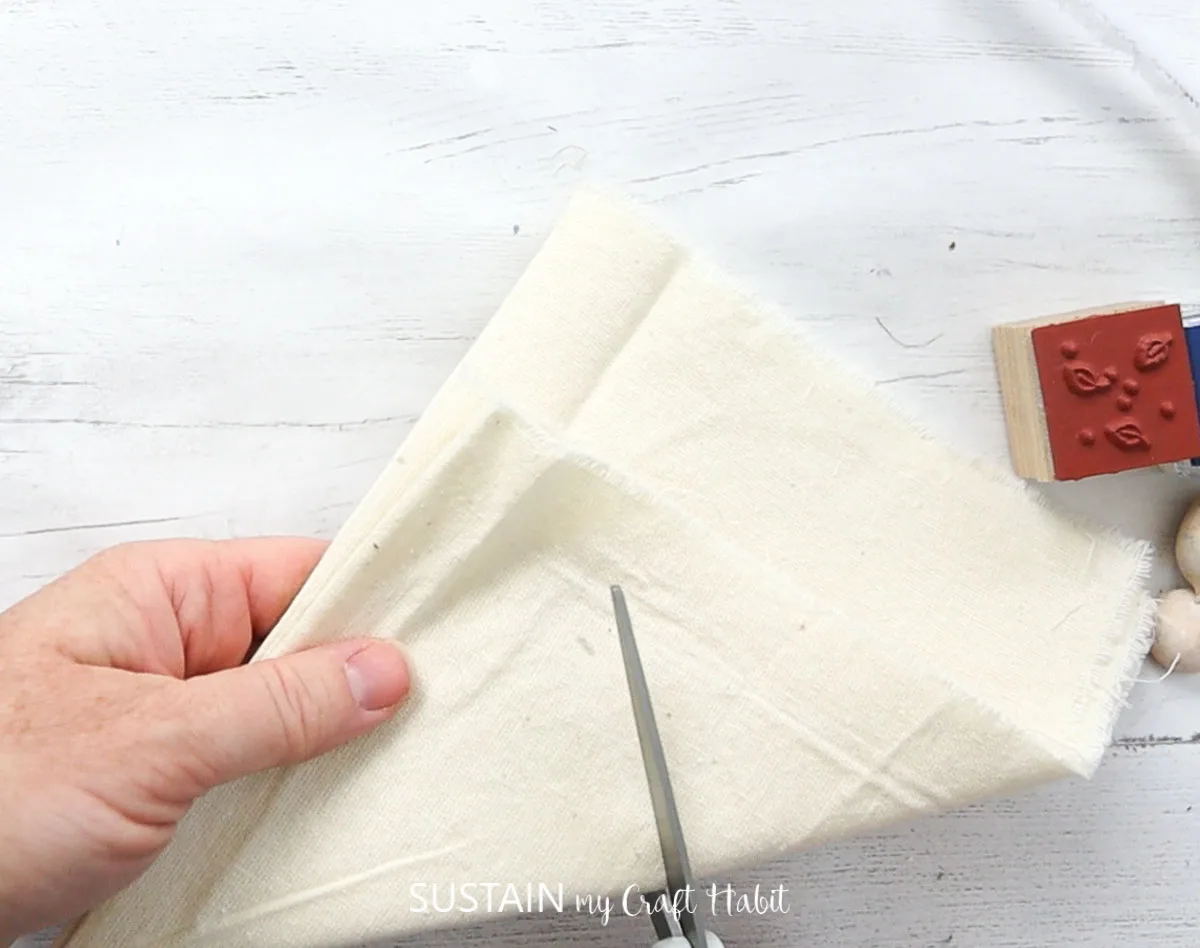
Then cut the circle fabric cutout to the centre of the circle.

Using a rubber stamp with ink, apply the stamp all over the half circle. This of course is completely optional but I was so excited to have a purpose for my Stamp’in Up supplies that have been collecting dust for years! Did you ever try scrabooking?
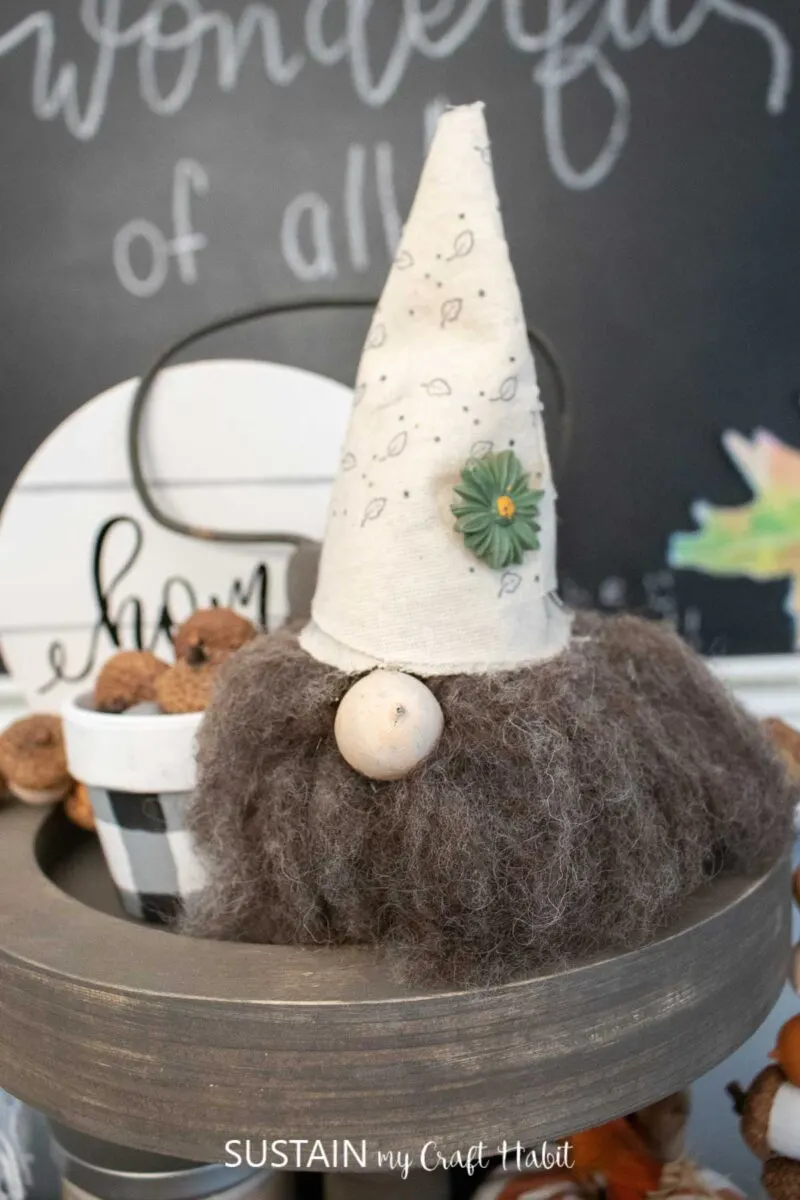
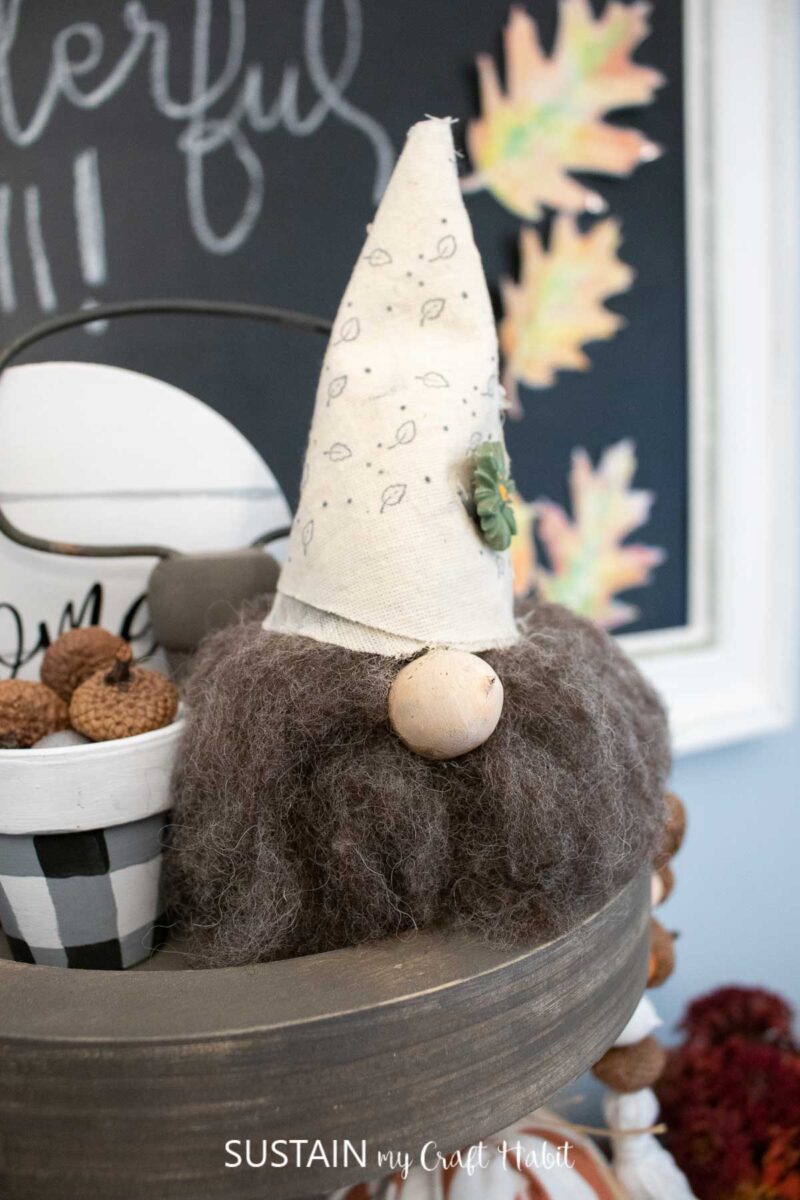
Next, take the half circle and wrap it to form a ‘cone’ shape. Glue the ends of the half circle to hold the shape which becomes the gnome’s hat. The base of the cone should measure between 2″-3″ across.
Next, take the wool felting (a medium sized ball that fits in the palm of your hand) and stuff it into the base of the hat. Add more if it doesn’t appear to be enough. Once you’re happy with the look of it, glue it in place.
And lastly, glue a wooden ball to create a nose for the gnome and if you have it, glue a little plastic flower embellishment (or button to the hat.

This craft as part of a series of crafts decorating my rustic 3-tier wood tray for Fall. Check out some of the other fall crafts you can make:
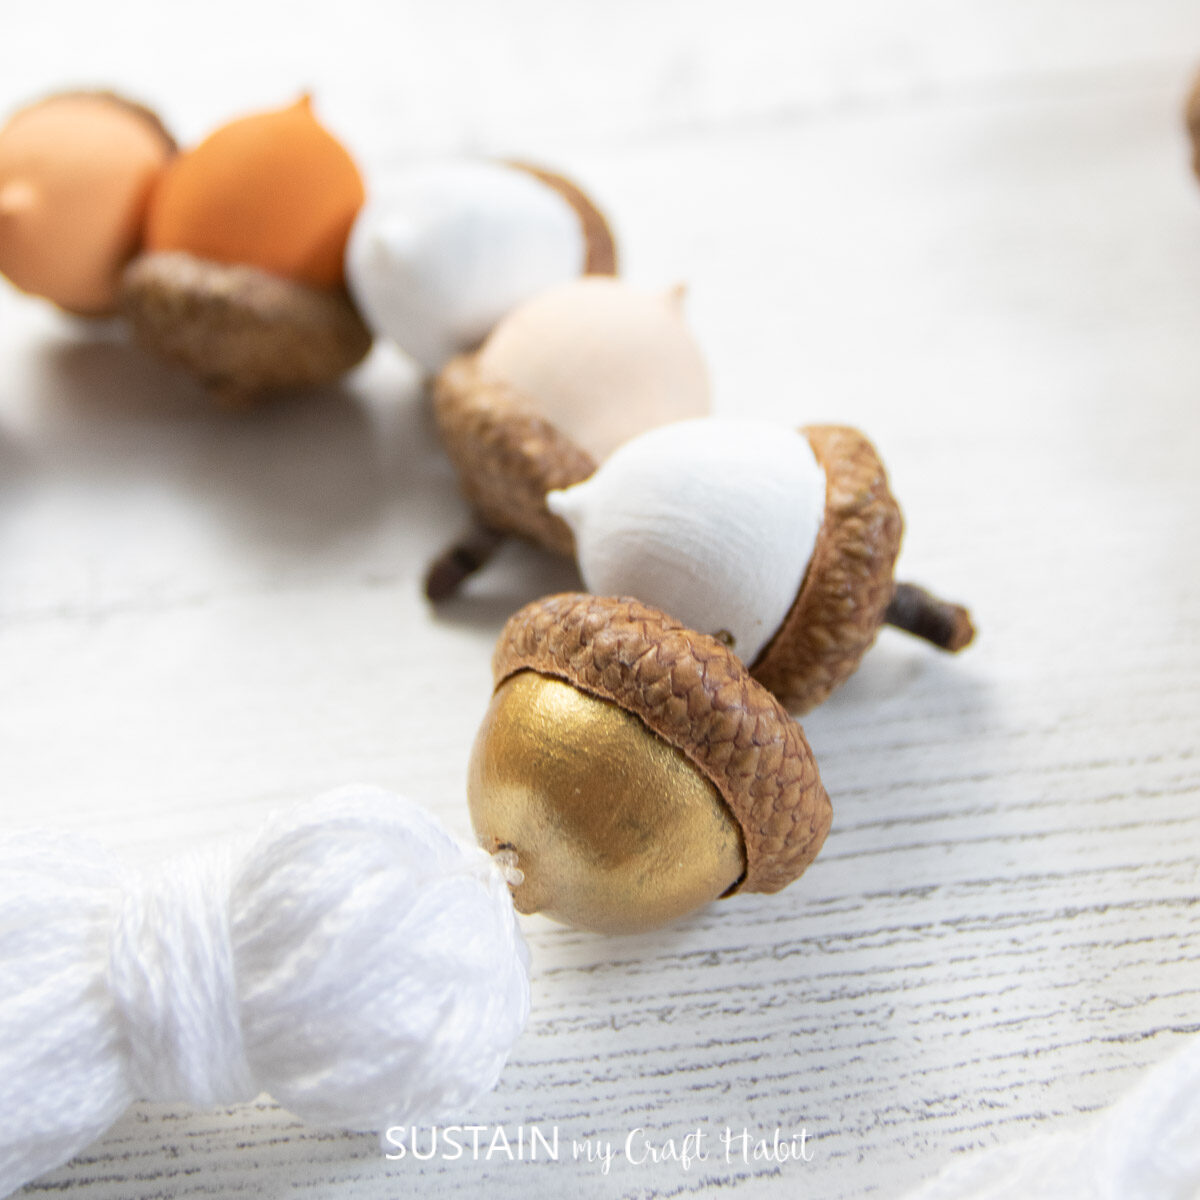

Acorn Garland 
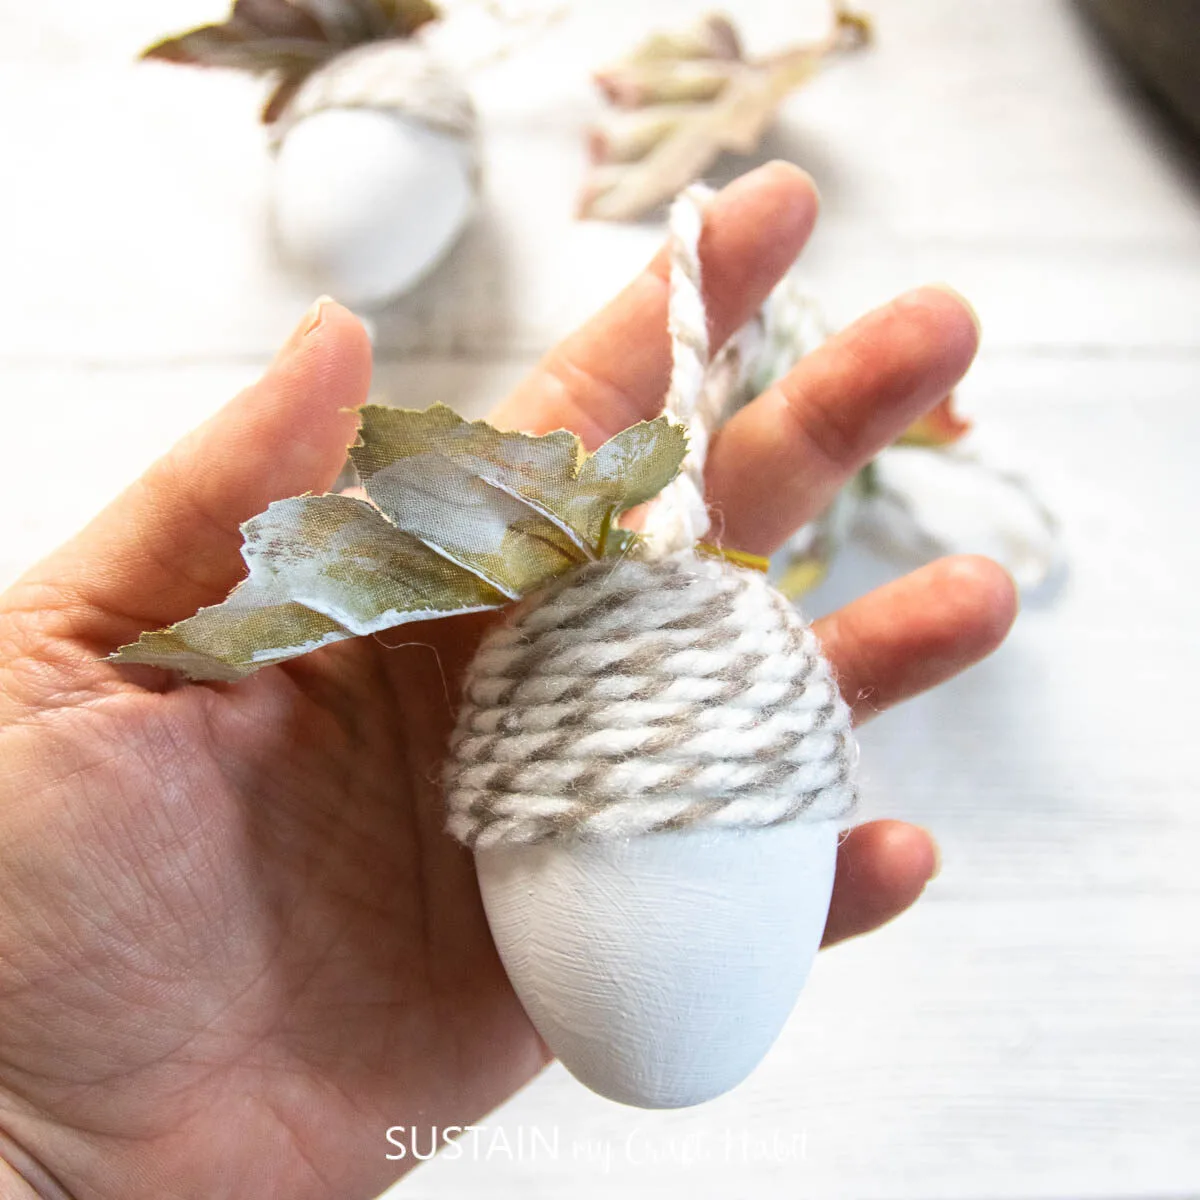
Plastic Egg Acorn Ornament 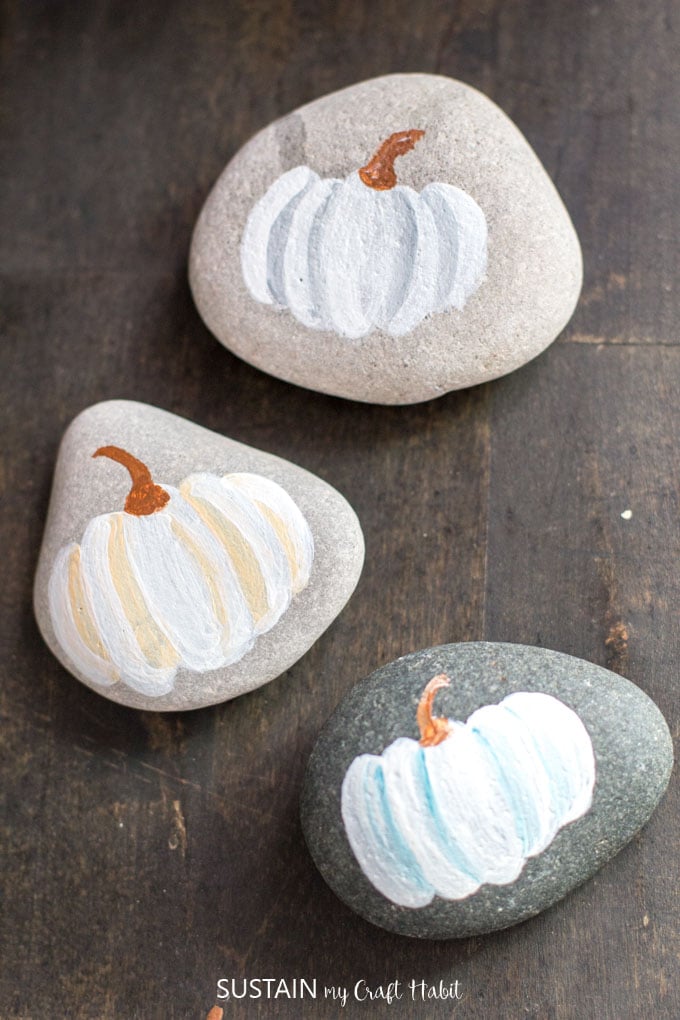

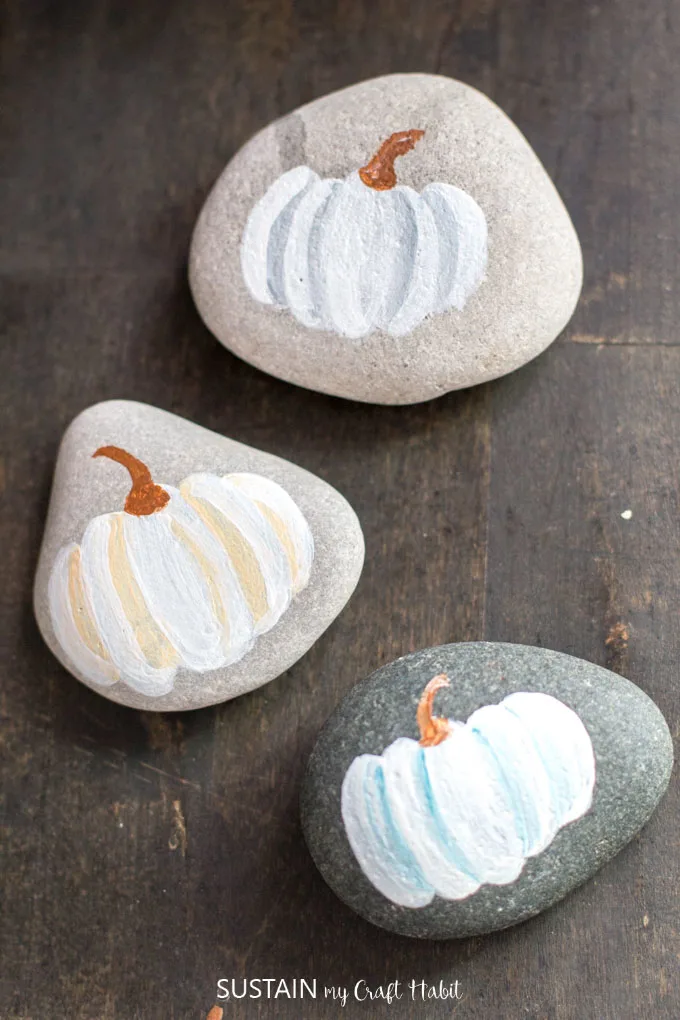
Pumpkin Rocks 

Farmhouse Wood Signs

Happ crafting, creative friends!
Like it? Pin it for later!


Easy No-Sew Gnome Decor
Materials
- Wool felting
- Fabric – scrap fabric we used 100% cotton canvas
- Fabric Scissors
- Hot Glue Gun
- Stamps and Stamp Pad optional
- Pipe Cleaner
- Decorative Flower
- Wooden Ball unpainted, approx 1” diameter
Instructions
- Cut a half circle shape that measures approx. 10” in length.
- Then cut the circle fabric cutout to the centre of the circle.
- Using the stamp, apply the stamp all over the half circle.
- Take the half circle and wrap it to form a ‘cone’ shape. Glue the ends of the half circle to hold the shape which becomes the gnome’s hat.
- Next, take the wool felting (a medium sized ball) and stuff it into the base of the hat. Glue it in place.
- Glue the wooden ball to create a nose for the gnome.
- Optional: Glue a decorative flower to the hat on the gnome.