Get crafty this Valentine’s Day with ribbon! Make a simple yet stunning DIY project that makes your holiday decor extra special. And the best news is you only need a few inexpensive supplies to make this sweet craft.

Why You Will Love This Valentine Craft
We love to show you how to decorate your home for every holiday and season on a budget. This Valentine craft with ribbon is the perfect example. Not only is it adorable, it’s also super simple to make. That’s a win-win in our book! The addition of the wood beads gives it a pretty farmhouse style look.
So fire up your glue gun and let’s start crafting. Keep reading below for the step by step instructions and photo tutorial.

Want to receive a ton of inspiration and money saving ideas for decorating, gift-giving and crafting? Join HERE!
Materials Needed
Disclosure: This post contains affiliate links for your shopping convenience. Should you choose to purchase through them, we will make a small commission at no extra cost to you. You can read our full disclosure policy here.
- Unfinished wood panel (we got ours at the dollar store)
- White chalky paint
- Paintbrushes
- Ribbon
- Hot glue gun
- Wood beads
- Chalk Couture Perfect Match

How to Make an Easy Valentine Craft with Ribbon
I shared the tutorial for making this easy Valentine craft on a Facebook Live which you can catch here. Or if you prefer the photo tutorial, continue reading below.
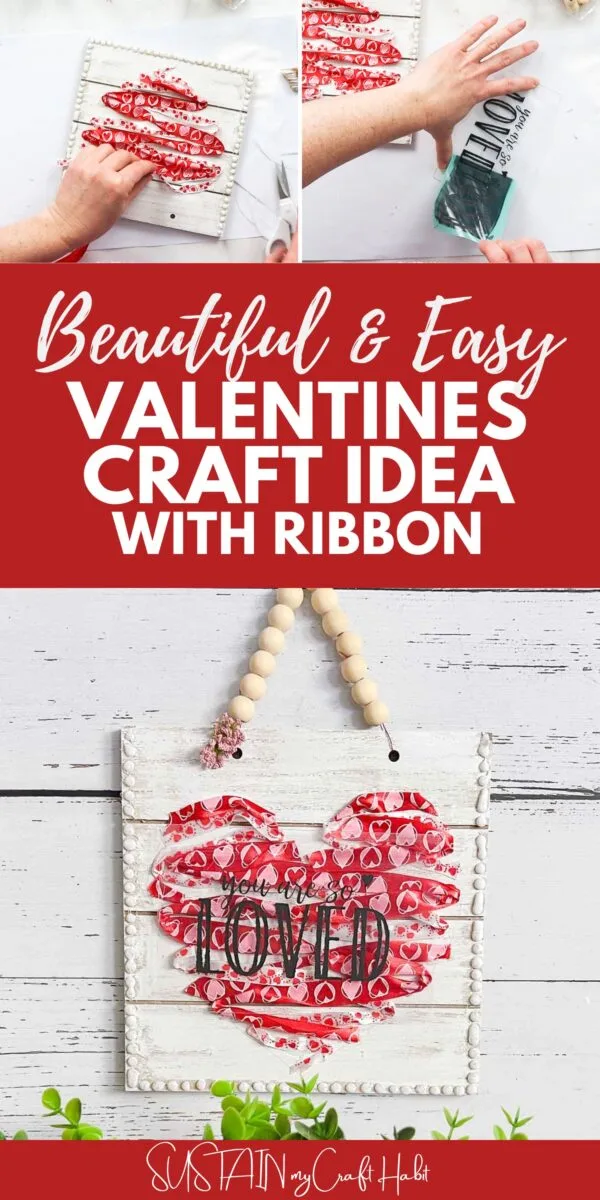
Start by placing dabs of hot glue along the edge of the wood panel.

Next, remove the twine from the wood panel. Dry brush the wood panel and dabs of hot glue with white chalky paint.

Use a heart paper template and trace it over the wood panel.

Glue the ribbon starting at the bottom and working upwards to create a heart shape.


Use another ribbon and do the same process over top of the first ribbon. Cut any excess ribbon at the top to form a heart shape.


Layer on a Sign for an Added Touch!
Take a piece of clear plastic and place the Chalk Couture stencil on top. Next, take your paste and spread it over the stencil. Remove the stencil and let dry.

Add a few spots of hot glue onto the ribbon and place your plastic piece on top.

String together wood beads onto twine then tie back onto the wood panel.

And voila! The piece is complete. What do you think about using a hot glue gun for the embellishments? Isn’t that a great way to add texture and dimension? Plus, it’s super affordable.

There are so many ways you can decorate with this sweet sign. It can be hung on the wall for a festive touch to any room. It would also look great standing on a bookshelf or buffet table. This is something that can also be used year-round to decorate a nursery or playroom.
Is this something you can see yourself making? Don’t forget to share your finished project with us if you do. It totally makes our day. Tag us on Facebook or Instagram so we don’t miss it. Happy crafting.
More Easy Crafts for Valentine’s Day
- Lovely Rose Petal Craft
- Upcycled Wood Shelf Idea
- Wooden Valentine’s Sign
- Valentine’s Day Charger Plate
- Dollar Tree Valentines Truck


Get updates on the latest posts and more from Sustain My Craft Habit straight to your inbox by joining our weekly newsletter. We promise to send you only the good stuff.
Like it? Pin it for later!


Easy Valentine Craft with Ribbon
Materials
- Unfinished wood panel
- White chalky paint
- Paintbrushes
- Ribbon
- Hot glue gun
- Wood beads
- Chalk Couture Perfect Match
Instructions
- Start by placing dabs of hot glue along the edge of the wood panel.
- Next, remove the twine from the wood panel. Dry brush the wood panel and dabs of hot glue with white chalky paint.
- Use a heart paper template and trace it over the wood panel.
- Glue the ribbon starting at the bottom and working upwards to create a heart shape.
- Use another ribbon and do the same process over top. Cut any excess ribbon at the top to form a heart shape.
- Take a piece of clear plastic and place the Chalky Couture stencil on top. Next, take your paste and spread it over the stencil. Remove the stencil and let dry.
- Add a few spots of hot glue onto the ribbon and place your plastic piece on top.
- String together wood beads onto twine then tie back onto the wood panel.

