Free Easter Bunny Gift Bag Sewing Pattern
This FREE Easter bunny gift bag sewing pattern is an easy project that turns simple…
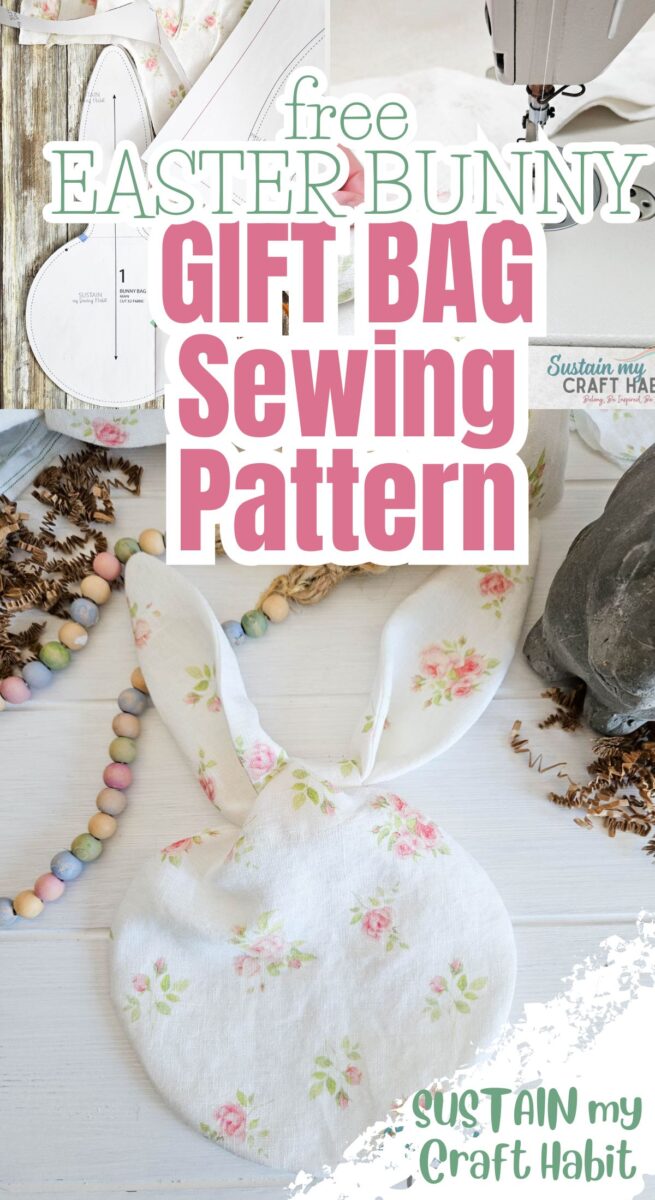
This FREE Easter bunny gift bag sewing pattern is an easy project that turns simple fabric into the sweetest Easter surprise. Instead of using disposable gift wrap or plastic baskets, you can stitch a reusable bunny bag that doubles as part of the gift itself.

The free pattern is beginner-friendly and uses small pieces of fabric, making it ideal for fabric scraps or last-minute Easter crafts. Inside this guide you’ll find a simple step-by-step method for sewing the bag.
Why You’ll Love This Project
- Uses simple sewing supplies — perfect for scrap fabric and leftover ribbon.
- Beginner-friendly Easter sewing pattern with easy straight seams.
- Reusable Easter gift bag that replaces disposable wrapping.
- Great handmade gift idea for kids, friends, or Easter baskets.
- Quick holiday craft project you can sew in under an hour.
Let’s stay in touch! Subscribe for our latest sewing patterns, tutorials and tips.
Materials Needed
- Woven fabric (new or upcycled from the thrift store) – we used leftover floral printed linen fabric
- sewing machine and matching thread
- Fabric scissors
- Printable Easter Bunny gift bag sewing pattern
How to Make an Easter Bunny Treat Bag
Cutting
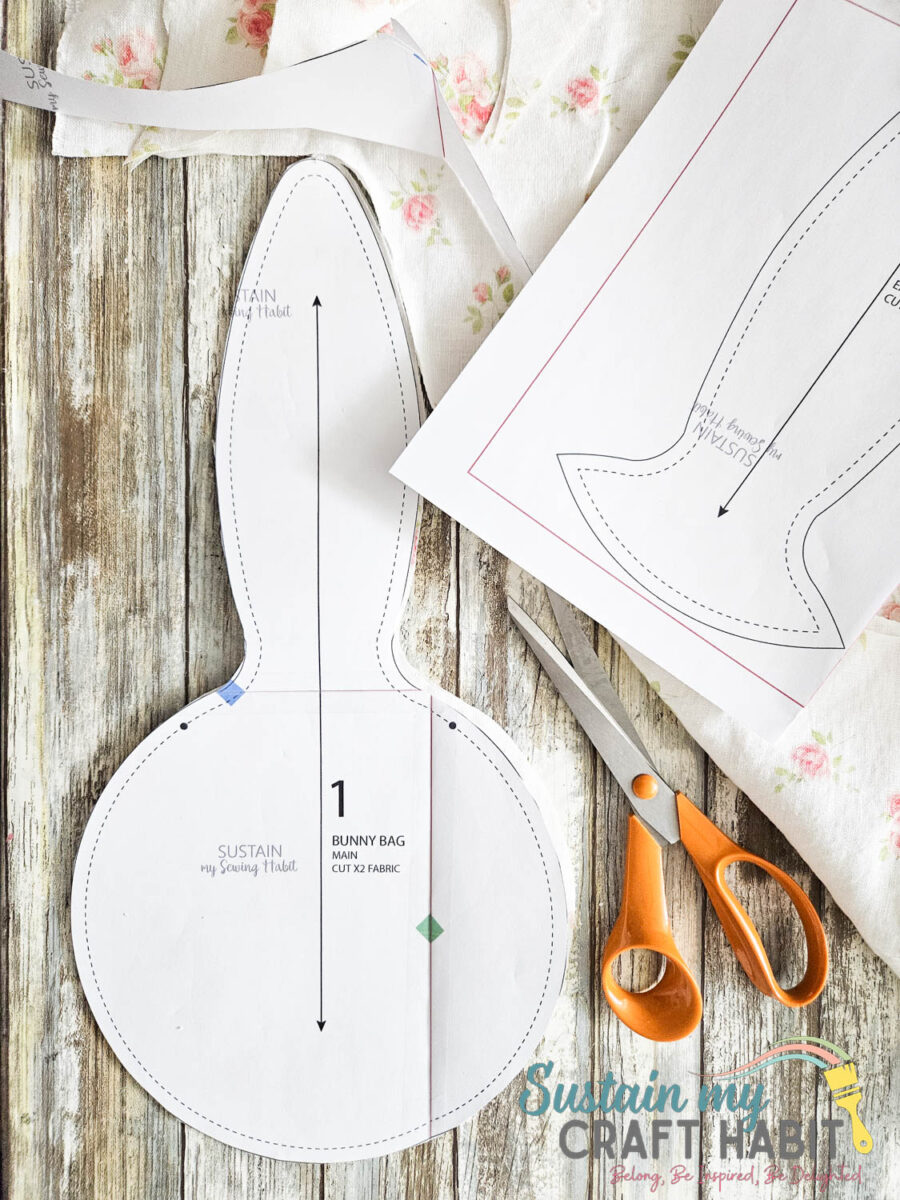
Send PDF to print maintaining the scale as is and once printed tape all the connecting red borders together to form a complete pattern.
Lay the paper pattern pieces on top of the fabric (two layers of fabric), aligning the grainline of the fabric with the arrow on the pattern.
Cut around the solid line of the pattern (the dash / dotted lines represent the sewing lines). Cut two pieces of fabric for each pattern piece.
Sewing
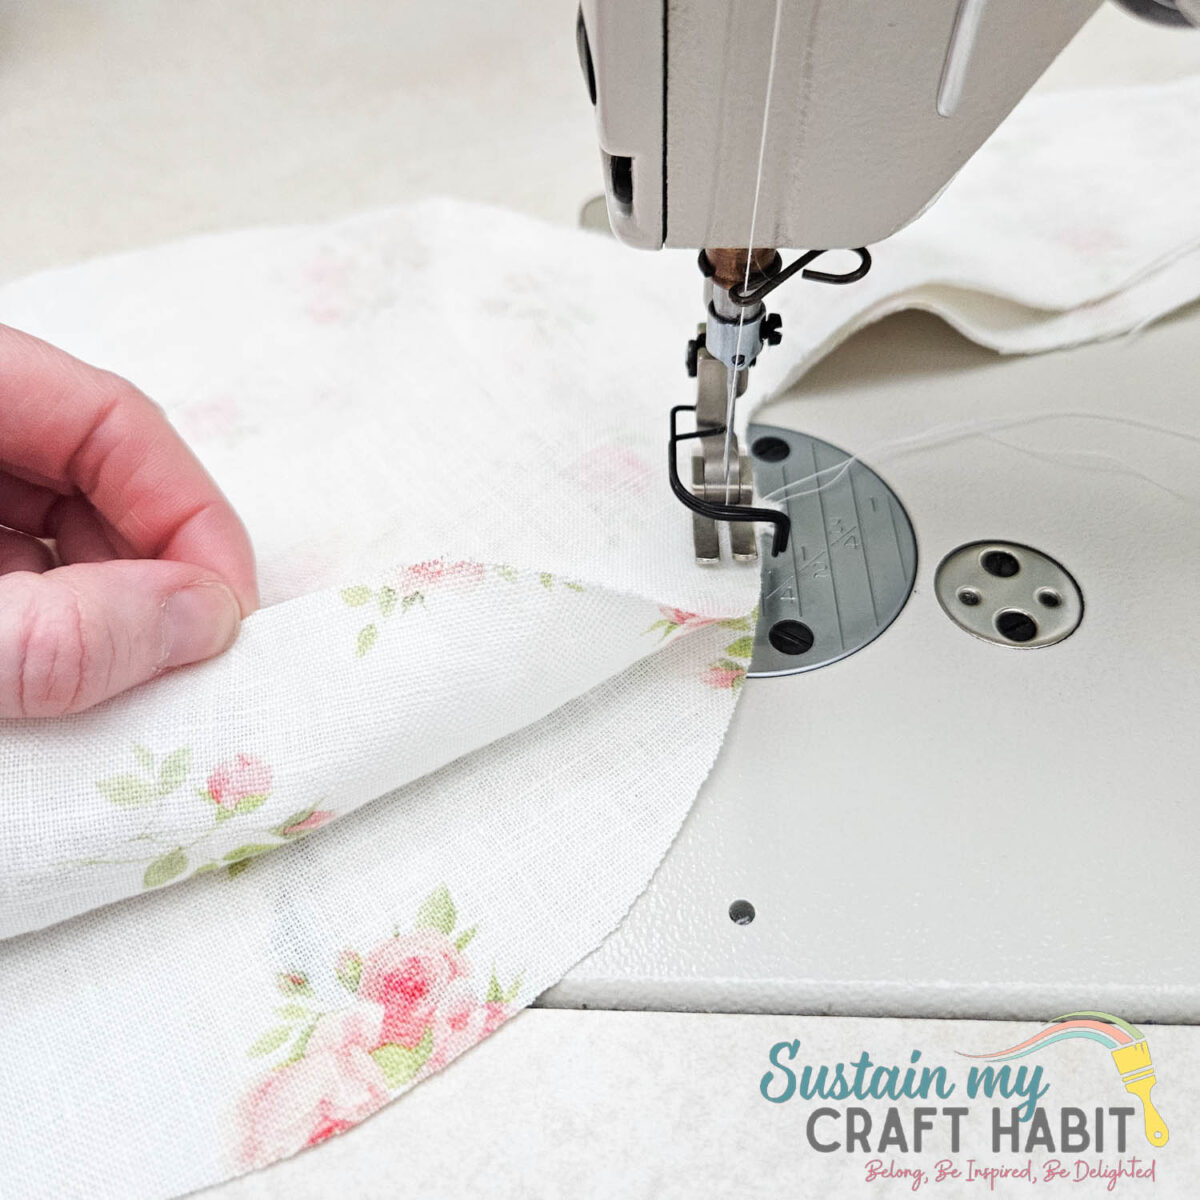
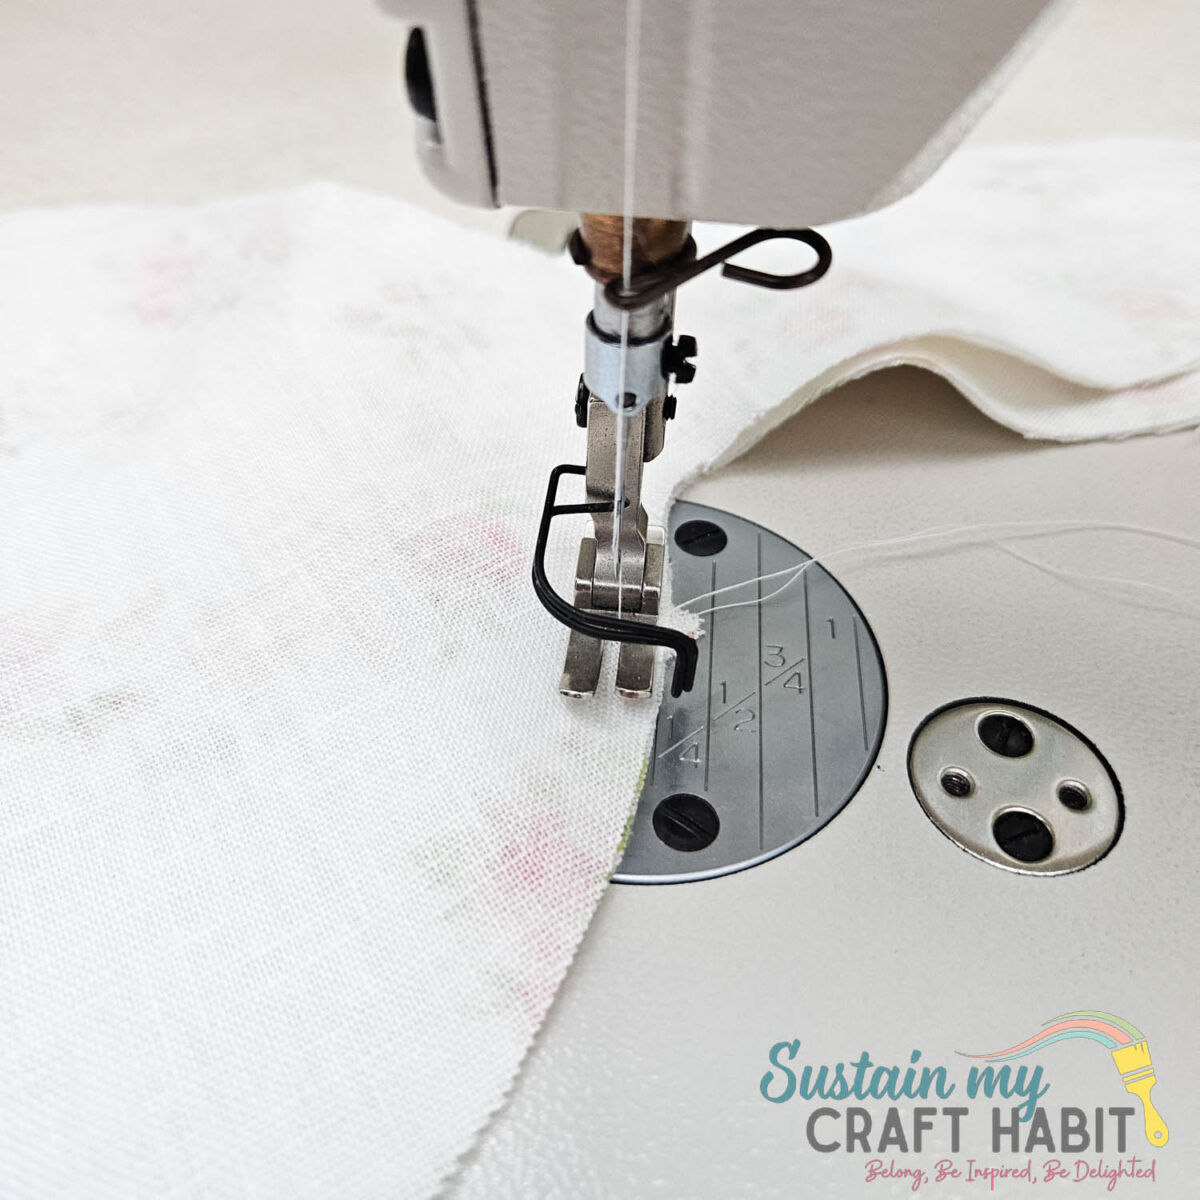
With a 1/4 inch seam allowance, sew a basting stitch (increase stitch lengths to 4 or 5 on machine setting) along the bottom “curved” edge of the EAR LINING (2) piece as shown. Do not back stitch at the start or end of the stitch line.
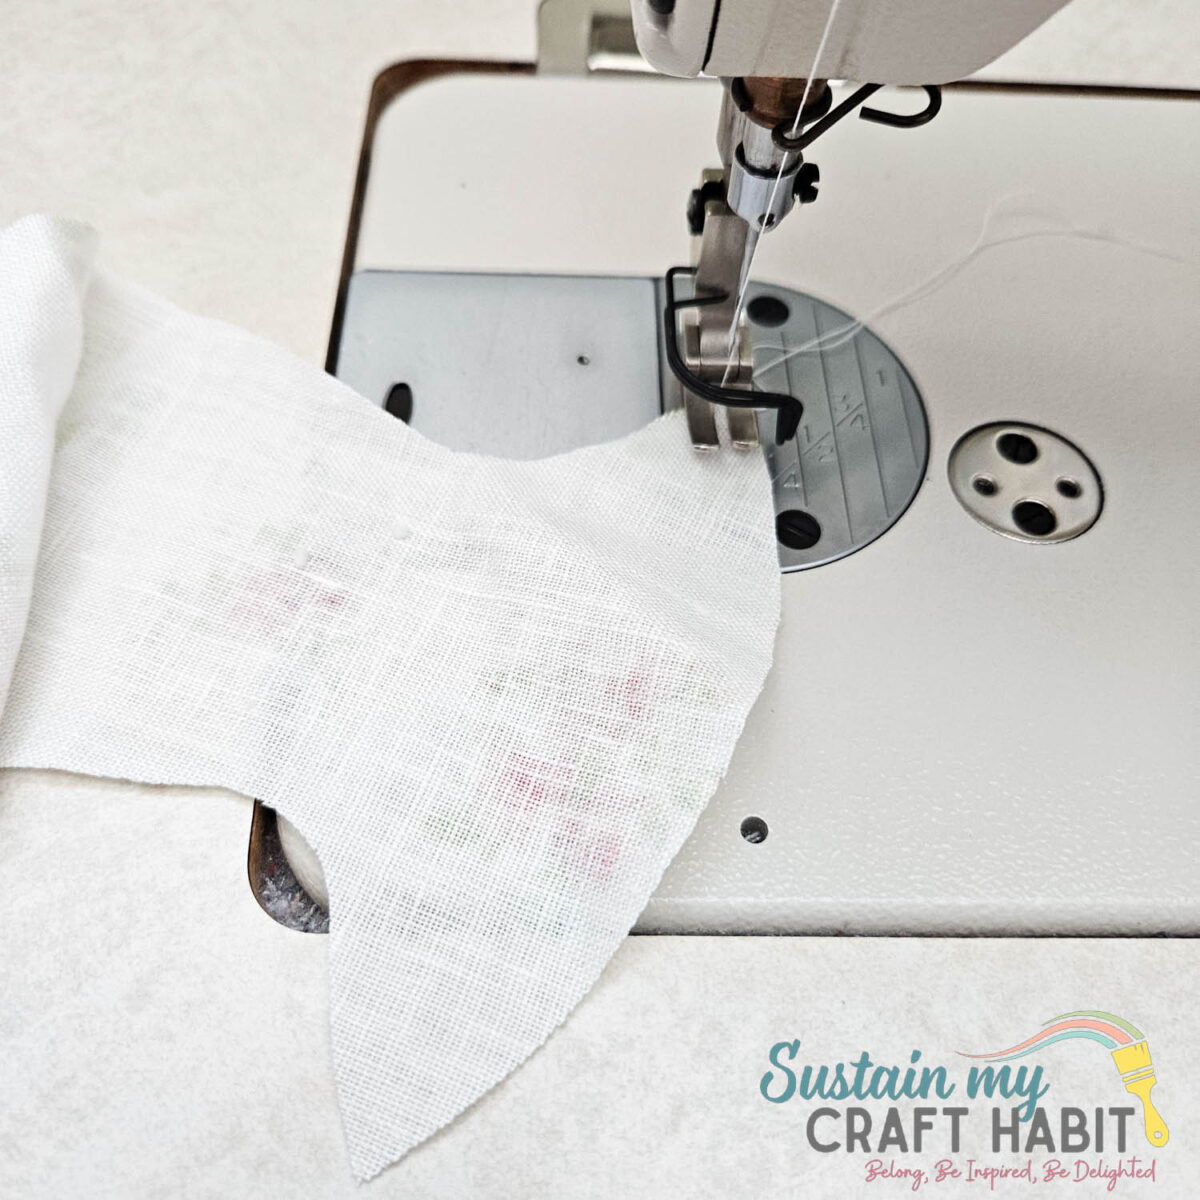
Gently pull on one of the loose hanging strands to gather the edge.
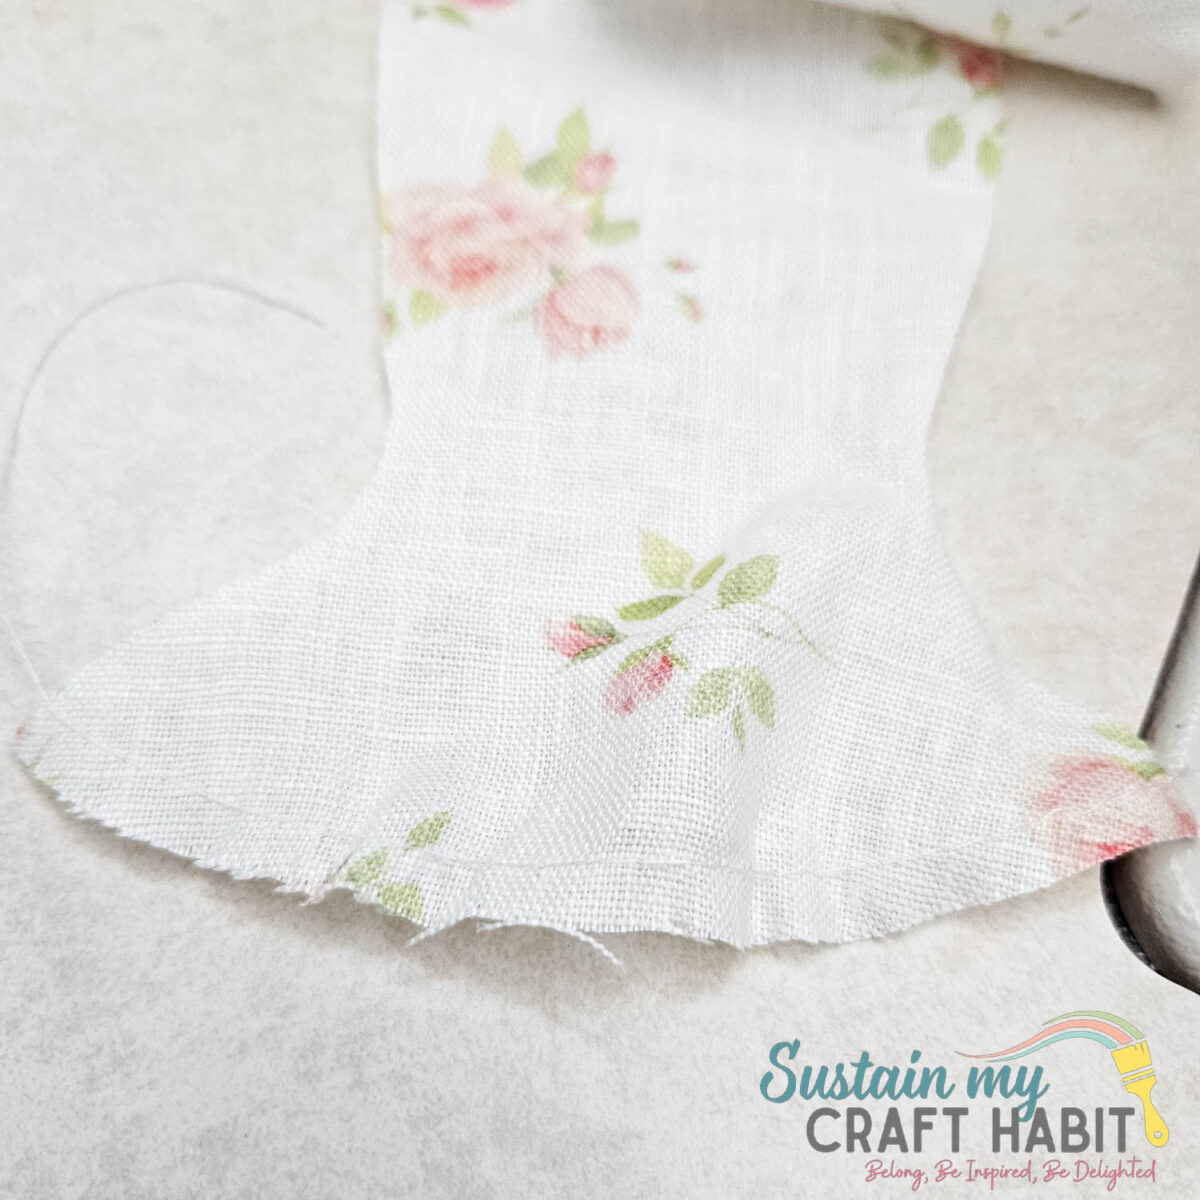
On an ironing board, fold the ¼” edge towards the wrong side and press with an iron.
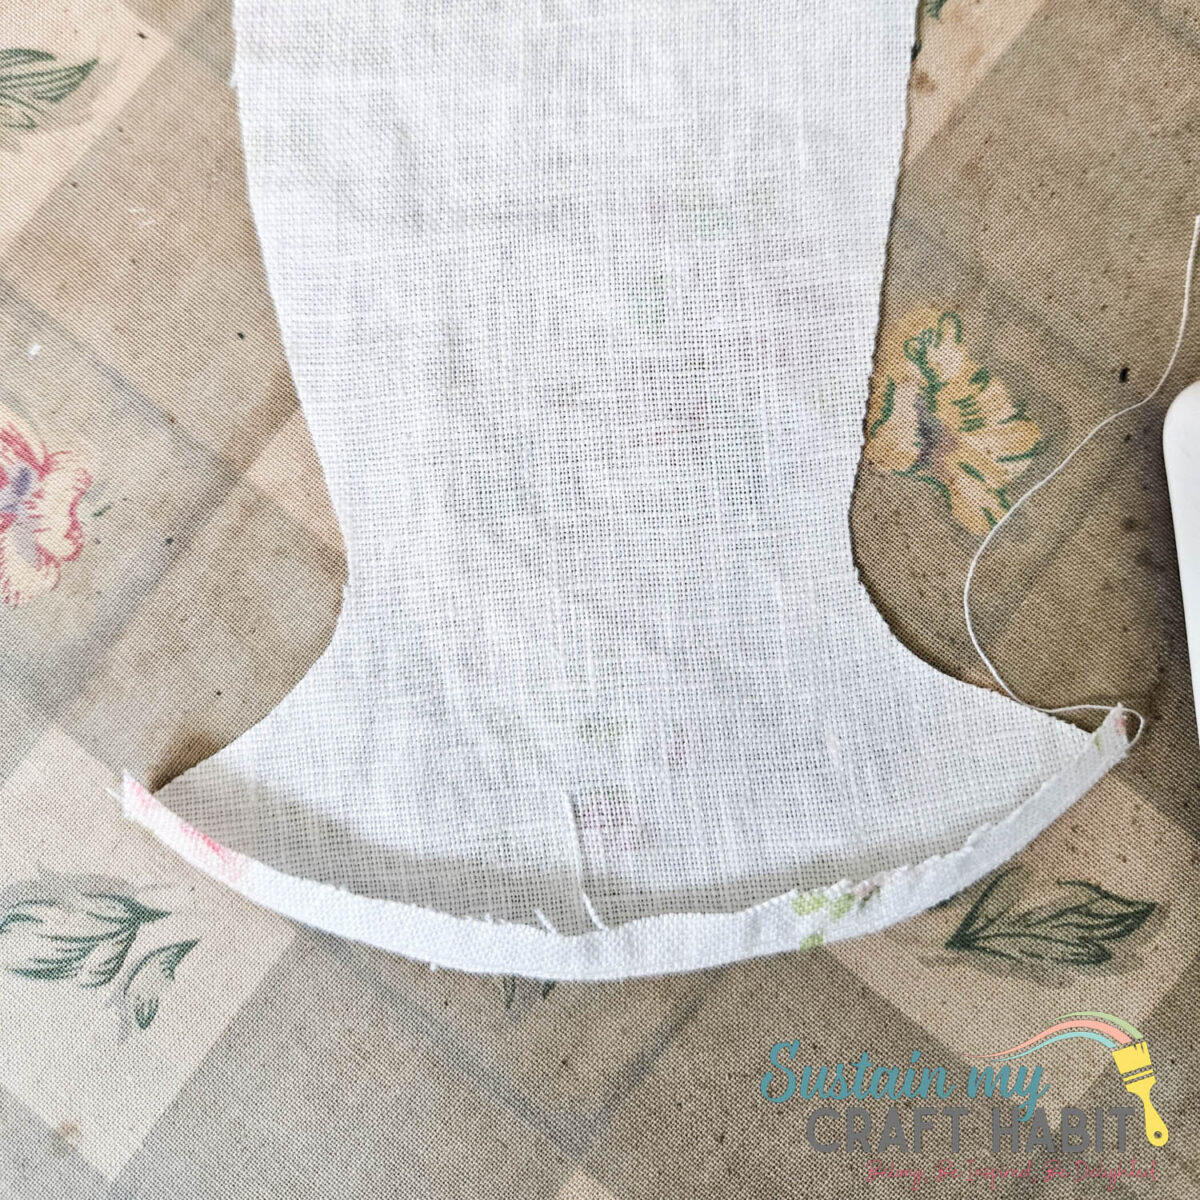
Next, align the bunny inner EARS LINING (2) piece with the MAIN (1) piece with RIGHT sides facing each other. Sew the edges together with a ¼” seam allowance using a regular stitch length (not basting) from marked circle to marked circle.
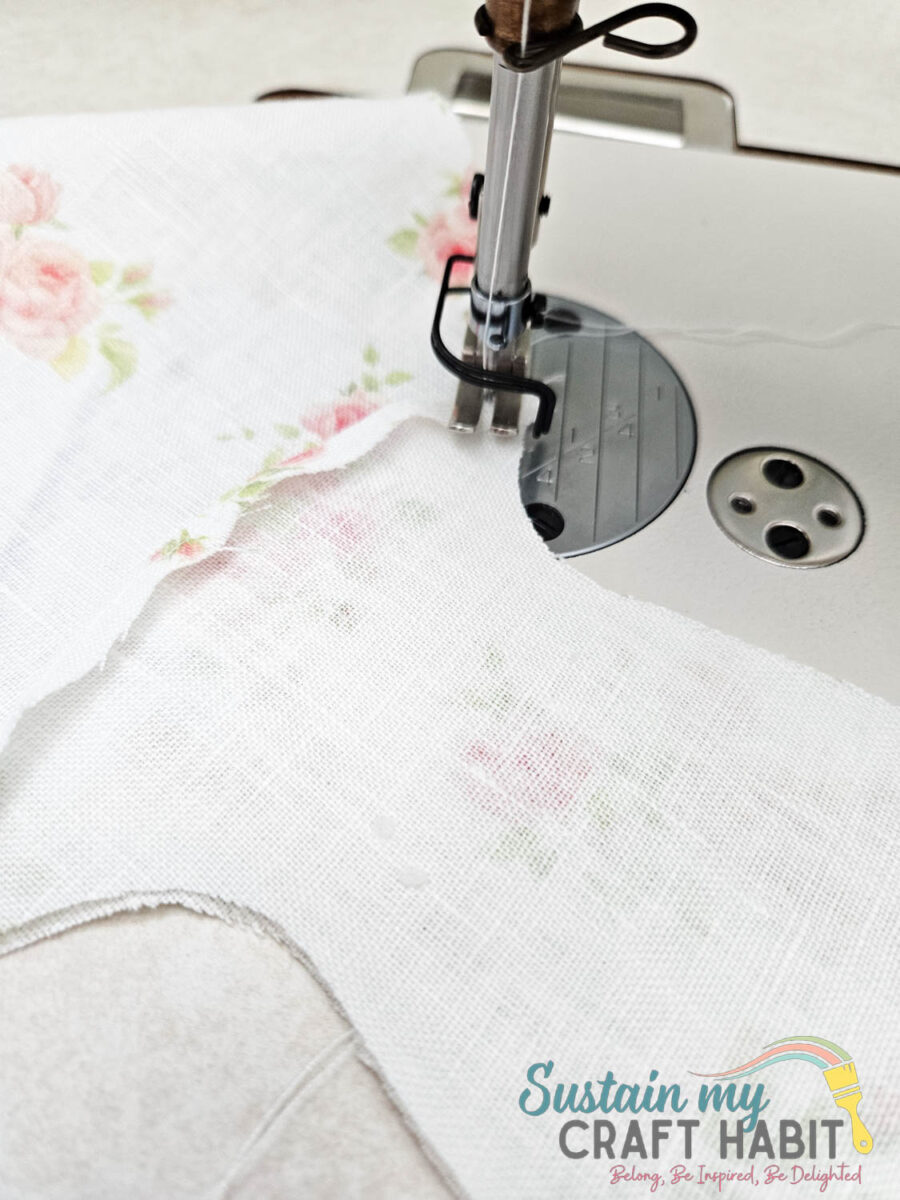
Clip the seam allowance at the marked circles.
Turn the piece so the right side of the fabric is facing out.
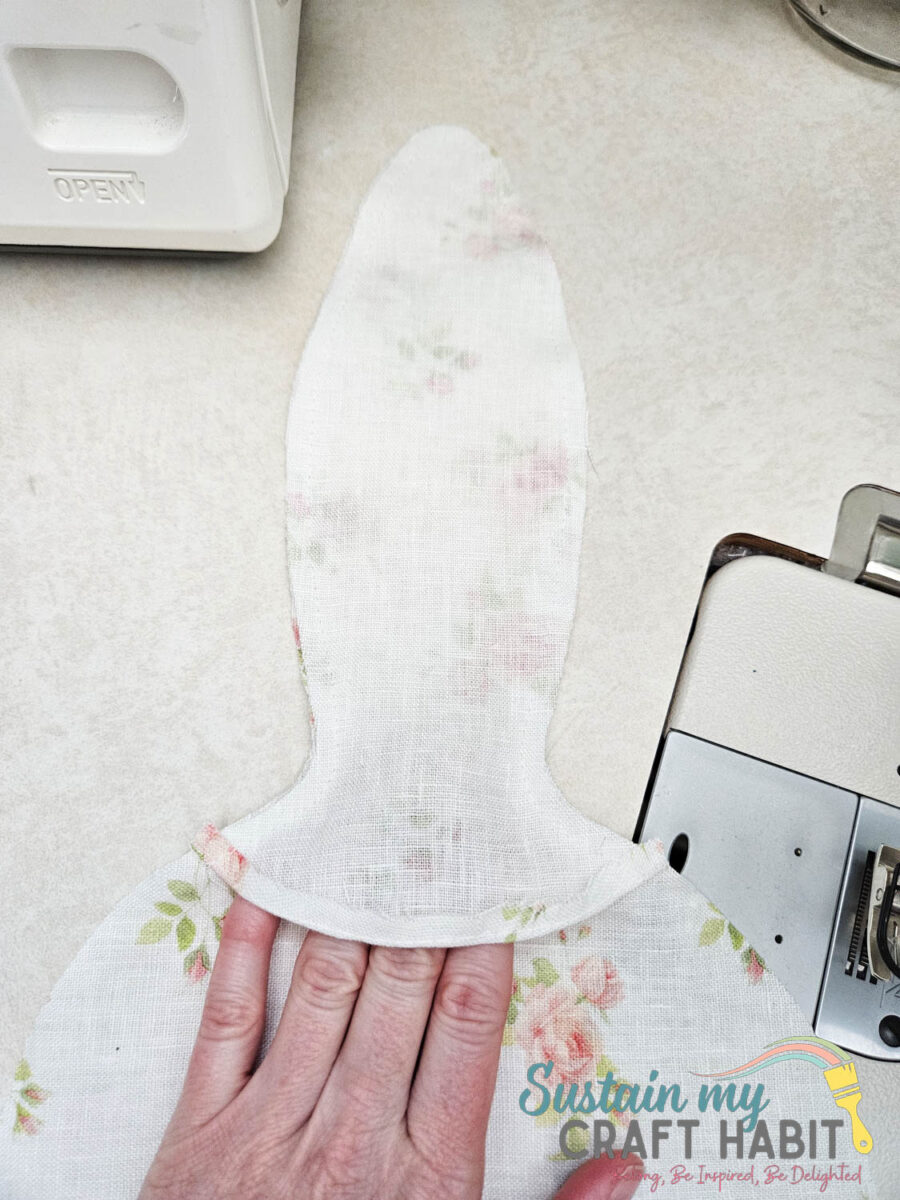
Align the two sides of the MAIN BAG (1) piece with RIGHT sides facing and sew edges together with ¼” seam allowance from marked circle to marked circle. Be sure to back tack the start and end of the stitch line to secure the bag opening.
Turn the piece right side out.
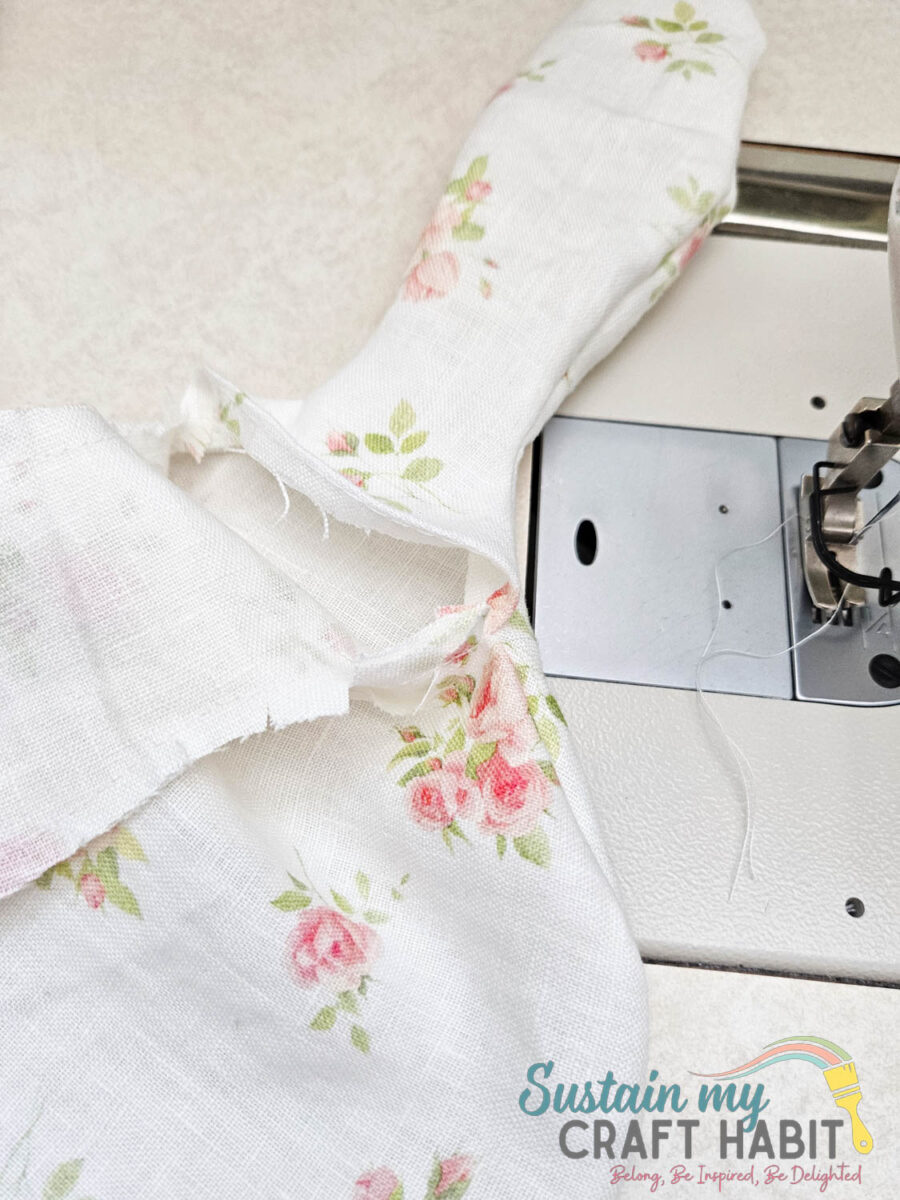
Gently press edges flat with an iron. Topstitch the bottom folded edge of the LINING layers to the MAIN BAG piece to secure in place.
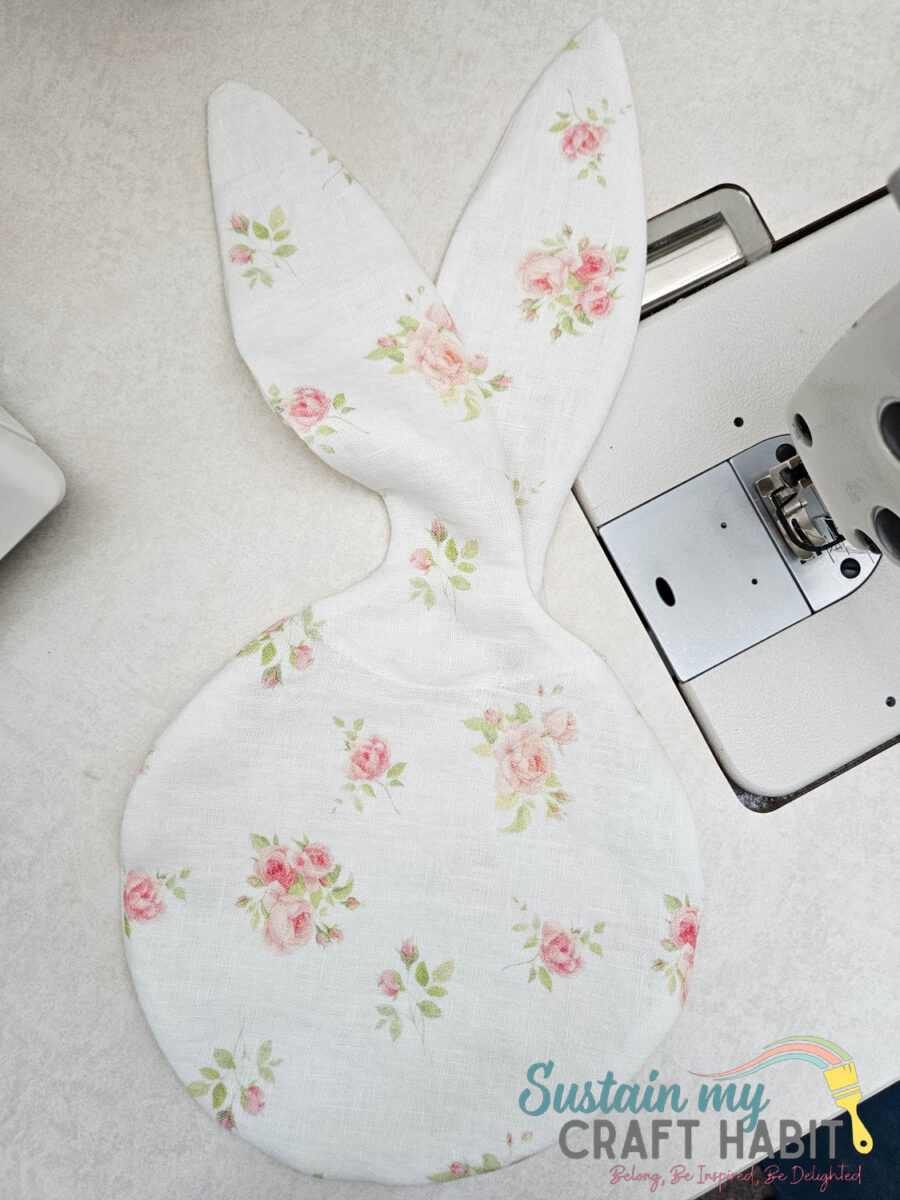
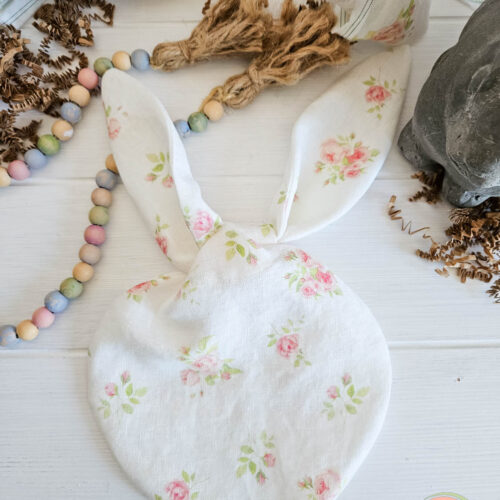
To close the bag tie the bunny ears together in a single knot.
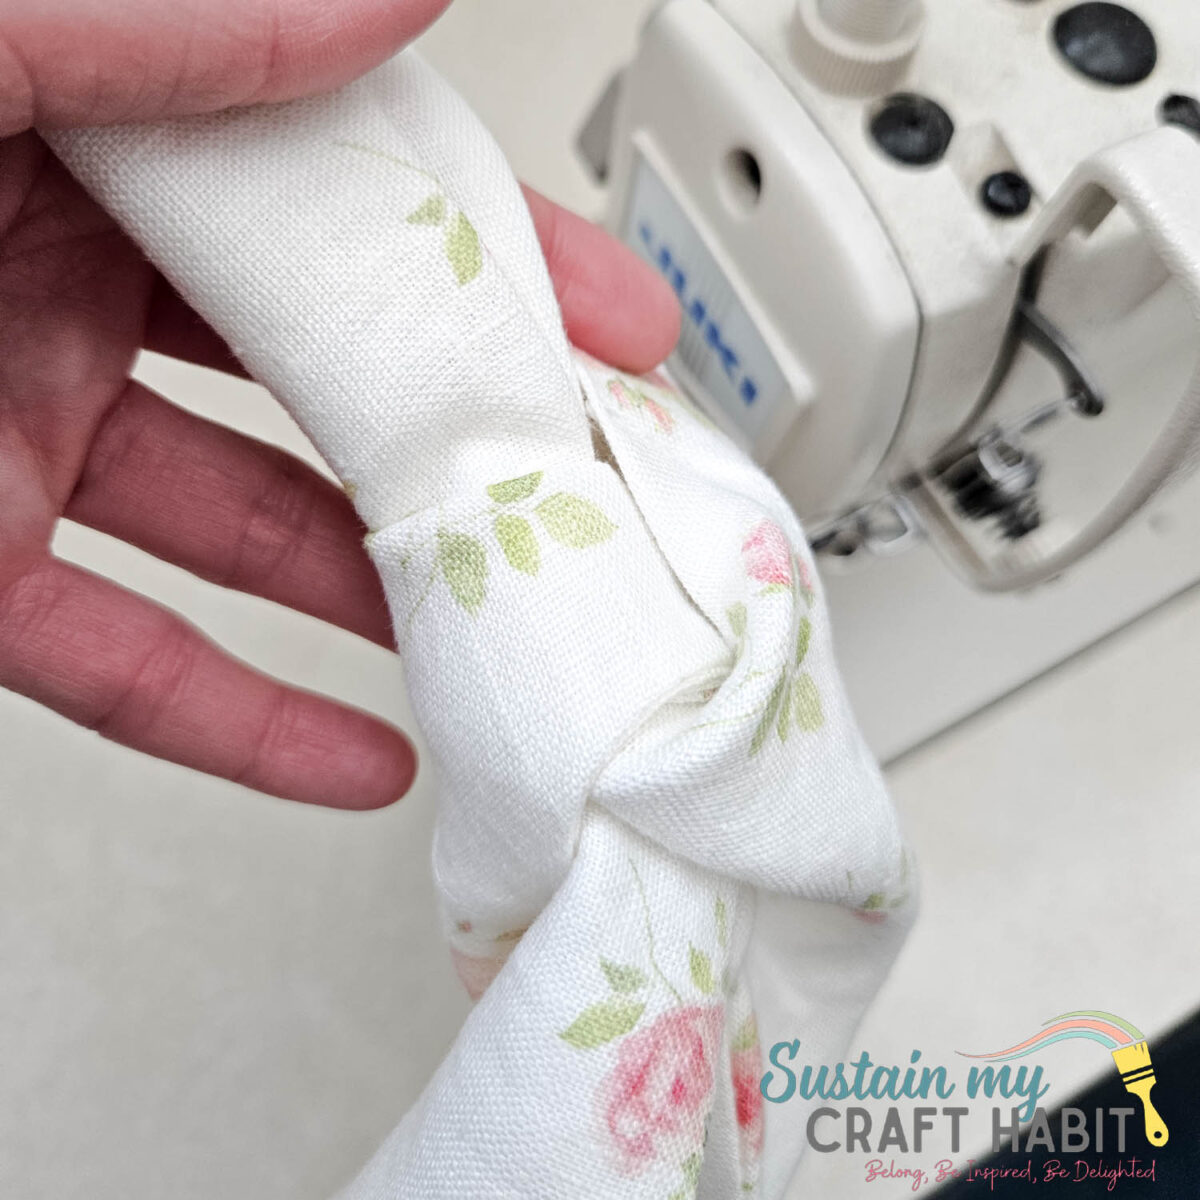
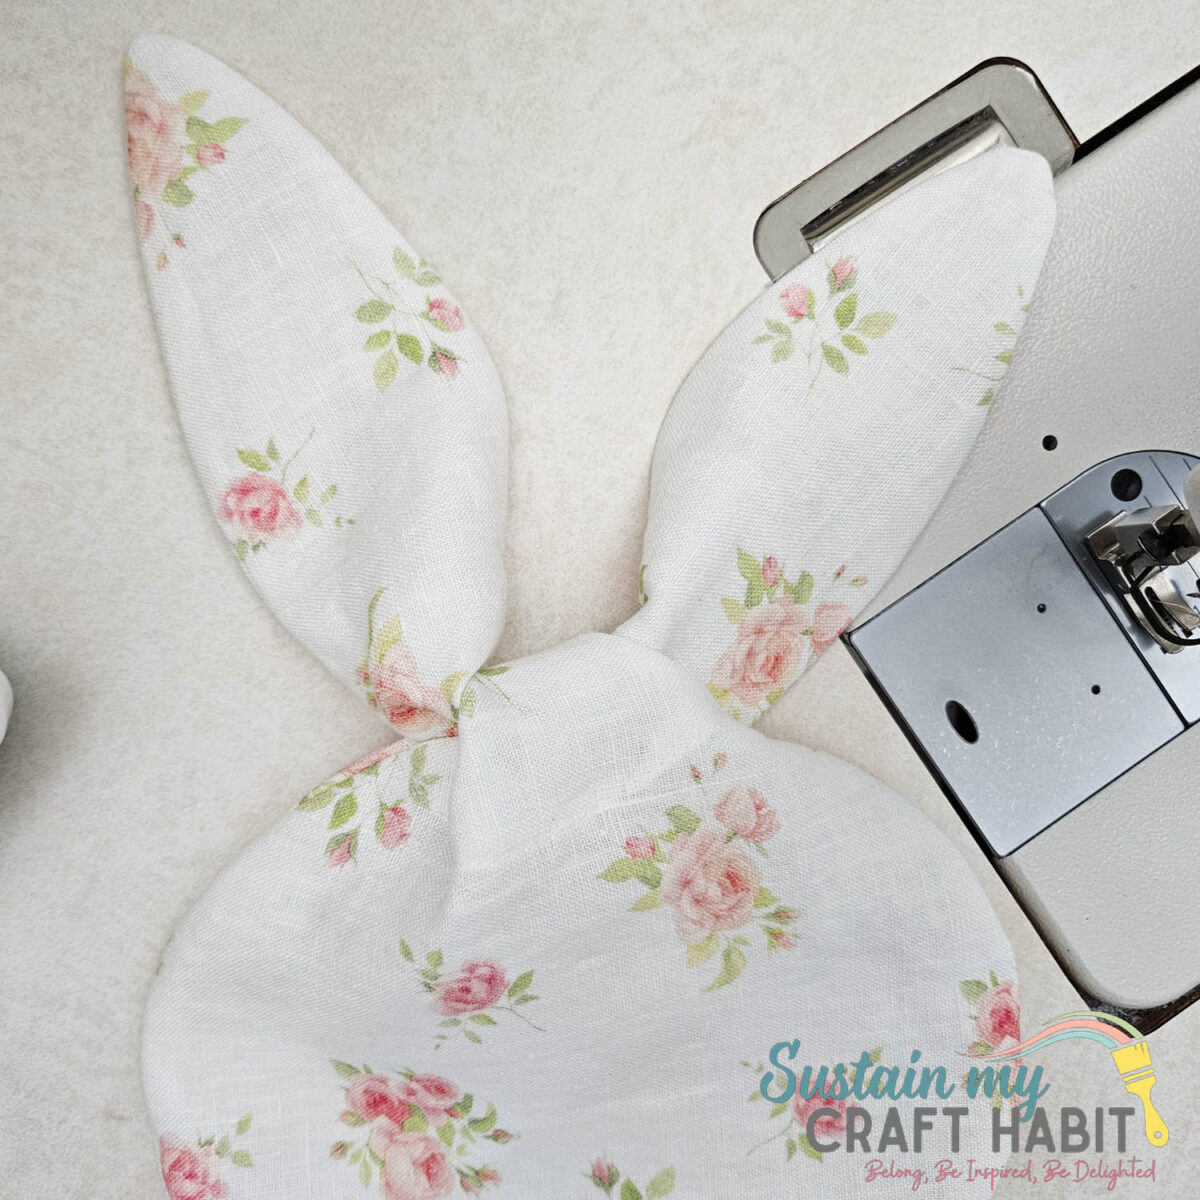
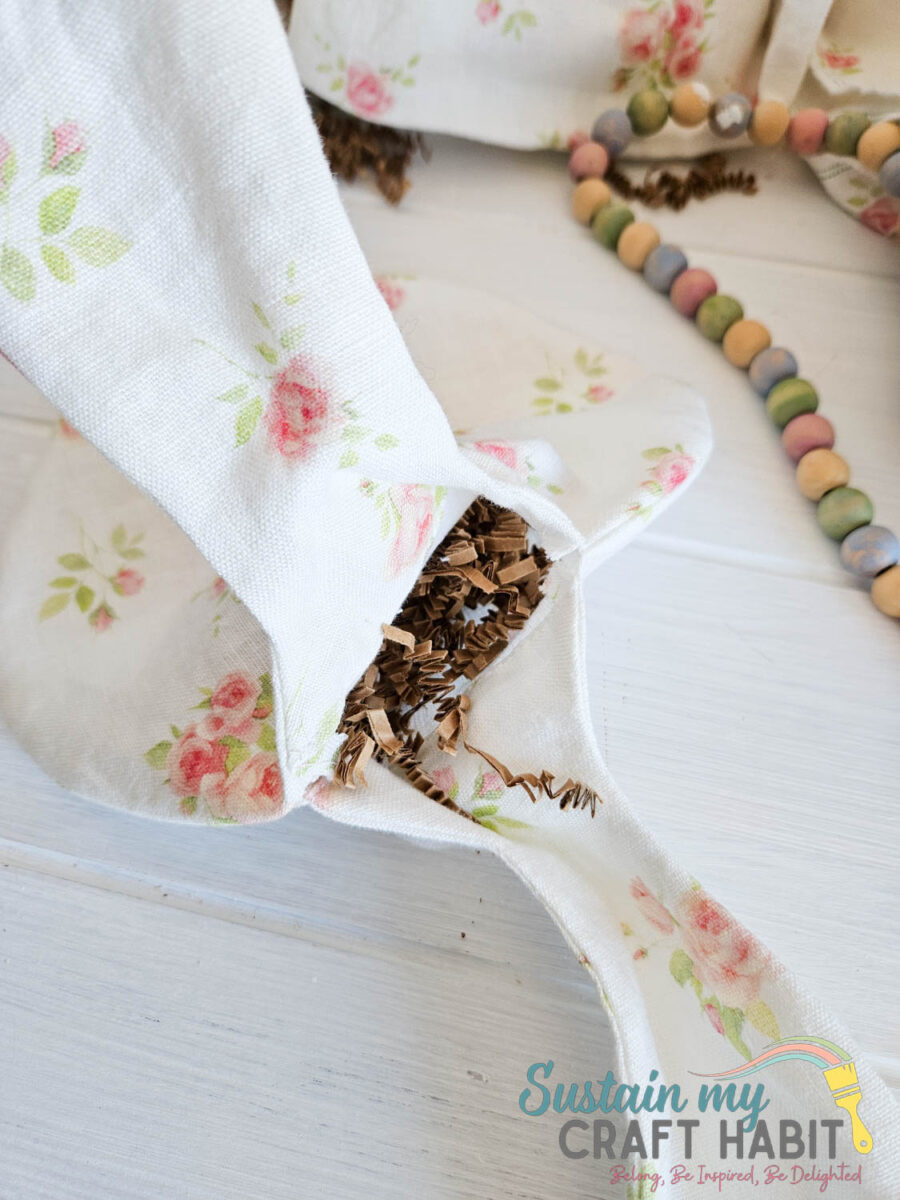
Fill bag with goodies and tie ears to hold goodies inside.
Project Tips
Bunny Face Style Options
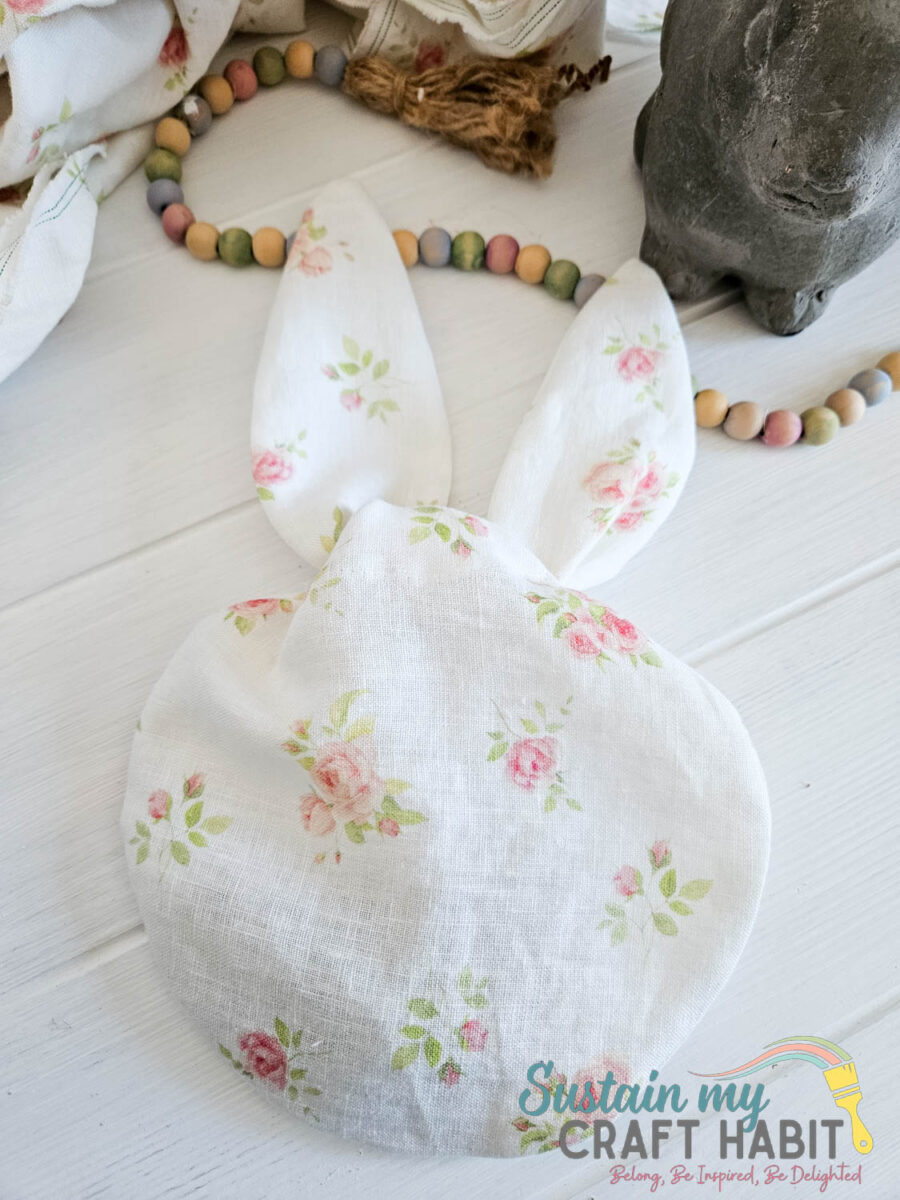
Personalize the bag by adding a cut bunny face to the front.
- Embroider the eyes and nose.
- Use heat-transfer vinyl or fabric paint.
- Sew on small buttons for eyes if the bag will be used as décor rather than a toy.
Different Ways to Use Your Finished Project
This bunny bag looks charming in several Easter arrangements.
- Easter Basket Alternative – Fill the bag with candy, chocolate eggs, jelly beans, or small toys. Place it inside a larger basket as a reusable gift bag.
- Spring Table Setting – Place a small bunny bag filled with easter treats at each seat for an Easter brunch table.
- Easter Décor Idea – Use the bag as a decorative throw pillow on the couch. Fill with polyester badding for a soft and fluffy acccent pillow.
Seasonal Favorite
This free Easter bunny gift bag sewing pattern is simple to make and adds a handmade touch to Easter gifts. Once you sew one, it’s hard not to make more in different fabrics and colors for a whole batch of adorable bunny treat bags.
More Bunny Crafts to Make
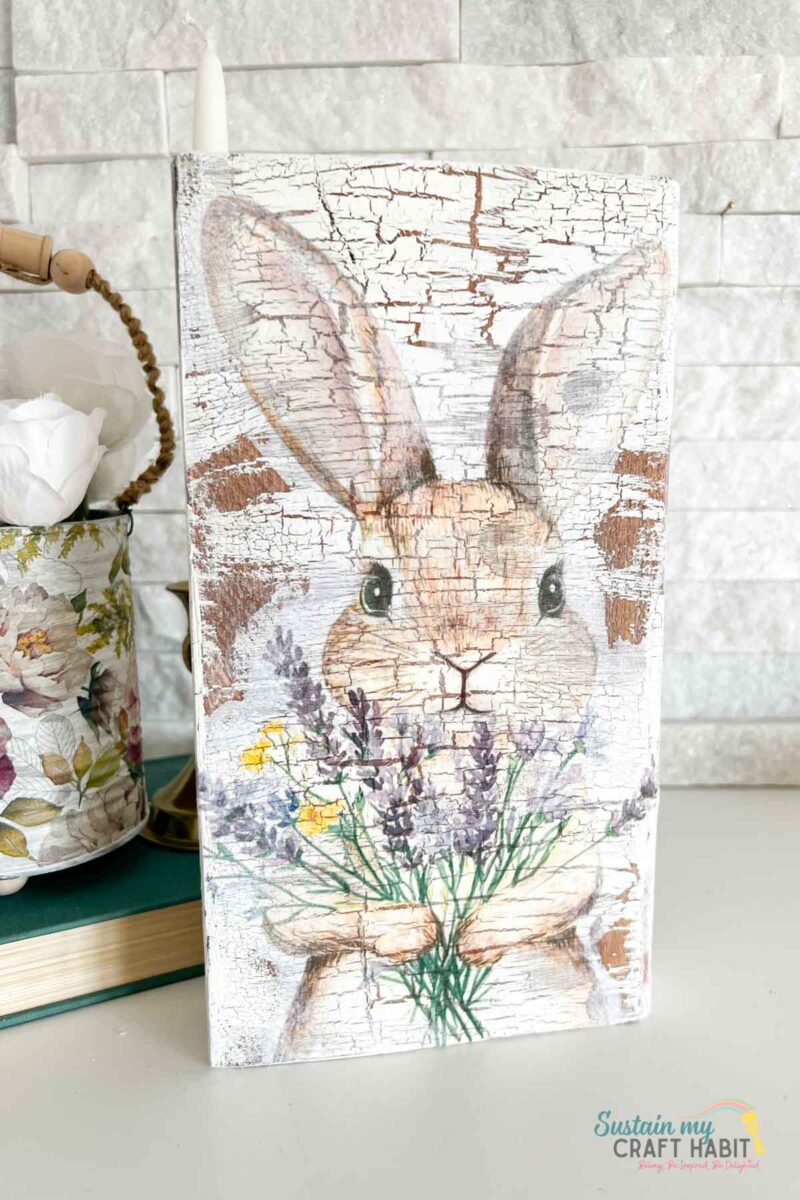
- Farmhouse Dollar Tree Bunny Sign
- Rustic Bunny Easter Decoration with Scrap Wood
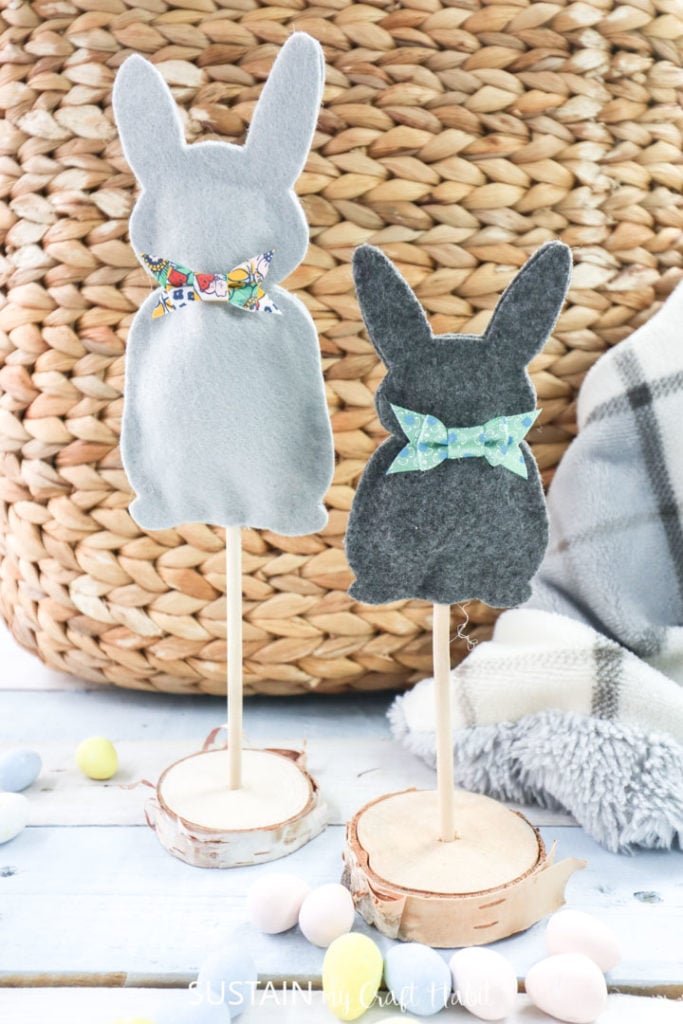
- Felt Bunny Easter Decor
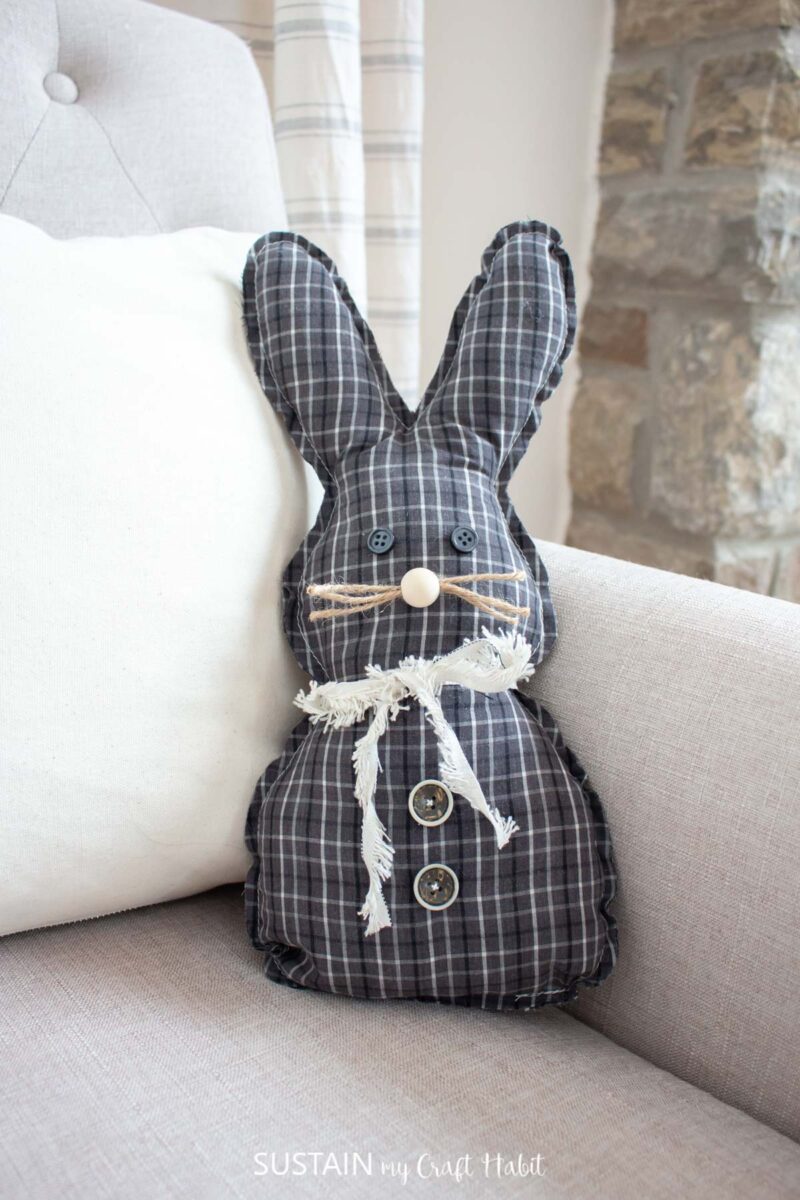
- Memory Bunny Pattern (Free Printable)
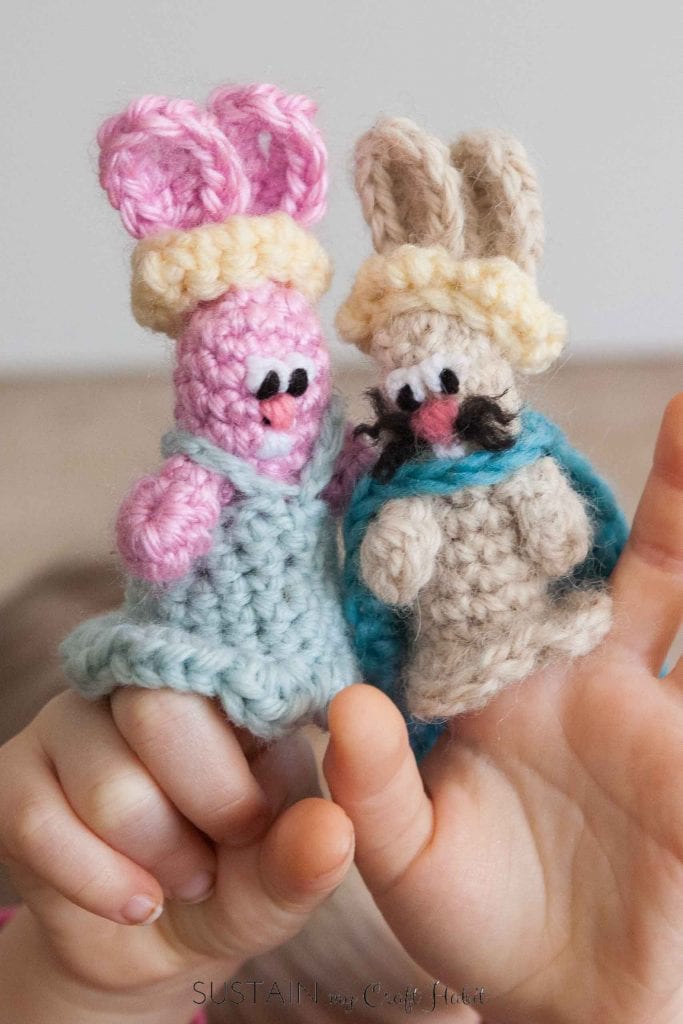
- Crochet Bunny Finger Puppets

Stay in the know on our latest crafts, special offers and freebies by joining our mailing list.
Like it? Pin for later!
Free Easter Bunny Gift Bag Sewing Pattern
Materials
- Woven fabric new or upcycled from the thrift store
- sewing machine and matching thread
- Fabric scissors
- Printable Easter Bunny gift bag sewing pattern
Instructions
Cutting
- Send PDF to print maintaining the scale as is and once printed tape all the connecting red borders together to form a complete pattern.
- Lay the paper pattern pieces on top of the fabric (two layers of fabric), aligning the grainline of the fabric with the arrow on the pattern.
- Cut around the solid line of the pattern. Cut two pieces of fabric for each pattern piece.
Sewing
- With a ¼” seam allowance, sew a basting stitch (increase stitch lengths to 4 or 5 on machine setting) along the bottom “curved” edge of the EAR LINING (2) piece. Do not back stitch at the start or end of the stitch line.
- Gently pull on one of the loose hanging strands to gather the edge.
- On an ironing board, turn the ¼” edge towards the wrong side and press with an iron.
- Next, align the bunny EARS LINING (2) piece with the MAIN (1) piece with RIGHT sides facing each other. Sew the edges together with a ¼” seam allowance using a regular stitch length (not basting) from marked circle to marked circle.
- Clip the seam allowance at the marked circles.
- Turn the piece so the right side of the fabric is facing out.
- Align the BAG (3) piece with the other matching bag piece with RIGHT sides facing and sew edges together with ¼” seam allowance from marked circle to marked circle. Be sure to back tack the start and end of the stitch line to secure the bag opening.
- Turn the piece right side out.
- Gently press edges flat with an iron.
- To close the bag tie the bunny ears together in a single knot.
- Fill bag with goodies and tie ears to hold goodies inside.