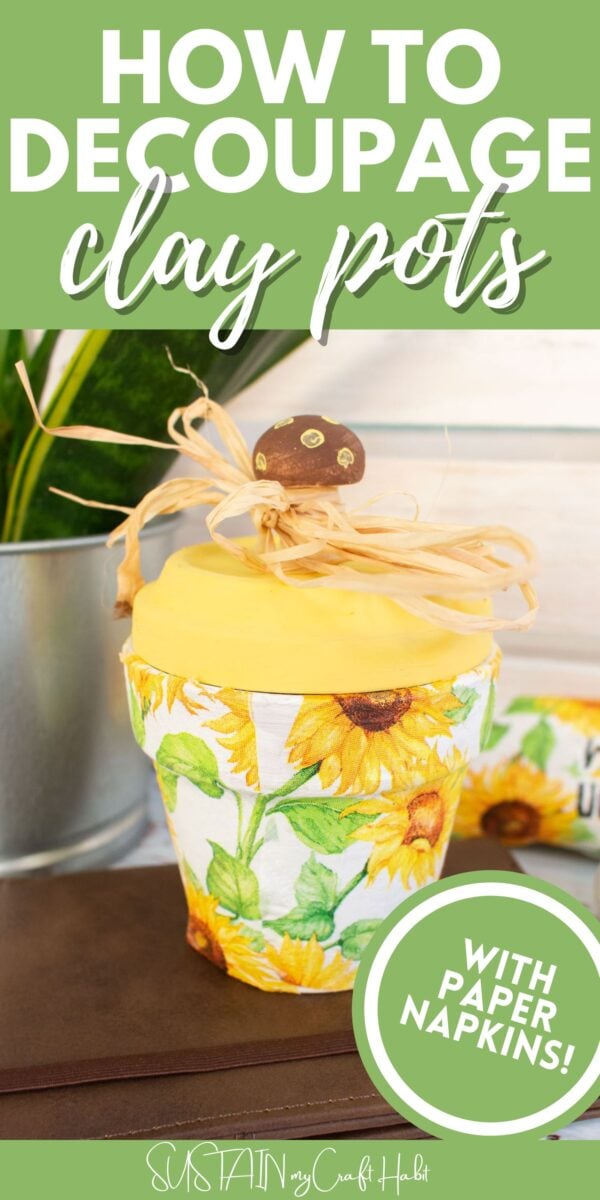
Most people that love to craft have at one point of another crafted with clay pots. There’s something very appealing about these sweet little pots. Clay pots, with their versatile shapes and sizes, make excellent canvases for this creative technique.
In this blog post, we’ll explore the art of decoupaging clay pots, from choosing the right materials to adding those final touches that make your project shine.

Selecting the Perfect Pot
Before diving into your decoupage adventure, it’s essential to choose the right clay pot. Consider the size and shape that best suits your vision. Terra cotta pots are popular choices due to their porous nature, which helps the decoupage adhere well. However, don’t be afraid to experiment with different types of clay pots to achieve unique effects.
Why You Will Love Making Decoupage Clay Pots
There are so many possibilities when it comes to decoupaging on clay pots! Consider creating seasonal pots to celebrate different times of the year or personalized pots as unique gifts for friends and family. From rustic charm to sleek modern designs, the options are endless.
Let your decoupaged clay pots become an extension of your personal style and creativity. This is your chance to let your imagination run wild! Want to receive a ton of inspiration and money saving ideas for decorating, gift-giving and crafting? Join HERE!
Materials Needed
Disclosure: This post contains affiliate links for your shopping convenience. Should you choose to purchase through them, we will make a small commission at no extra cost to you. You can read our full disclosure policy here.
- Clay pot with saucer
- Decorative paper napkins
- Paint in white, yellow, brown
- Paintbrushes
- Decoupage or Mod Podge
- Raffia ribbon
- Unfinished wood mushroom or wood bead

How to Decoupage Clay Pots
I shared the tutorial for how to decoupage clay pots on a recent Facebook Live which you can watch here. All of the step by step instructions can be found in the video or if you prefer the step by step instructions, keep reading below!.
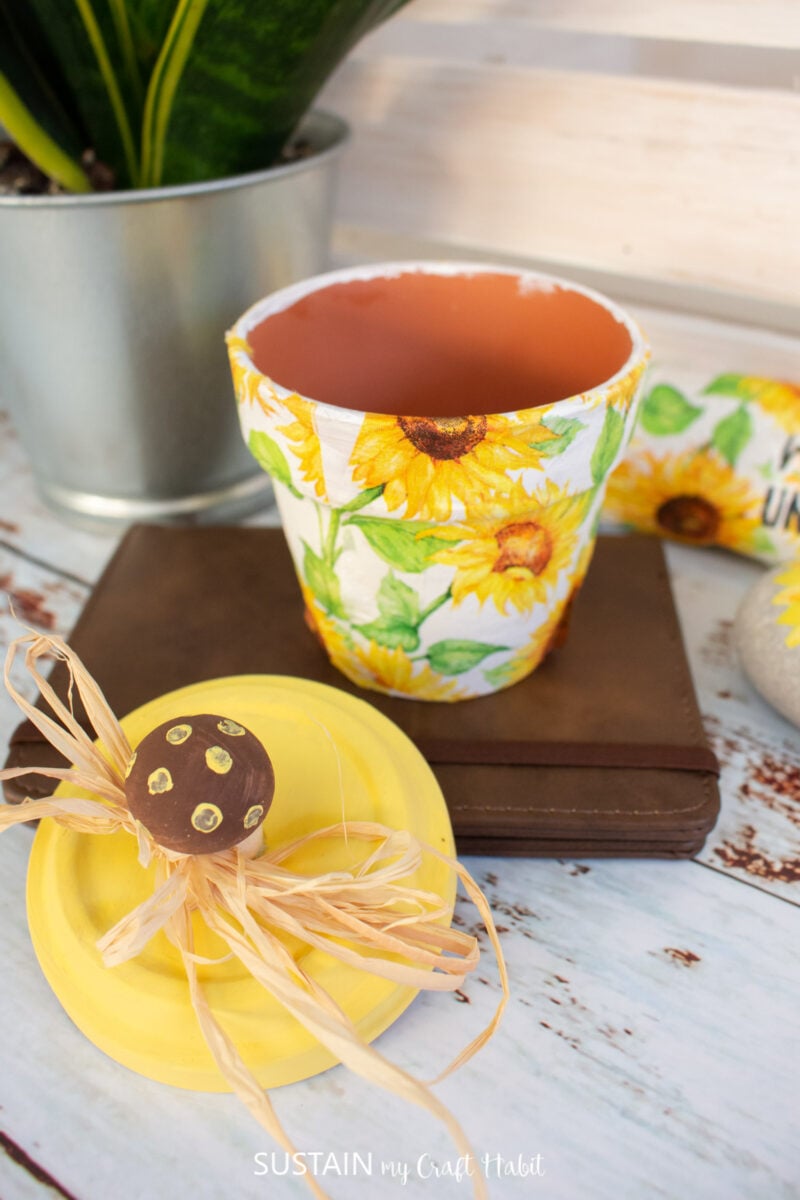
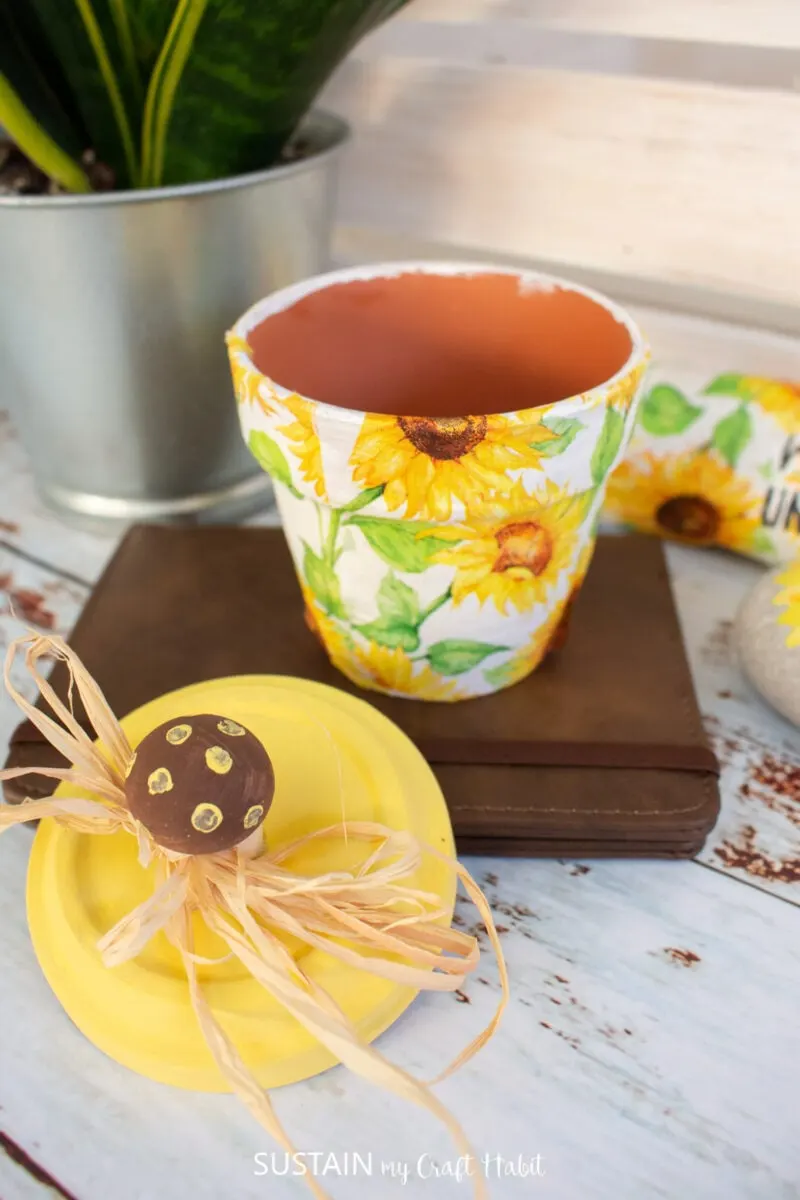
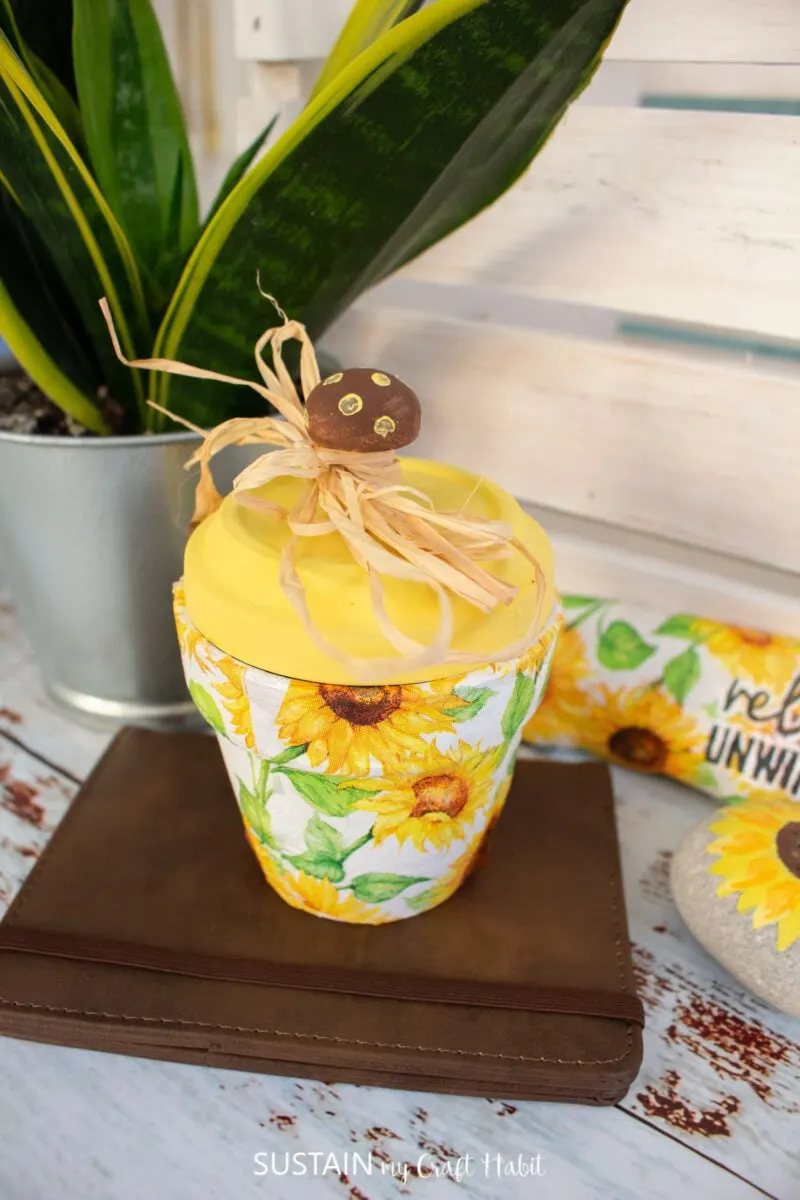
Paint the outside of the clay pot with white paint and let dry.
Next, apply a coat of decoupage glue around the clay pot.
Separate the two plies of napkin using just the top printed layer. Place the napkin around the pot and gently press down with your fingers. You may need to cut a slit in the napkin so that it can go around the curved pot.
Place a piece of parchment paper over top of the napkin and take your heated iron and gently rub back and forth. This will smooth out the napkin. Remove any excess napkin from the pot.
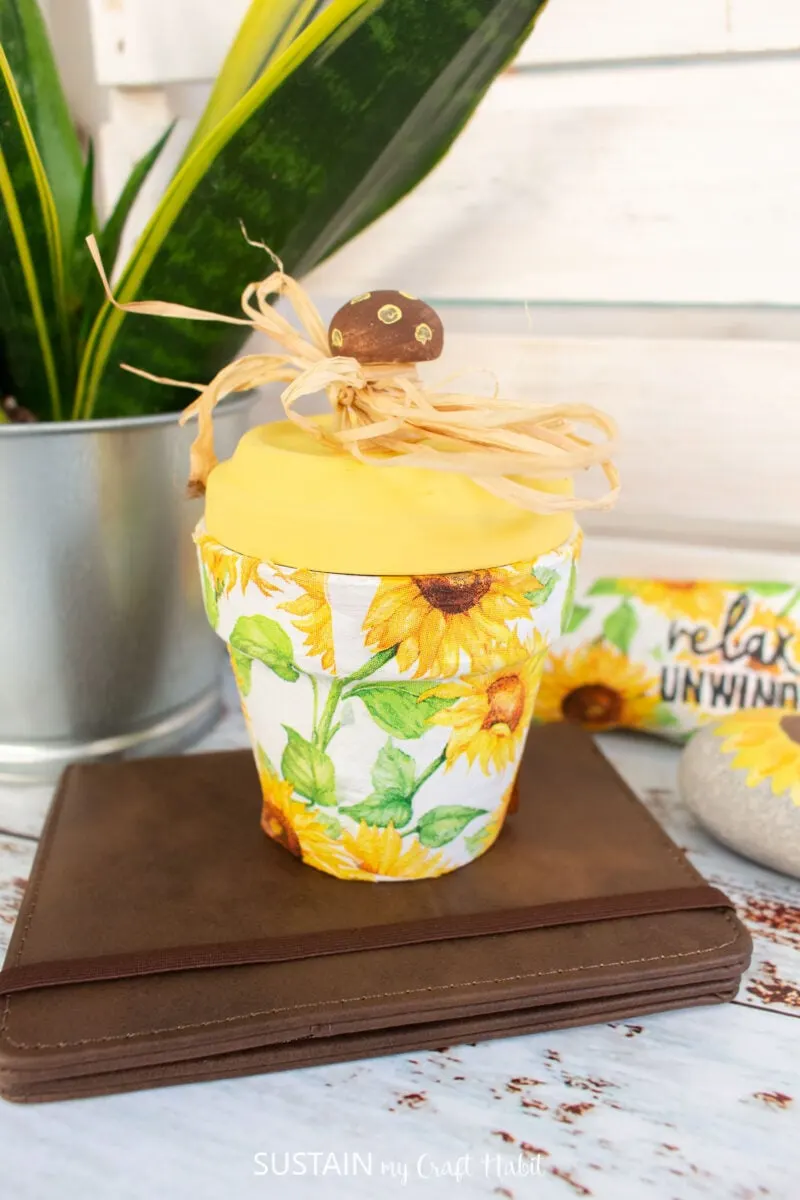
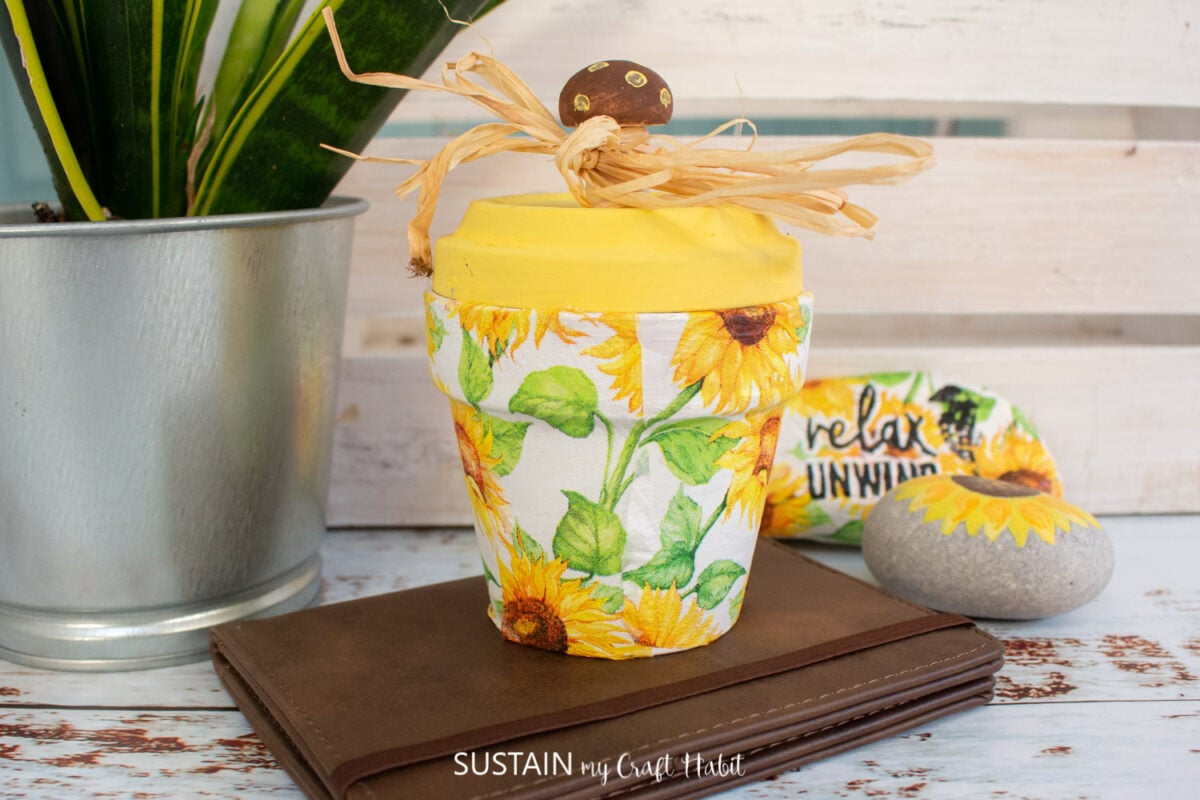
Adding Finishing Touches
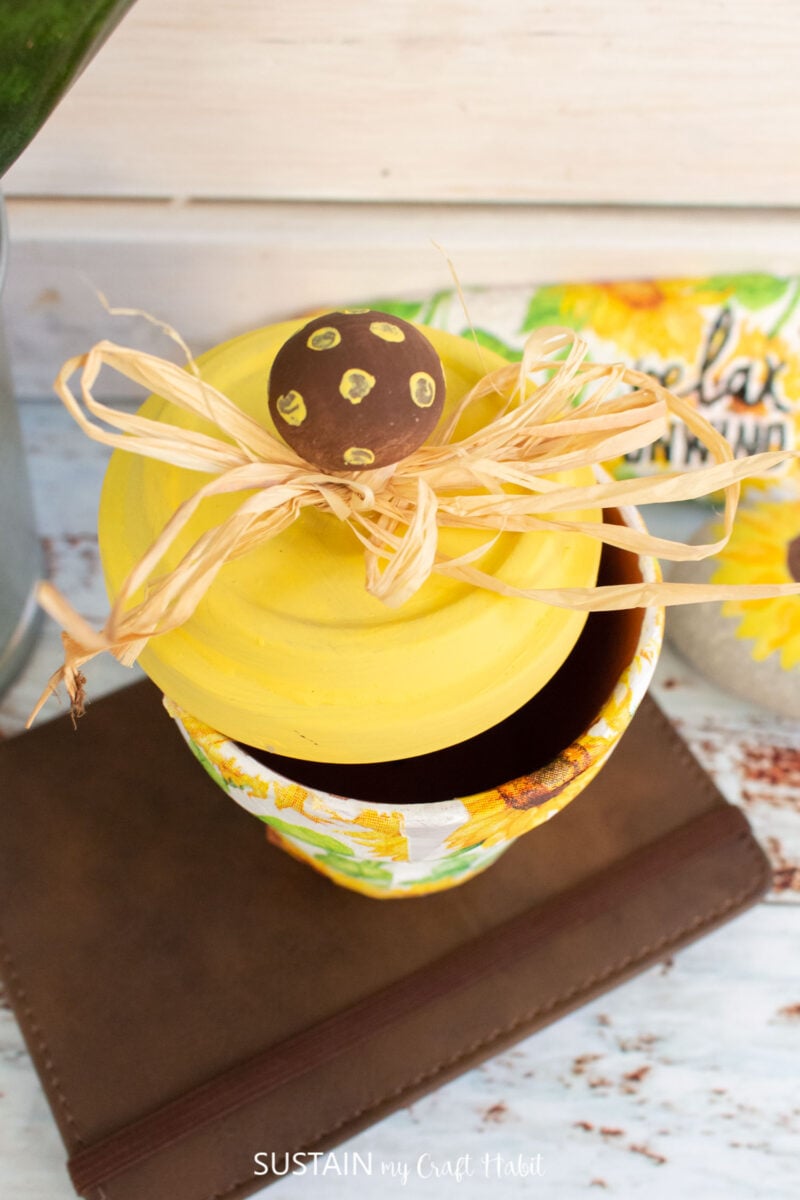
Next, paint the clay pot saucer with yellow paint and the unfinished wood mushroom or wood bead brown. Let dry.
Glue the bead onto the saucer to form a little handle.
Wrap raffia ribbon around the bead and you’re done!

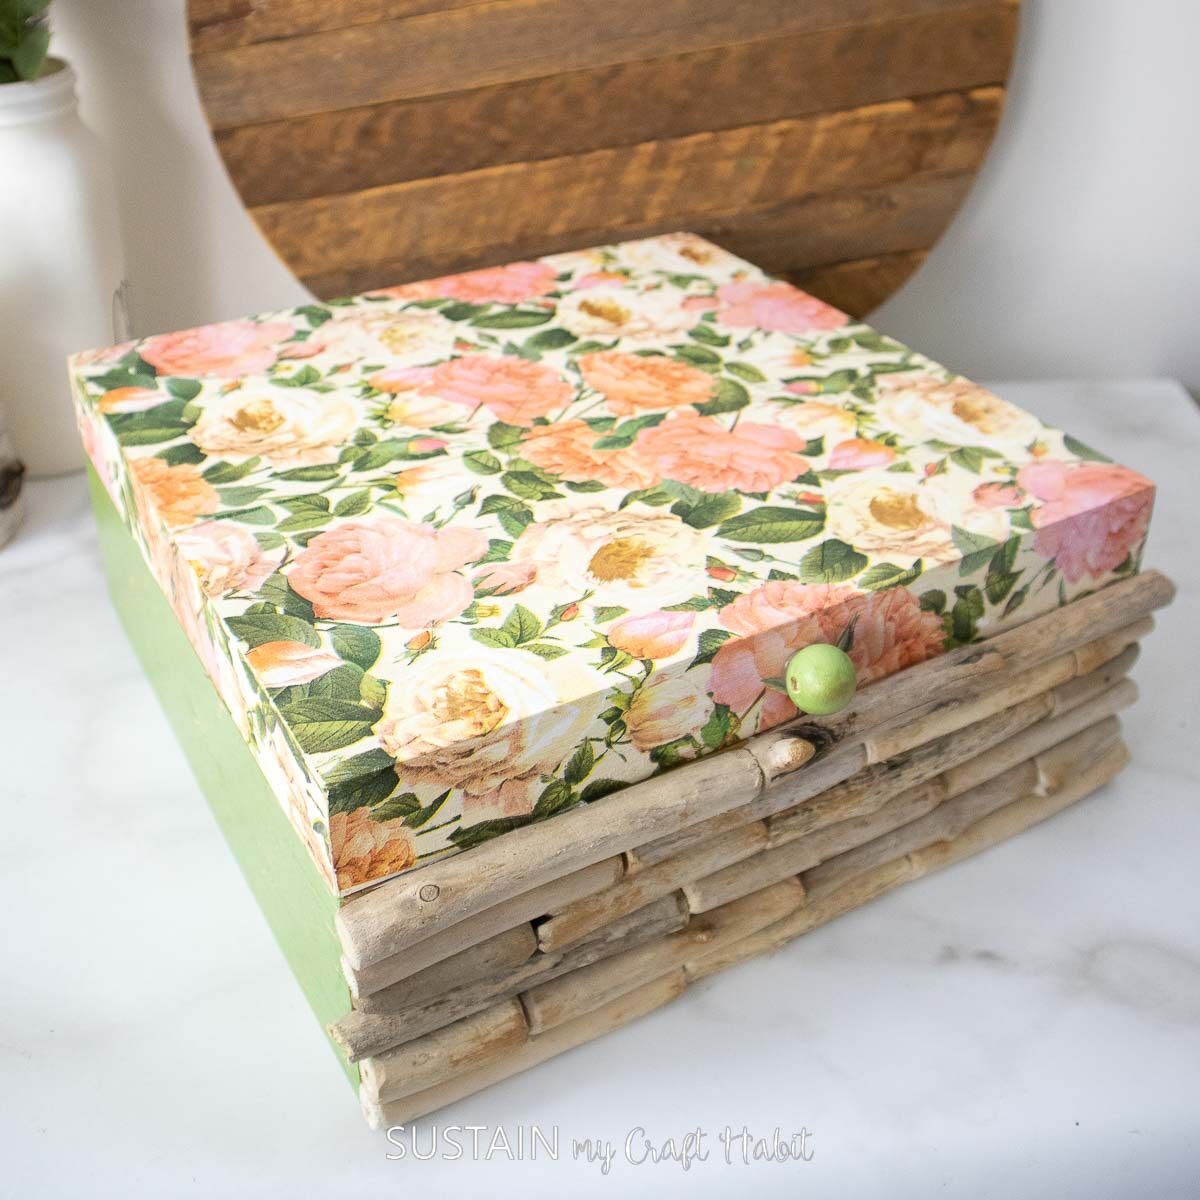
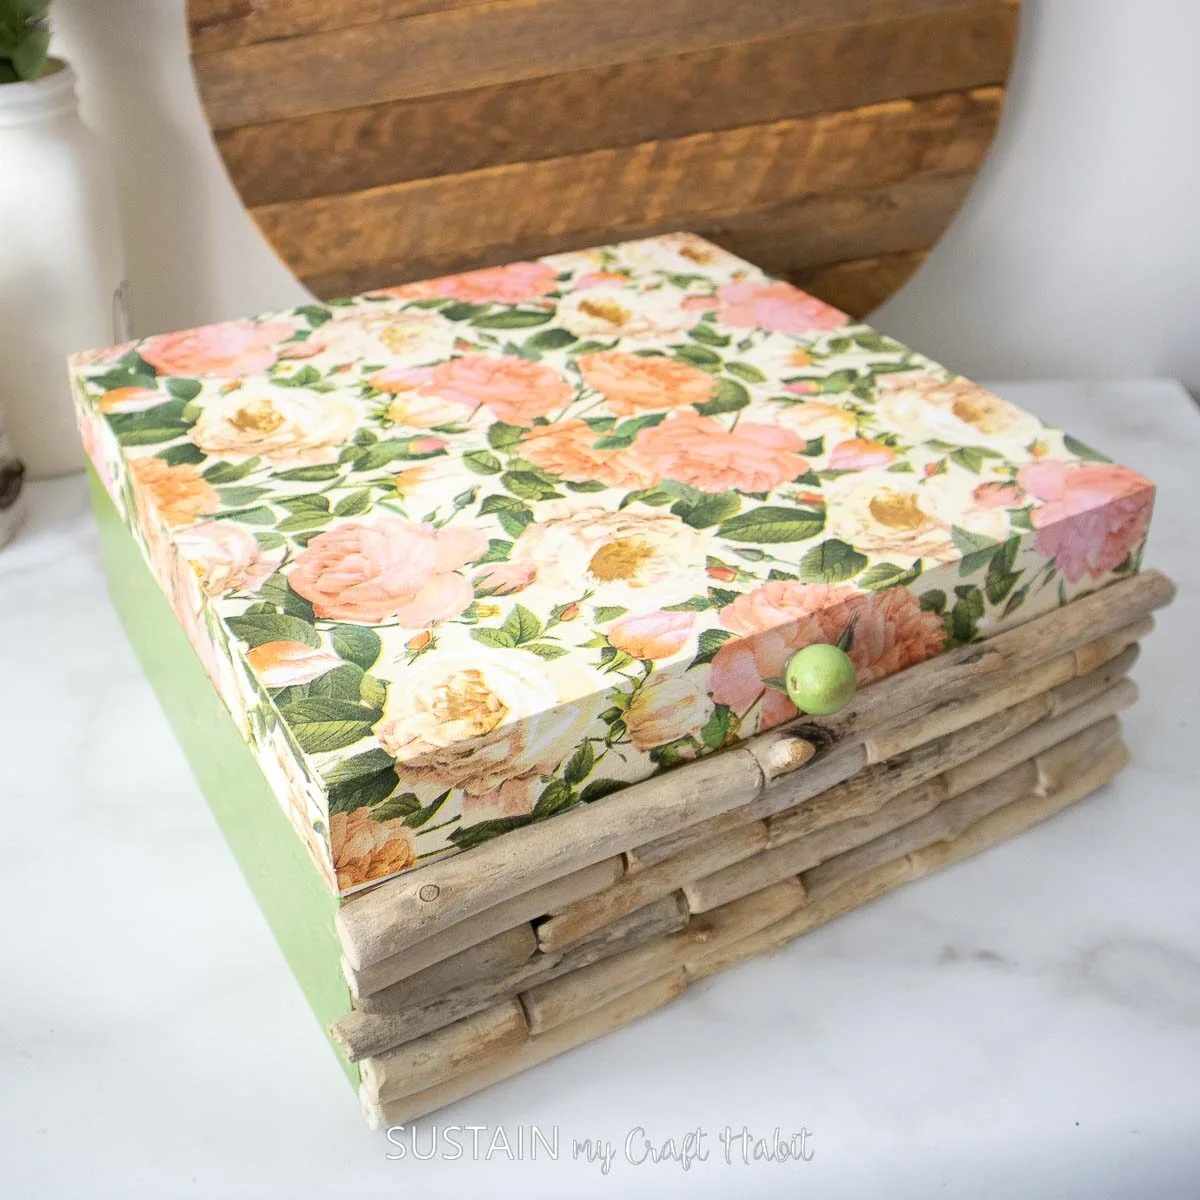
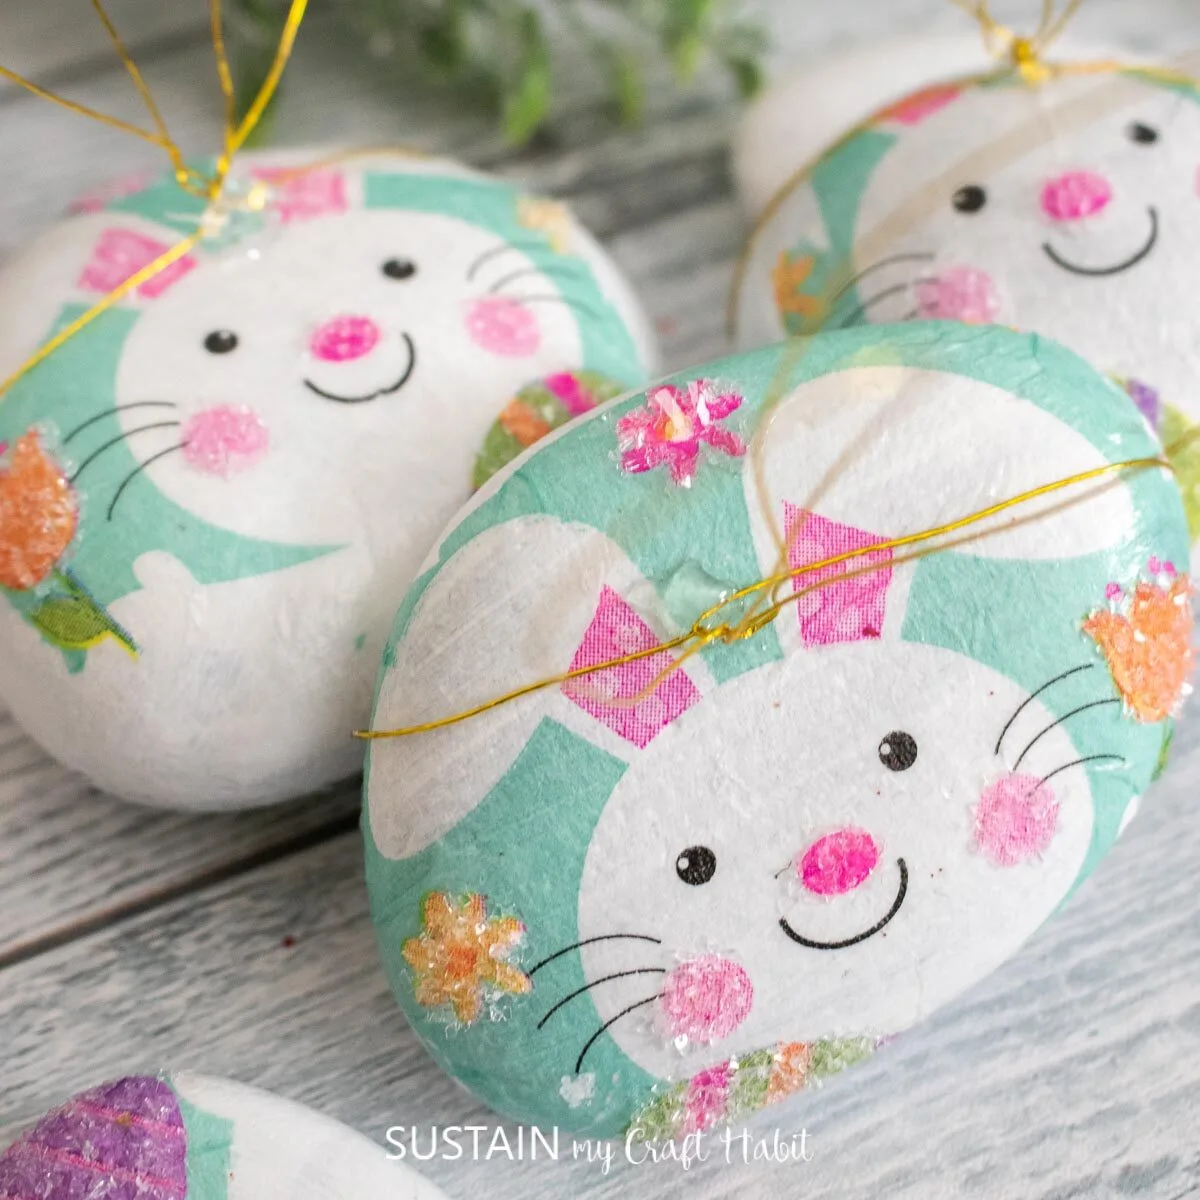
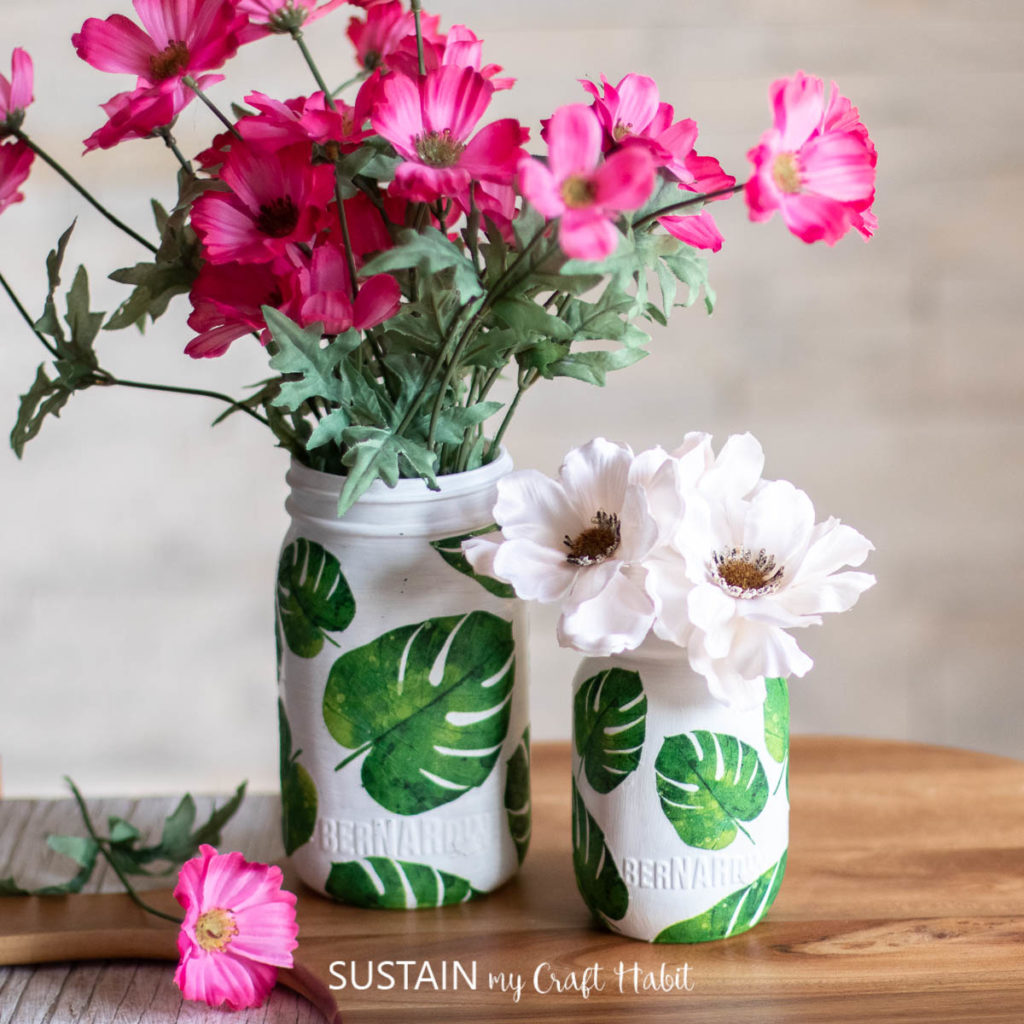
How to Decoupage on Different Surfaces
Did you know that you can decoupage on rocks, plastic, wood, canvas and much more? Learn how to decoupage on different surfaces here:
- How to Decoupage on Canvas
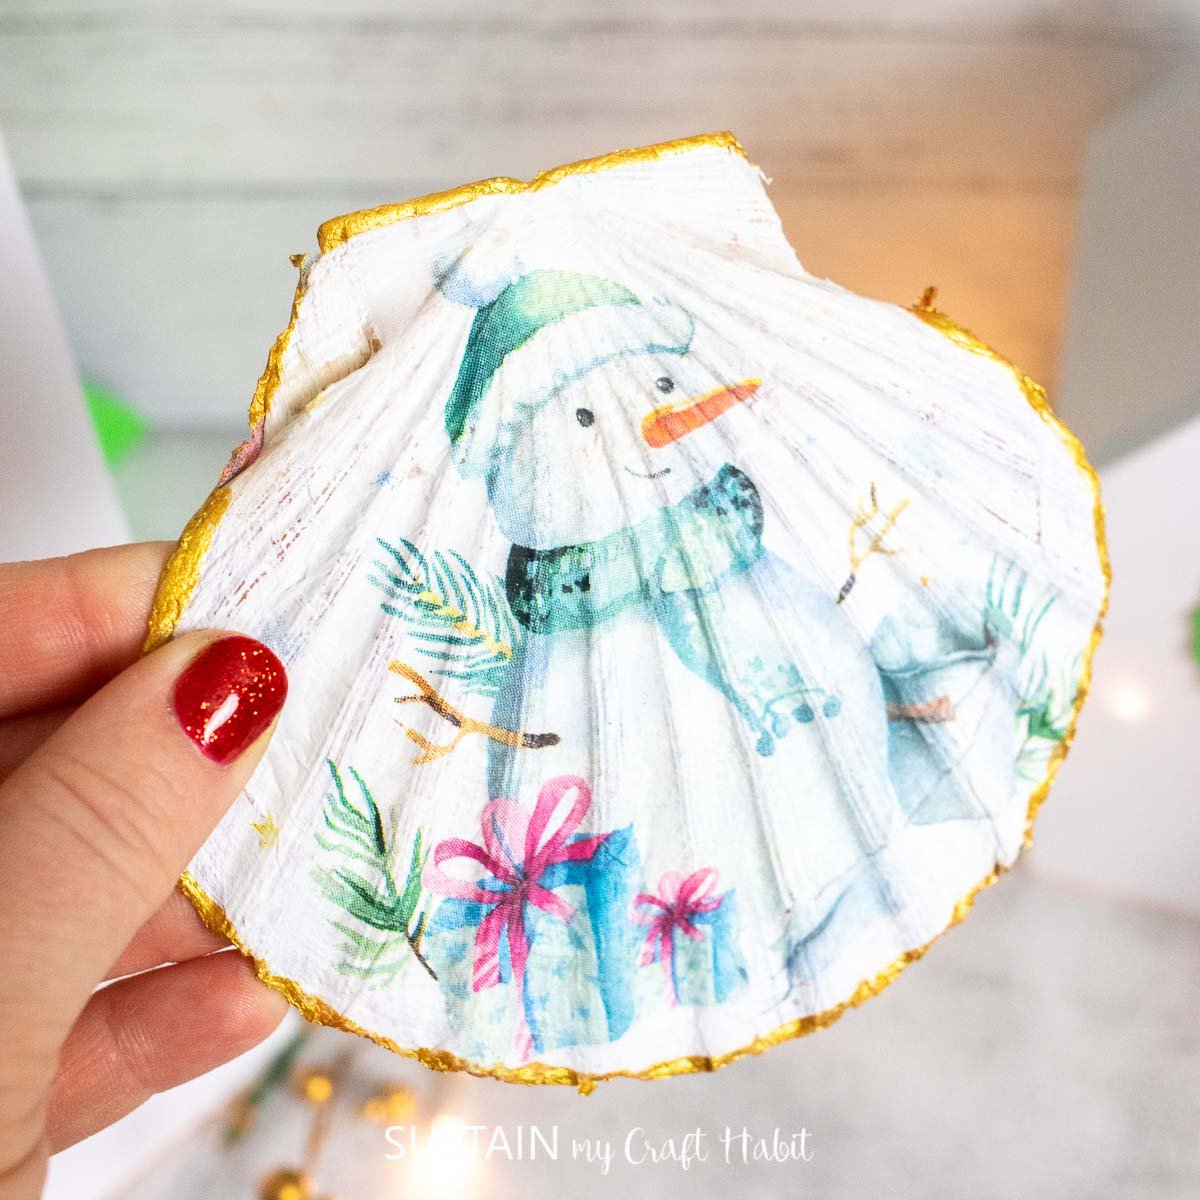
- Learn how to Decoupage Shells
- How to Decoupage on Wood
- How to Decoupage a Rock
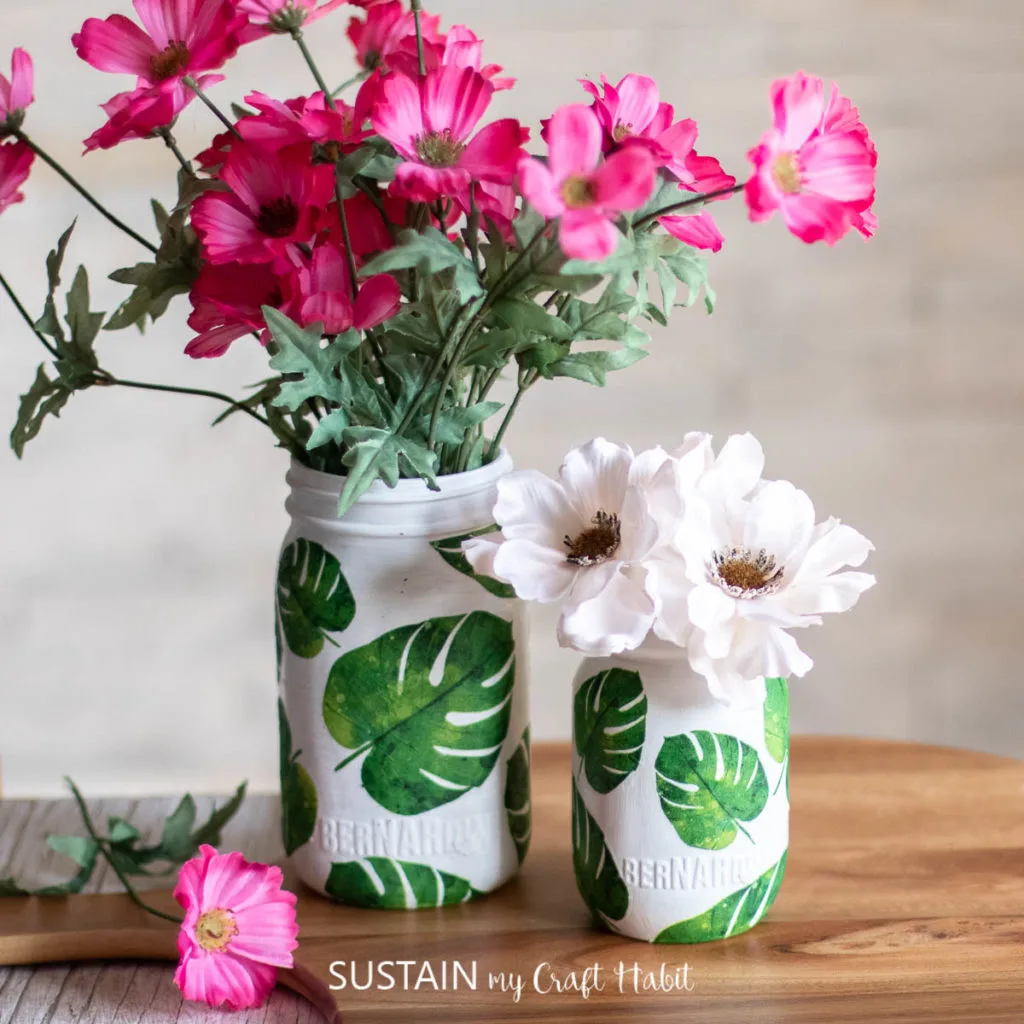
- Best way to Decoupage onto Glass Jars
- How to Decoupage on Plastic

Embracing the Art of Decoupage
Decoupaging clay pots is more than just a craft—it’s a journey of creativity and self-expression. As you become more comfortable with the techniques, you’ll find yourself seeing potential in every clay pot you encounter. So gather your supplies, let your imagination soar, and start transforming those simple clay pots into stunning pieces of art that reflect your unique style and vision.


Stay in the know on our latest crafts, special offers and freebies by joining our mailing list.
Like it? Pin it for later!

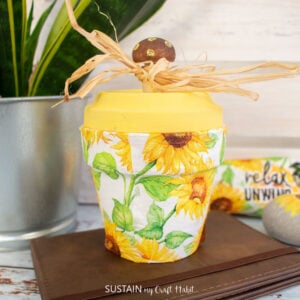

How to Decoupage Clay Pots
Materials
- Clay pot with saucer
- Decorative paper napkins sunflowers
- Paint in white, yellow, brown
- Paintbrushes
- Decoupage or Mod Podge
- Raffia ribbon
- Unfinished wood mushroom or wood bead
Instructions
- Paint the outside of the clay pot with white paint and let dry.
- Next, apply a coat of decoupage glue around the clay pot.
- Separate the two plies of napkin using just the top layer. Place the napkin around the pot and gently press down with your fingers. You may need to cut a slit in the napkin so that it can go around the curved pot.
- Place a piece of parchment paper over top of the napkin and take your heated iron and gently rub back and forth. This will smooth out the napkin. Remove any excess napkin from the pot.
- Next, paint the clay pot saucer with yellow paint and the unfinished wood mushroom or wood bead brown. Let dry.
- Glue the bead onto the saucer to form a little handle.
- Wrap raffia ribbon around the bead and you’re done!