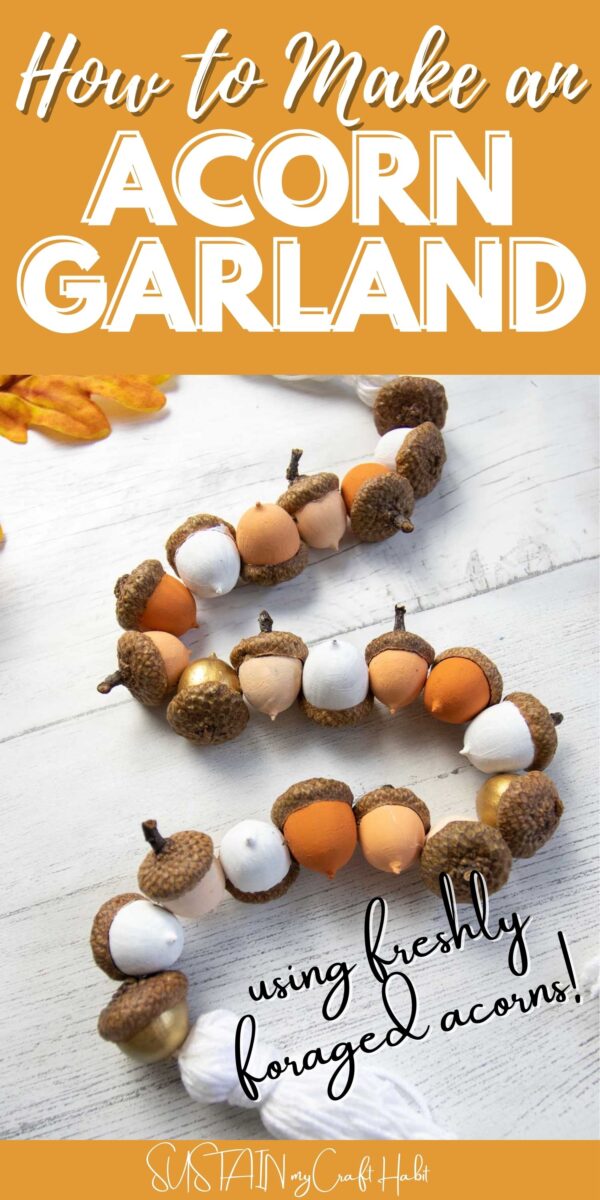
How to Make an Acorn Garland
It’s the perfect time of year to get outside and start foraging those acorns to create your beautiful, nature-made acorn garland for Fall. Add it to your seasonal decor, fireplace mantel or centerpiece to enjoy.
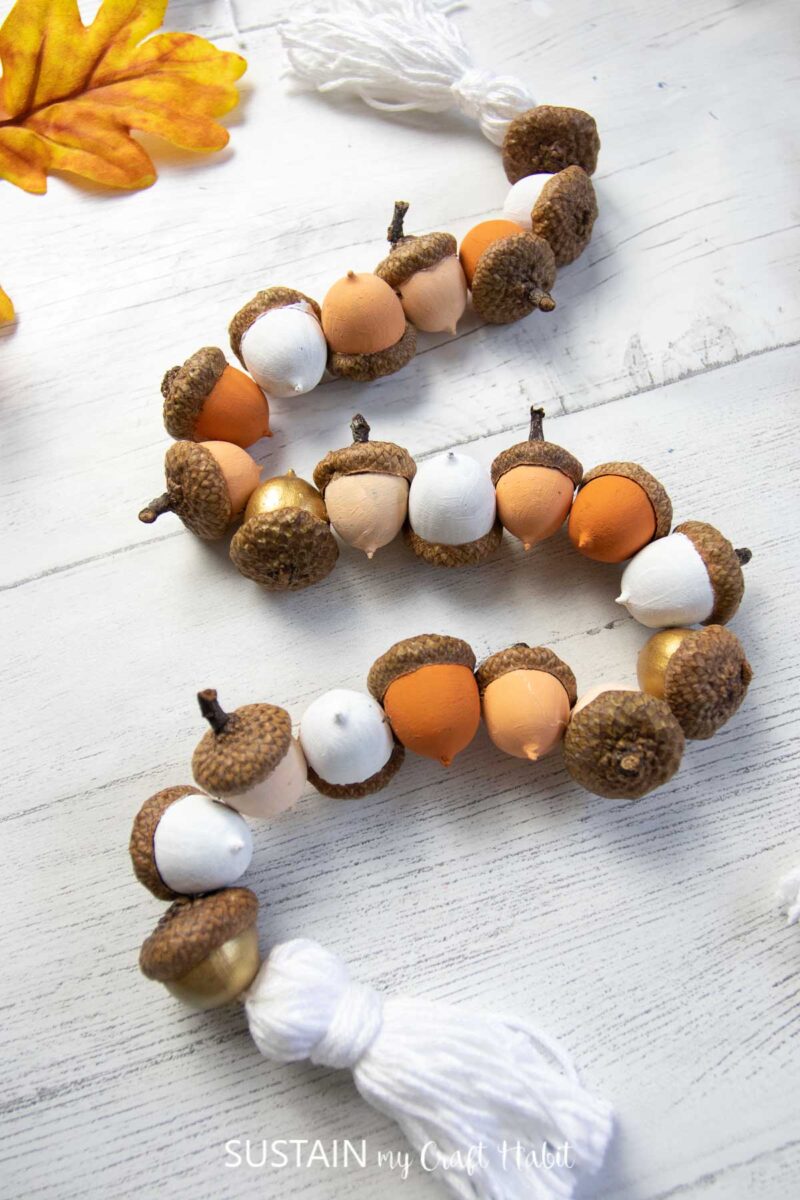
Making an Garland from Freshly Foraged Acorns
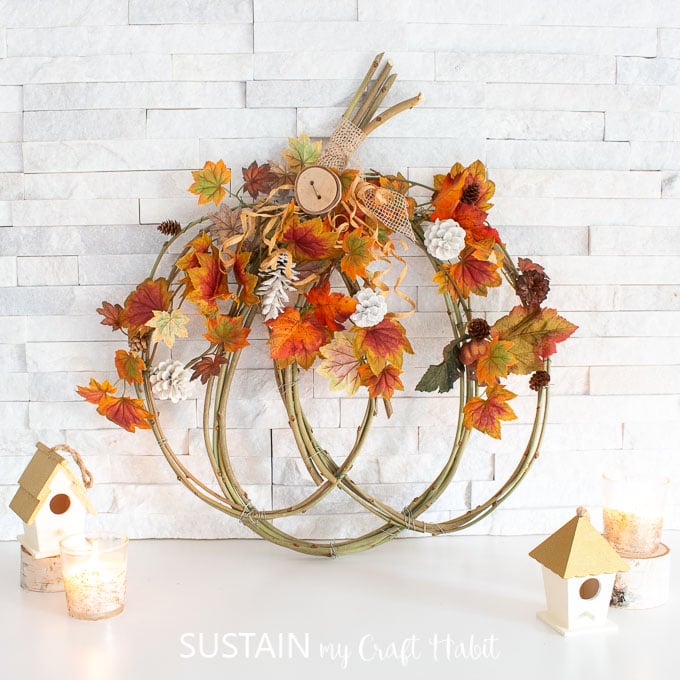
We were inspired to make this craft as part of a series of FaceBook Live videos all about decorating my rustic 3-tier wood tray for Fall. You can check out those videos to see how we put it all together with plenty of fun, Autumn-themed DIYs and crafts.
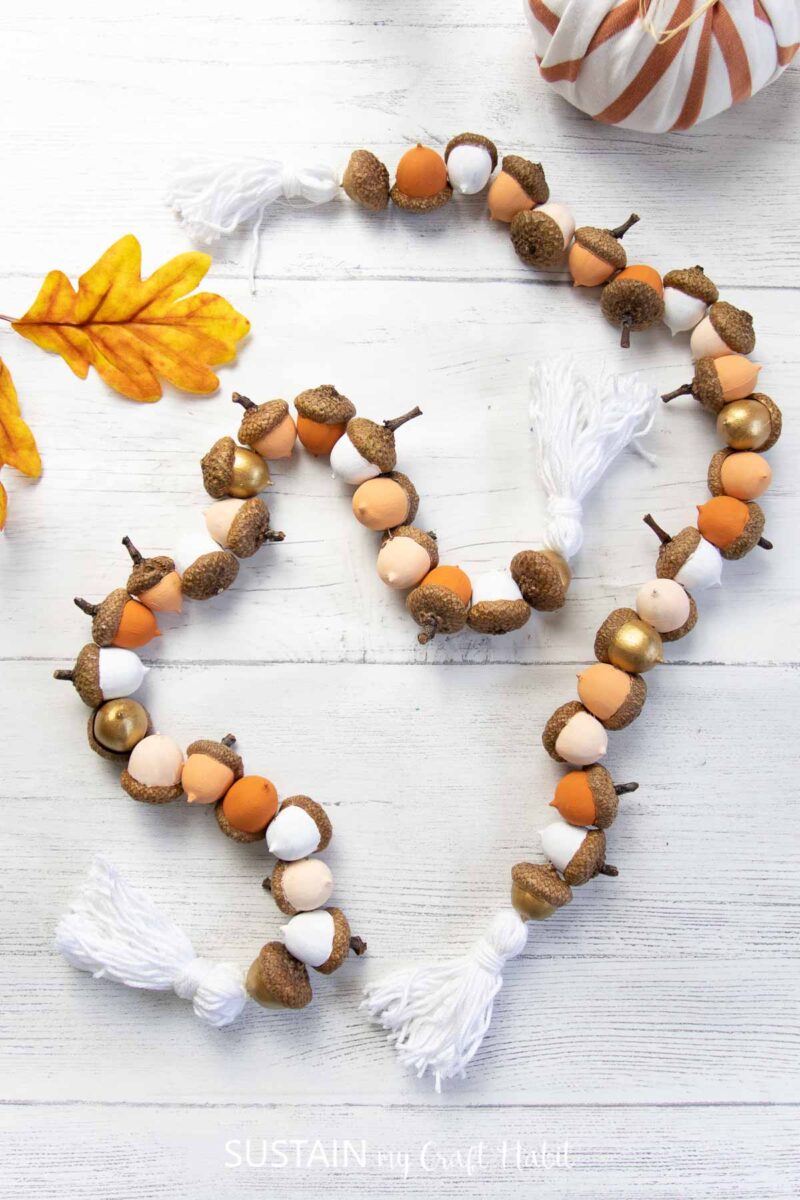
It’s similar to an Easter-themed 3-tiered tray centerpiece we made in the Spring and shared on our YouTube channel. Although it’s fun to just simpy craft, I love being able to use our creations to decorate my home and the space around me. I guess it’s a sort of ‘crafting with purpose’ mantra.

Preparing Acorns fo Crafting
I have a good sized oak tree growing in my front lawn and each Fall it produces large, healthy acorns in abundance. We can’t pass up this gift from nature but before we start crafting, we’ll need to prepare the acorns. Otherwise, they could turn moldy and rot over time, which trust me isn’t so pleasant.
To start, wash the foraged acorns in a bowl of water to clean them. Then place them on a aluminum foil lined baking sheet and bake them in an oven on low heat (220F) for 30-60 minutes. Check out the video on how to clean acorns for crafting here:

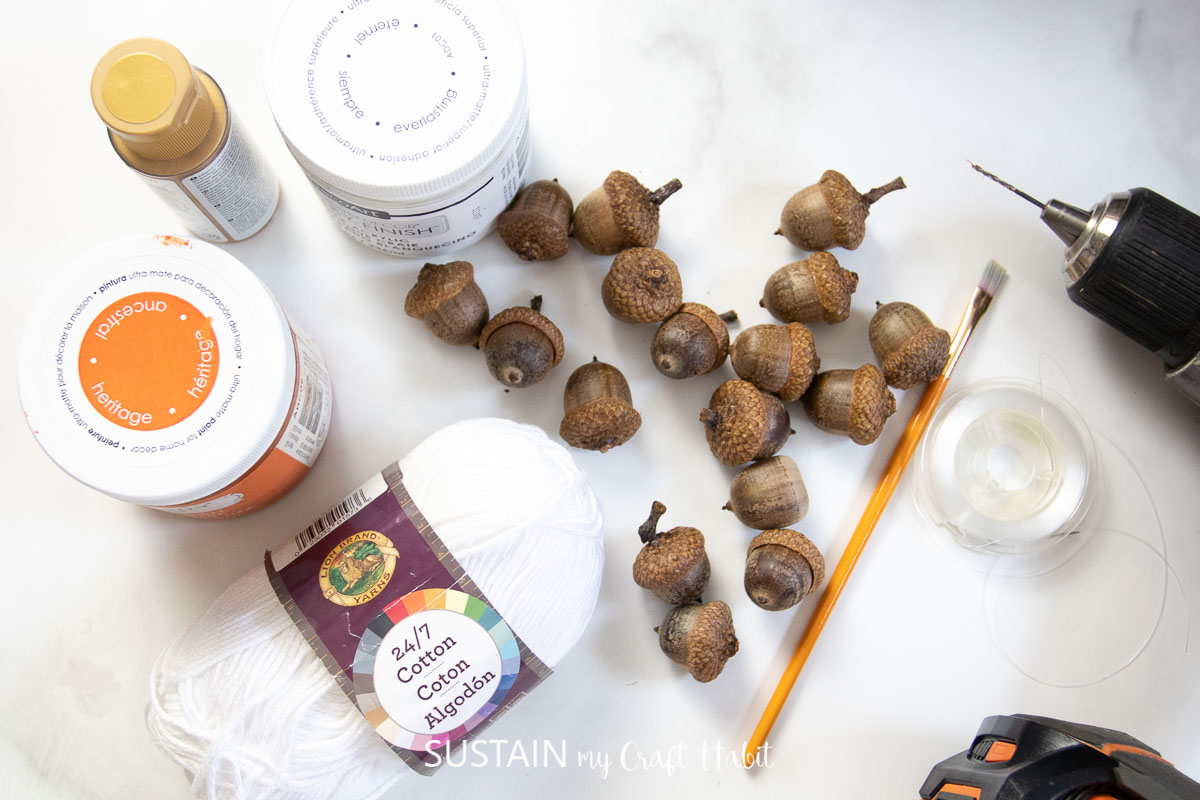
Materials Needed to Make an Acorn Garland:
Disclosure: This post contains affiliate links for your shopping convenience. Should you choose to purchase through them, we will make a small commission at no extra cost to you. You can read our full disclosure here.
- Acorns
- Drill with small drill bit
- Fishing line with sewing needle
- Scissors
- DecoArt Chalky Finish paint in Heritage and Everlasting
- Paintbrush
- Tassel (buy or make your own with this tutorial)
How to Make an Acorn Garland:
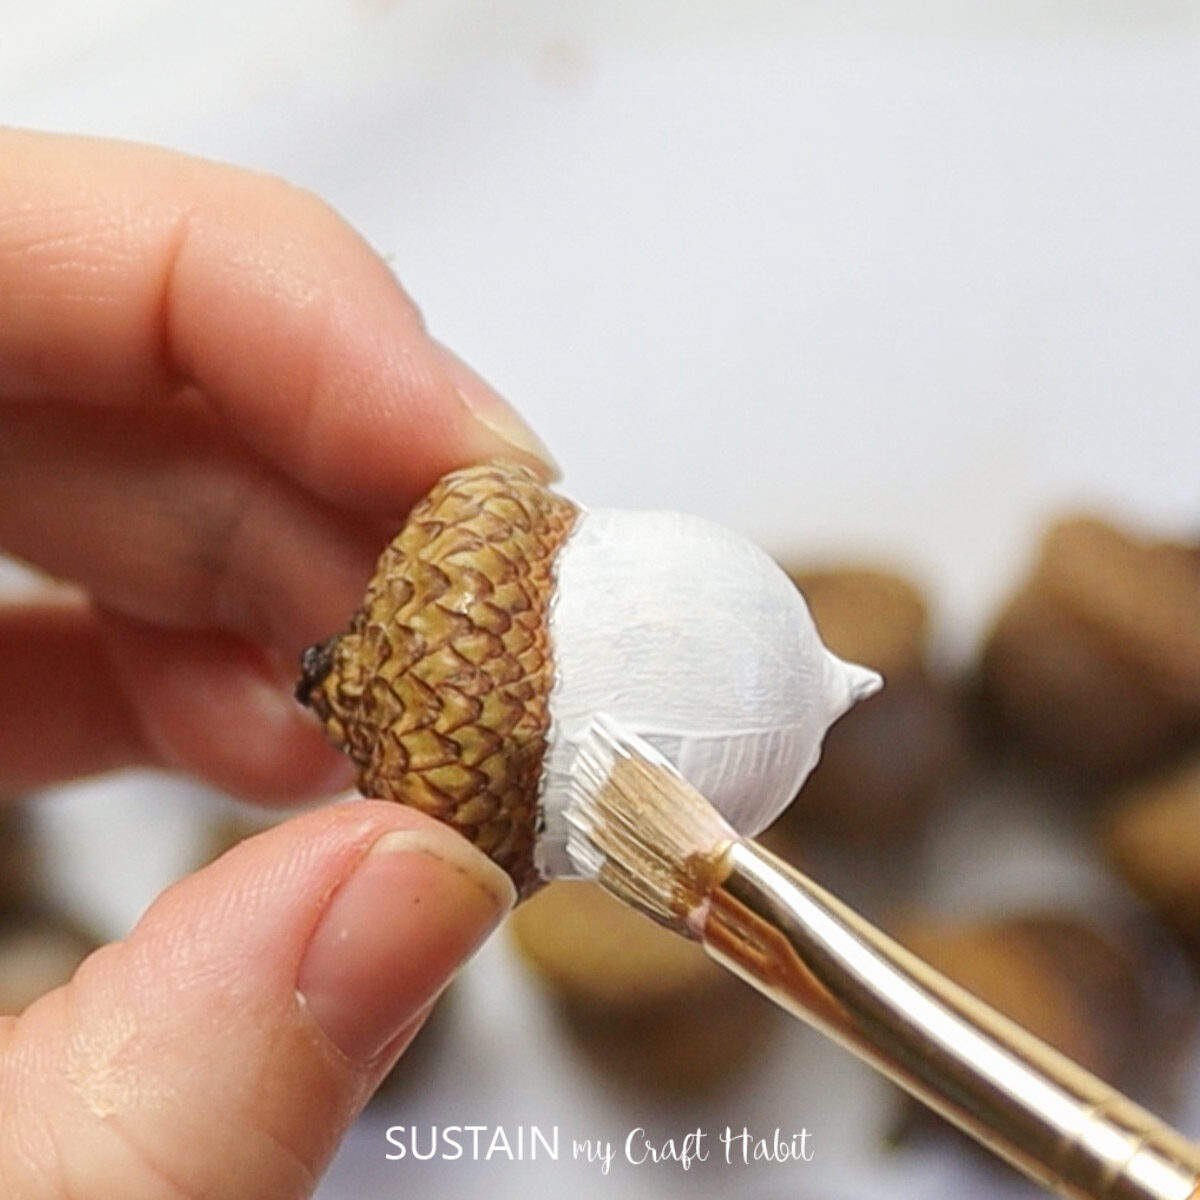
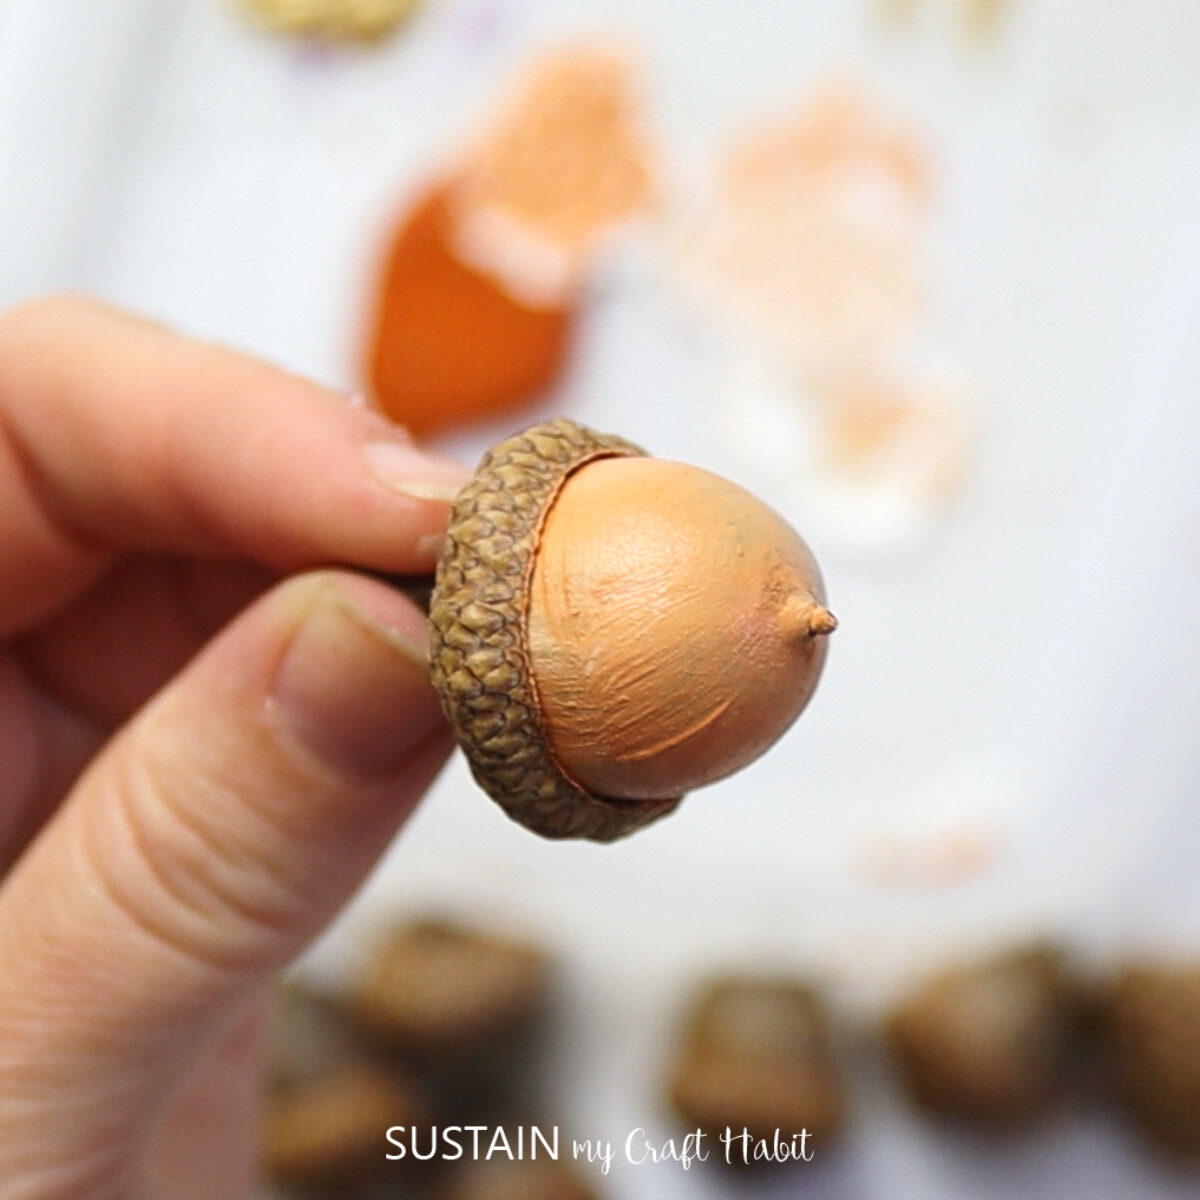
If you wish to give them some color as we did using Chalky Finish paint, mix equal parts Heritage with Everlasting to prepare light orange paint color.
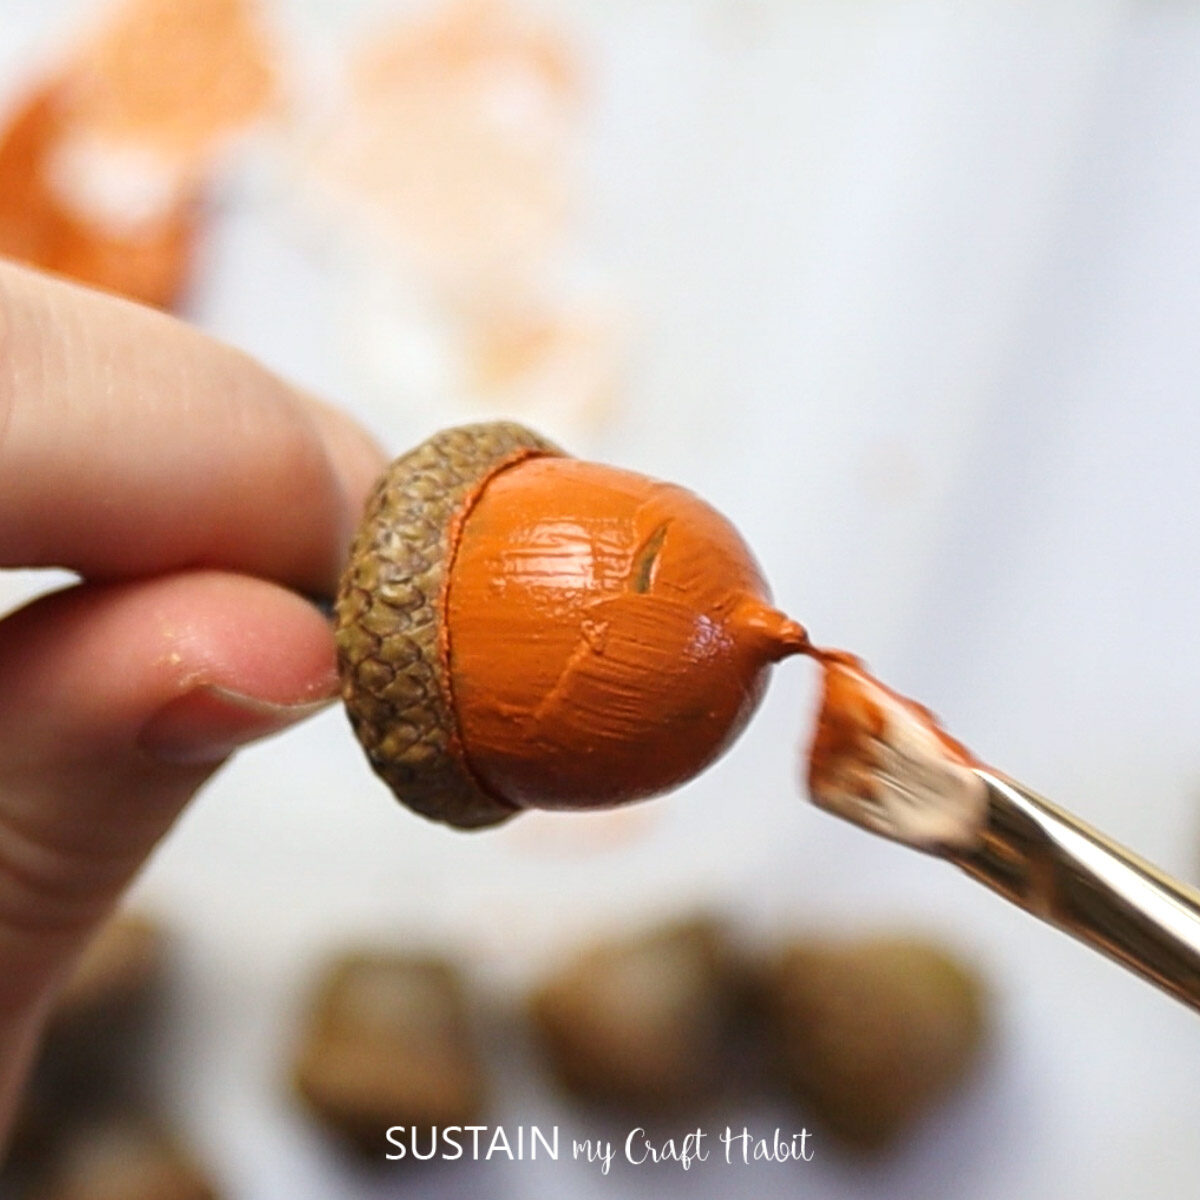
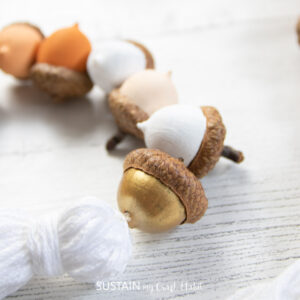
Using a paintbrush, paint the lower part of each acorn (not the cap) in a mix of Heritage, Everlasting and the lighter orange paint color.
Place them on a non-stick surface such as parchment paper and leave them to dry.
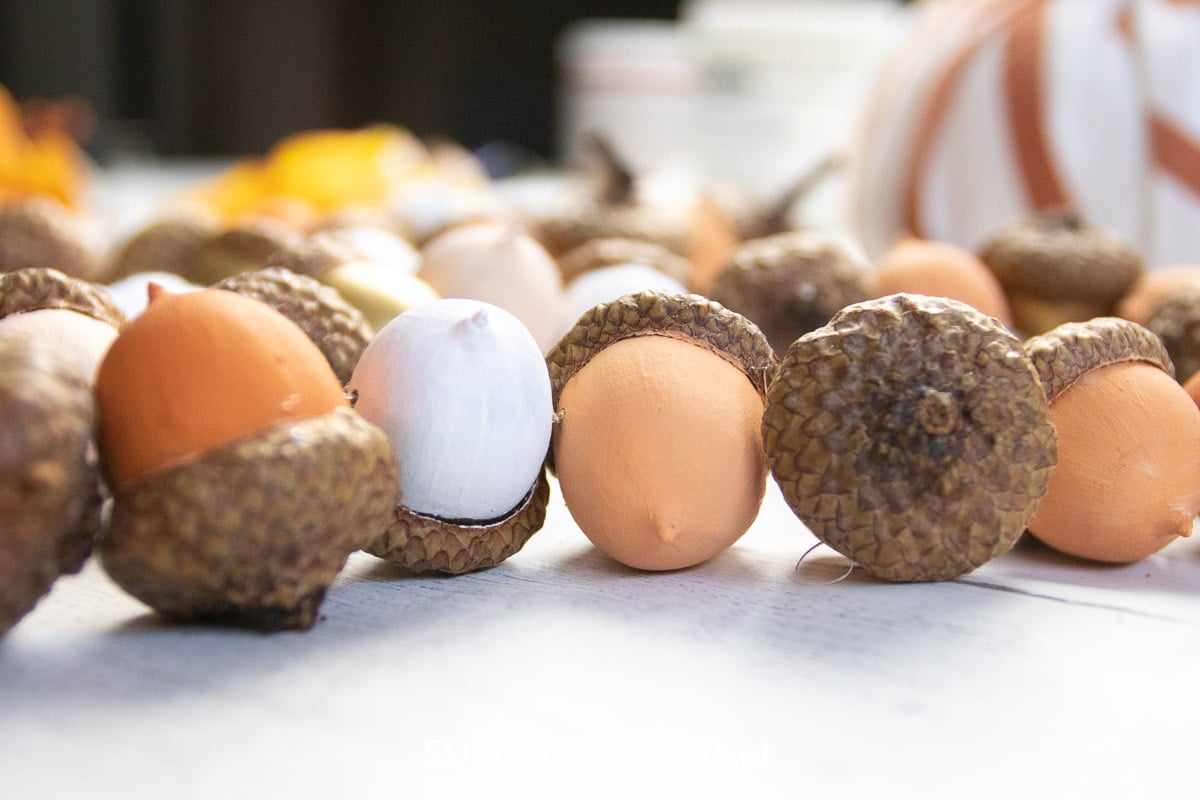
Add extra coats of paint for more coverage as needed. And if the caps fall off the acorns at any point, simply glue them back on with wood glue or a hot glue gun.
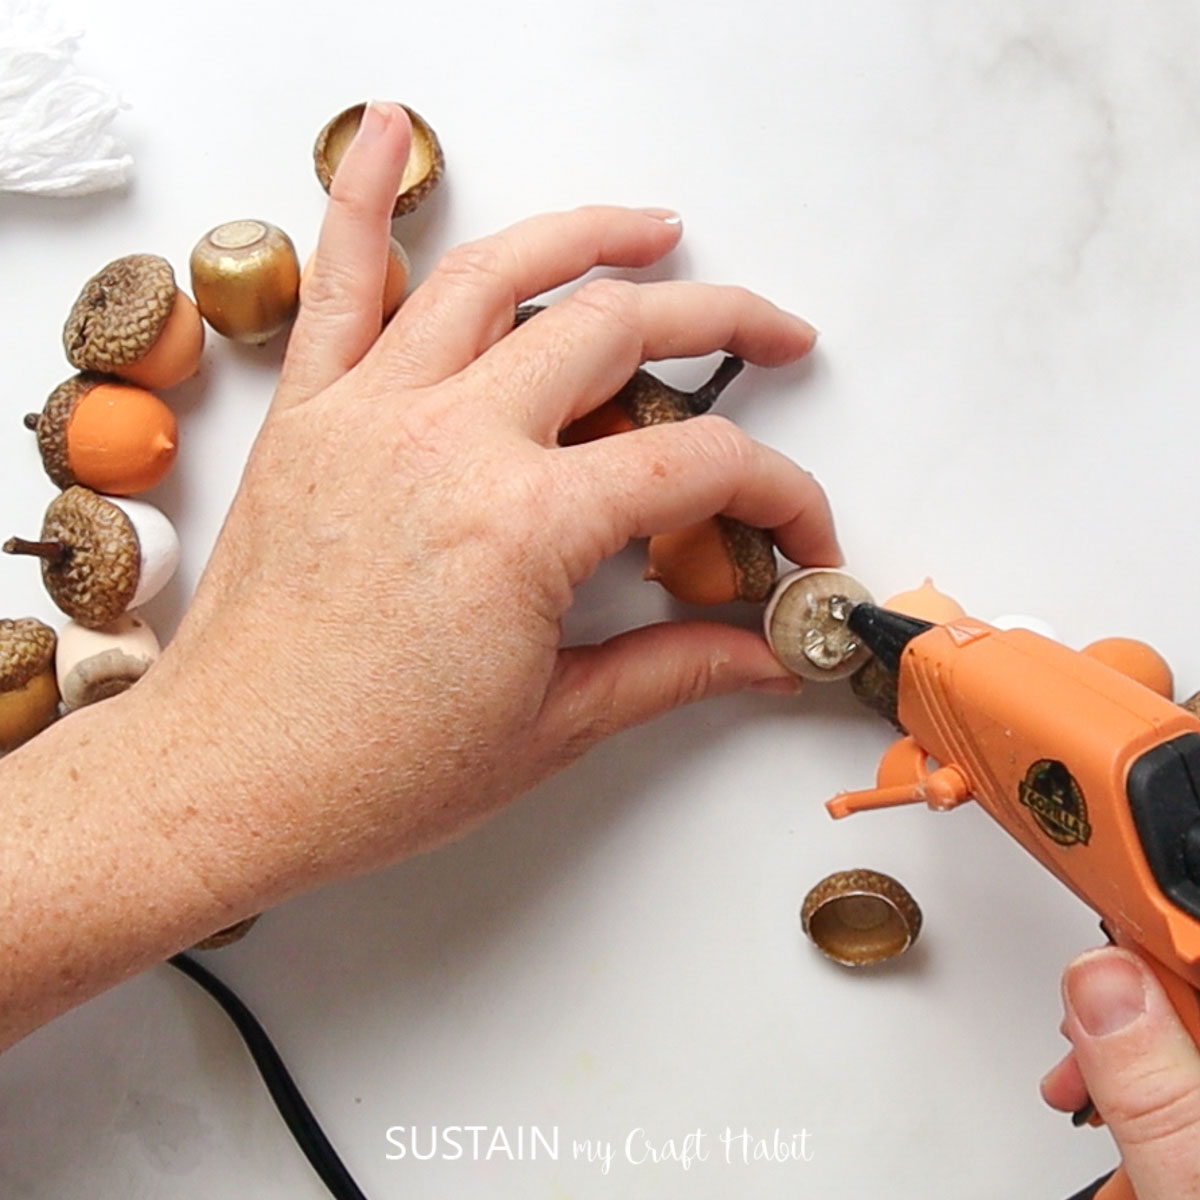
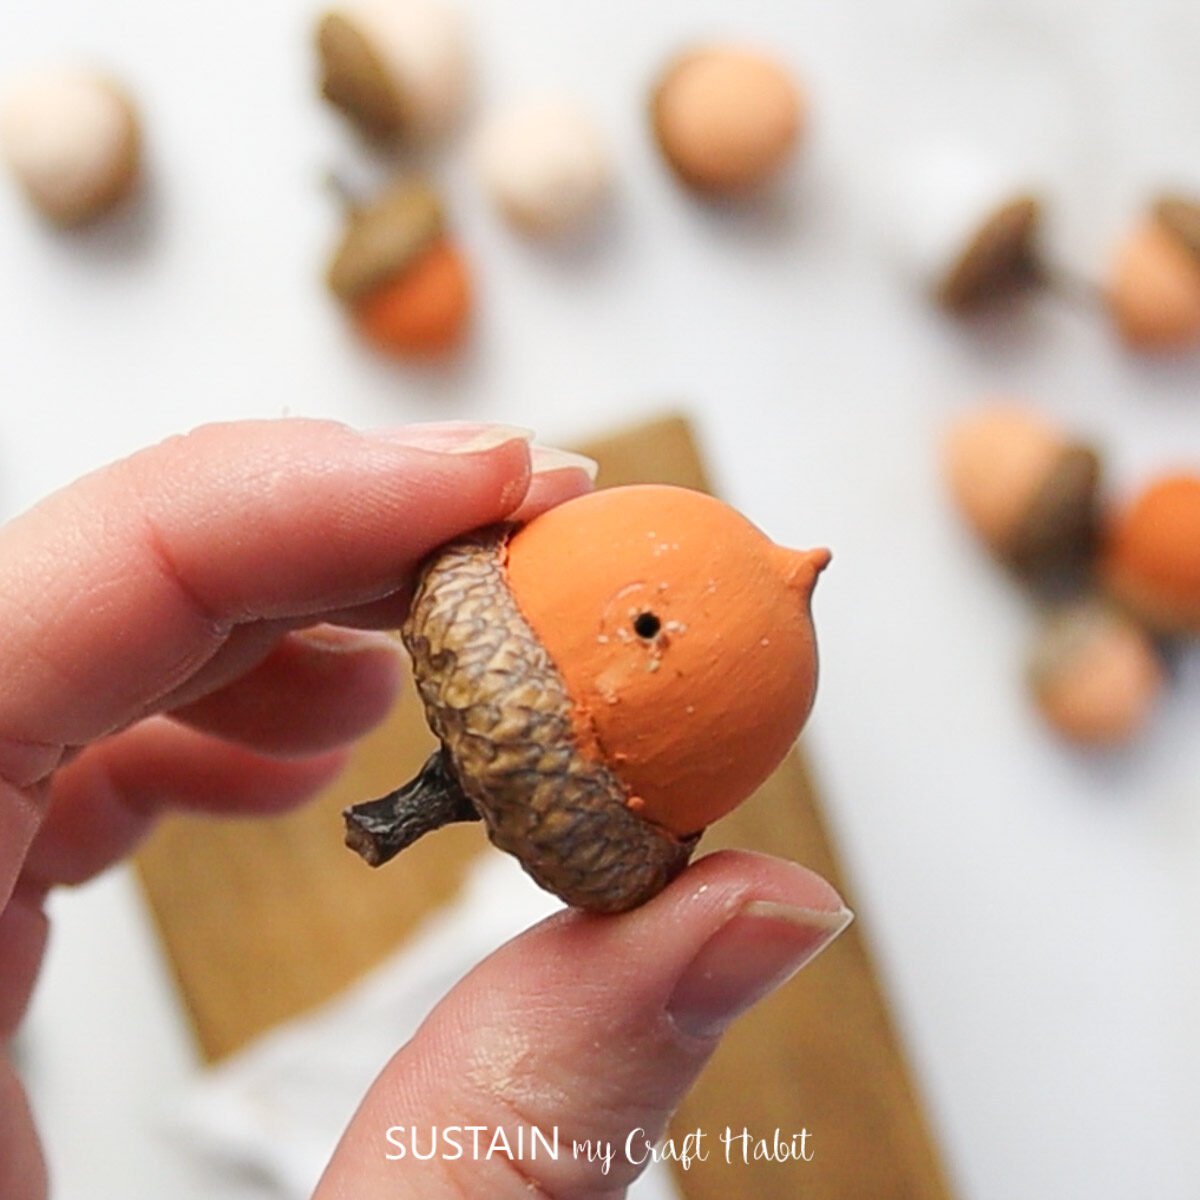
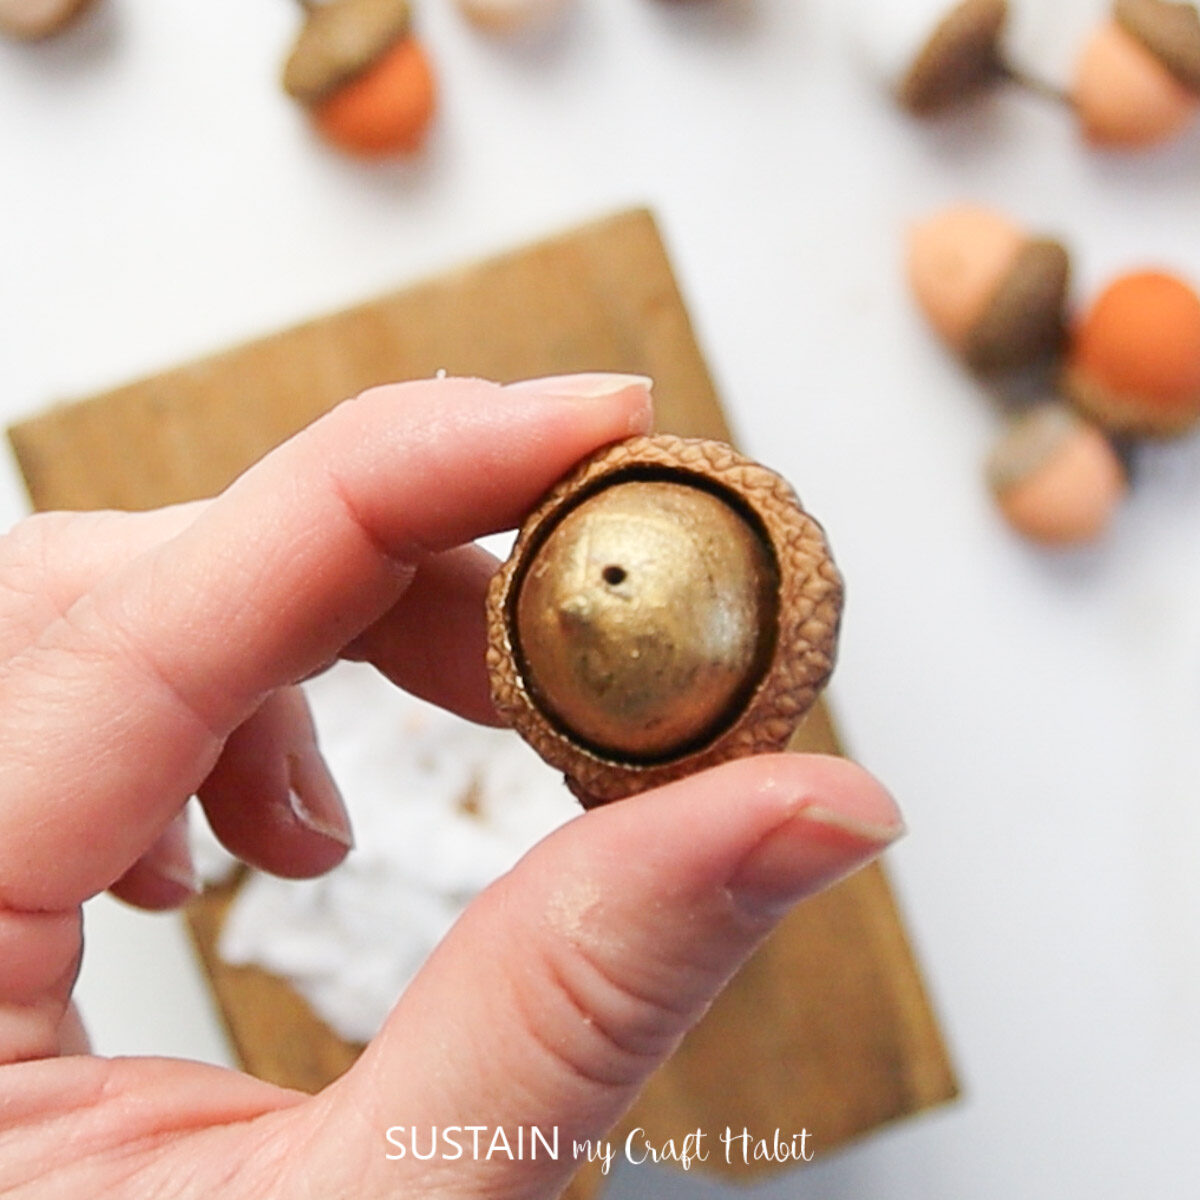
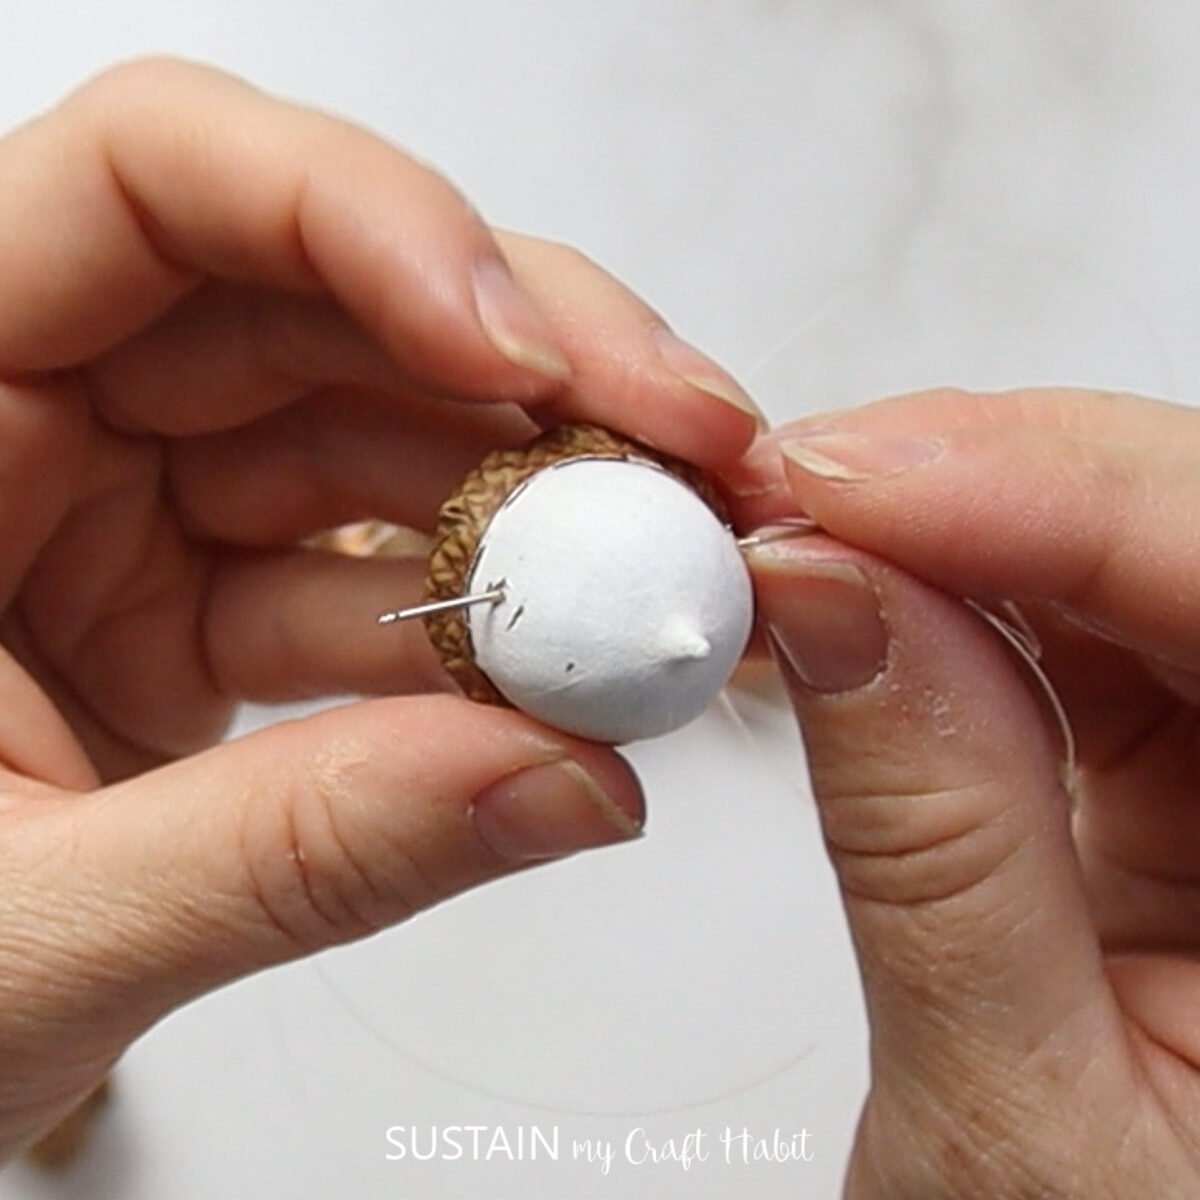
Once dry, use a drill with a small drill bit to make small holes through the acorn. Hold the acorn carefully to avoid injury with the drill and repeat this step with all the acorns.
Cut a long piece of fishing line and thread it through the eye of the needle. Begin threading the fishing line through the acorns in a random or repeating pattern.
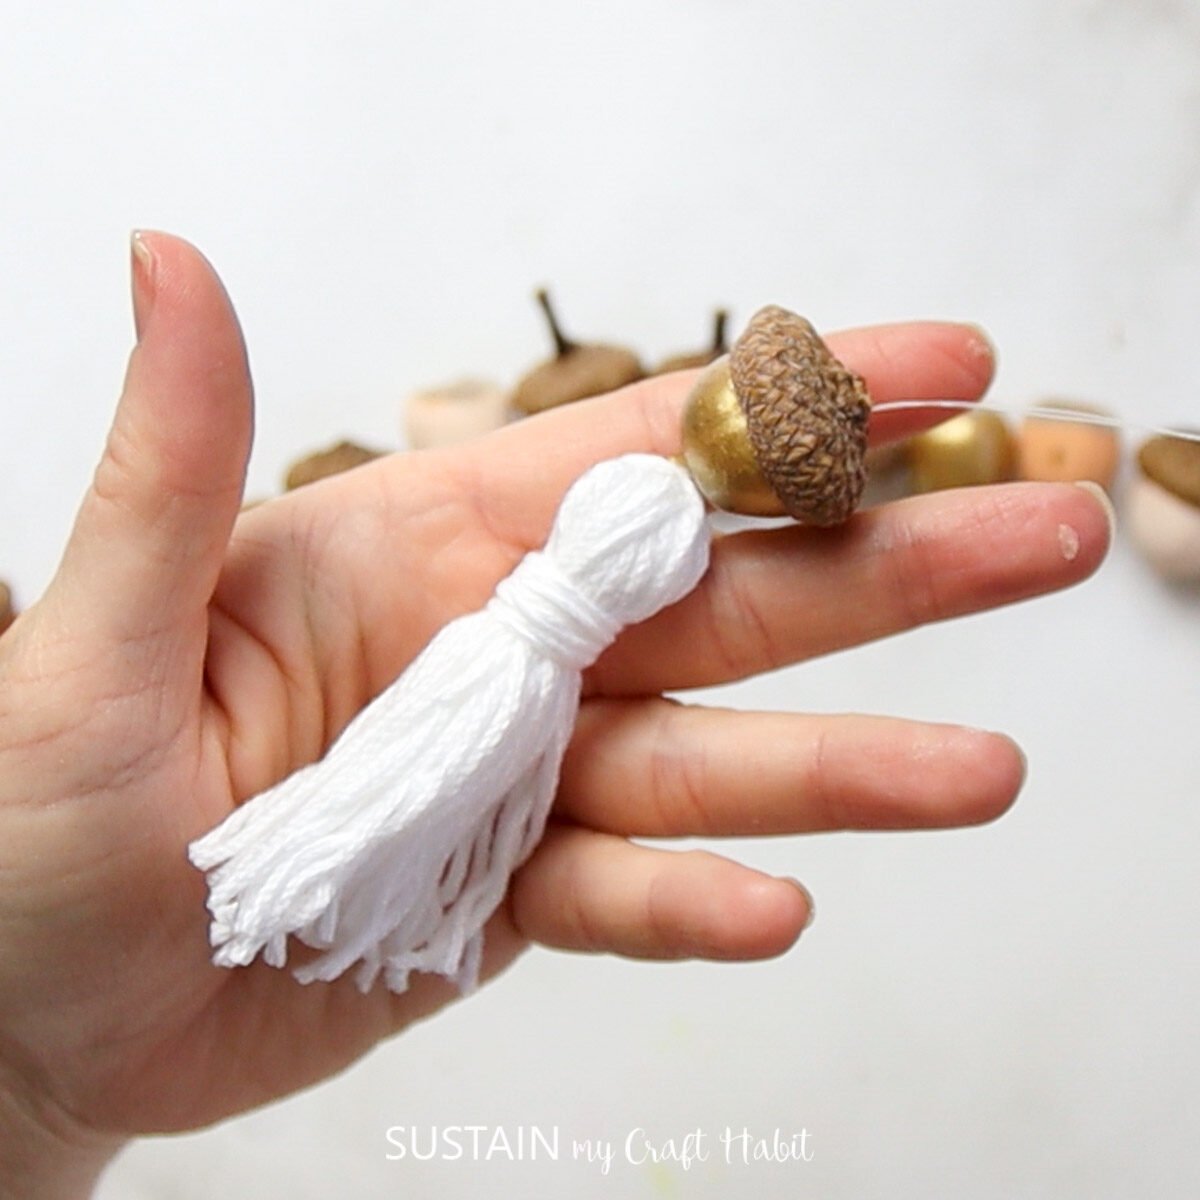
Create a fun tassel using our how to make tassel tutorial and attach it to the end of the garland.
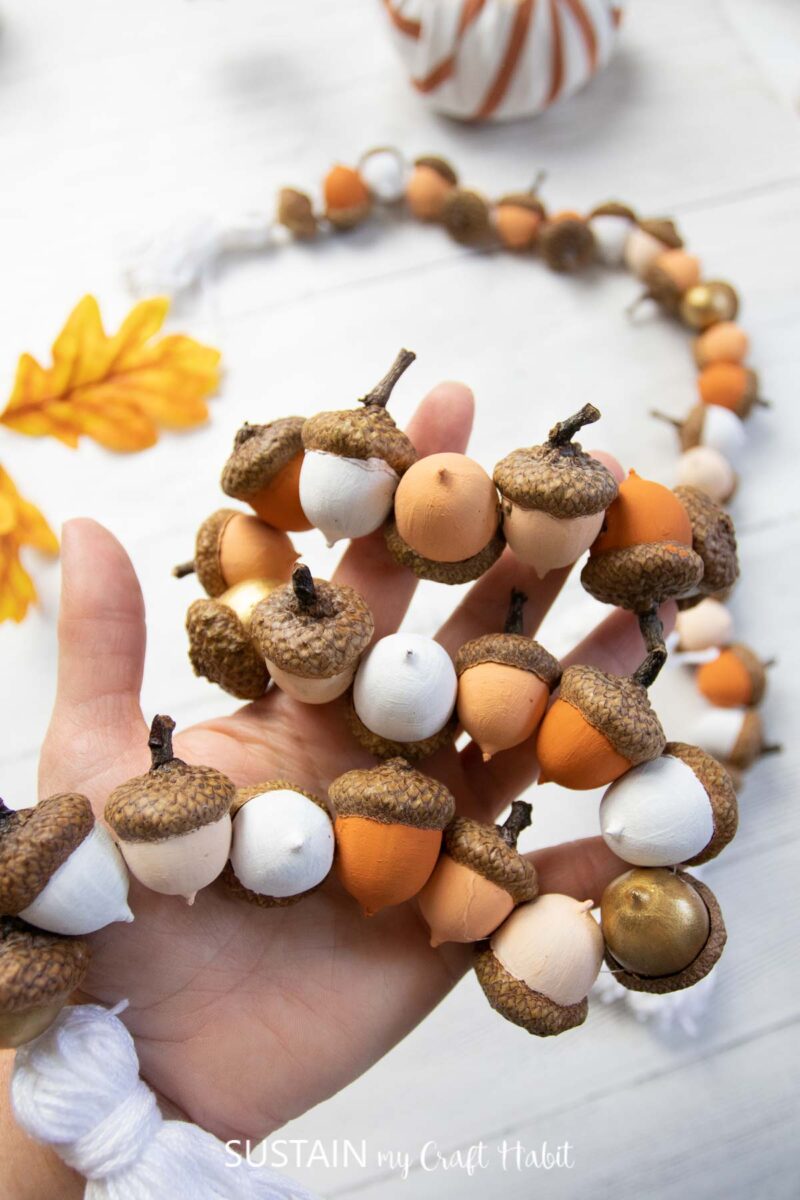
Use your acorn garland (or acorn strung beads) as part of your budget friendly porch decor, fireplace mantel or as part of a woodland inspired Thanksgiving tablescape.
More DIY Fall Decor Ideas Using Materials From Nature
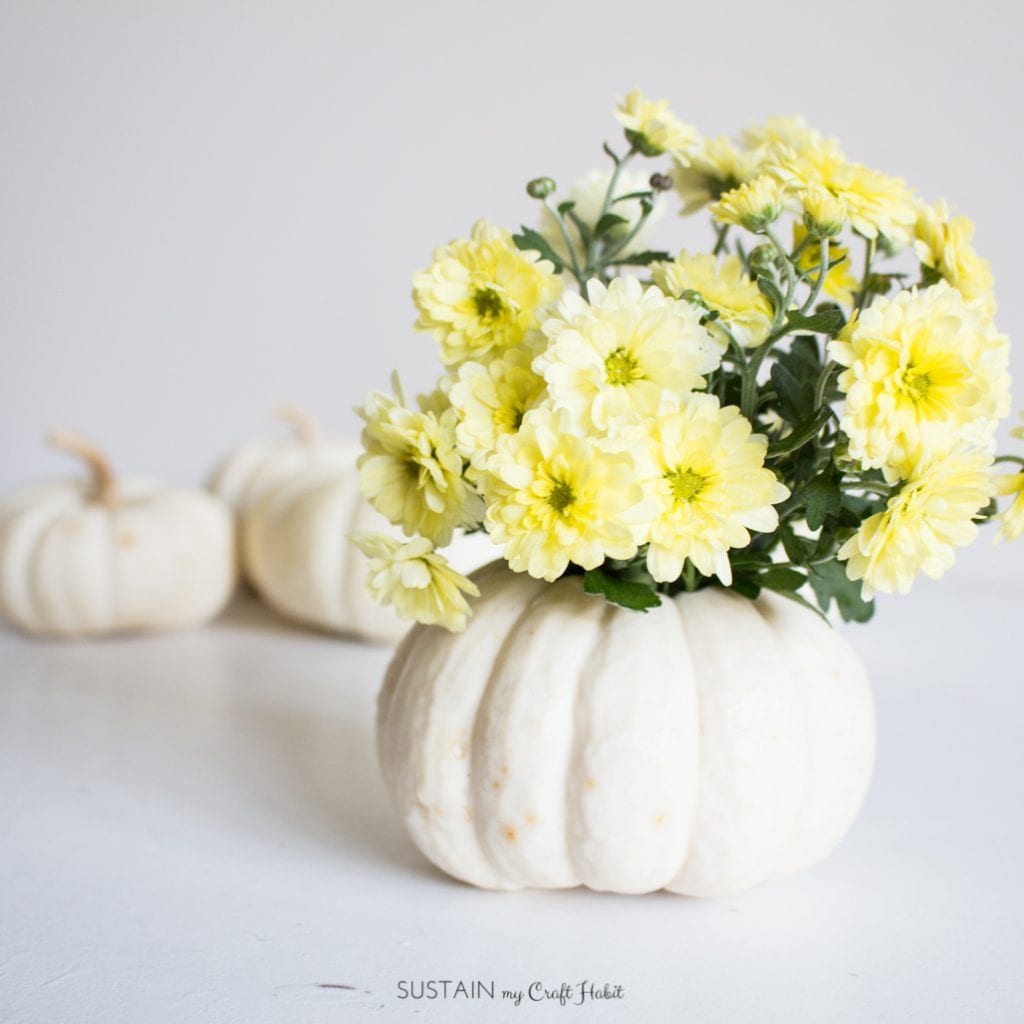
- Mini pumpkin floral vase
- Gold leaf painted pumpkin
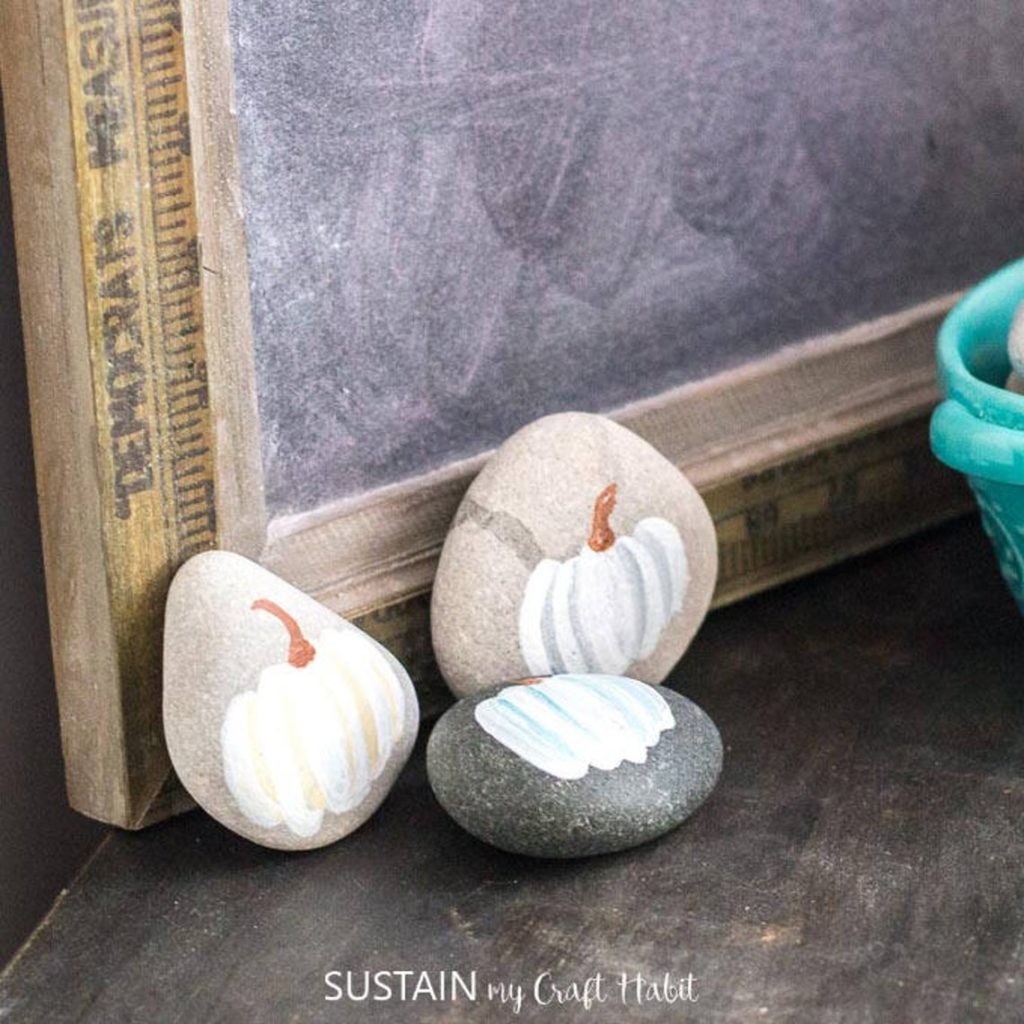
- Painted rock pumpkins
- Reversible wood slice sign
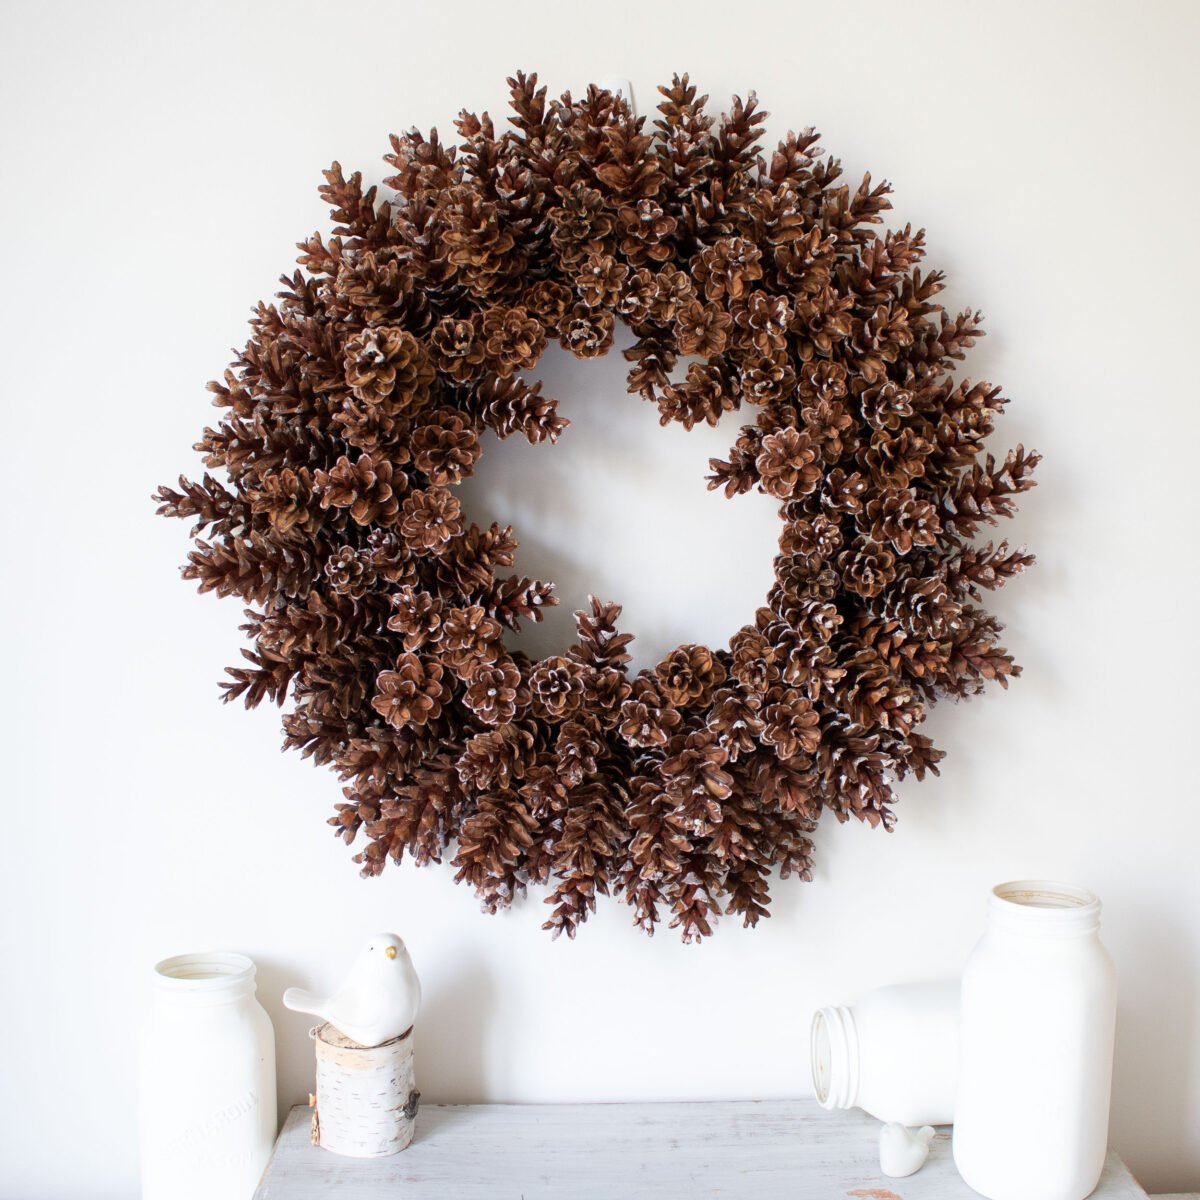
- Pinecone wreath
- Mulberry pumpkin wreath
Like it? Pin it for later!
How to Make an Acorn Garland
Materials
- acorns
- drill with small drill bit
- fishing line with sewing needle
- scissors
- DecoArt Chalky Finish paint in Heritage and Everlasting
- paintbrush
- tassel
Instructions
- Mix equal parts Heritage with Everlasting to prepare light orange paint color.
- Using a paintbrush, paint the lower part of each acorn (not the cap) in a mix of Heritage, Everlasting and the lighter orange paint color.
- Add extra coats of paint for more coverage as needed.
- Once dry, use a drill to drill small holes through the acorn just below the cap. Hold the acorn carefully to avoid injury with the drill. Repeat this with all the acorns.
- Cut a long piece of fishing line and thread it through the eye of the needle.
- Begin threading the fishing line through the acorns in a random or repeating pattern.
- Create a fun tassel and attach it to the end of the garland.

