How to Use Rub On Transfers for Crafting
Whether you’re a seasoned crafter or just starting your creative journey, rub on transfers can elevate your projects from homemade to handcrafted in minutes. This guide will introduce you to the wonderful world of rub on transfers, share why they might become your new favorite crafting supply, and inspire you with creative project ideas.
Rub on transfers are one of the most versatile yet underappreciated tools in a crafter’s arsenal. These thin sheets with pre-printed designs allow you to easily transfer beautiful, professional-looking images onto almost any surface with minimal effort and maximum impact.
Why You’ll Fall in Love with Rub On Transfers
Rub on transfers offer a perfect balance of convenience and creativity that’s hard to resist. Unlike stickers that sit on top of surfaces, transfers become part of your project, creating a seamless, professional finish.
They’re incredibly user-friendly – no special equipment or artistic talent required! The variety of designs available is truly impressive, ranging from vintage typography and botanical illustrations to modern patterns and holiday themes. Their versatility is unmatched – they adhere to paper, wood, glass, fabric, metal, and even candles.
Plus, they’re remarkably affordable compared to other crafting supplies, allowing you to experiment freely without breaking the bank. For those who appreciate precision, transfers offer clean lines and detailed images that would be difficult to achieve with painting or stamping techniques.
Project Ideas Using Rub On Transfers
The versatility of rub on transfers makes them perfect for countless creative projects.
- For personalized paper projects, they can elevate greeting cards, scrapbooks, and journals with beautiful typography or delicate illustrations.
- When it comes to home décor, these transfers breathe new life into wooden items, picture frames, glass containers, and ceramic pieces with minimal effort.
- During holidays and special occasions, transfers shine in creating custom ornaments, gift tags, themed decorations, and personalized party favors.
Get updates on the latest posts and more from Sustain My Craft Habit straight to your inbox by joining our weekly newsletter. We promise to send you only the good stuff.
Materials Needed
Disclosure: This post contains affiliate links for your shopping convenience. Should you choose to purchase through them, we will make a small commission at no extra cost to you. You can read our full disclosure policy here.
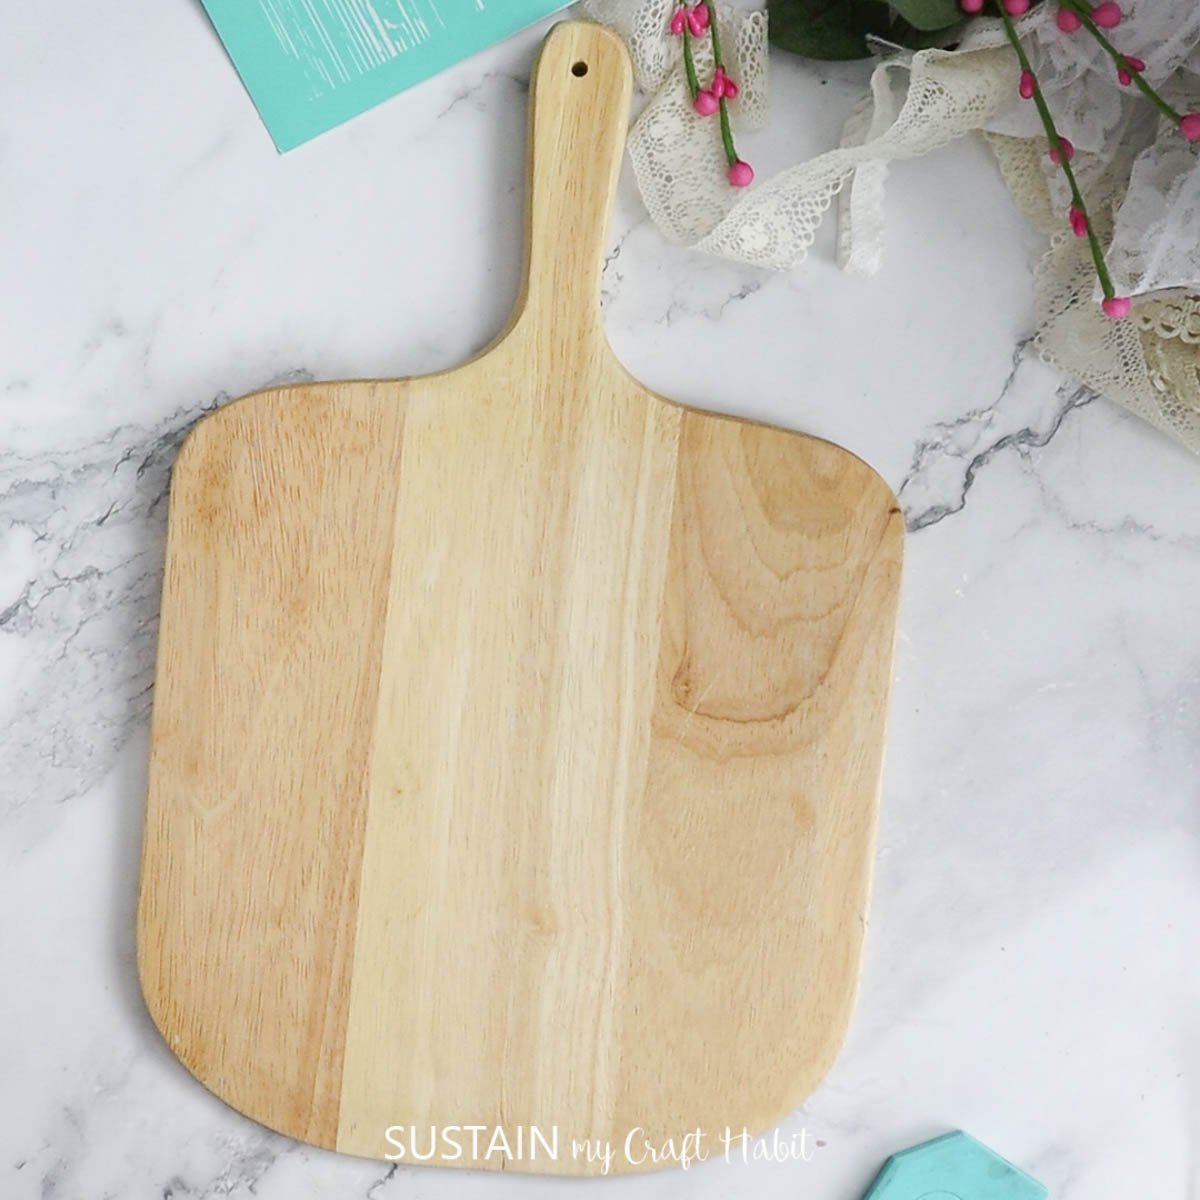
- Cutting Board (we grabbed ours from the Thrift Store)
- Chalk Couture materials
- Rub on transfer sheets (use code SMCH10 for 10% off your order)
White chalky paint Paintbrushes - Faux flowers
- Ribbon
Hot glue gu n
How to Use Rub On Transfers for Crafting
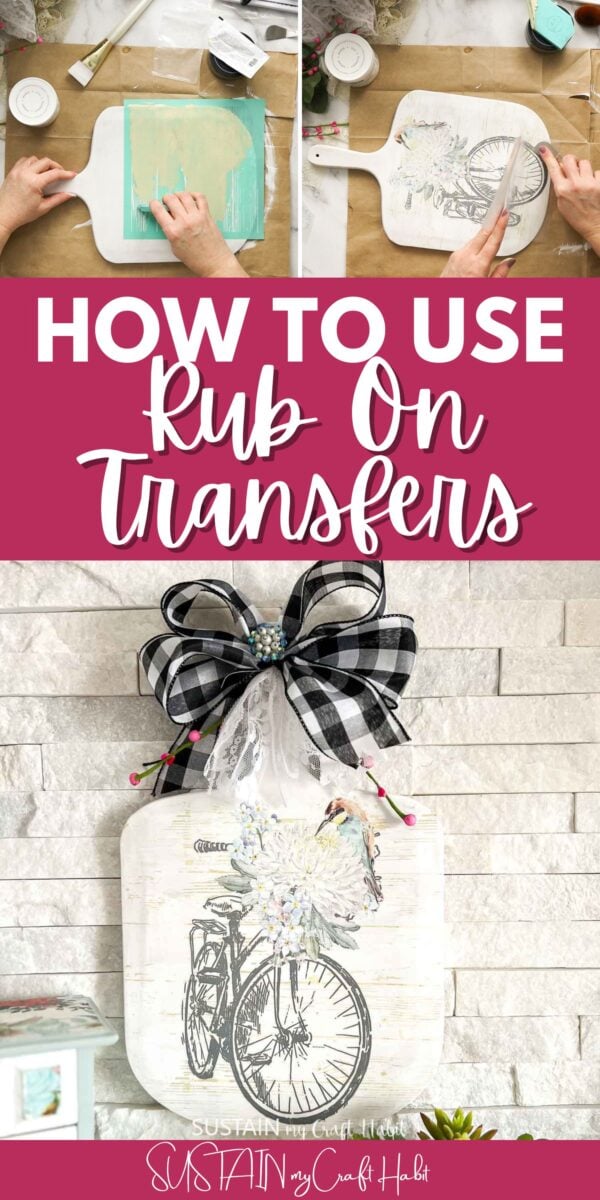
Here is a step-by-step video on how to use rub on transfers on our Facebook page! Or if you prefer the photo tutorial, continue reading below.
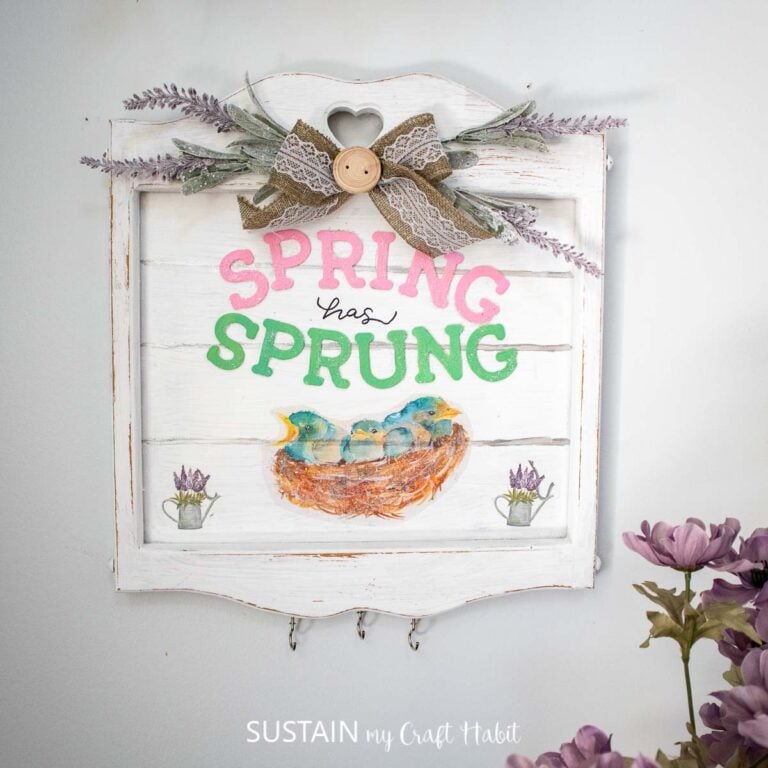
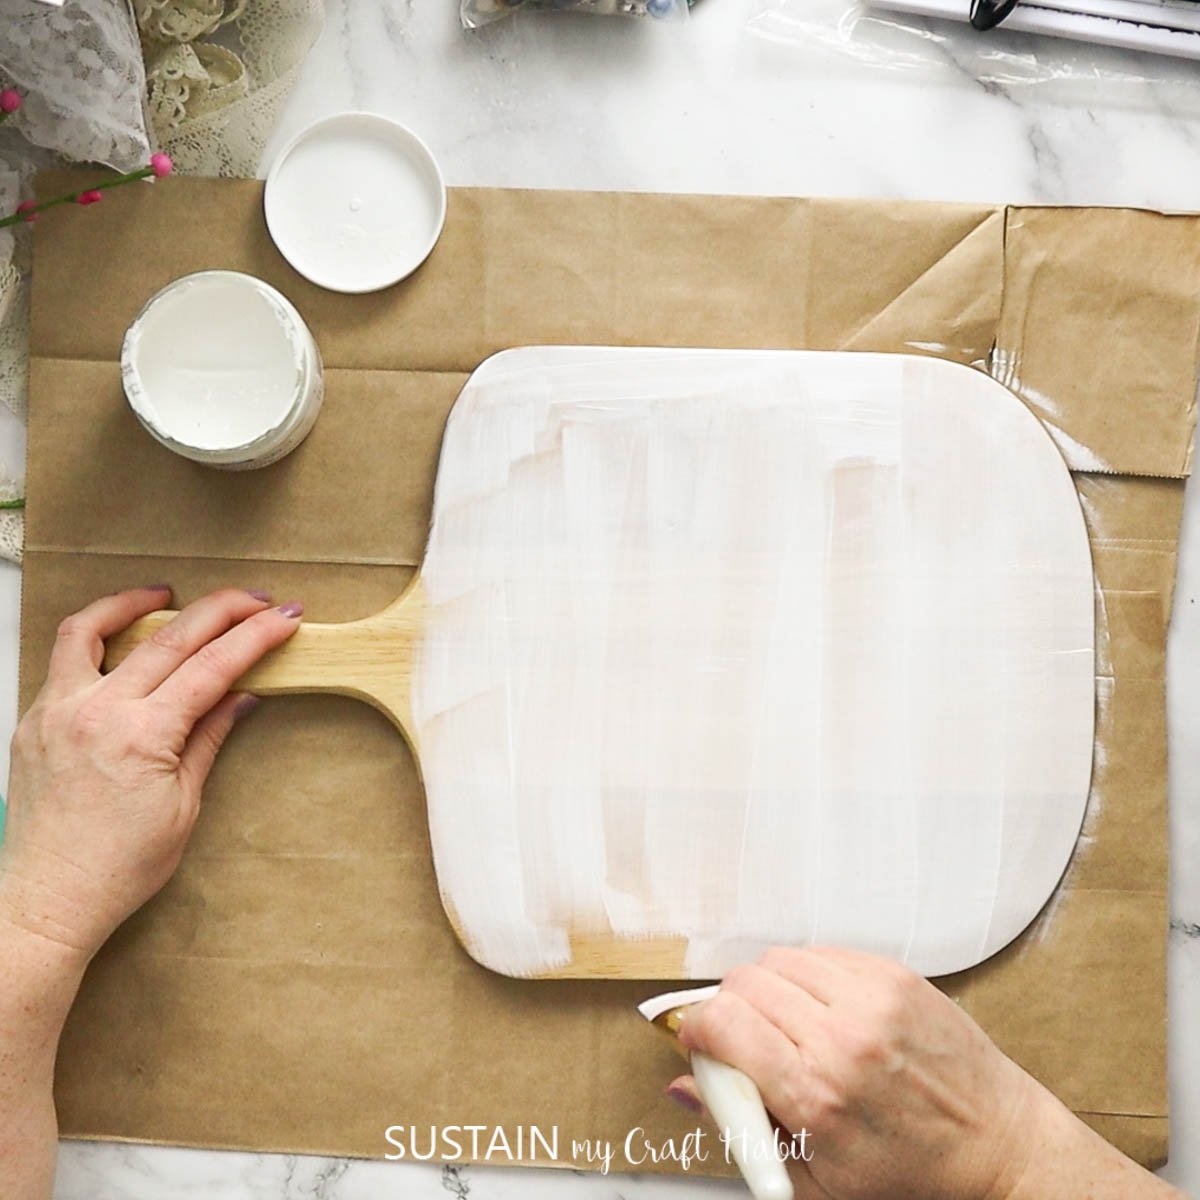
Prepare the cutting board by painting it with white chalky paint. Add a second coat if needed.
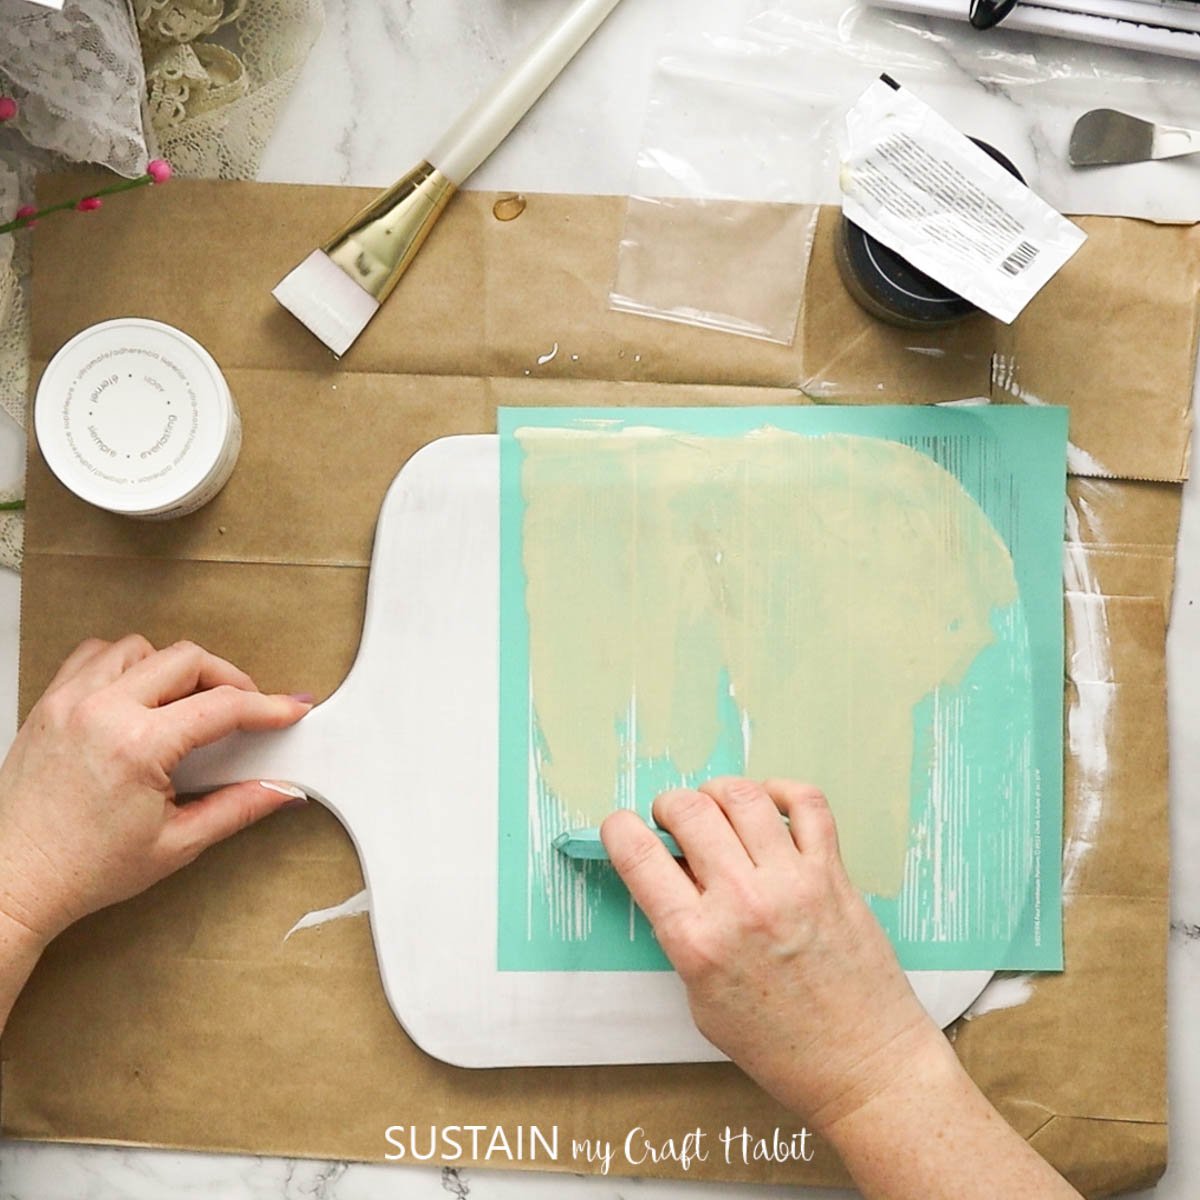
Place the Chalk Couture stencil onto the cutting board, take your paste and spread it over the stencil.
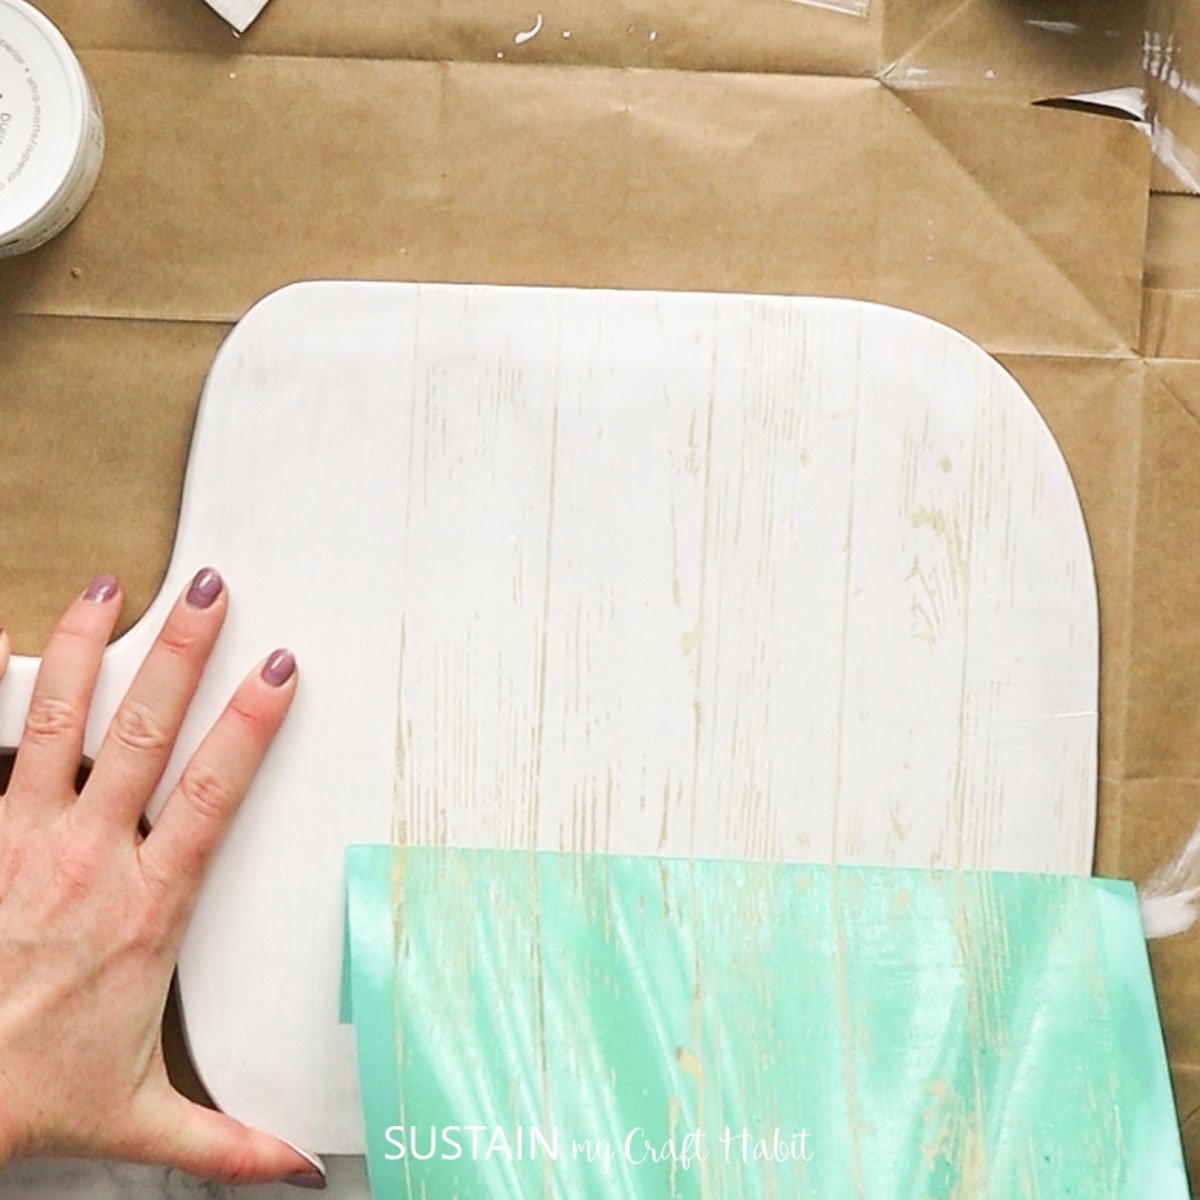
Remove the stencil and let dry.
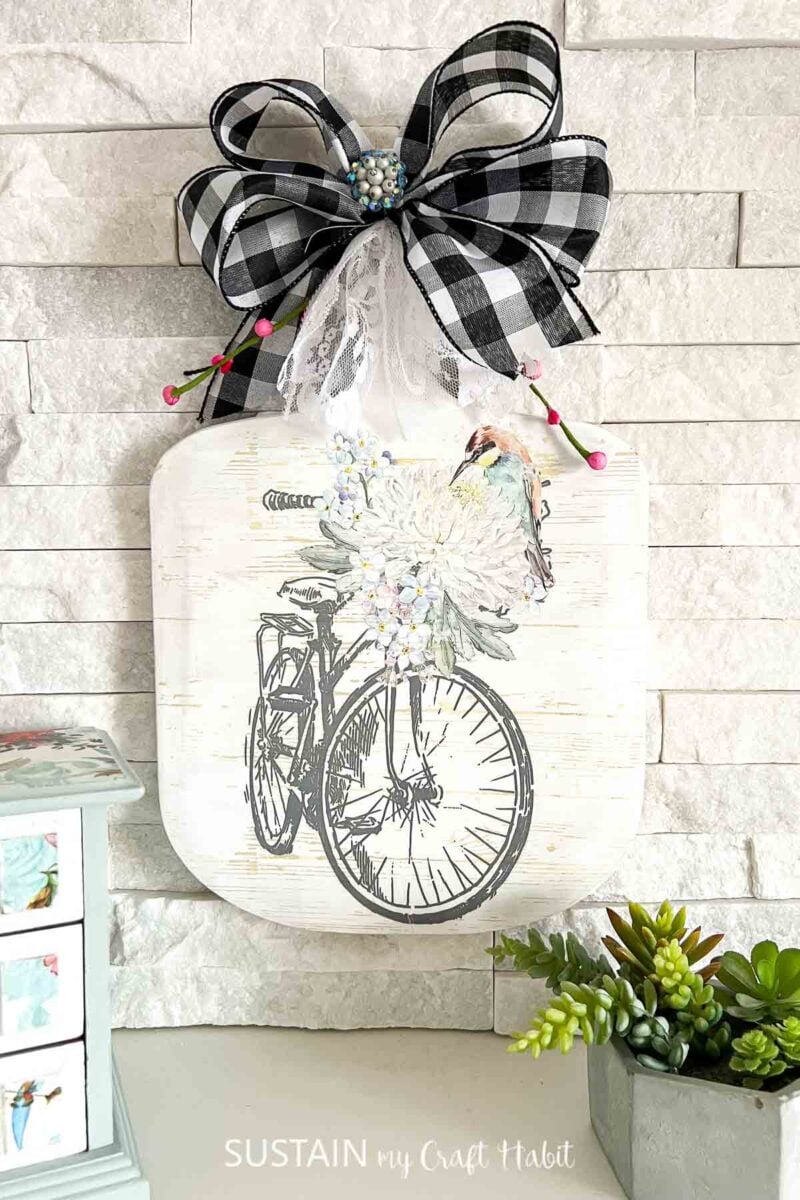
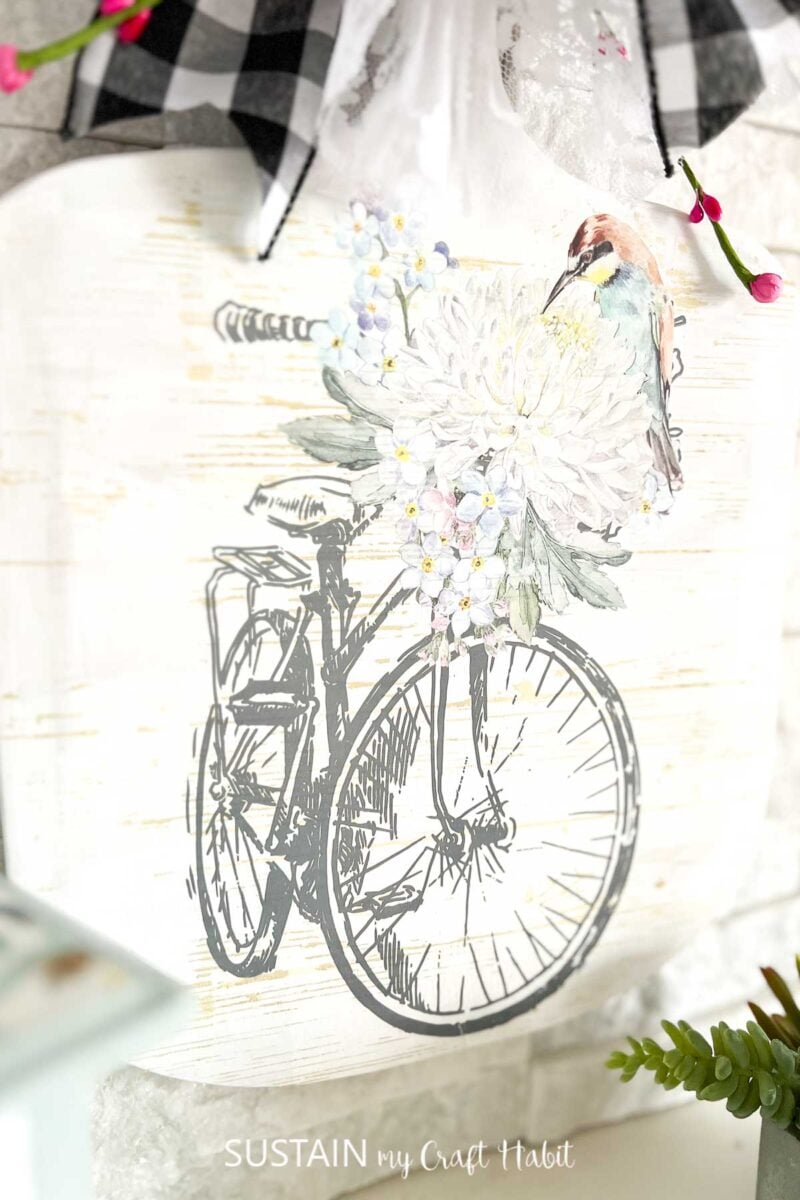
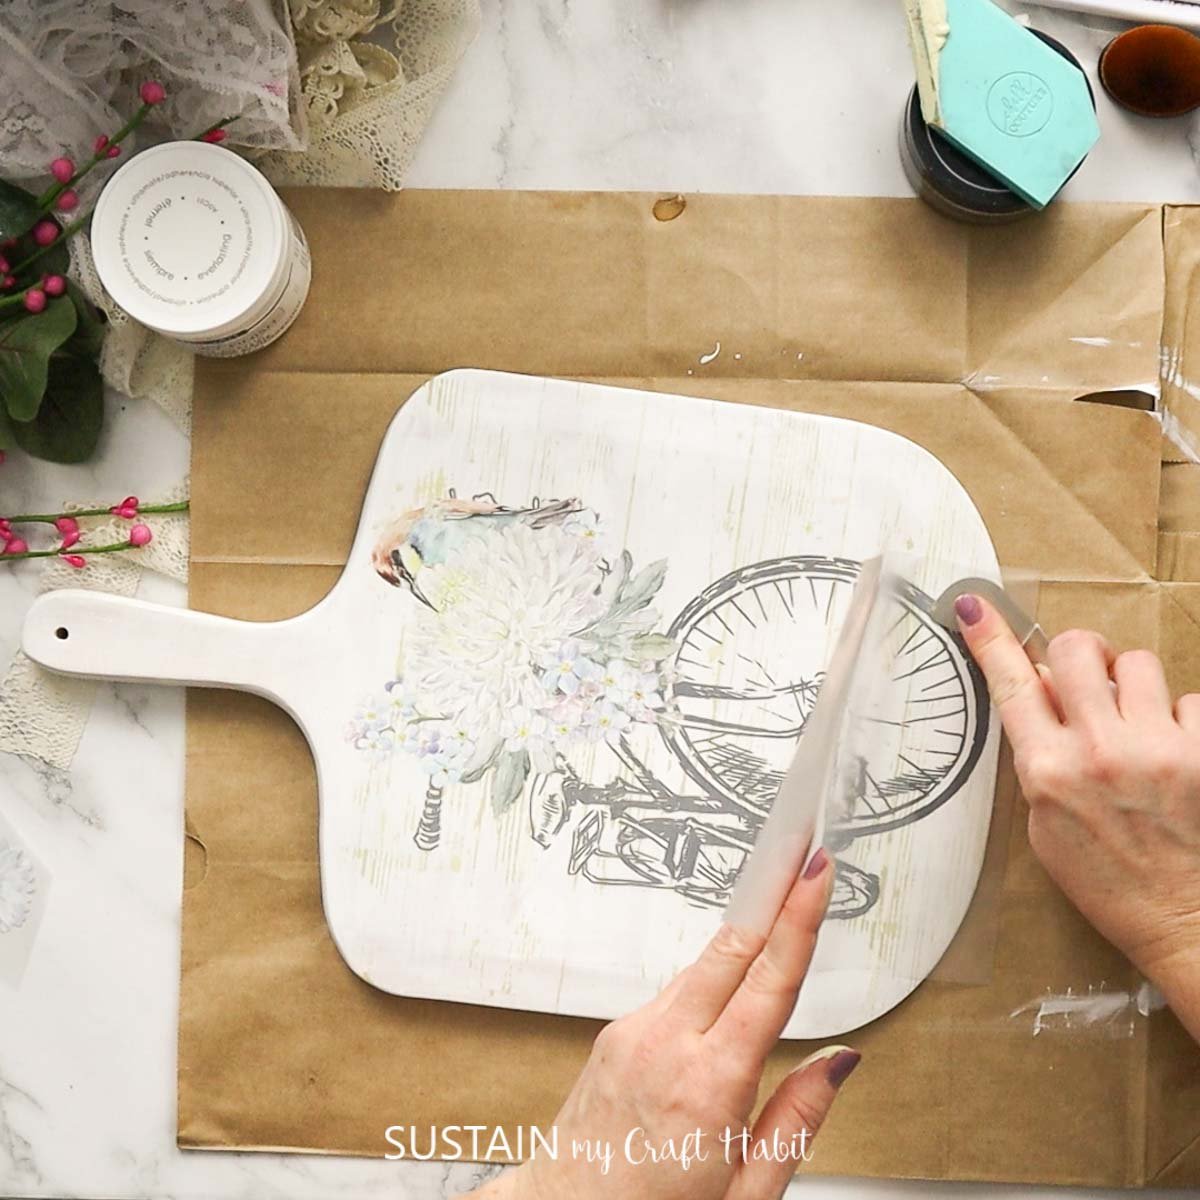
Cut around the transfer image of choice. Peel the image from it’s backing and press onto the cutting board until it sticks.
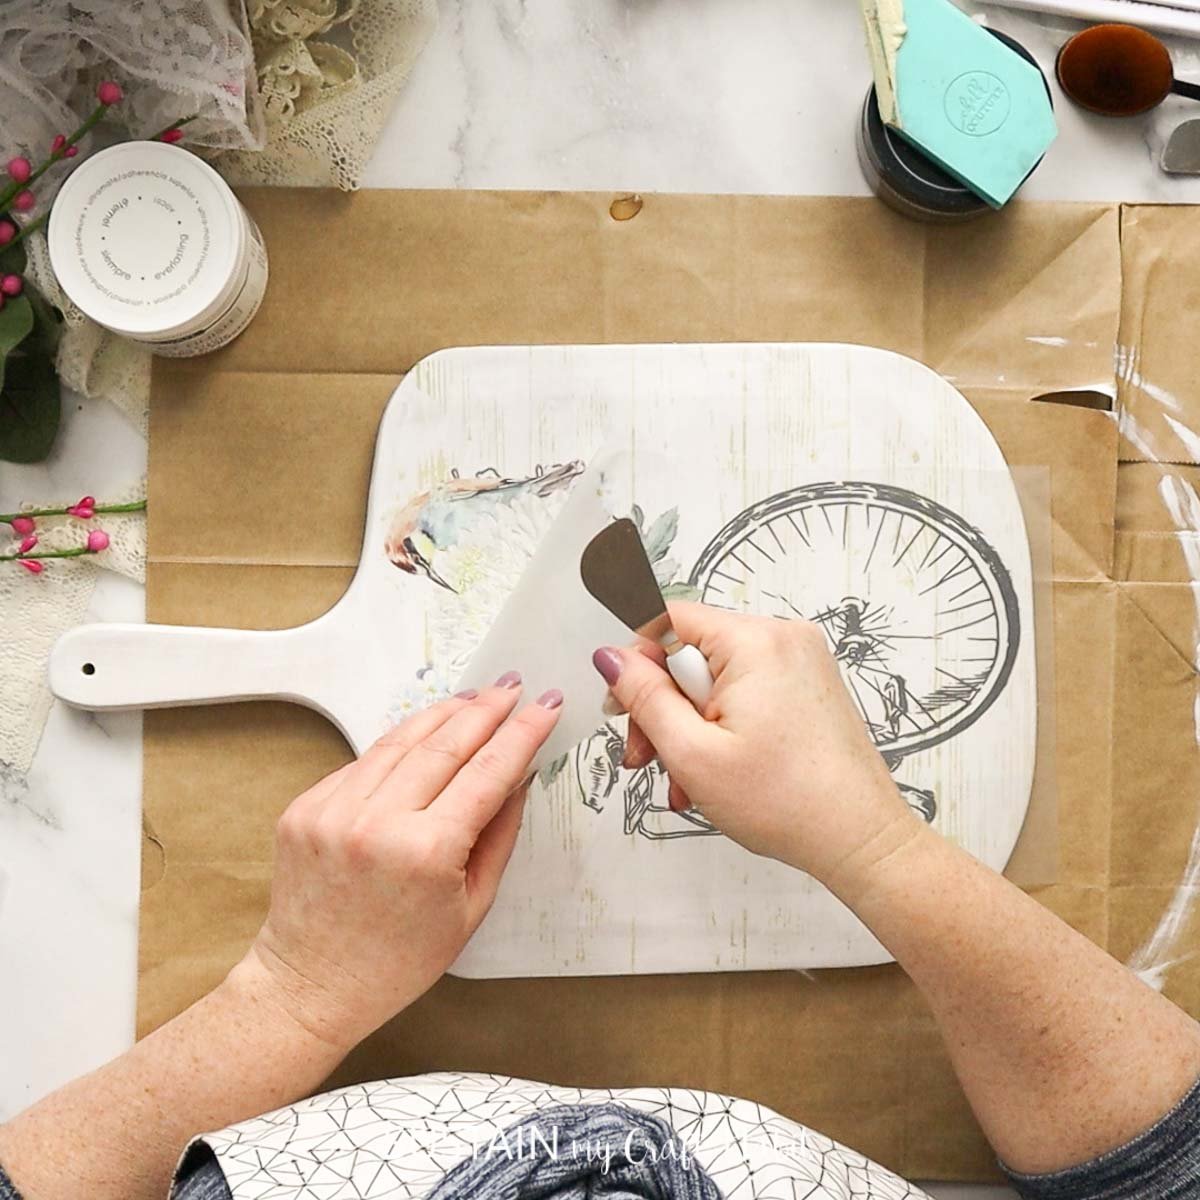
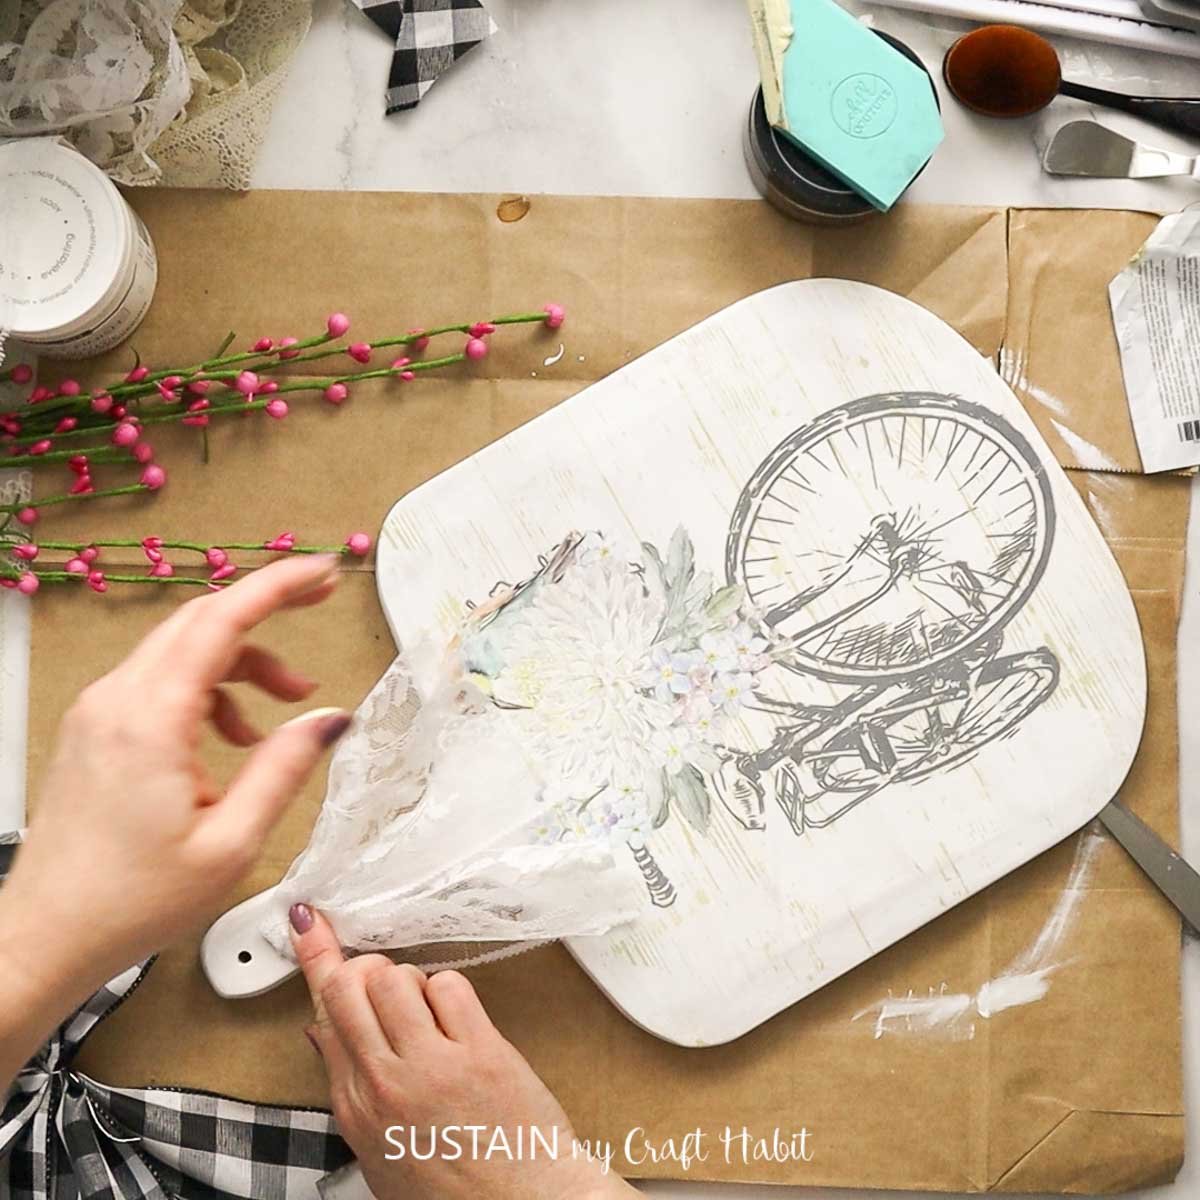
Use a spatula to gently peel off the protective layer from the image.
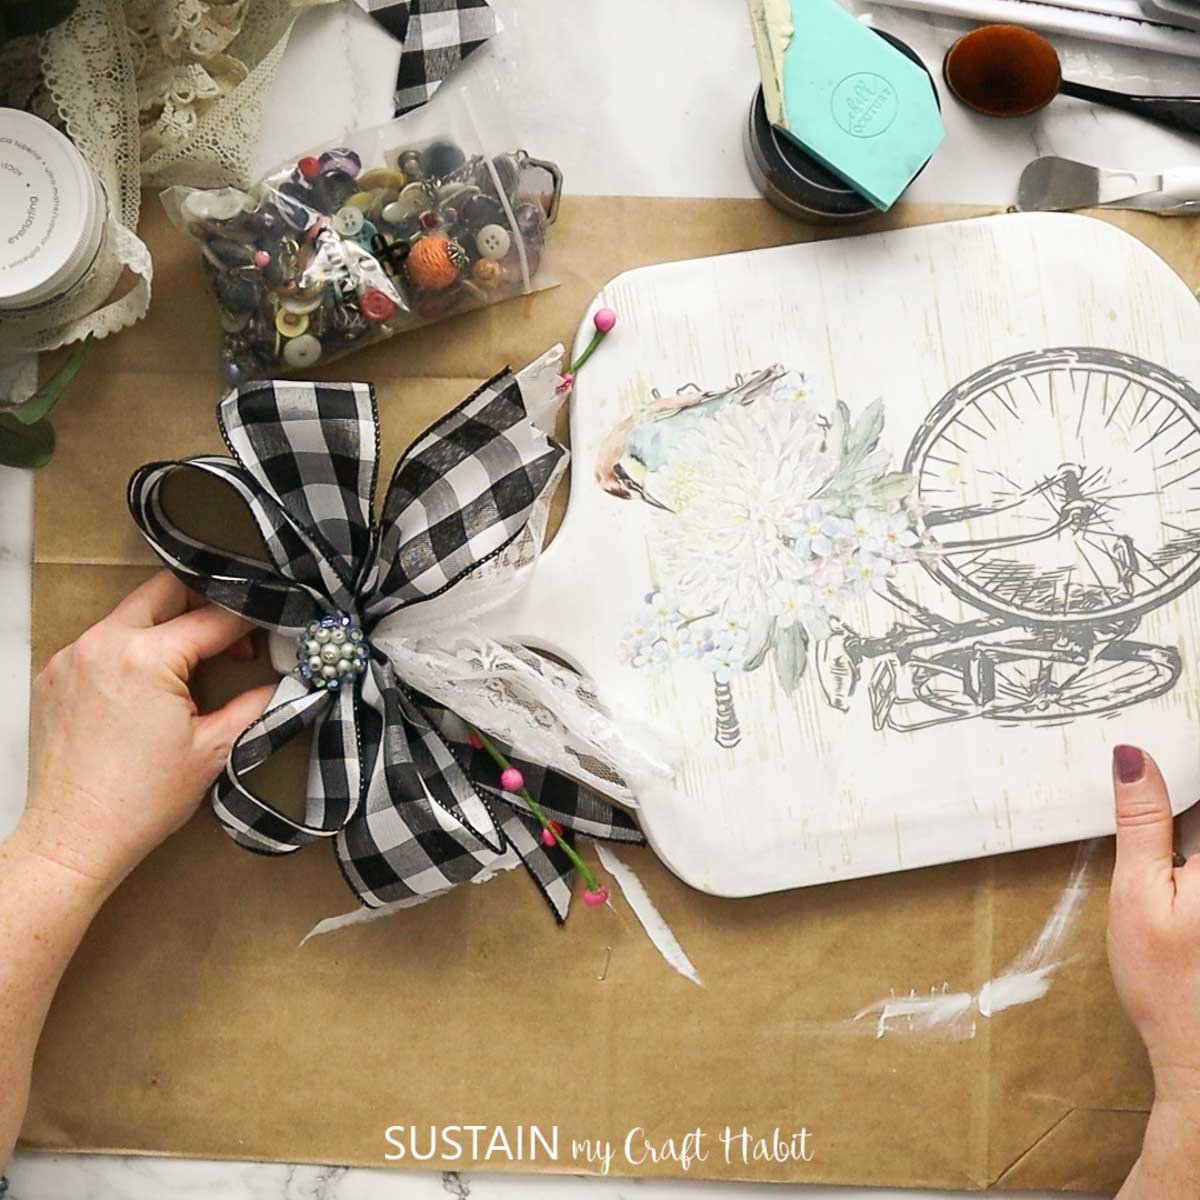
Use ribbon to make a bow and attach to the top of the cutting board.
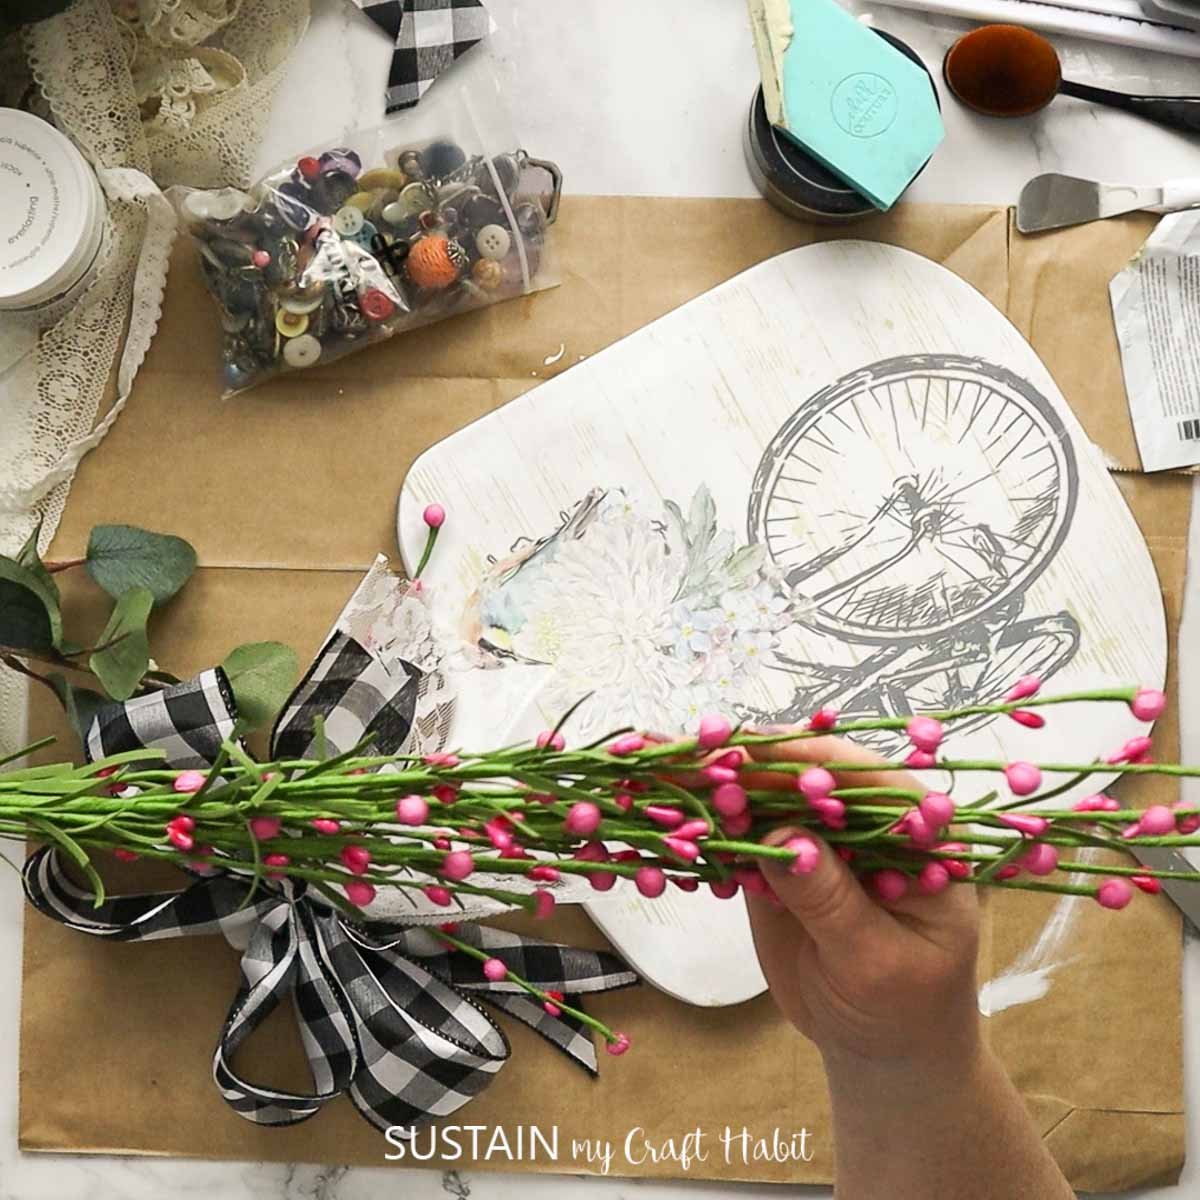
Finally, attach faux flowers or sprigs to the ribbon.
More Transfer Crafts
- Transfer Images to Wood: A Fall Sign
- Cute Fall Sign with Inkjet Image Transfer
- Popsicle Stick Sign
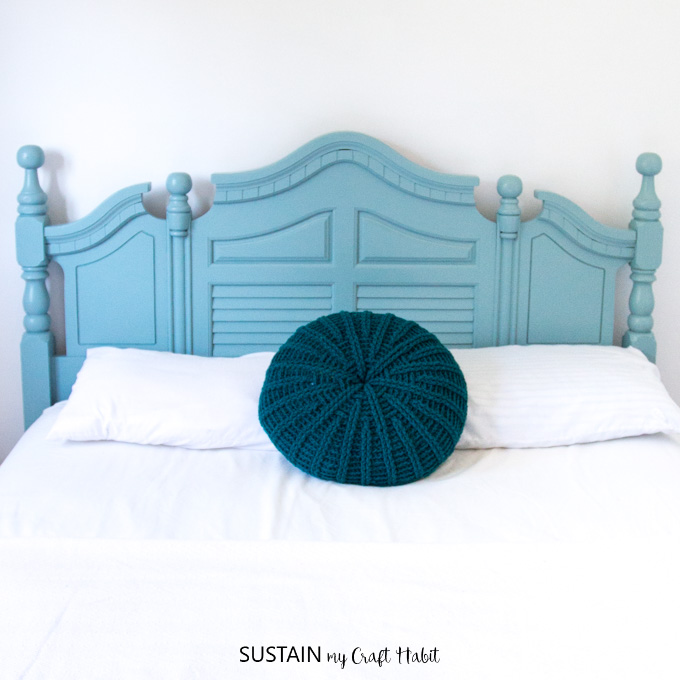
- Farmhouse Decor
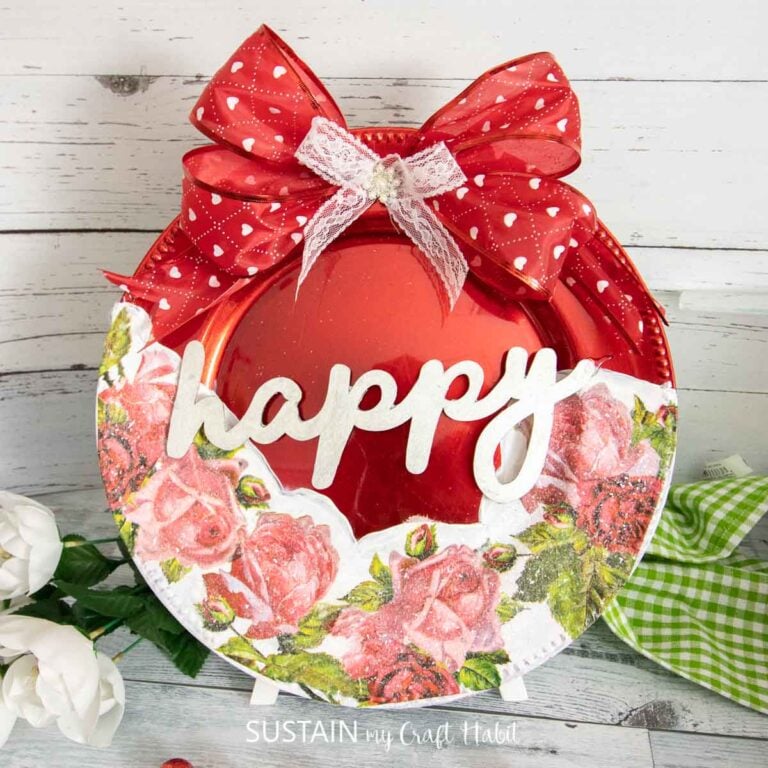
- Valentine Craft with Ribbon


Your Creative Journey Awaits
As you experiment with different surfaces and designs, you’ll discover countless ways to incorporate these versatile tools into your creative process. Whether you’re looking to personalize gifts, update your home décor, or simply explore a new crafting technique, rub on transfers provide a simple yet sophisticated solution.
Become a Sustain My Craft Habit insider to receive fun freebies!
Like it? Pin it for later!
How to Use Rub On Transfers for Crafting
Materials
- Cutting Board
- Chalk Couture materials
- Rub on transfer sheets
- White chalky paint
- Paintbrushes
- Faux flowers
- Ribbon
- Hot glue
Instructions
- Prepare the cutting board by painting it with white chalky paint. Add a second coat if needed.
- Place the Chalk Couture stencil onto the cutting board, take your paste and spread it over the stencil.
- Remove the stencil and let dry.
- Cut around the transfer image of choice. Peel the image from it’s backing and press onto the cutting board until it sticks.
- Use a spatula to gently peel off the protective layer from the image.
- Use ribbon to make a bow and attach to the top of the cutting board.
- Finally, attach faux flowers or sprigs to the ribbon.