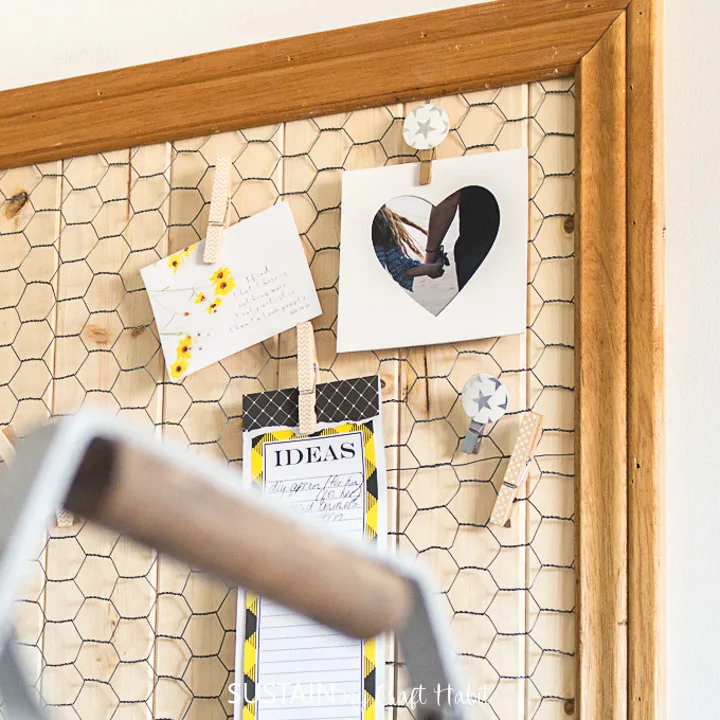
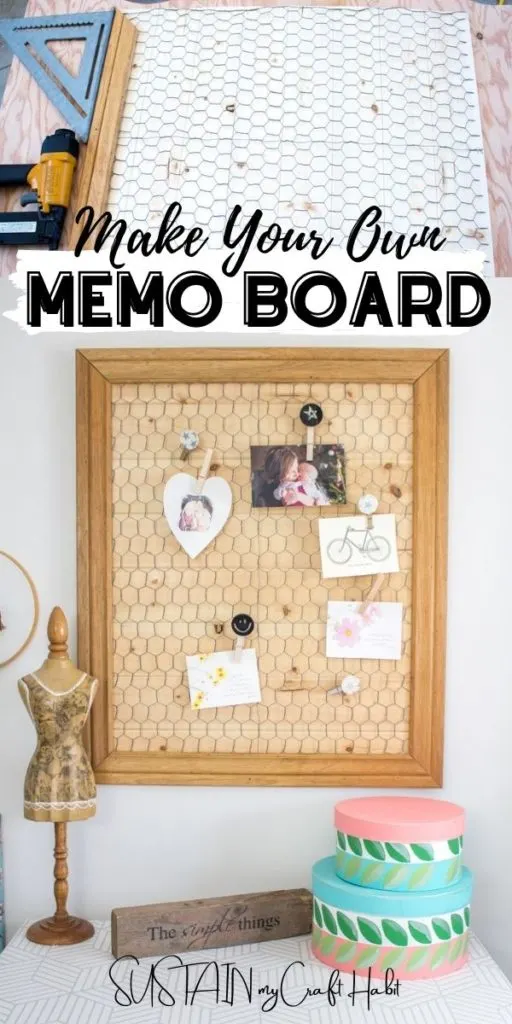
Today I’m adding some much needed organization to my space with this DIY memo board using chicken wire and other repurposed materials.
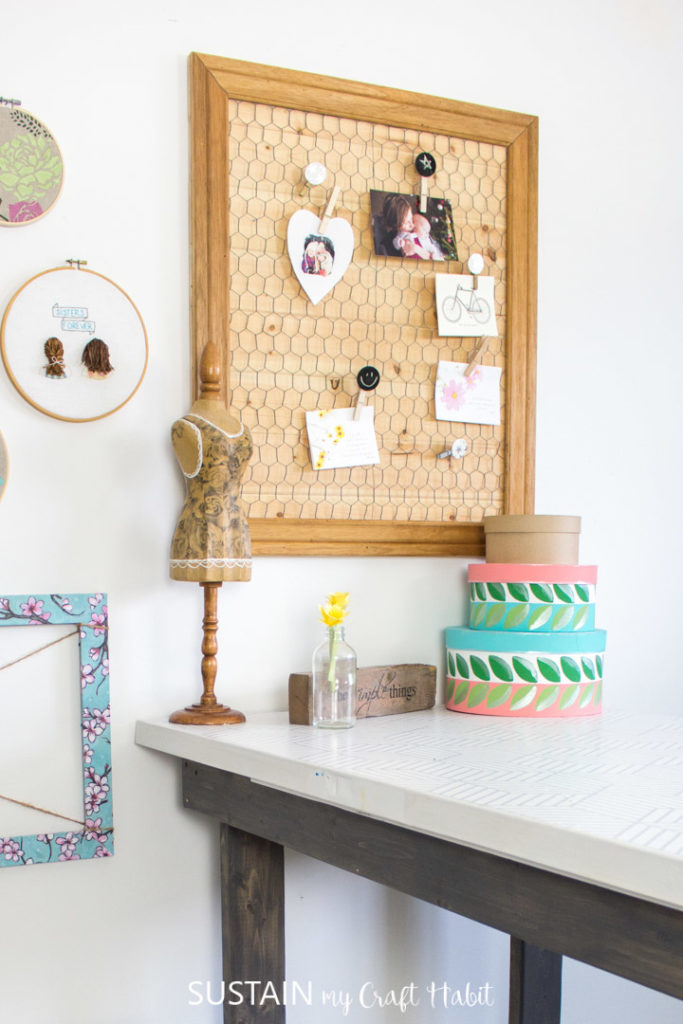
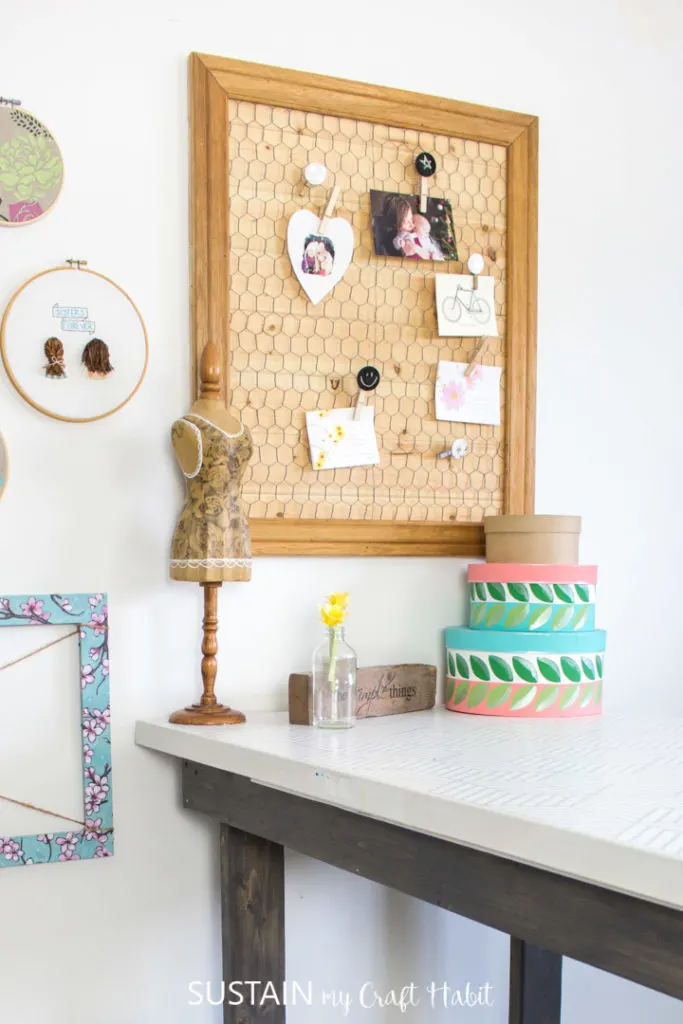
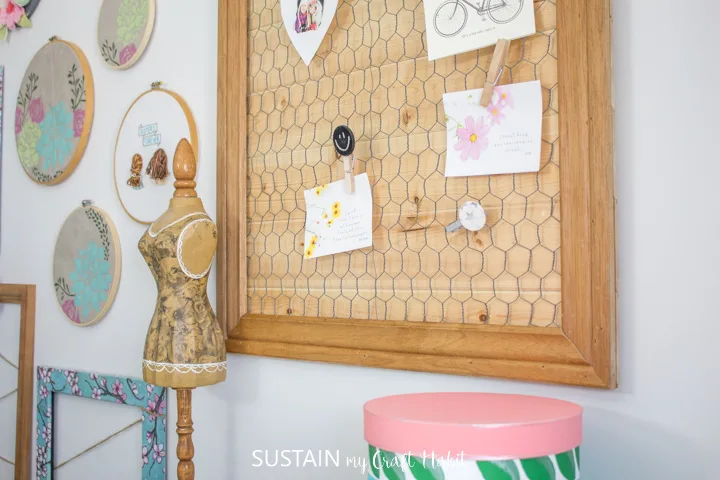
Farmhouse Inspired DIY Framed Memo Board
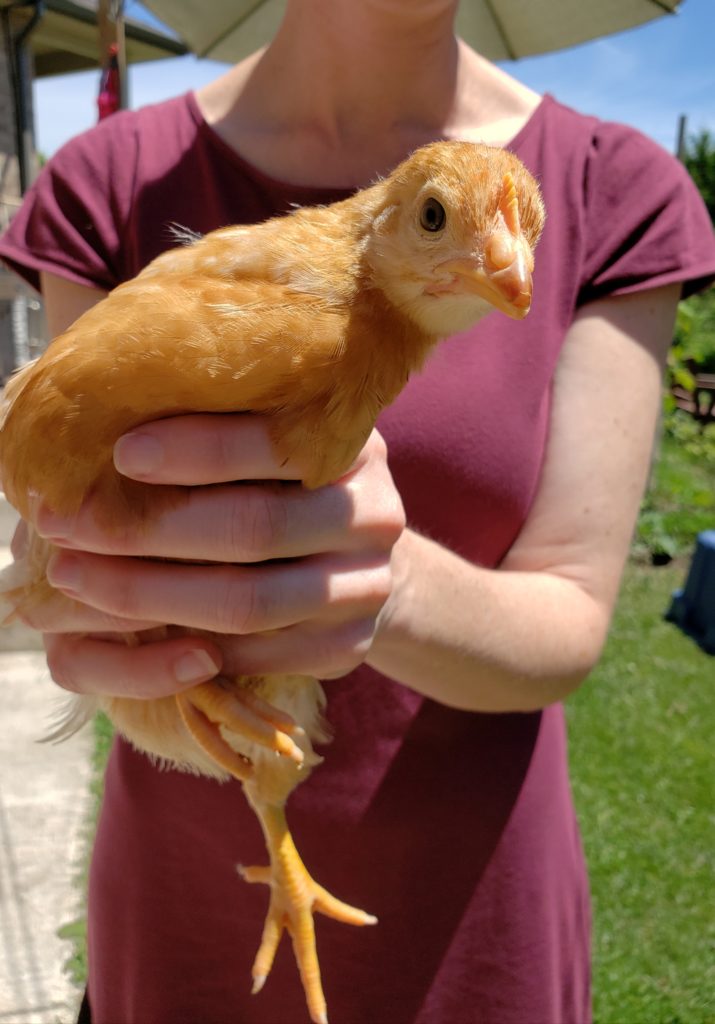
Can you get any more farmhouse than chicken wire? Probably not! Starting with the leftover chicken wire we found in the garage (…we do have chickens after all!), we came up with a plan for this memo board. And although the materials we used were a bit of a mish-mash from leftover pineboards to extra wood baseboards and cuttings of wire, collectively this DIY memo board turned out to be pretty fabulous!
Join our crafting community to find more nature-inspired DIYs and upcycled craft ideas. It feels good to repurpose, upcycle and create with nature!

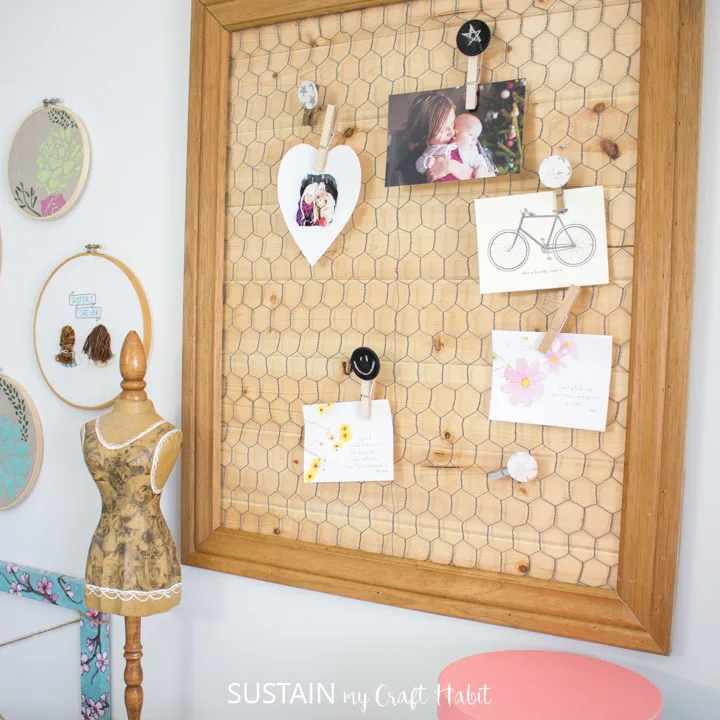
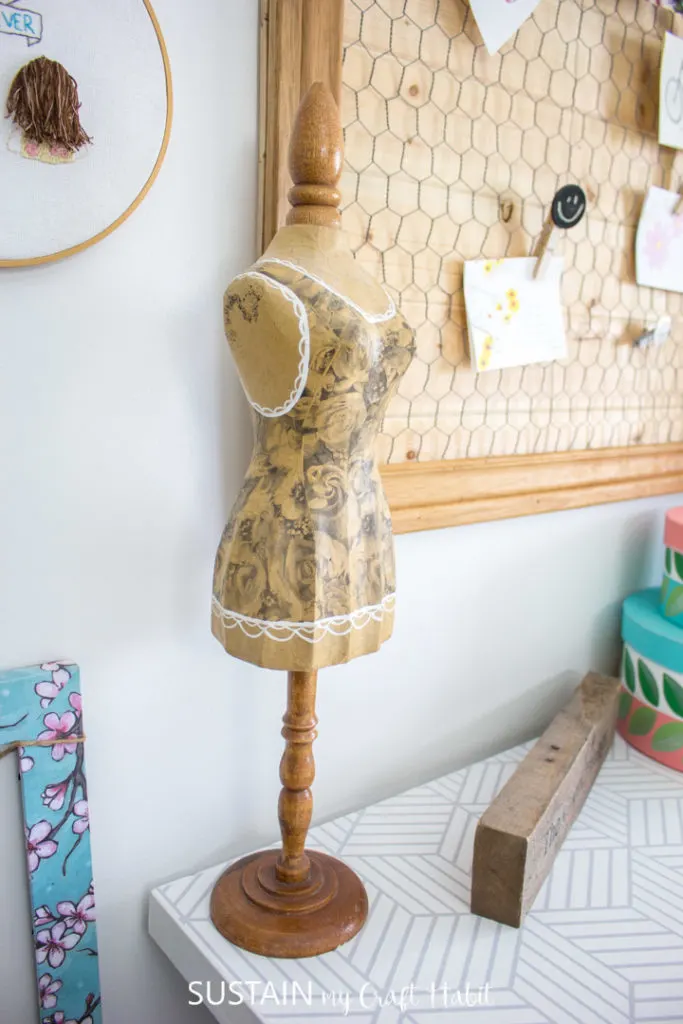
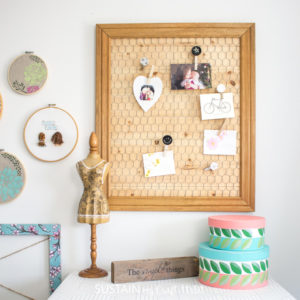
I’ve hung the memo board on the wall in my craft room over top of my work table (which is also a upcycled DIY project….will share that post soon!). I use it hold photos, sketches, receipts and other important stuff I don’t want to loose. It would also work well as part of a DIY command center in your home!


Materials Needed to make your own memo board
Disclosure: This post continues affiliate links for your shopping convenience. You can find our full disclosure policy here.
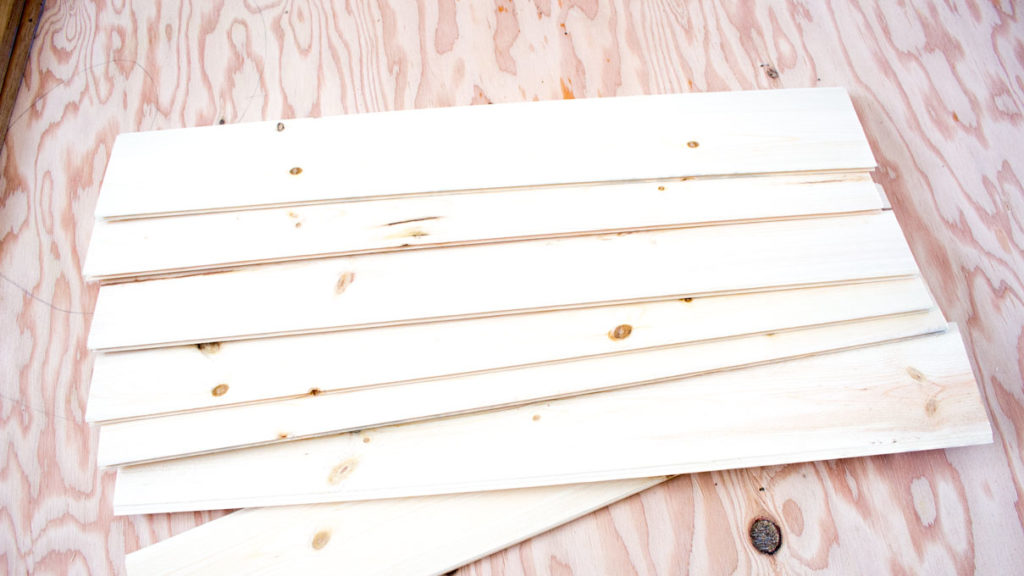
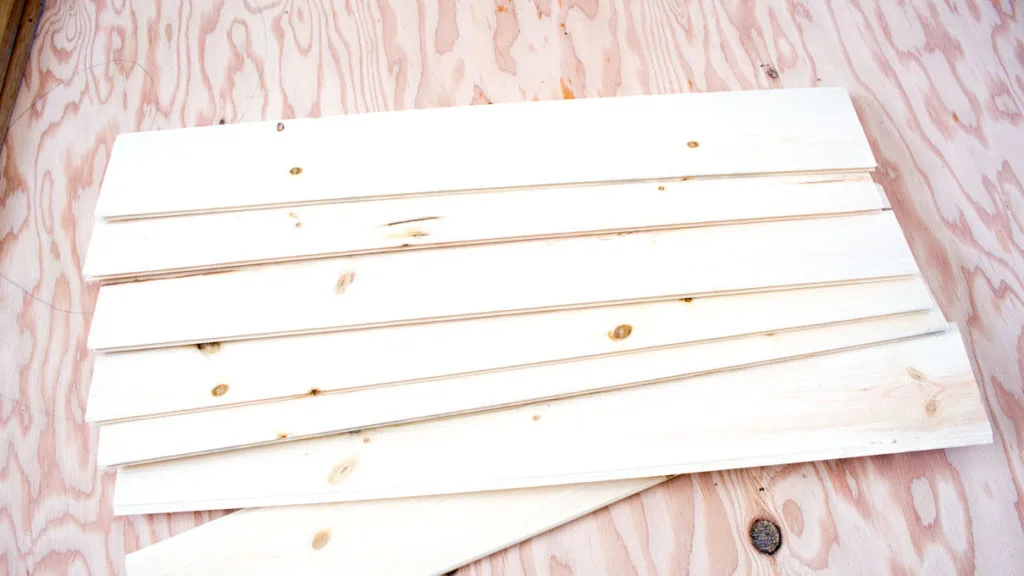
- Solid wood V-groove pine boards, 5/16” thick x 3 1/2” wide
- Miter saw
- Chicken wire netting
- Wire snippers
- Scrap baseboard trim, 2 ¼” wide
- Gloves
- Sand paper
- Wood glue
- Measuring tape, pencil
- Nail gun
- Industrial staple gun
How to Make a Memo Board with Chicken Wire
Preparing the materials
Mark the pine boards at 24” long. With a miter saw, carefully cut each fence board into 8 even length pieces measuring 24” long.
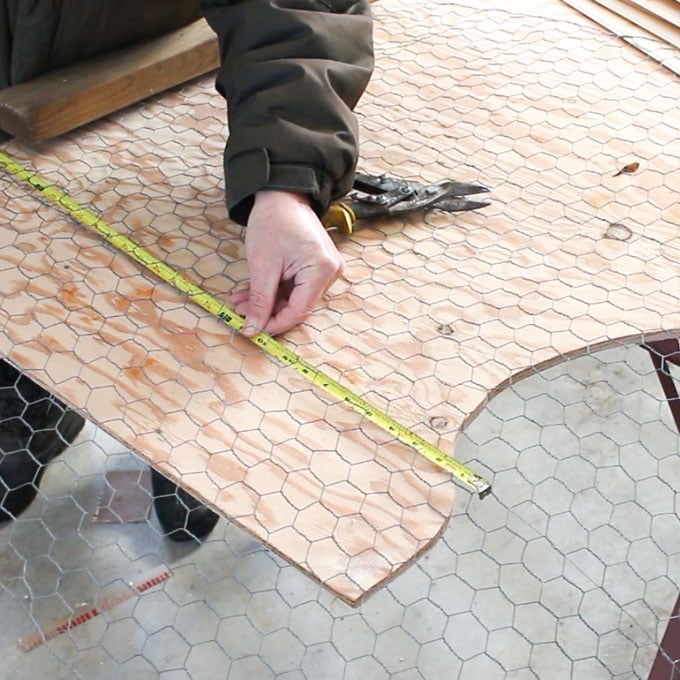
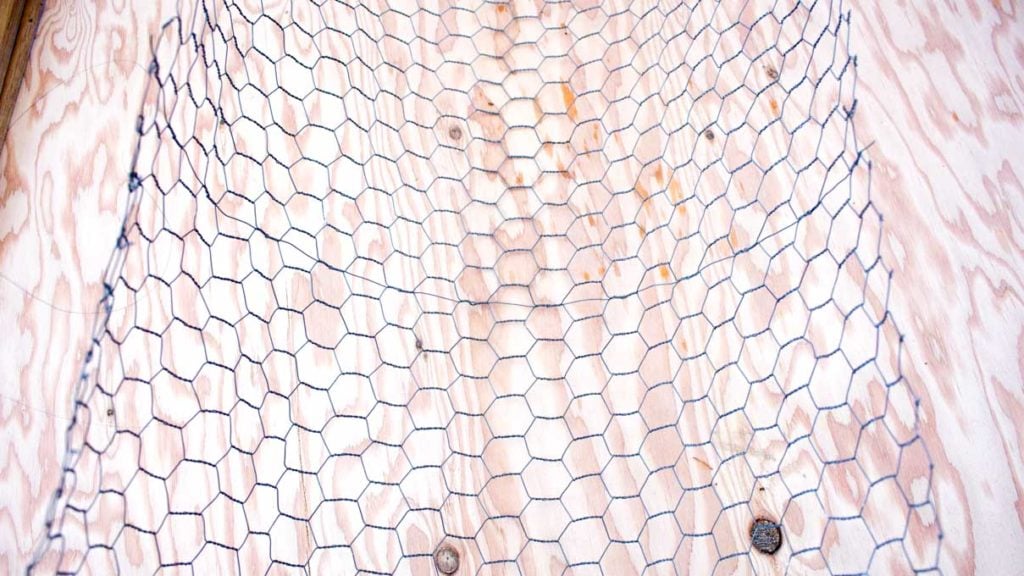
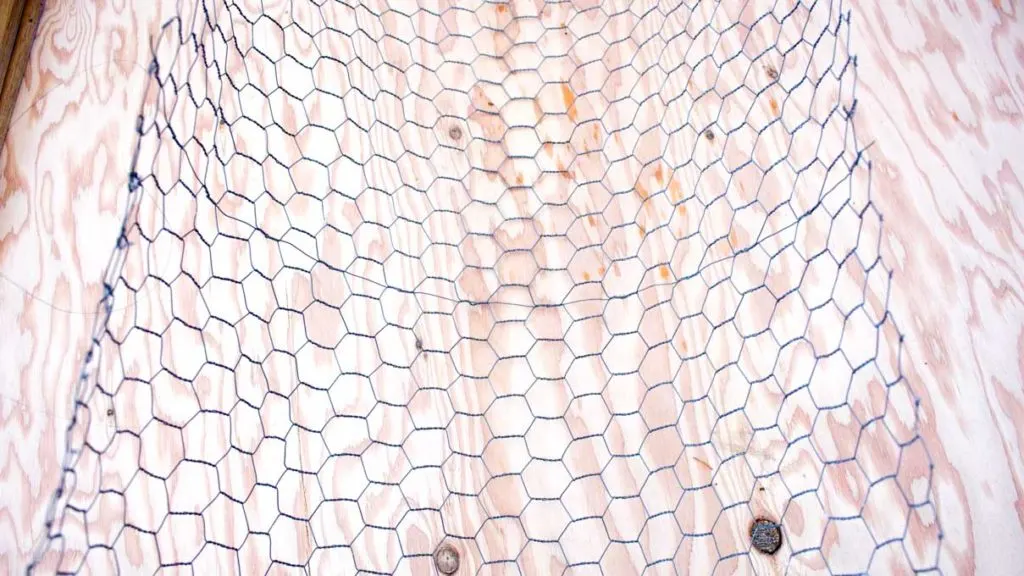
Using a wire cutter, cut the chicken wire so it measures 28” wide by 24” long.

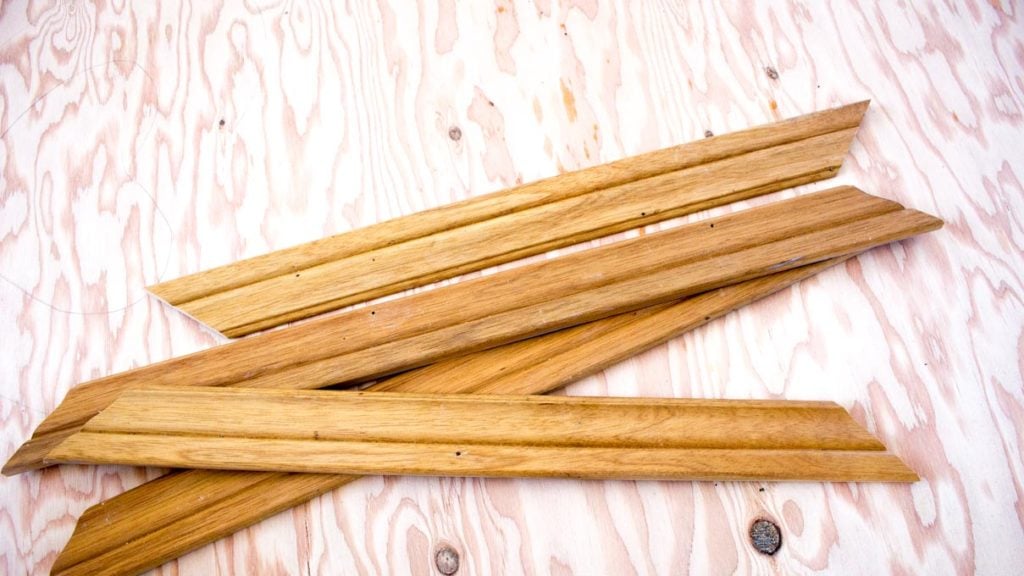
Measure and mark 2 pieces of baseboard trim to 28” long with the ends at a 45 degree angle. Repeat with two more pieces of trim to 24” long at a 45 degree angle.

Assembling the materials
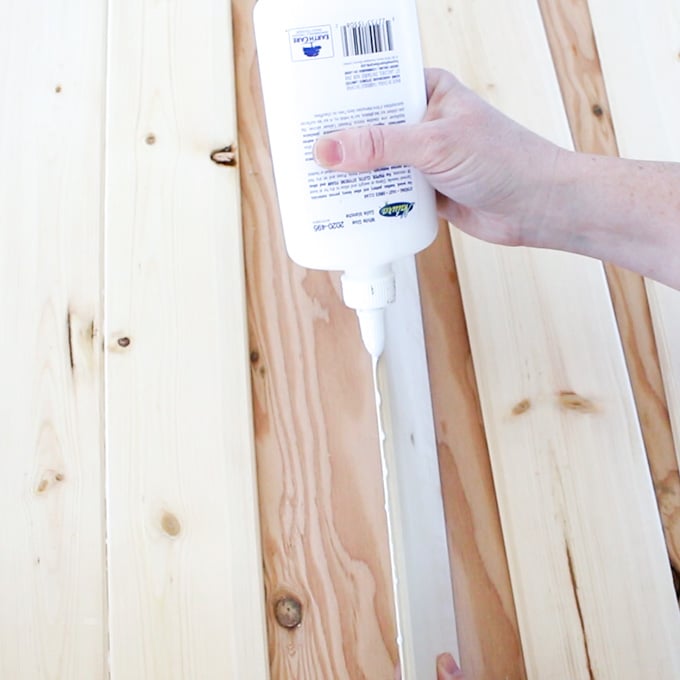
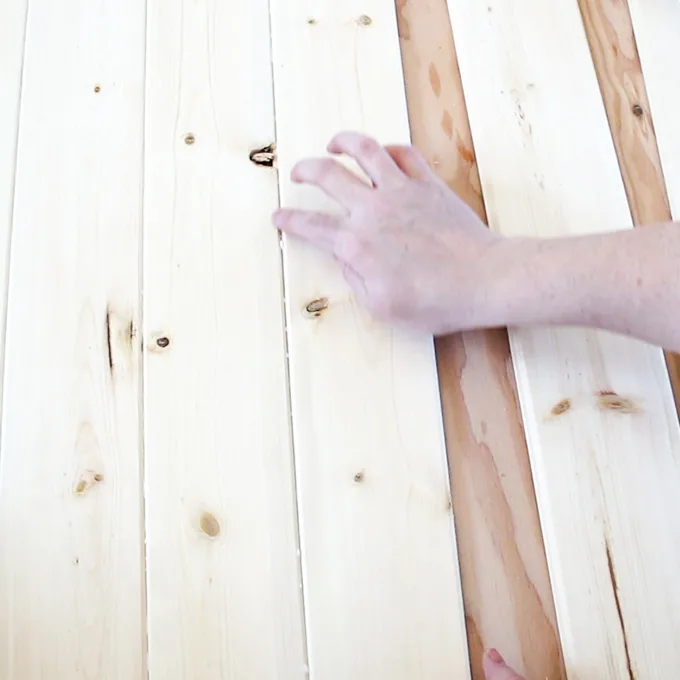
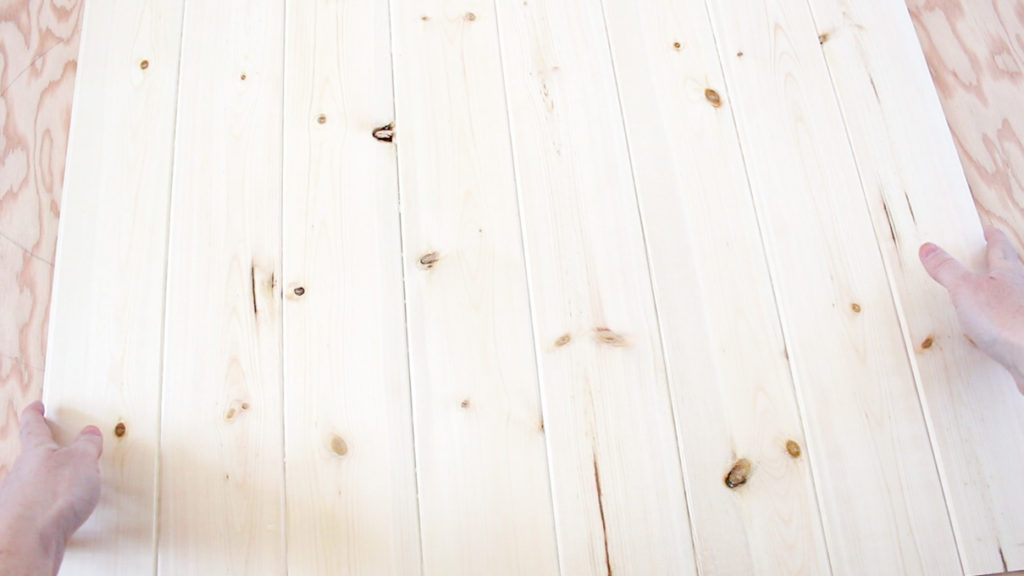
Working on a flat surface, lay the cut pine boards in a row budding each piece tightly up to the next piece. Run a bead of wood glue along the long edge of the board and then slide the pieces together. Wipe away excess glue.


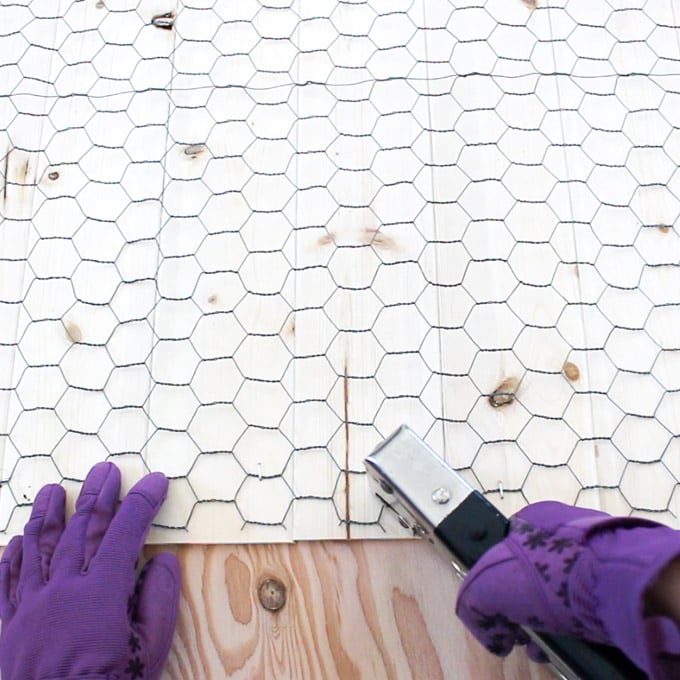
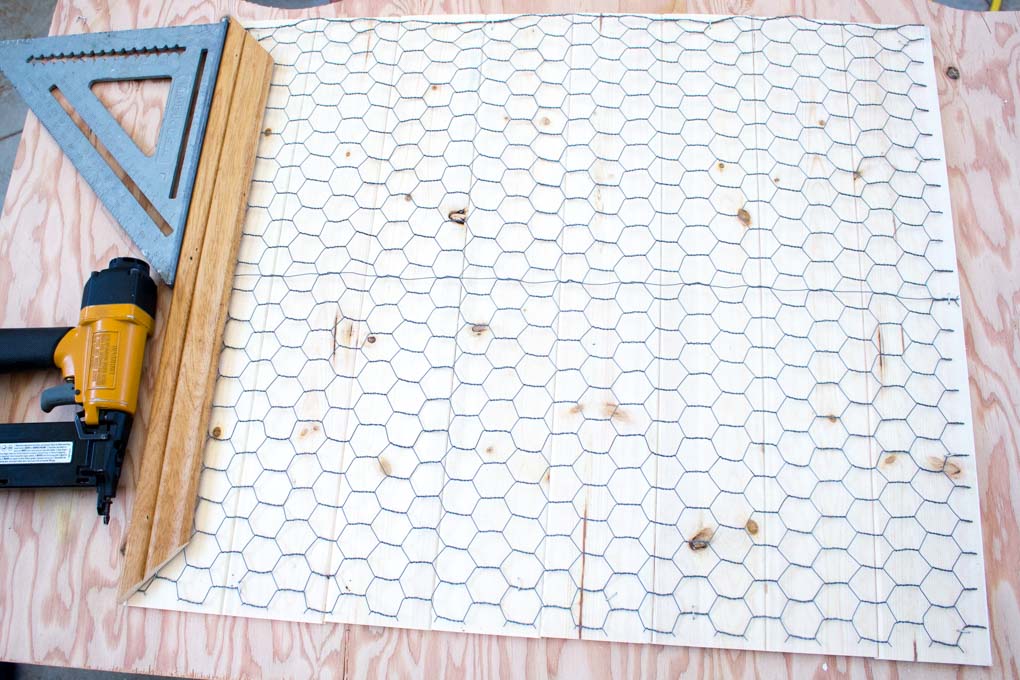
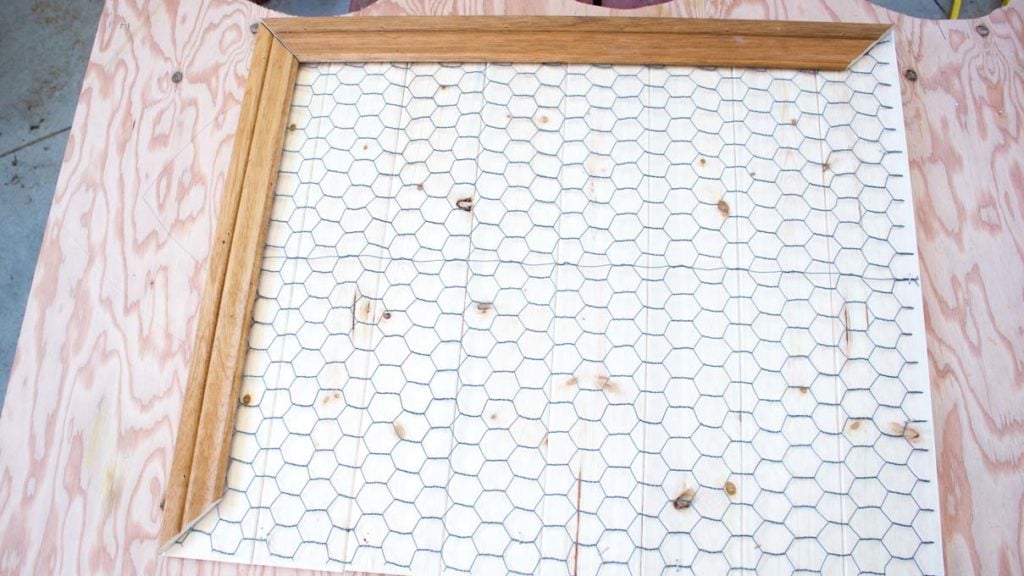
Lay the cut chicken wire net over top of the glued pine boards and staple in place around the perimeter.

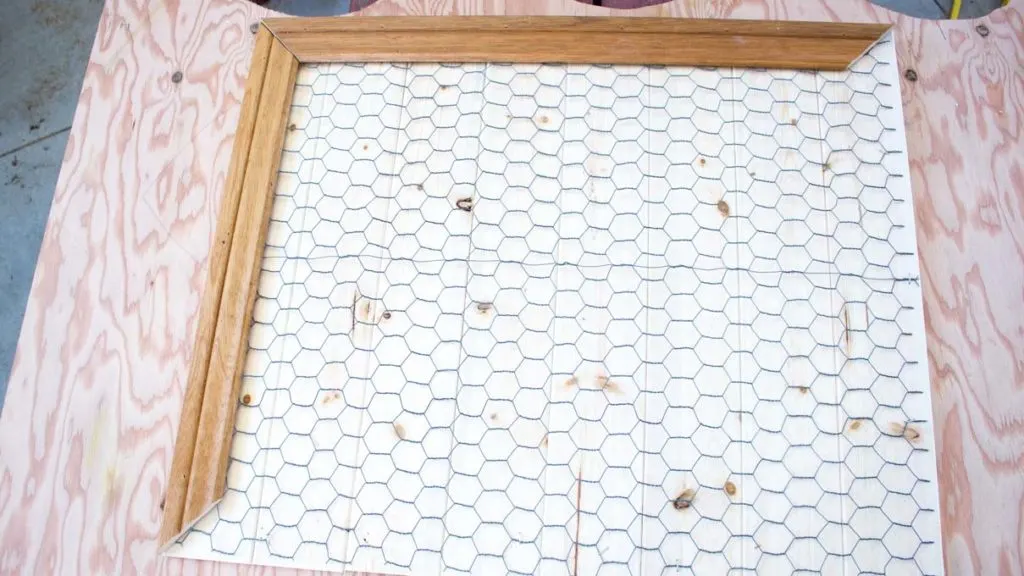
Place one long cut baseboard on top of the assembled pine boards and chicken wire and nail into place.

Align the next baseboard with the secured baseboard and nail in place.
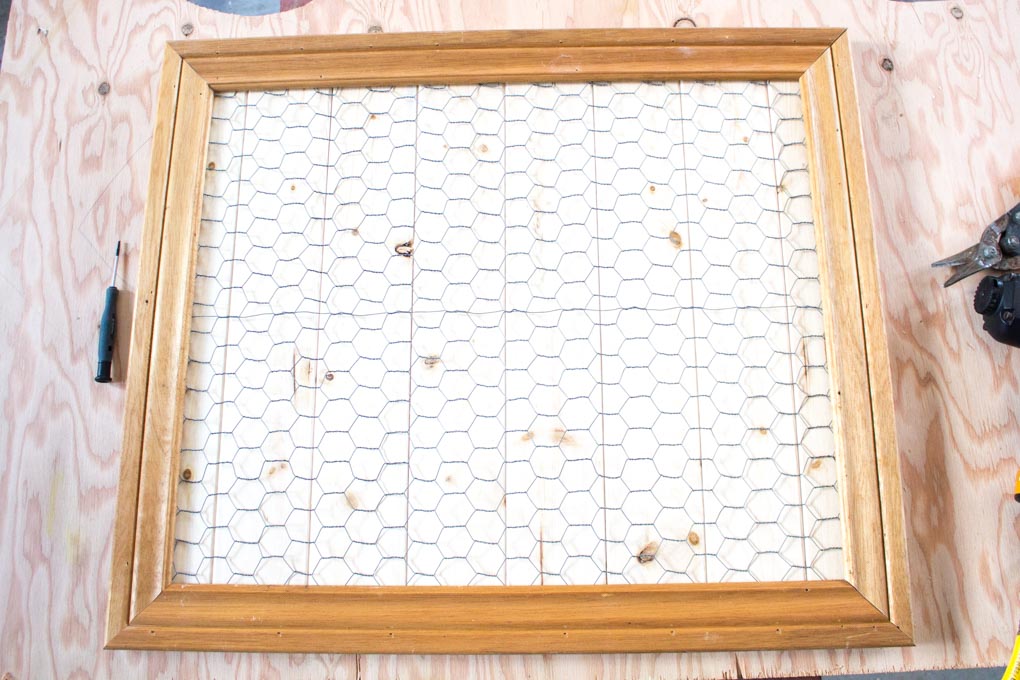
Continue working around the memo board until finished.

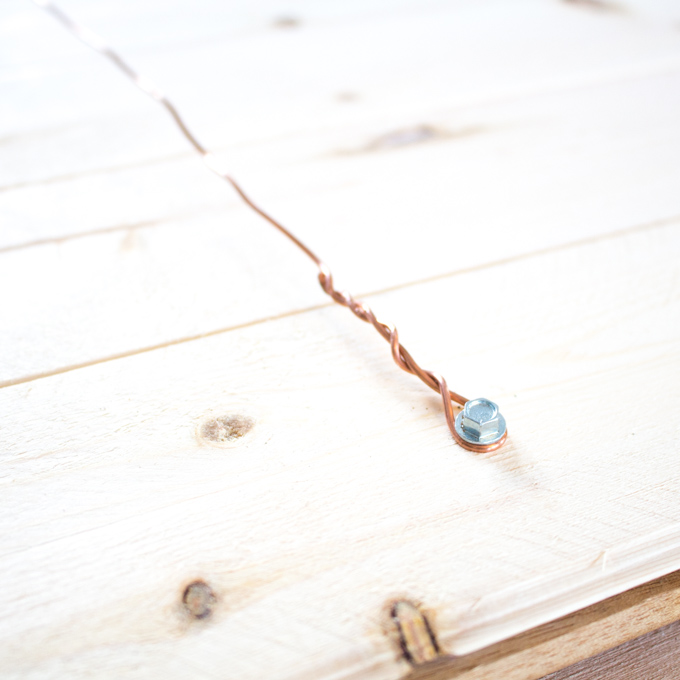
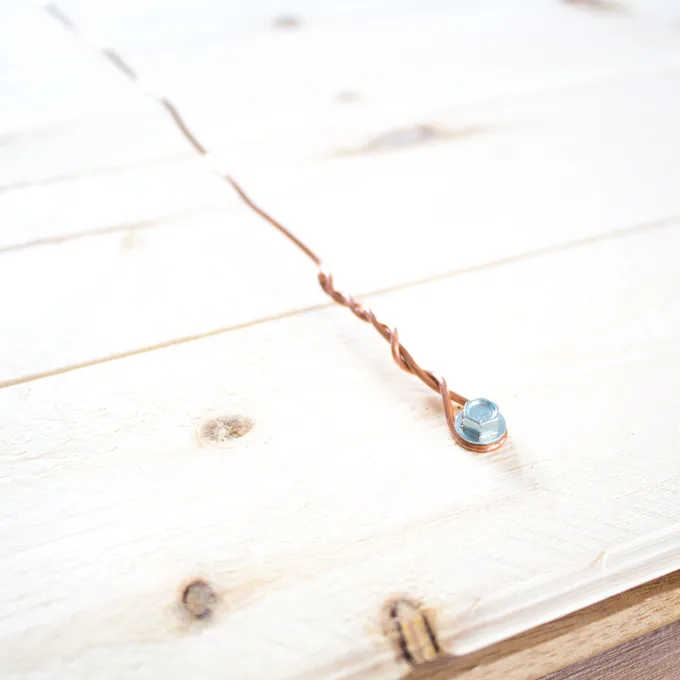
Attach the hardware to the back side.
This project originally appeared on Crafts by Amanda.

Get updates on the latest posts and more from Sustain My Craft Habit straight to your inbox by joining our weekly newsletter. We promise to send you only the good stuff.
More DIY Organization Ideas for the Home
We are always on the look out for ways to get more organized. Check out some of these posts and round ups for adding more organization to your home on a budget!
- Home Organization Ideas with Upcycled Items
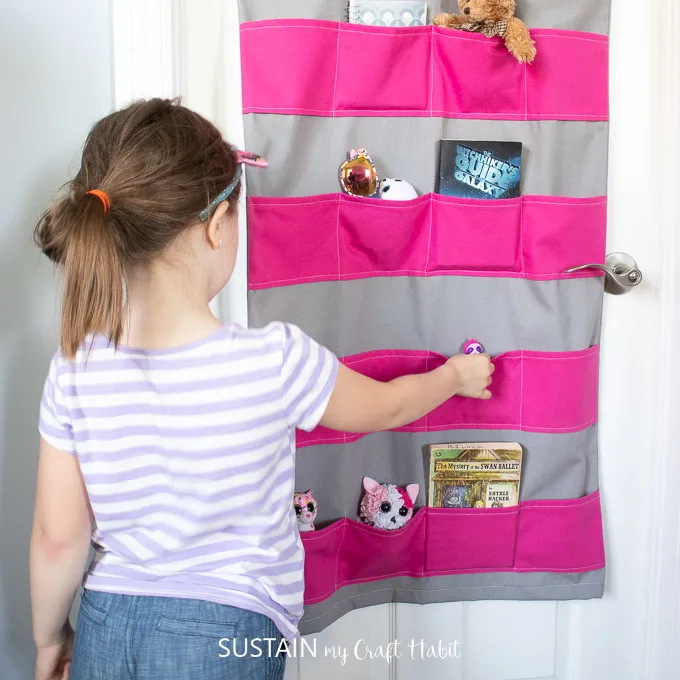
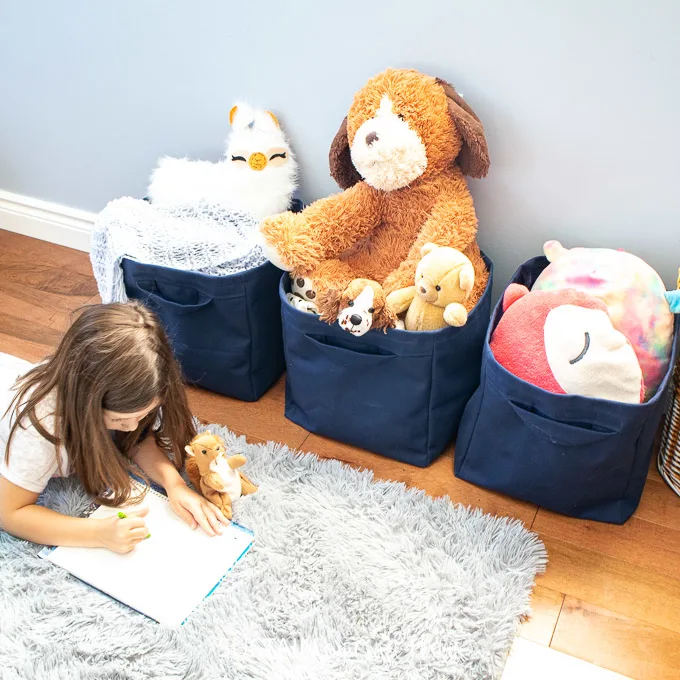
- Hanging Toy Storage
- Fabrics Cubes
- Knitting Needle Organizer
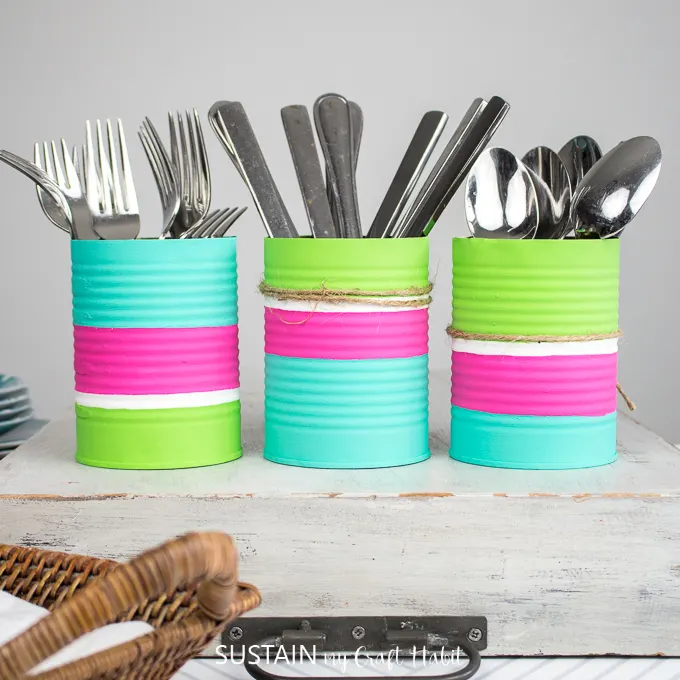
- Tin Can Utensil Holder
- Upcycled Tin Can Craft Room Organization


Home Org Ideas uses Upcycled Items 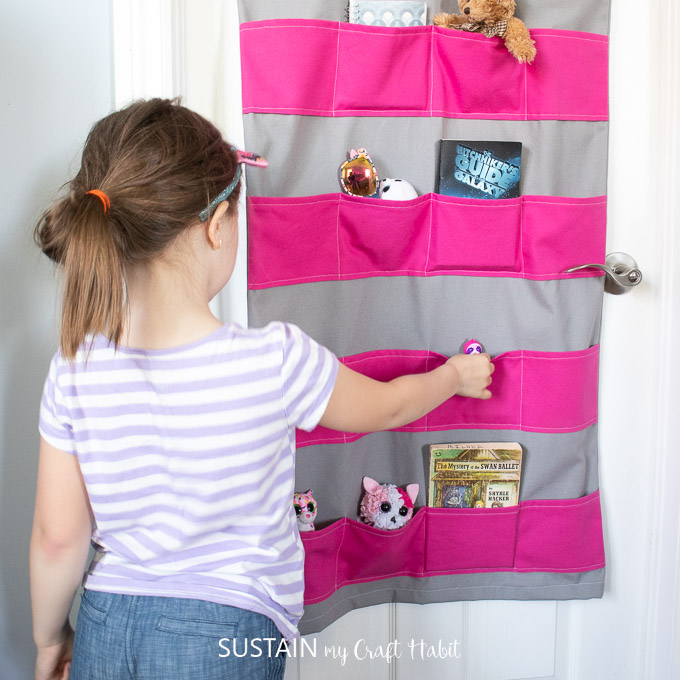

Hanging Toy Storage 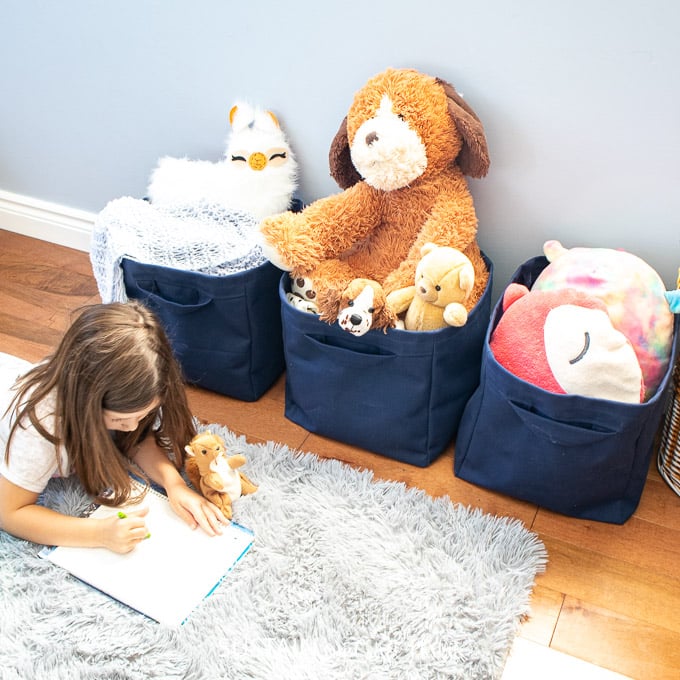
Fabric Cubes 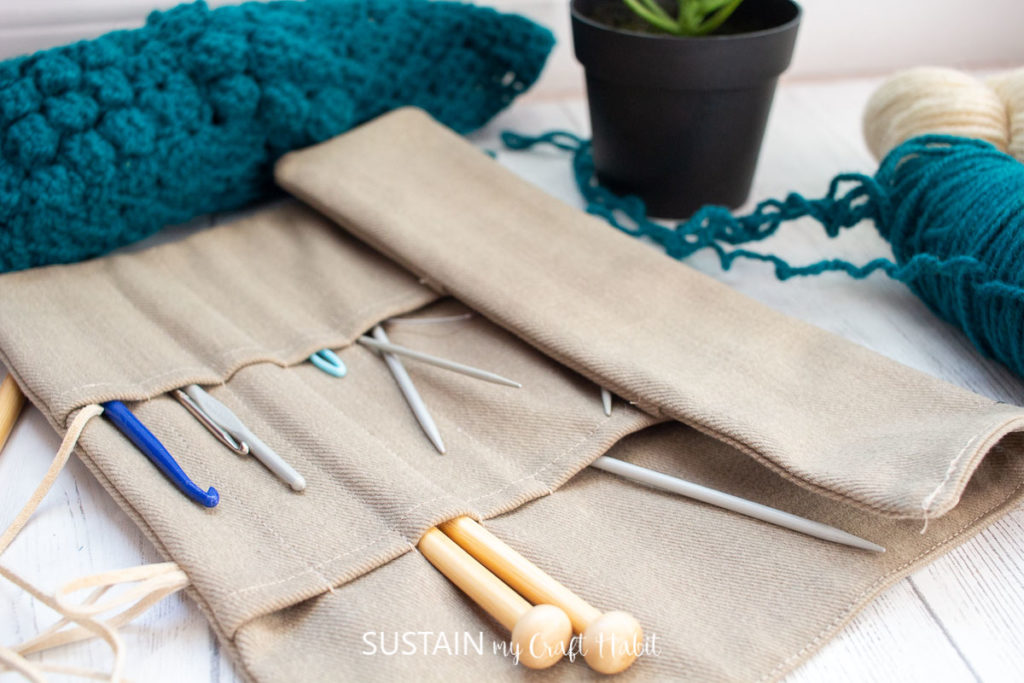

Knitting Needle Organizer 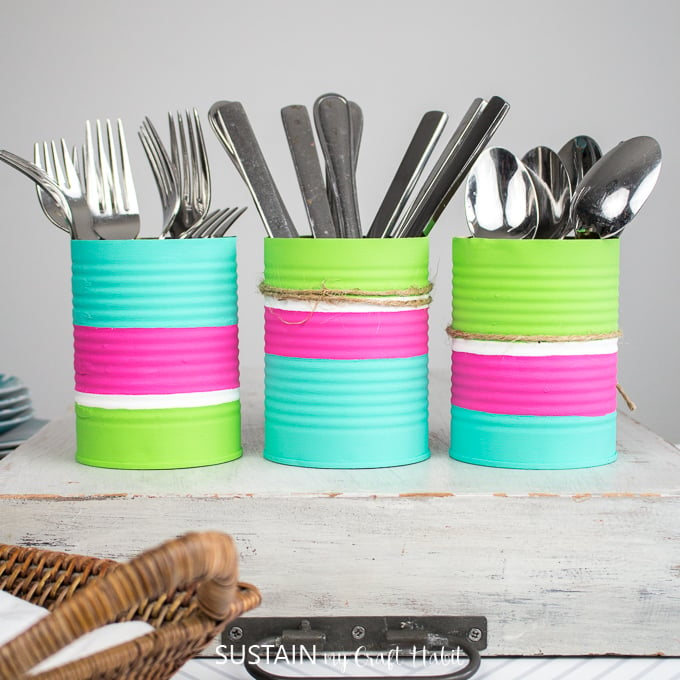
Tin Can Utensil Organizer 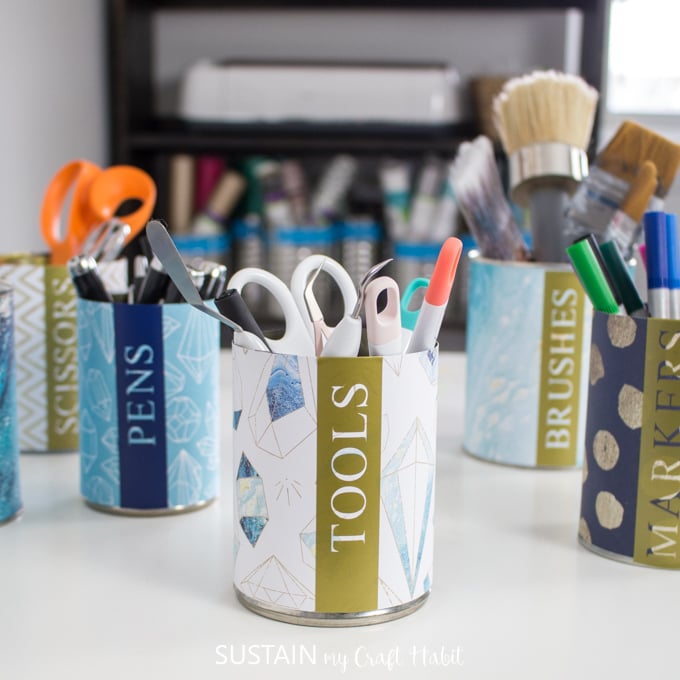
Tin Can Craft Storage


Like it? Pin it for later!
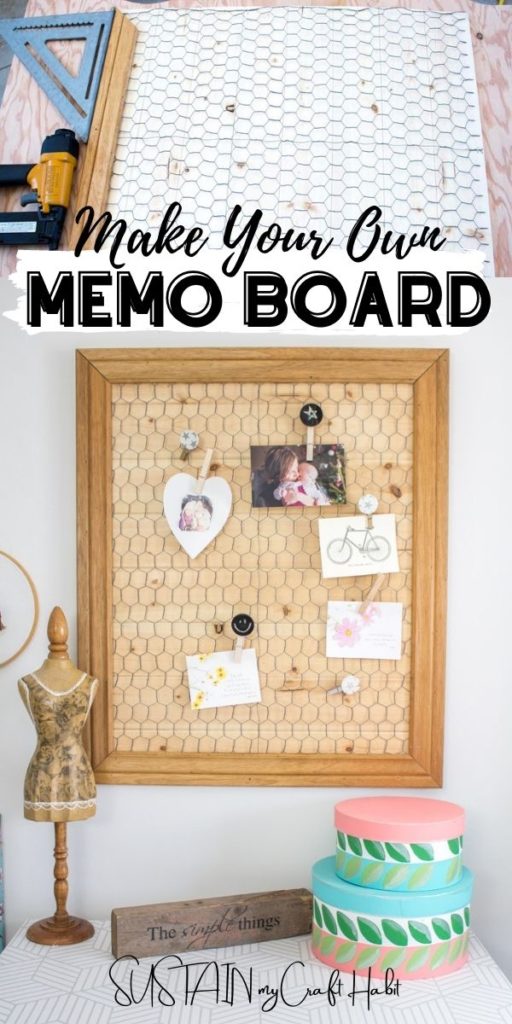

Make your own Memo Board with Chicken Wire
Materials
- Solid wood V-groove pine boards 5/16” thick x 3 1/2” wide
- Miter saw
- Chicken wire netting
- Wire snippers
- Scrap baseboard trim 2 ¼” wide
- Gloves
- Sand paper
- Wood glue
- Measuring tape pencil
- Nail gun
- Industrial staple gun
Instructions
Preparing the materials:
- Mark the pine boards at 24” long. With a miter saw, carefully cut each fence board into 8 even length pieces measuring 24” long.
- Using a wire cutter, cut the chicken wire so it measures 28” wide by 24” long.
- Measure and mark 2 pieces of baseboard trim to 28” long with the ends at a 45 degree angle. Repeat with two more pieces of trim to 24” long at a 45 degree angle.
Assembling the materials:
- Working on a flat surface, lay the cut pine boards in a row budding each piece tightly up to the next piece. Run a bead of wood glue along the long edge of the board and then slide the pieces together. Wipe away excess glue.
- Lay the cut chicken wire net over top of the glued pine boards and staple in place around the perimeter.
- Place one long cut baseboard on top of the assembled pine boards and chicken wire and nail into place.
- Align the next baseboard with the secured baseboard and nail in place.
- Continue working around the memo board until finished.
- Attach the hardware to the back side.