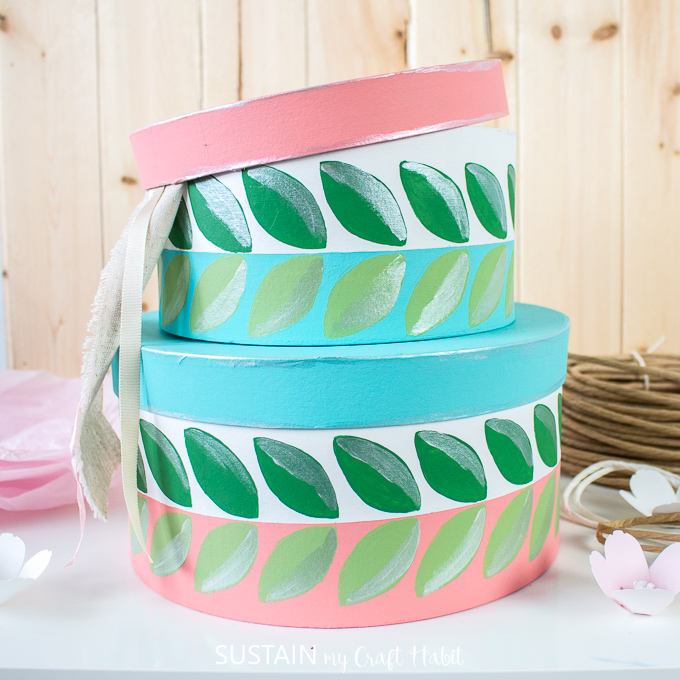
Modern Retro Painted Craft Hat Boxes
Craft hat boxes not only make functional storage solutions but also look like beautiful home decor when painted in a colorful design.
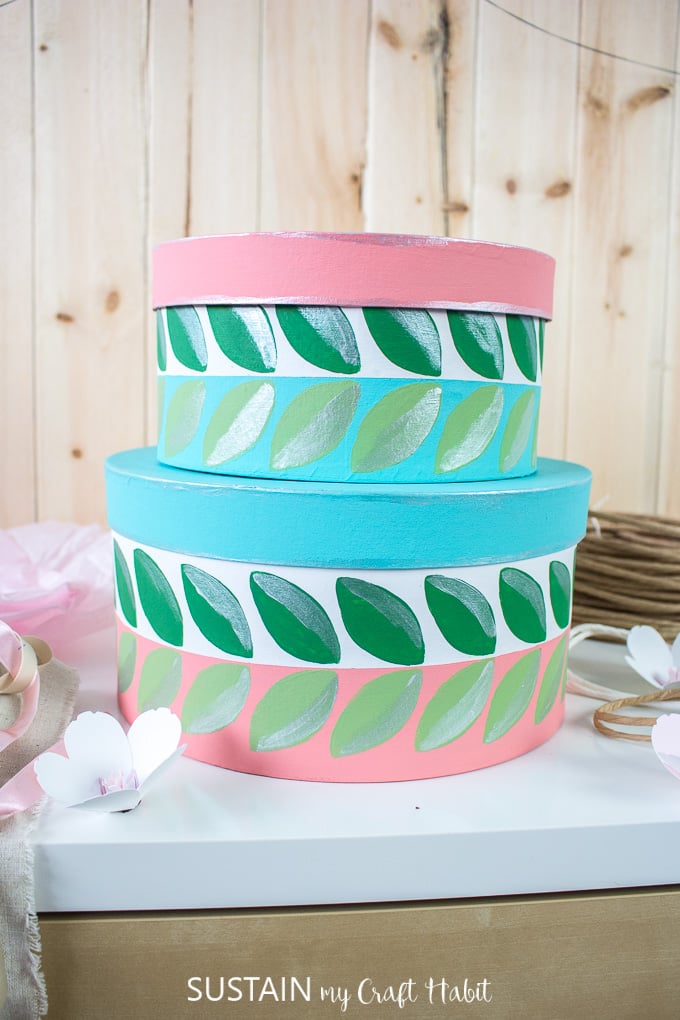
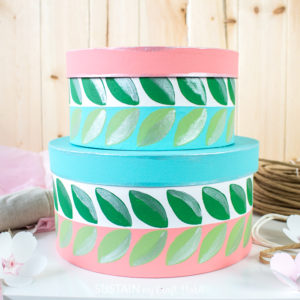
Pretty Modern Retro Styled Hat Boxes
We painted these in a modern-retro style by using a combination of muted and vibrant blues, pinks and greens with a stencilled minimalist mod leaf pattern. I’ve personally always had an appreciation for the 60’s mod fashion trend, with it’s geometric patterns and bold contrasting colors. Fortunately, everything old is new again and this is one design I like to incorporate in our projects.
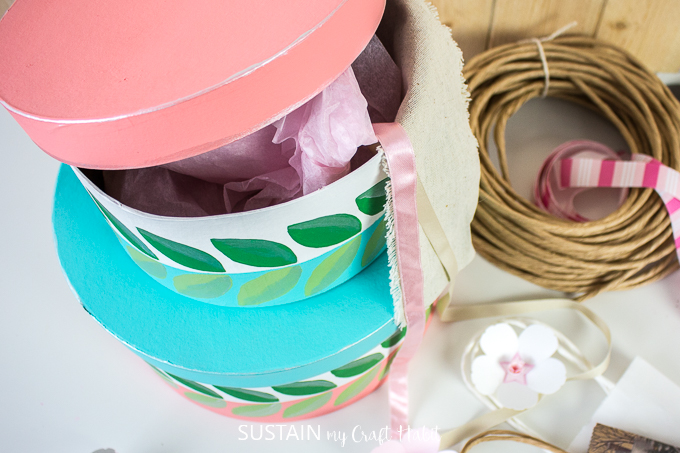
Hat boxes come in handy especially for storing craft supplies, things like loose papers, ribbons, twine, tissue paper and buttons. They come in a bunch of different sizes so when stacking them altogether they look like a pretty home accessory and not just a practical storage container.
For other creative storage solutions check out our DIY hanging toy organizer, upcycled tin can craft storage and upcycled kleenex box basket.
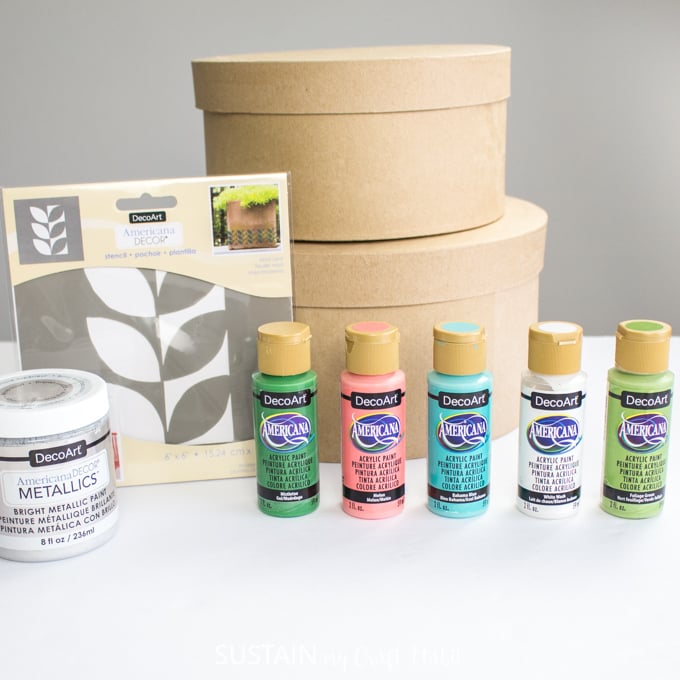
Materials Needed:
Disclosure: This post contains affiliate links for your shopping convenience. Should you choose to purchase through them, we will make a small commission at no extra cost to you. You can read our full disclosure policy here.
- Paper Mache Storage Hat Boxes, 2 sizes 8” and 10”
- Paintbrush, 2” angled
- Paintbrush, small angled fine tip
- Americana Acrylics in Mistletoe, Foliage Green, Melon, Bahama Blue, White Wash
- Americana Decor Stencil – Mod Leaf 6”x6”
- Americana Decor Metallics in silver
- Painter’s tape
- Pencil
A Few Tips Before You Get Started
- Allow paint to dry fully before applying additional coats of paint or changing color.
- To protect your work surface, place a sheet of parchment paper over your work area.
- Ensure the paintbrush is completely dry when painting to avoid bubbles forming on paper mache from excess moisture.
How To Make Modern Retro Painted Craft Hat Boxes
Painting the Larger Hat Box
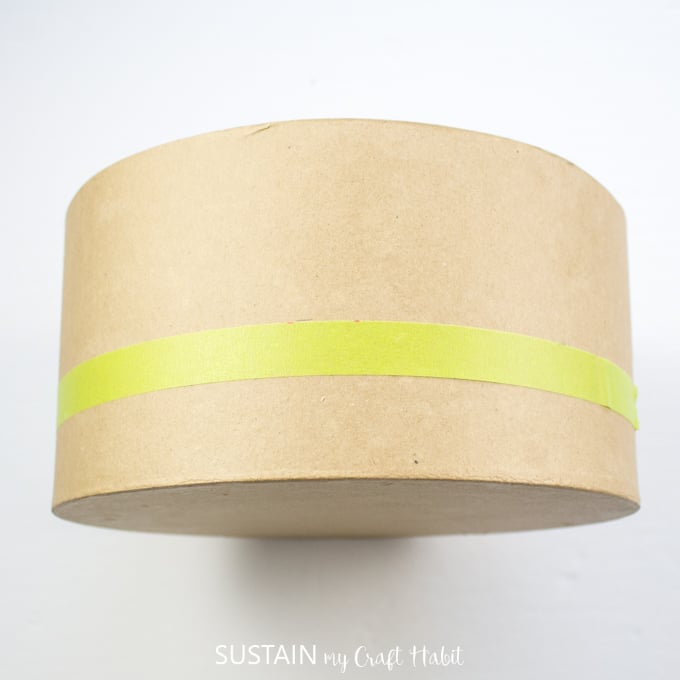
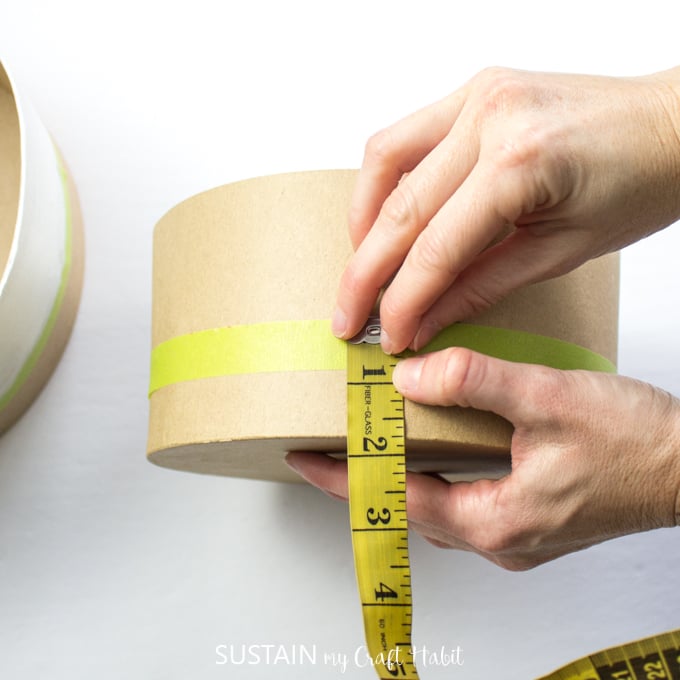
Measure and mark 2” up from the bottom.
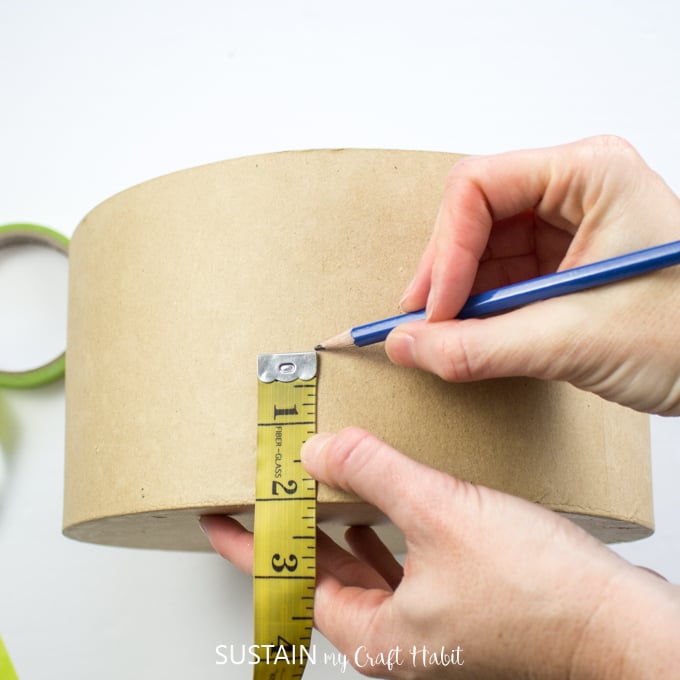
Place a piece of painter’s tape along the circumference of the box just below the 2″ mark.
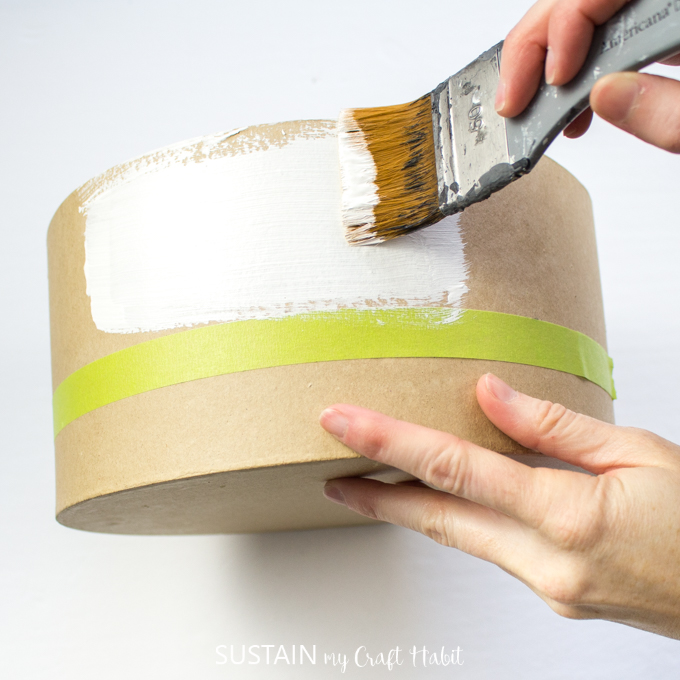
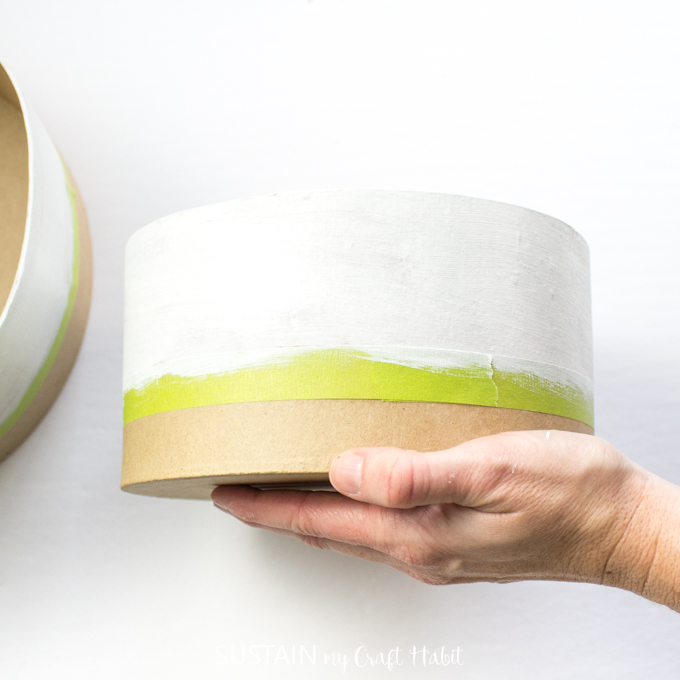
Paint the upper area in White Wash and add an additional coat of paint as needed for full coverage.
Remove painter’s tape.
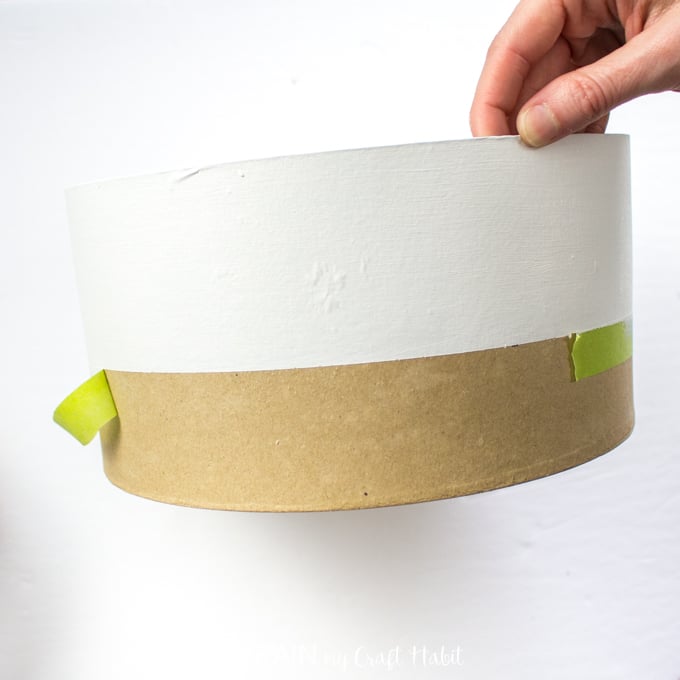
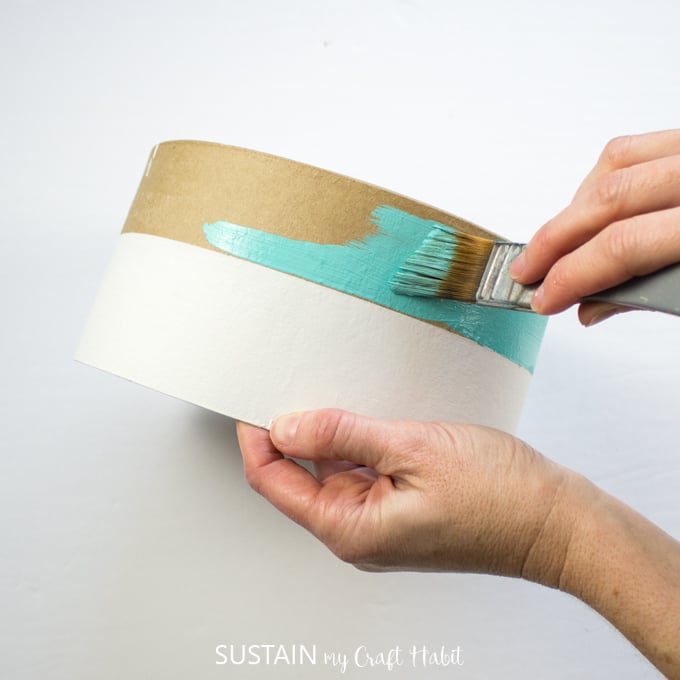
Paint the lower half of the hat box in Melon.
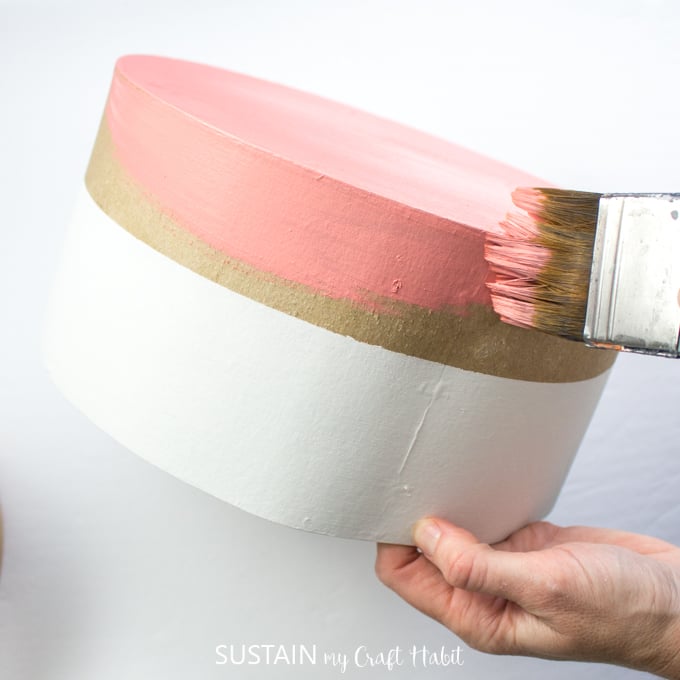
Paint the lid in Bahama Blue.

Painting the Smaller Hat Box
Measure and mark 1 3/4” up from the bottom of the smaller hat box around the circumference. Place painter’s tape below the 1 3/4” marks from the bottom around the circumference of the box.
Paint the upper area in White Wash.
Remove the painter’s tape and paint the lower half of the box in Bahama Blue.
Paint the smaller lid in Melon.

Applying the Mod Leaf Stencil
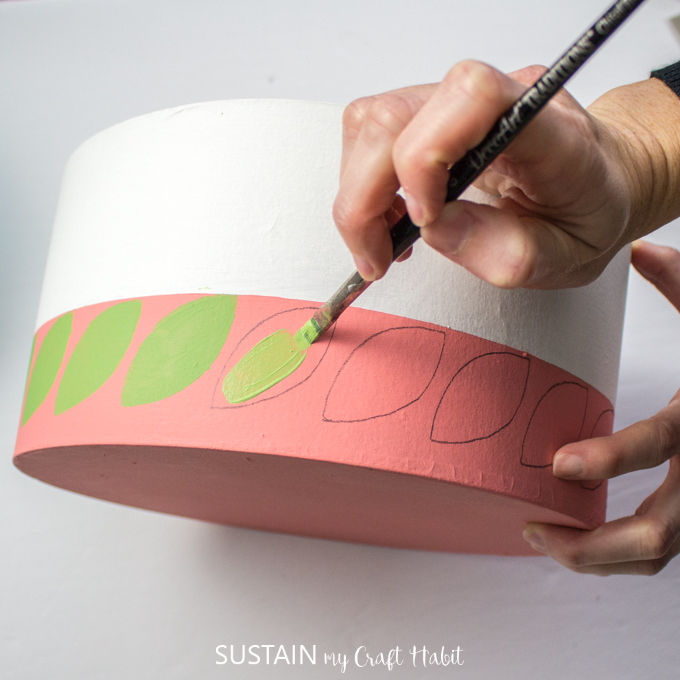
Place the stencil on the painted box aligning the center of the stencil with the painted line.
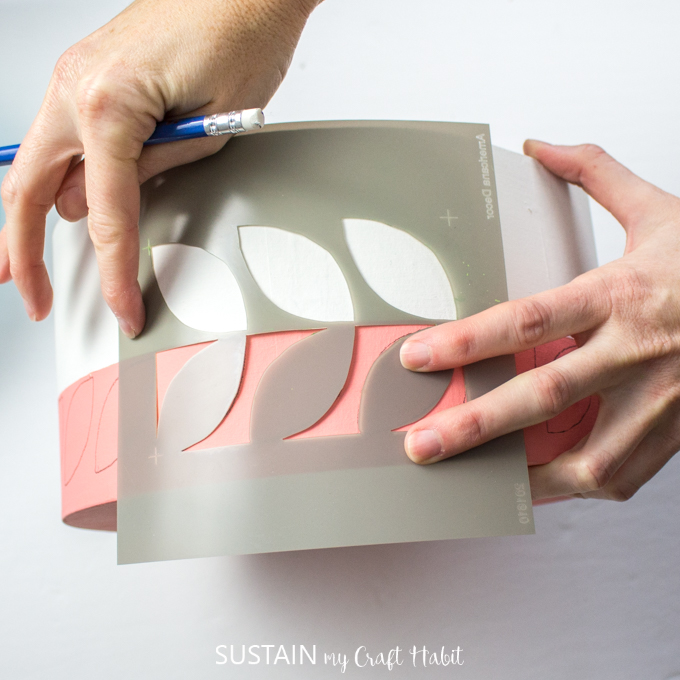
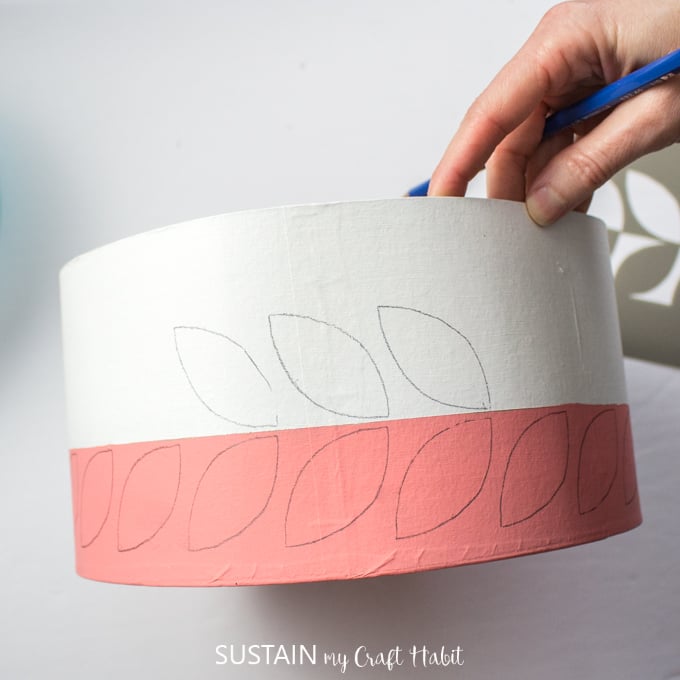
Using a pencil, trace the stencil directly onto the box.
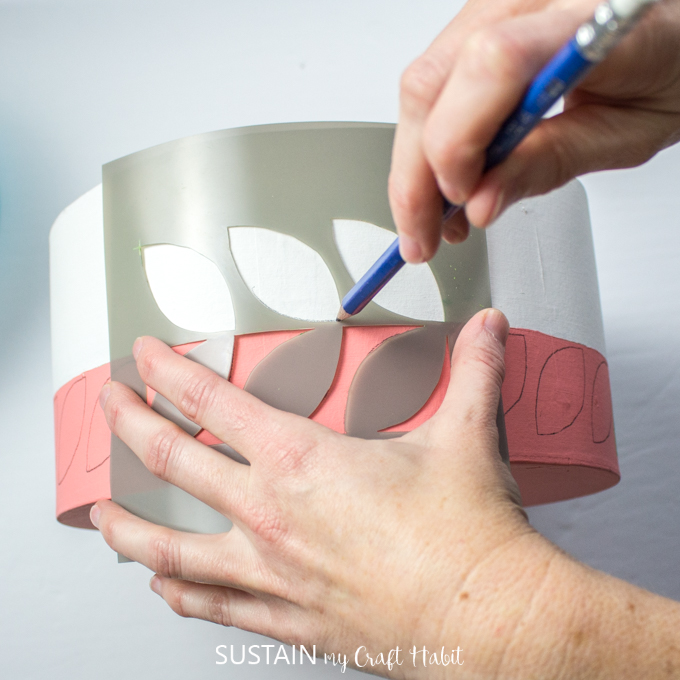
Flip the stencil over and trace the same pattern above the line. Continue along the entire circumference of the box.
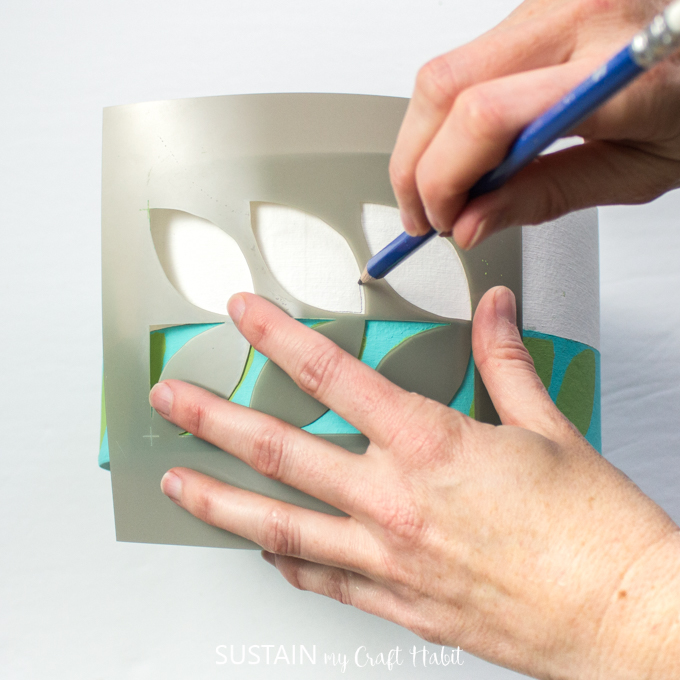
Following the same instructions as the larger box, applying the mod leaf stencil to the smaller sized box.
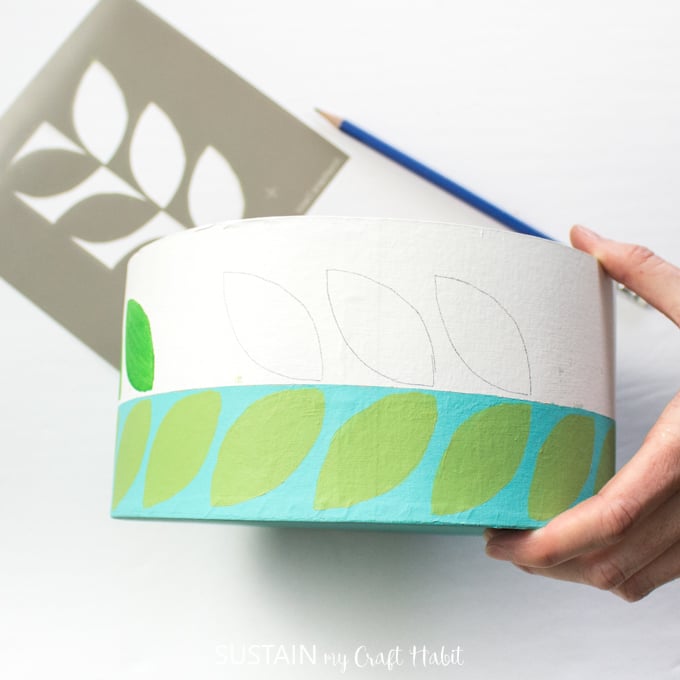
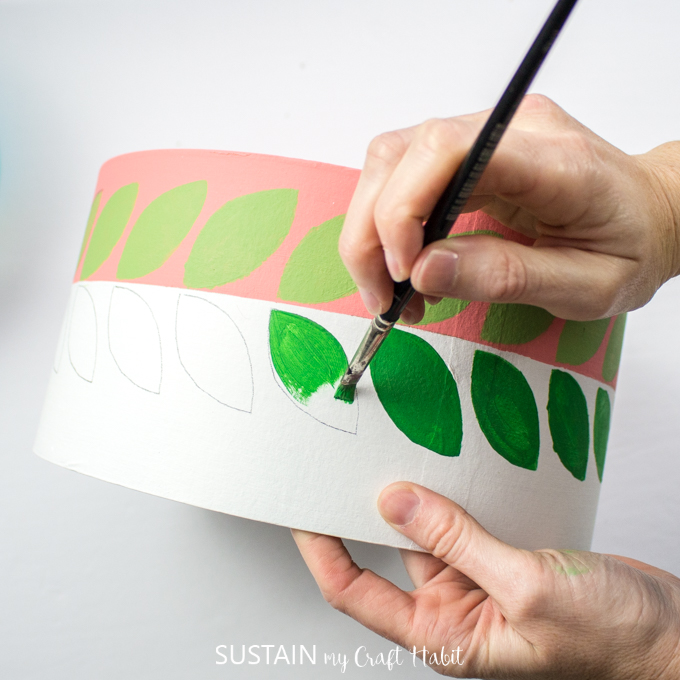
Paint the mod leaves in Mistletoe for the upper leaf pattern and Foliage Green for the lower leaf pattern.
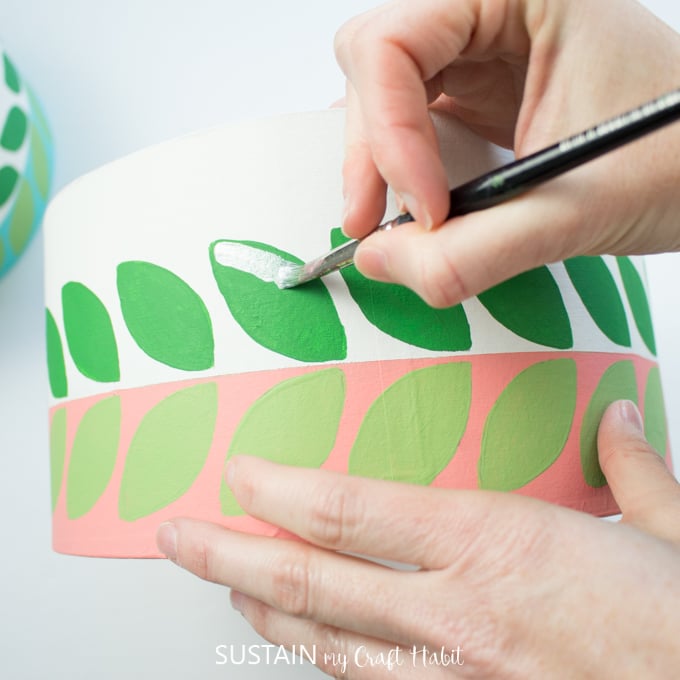
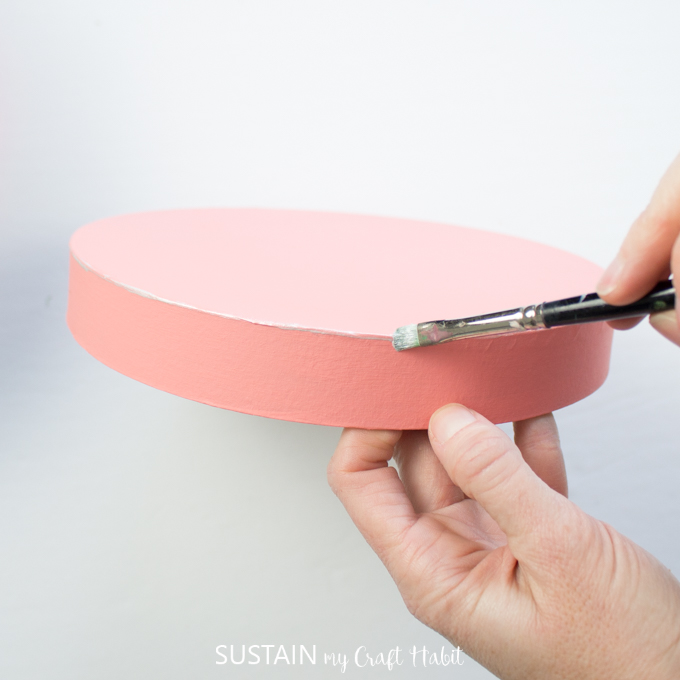
With a fine tip paintbrush, add silver accents along the edges of the leaves and edges of the lids.
And that’s it, I love the look of these craft hat boxes, pretty stylish if you ask me! This project originally appeared in DecoArt’s project gallery.
Like it? Pin it for later!

Modern Retro Painted Craft Hat Coxes
Materials
- 2 Paper Mache Storage Hat Boxes 8” and 10”
- Paintbrush 2” angled
- Paintbrush small angled fine tip
- Americana Acrylics in Mistletoe, Foliage Green, Melon, Bahama Blue, White Wash
- Americana Decor Stencil Mod Leaf 6”x6”
- Americana Decor Metallics in silver
- Painter’s tape
- Pencil
Instructions
- For the larger craft hat box: At the center point of the box height, place a piece of painter’s tape along the circumference.
- Paint the upper area in white wash and then remove the tape.
- Paint the lower half of the larger box in melon.
- Paint the lid in bahama blue.
- For the smaller craft hat box: At the center point of the box height, place a piece of painter’s tape along the circumference.
- Paint the upper area in white wash and then remove the tape.
- Paint the lower half of the box in bahama blue.
- Paint the smaller lid in melon.
- Place the stencil on the painted box aligning the center of the stencil with the painted line.
- Using a pencil, trace the stencil directly onto the box.
- Flip the stencil over and trace the same pattern above the line. Continue along the entire circumference of the box.
- Following the same instructions as the larger box, apply the mod leaf stencil to the smaller sized box.
- Paint the mod leaf pattern in foilage green and mistletoe.
- Add metallic silver accents to the painted leaves and along the edges of the boxes and lids.


Ladies these are absolutely adorable. I love your color choices and it is such an easy way to make a hat box look fantastic!
Thank you, Mary! We love how they turned out.