Make this Simple DIY Pebble Art in an Hour!
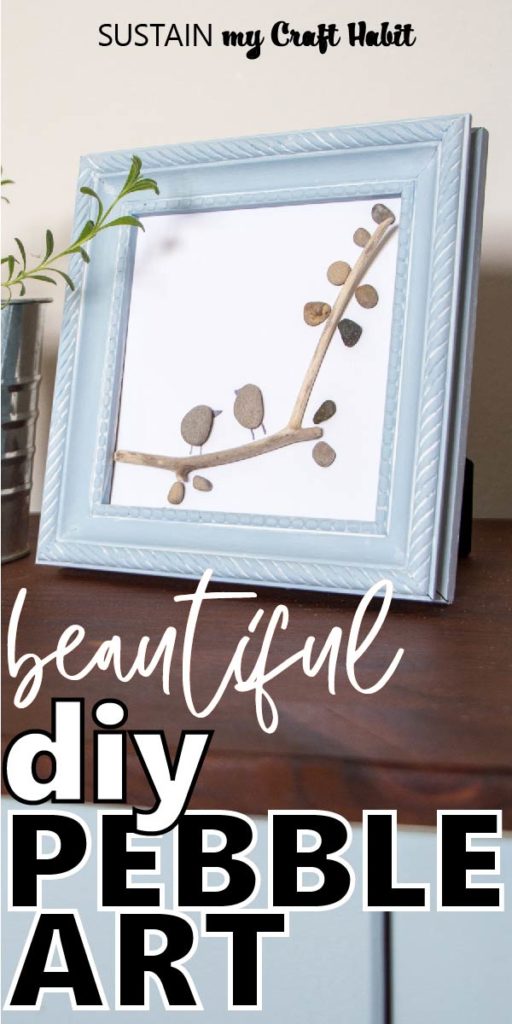
Transform treasures found in nature into creative, one-of-a-kind art with this simple DIY pebble art craft. It makes a beautiful piece of a decor from your home or a thoughtful gift for someone special!
Creating beautiful art doesn’t have to be complicated or expensive. This easy craft project uses natural elements to make a stunning piece of home decor that’s sure to spark joy. Pebble art is a great way to bring the outdoors inside while creating meaningful pieces that celebrate family members or nature scenes.
One-of-a-Kind Pebble Art
The idea of making art using materials you find outside is really appealing for us. Most of our crafts are in some way inspired by nature so much so that we even have a “nature crafts” category on our blog! The fun part starts with gathering materials! While you can find beautiful pebbles in flower beds or along riverbeds, remember to check local regulations about collecting from public land. The dollar store often carries bags of river rock if you prefer to purchase them. Look for smaller pebbles with interesting shapes – they’ll become birds, faces, or flowers in your pebble art scene.

We created and shared this project idea a couple years ago on Crafts by Amanda but surprisingly haven’t shared it here yet. Everytime I walk by my framed rock art at home, I’m reminded to share this simple craft with our readers! So here it is, friends, we hope you enjoy it.
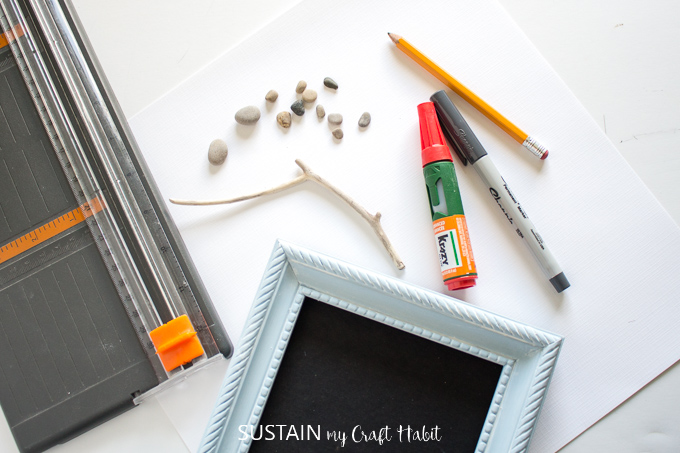
Materials Needed:
Disclosure: This post contains affiliate links for your shopping convenience. Should you choose to purchase through them, we will make a small commission at no extra cost to you. You can read our full disclosure policy here.
- Pebbles – assorted sizes and shapes (x2 pebbles approx. ½” high x ½” wide and remaining smaller pebbles ⅛” to ¼”)
- Twig
- Picture Frame (glass removed) or a small shadow box
- White cardstock
- Pencil and eraser
- Fine Tip Sharpie, black
- Krazy Glue
- gloves
- Paper cutter or ruler and scissors
How to Make a Pebble Art Picture:
Gathering the Pebbles and Twigs
This is probably going to sound strange but when you’re looking for pebbles to use as “birds”, choose pieces that resemble a bird’s body. The pieces should be rounded, plump and have a bit of a belly.
Assembling:
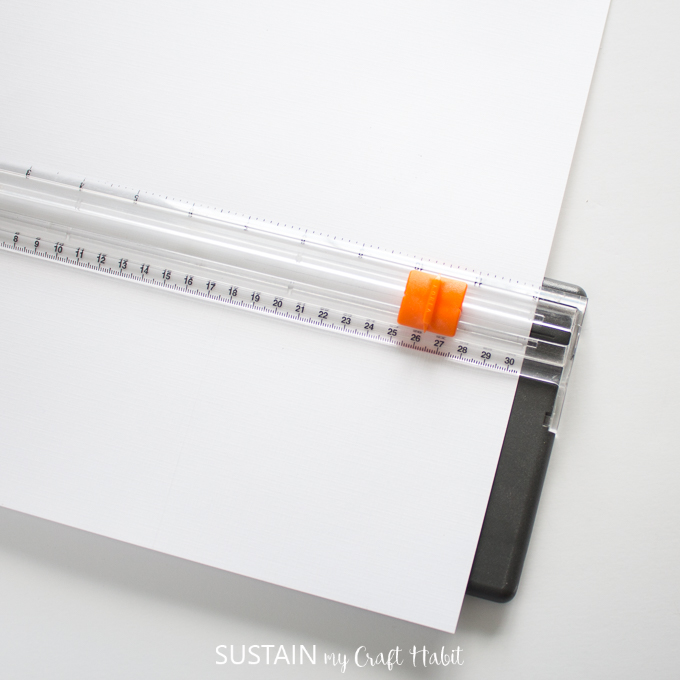
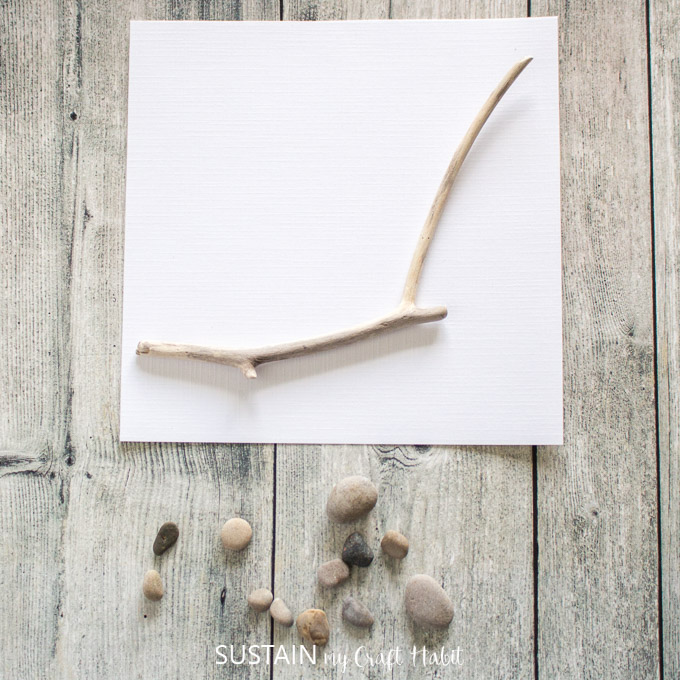
Cut cardstock to size.
Temporarily lay your pieces on the paper to play around with the placement before glueing.
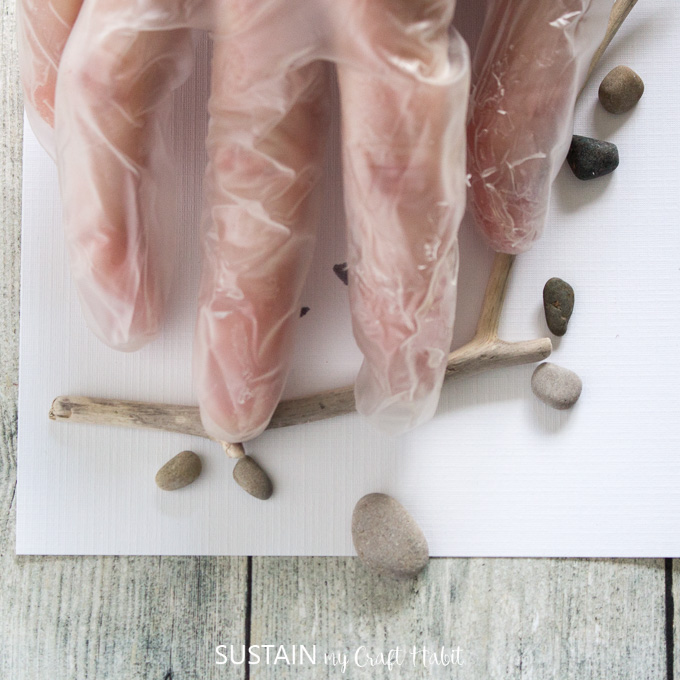
Place the twig onto the paper as desired.
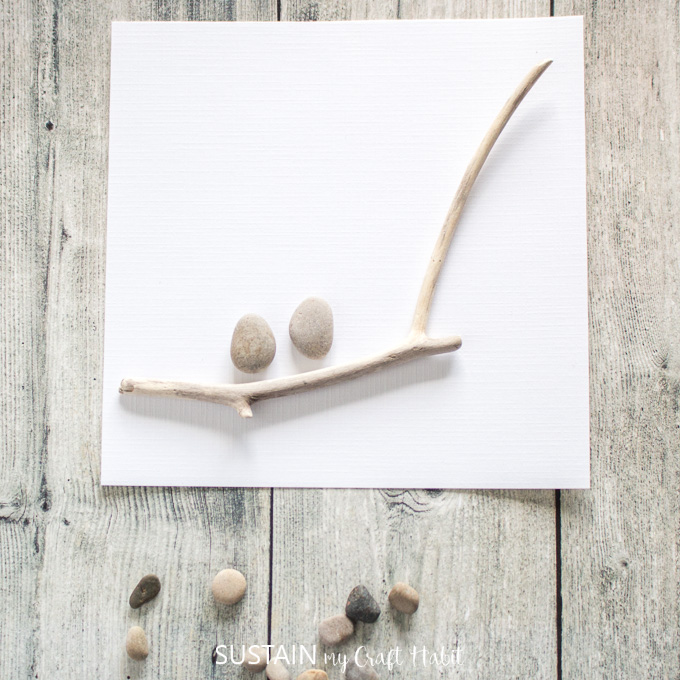
Place the larger sized pebbles along the twig to resemble birds perching.
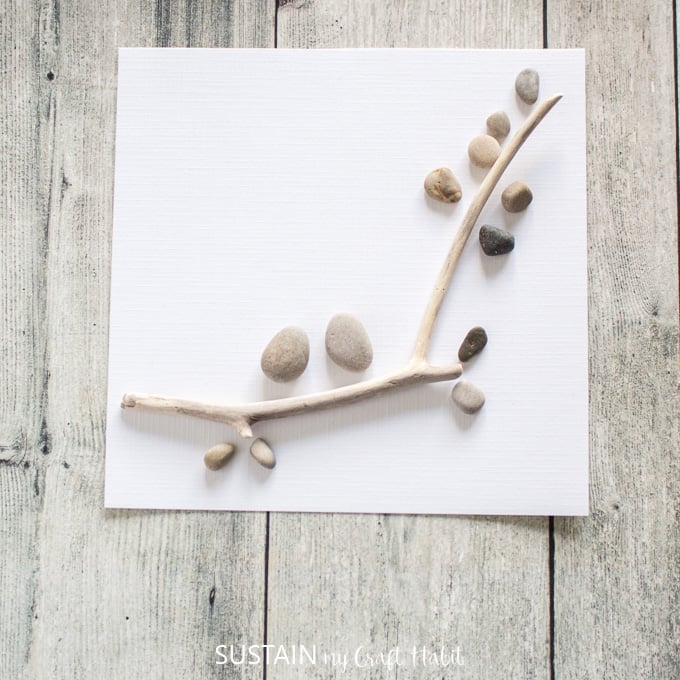
Begin to place the smaller sized pebbles along the edges of the twig to resemble leaves. If you have them, you could consider adding some green sea glass for leaves instead of the stones.
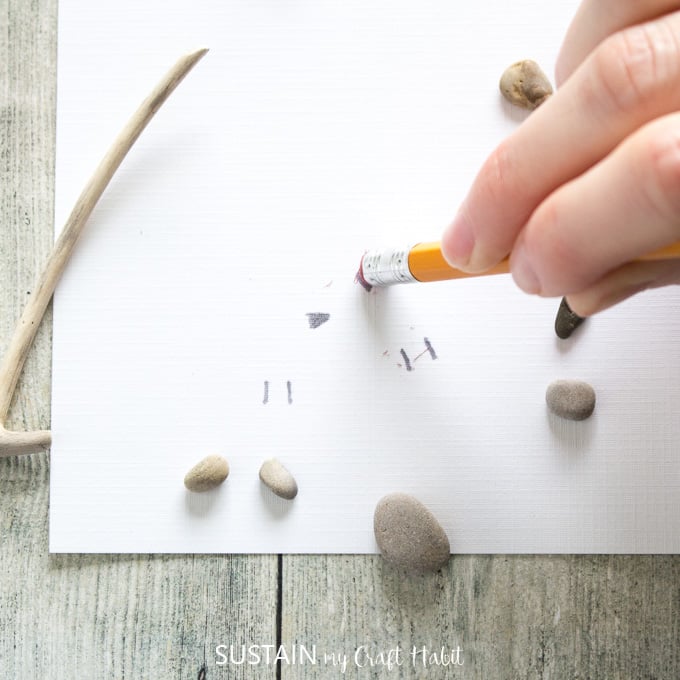
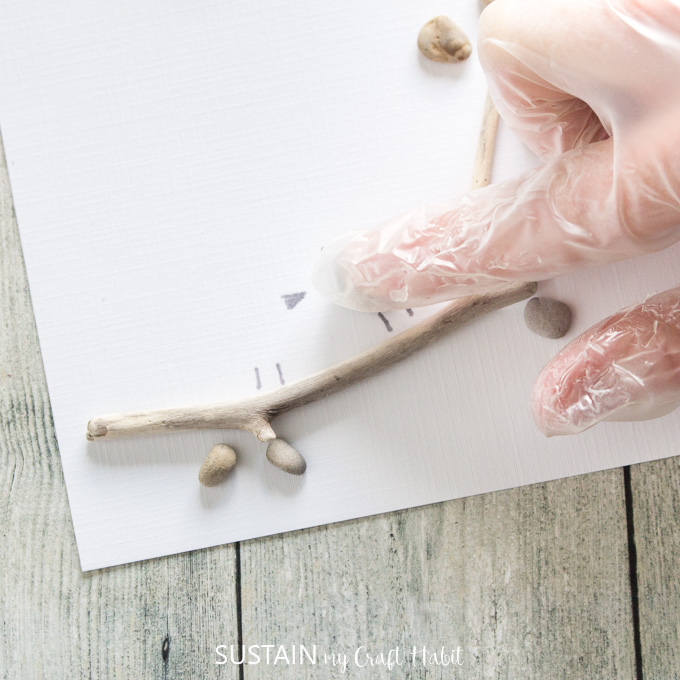
Lift one larger pebble at a time and using a pencil, faintly draw the bird beaks and the bird feet. Replace the larger pebble on top.
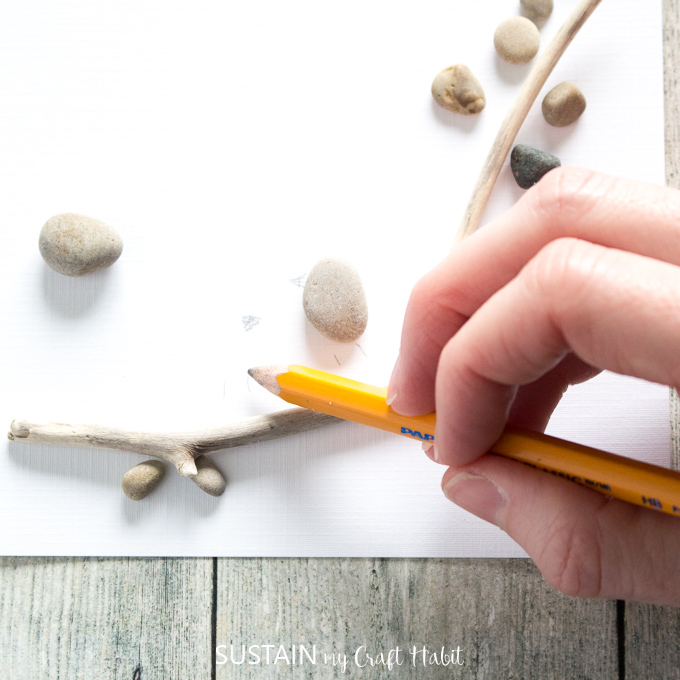
Repeat with the second larger pebble.
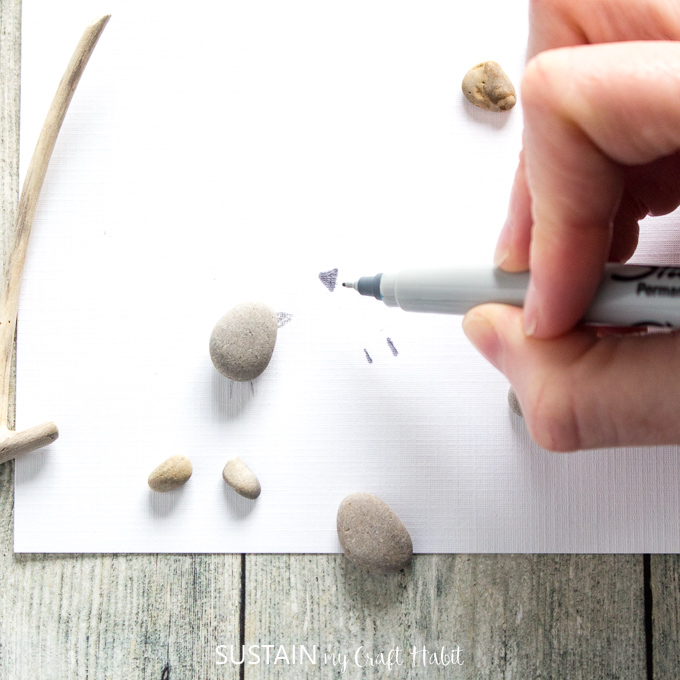
If you’re happy with the drawing, trace over top of the pencil markings with a fine tip black sharpie. Let it dry and erase any visible pencil markings.
When you’re satisfied with the overall design, you can start to secure the pieces to the paper.
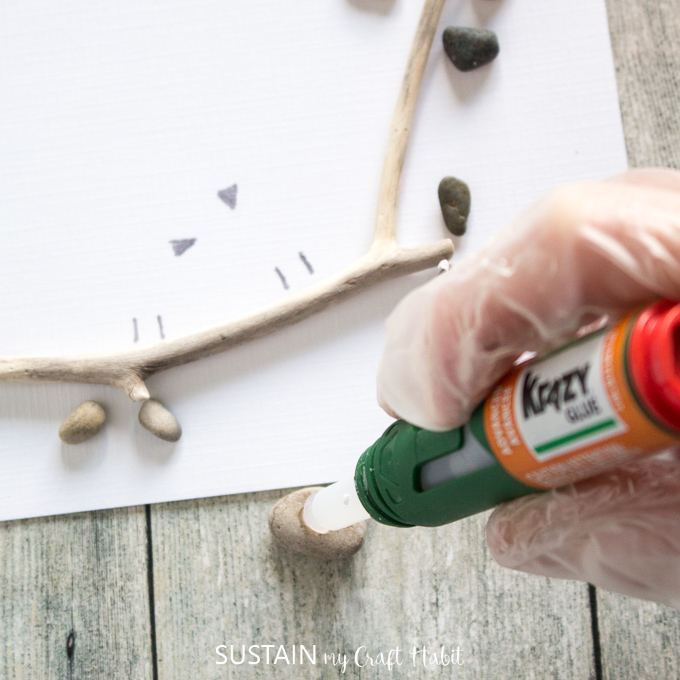
Using protective gloves, begin to dab Krazy Glue to the back side of the twig and press onto the paper. Hold for 10 seconds to secure in place.

Repeat with each pebble. Hold in place on paper for 10 seconds before moving on to the next pebble.
Leave it to fully set overnight.
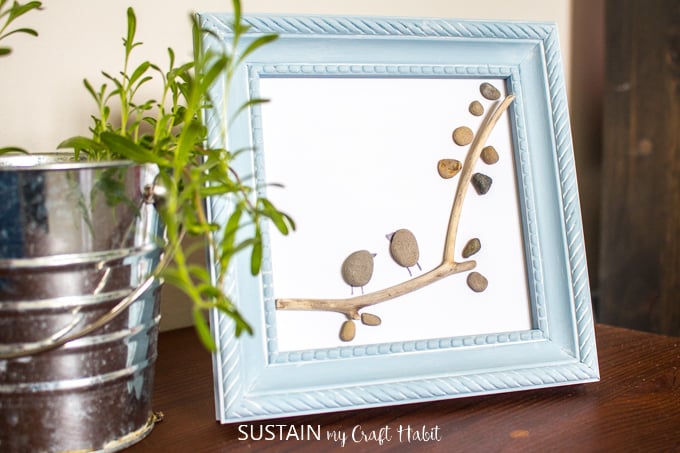
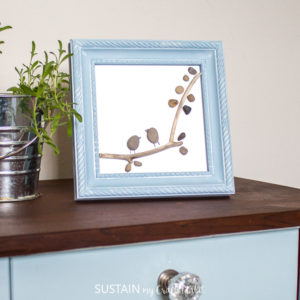
That’s it! You have a beautiful piece of one-of-a-kid rock art for your home! We love how this piece turned out so much we’re planning to make pebble art family soon.
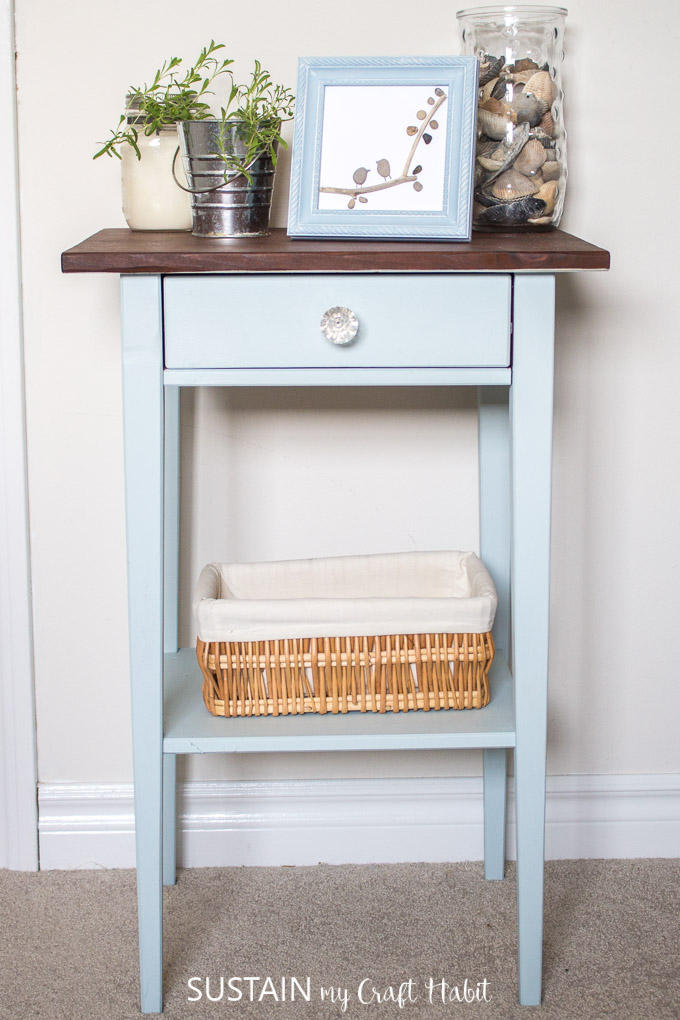
Did you notice that beautiful blue painted picture frame, it’s the same Serene blue chalky paint we used to refinish an outdated bedroom dresser.
Check Out These Other Ideas Using Pebbles:
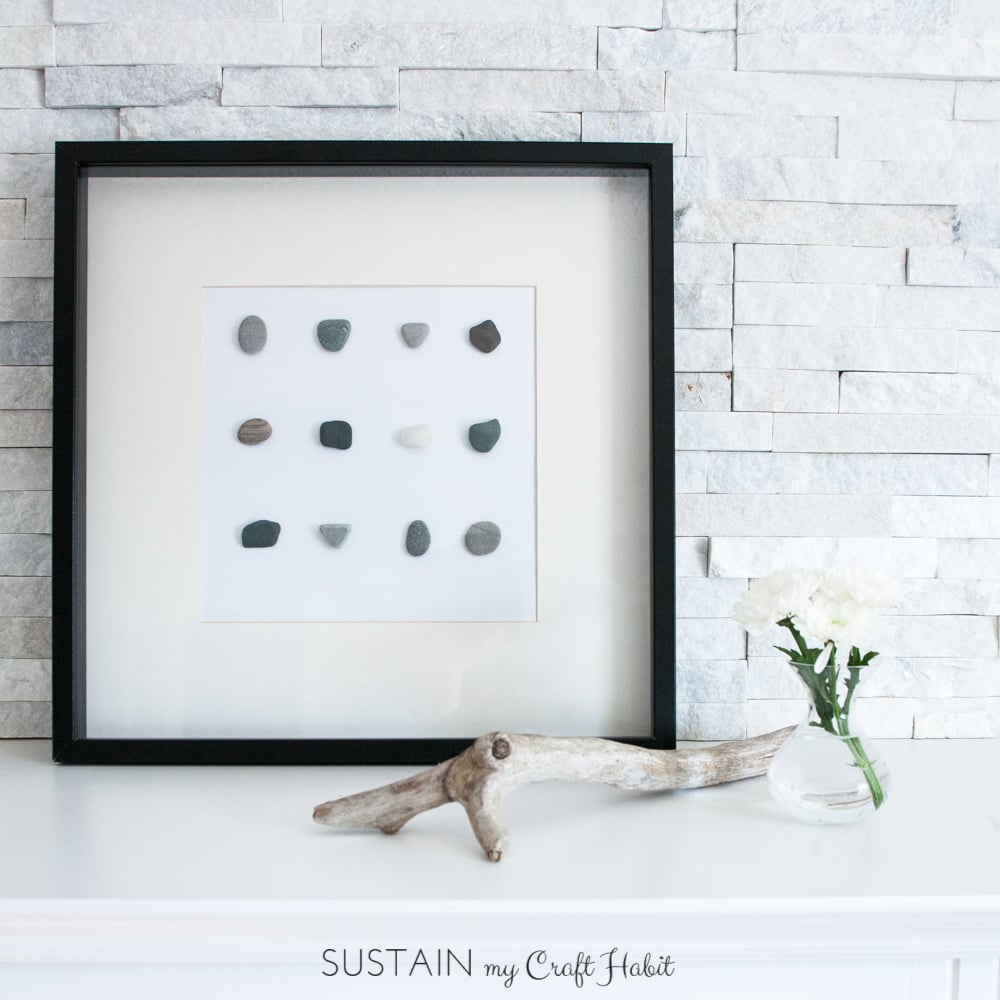
- Beach stone wall art
- DIY stepping stone
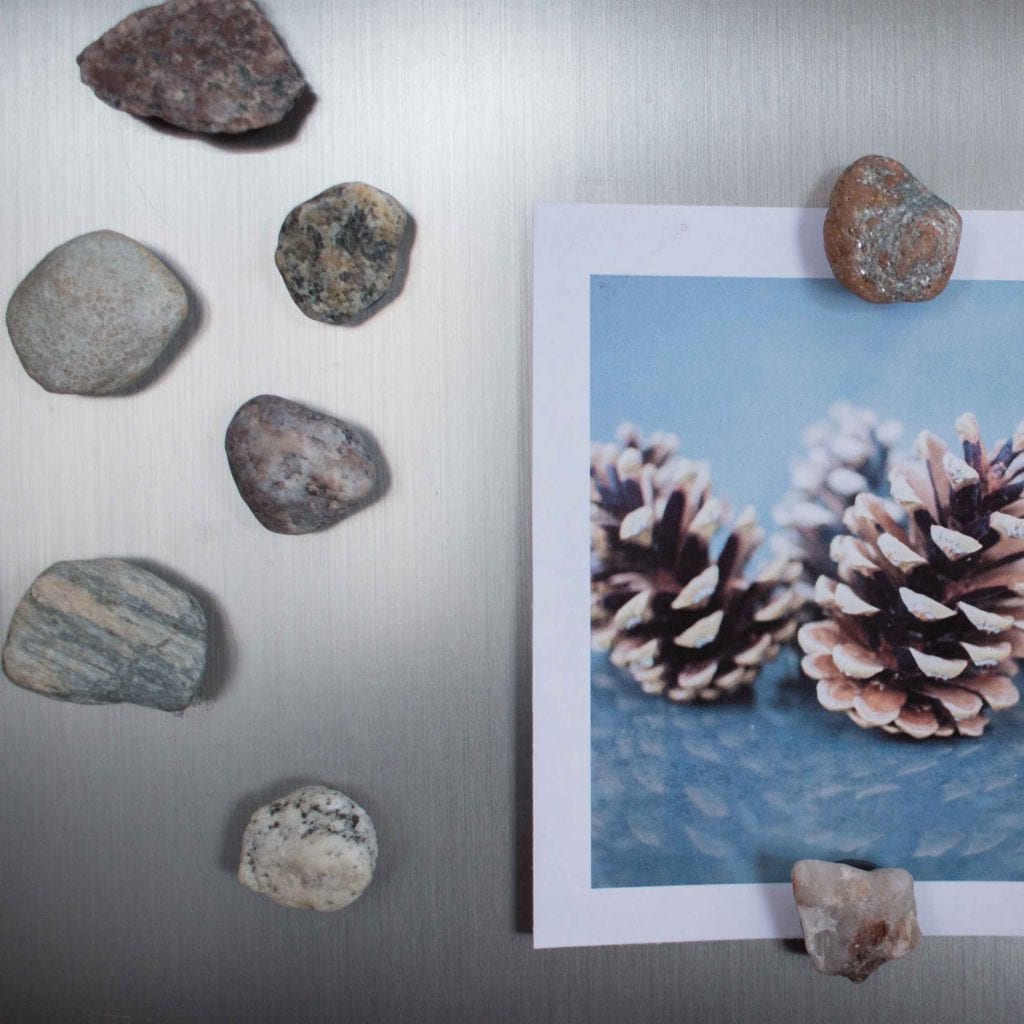
- Earthy rock and fossil magnets
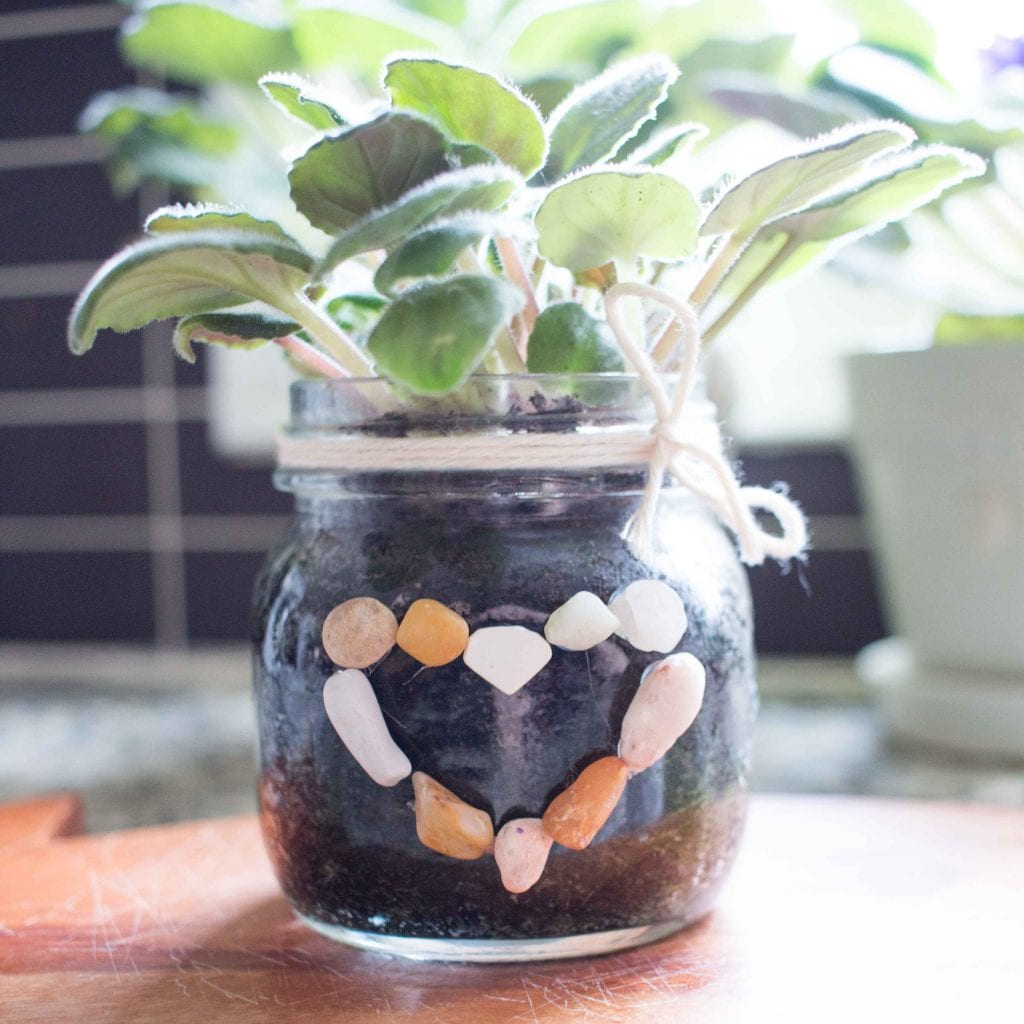
- Simple mason jar planter
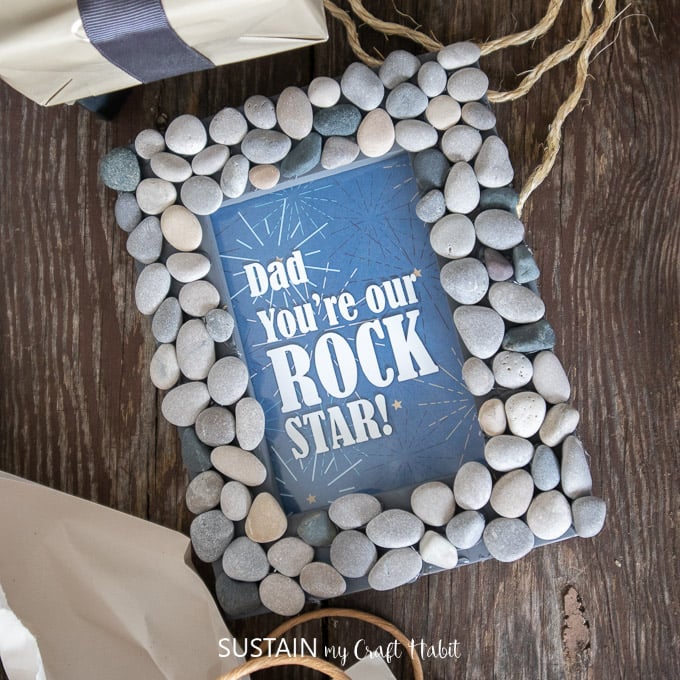
- Rock’N Father’s day picture frame

Beach Stone Wall Art 
Stepping Stone 
Earthy Rock & Fossil Magnets Simple Mini Planter Rock’n Father’s Day Picture Frame

Like this? Pin it for later!

How to Make Pebble Art
Materials
- 2 Pebbles – assorted sizes and shapes
- Twig
- Picture frame glass removed
- White cardstock
- Pencil and eraser
- Fine tip Sharpie black
- Krazy Glue
- Paper cutter or ruler and scissors
Instructions
- Cut cardstock to size.
- Place the twig onto the paper as desired.
- Place the larger sized pebbles along the twig to resemble birds perching.
- Begin to place the smaller sized pebbles along the edges of the twig to resemble leaves.
- Lift one larger pebble at a time and using a pencil, faintly draw the bird beaks and the bird feet.
- Repeat with the second larger pebble.
- Trace over top of the pencil markings with a fine tip black sharpie.
- Using protective gloves, begin to dab Krazy Glue to the back side of the twig and press onto the paper. Hold for 10 seconds to secure in place.
- Repeat with each pebble.
- Leave it to fully set overnight.


This is lovely.