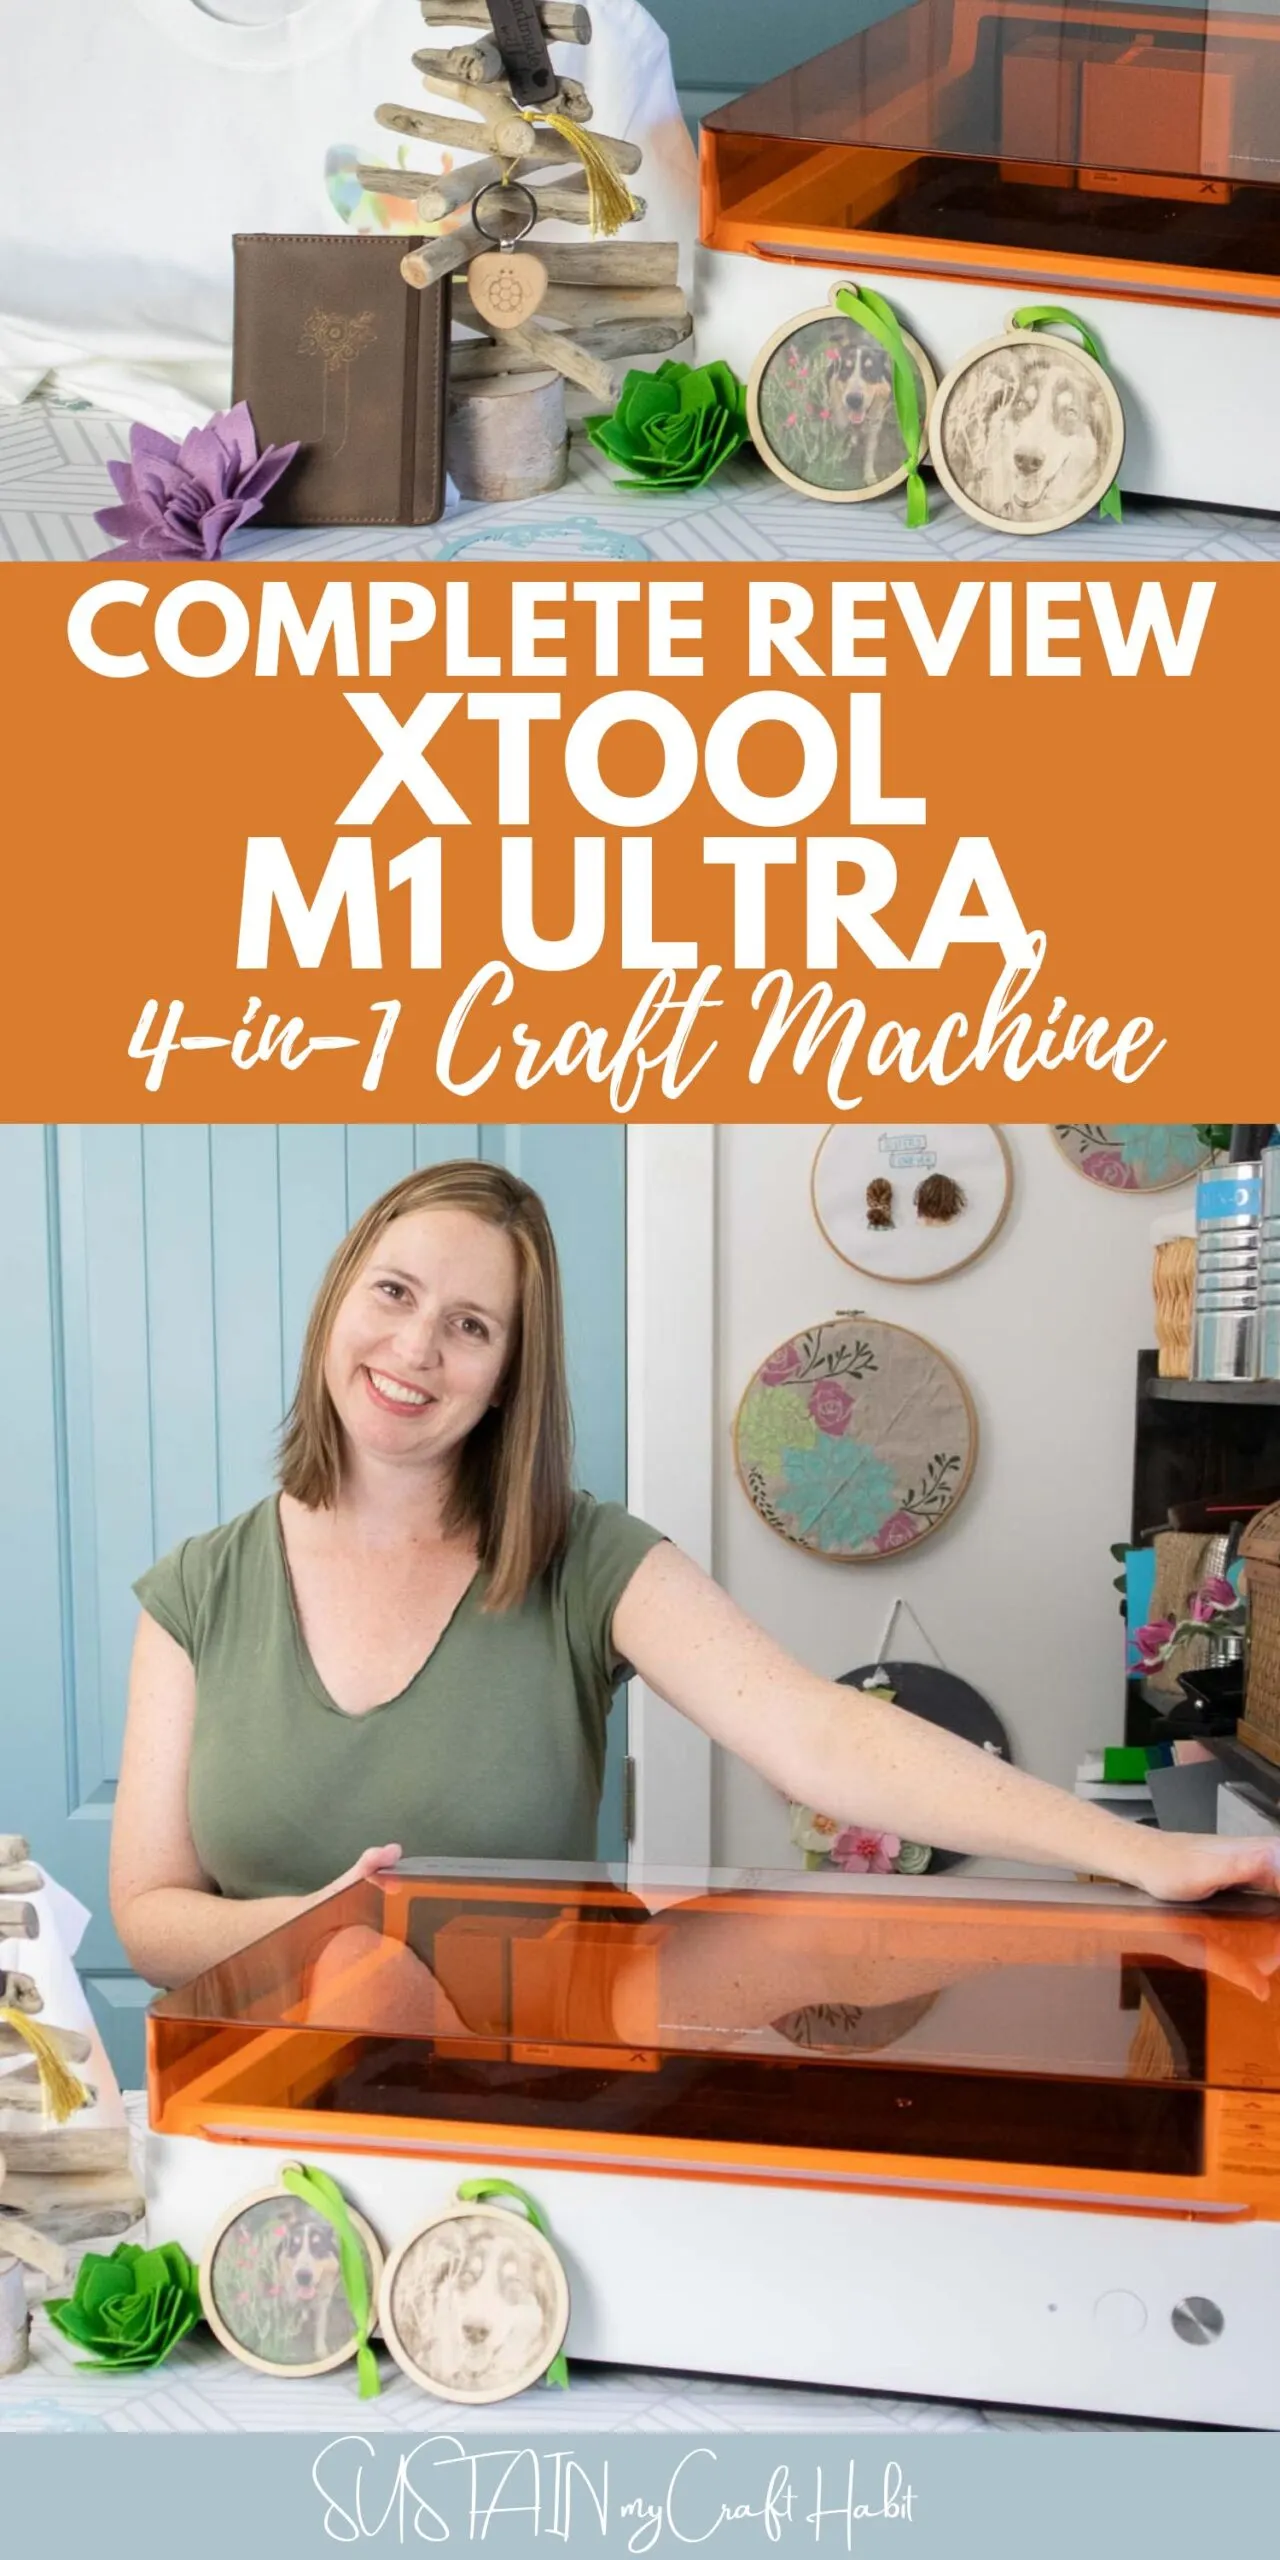
Just when we thought we’d seen it all in the crafting world, along came something that really impressed us: the world’s first 4-in-1 home crafting machine, the xTool M1 Ultra. This machine has four amazing crafting functions in one: a laser cutter and engraver, blade cutting, pen drawing and coolest of all, inkjet printing!
Disclosure: This post is sponsored by Makeblock. All opinions are our own.
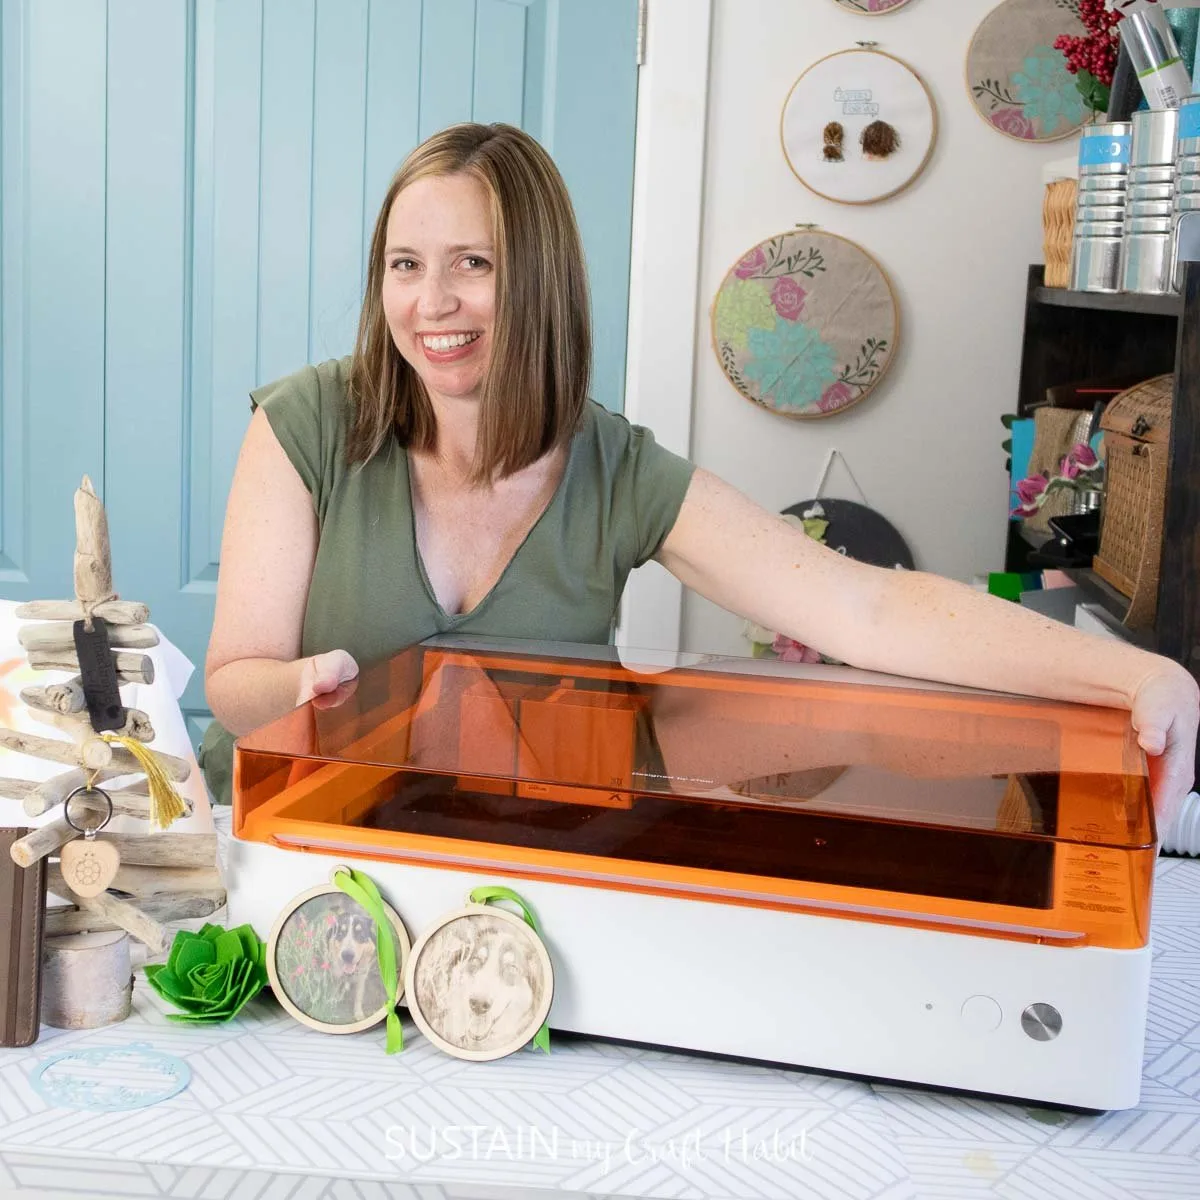
When Makeblock reached out to see if we’d be interested in reviewing the xTool M1 Ultra, we couldn’t wait to give it a try. In this post we’ll show you:
- everything that comes with the xTool M1 Ultra (10W Deluxe Package);
- the SIMPLE step by step set up;
- eight (yes eight!) quick beginner projects we made;
- our first impressions and honest xTool M1 Ultra review.
What is the xTool M1 Ultra Machine?
Similar to xTool M1 and xTool F1 diode lasers we’ve previously reviewed, the xTool M1 Ultra is a diode laser cutting and engraving machine. However, it has notable additional features such as knife cutting, pen drawing and even inkjet printing, altogether in one compact home craft machine.
The xTool M1 Ultra is a dream for all DIYers (including crafters, wood workers and artisans) with its versatility in laser cutting and engraving on surfaces ranging from wood, cardboard, acrylic, leather and more, while also being able to cut with a blade, draw with a pen and full-color print directly onto a surface. Additionally, with the RA2 Pro rotary accessory you can also engrave on cylindrical objects such as tumblers.

xTool M1 Ultra Package Options
xTool M1 Ultra offers several package options to meet the needs of the crafter. Choose between 10W or 20W machine power and then select the bundle option which include basic, advanced and deluxe packages.
The 10W basic bundle is quite generous and includes the 10W diode laser module, cutting blade, fine point blade and fine point pen. You can make countless projects with this configuration however we strongly recommend starting with the Advanced or Deluxe Bundles which include the Inkjet Module. The price difference is minimal and you get all the cool functionality of Inkjet printing.
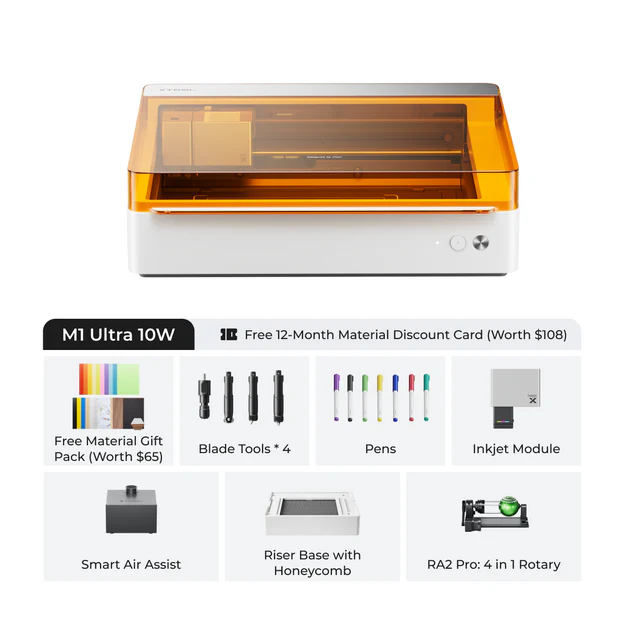
The xTool M1 Ultra Deluxe Bundle is also a great option, especially if you are interested in engraving larger or cylindrical objects such as tumblers. This Bundle includes all the bells and whistles such as the riser base with honeycomb panel and RA2 Pro. Additionally, it included these extra items:
- Material Kit including sheets of basswood, cardstock, leather, acrylic, keychains, sublimation paper and blank tees and more
- Blade tools
- Pens
Video Review of the xTool M1 Ultra 10W Deluxe Package
Want to see all that came with the xTool M1 Ultra Deluxe package? Be sure to check out our full review and demonstration over on YouTube!
Unboxing the xTool M1 Ultra Deluxe Package
xTool offers several models of laser cutters, each with their own advantages depending on the intended use.
The xTool M1 Ultra is at the mid-level price point of all their models. This machine is the most versatile with its unique 4-in-1 multi-functional capabilities.

xTool M1 Ultra Set Up
A step-by-step instruction booklet made setting up the machine very straight forward.
We began by unpacking the machine and placing it on a work surface with the back of the machine still accessible.
Next, we removed the internal items like the metal brackets, foam and stickers.

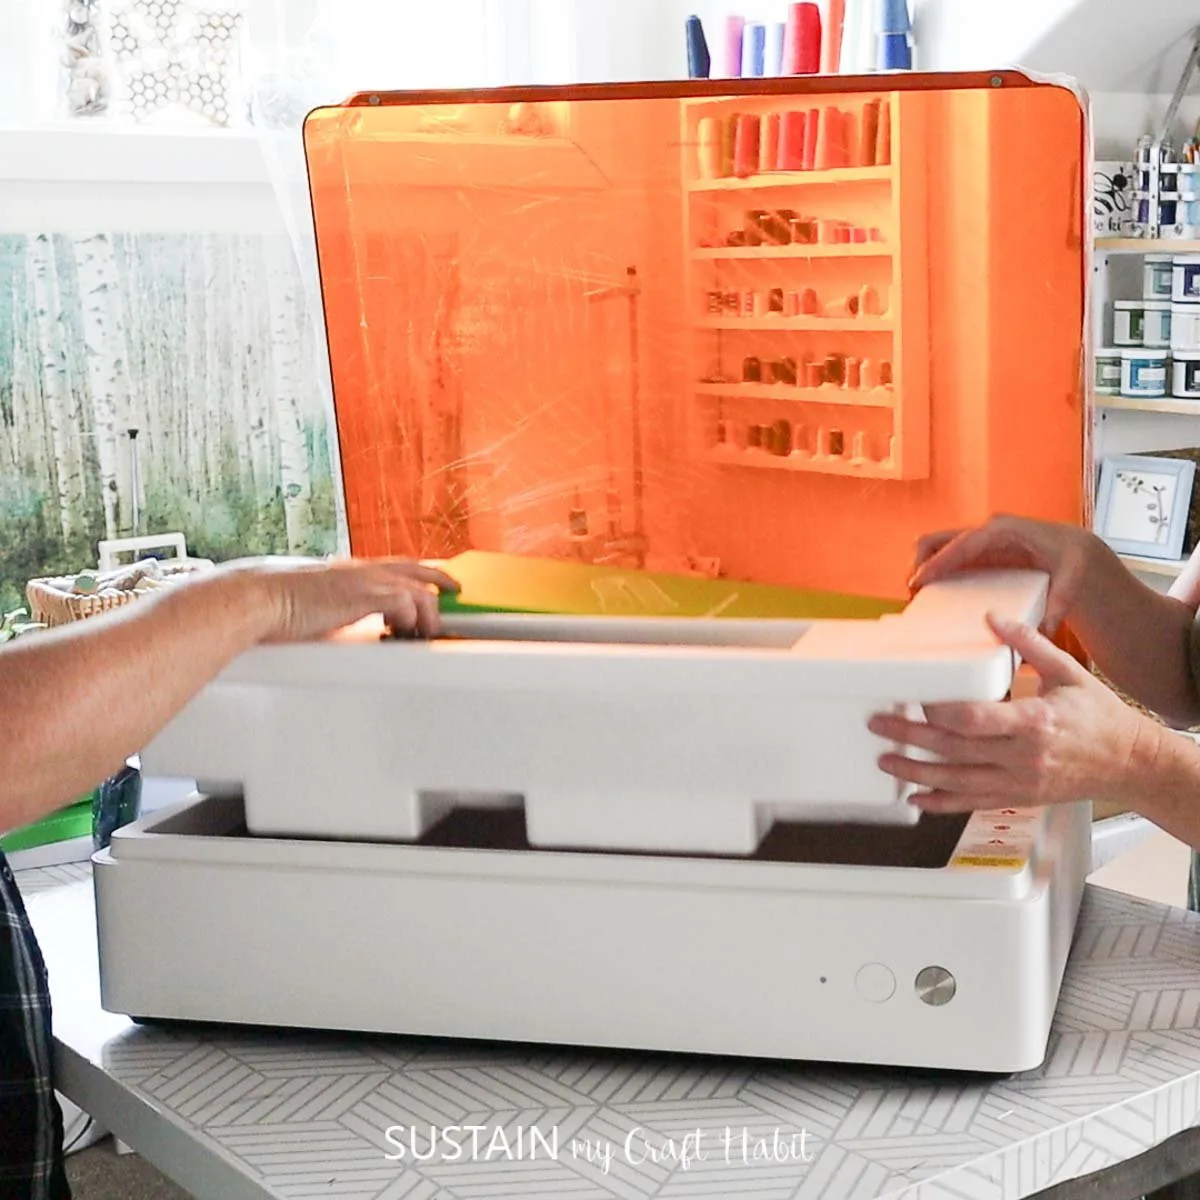
We then connected the air assist and exhaust hose to the back of the machine which instantly clicked in place. The hose was then extended towards a window for ventilation.

The xTool M1 Ultra connects your laptop either the USB cable provided or via WIFI Connection. You can also run the Ultra from a mobile device.
Connecting the xTool Creative Space Software
In order to operate the xTool M1 Ultra machine you’ll need to install the free xTool Creative Space Software (XCS 2.0) onto your PC. You’ll then connect it to the machine with either the USB cable provided or via WIFI Connection.
To install the software simply head to https://www.xtool.com/pages/software and select the version that matches your computer device.
Once installed you will open up the canvas which looks like this…

This is the command center from where you’ll tell your machine what to do. At this point you have a few options:
- Load one of the pre-built projects from the “Projects” tab;
- Design your own images using the Shape, Text and/or Vector functions on the left side of the canvas;
- Create your own images using the AI image generator; or
- Upload images and/or cut files from your computer. You can find free SVG files here at Sustain My Craft Habit.
XCS 2.0 is intuitive and user-friendly, taking just a bit of time and practice to become familiar with the settings and functions. There is a detailed tutorial on how to use the XCS software, which you can find here.
Importance of Doing Testing Grids on All Materials
Although xTool provides suggested parameter settings for all of their materials, you will find they are not necessarily the optimal settings for your machine.
Since we do have other xTool machines, we did find using the M1 Ultra and Creative Space software straightforward. However, as with any laser machine, there is some trial and error in finding the right settings for new materials.
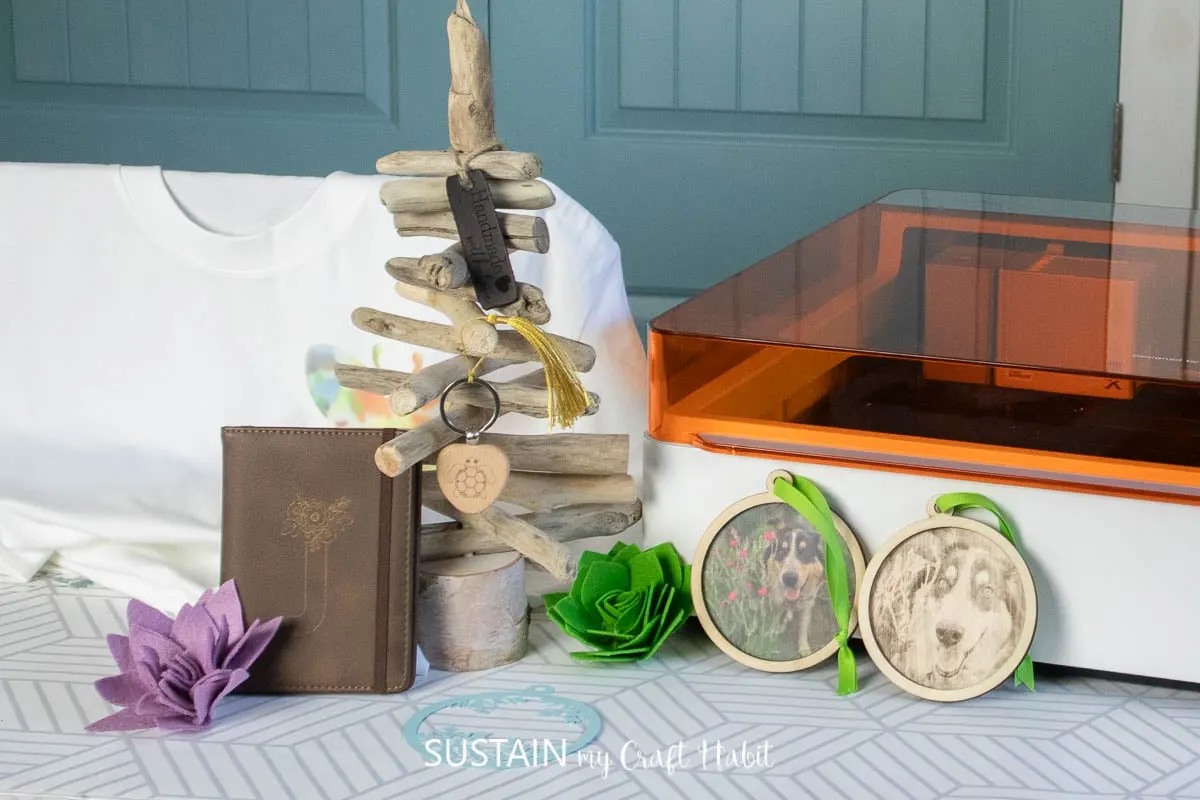
Laser Engraved Wood Keychain
Our first project was engraving a wood keychain with a simple image from Creative Space. It helped us learn the marking, framing and measuring functions and was the perfect quick little project to make.

Ensure the laser module is set in place and position the wooden keychain in the machine on top of the base plate.
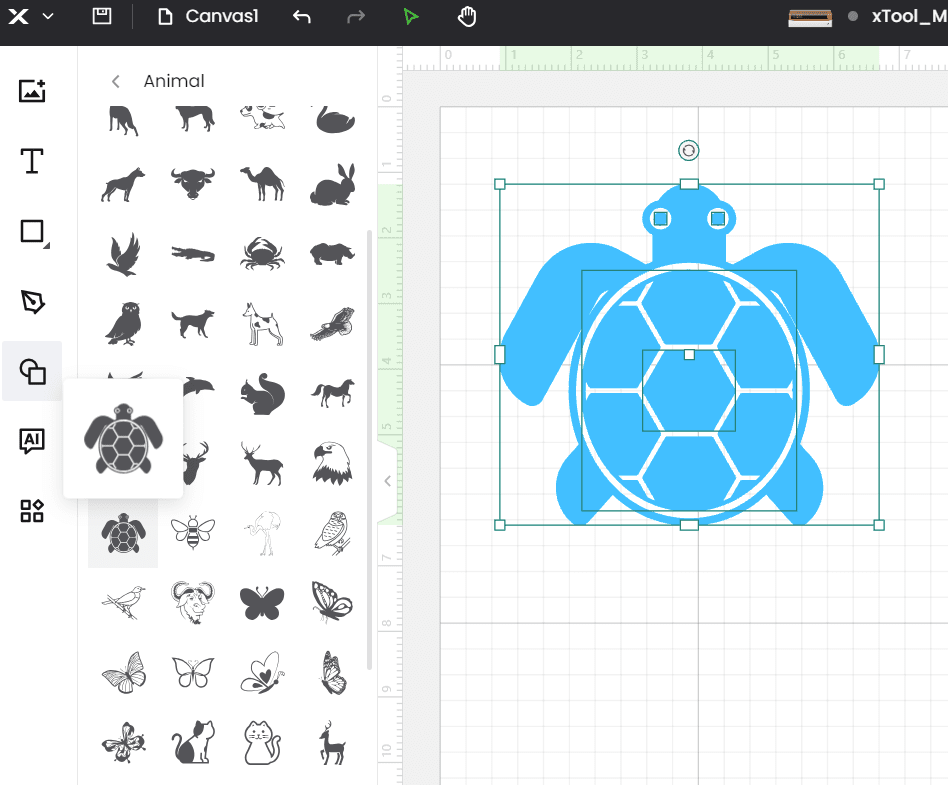
We selected a turtle design from the shape options available. Mark the area to be engraved by selecting the circle shape and choose points surrounding the keychain. With the shape selected, choose the score (or engrave) output. In our case, we used the default power and time settings.
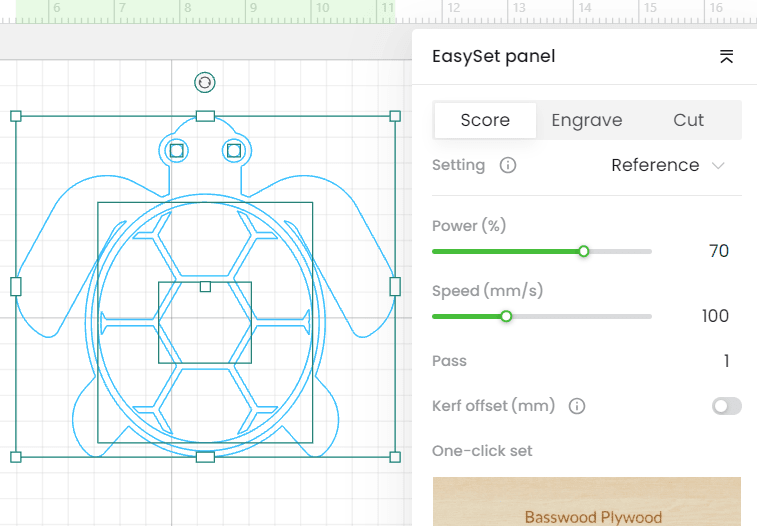
Proceed with laser engraving and remove when complete.
Blade Cutting for Paper Crafting
Next we were keen to try the blade cutting. We used the fine point blade to cut out a paper snowflake ornament.
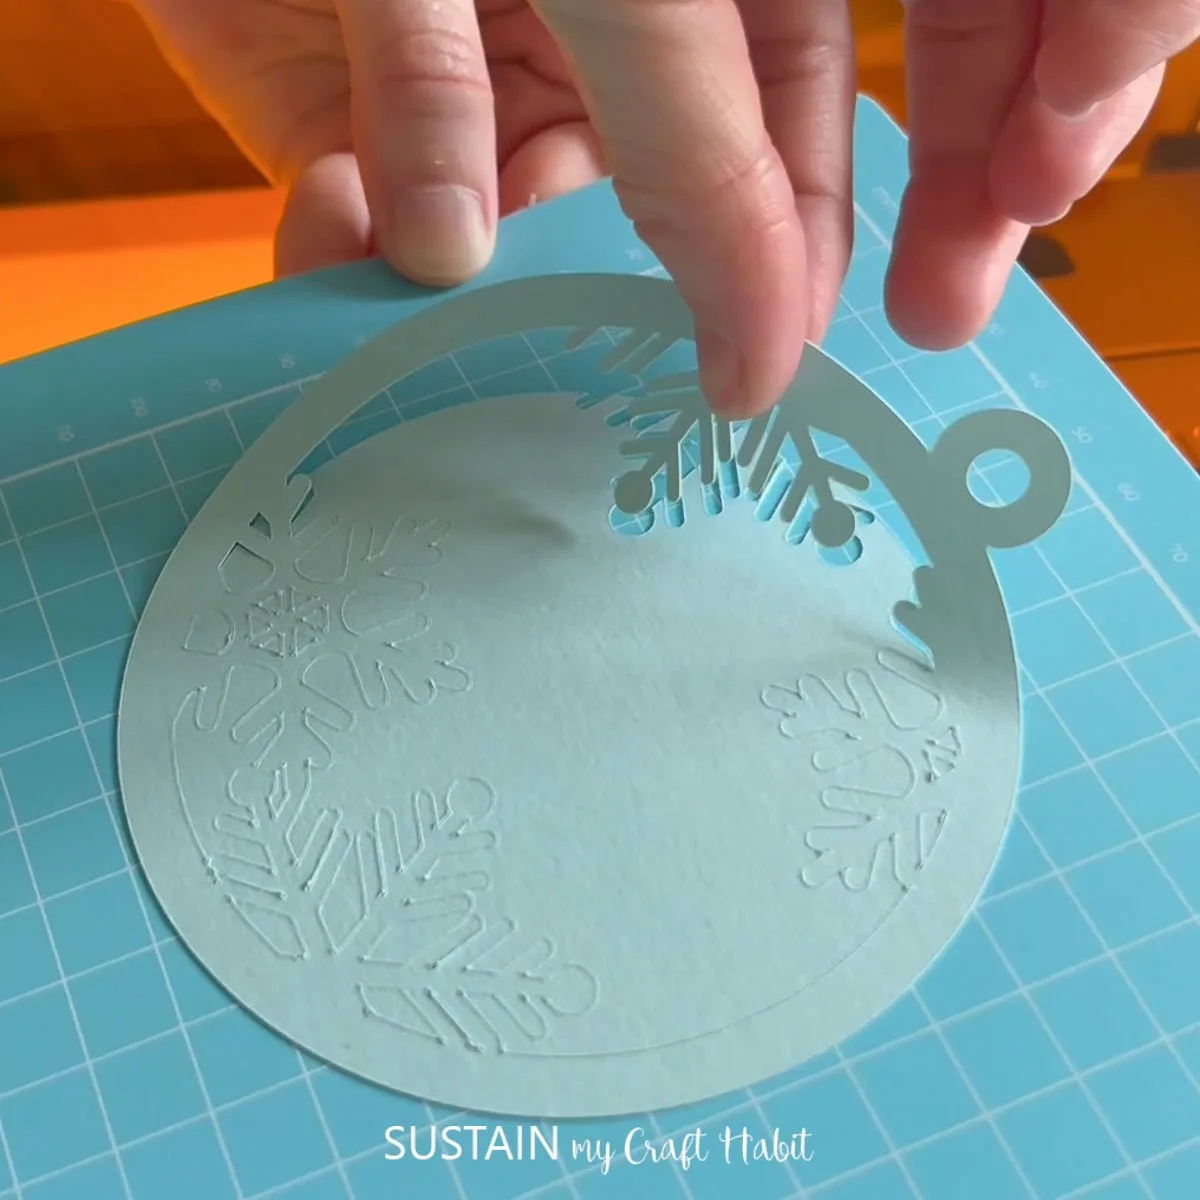
With this project, we learned about mounting paper onto a cutting mat and then switching modules and blade types to match the material of choice.
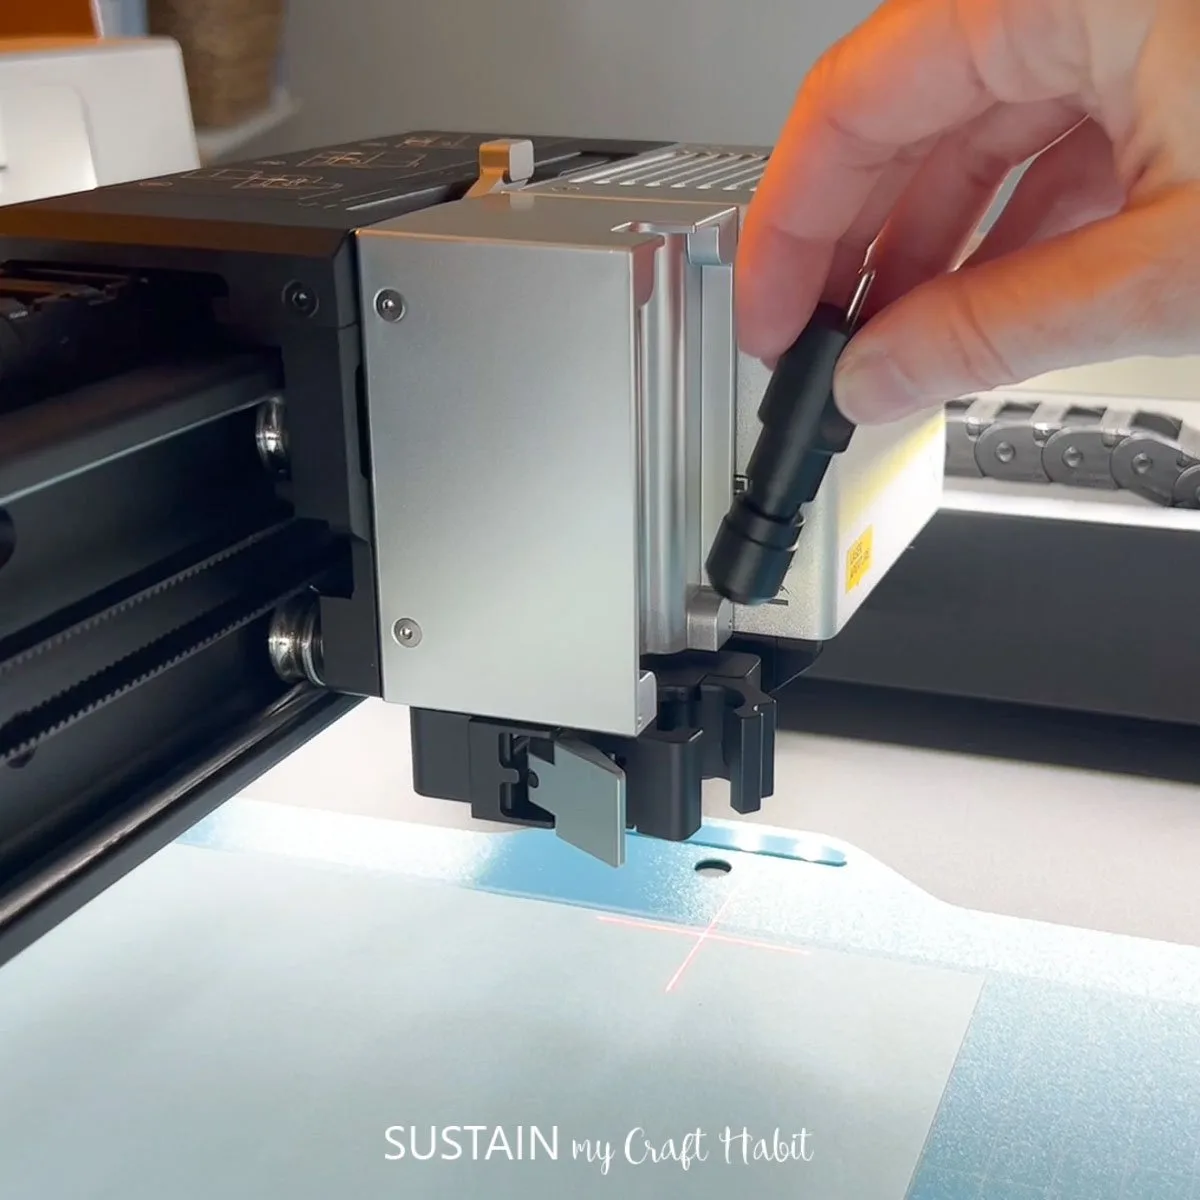
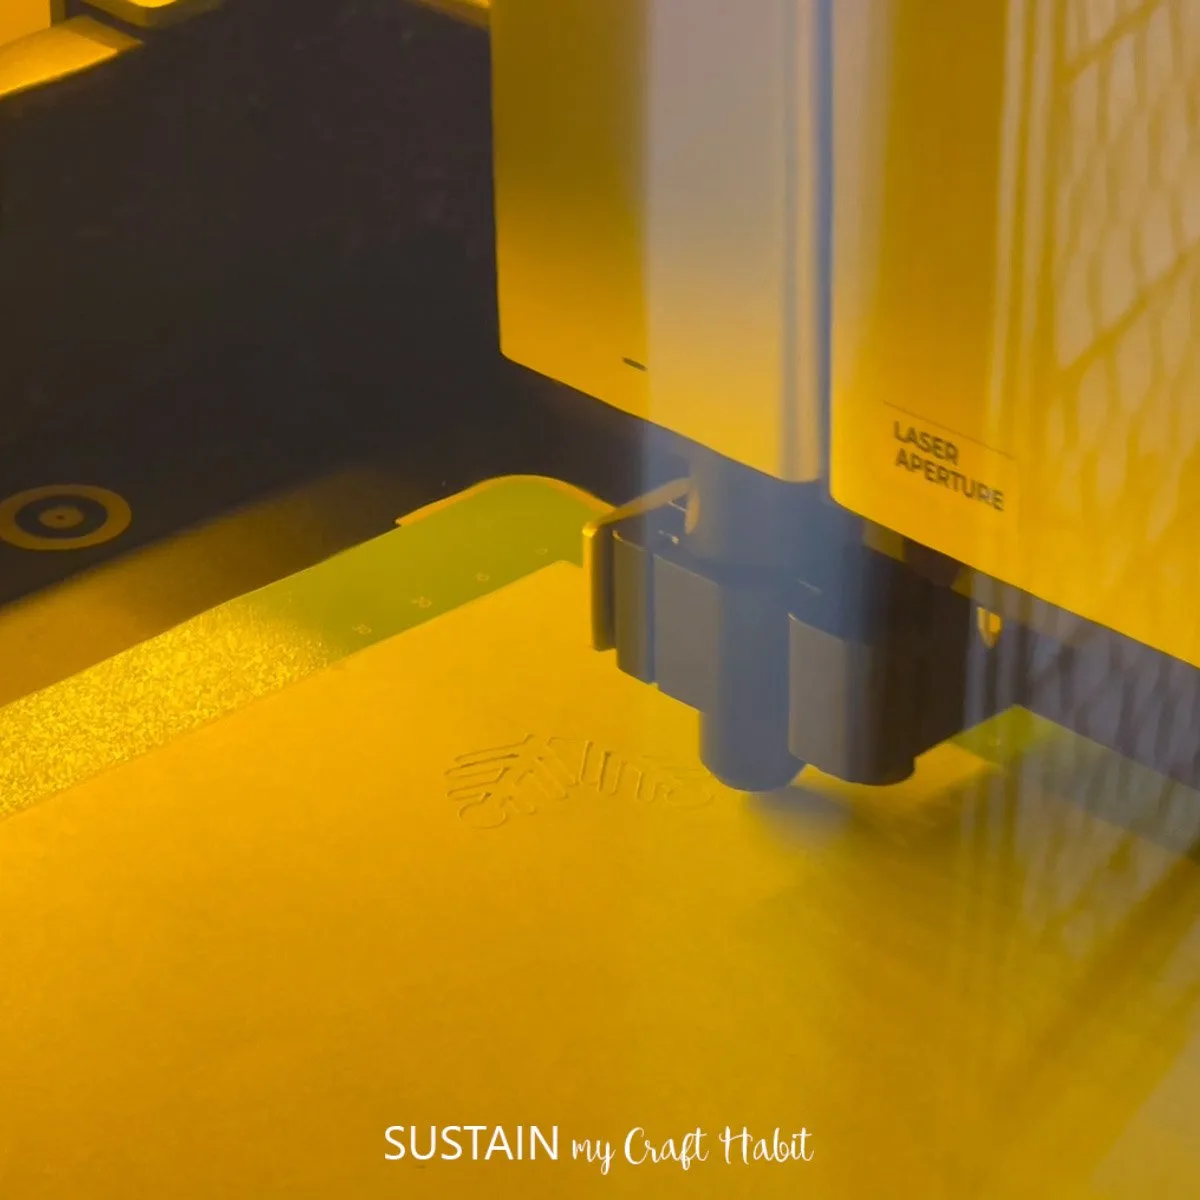
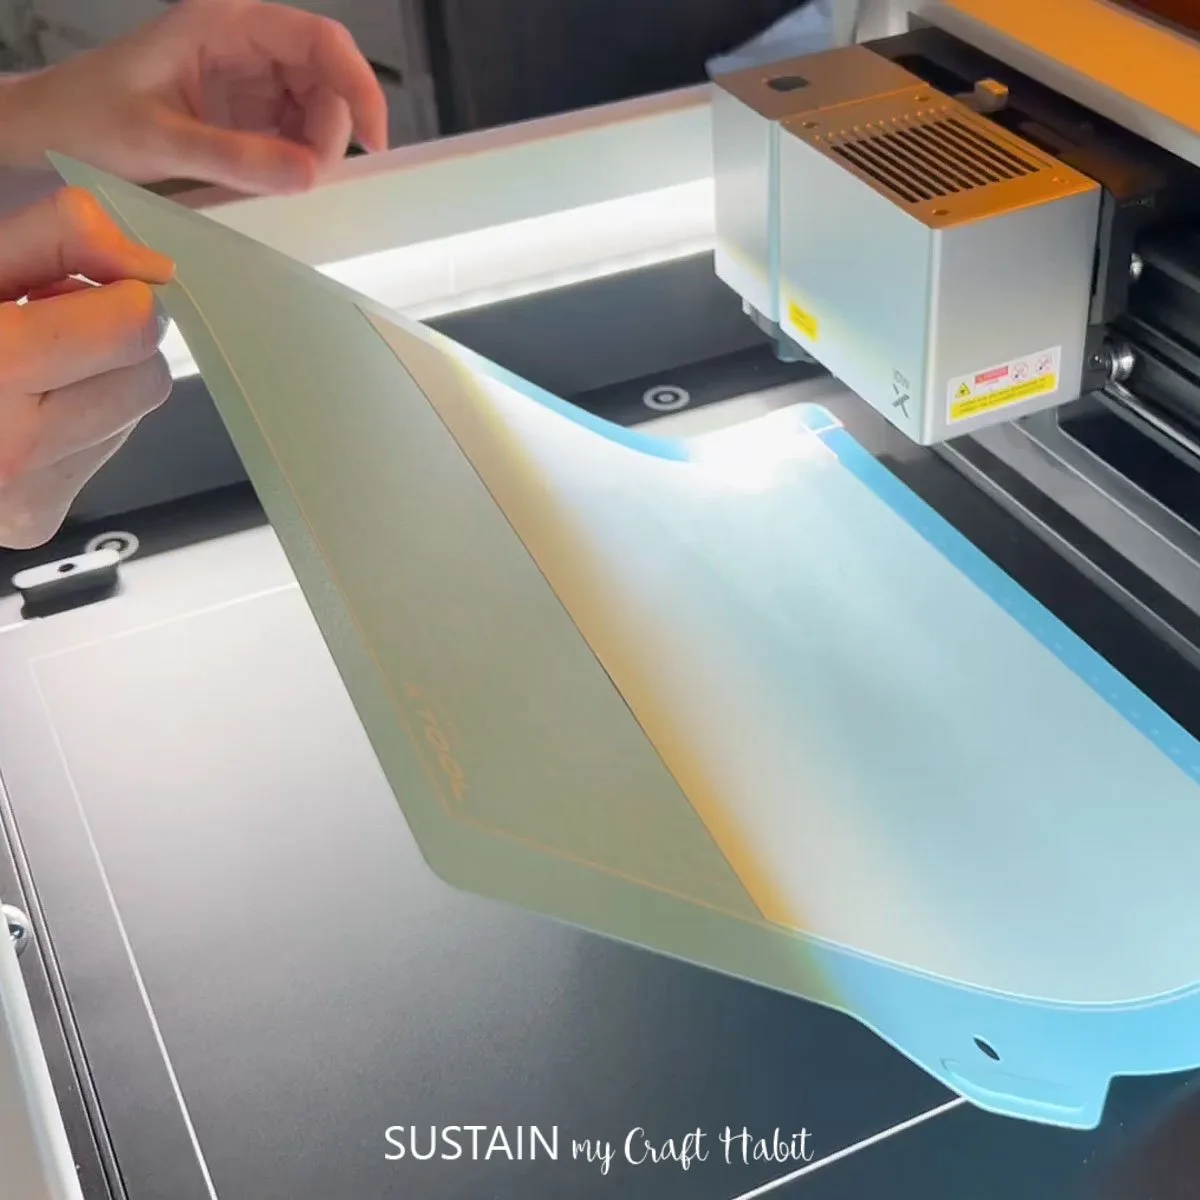
Photo Printing on Wood
Next, we couldn’t wait to try out the full-color inkjet printing function which is really the stand out feature of this machine compared to other laser and cutting machines.
Simply upload any image you want printed into Creative Space. Choose a surface to print on such as 3mm basswood and then attach the Inkjet module.
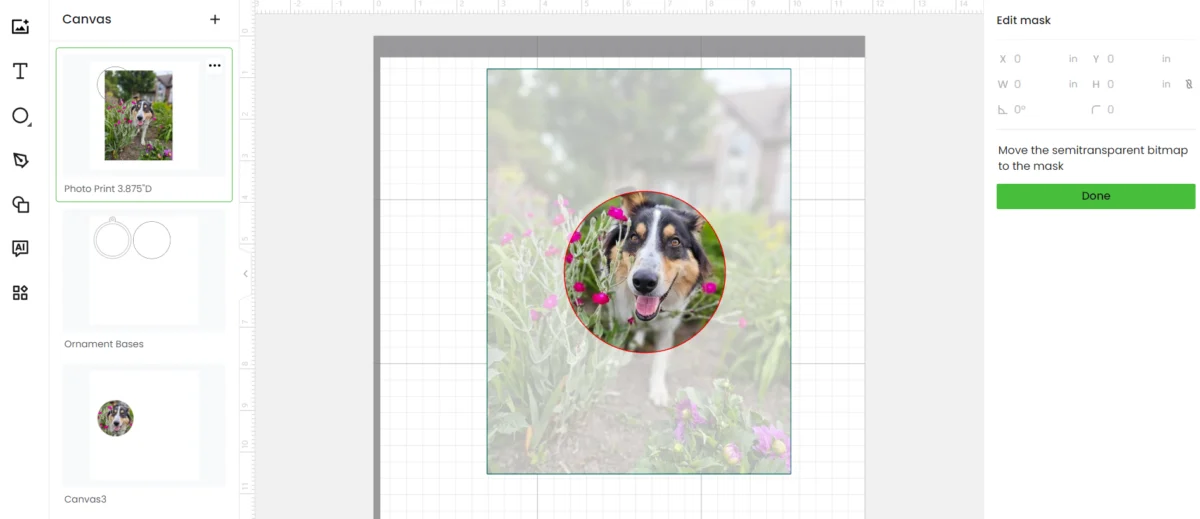


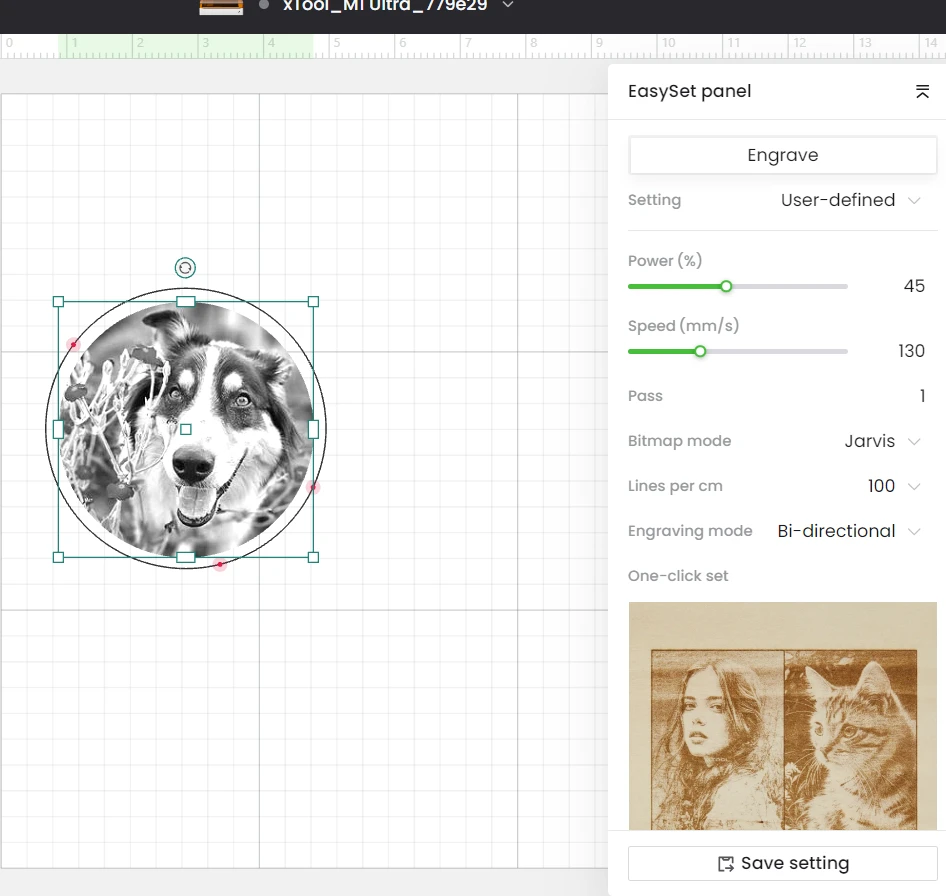
We’ll do a full post with the full step-by-step instructions for making these photo printed ornaments using the inkjet module soon. But for now we printed this adorable image of Ollie straight on to basswood and then used the laser function to cut it out as an ornament shape.

Laser Engraving Photos Wood
We just loved this image and had to try an engraved version as well. It’s actually quite cool that you can so easily switch between the different modules or combine the laser or engraving with printing.


Blade Cutting Felt Sheets
Since we do a lot of felt projects we were really excited to test out the xTool M1 Ultra’s ability to cut out felt!
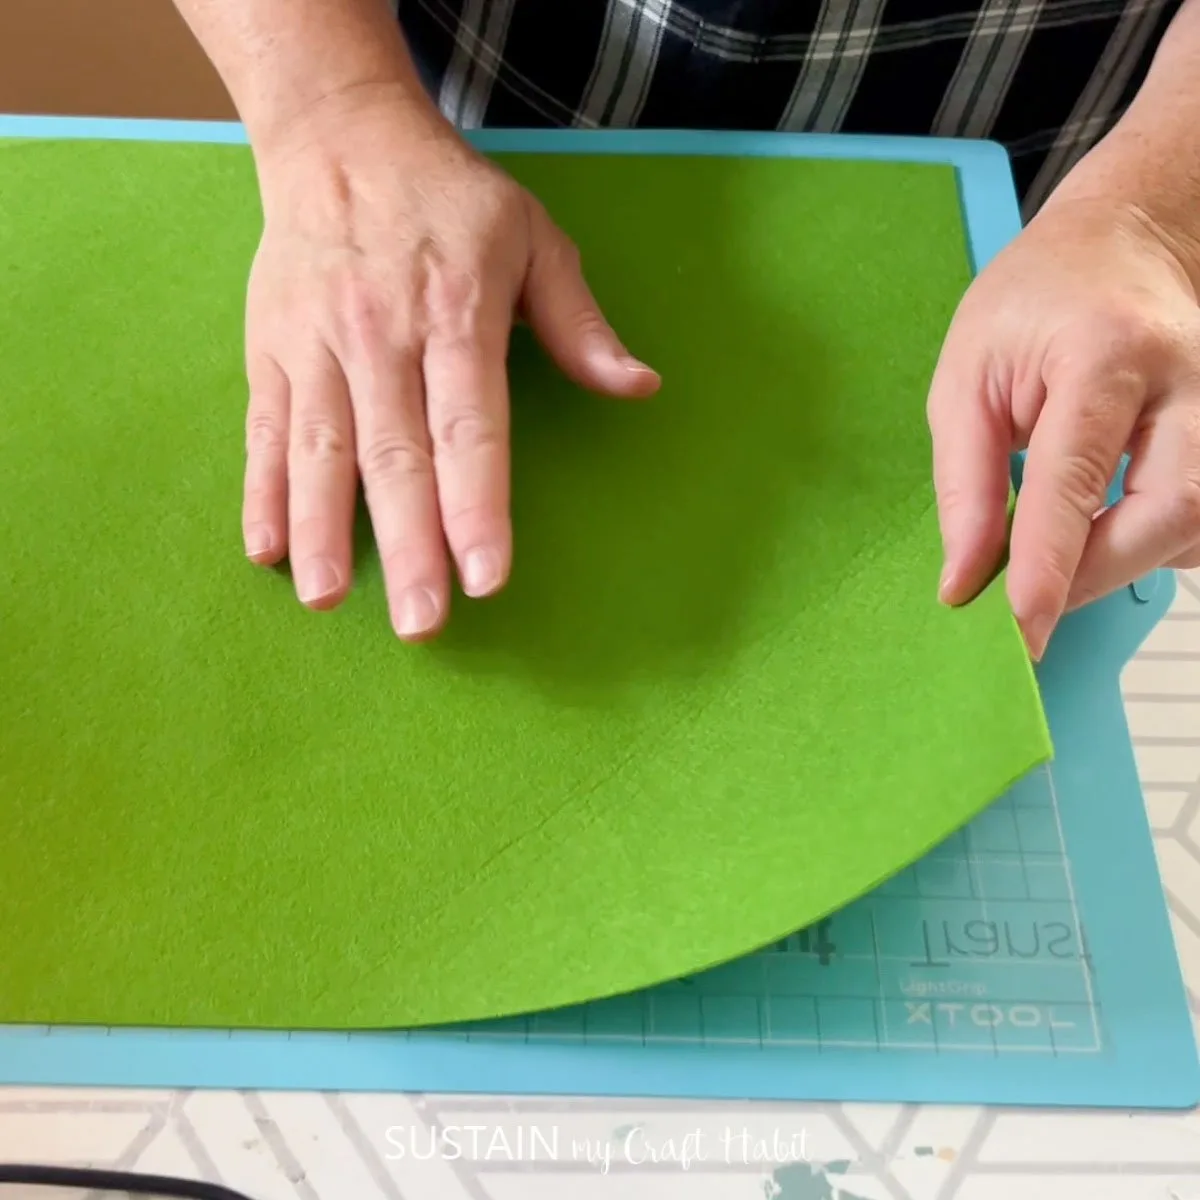
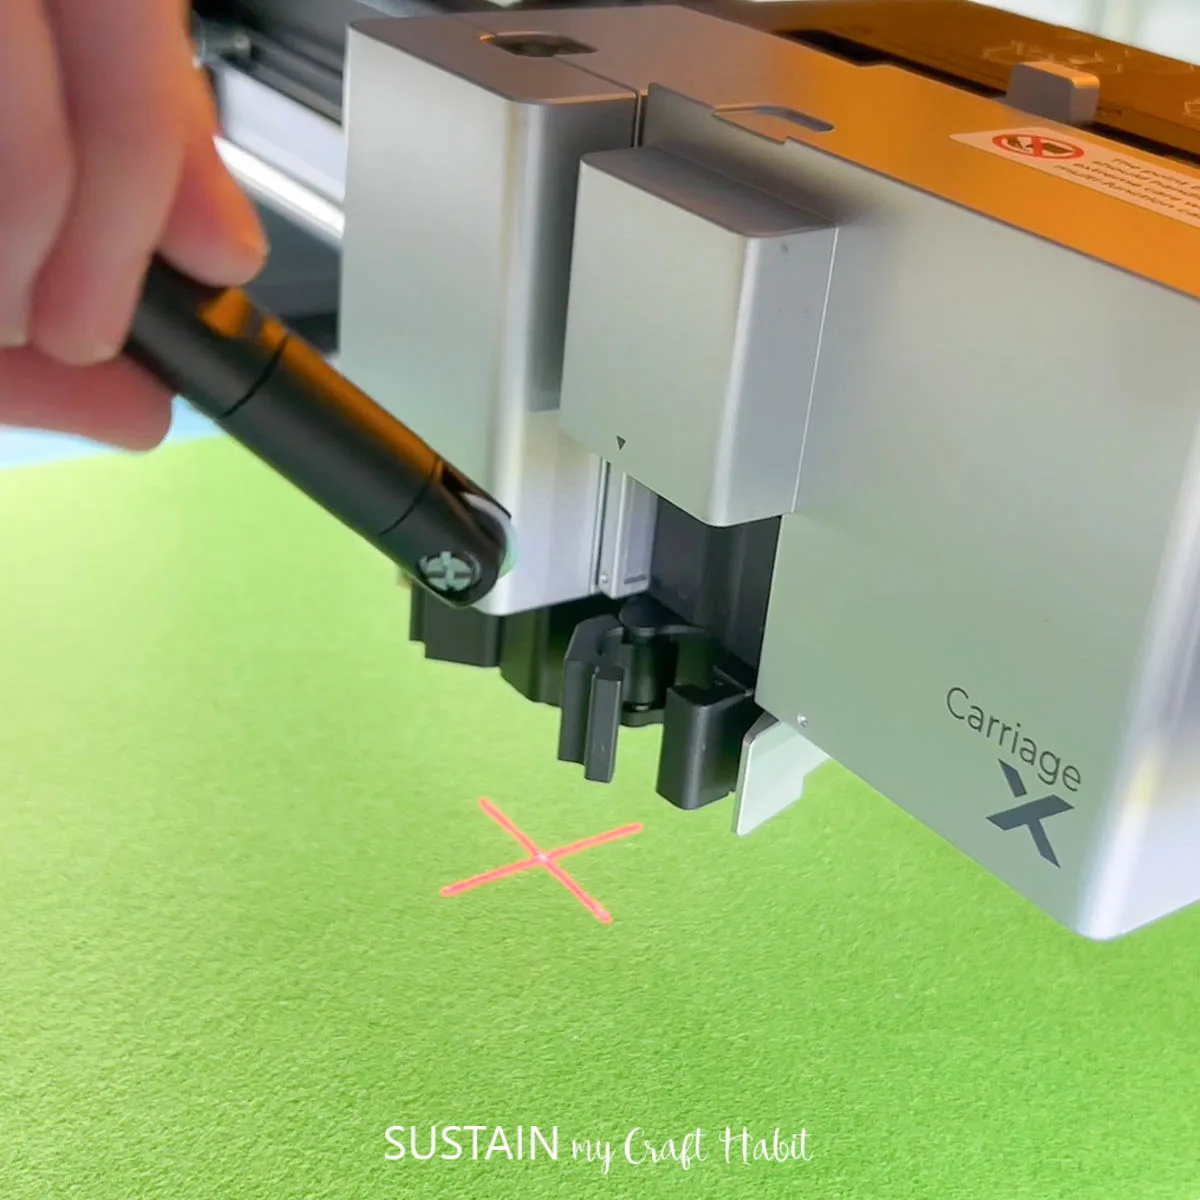
It took a second to figure out that we needed to use the multifunction carriage with the rotary blade tip. You’d also use the multifunction carriage for the foil tip and deep cut blade.

After switching to the rotary blade we loaded some felt onto the light grip mat, placed it in the machine and watched it cut. It took a few tries to get the pressure settings figured out, but once done we were able to cut all the pieces to make these pretty felt succulents.

Gold Embossing
Next we wanted to try out the gold foiling capabilities. We uploaded a monogram design into Creative Space and then followed the prompts to change the settings. Keeping the multifunction carriage in place, we inserted the embossing tip.
We used a faux leather wallet that came with our M1 Ultra materials pack. To prep it we simply used some masking tape to secure the wallet onto a fabric grip mat. We then made the mistake of placing a big sheet of gold foil on top which got stuck to the mat!

So instead, we trimmed the foil sheet to the desired size and secured the foil on top of the wallet.
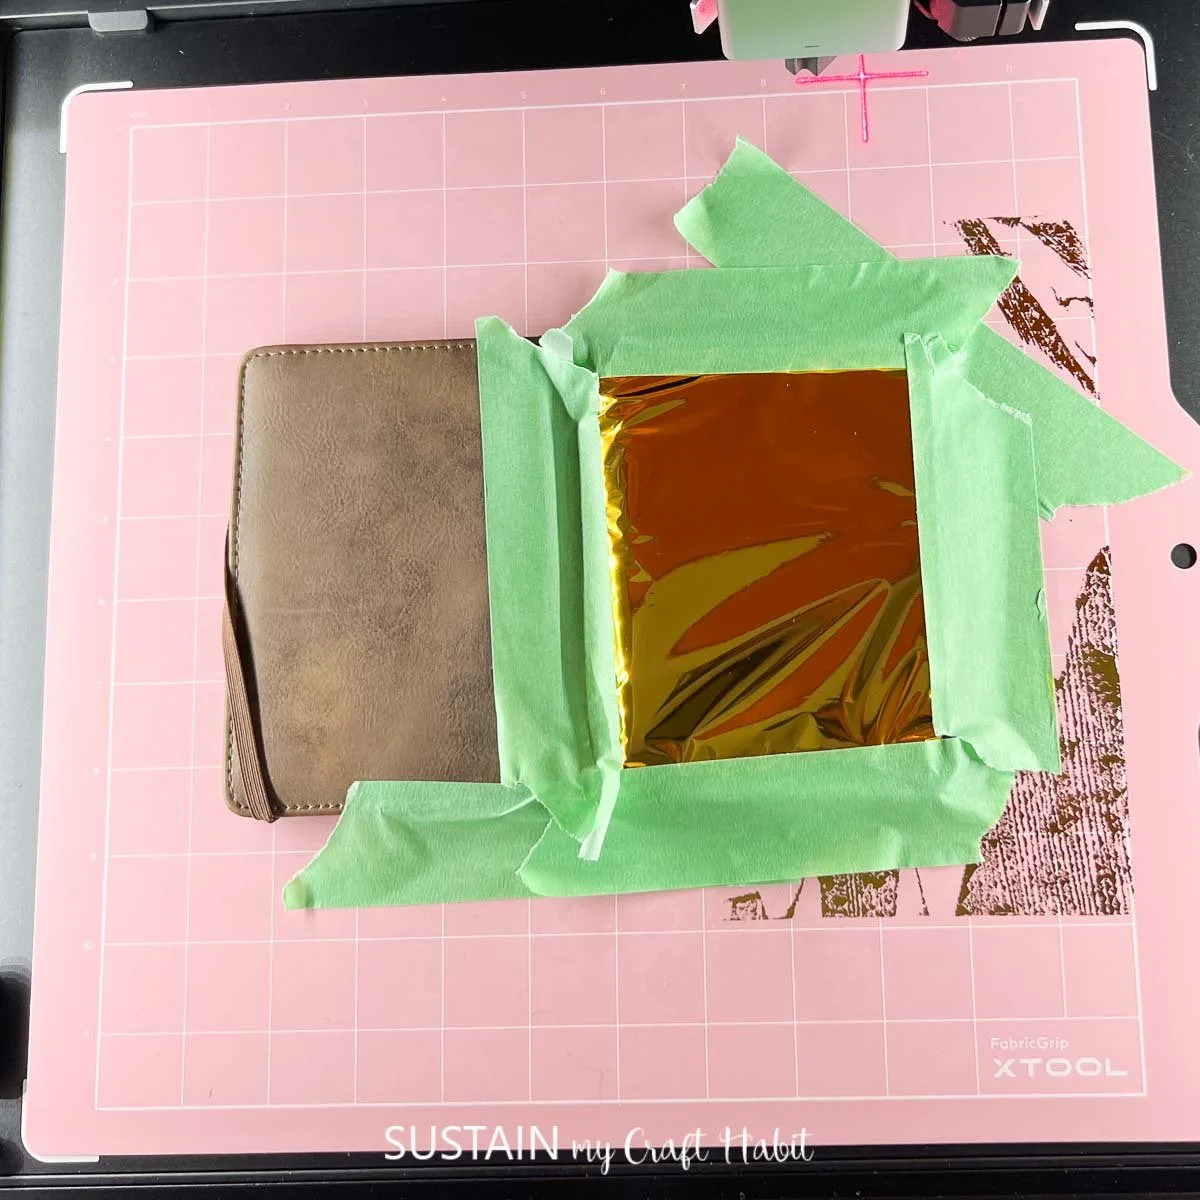
And voila, the gold embossing looks so pretty when complete.

Laser Cutting and Engraving Leather
With the success of these other projects, we eagerly want to see if the xTool M1 Ultra had enough power to laser cut and engrave leather. And as you can see, it definitely did the trick with our “handmade with love” product tags using the laser module.

Blade Cutting Sublimation Paper to Make a Personalized T-shirt
Another very useful function is the ability to blade cut through sublimation ink papers and iron-on vinyl (or regular vinyl), which is not possible with laser cutting.
Simply insert the fine tip blade in to the main housing unit (the same one that holds the pens). Like paper and vinyl, the sublimation paper needs to be secured onto a reusable cutting mat and then placed inside the machine for cutting.

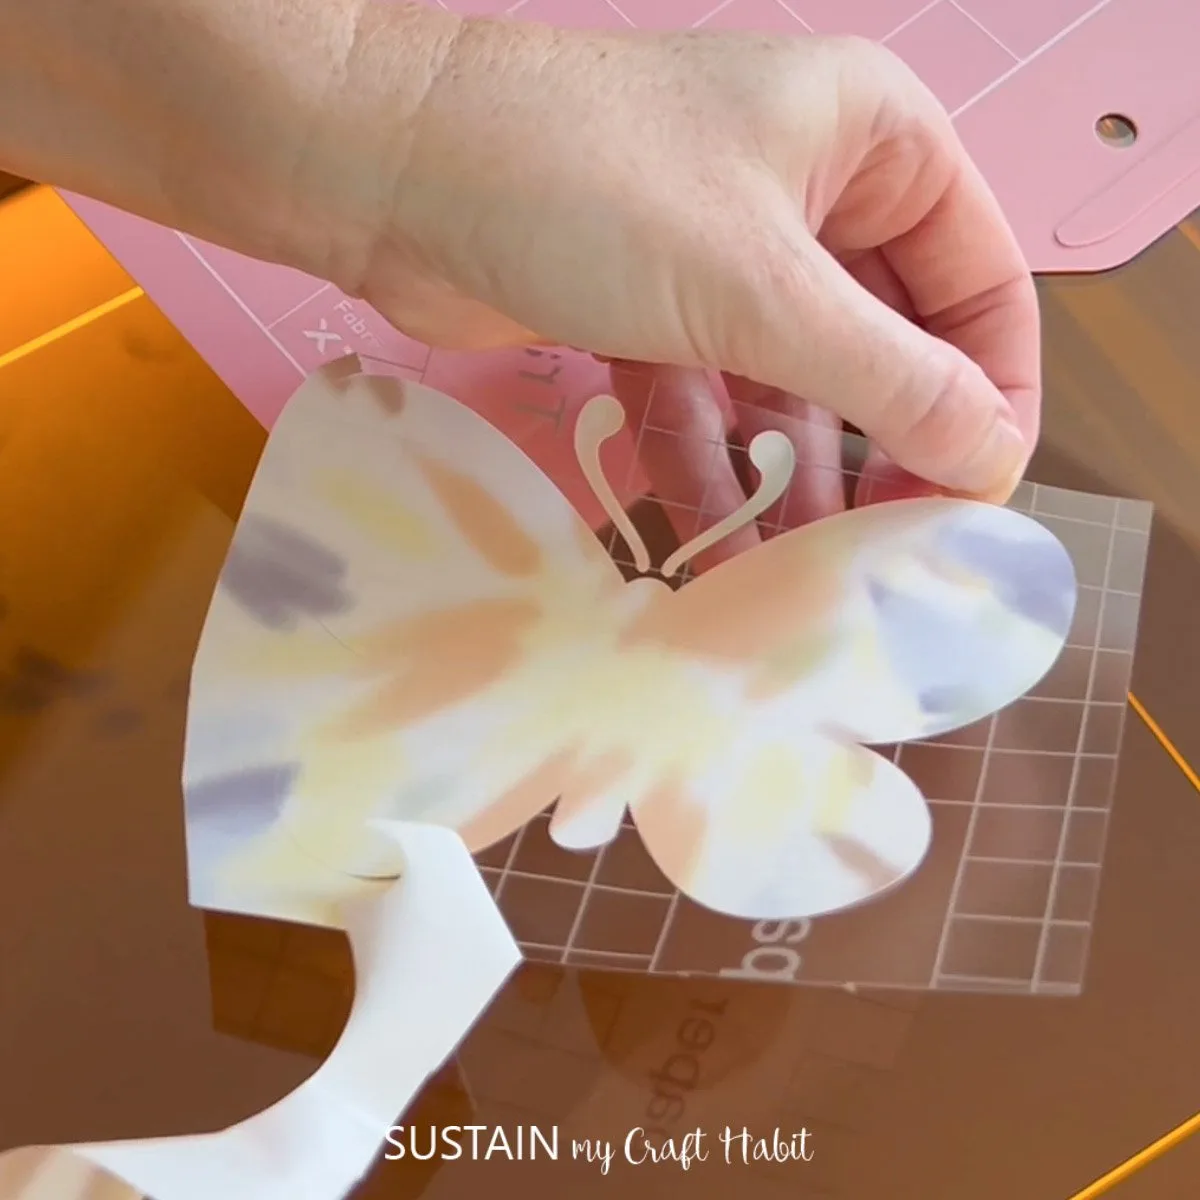

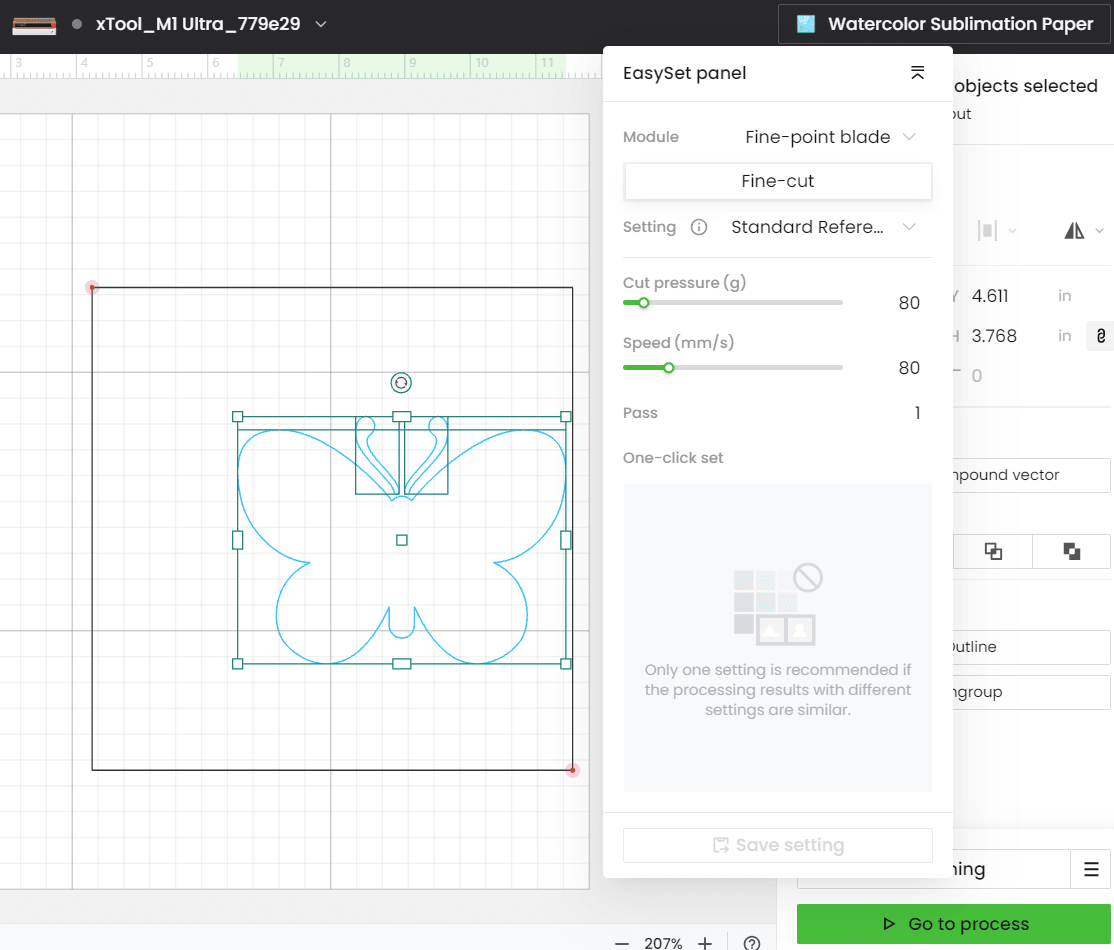
After removing the excess sublimation paper we simply positioned the butterfly face down on our tshirt and used the xTool mini press to heat transfer the ink onto the fabric. xTool has a growing collection of heat press devices including their new smart heat press which we’ll be reviewing soon.


And there you go, in a few minutes we’ve created a cute custom shirt!

Initial Impressions and xTool M1 Ultra Review
We hope these beginner projects gave you a sense of all the different things you can create with the xTool M1 Ultra.
A few quick impressions:
- The xTool M1 Ultra is VERSATILE! In just a couple of hours, we created all of these different crafts using all of the different modules and range of materials! And switching modules was a breeze. It’s really quick to go from laser cutting to ink printing or blade cutting and back.
- The instructions for set-up were VERY straight forward. Within about 30 minutes we had the xTool M1 Ultra out of the box and ready to craft!
- We love how compact the machine is, fitting well in our craft space and yet not overly heavy or bulky so it could be moved if needed. There is an option to add a riser base as well for making other projects not shown here. We do recommend having a dedicated space for the machine and all it’s accessories, interchangeable blades and modules.
- The xTool M1/M1 Ultra Official Group and our own xTool Laser Crafters Create Group on Facebook are absolute treasures for all-level of xTool M1 Ultra users, even if you’re just trying to decide whether to buy one.
While it’s amazing to have all these different functions all in one machine, expect there to be a learning curve to finding the optimal settings for each function and new materials.
Although we miss the built-in cameras that we’re used to with the xTool P2 and xTool M1, the trade off is the amount of functions it performs for the cost. And the modular aspect allows you to add on functions as your budget permits.
Future Projects using the xTool M1 Ultra
As we look ahead, we’re most excited in using the combination pen drawing and laser cutting functions when it comes to our paint-by-numbers craft kits that we make and sell.
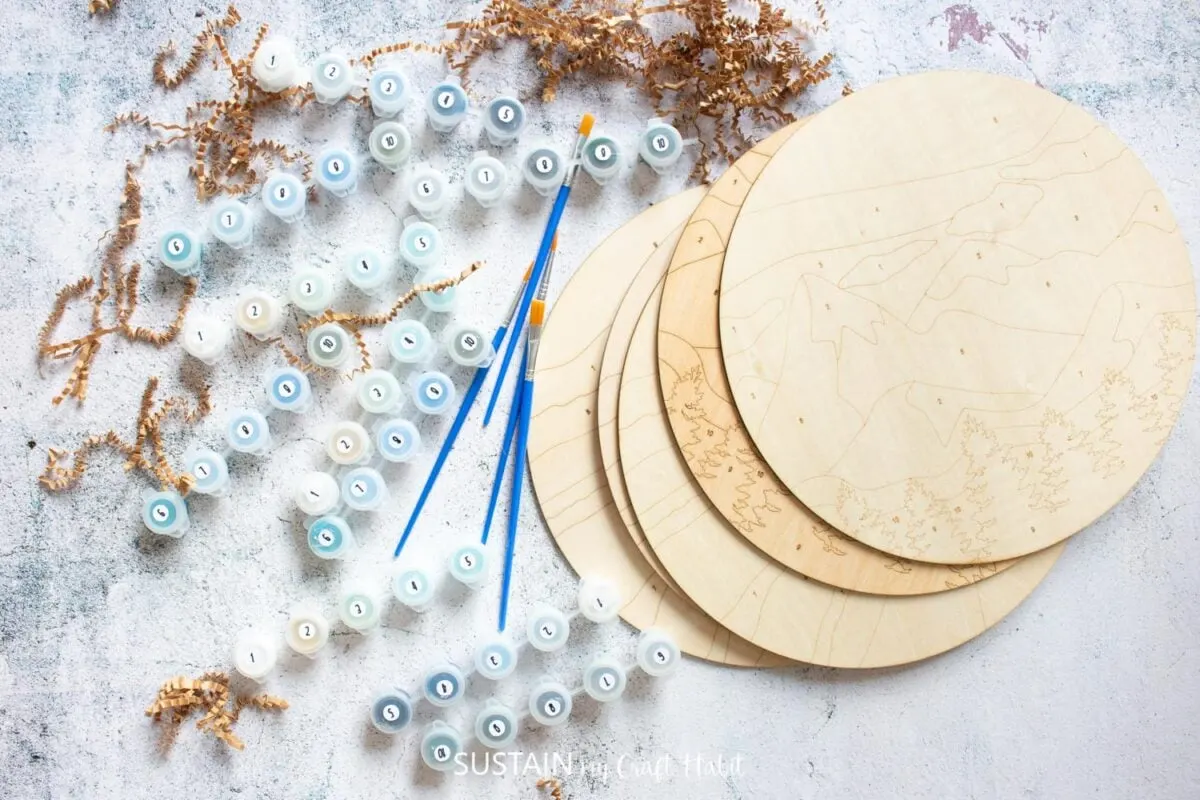
Thank you to Makeblock for the opportunity to review the xTool M1 Ultra. We’re looking forward to using it for all sorts of upcoming projects and sharing them with you all.
Let us know if you have any questions about it. What projects would you like us to make?
Like it? Pin it for later!
