Crafting a Decorative Birdcage with Twigs
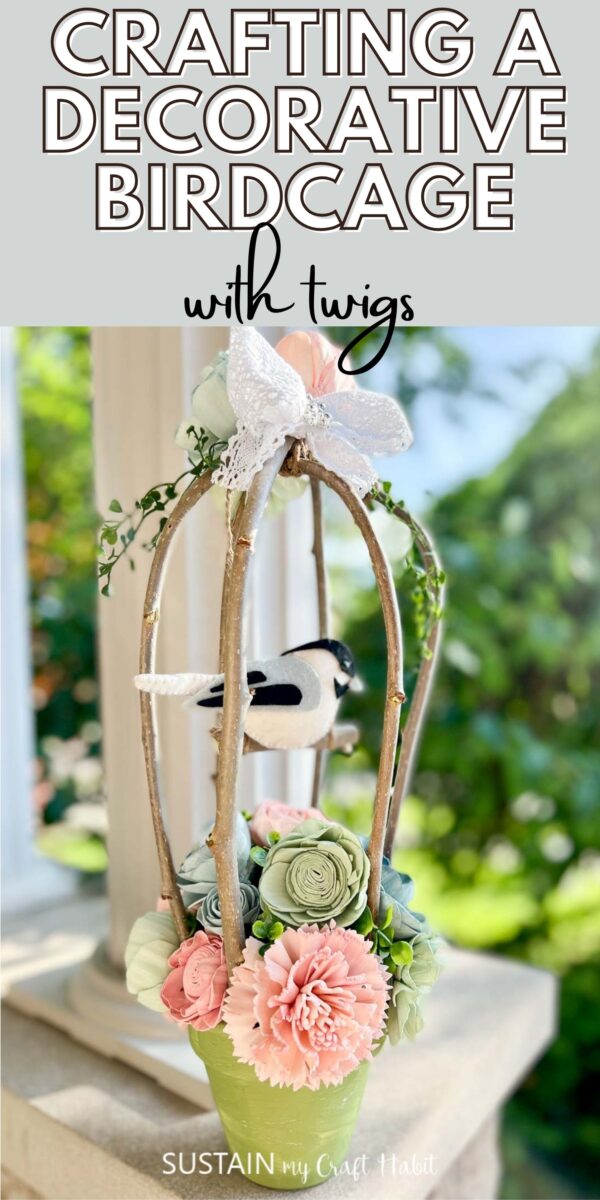
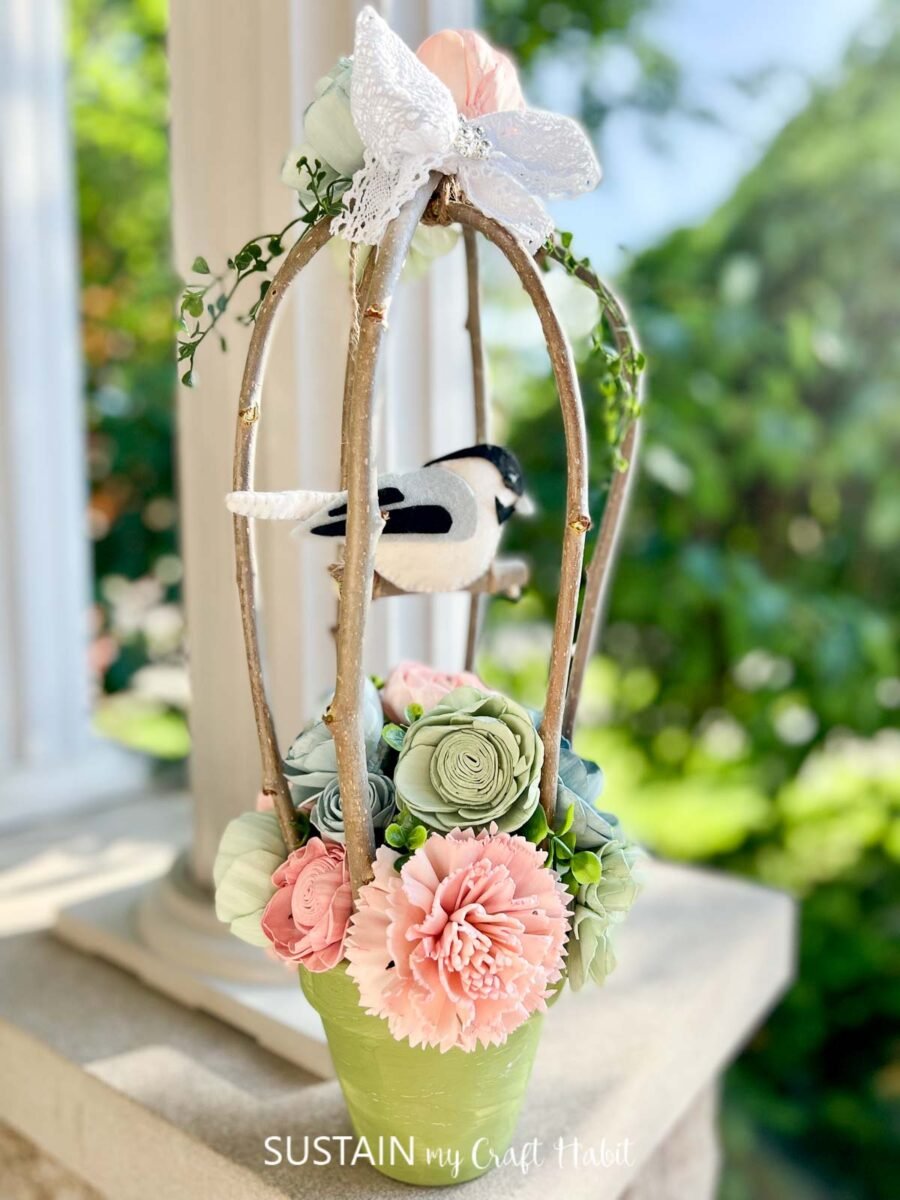
Looking for bird craft projects but also want to spruce up your home decor? Look no further! If you want a fun and unique way to decorate, a whimsical birdcage is the way to go. These decorative birdcages can be used to hold pretty faux flowers or even real plants and work great as standalone pieces of art.
A Fun, Decorative Bird Craft Idea
This bird craft also makes a great gift for the bird lover in your life or someone that loves simple but elegant decor. Creating this birdcage is actually easier than you may think! Find the materials below, as well as the Facebook live on how to create this, and then it will be a cinch to get started.
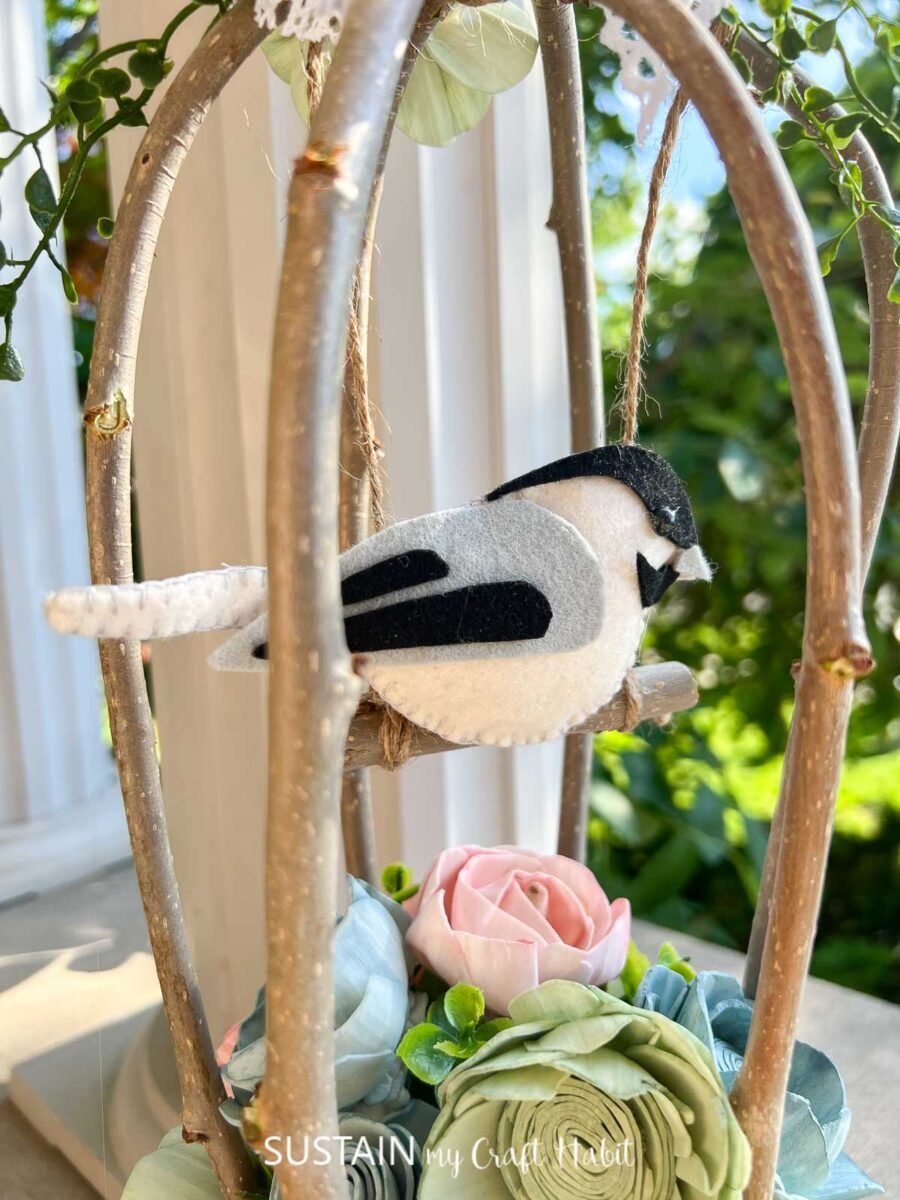
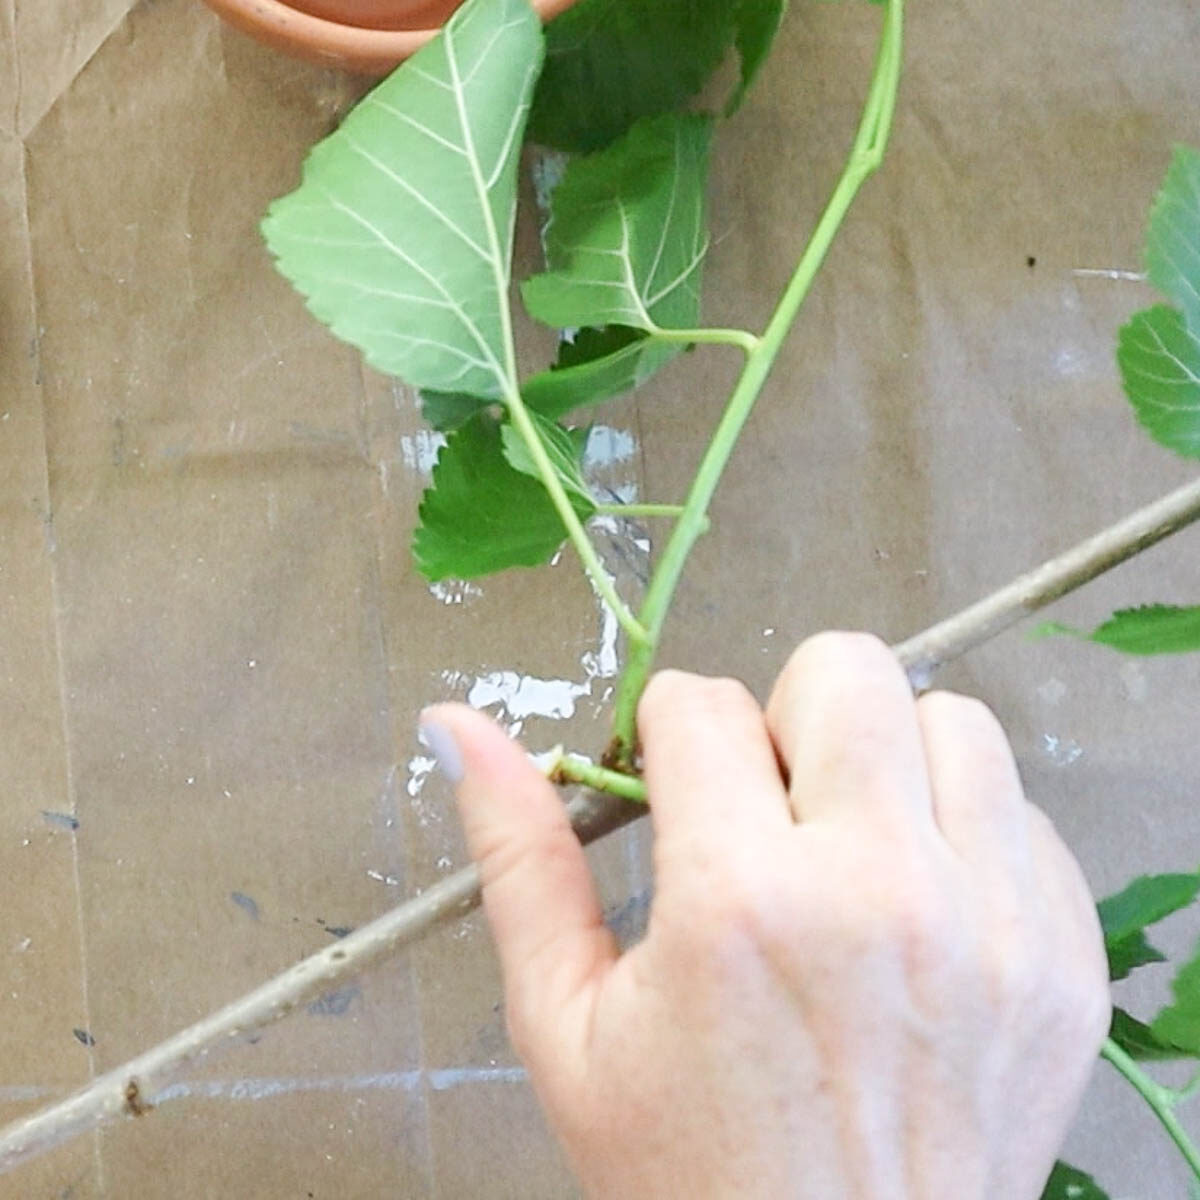
We used vines cut from the mulberry tree in my front yard. They work best for this type of craft because of their long lengths and flexibility. We’ve used these vines for many of our nature-inspired crafts such as our spring mulberry vine wreath, pumpkin wreath form and our upcycled book craft.
Want to receive a ton of inspiration and money saving ideas for decorating, gift-giving and crafting? Join HERE!
Materials Needed
Disclosure: This post contains affiliate links for your shopping convenience. Should you choose to purchase through them, we will make a small commission at no extra cost to you. You can read our full disclosure policy here.
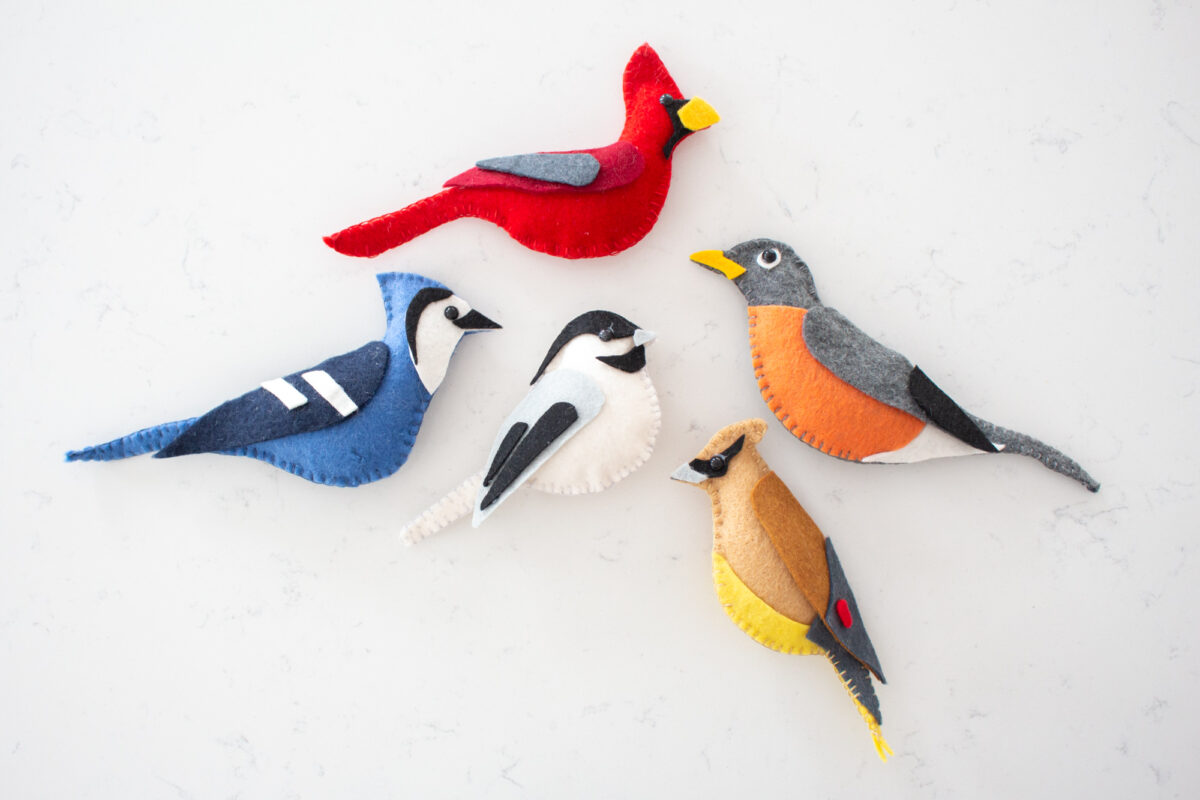
- Felt Birds (grab the printable pattern from our Etsy Shop)
- Flexible branches, twigs or vines (we used vines off my mulberry tree)
- Sola Wood flowers
- Clay Pot
- Chalky paint in White and Green
- Paint brushes
- Floral foam
- Twine and Ribbon
Hot glue gun
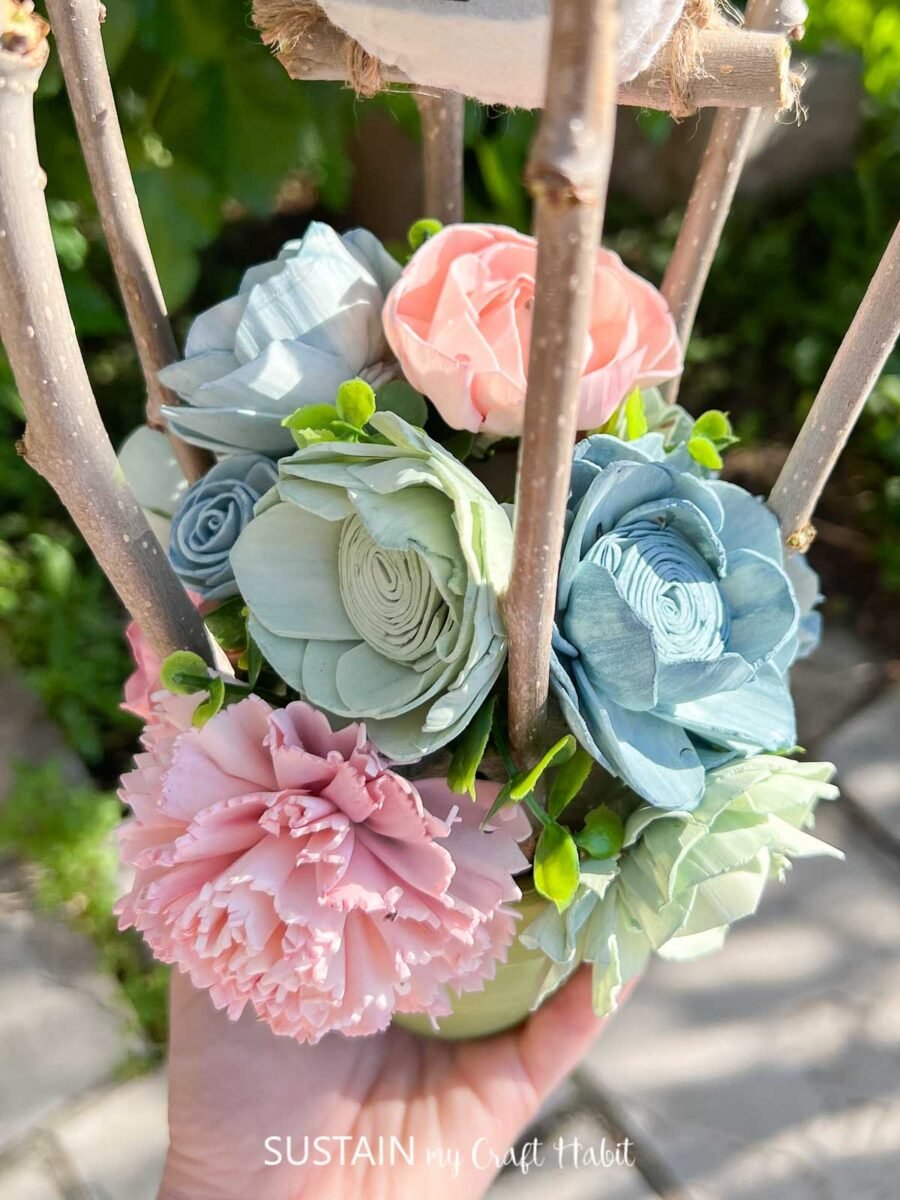
How to Craft a Decorative Birdcage with Twigs
I shared the step-by-step tutorial for making this decorative birdcage with twigs on our Facebook page, which you can watch here. This is the best place to start if you wish to create your own bird craft but if you wish to follow along with the step by step instructions, keep reading.
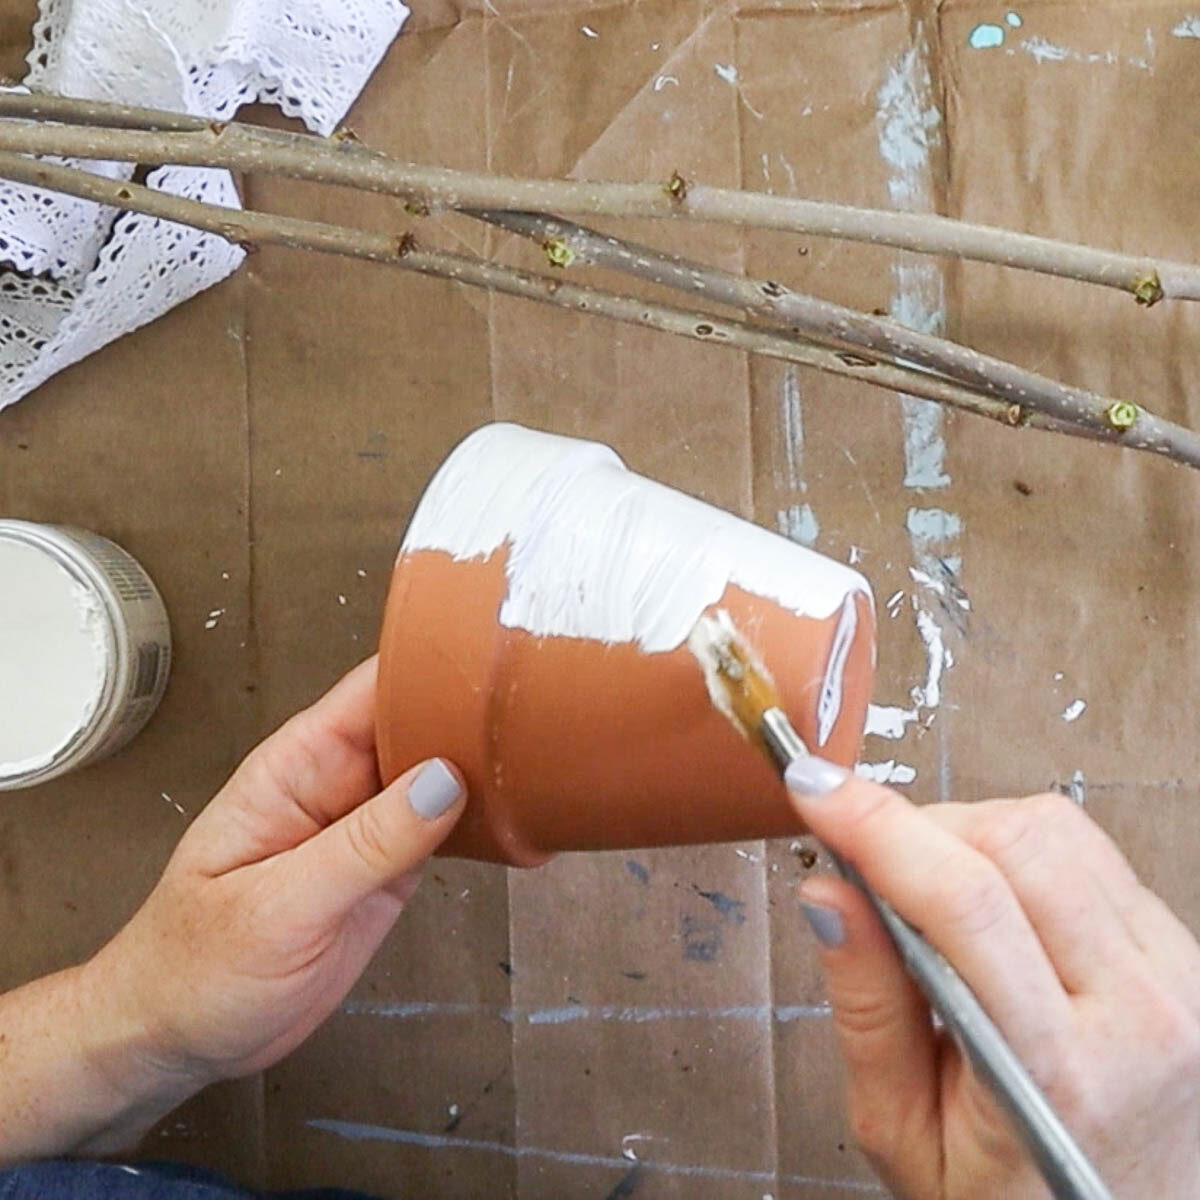
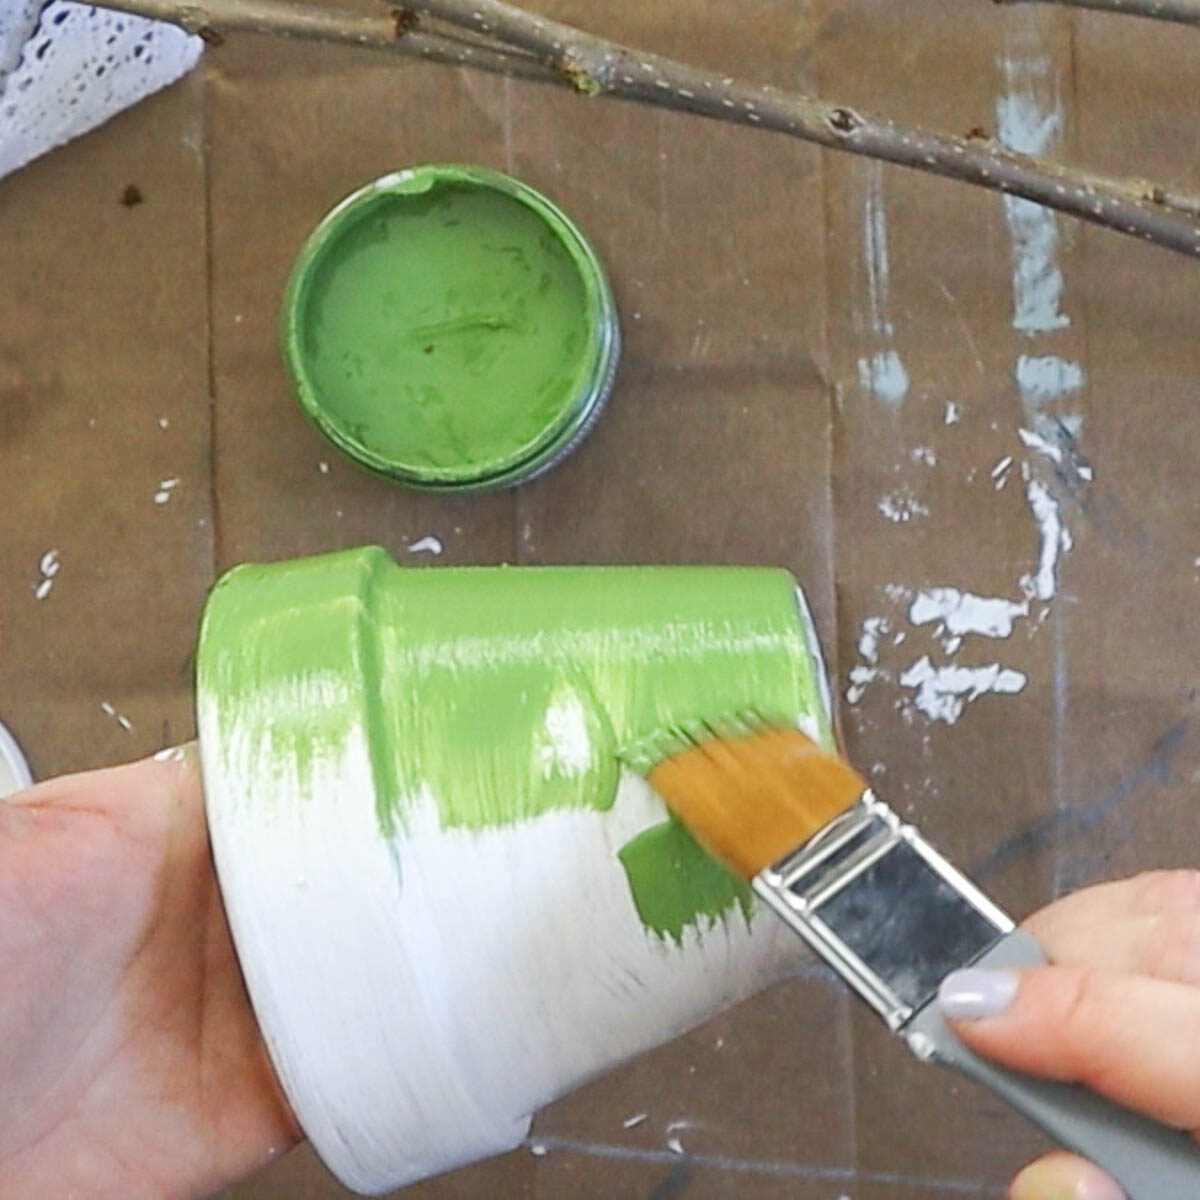
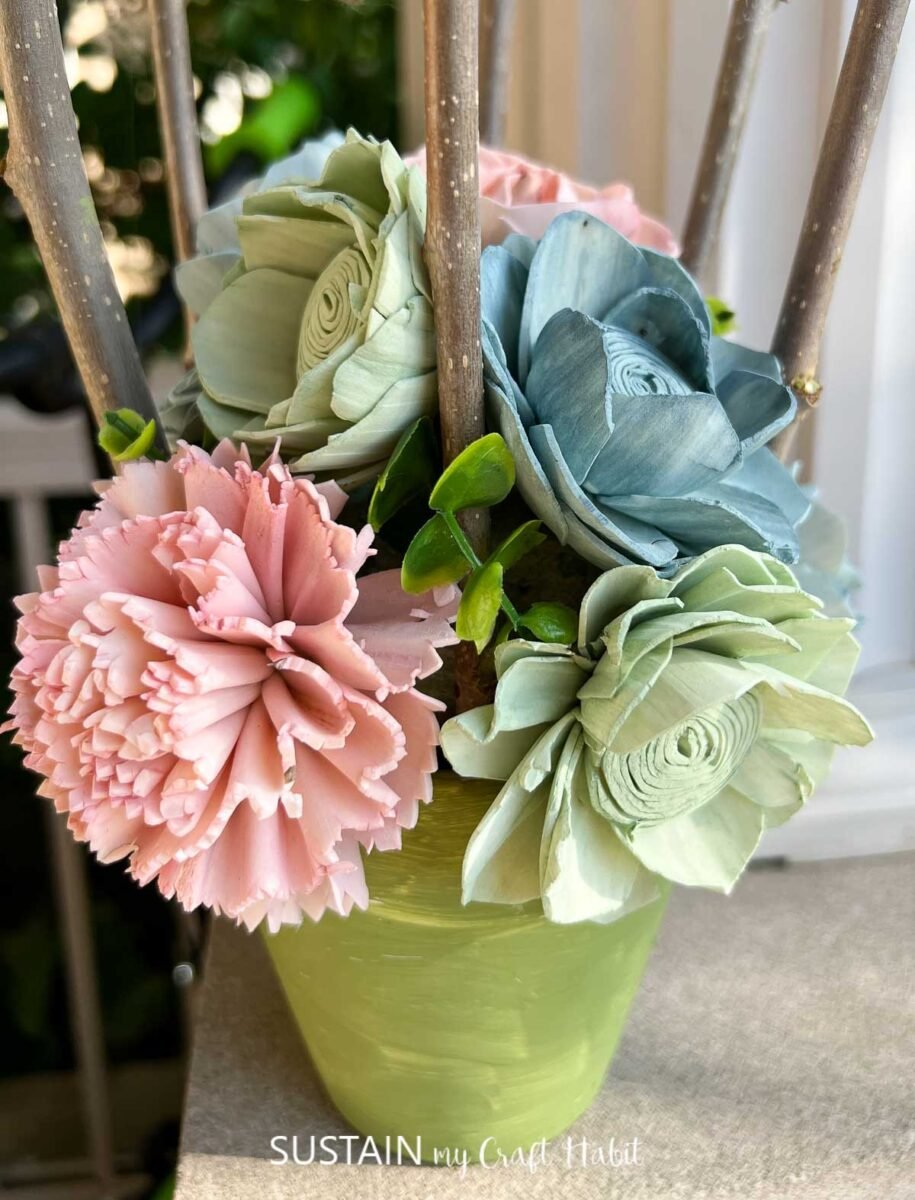
Begin with painting the terracotta pot in any color of your choosing. I picked a white for the base coat and then I let that dry fully before adding the green top coat. I wiped away the excess green paint to give it a rustic, weathered look.
Keep in mind that if you wish to use the pot for growing live plants, you will need to give the clay pot a coat of sealer on the inside and outside of the pot before painting the base and top coats. A sealer is not needed if using to hold faux florals or plants.
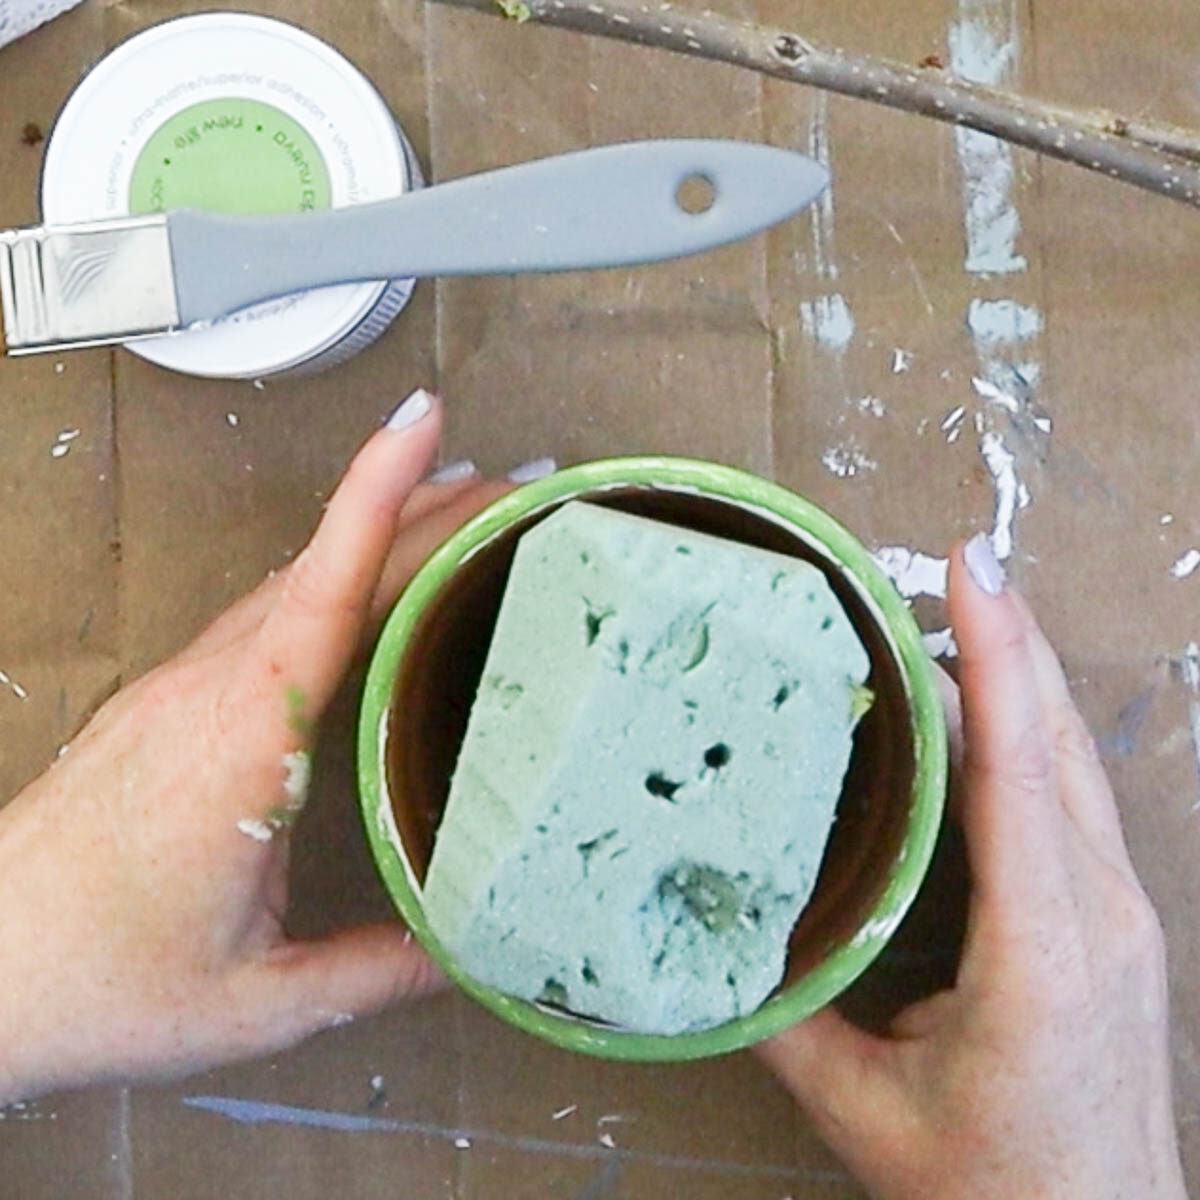
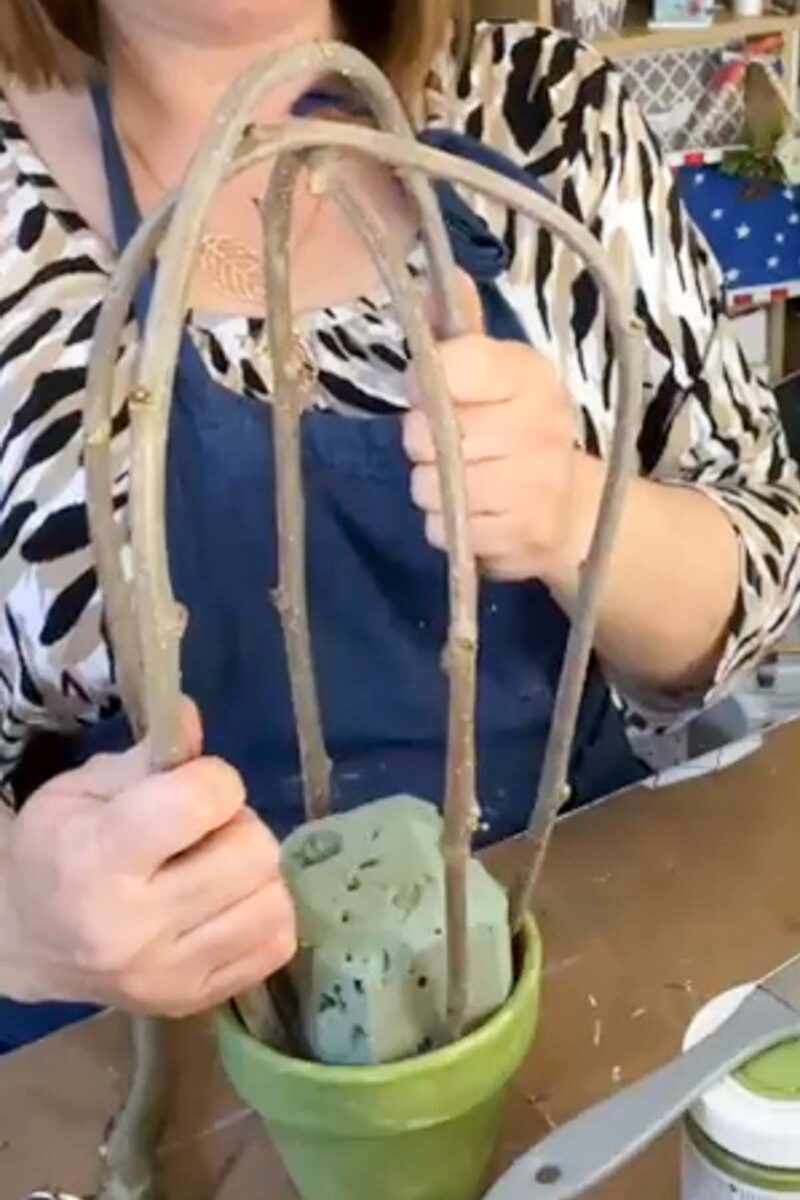
Once the paint is dry, place a large piece of floral foam inside the clay pot and then trim away the excess shoots from the vines or twigs. The foam needs to extend pass the top of the clay pot, which you can see from the blurry side view below:)
Taking long pieces of the vine, insert the ends into the pot around the sides of the foam. Glue the ends to hold them in place if needed.
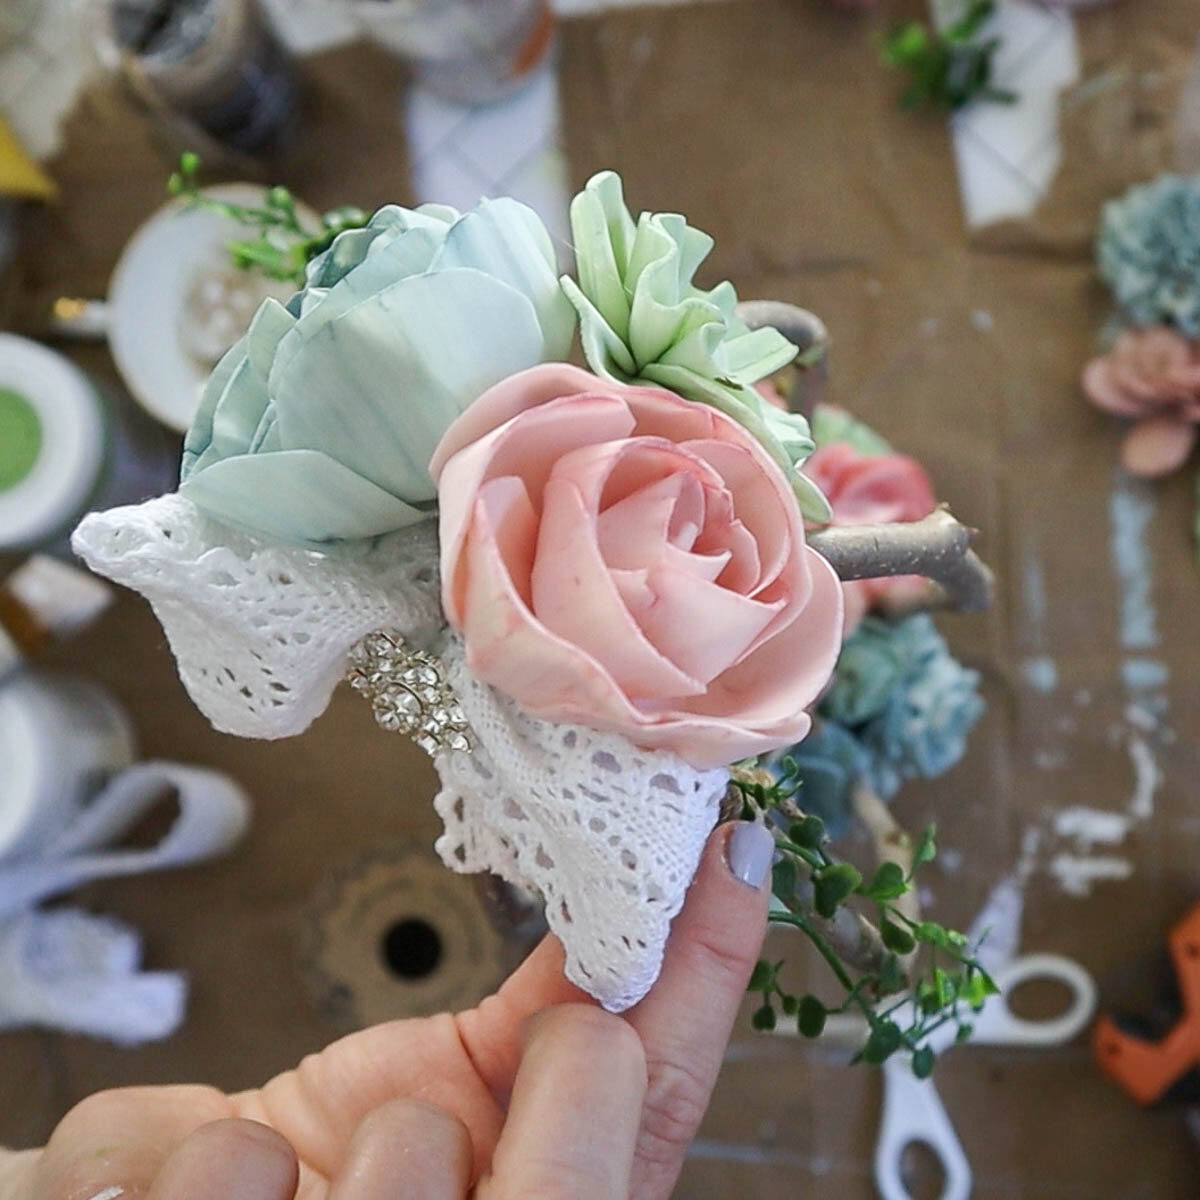
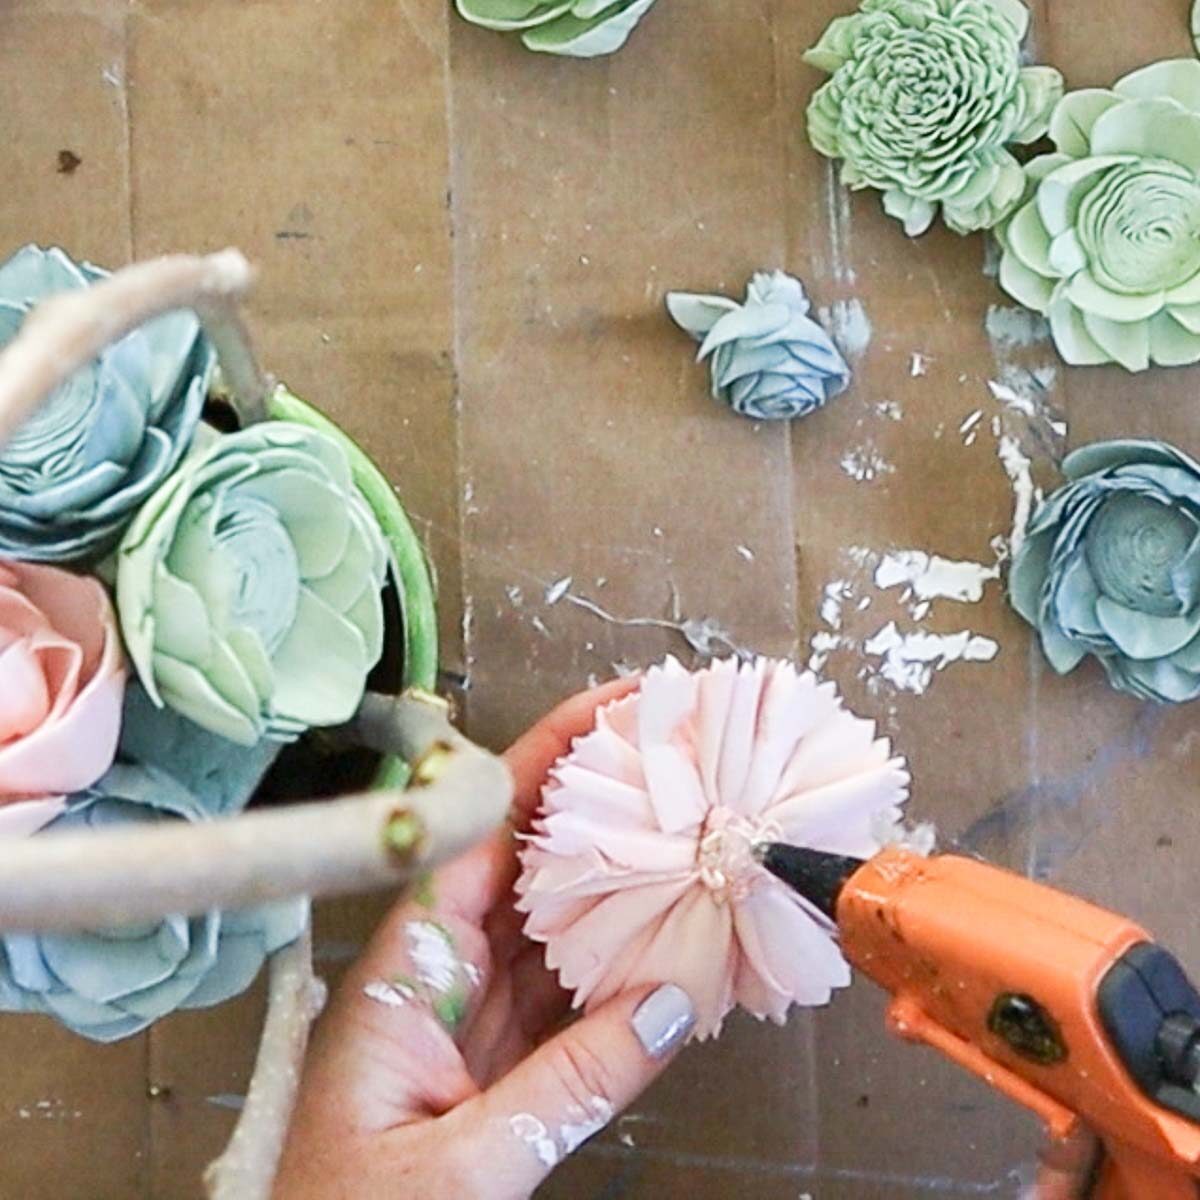
Next, add the pretty florals to the inside of the birdcage, glueing them on to the floral foam or if there are floral picks, simply insert them in to the foam. Add as many as you like until the foam is fully covered.
And lastly, use two pieces of twine tied to a shorter branch to create a swing inside the birdcage. Them glue the decorative bird on to the swing.

And voila! There you have it, the ultimate bird craft project. How did yours turn out? Tag us on Instagram or Facebook to show us!
Don’t stop there though, find more bird craft projects below and let us know which one is your favorite?
More Bird Crafts to Make
- Making Felt Birds
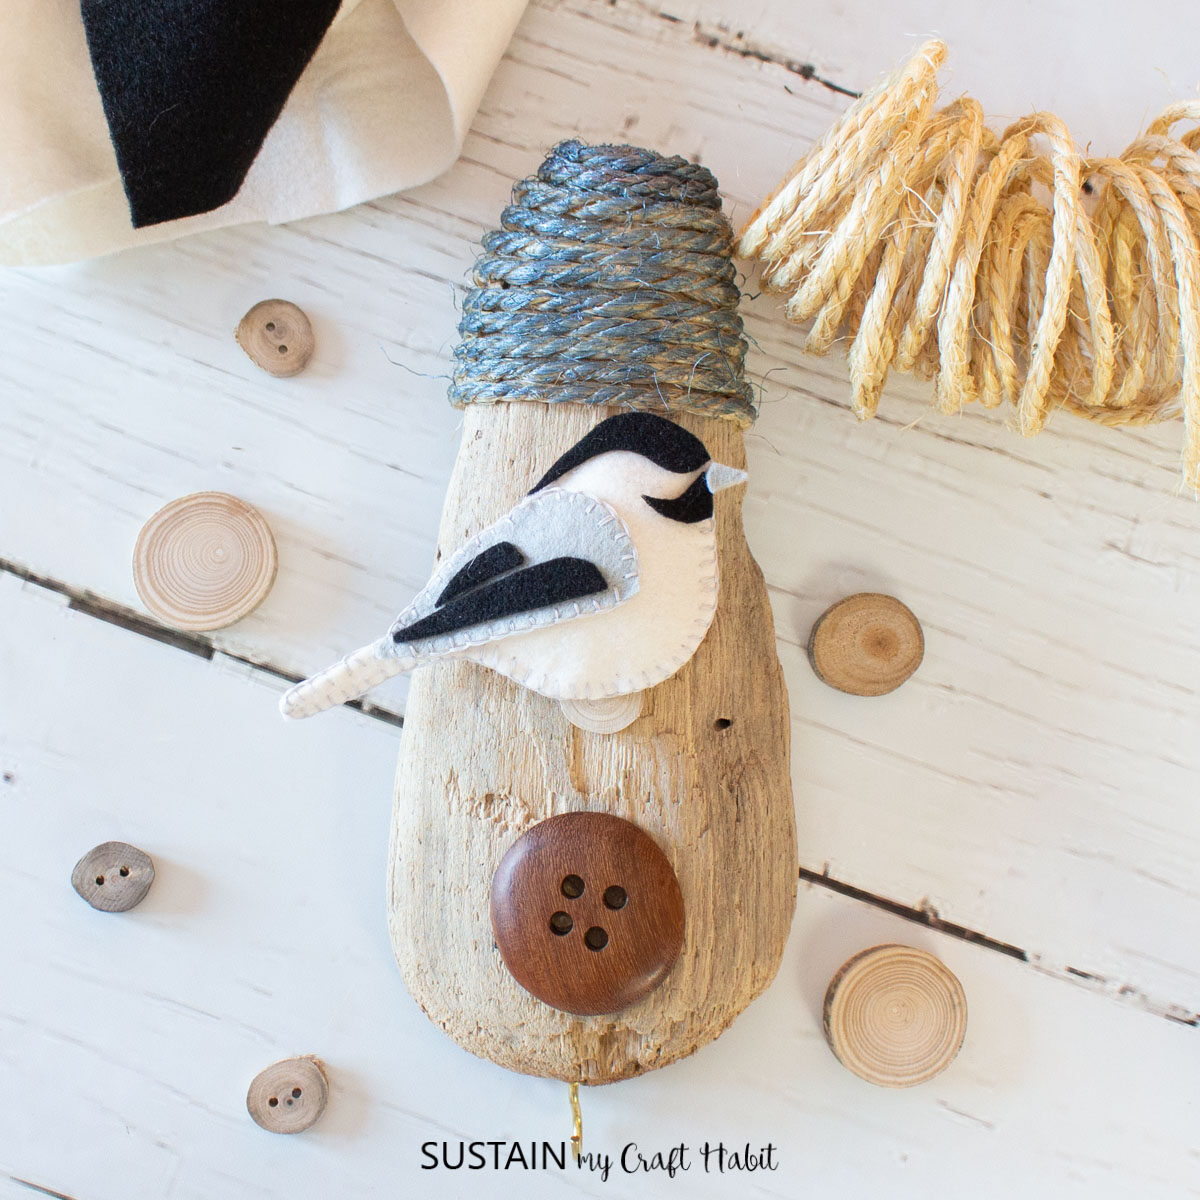
- Birdhouse Craft with Driftwood
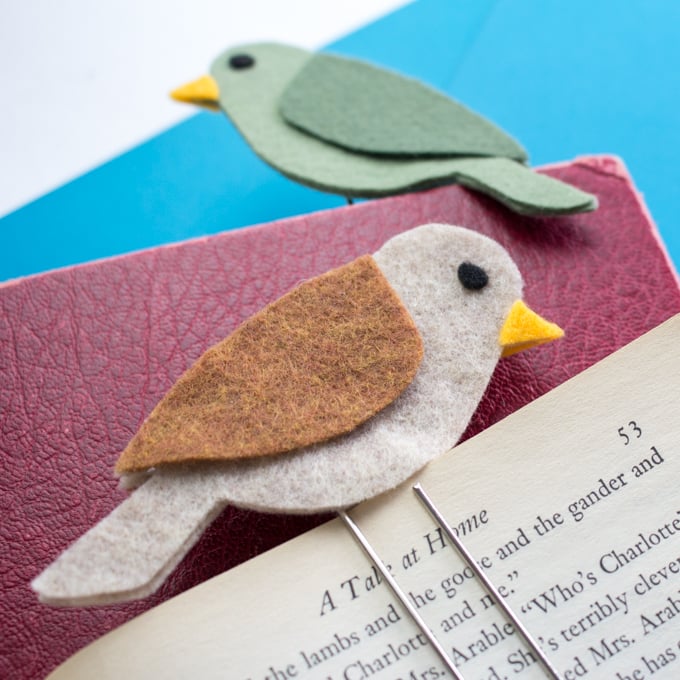
- Tweety Felt Bird Bookmarks
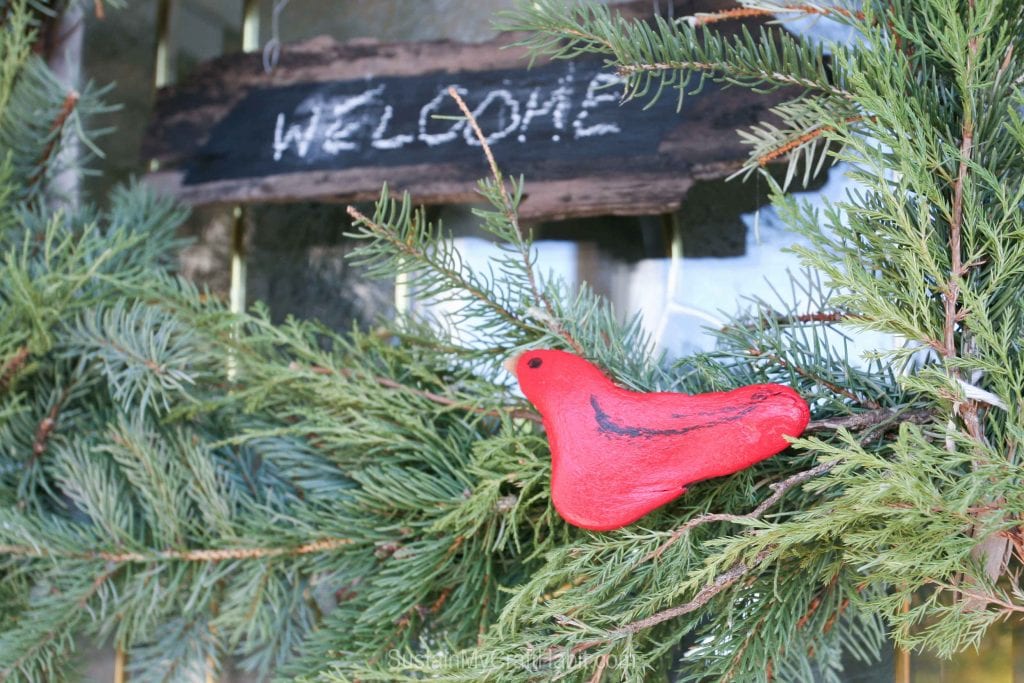
- Driftwood Bird
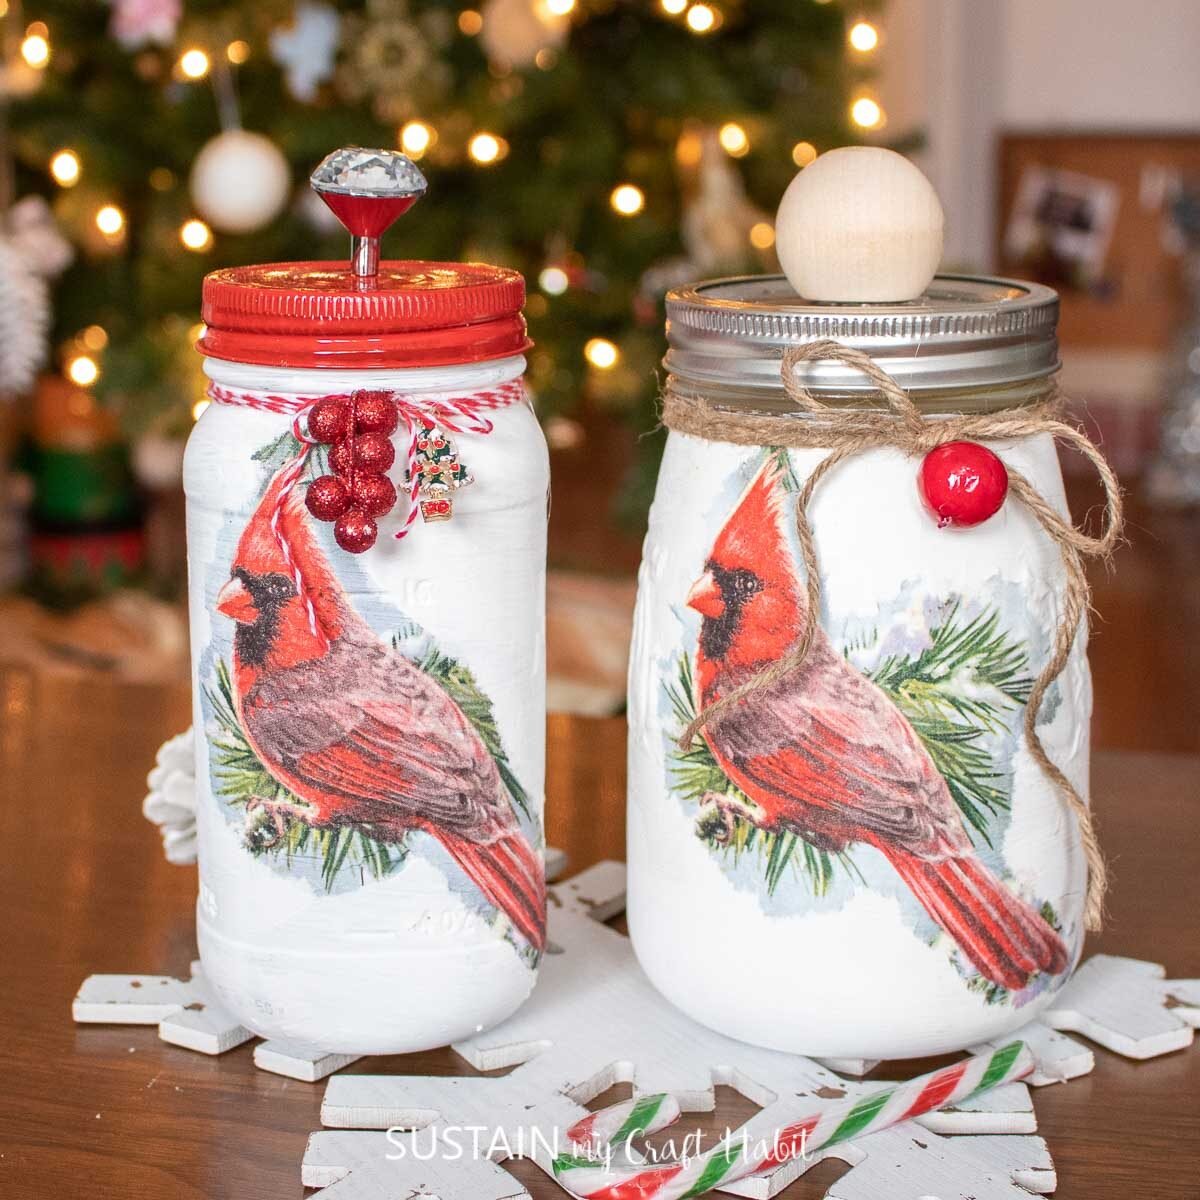
- Mason Jars with Decoupage
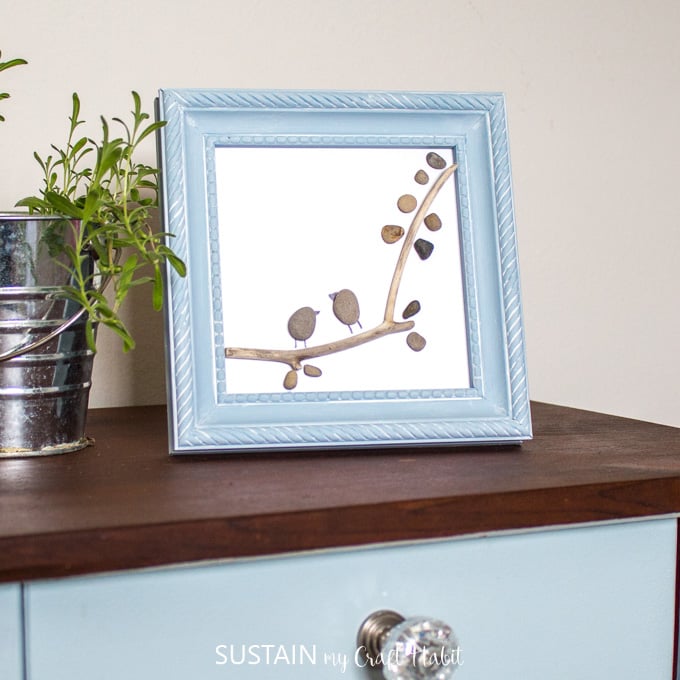
- Simple DIY Pebble Art
Thanks so much for stopping by to visit! If you wish to get updates on the latest posts and more from Sustain My Craft Habit straight to your inbox, join our weekly newsletter. We promise to send you only the good stuff!
Like it? Pin it for later!
