Few projects offer the perfect blend of functionality and creativity quite like a DIY necklace organizer with decoupage! We love how this project transforms ordinary household items into stunning, personalized jewelry displays.

Why You’ll Love Making A Decoupage Necklace Organizer
First, there’s the immense satisfaction of transforming simple materials into something both beautiful and useful. There’s also remarkable flexibility in design—you can tailor each organizer to match your existing decor, create themed versions for different seasons, or design them to complement specific jewelry collections. .
Finally, these organizers make thoughtful, personalized gifts that show care and consideration for the recipient’s style and needs.

How You Can Use These Organizers
While they excel at keeping necklaces tangle-free and visible, these creative pieces can adapt to numerous organizational challenges throughout your home.
- In a bedroom, they can double as displays for scarves, belts, or ties when mounted on closet doors or walls.
- For crafters, the same design can be modified to hold spools of ribbon, thread, or yarn in a sewing room, keeping supplies visible and within reach.
- In a home office, your organizer can be repurposed to manage cables and charging cords that typically create clutter around workspaces.
Want to receive a ton of inspiration and money saving ideas for decorating, gift-giving and crafting? Join HERE!
Materials Needed
Disclosure: This post contains affiliate links for your shopping convenience. Should you choose to purchase through them, we will make a small commission at no extra cost to you. You can read our full disclosure policy here.
- Walnut Hollow Pine Oval Plaque
Decoart Chalky Finish Paint, Everlasting (white) - Decoart Chalky Finish Paint, Carbon (black)
- Decoart Metallic Lustre Wax, Gold Rush
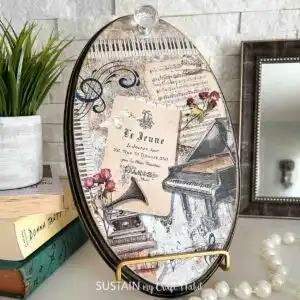
Mod Podge - Le Jeune Rice Paper
- Crystal Cabinet Knob

How to Craft a Necklace Organizer with Decoupage
I shared the tutorial for how to make this necklace organizer on a Facebook live which you can watch here or if you prefer the photo tutorial, continue reading below.
Paint your plaque with white chalky paint.

Next, paint the edge of the plaque with black paint and let dry.

Use a sanding block over the black paint to give a distressed look.

Apply a coat of Mod Podge and let dry tacky.


Place the rice paper on top of the plaque and gently press down with your fingers. Place a piece of parchment paper over top of the paper and take your heated iron and gently rub back and forth.

Trim any excess paper and use a sanding block to smooth the edges.

Using your finger, take a small amount of metallic lustre wax and use it on the edges of the plaque.

Finally, glue a knob onto the plaque.

And voila! Your decoupage necklace organizer is ready to use!

Each time you reach for a necklace, perfectly displayed and tangle-free, you’ll experience the unique satisfaction that comes from solving a common problem with your own creativity and skill.
More DIY Jewelry Organizers
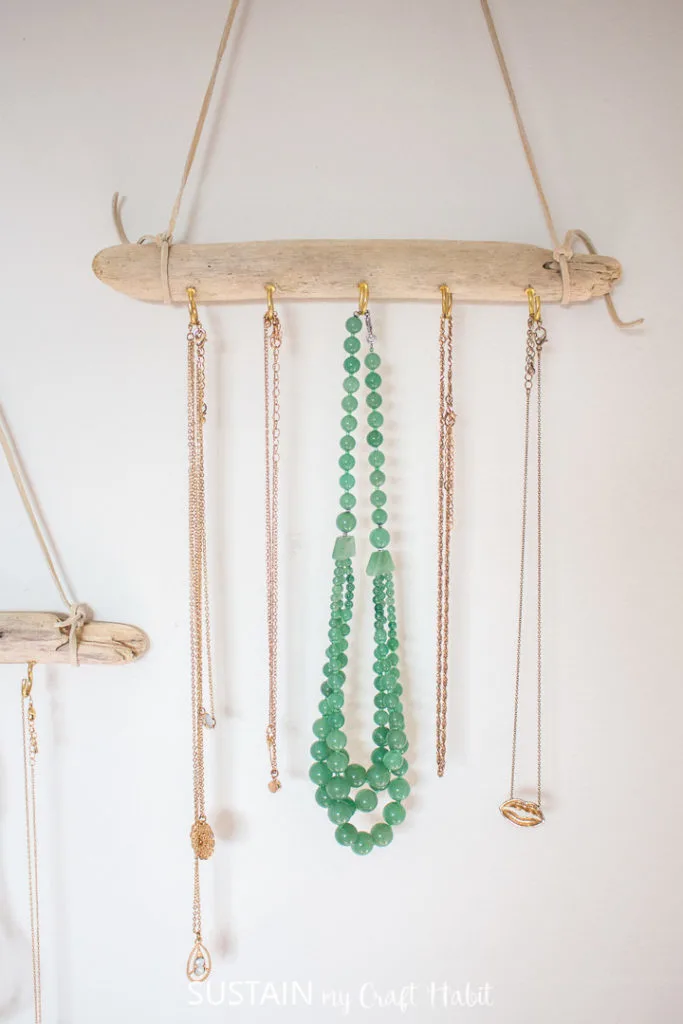
- Driftwood Jewelry Organizer
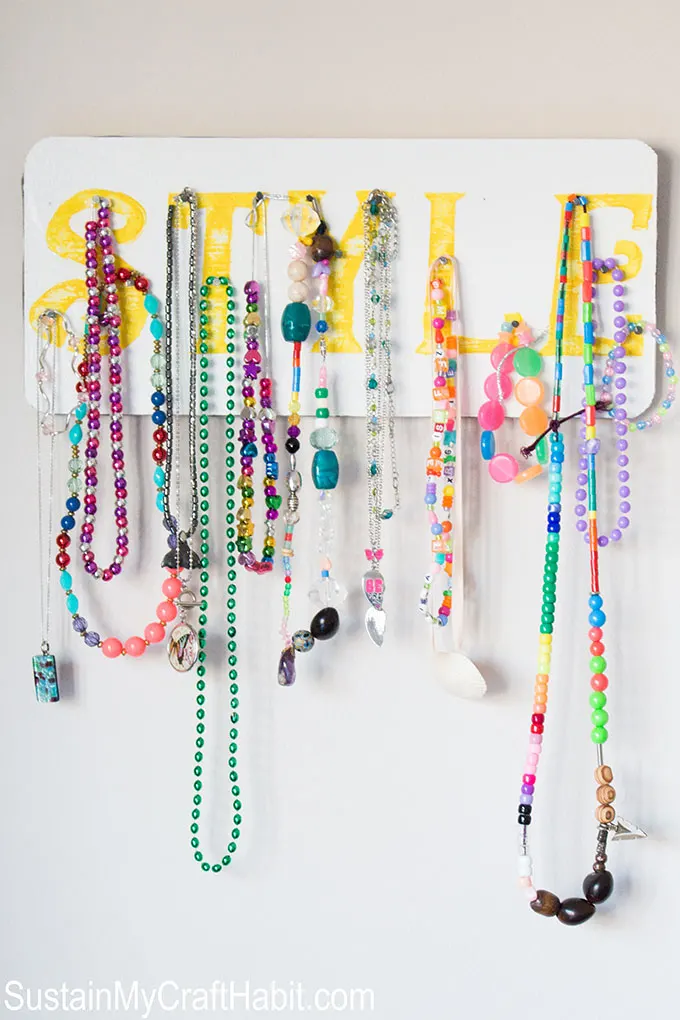
- Jewelry & Necklace Organizer for your Wall
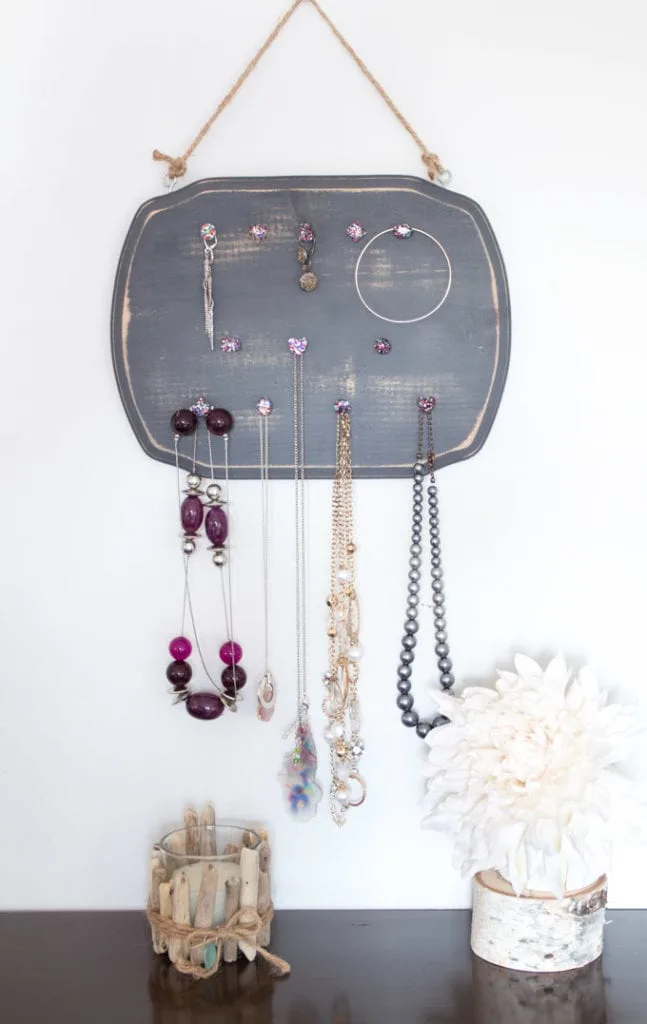
- Rustic Glam Jewelry Organizer
- Modern Jewelry Display with Faux Resin Marble
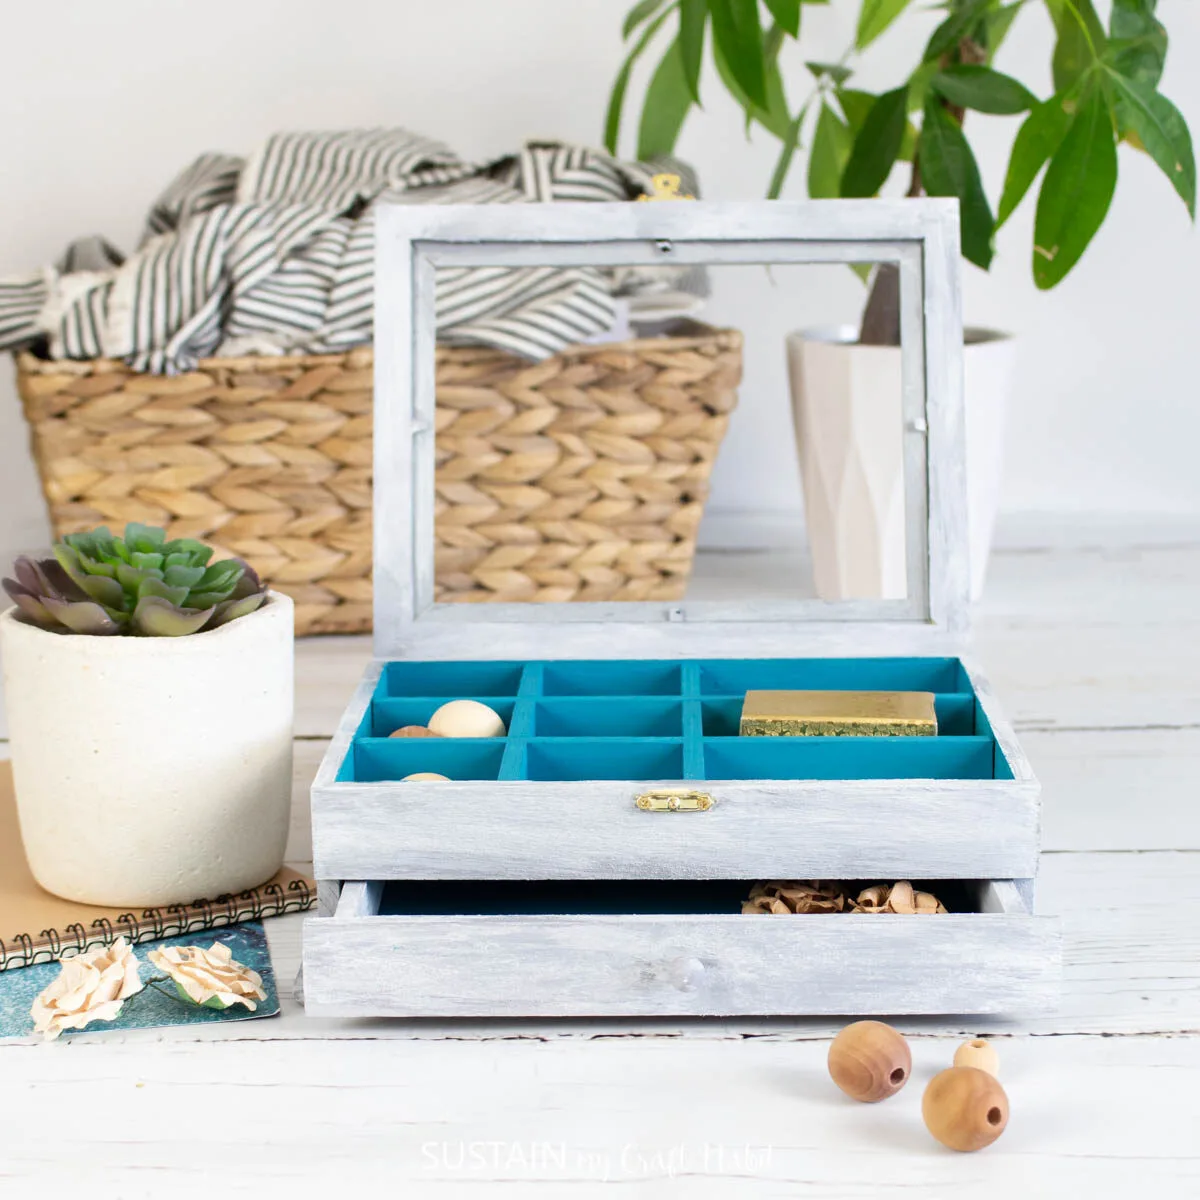
- Hand Painted Jewelry Box
- Seashell Trinket Dishes


Join our crafting community to find more DIYs and upcycled craft ideas. It feels good to repurpose and upcycle!
Like it? Pin for later!

Crafting a Necklace Organizer with Decoupage
Materials
- Walnut Hollow Pine Oval Plaque
- Decoart Chalky Finish Paint Everlasting (white)
- Decoart Chalky Finish Paint Carbon (black)
- Decoart Metallic Lustre Wax Gold Rush
- Mod Podge
- Le Jeune Rice Paper
- Crystal Cabinet Knob
Instructions
- Paint your plaque with white chalky paint.
- Next, paint the edge of the plaque with black paint and let dry.
- Use a sanding block over the black paint to give a distressed look.
- Apply a coat of Mod Podge and let dry tacky.
- Place the rice paper on top of the plaque and gently press down with your fingers.
- Trim any excess paper and use a sanding block to smooth the edges.
- Using your finger, take a small amount of metallic lustre wax and use it on the edges of the plaque.
- Finally, glue a knob onto the plaque.
