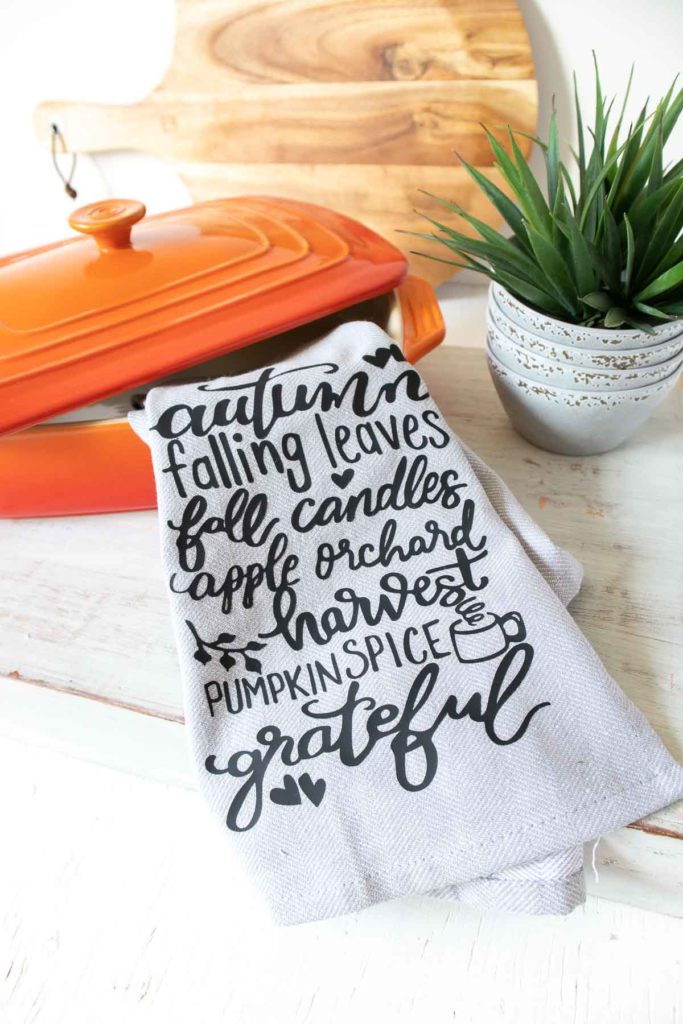
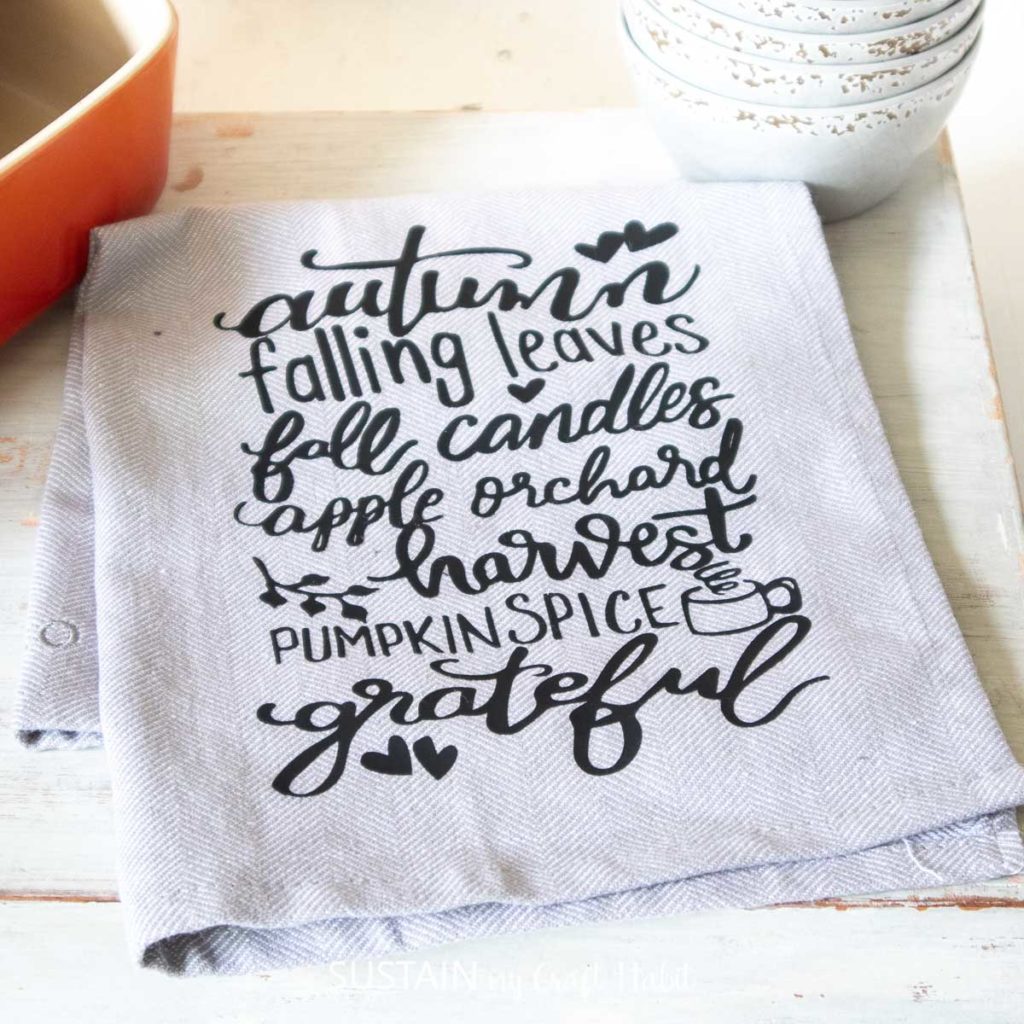
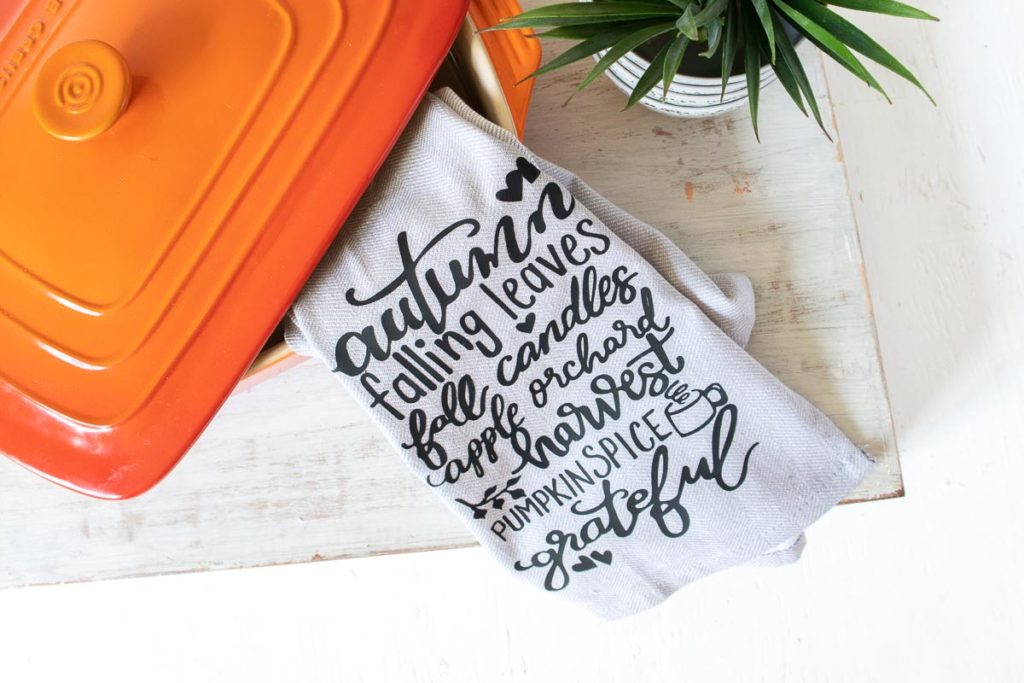
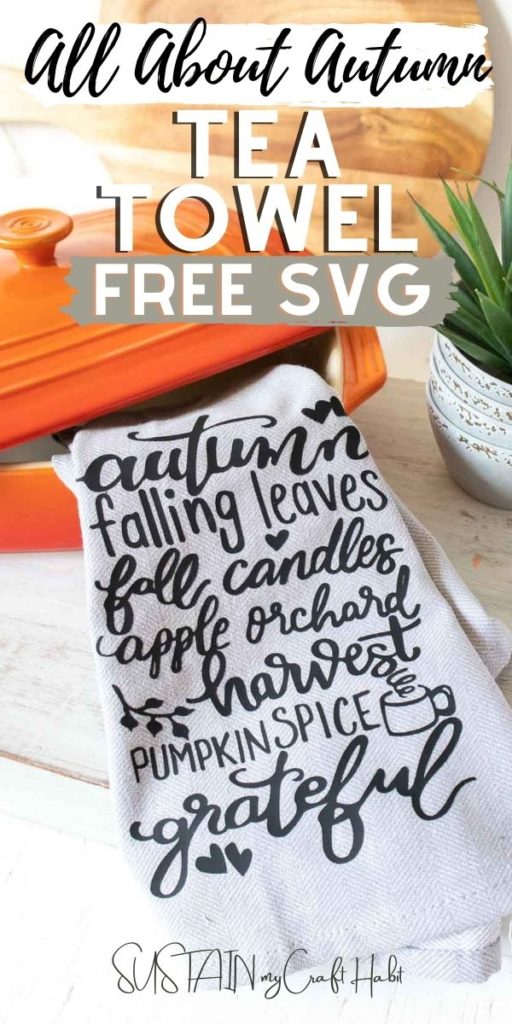
DIY Fall Tea Towels with Iron On Vinyl
With Autumn in the air, it’s about time we start those seasonal craft projects like these DIY Fall tea towels.
Using Cricut Everyday Iron On Vinyl to Make Fall Tea Towels
What are some of your favorite things about Fall? When we created this SVG cutting file, we starting to jot down all the things we love most about Autumn. Things like falling leaves, pumpkin spice and apple orchards were some of the stuff that first came to mind.
We’ve been sharing loads of free SVG files for use with a cutting machine lately. So for some other craft projects using free SVG files, check out this DIY paper popsicle garland; sweetheart candy jar and this time to relax sloth art idea. And if you need help uploading the SVG file into Cricut’s Design space, we have a post for that too!
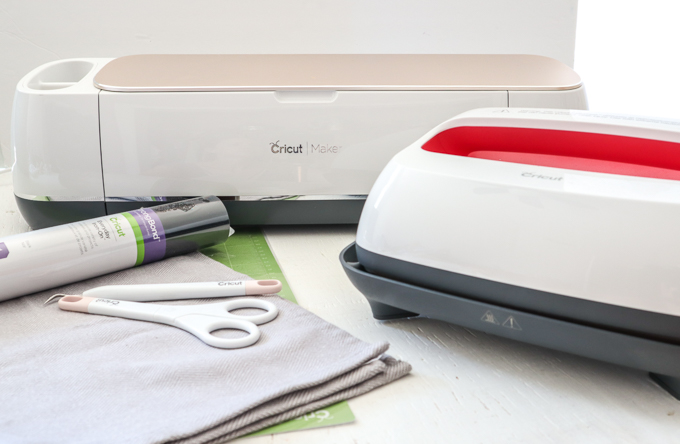
Materials Needed:
Disclosure: This post contains affiliate links for your shopping convenience. Should you choose to purchase through them, we will make a small commission at no extra cost to you. You can read our full disclosure policy here.
- All About Autumn SVG
- Tea Towel, 100% cotton
- Cricut Maker
- Everyday Iron On Vinyl, Black
- Cricut Standard Grip Mat
- Weeding Tool
- Scissors
- EasyPress 2
- EasyPress Mat or Towel
How to Make Fall Tea Towels:
Pre-Work:
Prewash and dry the tea towel. Iron out all wrinkles and creases.
Preparing the Image:
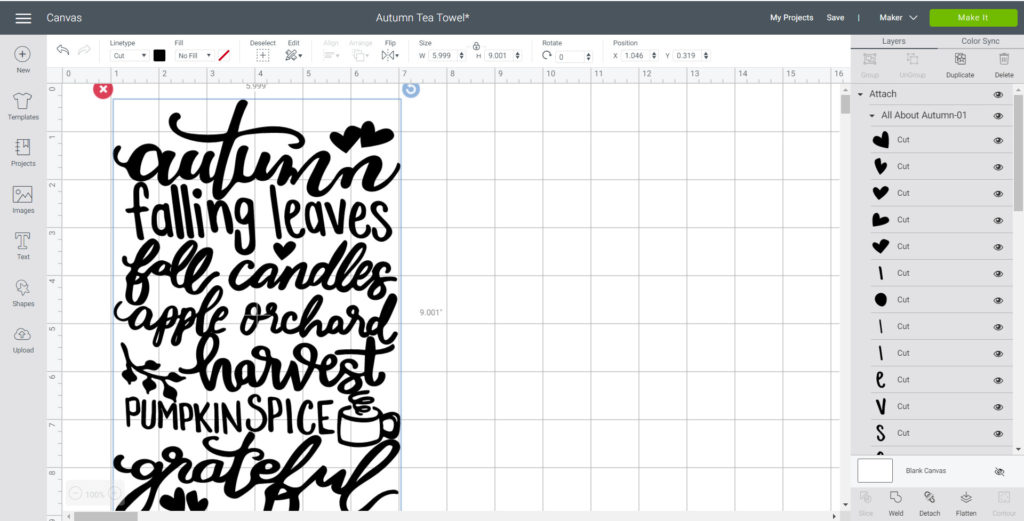
Open Cricut Design Space.
Click on the “+” sign to start a new project, opening up a blank canvas.
Click on the Upload button from the toolbar to insert the All About Autumn SVG file on to the canvas.
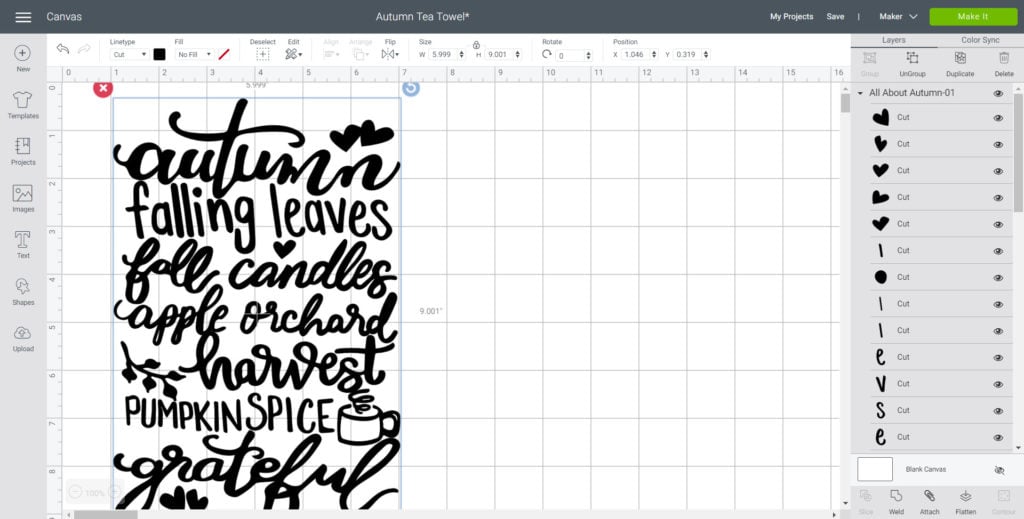
Maintain the size at roughly 6” wide by 9” high or adjust by highlighting the image and clicking on the size box in the top toolbar.
Cutting the Iron-On Vinyl:
Select “Make It” in the upper right corner to proceed with cutting.
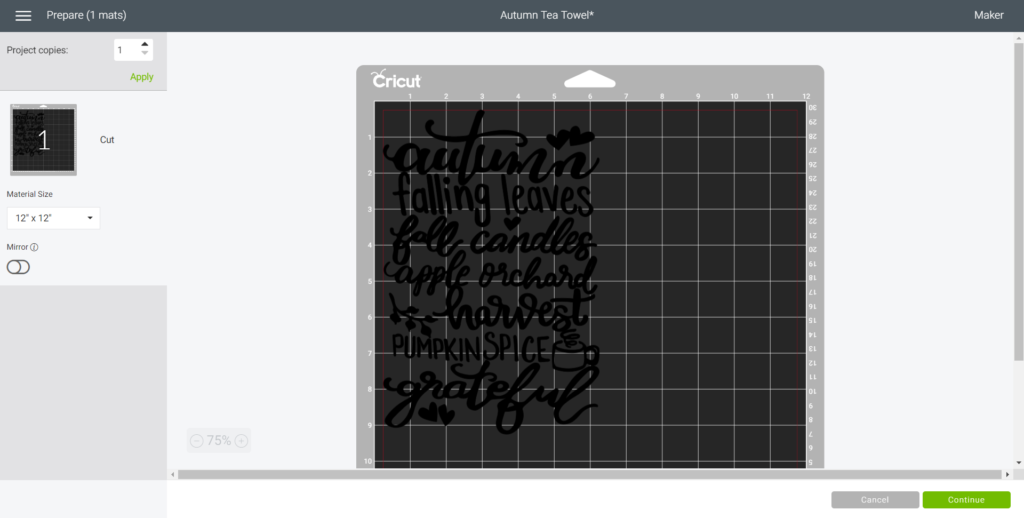
Click the “Mirror” toggle button to on. This is necessary for ALL iron on vinyl cuts.
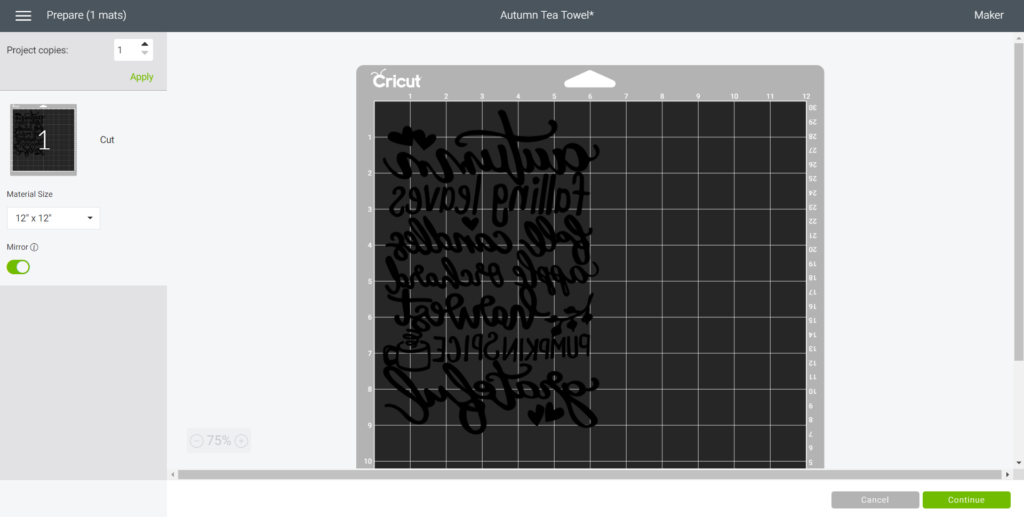
Cut the Everyday Iron-On Vinyl width to fit on the standard grip mat. Press continue.
Choose Everyday Iron-On Vinyl from the list of options in the drop down menu.
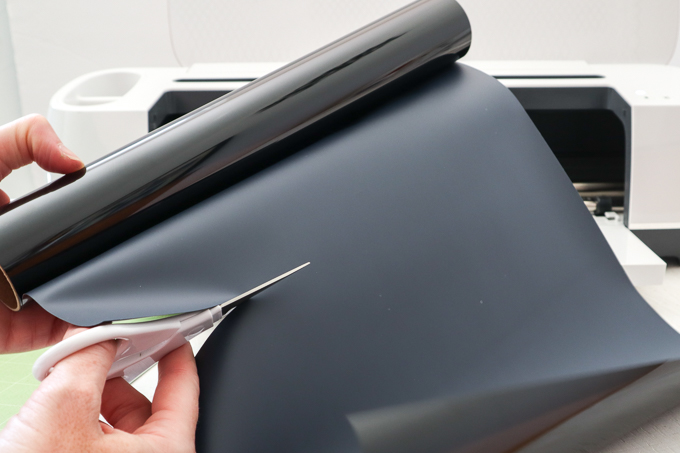
Place the Iron-On vinyl directly onto the standard grip mat with the SHINY SIDE DOWN.
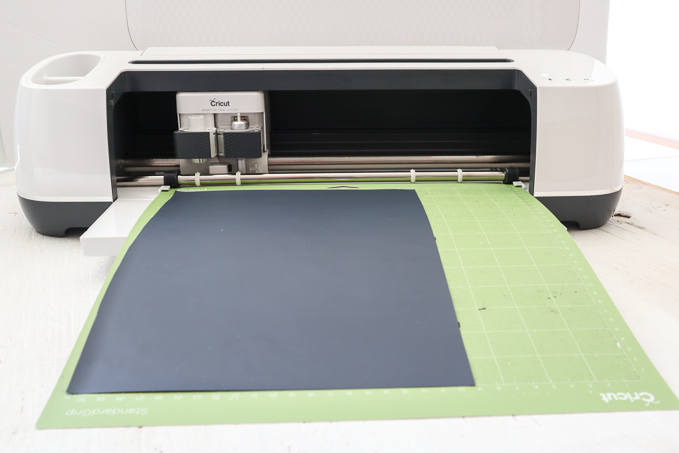
Following the instructions prompted on the screen, cut out the vinyl.
Preparing the Cut Image:
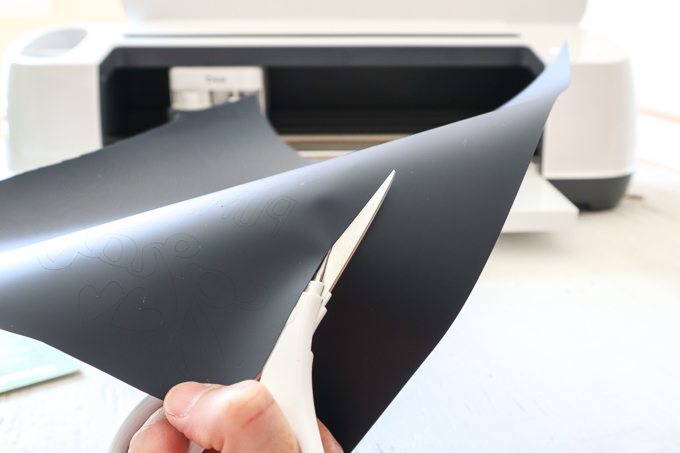
Remove the Everyday Iron-On Vinyl from the mat.
Cut around the image and put aside the left over vinyl for another project.
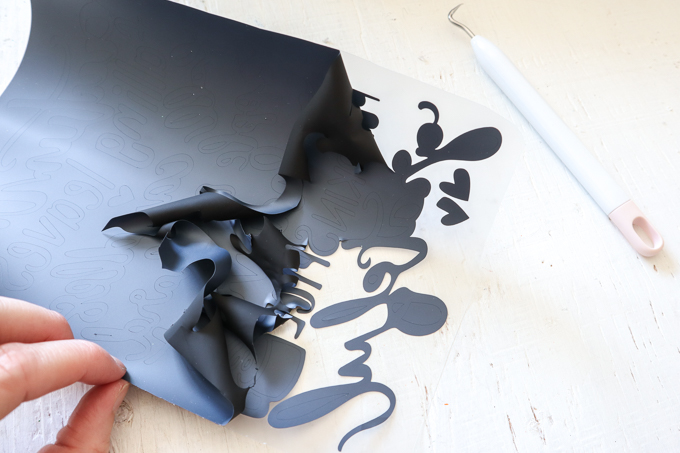
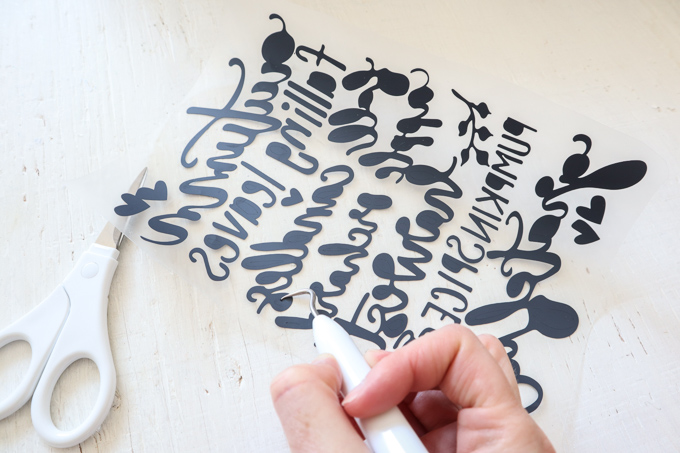
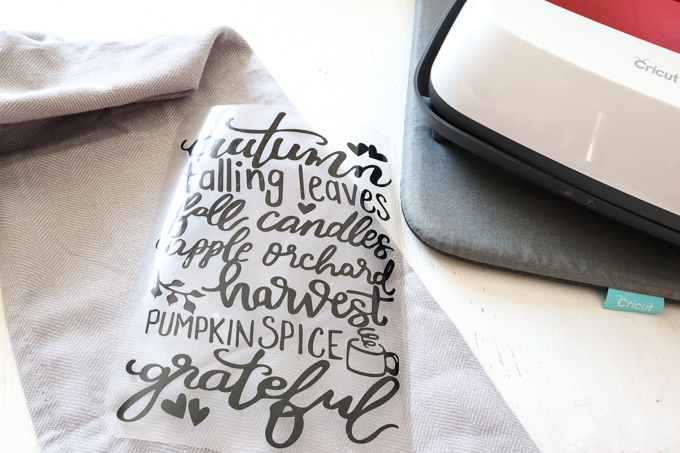
Using a weeding tool, peel away the excess vinyl leaving only the All About Autumn lettering.
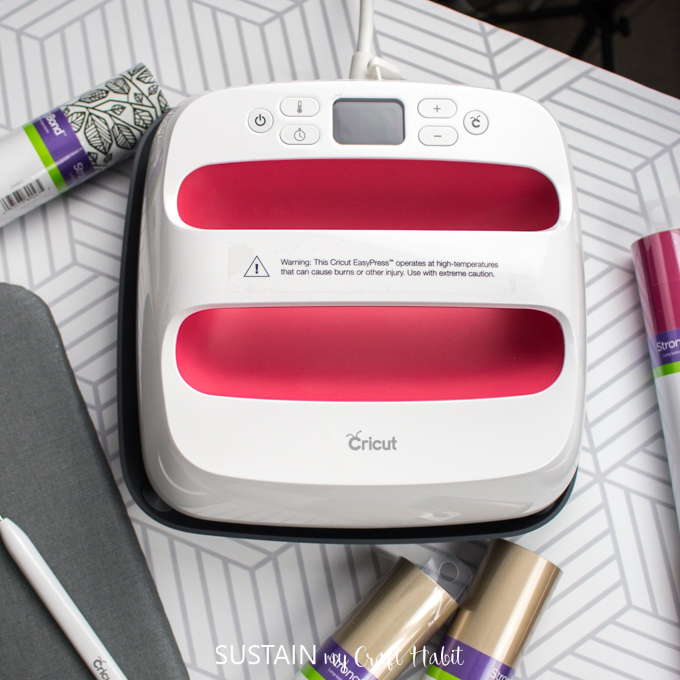
Applying the Image with the Cricut EasyPress 2:
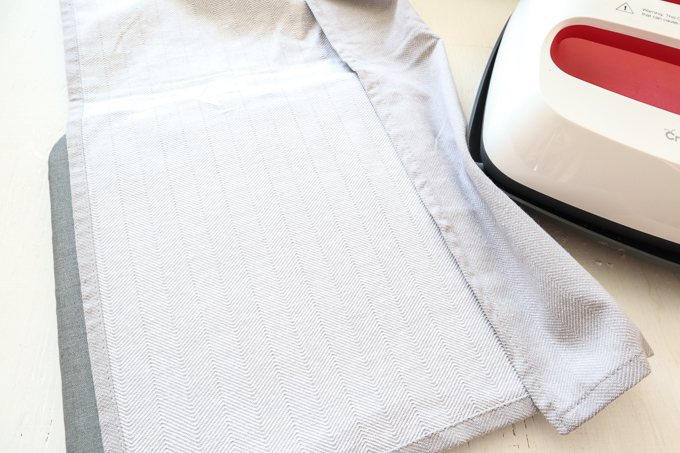
Position the mat or a towel on a flat surface.
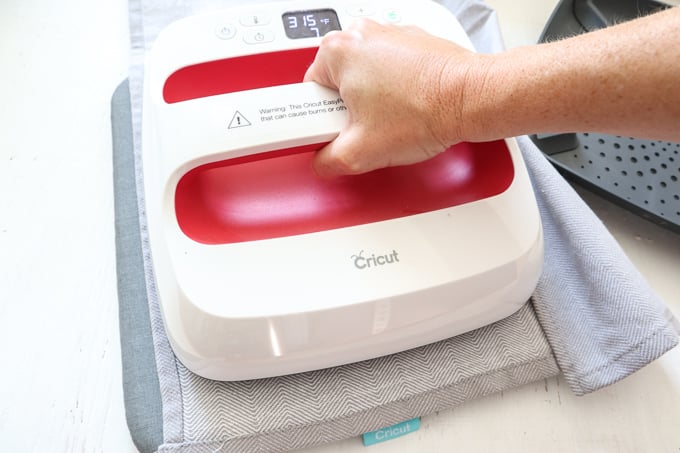
Set the temperature and time on the machine following the chart for the type of vinyl and material being used or use this EasyPress Interactive Quick Reference Guide.
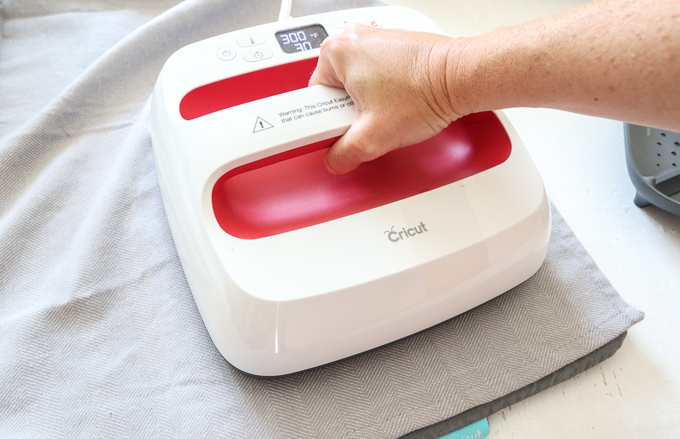
For a 100% Cotton tea towel and Everyday Iron-On Vinyl, set the EasyPress 2 to 315F.
Determine where you will be placing the lettering and preheat the tea towel in that spot for 5 seconds. This will prep the fabric for the vinyl, removing all excess moisture as well as help to remove any creases and wrinkles from the fabric.
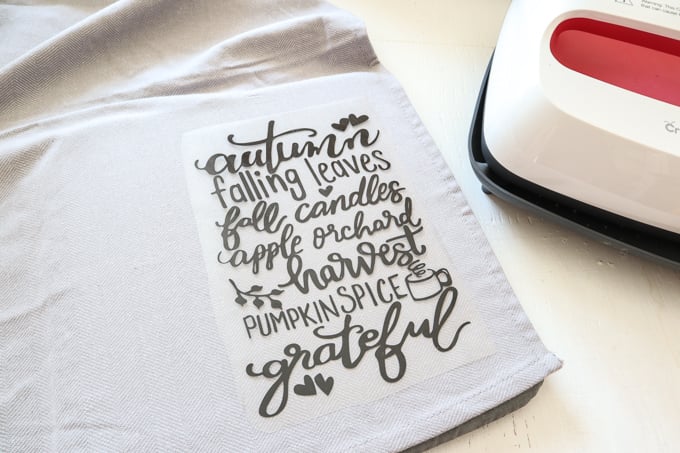
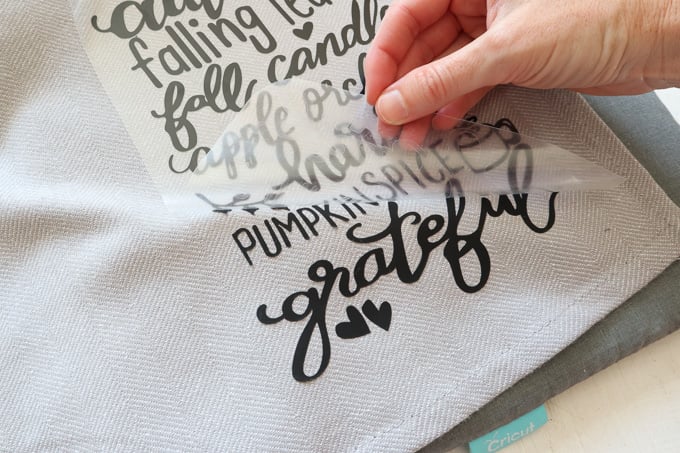
Place the cut lettering on to the tea towel with the shiny side up.
Press the image on to the tea towel for 30 seconds with light pressure.
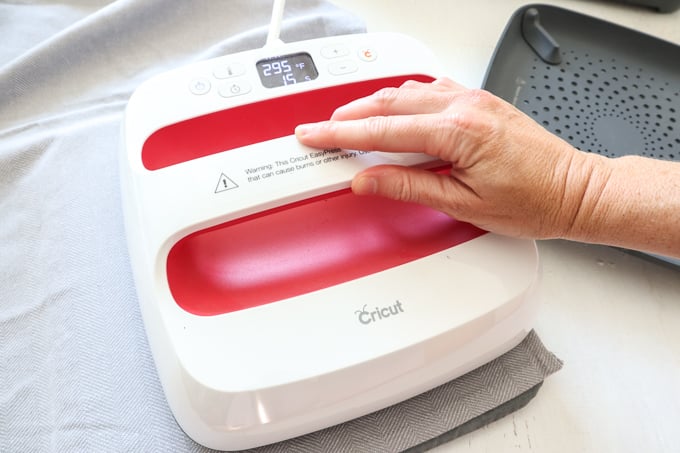
Turn the tea towel upside down and apply heat for another 15 seconds.
Peel the plastic part of the vinyl off carefully once it cools and discard.
If vinyl appears to be peeling off, keep the plastic covering on top and re-press for longer.
Make sure you do not place an iron or the EasyPress Mini directly over the vinyl without the protective plastic cover.
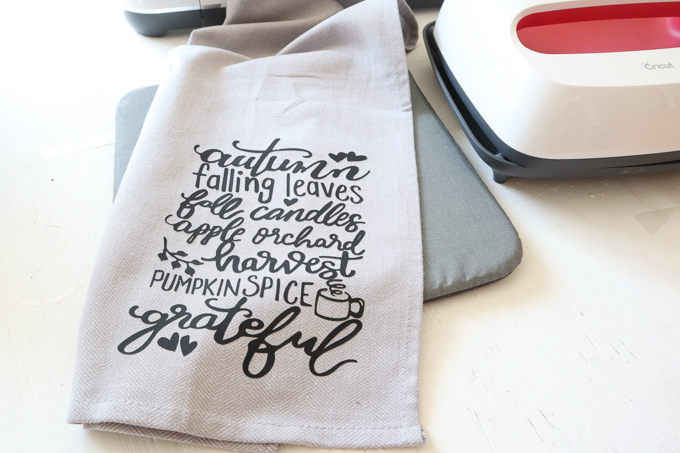
And that’s it, the Fall tea towel is complete and ready for use! Happy Fall ya’ll!
Check out These Other Fall Crafts
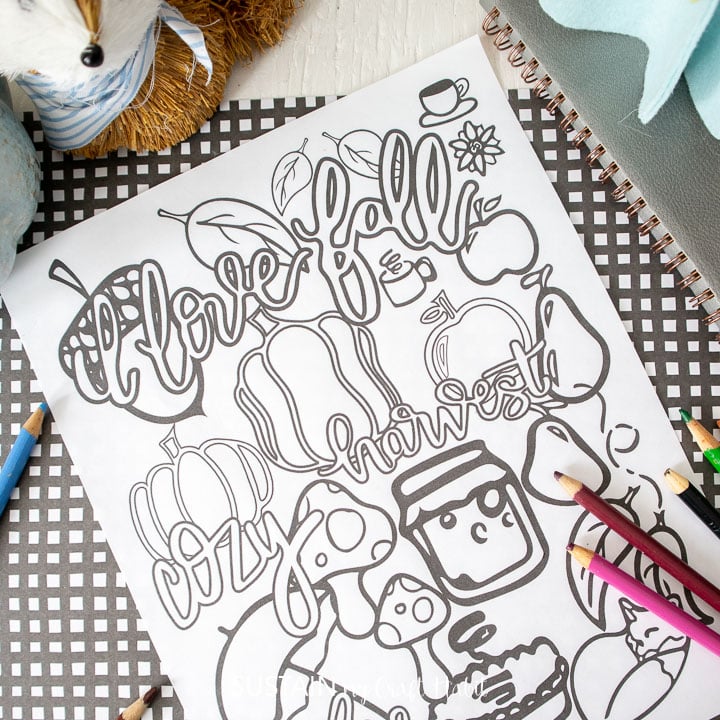
- Free fall coloring page
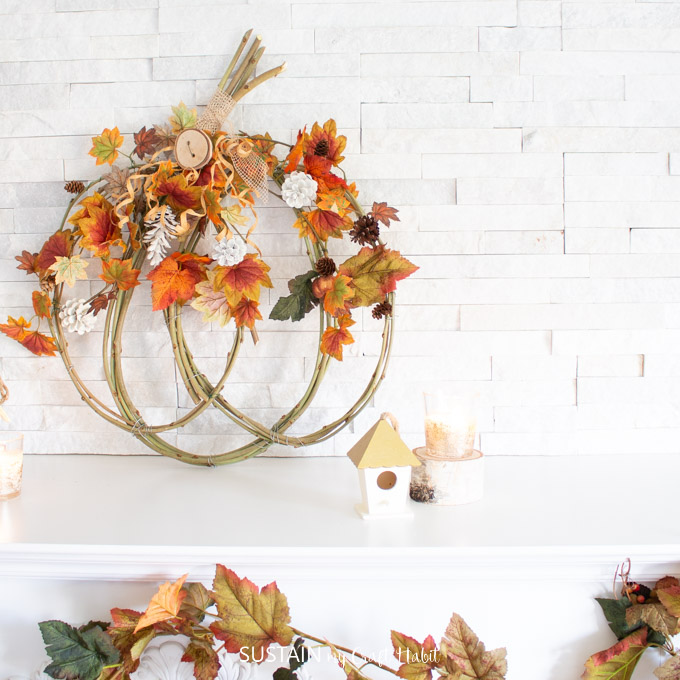
- Pretty DIY pumpkin wreath
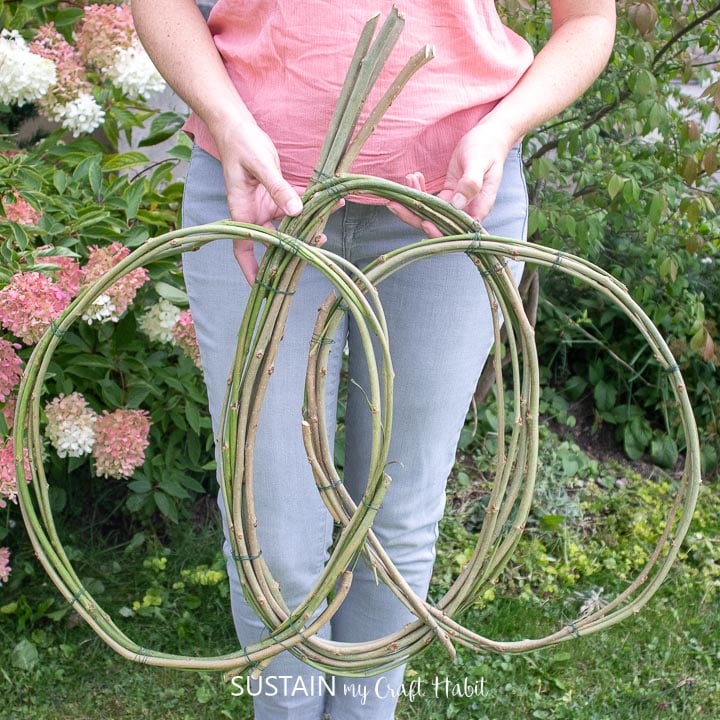
- Mulberry vines pumpkin wreath form
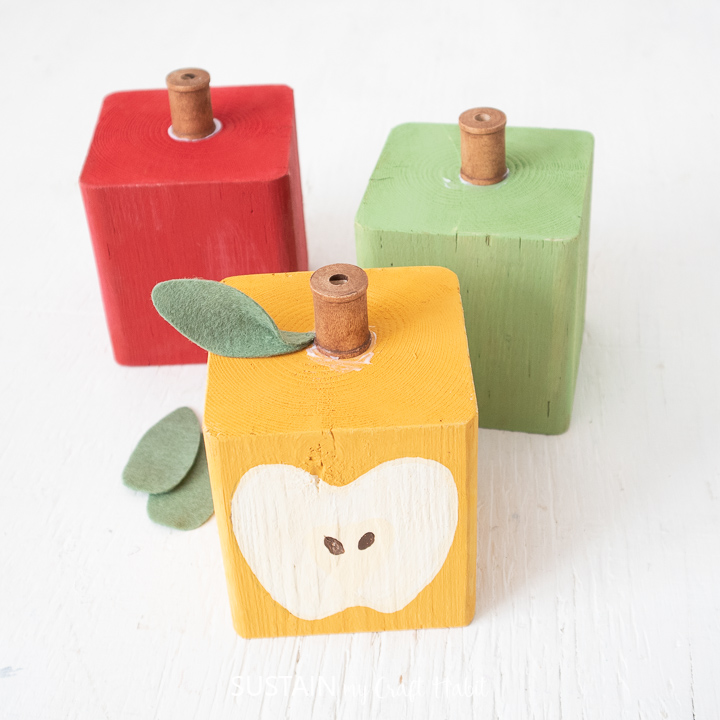
- DIY wood block apples

Fall Coloring Page 
Pretty Pumpkin Wreath Mulberry Vines Wreath Wood Block Apples
Like it? Pin it for later!

DIY Fall Tea Towels with Everyday Iron On Vinyl
Materials
- All About Autumn SVG
- Tea Towel 100% cotton
- Cricut Maker
- Everyday Iron On Vinyl Black
- Cricut Standard Grip Mat
- Weeding Tool
- Scissors
- EasyPress 2
- EasyPress Mat or Towel
Instructions
- Prewash and dry the tea towel. Iron out all wrinkles and creases.
Preparing the Image:
- Open Cricut Design Space.
- Click on the “+” sign to start a new project, opening up a blank canvas.
- Click on the Upload button from the toolbar to insert the All About Autumn SVG file on to the canvas.
- Maintain the size at roughly 6” wide by 9” high.
Cutting the Iron-On Vinyl:
- Select “Make It” in the upper right corner to proceed with cutting.
- Click the “Mirror” toggle button to on.
- Cut the Everyday Iron-On Vinyl width to fit on the standard grip mat. Press continue.
- Choose Everyday Iron-On Vinyl from the list of options in the drop down menu.
- Place the Iron-On vinyl directly onto the standard grip mat with the SHINY SIDE DOWN.
- Following the instructions prompted on the screen, cut out the vinyl.
Preparing the Cut Image:
- Remove the Everyday Iron-On Vinyl from the mat.
- Using a weeding tool, peel away the excess vinyl leaving only the All About Autumn lettering.
Applying the Image with the Cricut EasyPress 2:
- Position the mat or a towel on a flat surface.
- Set the temperature and time on the EasyPress 2 machine.
- Determine where you will be placing the lettering and preheat the tea towel in that spot for 5 seconds.
- Place the cut lettering on to the tea towel with the shiny side up.
- Press the image on to the tea towel for 30 seconds with light pressure.
- Turn the tea towel upside down and apply heat for another 15 seconds.
- Peel the plastic part of the vinyl off carefully once it cools and discard.
- Make sure you do not place an iron or the EasyPress Mini directly over the vinyl without the protective plastic cover.