Easy Mason Jar Pumpkin Craft for the Fall
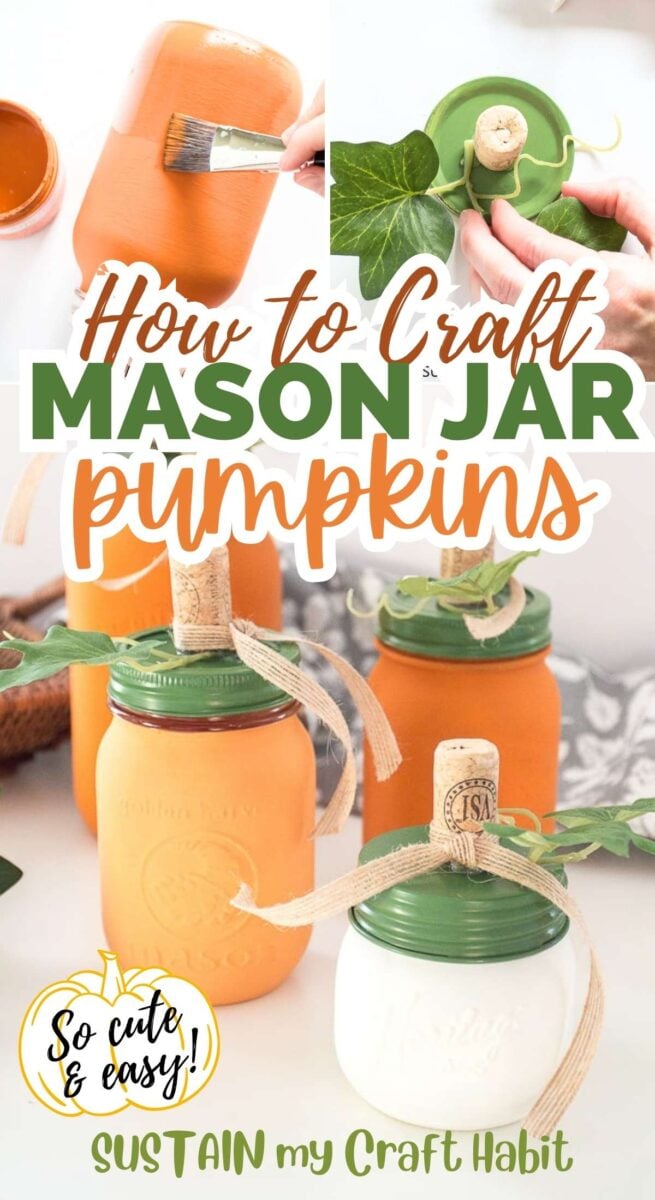
Who says mason jars are just for canning? Certainly, not any crafty person I know. With all the different shapes and sizes mason jars come you know we had to turn some into mason jar pumpkins for our fall decorating!

Fall Crafting with Mason Jars
Fall decor and specifically pumpkins are in abundance this time of year. I can’t get enough of them throughout my home. Case and point with my upcycled candy tin pumpkin decor I made just a few weeks ago and these painted rock pumpkins and even these quick and easy toque pumpkins.
So why stop there? Keep reading to learn how to turn your mason jars into these sweet and savory pumpkin decor.
Whether they are out on display as a grouping of 3 or 4 or individually staggered throughout the home, they are pretty pumpkin-rific!

For additional creative craft ideas, be sure to check out these 70 easy DIY projects and best craft kits for adults!
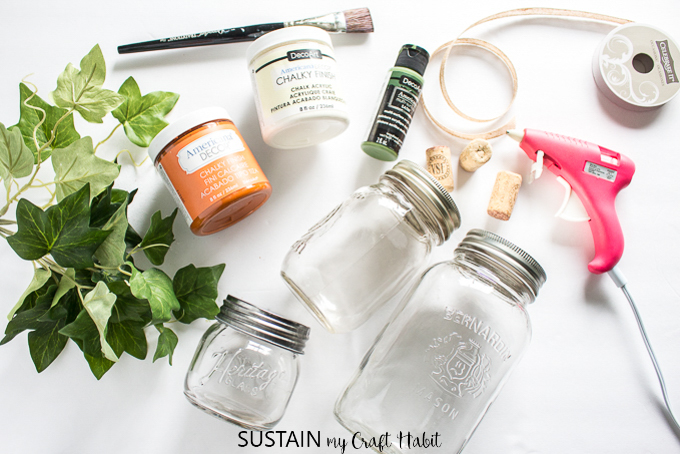
Supplies to Make 3 Mason Jar Pumpkins:
Shop our recommended products on Amazon here.
- Glass mason jars, 3 different sizes with lids
- Orange and white chalk paint
- Green paint for lid (such as Americana Multi-Surface Paint in Woodland)
- Paintbrush
- 3 wine corks
- Hot glue gun and clear hot glue sticks
- Artificial leafy foliage
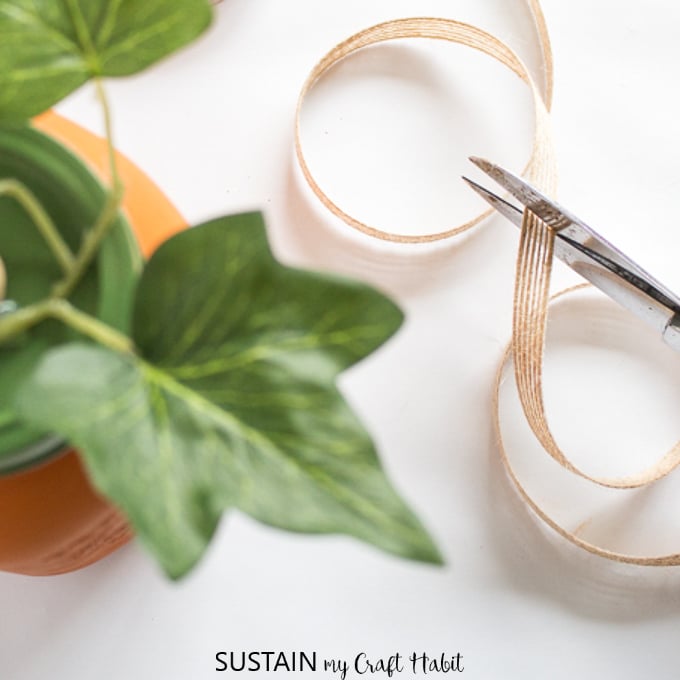
- Natural Jute Decorative ribbon, 3/8″ wide
- Scissors
A few tips before you get started:
- Protect your work surface with a sheet of newspaper or other drop sheet.
- Clean and dry mason jars before painting. Remove the lids and put aside for time being.
How to Make this Fall Craft Idea:
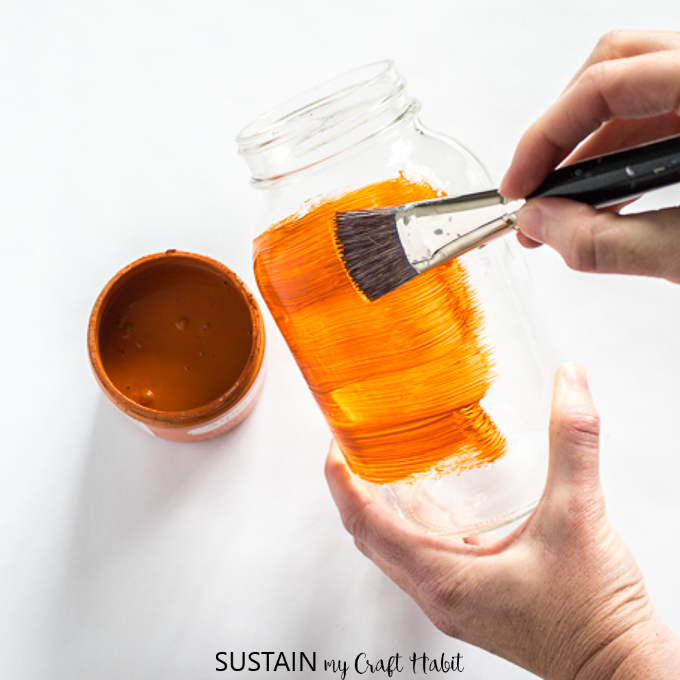
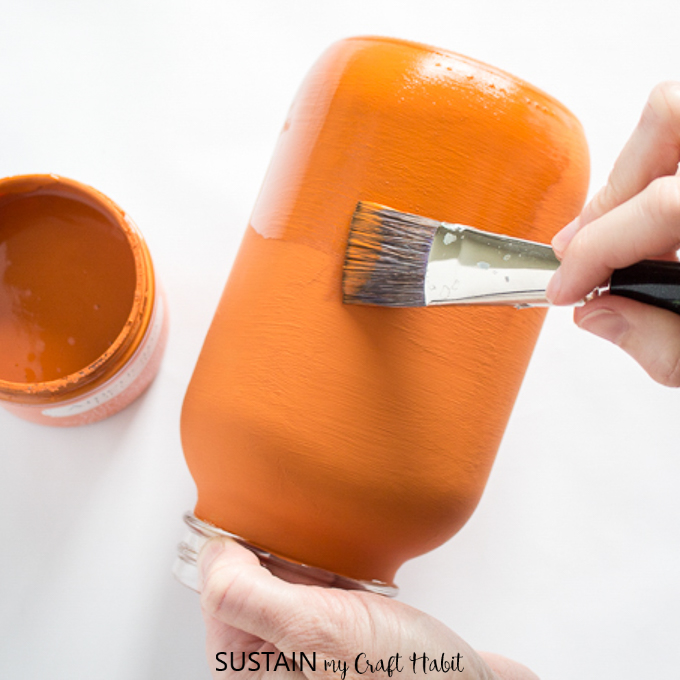
For the darker orange of pumpkin, dip your paint brush into the orange chalk paint and apply to the surface of the mason jar (leave the top rimmed section unpainted). Set aside to dry completely.
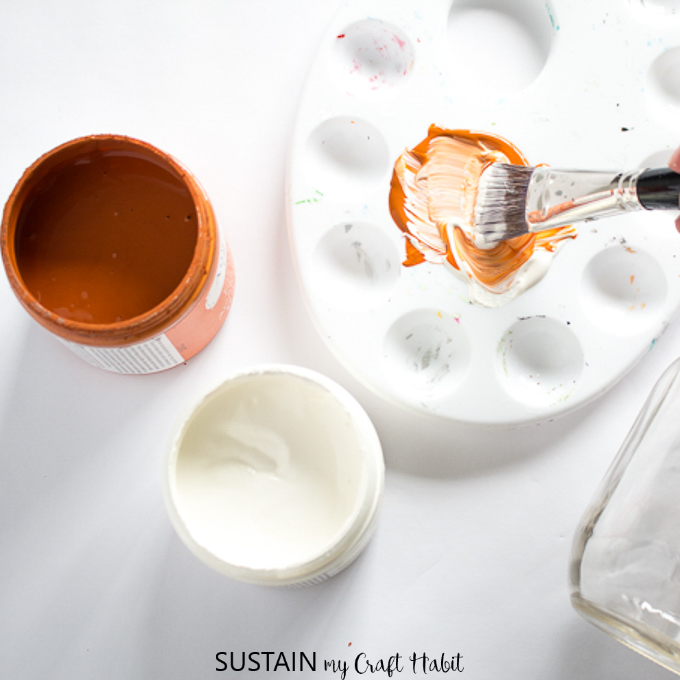
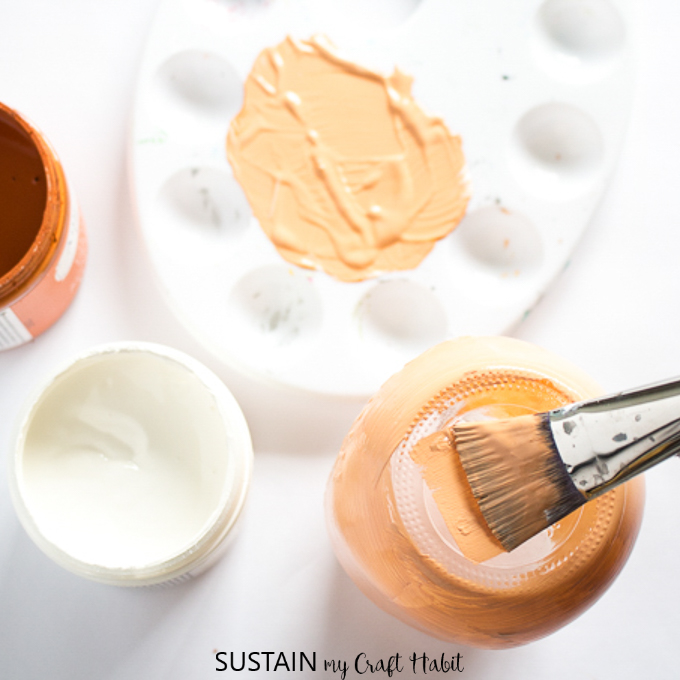
For the lighter orange pumpkin, mix equal amounts of orange and white chalk paint and apply to the surface of the mason jar (leave the top rimmed section unpainted). Set aside to dry completely.
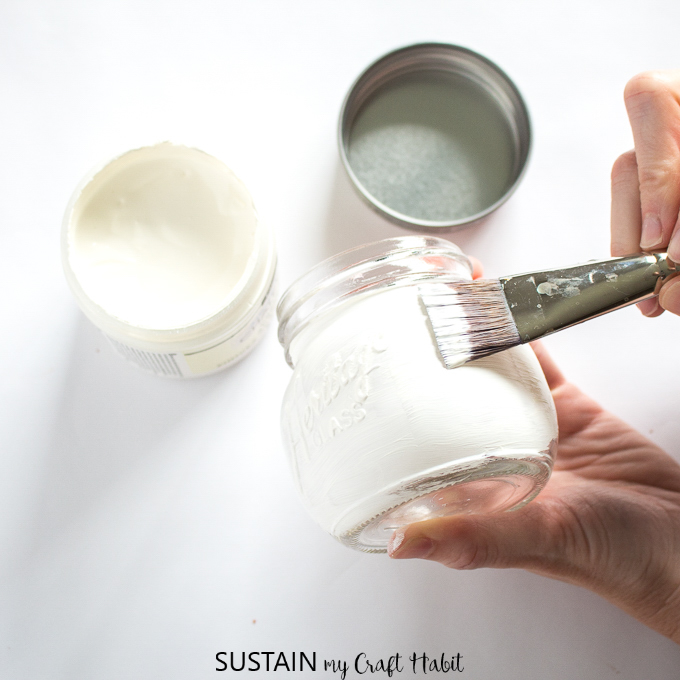
For the white pumpkin, paint the third mason jar with white chalky paint, leaving the top rimmed section unpainted.
Leave the first coat of paint to dry fully and repeat as needed until desired coverage is achieved. We used two coats of paint for each jar.
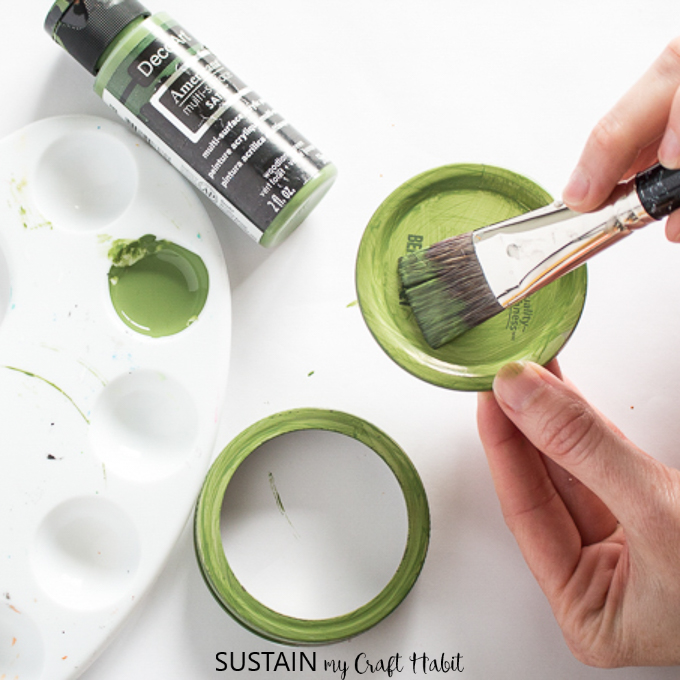
Apply a coat of Americana Multi-Surface paint in woodland color to the mason jar lids. Make sure to leave the paint to dry and then repeat as needed until desired coverage is achieved. 3-4 coats were needed.
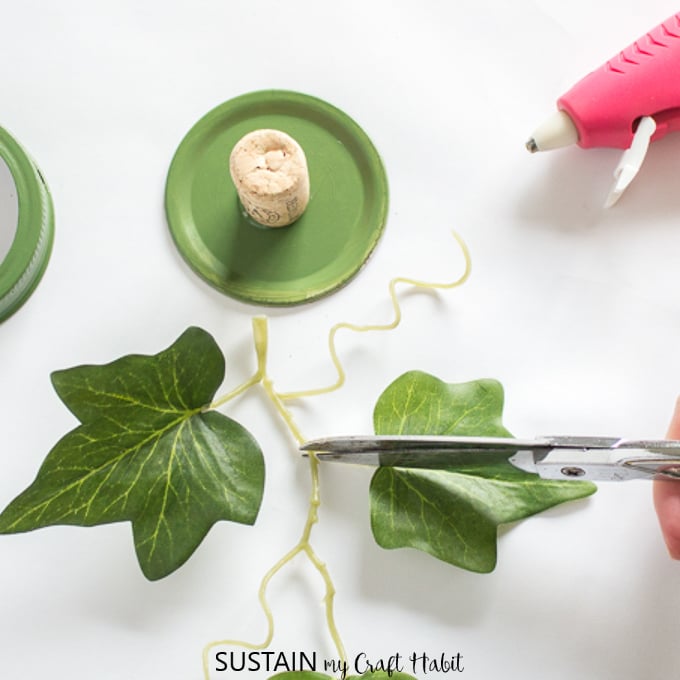
Cut a small trimming of the artificial leafy foliage.
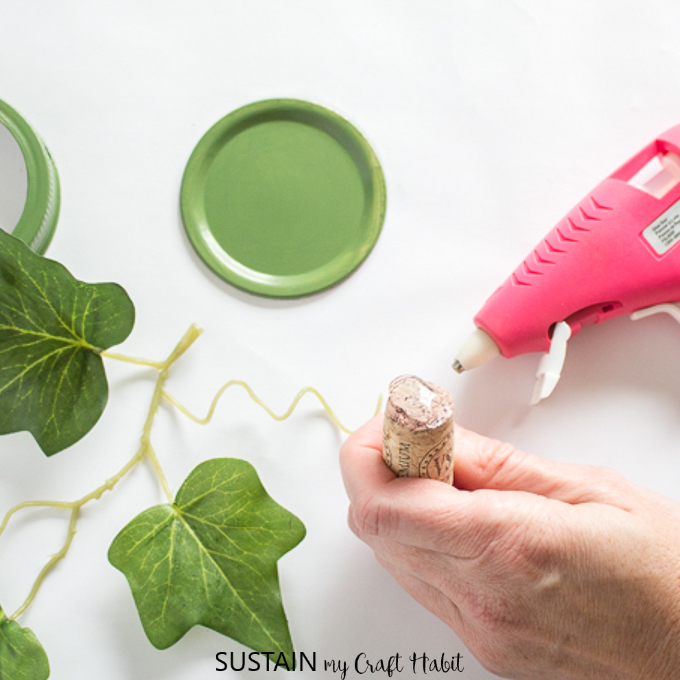
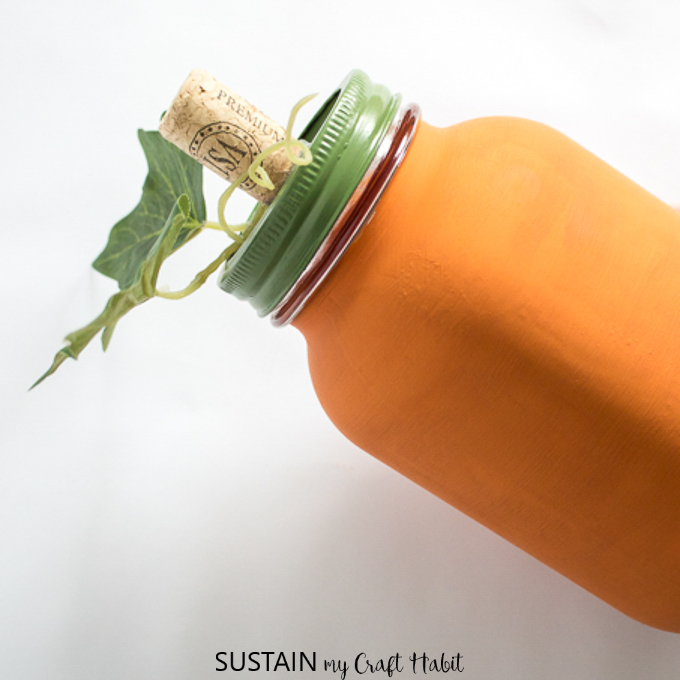
Heat up hot glue gun and apply a good amount of glue to the bottom of a wine cork. Working quickly and carefully, press the wine cork onto the center of the lid and hold until secure.
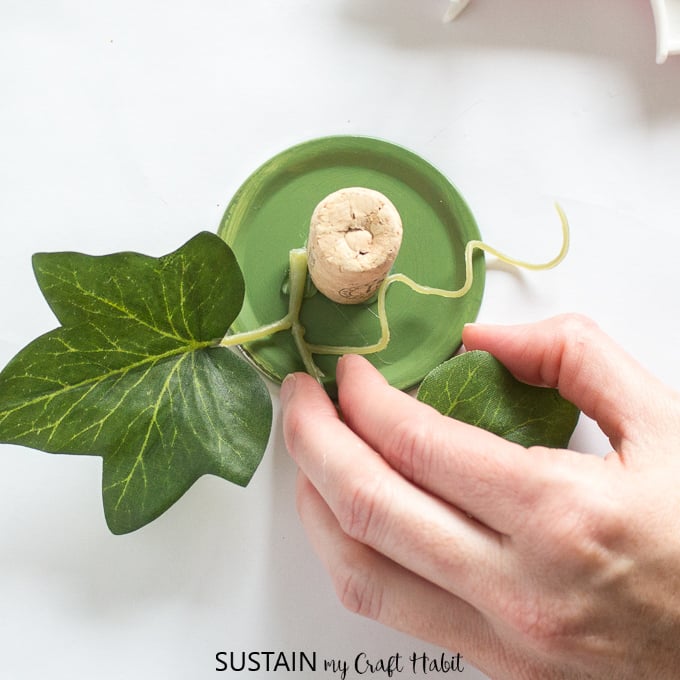
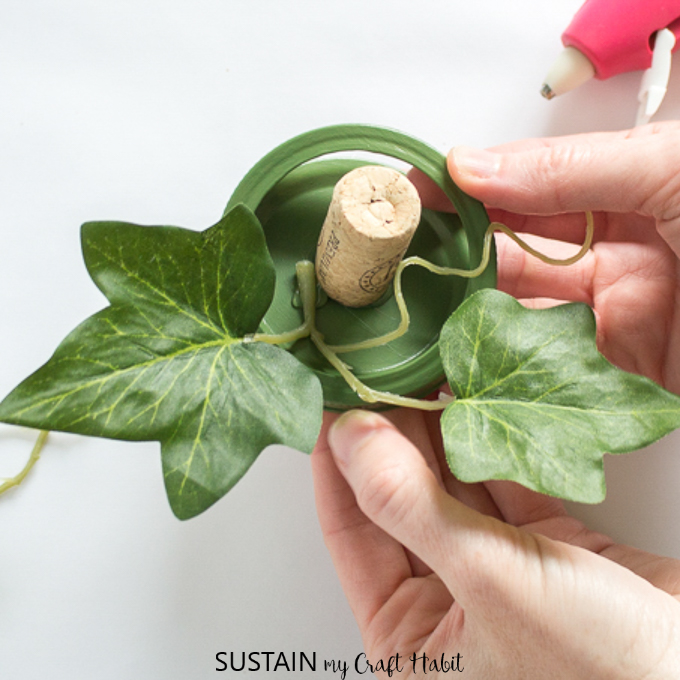
Apply a small dab of glue next to the glued wine cork and carefully attach the foliage.
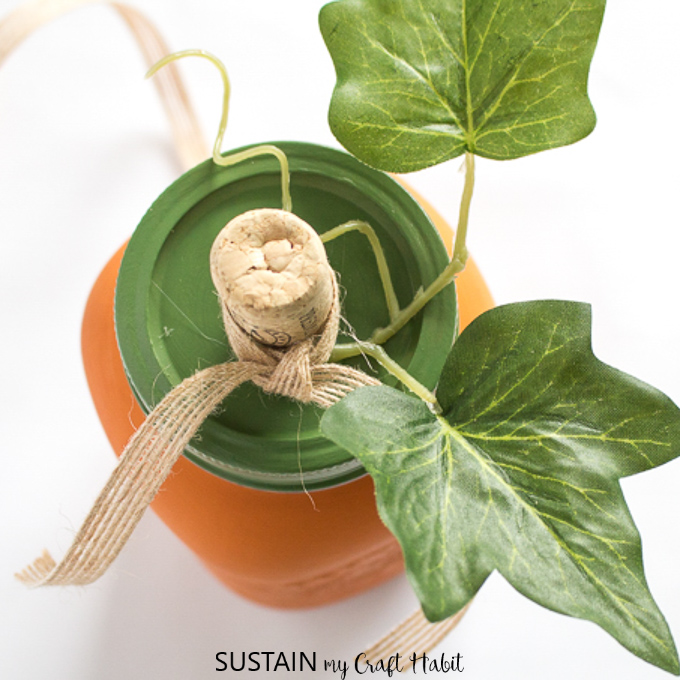
Attach the lid to the mason jar. Cut an 8” long piece of decorative ribbon and tie it to the base of the wine cork with a double knot.
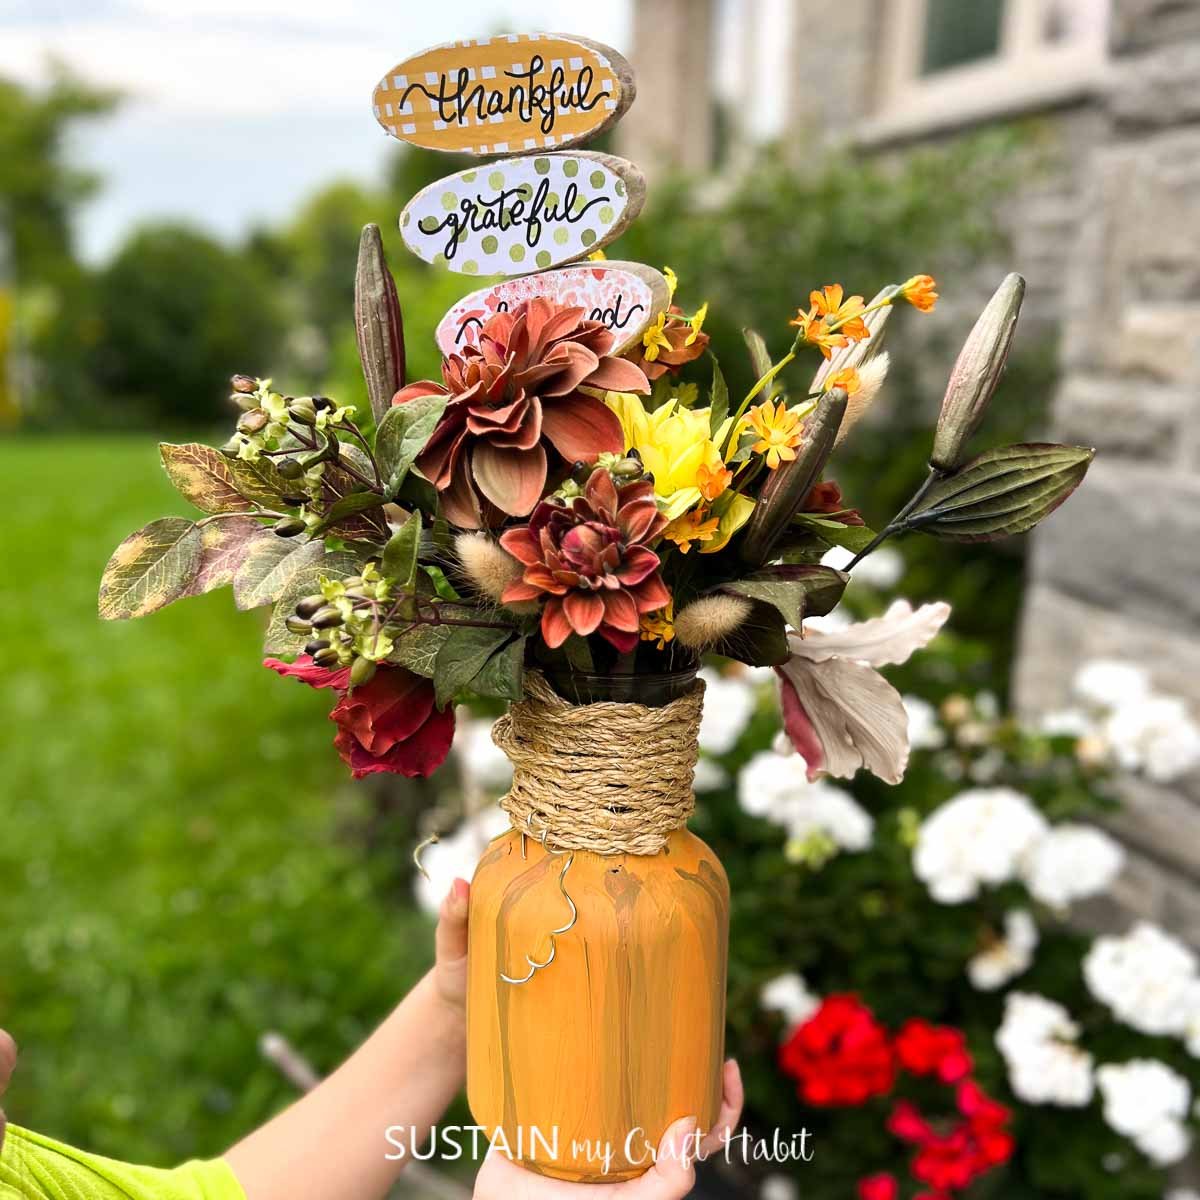
Enjoy your new mason jar pumpkin decor! These look beautiful in a cluster of 3 as a fall centerpiece on your tablescape. Or line then up on your autumn mantle.
For even more ways to use up those glass jars, check out this collection of over 60 mason jar crafts to sell.

More Fall Mason Jar Projects
Now that you’ve gotted the hang of painting those glass jars, here are some more fall mason jar project ideas to inspire you:
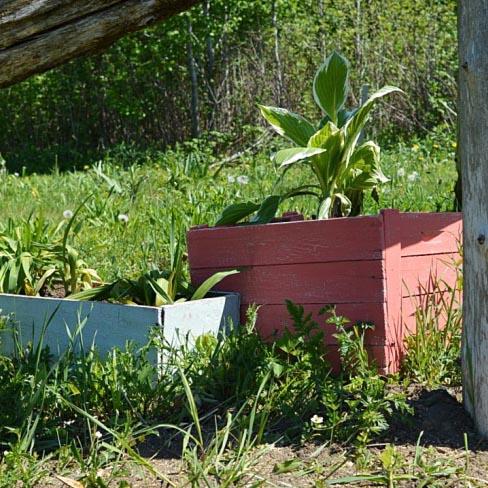
Crafting a Glass Jar Pumpkin Centerpiece

Painted Jars for Thanksgiving
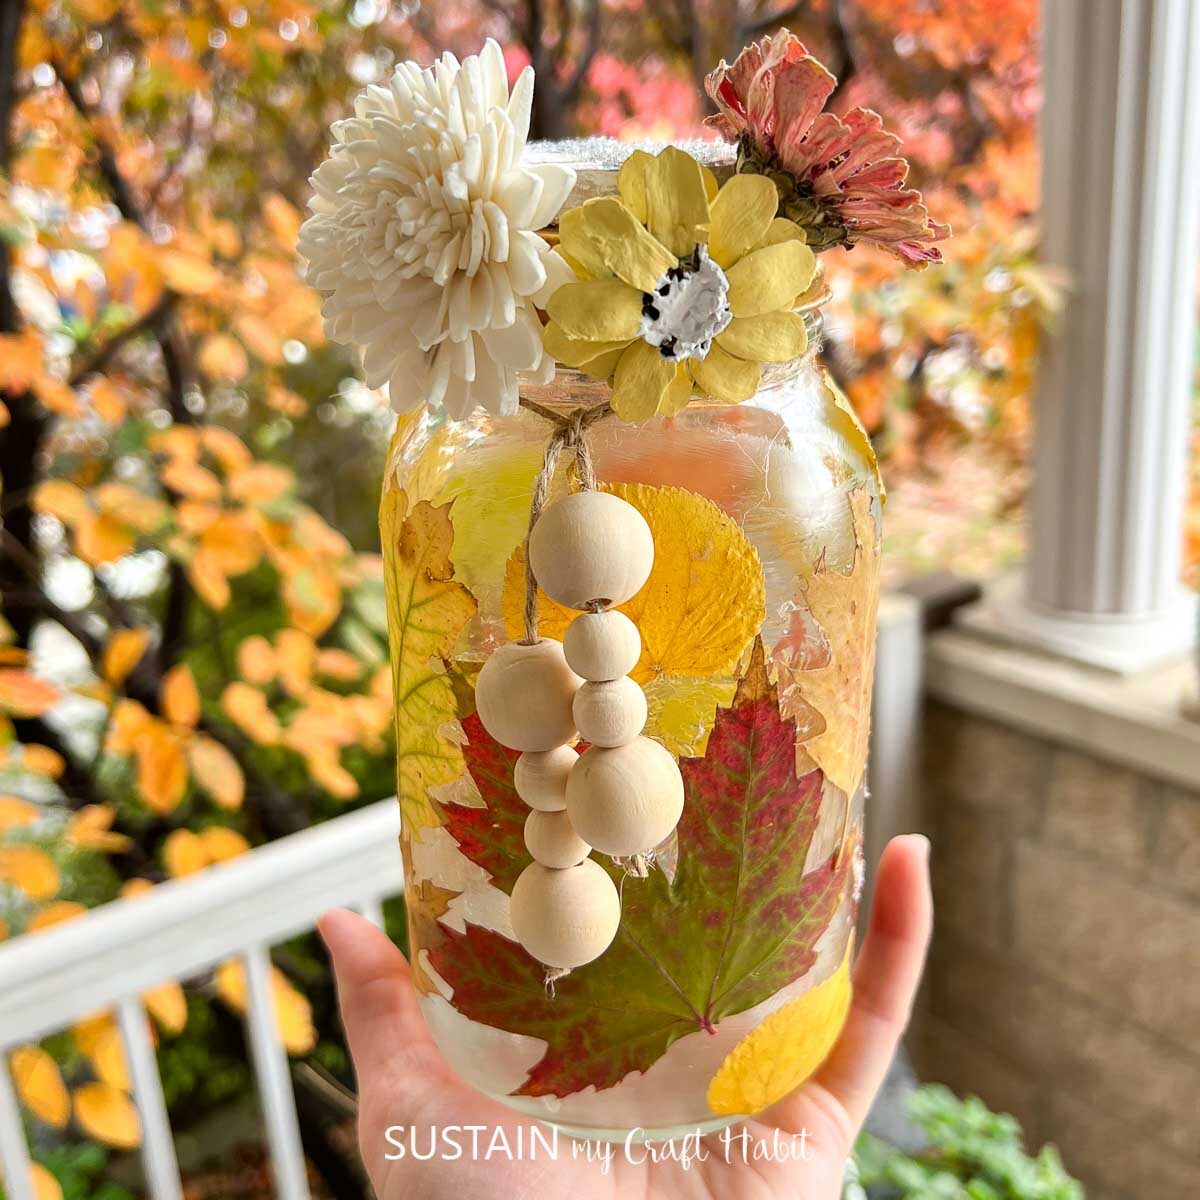
Mod Podge on Glass Jars – Fall Leaf Luminaries
Like it? Pin it for later!


You girls, this is so cute! I love to craft with wine corks 🙂 What a great idea!
Thank you so much Natalie! We hope you are doing well.