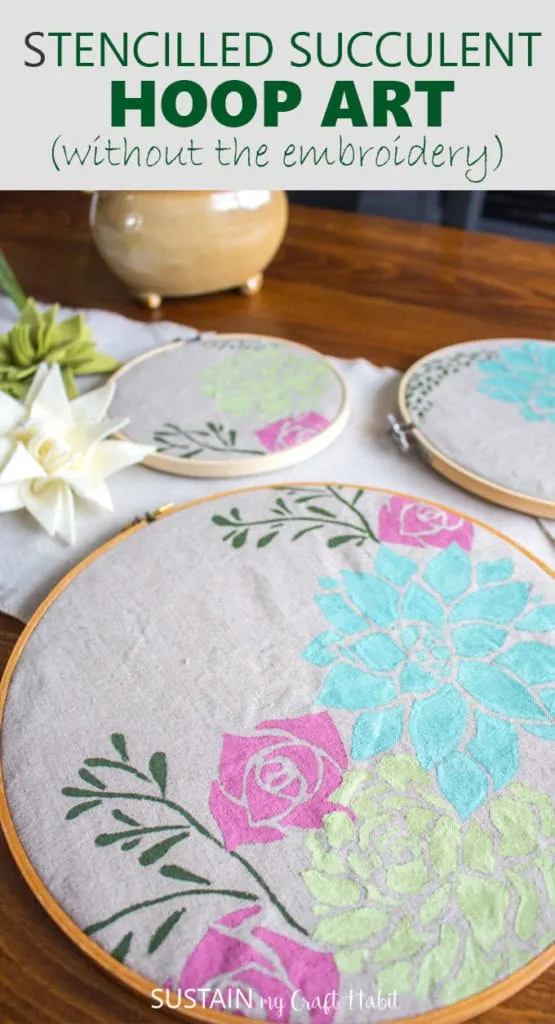
Love the look of embroidery hoop art but not interested in doing the embroidery part? Well this stencilled succulent hoop art is a great DIY alternative.
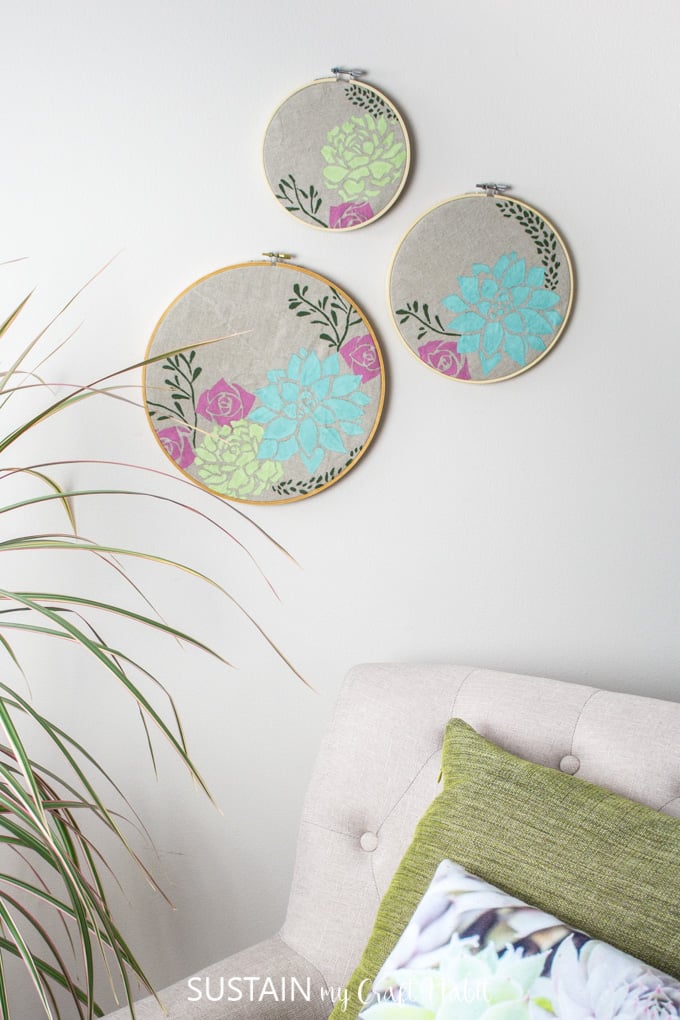

Beautiful Succulent Embroidery Hoop Art (without the Embroidery!)
While I love the look of cross-stitching, these days I find I don’t have the time nor patience to sort through embroidery threads. In fact, cross stitching was our first “craft habit” (more Jane than I), and I do still have a number of cross stitched art hanging on my walls.
We’ve held on to these wooden embroidery hoops in case we ever decided to pick up the craft again. Now a days, these embroidery hoop double as adorable frames for displaying art on your walls.

Painting the succulents directly onto canvas using a stencil means anyone can be an artist! We’re partnering with Canvas Etc. once again and using their linen art canvas for this wall hoop art. Because of its tight weave, canvas works well as a paint surface, as you can see with this stencilled canvas table runner and these painted canvas Christmas ornaments.
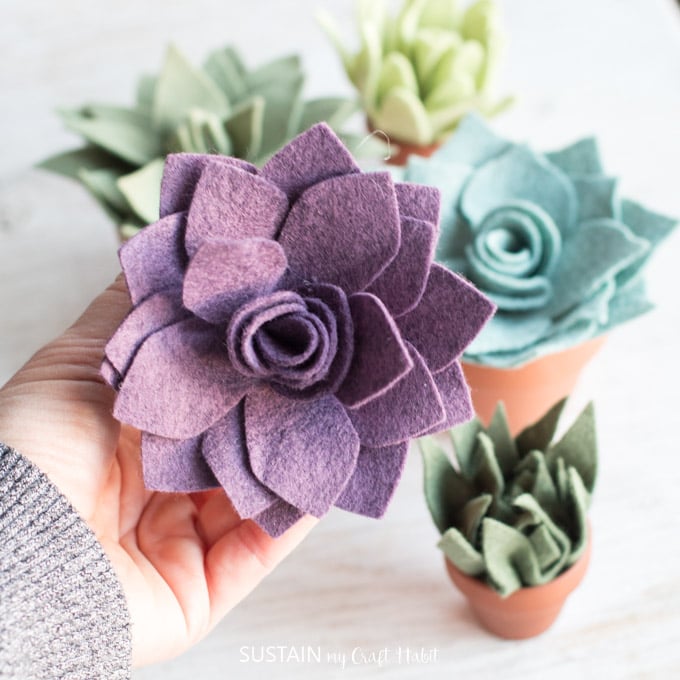
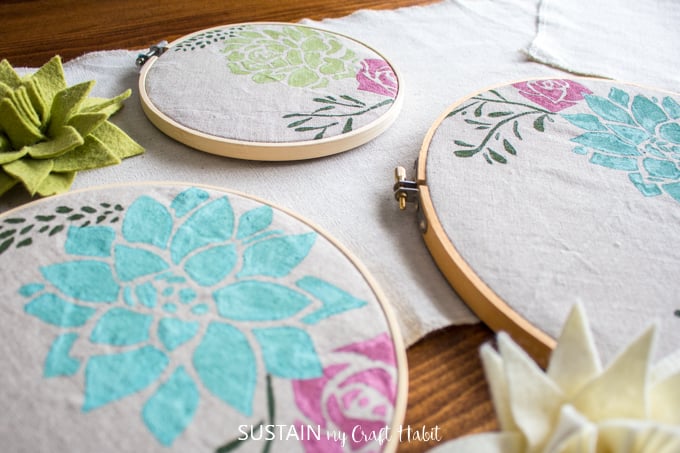
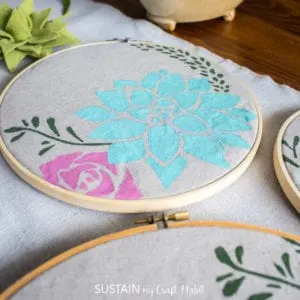
The hoops come in all different sizes so whether you do a set of three like I have here or just one, the stencilled succulents are a simple and fun way to add some unique art to any space. My inspiration for the paint colors were the soft, muted colors of these felt succulents.

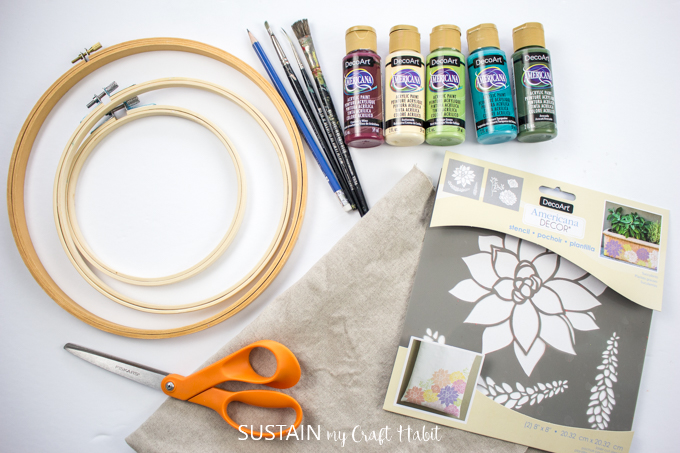
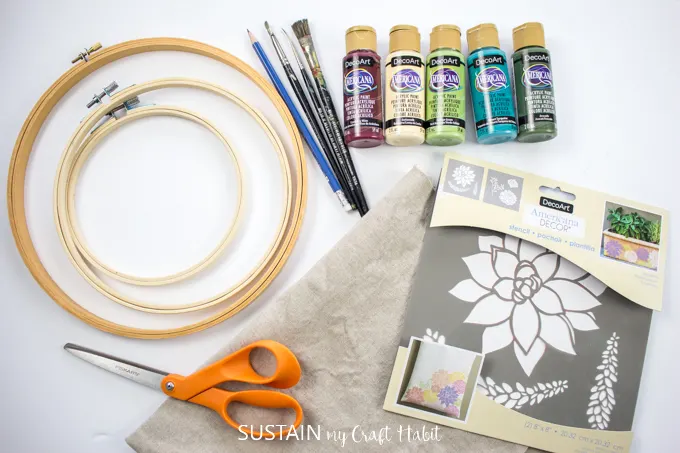
Materials Needed for Making this Stencilled Hoop Art:
- Wooden Embroidery Hoops in 3 sizes: 6″, 8″ and 10″ diameters
- Linen Art Canvas, 10oz, 1 yard
- Fabric Scissors
- Americana Acrylics in Foliage green, Cranberry Wine, Desert Turquoise, Avocado, Buttermilk
- Americana Decor Succulents stencil, 8″x8″
- Pencil
- Hot Glue gun with clear glue sticks
How to Make Stencilled Succulent Hoop Art:
Preparing the Canvas
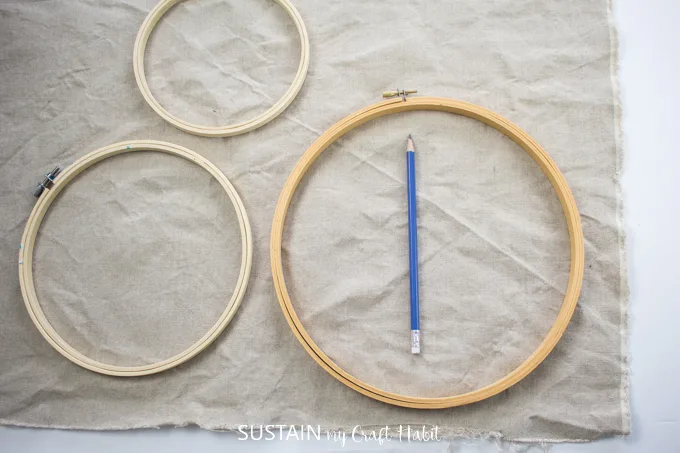
Iron the canvas to remove most of the wrinkles and creases. I say “most” because this is a linen art canvas so some wrinkles are inevitable.
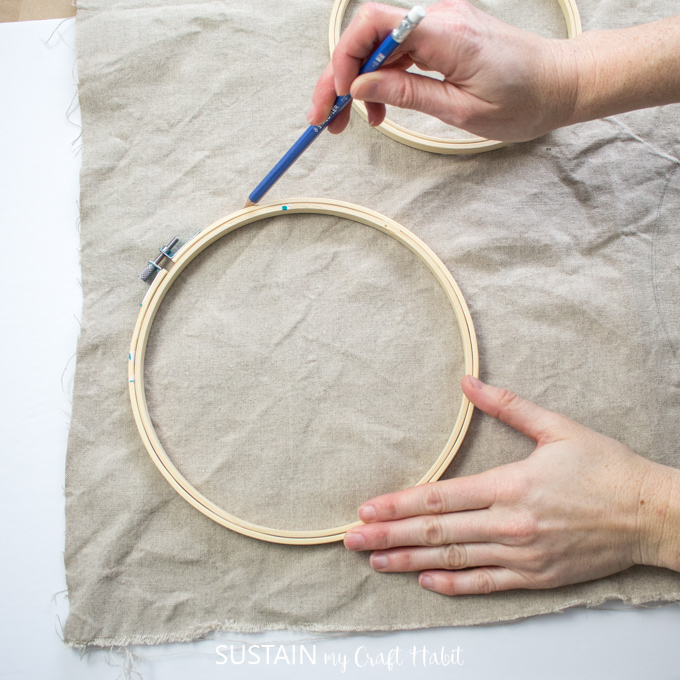
Lay the canvas on a flat surface and place the embroidery hoops on top leaving 2” spacing between each hoop and 1” around all the perimeters.

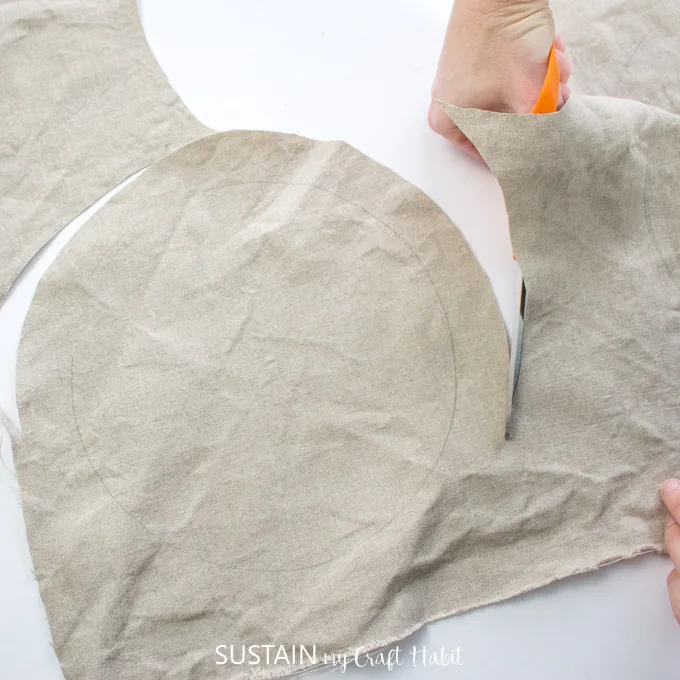
Using a pencil, trace the outer edge of the embroidery hoops. This solid line will mark the area to paint within.


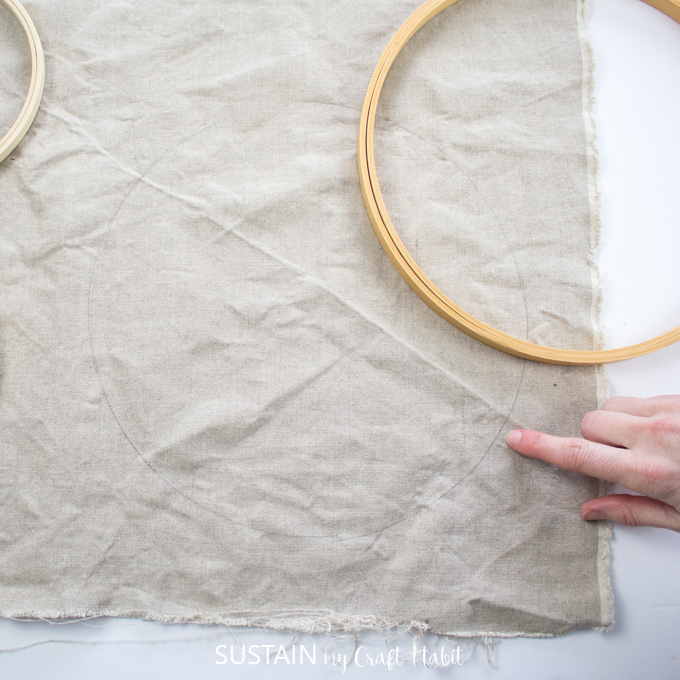
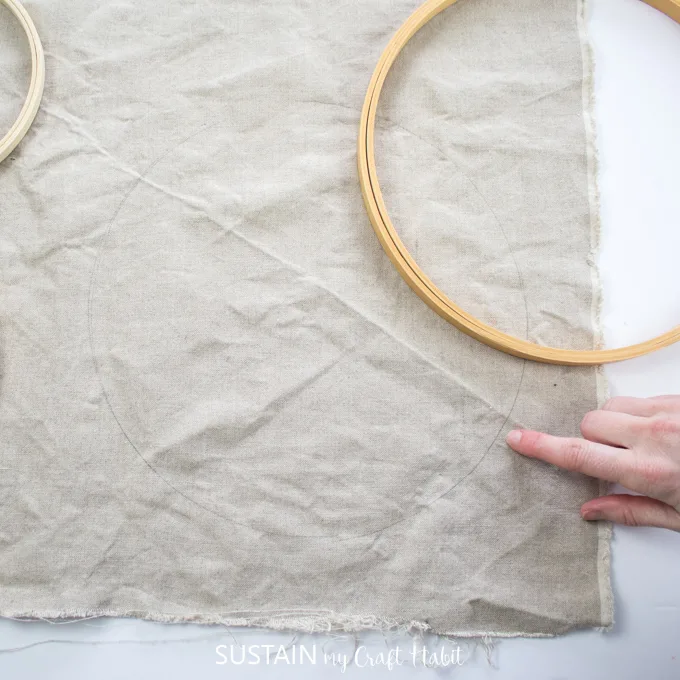

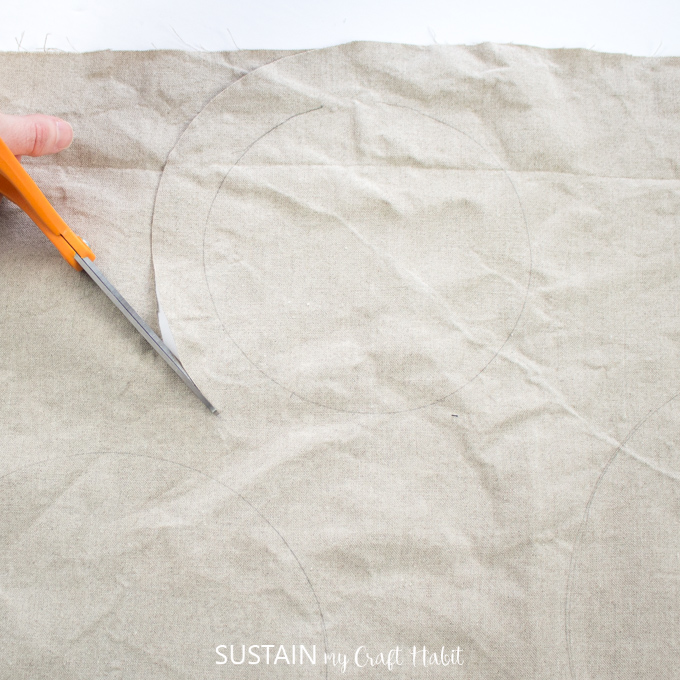
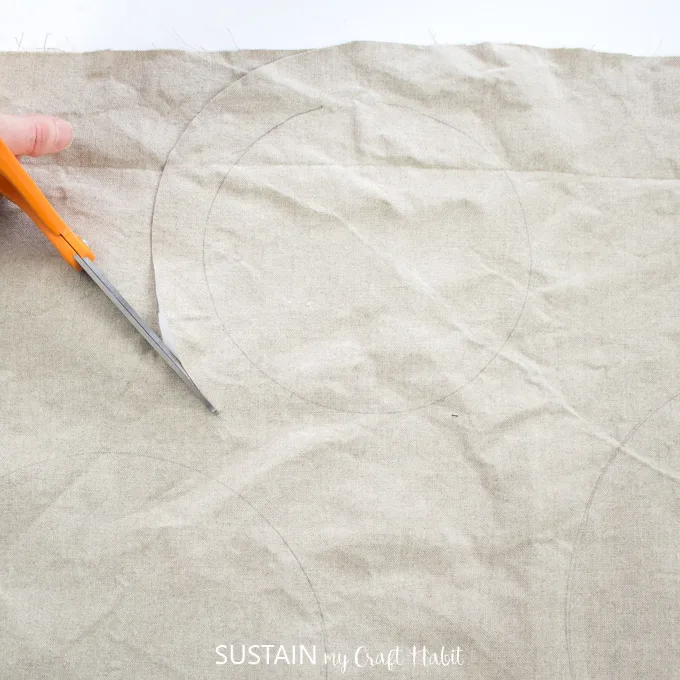
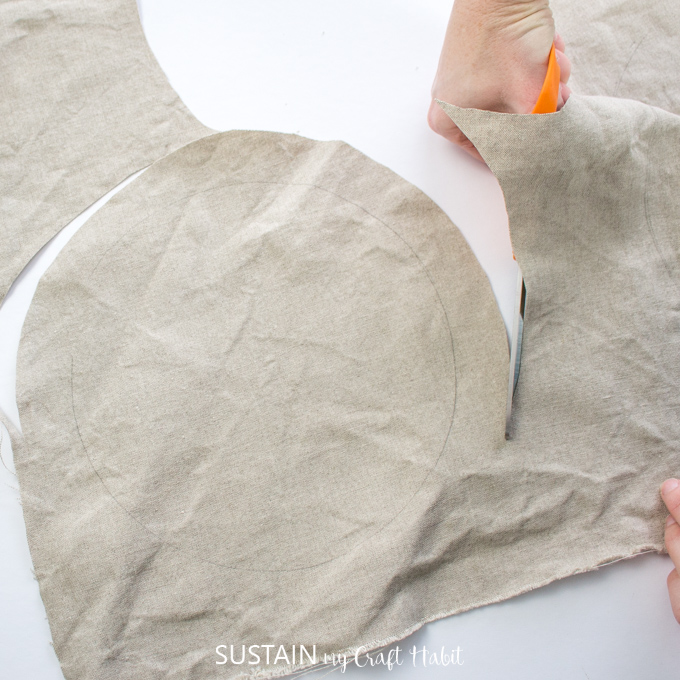
With a pair of fabric scissors, cut out the circles 1″ away from the pencil marks.
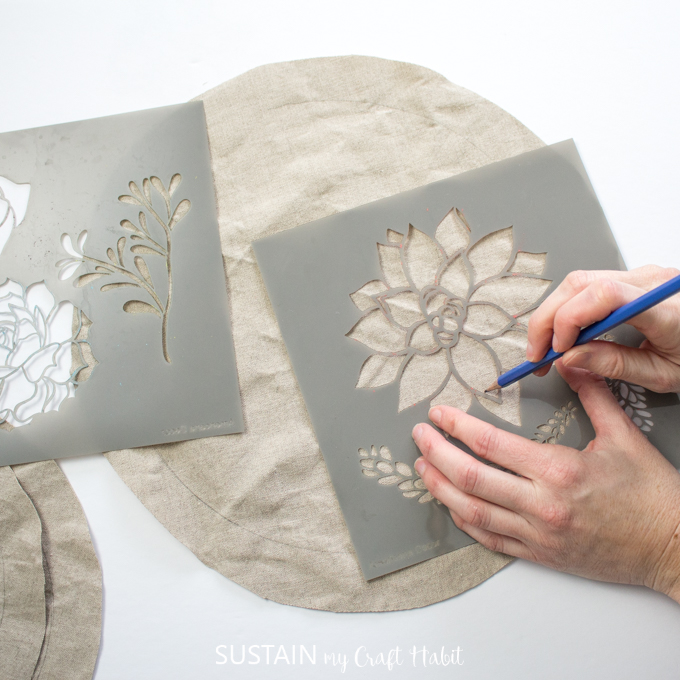
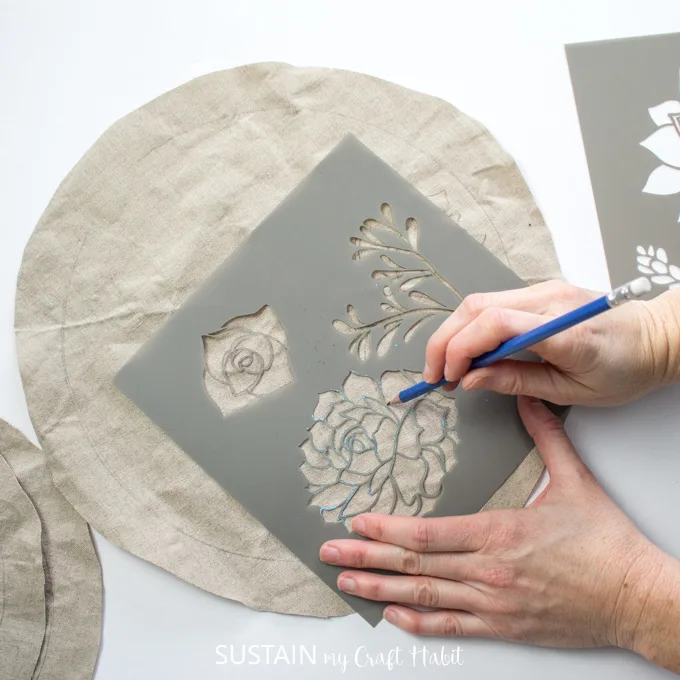
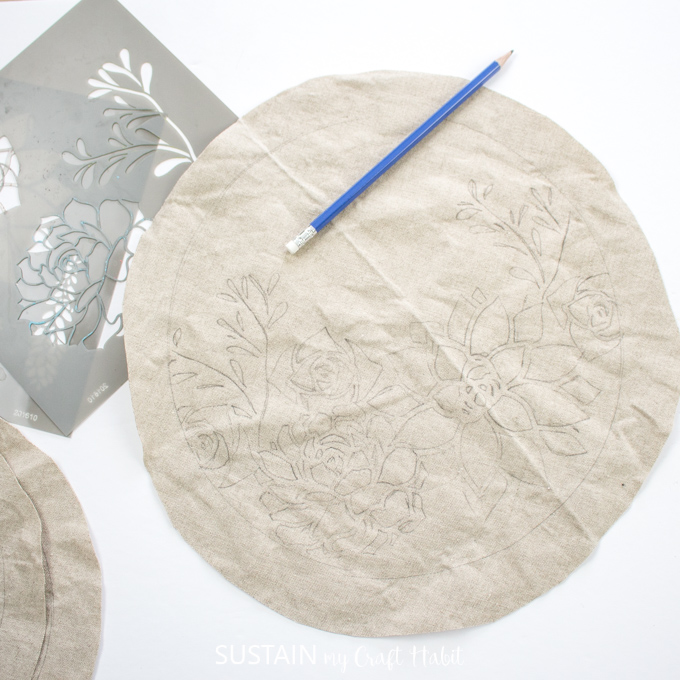
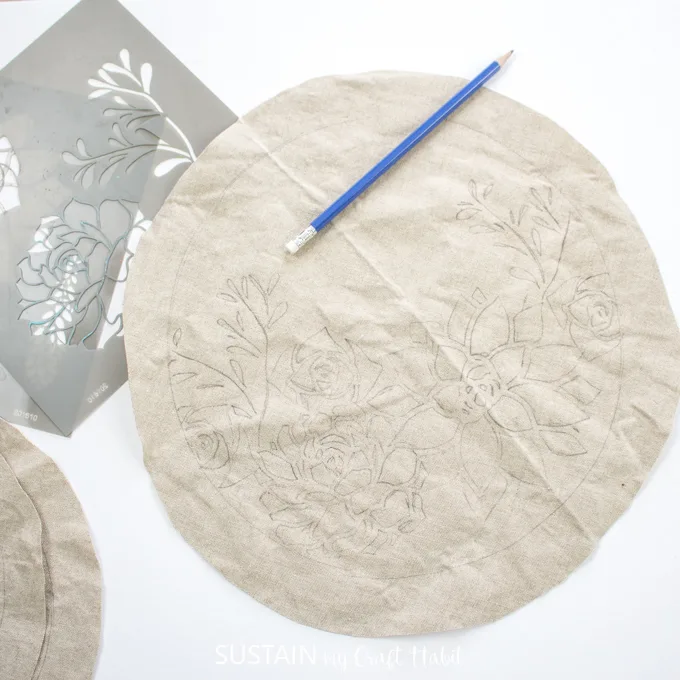
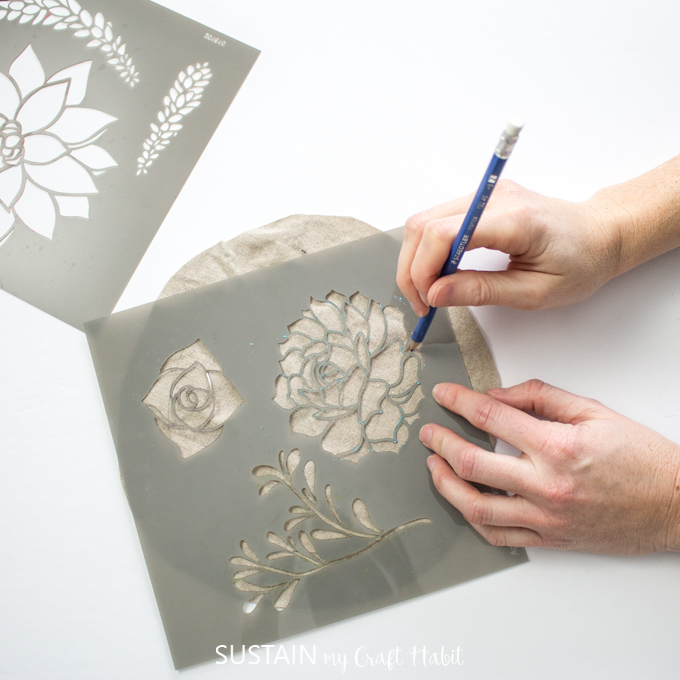
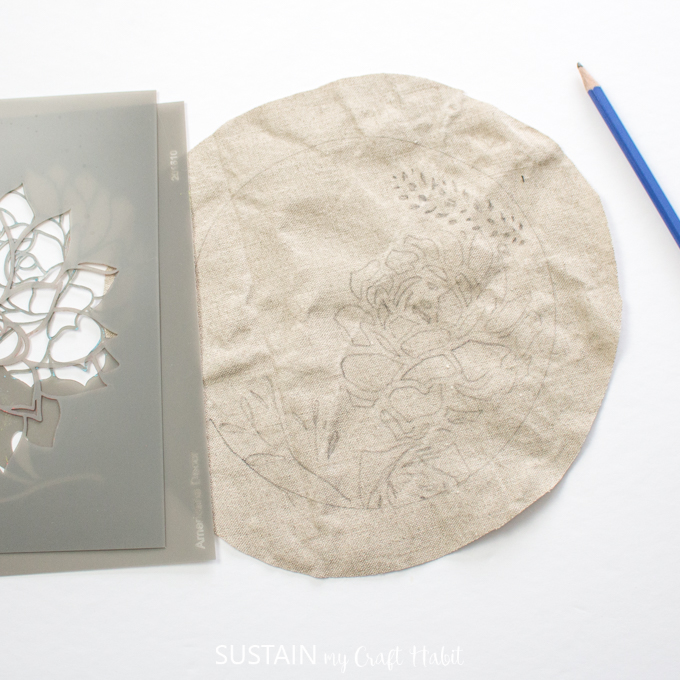
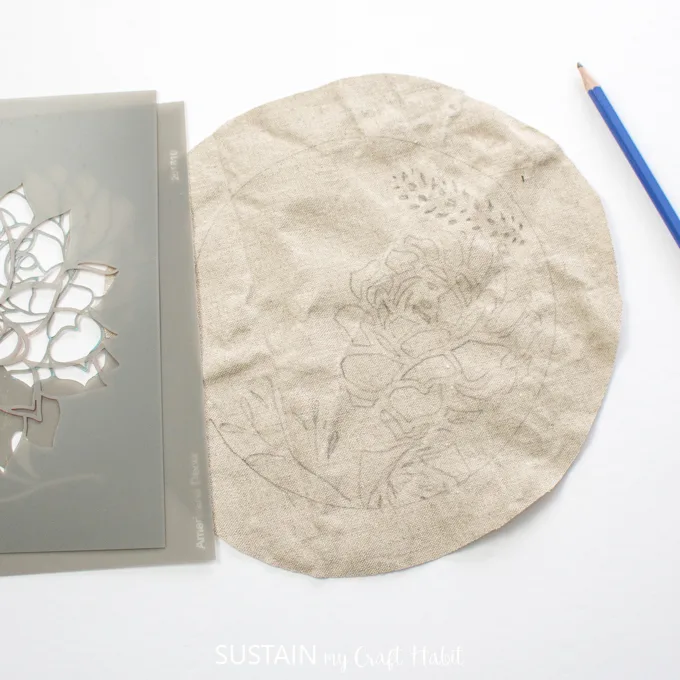
Next, working one canvas circle at a time position one of the stencil succulent shapes over the canvas in the lower right half of the circle and trace it with a pencil. Continue tracing the other stencil shapes around the first succulent, adding foliage shapes around the outer edges.

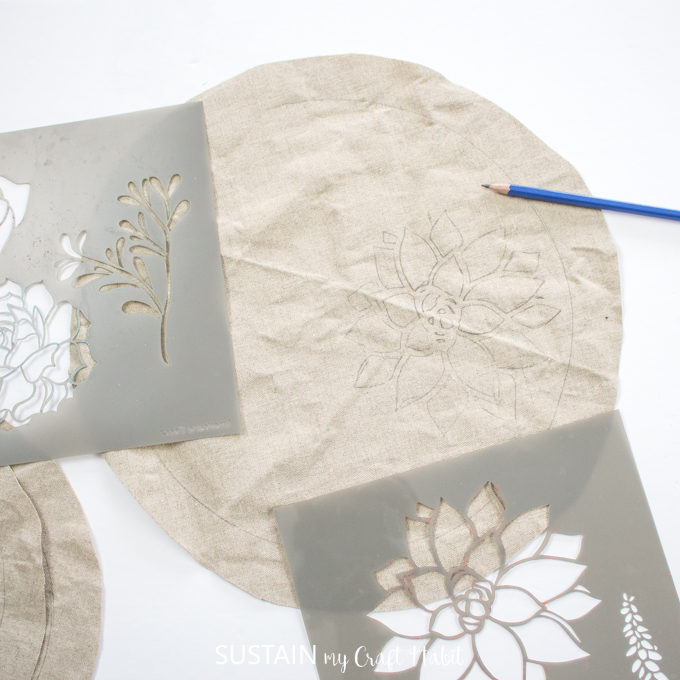
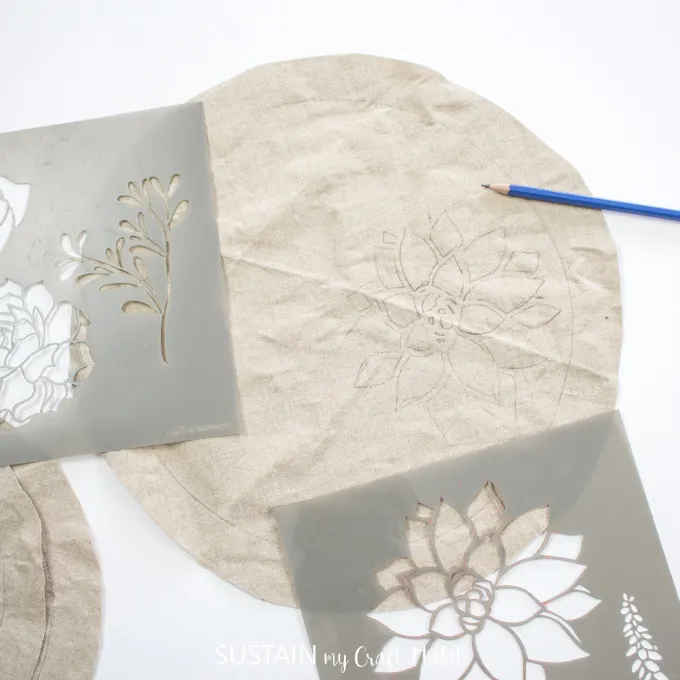
Repeat this with the other two canvas circles by choosing which shapes to place on each.


Painting the Canvas
Protect your work surface with a sheet of paper. Place one of the prepared stencilled circles on your work surface.
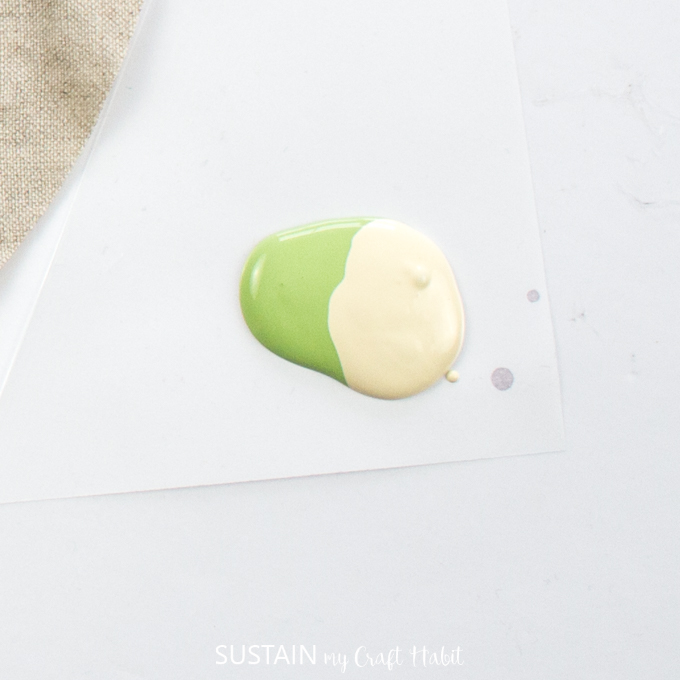
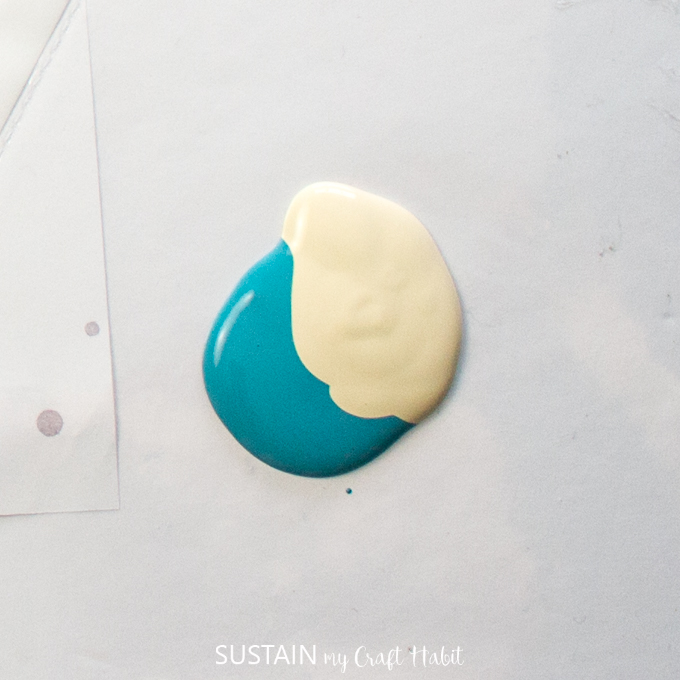
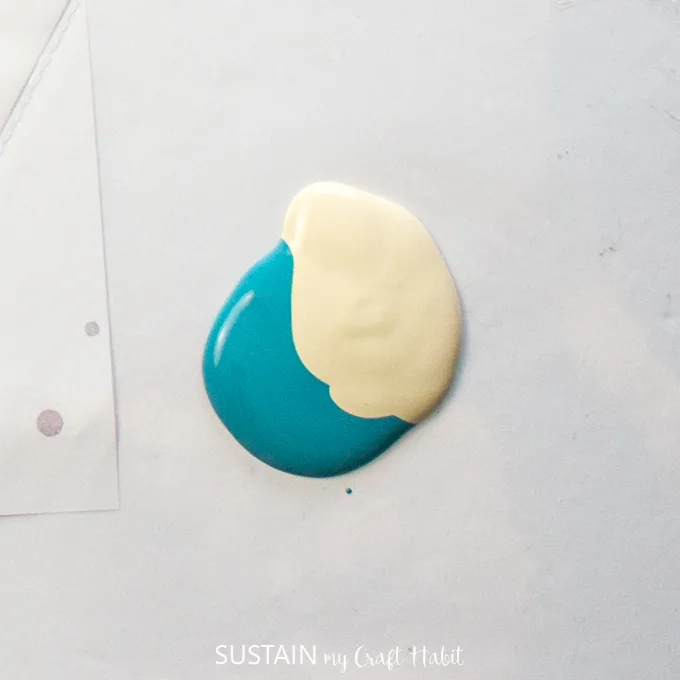
To create the succulent paint colors, mix equal parts of these paint colors:
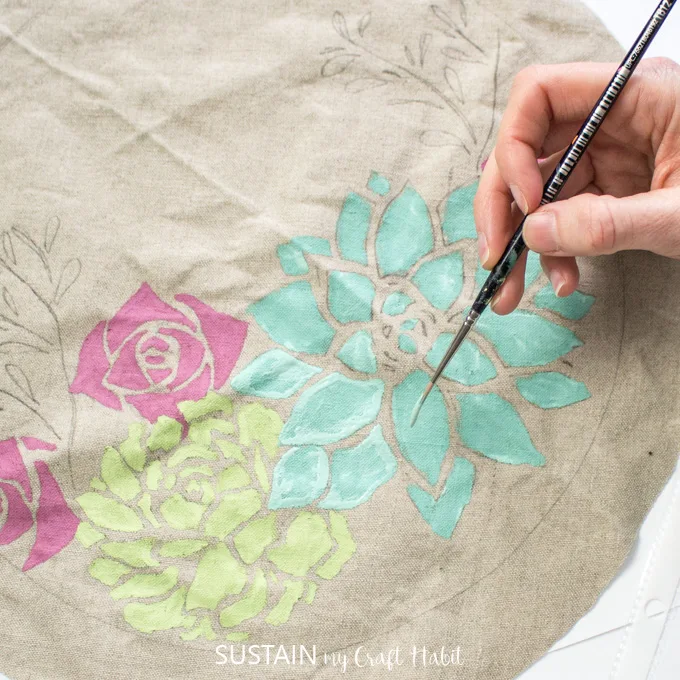
- Green succulent = Americana Acrylics Foliage Green + Buttermilk

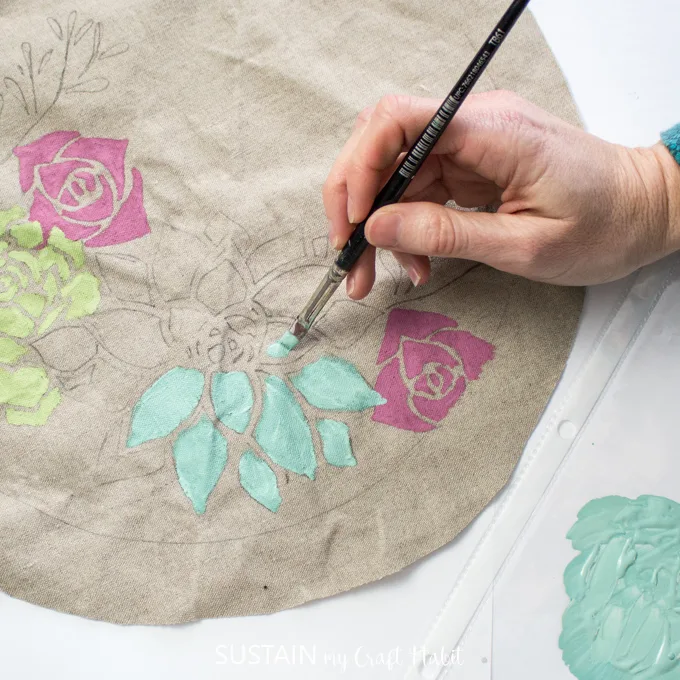
- Blue succulent = Americana Acrylics Desert Turquoise + Buttermilk

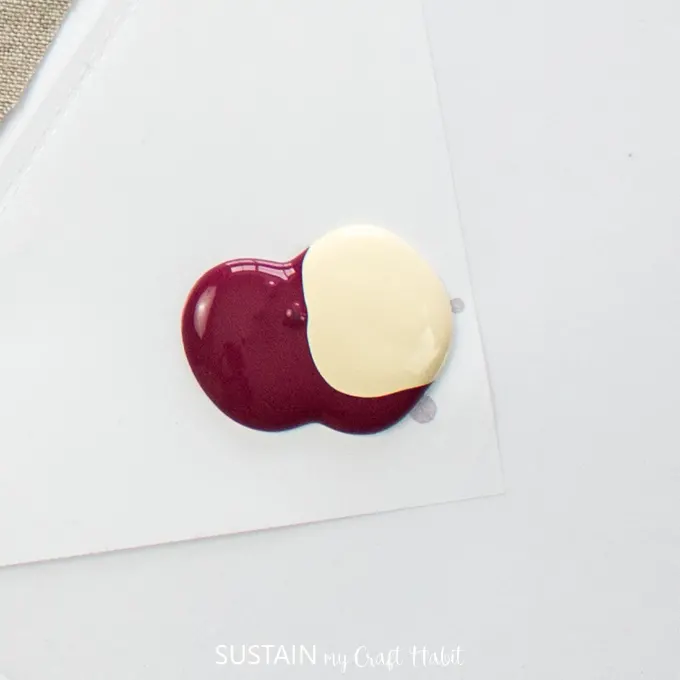
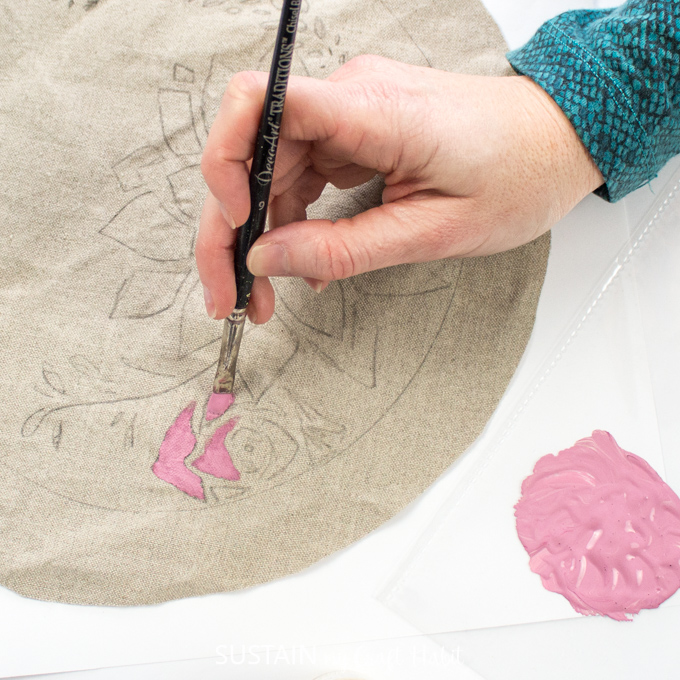
- Pink succulent = Americana Acrylics Cranberry Wine + Buttermilk
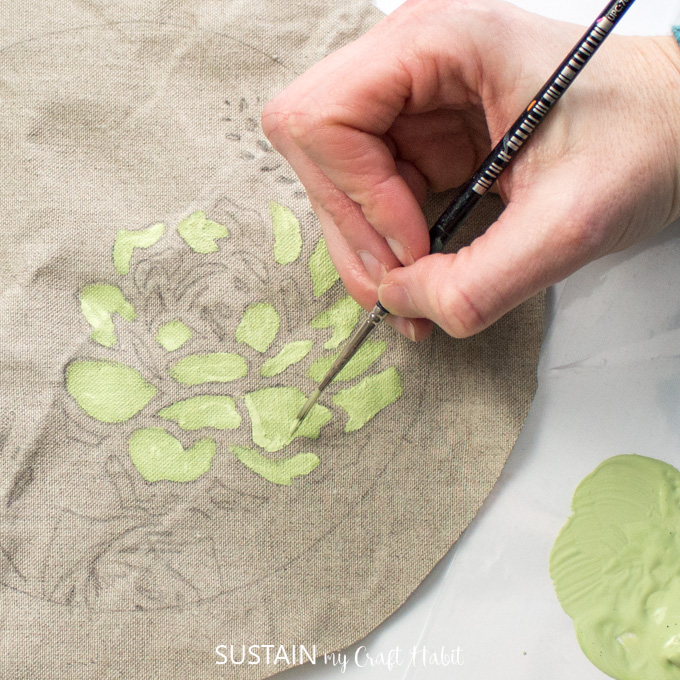
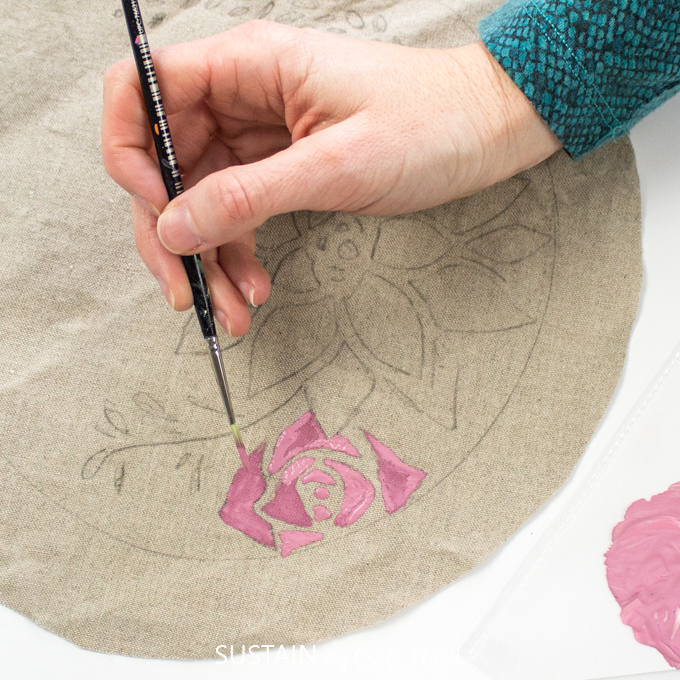
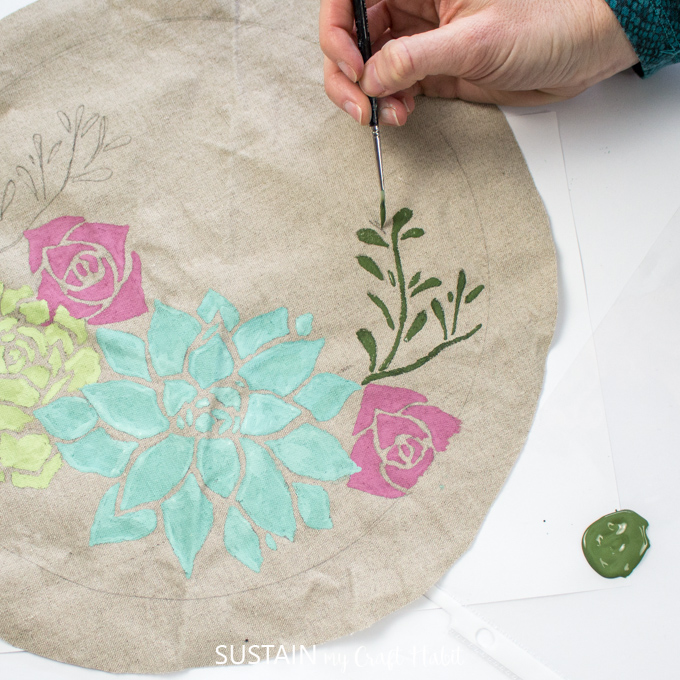
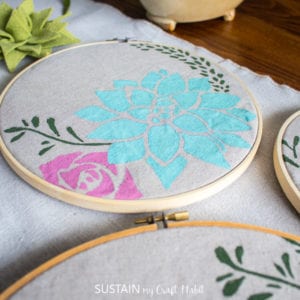
Paint one succulent at a time. Using a small flat tip paint brush, paint inside all the larger stencilled areas. Its best to use a thin coat of paint so that the canvas texture is still visible.
Follow up with touching up all the edges and painting over the pencil lines using a fine tip paintbrush thinning out the paint to avoid noticeable thick and thin areas.


Repeat with the pink succulents.


And then repeat with the blue succulents.


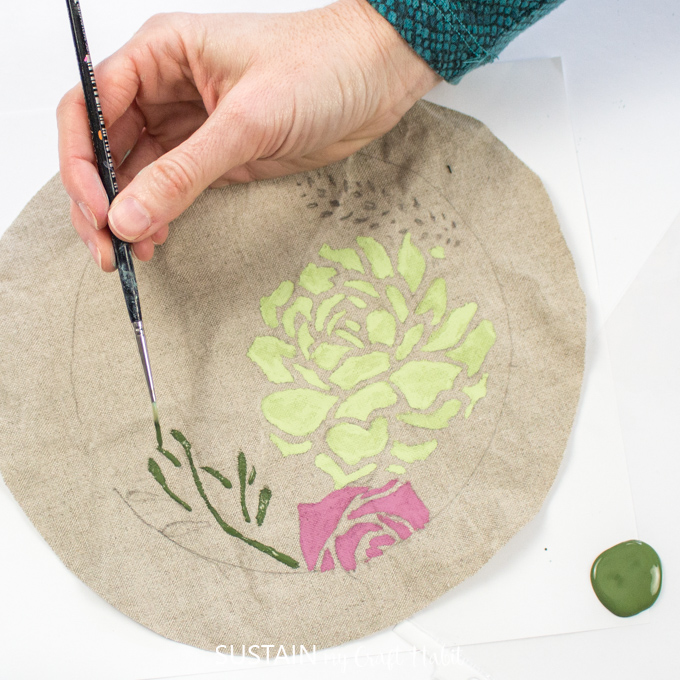
And lastly, paint all the foliage using Avocado acrylic paint on its own without lightening.


Leave the paint to dry fully before proceeding.
Framing the Hoop Art
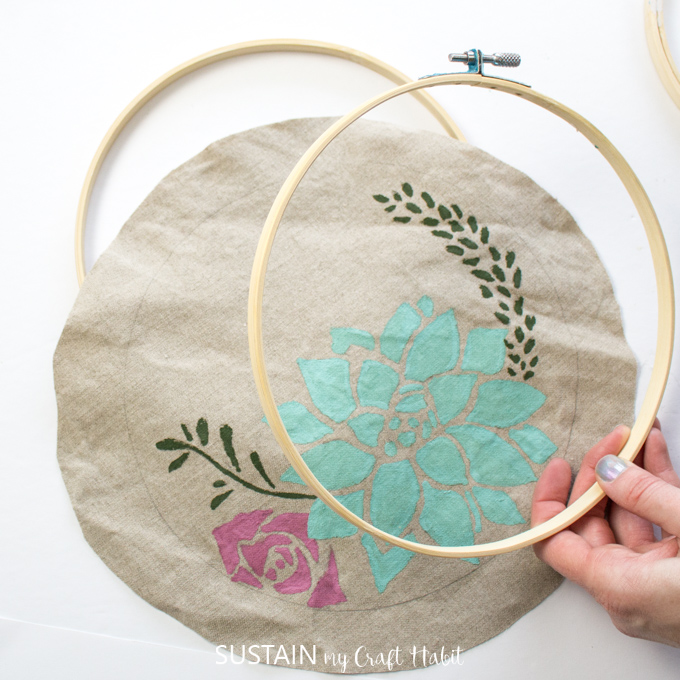
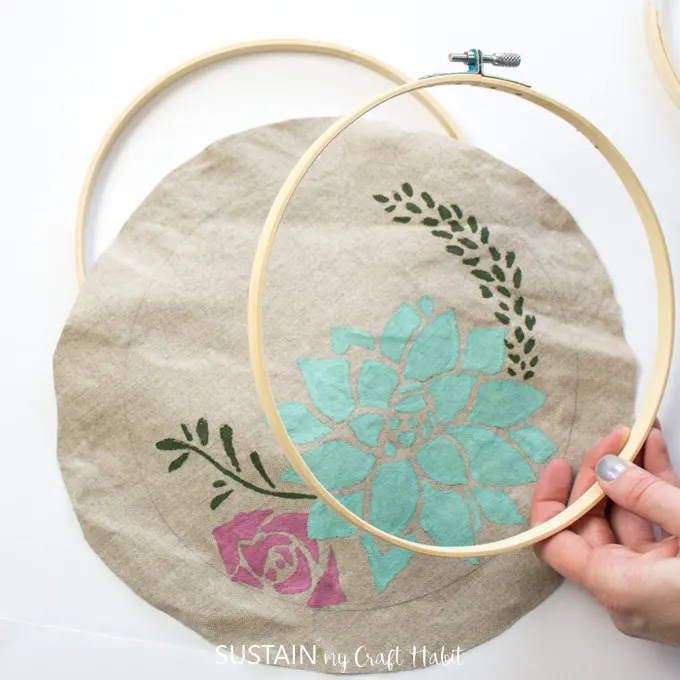
Once dry, insert the painted canvas circles into the embroidery hoops.
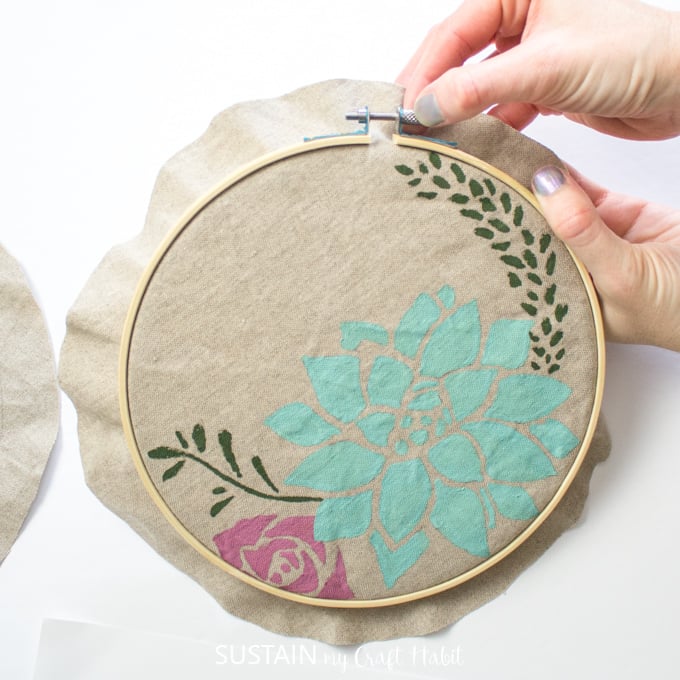

Fold in the outer cut edges and glue in place so edges are not visible from the front.

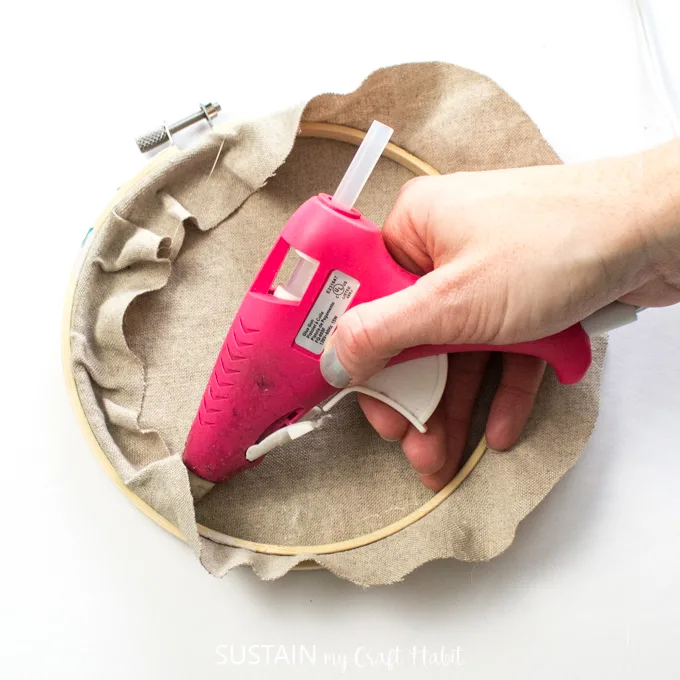
Hang on your wall to enjoy!

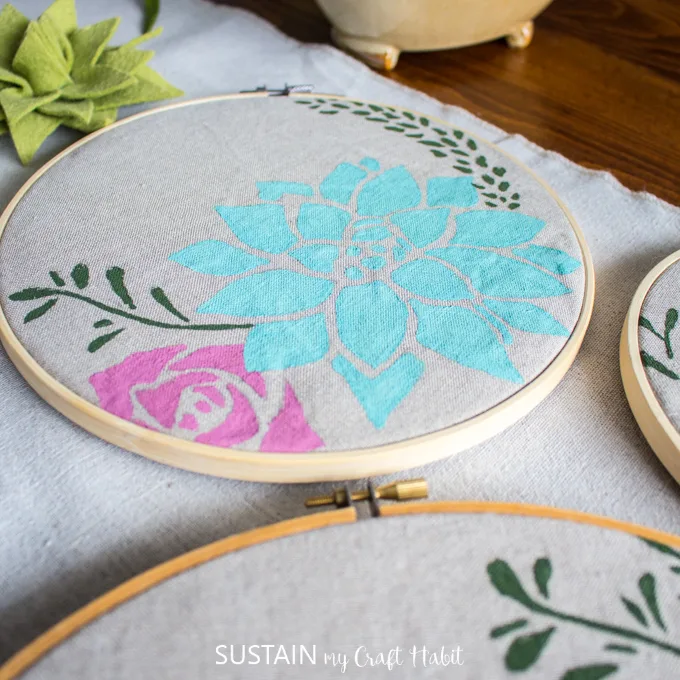
I’m so happy with how these hoop art pieces turned out! It felt a lot like some paint-by-number kits I used to do as a child. The linen canvas was just the perfect backdrop for the paint and design.
Did you know that CanvasEtc. offers their fabric remnants for free! Just pay a nominal shipping fee for a 5lb box of remnants for your DIY and crafting projects!
If you love succulents as much as we do, consider these creative DIY succulent arrangements.
Like it? Pin it for later!

Stencilled Succulent Hoop Art
Materials
- Wooden Embroidery Hoops in 3 sizes: 6″, 8″ and 10″ diameters
- Linen Art Canvas 10oz, 1 yard
- Fabric Scissors
- Americana Acrylics in Foliage Green,Cranberry Wine, Desert Turquoise, Avocado, Buttermilk
- Americana Decor Succulents stencil 8″x8″
- Pencil
- Hot Glue gun with clear glue sticks
Instructions
- Preparing the canvas, Iron the canvas to remove most of the wrinkles and creases.
- Lay the canvas on a flat surface and place the embroidery hoops on top leaving 2” spacing between each hoop and 1” around all the perimeters.
- Using a pencil, trace the outer edge of the embroidery hoops. This solid line will mark the area to paint within.
- With a pair of fabric scissors, cut out the circles 1″ away from the pencil marks.
- Next, working one canvas circle at a time position one of the stencil succulent shapes over the canvas in the lower right half of the circle and trace it with a pencil. Continue tracing the other stencil shapes around the first succulent, adding foliage shapes around the outer edges.
- Repeat this with the other two canvas circles by choosing which shapes to place on each.
- Painting the canvas, place one of the prepared stencilled circles on your work surface.
- Paint one succulent at a time. Using a small flat tip paint brush, paint inside all the larger stencilled areas. Its best to use a thin coat of paint so that the canvas texture is still visible.
- Repeat with the pink succulents and the blue succulents.
- And lastly, paint all the foliage using Avocado acrylic paint
- Framing the hoop art once dry, insert the painted canvas circles into the embroidery hoops.
- Fold in the outer cut edges and glue in place so edges are not visible from the front.
- Hang on your wall to enjoy!