We are always on the LOOKOUT for unwanted furniture pieces that could potentially be used for an upcycling project. We search out garage sales, flea markets, online buy and sell sites, Freecycle, you name it, we’ve been there! The fact is we love to make beautiful things and furniture is no exception! It’s not only for the cost savings; which can be wonderful but also because it just simply feels great to give new life to an old and unwanted piece of furniture. You know that feeling, right?
In the case of this makeover, we got lucky when a good friend of mine offered us this buffet that she no longer needed. Guess we’re kind of getting to be known for our upcycling adventures! The piece had loads of potential with it’s simple and clean lines, practical size and shape and great overall condition.
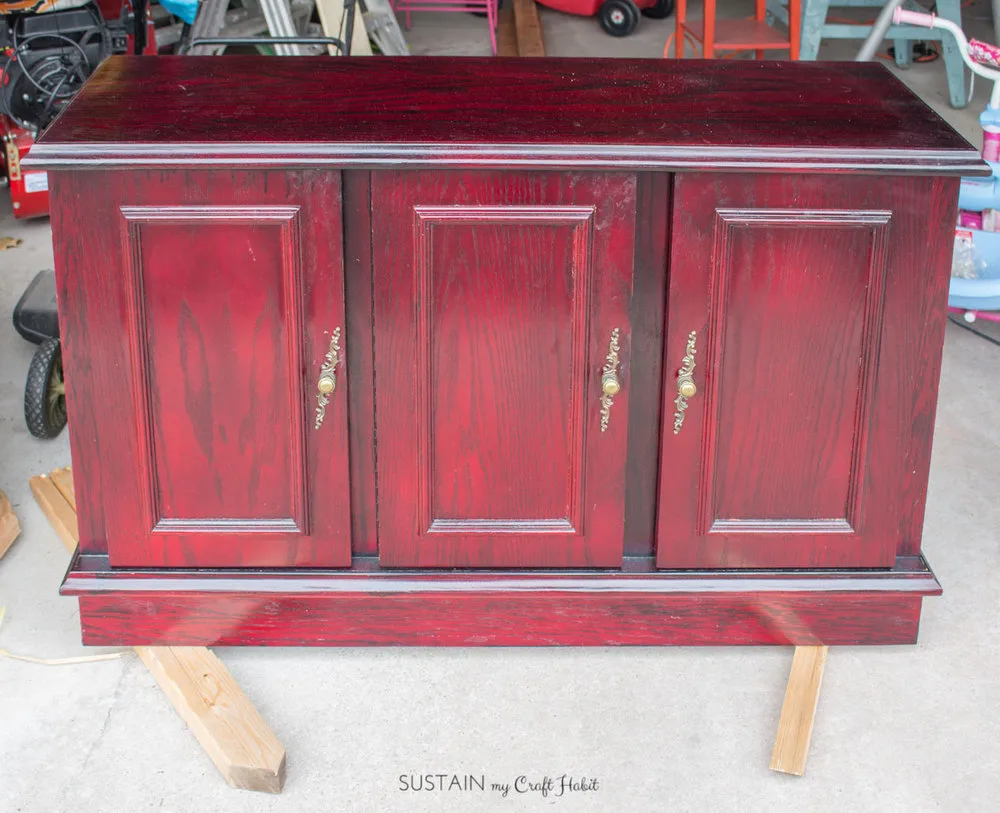
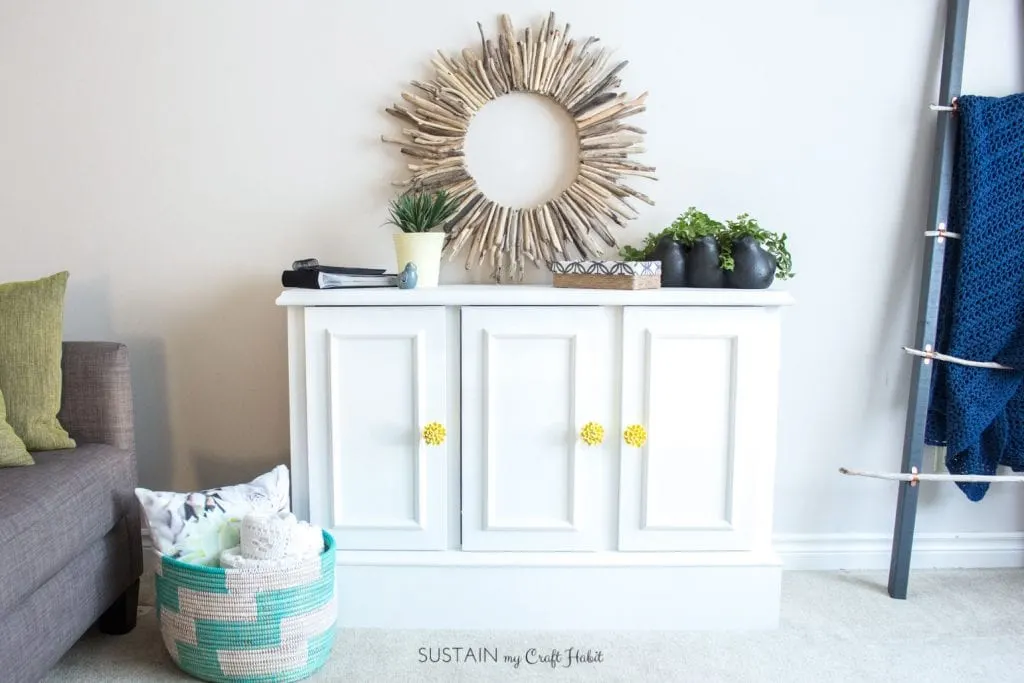
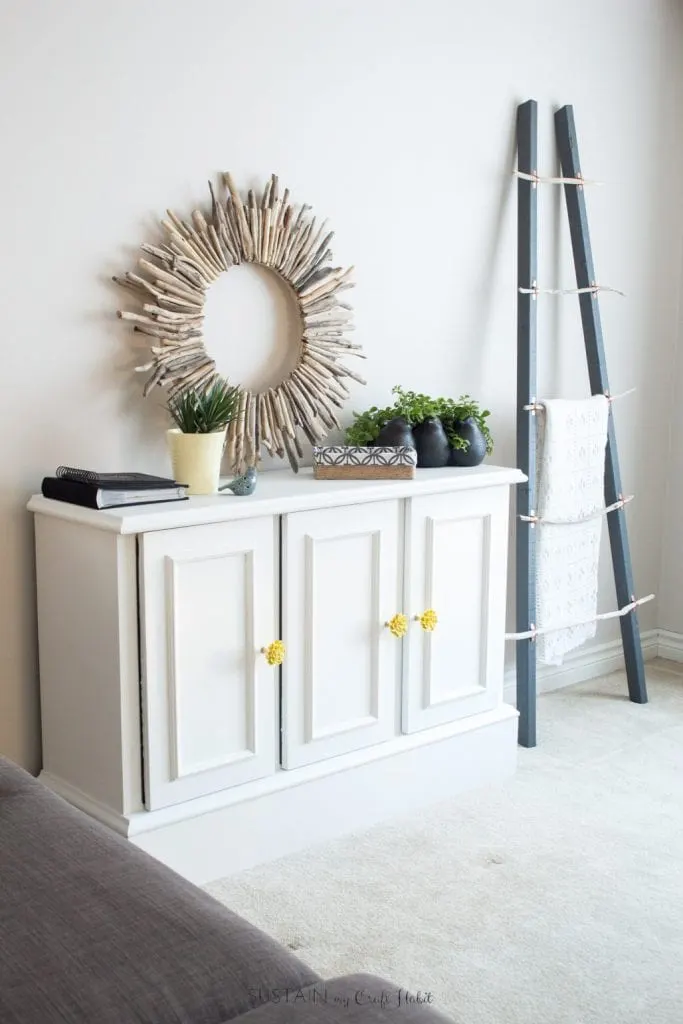
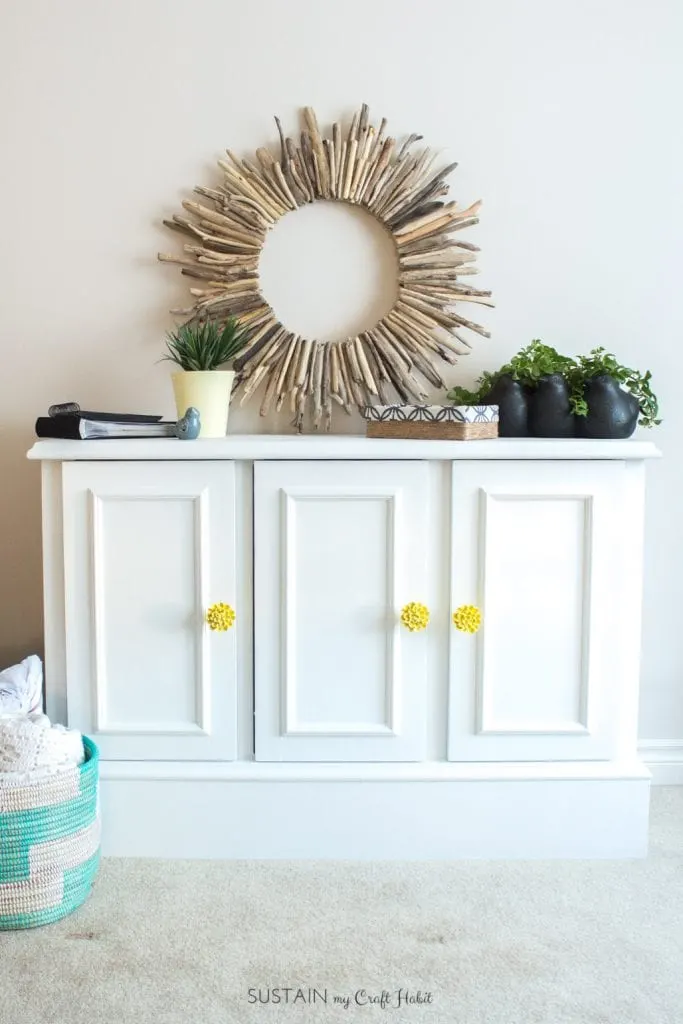
I happily and gratefully took it off her hands without a clear plan in mind. But with some time, I decided to give it a fresh and modern, new all-over-white look knowing it would fit in perfectly in my family room.
We are always very happy to work with Fusion Mineral Paint on our furniture upcycling projects. We’ve used their lovely products in the past for our DIY Nautical Nightstand Makeover and our Beach Inspired Dresser Makeover. Mineral Fusion Paint mineral-based paints is a durable premixed paint line with a built-in primer perfect for all painting needs. We LOVE that the paint comes in see-through, easy to open jars.
Materials Used to Transform this Outdated Buffet:
- Fusion Mineral Fusion Paint in Casement, 2x 16oz jars
- Angled Paintbrush
- Foam roller and tray
- Ceramic Drawer Knobs
- Screwdriver (appropriate size to remove and install new hardware)
- Sandpaper, medium grit
- MDF, ½” thick X 6″ high (optional for adding height to the buffet)
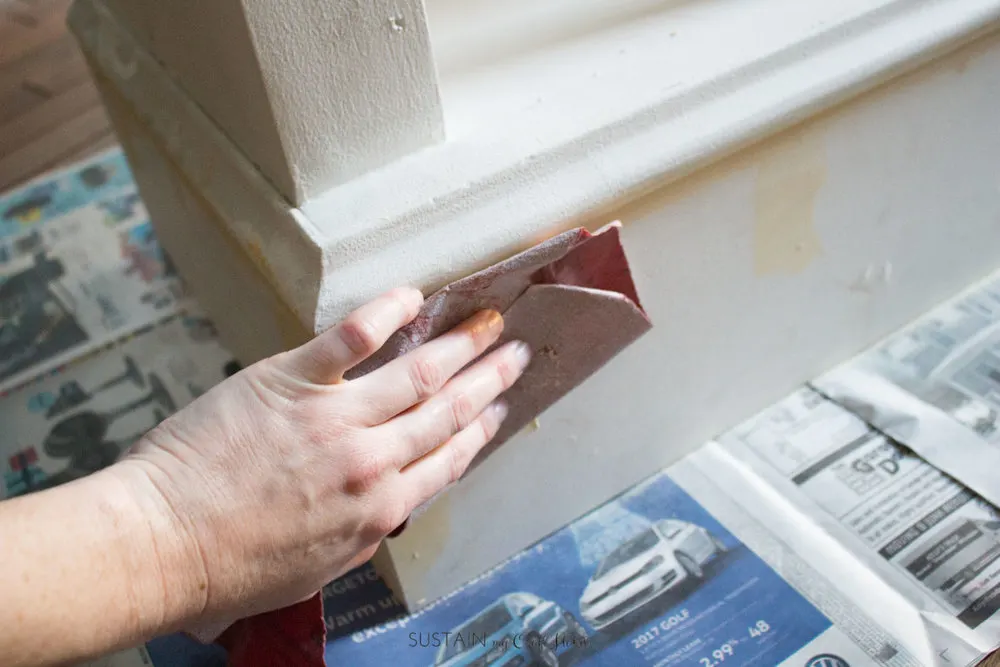
As with any new furniture upcycle, it’s important to start with a good cleaning. Using a damp cloth, wipe away dust and dirt before painting. Since the original buffet surface had a good amount of sheen, I used a medium grit sandpaper to lightly sand the surface to help the paint adhere.
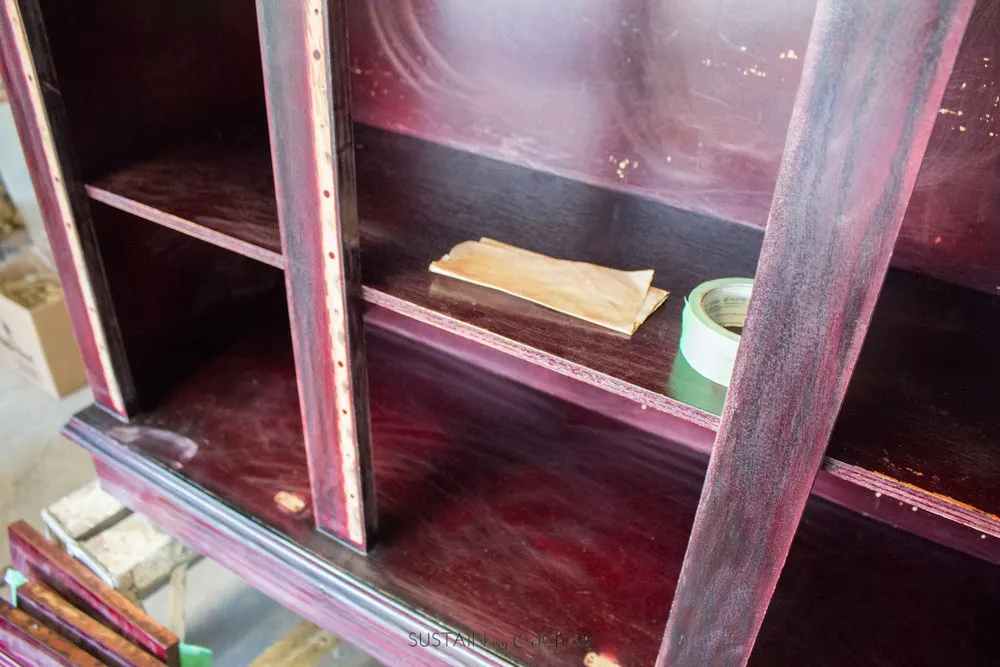
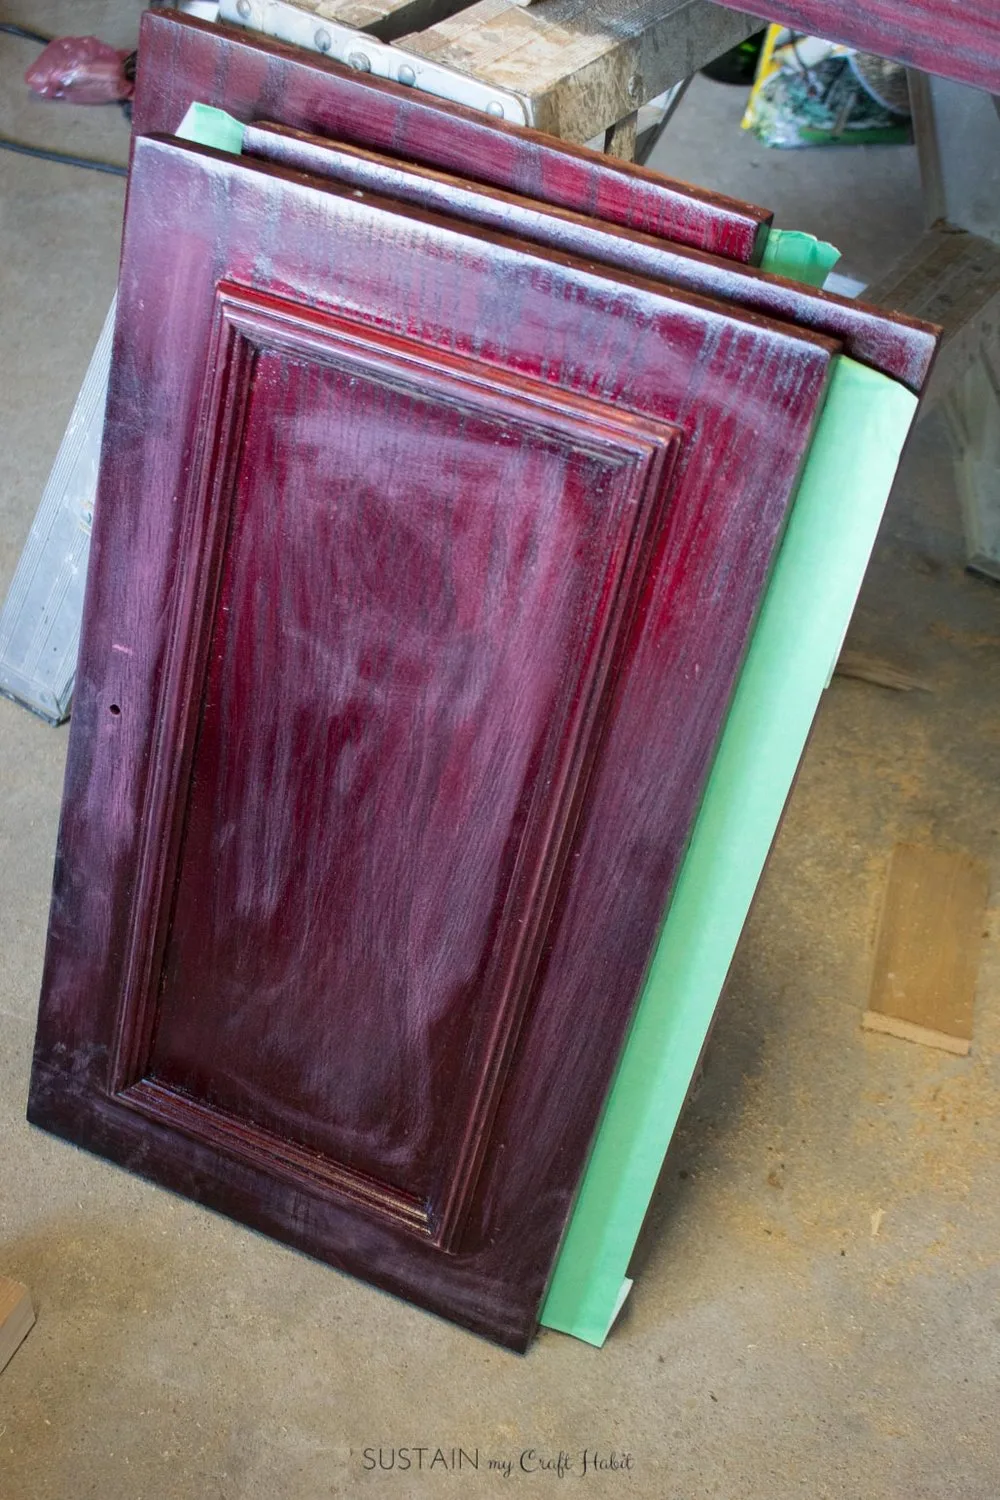
Remove all old hardware and cabinet doors. We removed the back panel of the buffet. It was really not needed and the paint was turning the surface yellow.
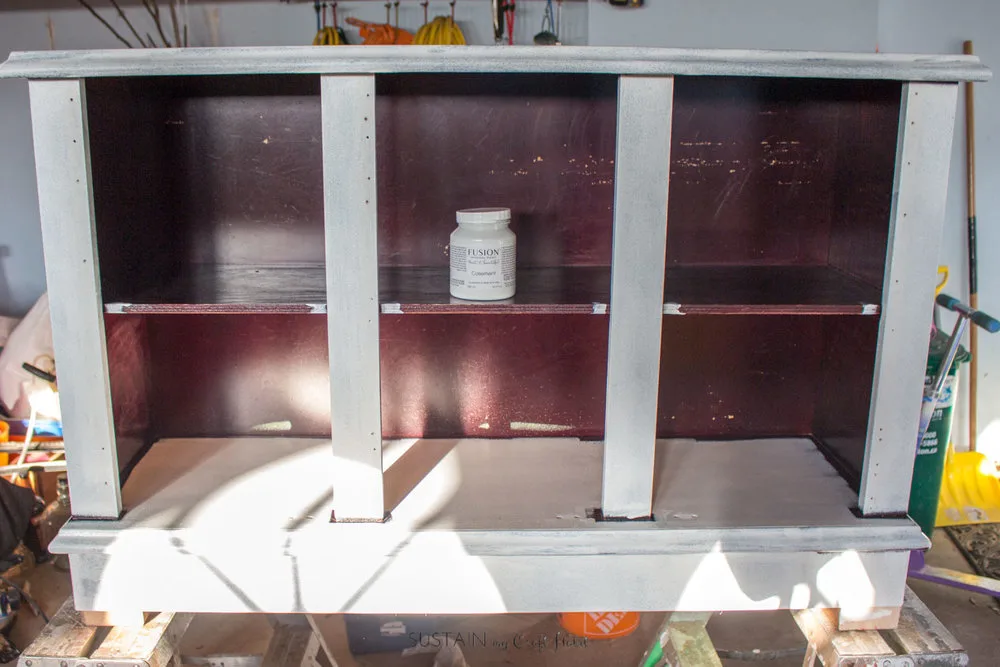
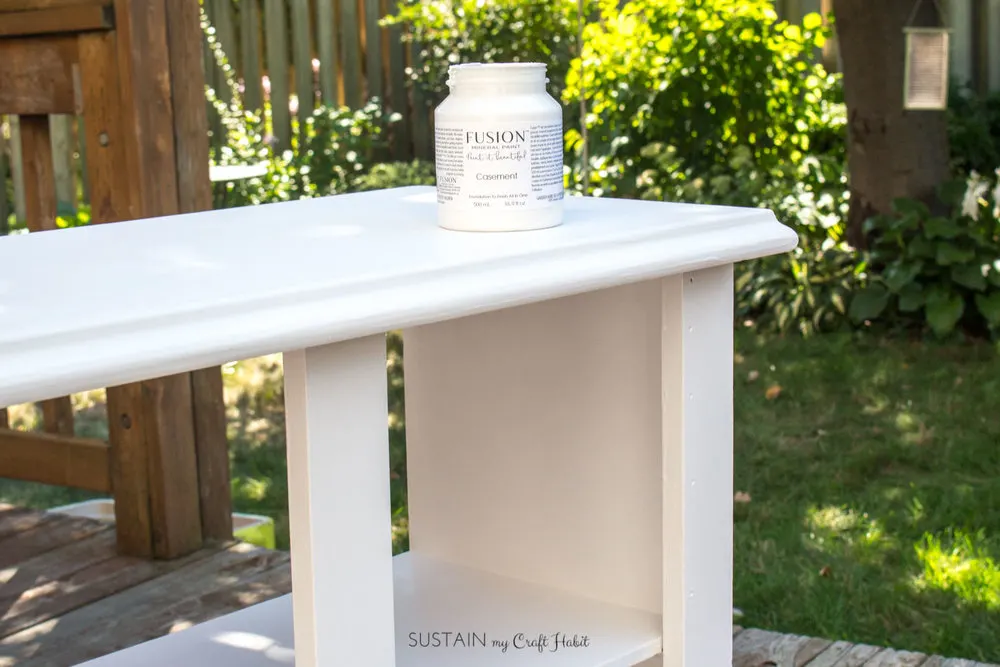
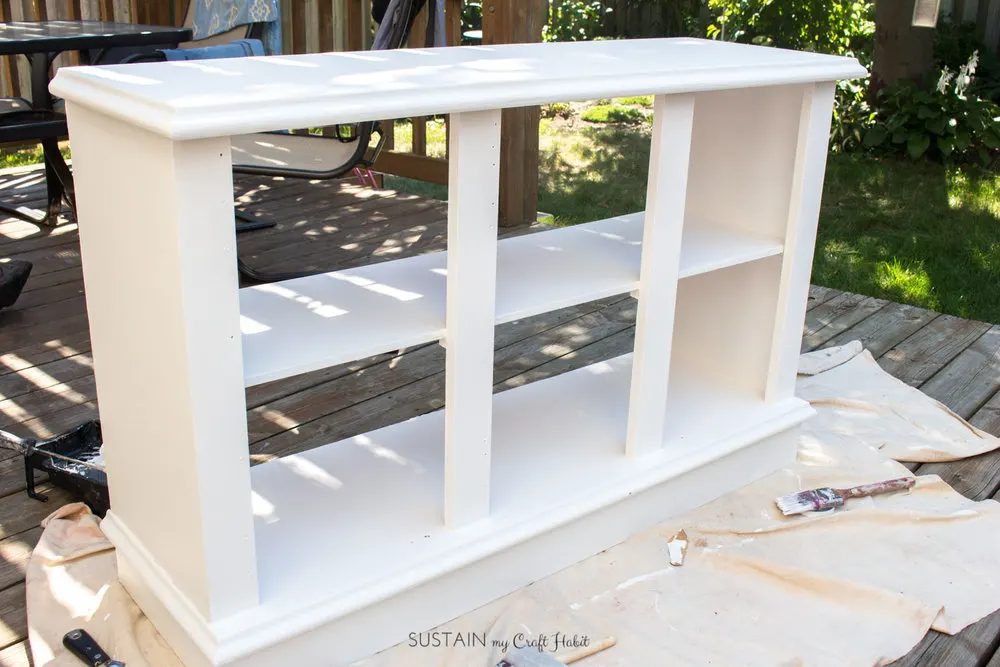
Give the paint jar a good shake. Begin by applying the paint to all corners and tough to reach spots using an angled paintbrush. With a roller, apply the paint to the rest of the surface. Let the paint dry fully before reapplying another coat of paint. The amount of coats needed will depend on the original surface of your piece. In this case, the original buffet was very dark so I had to apply 3 coats for full coverage.
After the piece was fully painted and in place in my family room, I realized that the buffet was too short and disproportionate! Normally, I would have thought this through better but sometimes that’s not how life goes. To correct this, my hubby helped me add 3” to the height by attaching pre-cut MDF pieces to the base.
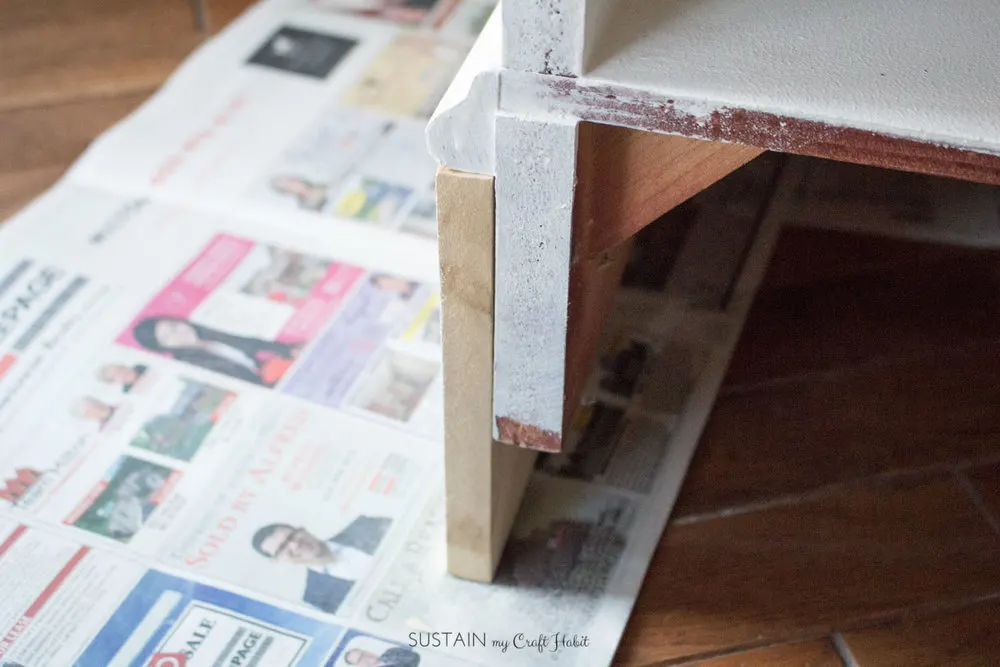
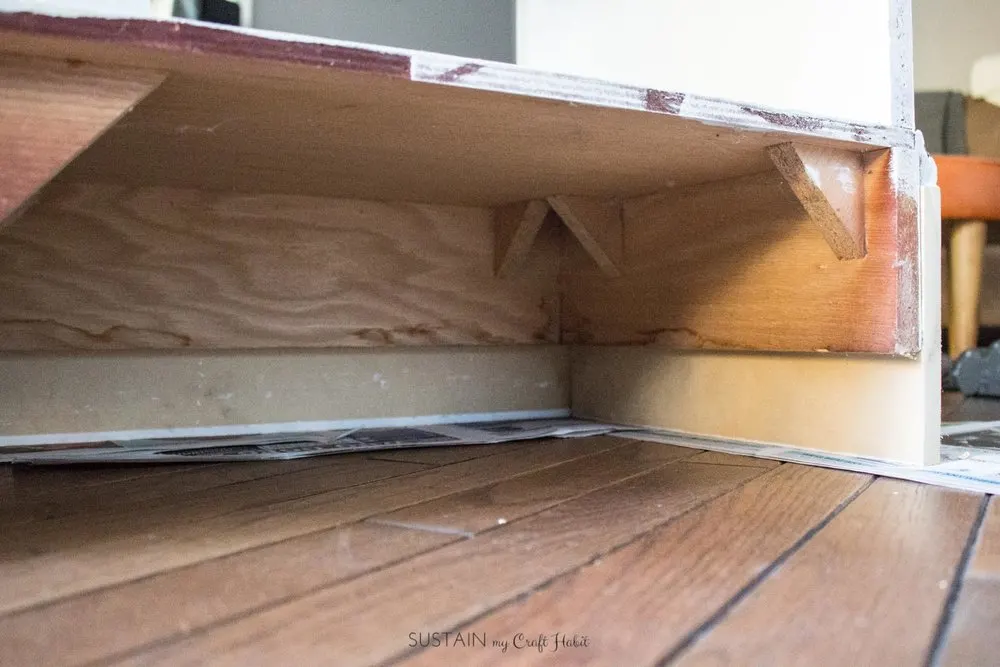
This made all the difference! Scale is so important to design and making this one simple tweak, made all the difference. Consider this option next time you are faced with a similar issue.
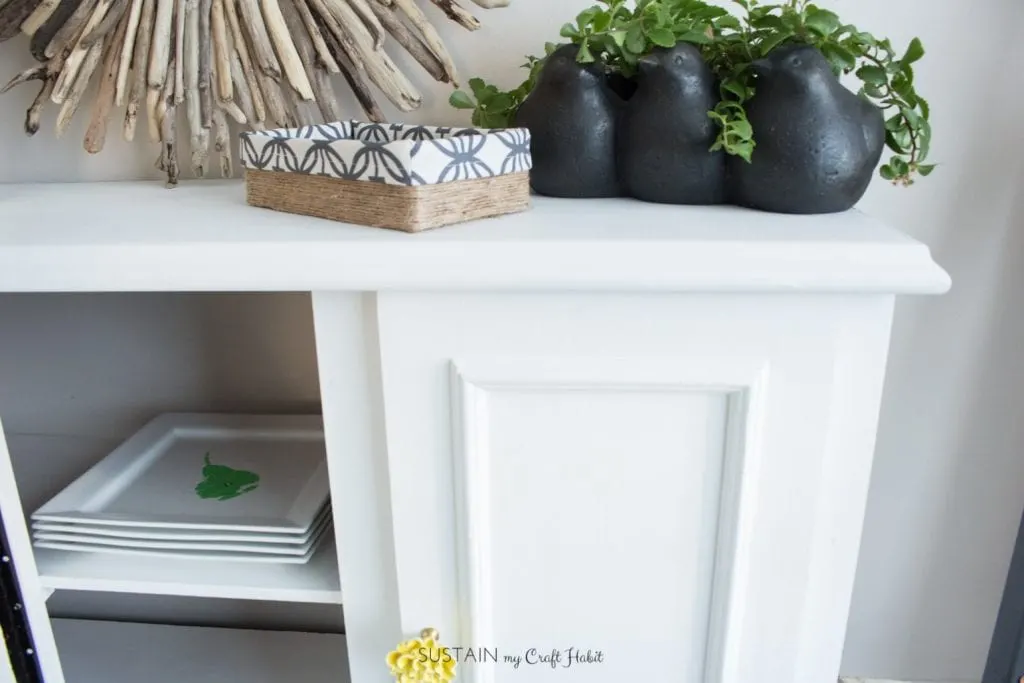
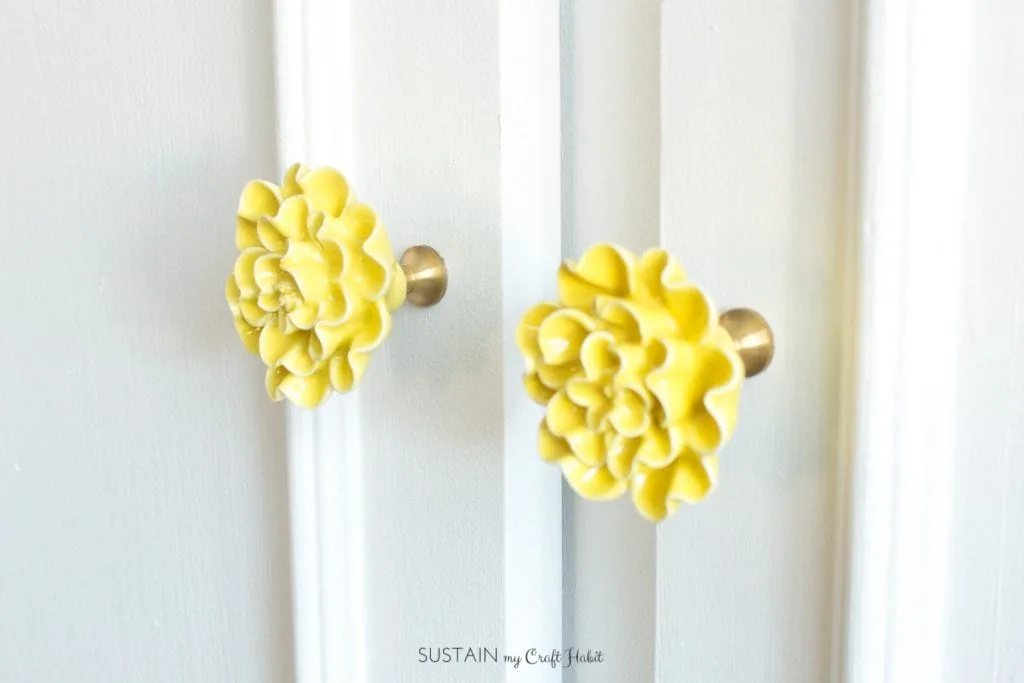
The final step is to reattach the cabinet doors and add the new modern ceramic knobs. I love these bright and happy knobs!
The finished piece goes nicely with our rustic DIY driftwood blanket ladder, DIY driftwood wreath and our small upcycled storage box.
What do you look for when scouting for furniture pieces to upcycle?

Lesley Metcalfe
Tuesday 13th of December 2016
Oh wow, stunning transformation! The piece has been brought into the modern era while still holding onto some of its traditional essence. Great work!
Jane and Sonja
Friday 16th of December 2016
Thank you so much Lesley! It feels great to have this "new" piece of furniture which I use all the time now. So happy you popped by. :)