Traveling is one of life’s greatest pleasures. It allows us to explore new places, meet new people, and experience different cultures. And what better way to remember those precious moments than through a personalized ornament? These DIY felt travel ornaments are not only easy to make, but they also make for the perfect keepsake or gift for any travel enthusiast.
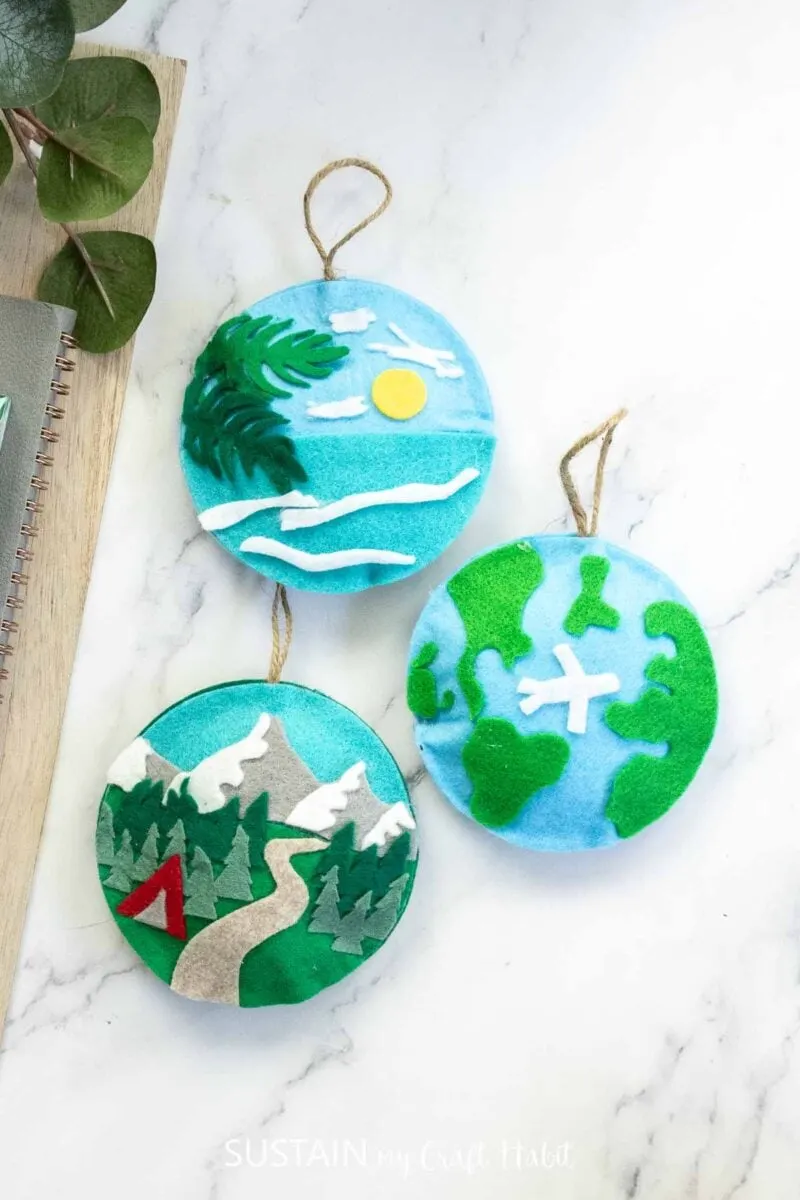
Whether you have just returned from an epic trip or want to relive your favorite memories from past travels, these ornaments will bring back all those wonderful feelings whenever you see them hanging on your tree. Plus, with our free printable pattern, you can easily create these adorable ornaments in no time.
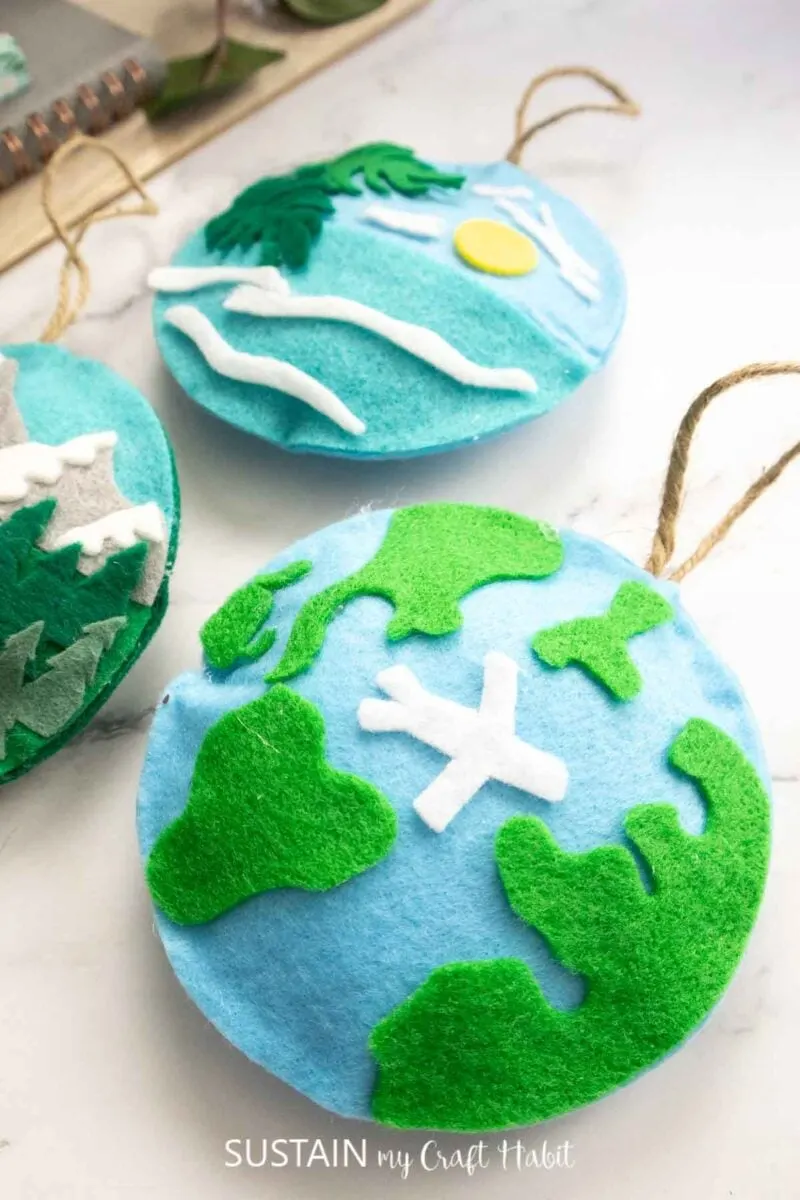
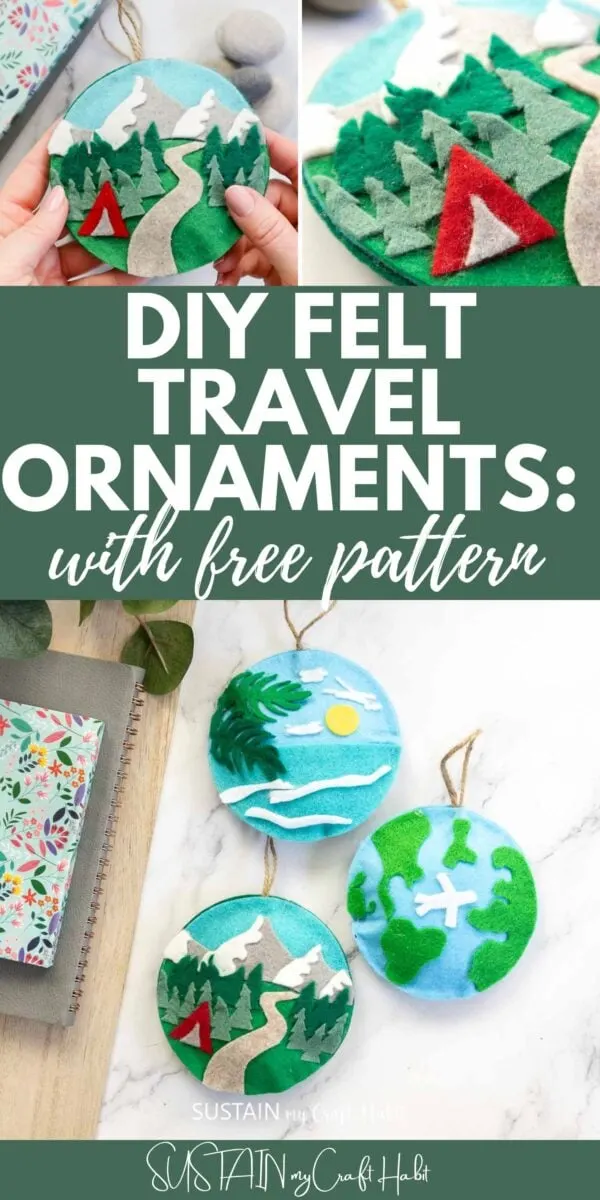
Includes three travel destination patterns:
- Outdoor Adventure
- Sunny Destination
- Jet Setter
Why Make Your Own DIY Travel Ornaments?
You can buy travel ornaments from souvenir shops, but they are often mass-produced and lack that personal touch. By making your own, you can choose the specific destinations or landmarks that hold special meaning to you. Not only will they be unique, but they will also evoke fond memories every time you see them.
Get access to our resource library filled with SVG cut files and other Cricut craft ideas!
How To Make Felt Travel Ornaments: with Printable Pattern
Materials Needed
Disclosure: This post contains affiliate links for your shopping convenience. Should you choose to purchase through them, we will make a small commission at no extra cost to you. You can read our full disclosure policy here.
- Travel Ornament Printable Patterns (grab from our Sustain My Craft Habit shop)
- Cricut Maker or other Cutting Machine
- Standard Grip Mat
- Cricut Rotary Blade with Housing
- Transfer Tape (pptional: To Protect Your Mat)
- Brayer (Optional)
- Alene’s Quick Dry Tacky Glue
- Hot Glue Gun with Clear Craft Glue Sticks
- Scissors
- 9″x12″ Wool Felt Sheets – (Benzie Designs Colors: Emerald, Kelly, Blue Spruce, Aqua, Silver, Linen, White Truffle, Red)
- Fiberfill stuffing
- Twine (Optional For Hanging)

How to Make Felt Travel Ornaments
Gather materials from the materials list above and download the ornament svg file to upload the svg file to Cricut design space.
Alternatively, you can also cut these felt pieces by hand with fabric scissors if you prefer not to use a cutting machine. We have a great guide on the best sewing scissors to use for cutting fabric.
How to Cut Felt Sheets with Cricut Cutting Machine
To begin, cut a piece of transfer tape to 12″x12″ and place on the cutting mat with the sticky side up. Although this is not a madatory step, this will help protect the cutting mat over time.
Place a sheet of felt fabric on the transfer sheet (lined cutting mat) and press. Refer to the instructions in Design Space and follow the steps including inserting the rotary blade and selecting felt, acrylic as the material to cut.
Cut all the different colored pattern pieces for the particular ornament you are making.

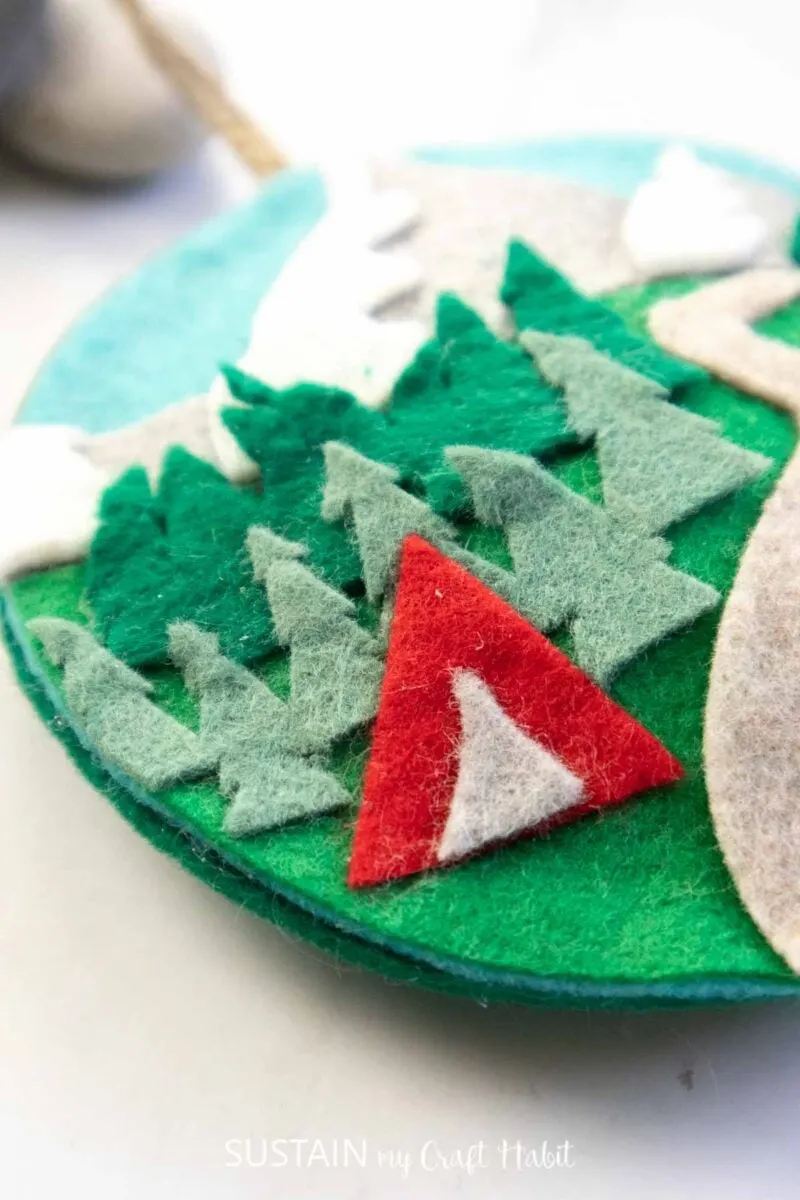
Assemble the ornament pieces using fabric adhesive or hot glue: start start by layering the felt pieces on to the base circle shape. For example, add the mountain range followed by the path, two rows of trees, snow and finally the tent pieces for the camping ornament.
If desired, use coordinating colors of embroidery thread to stich details onto the ornament.
Cut a piece of twine to 8″ and create a loop to form a hanger.
With the wrong sides of the ornament circle pieces facing each other, close the ornament 3/4 of the way around. Use either glue or stitch being sure to place the twine hanger inside.
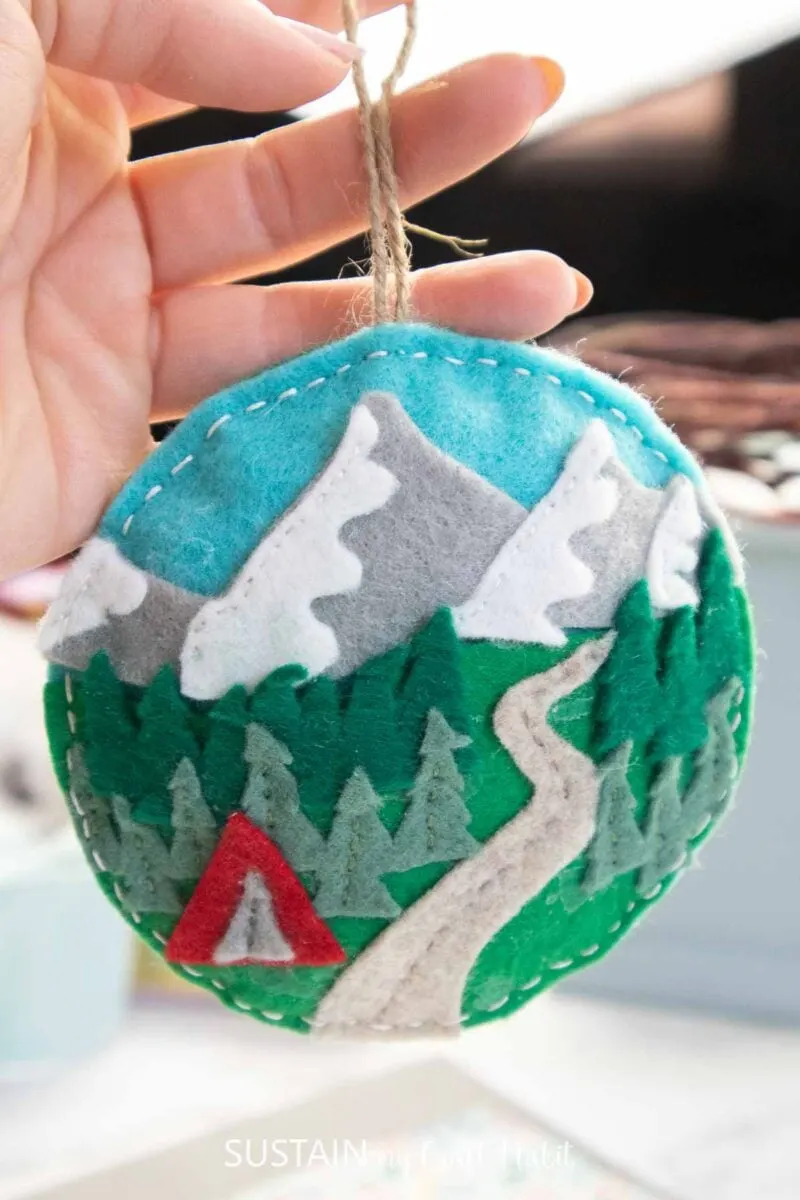
Fill with stuffing and then finish closing the opening to form the completed ornament.
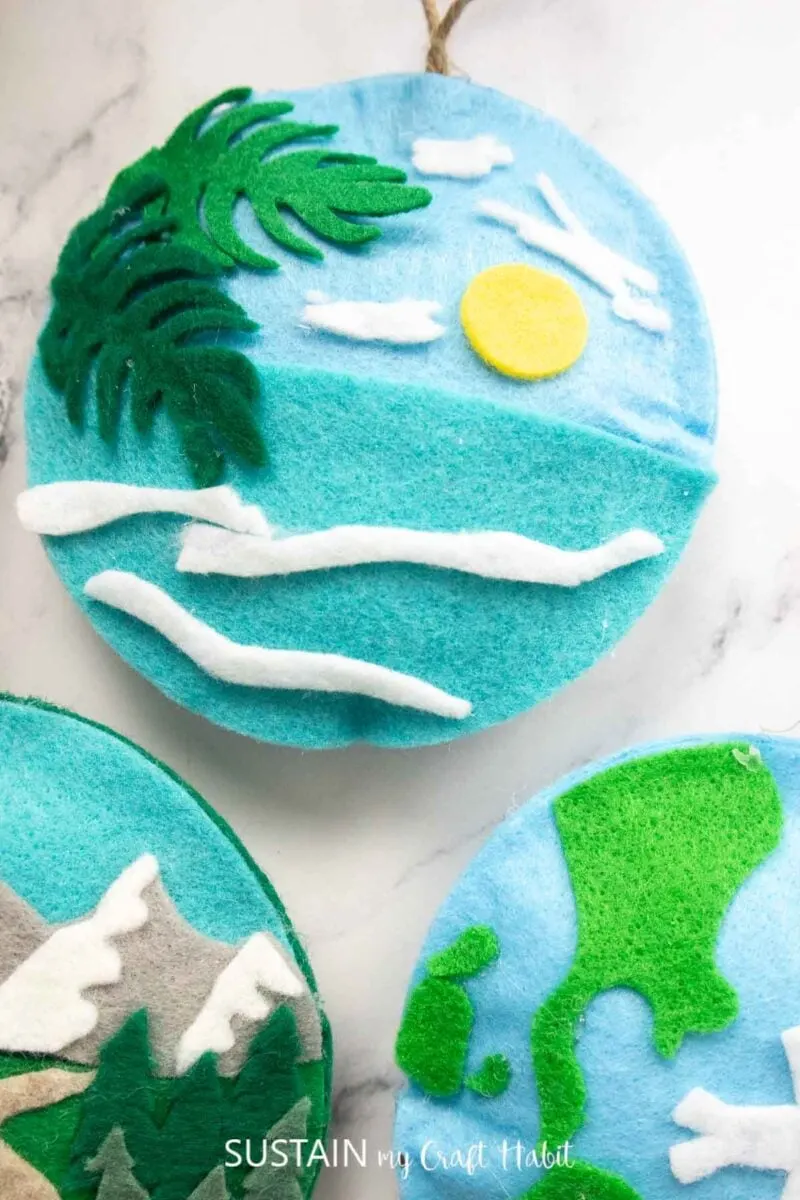
A Unique Touch To Your Holiday Decor
Creating DIY felt travel ornaments is a fulfilling and creative way to celebrate your adventures and preserve cherished memories. These handmade ornaments add a unique touch to your holiday décor and serve as a heartfelt reminder of the places you’ve visited and the experiences you’ve had.
You can easily craft ornaments reflecting your travel story with the printable patterns provided. So gather your materials, unleash your creativity, and start stitching together a treasured collection that will brighten your home for years.
More Felt Crafts to Make a Home
- Felt Roses
- Felt Monogram Ornaments
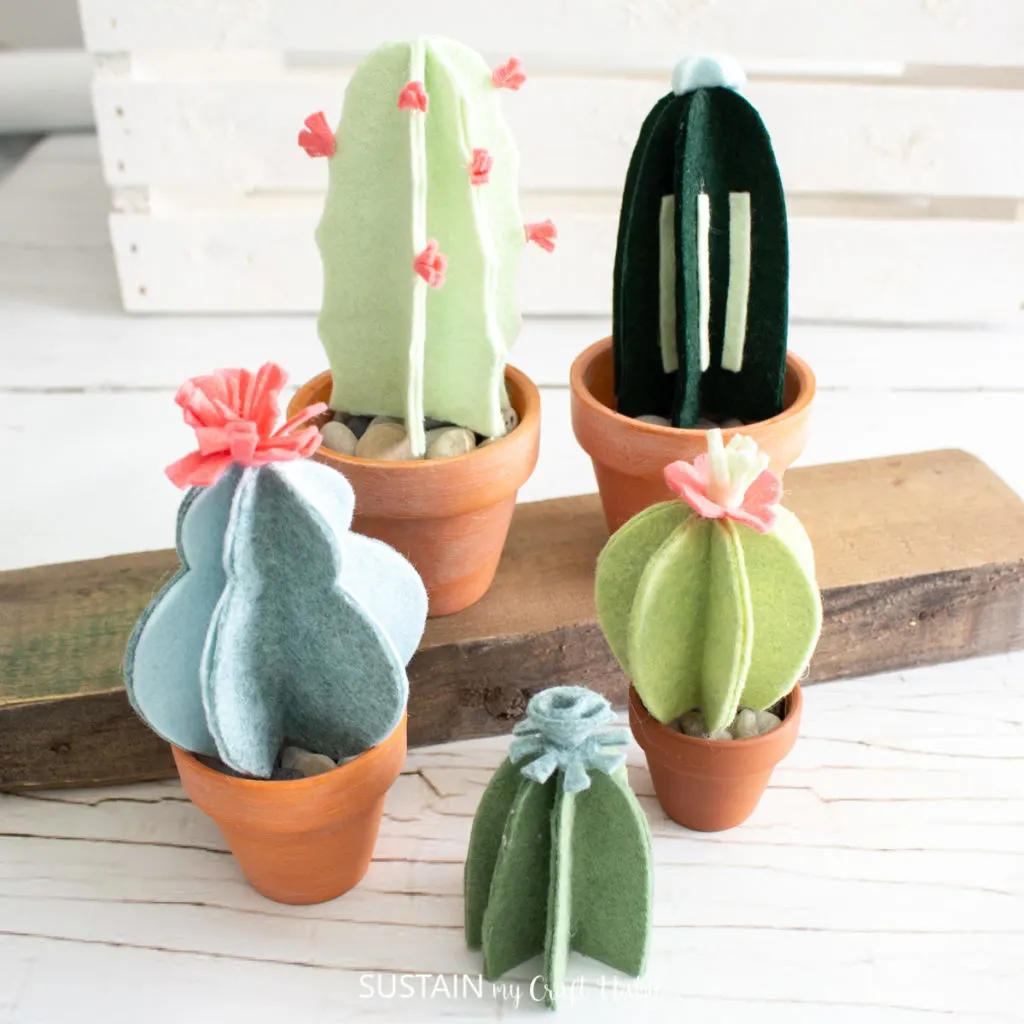
- 3D Felt Cactus Plants
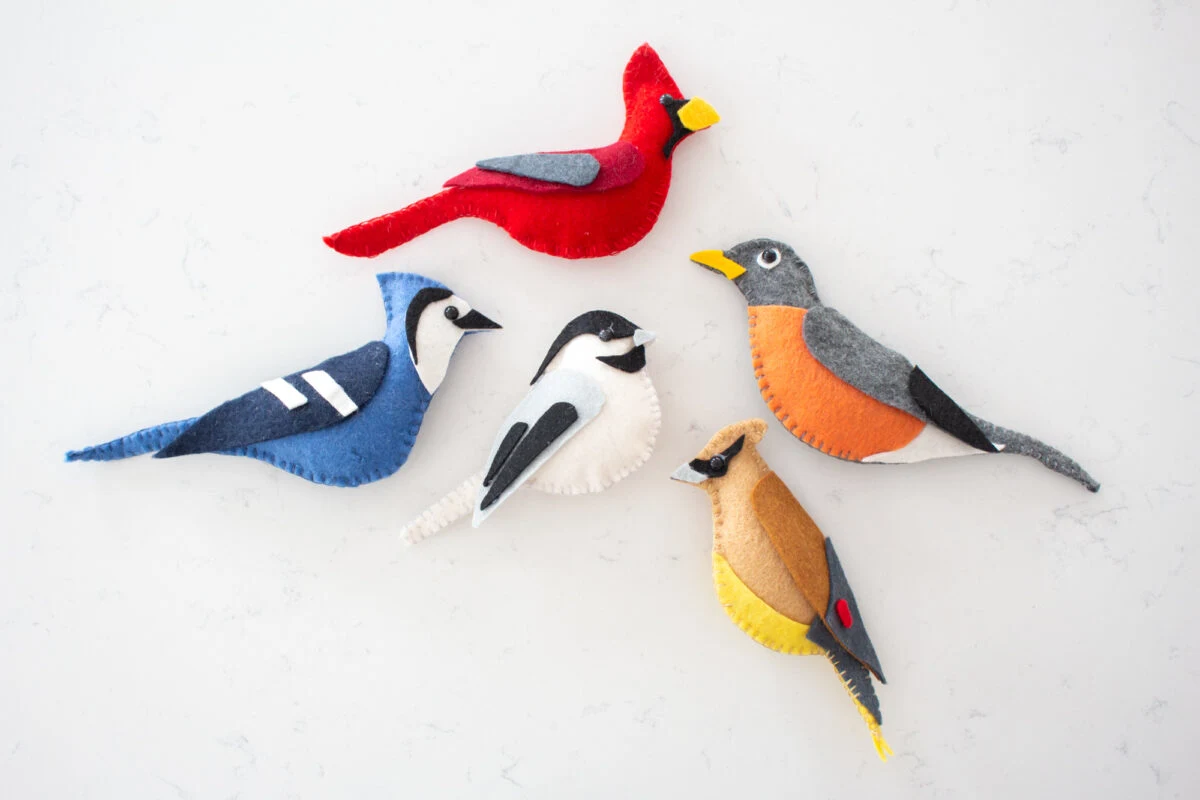
- Felt Birds with Printable Patterns
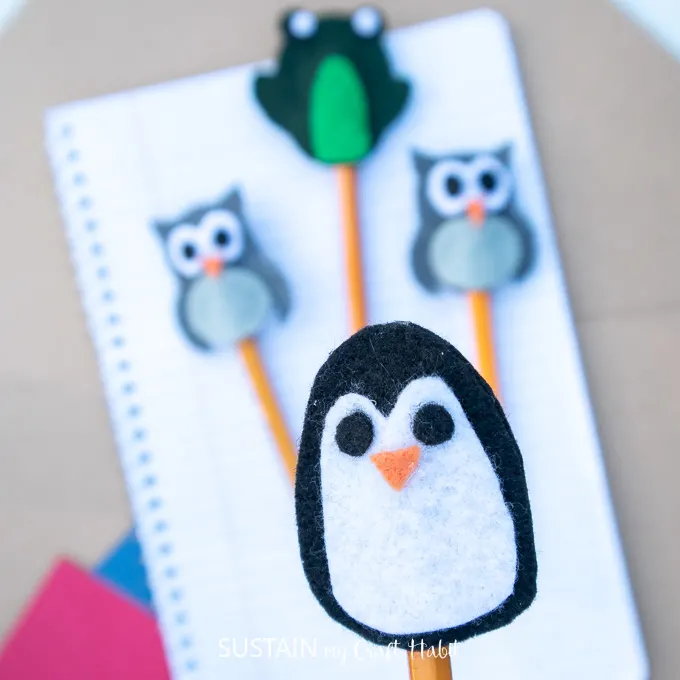
- Felt Animal Pencil Toppers
- Felt No-Sew Sloth Craft


Stay in the know on our latest crafts, special offers and freebies by joining our mailing list!
Like it? Pin it for later!
DIY Felt Travel Ornaments: with Printable Pattern
Materials
- Printable Pattern
- Cutting Machine
- Standard Grip Mat
- Rotary Blade with Housing
- Transfer Tape
- Brayer
- Alene’s Quick Dry Tacky Glue
- Hot Glue Gun with Clear Craft Glue Sticks
- Scissors
- 9″x12″ Wool Felt Sheets Benzie Designs Colors: Emerald, Kelly, Blue Spruce, Aqua, Silver, Linen, White Truffle, Red
- Fiberfill stuffing
- Twine
Instructions
- Gather materials and download the ornament svg file of your choosing. Upload the svg file to Cricut design space.
- Place a sheet of felt fabric on the cutting mat. Click on "make it" in Design Space and follow the steps including inserting the rotary blade and selecting felt, acrylic as the material to cut.
- Cut all the different colored pattern pieces.
- Assemble the ornament pieces using fabric adhesive or hot glue.
- If desired, use coordinating colors of embroidery thread to stich details onto the ornament.
- Cut a piece of twine to 8" and create a loop to form a hanger.
- With the wrong sides of the ornament pieces facing each other, close the ornament 3/4 of the way around. Use either glue or stitch being sure to place the twine hanger inside.
- Fill with stuffing and then finish closing the opening to form the completed ornament.
