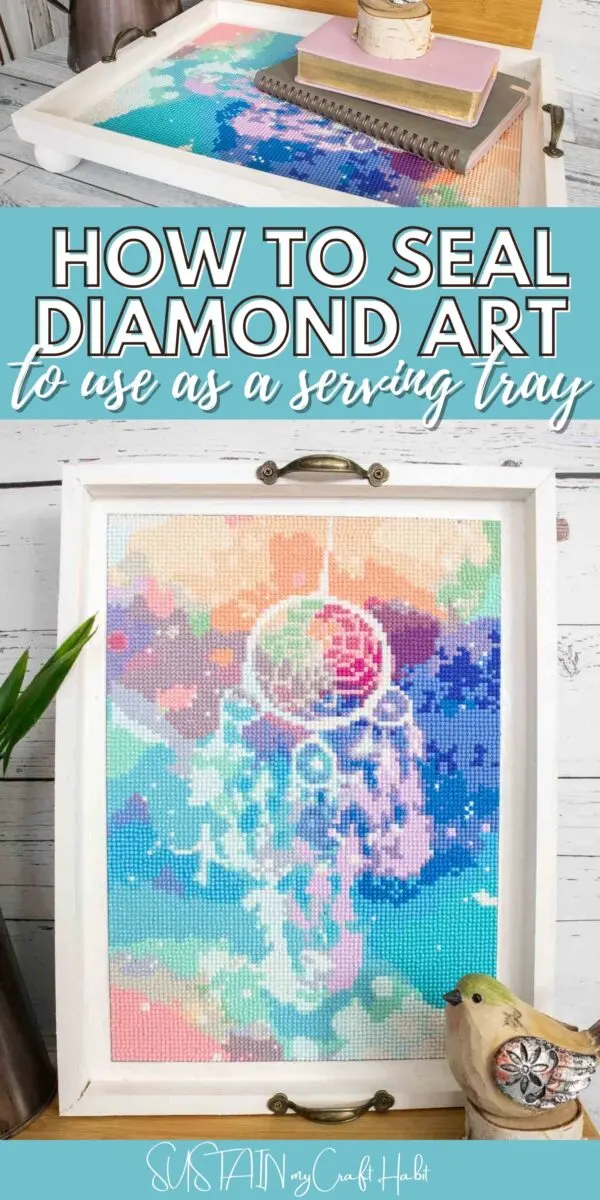
If you love working on a diamond painting kit, you may be curious about how to seal diamond art paintings. So today we sharing one of the best (and simplest) ways to save and preserve your beautiful creation.
What is diamond art?
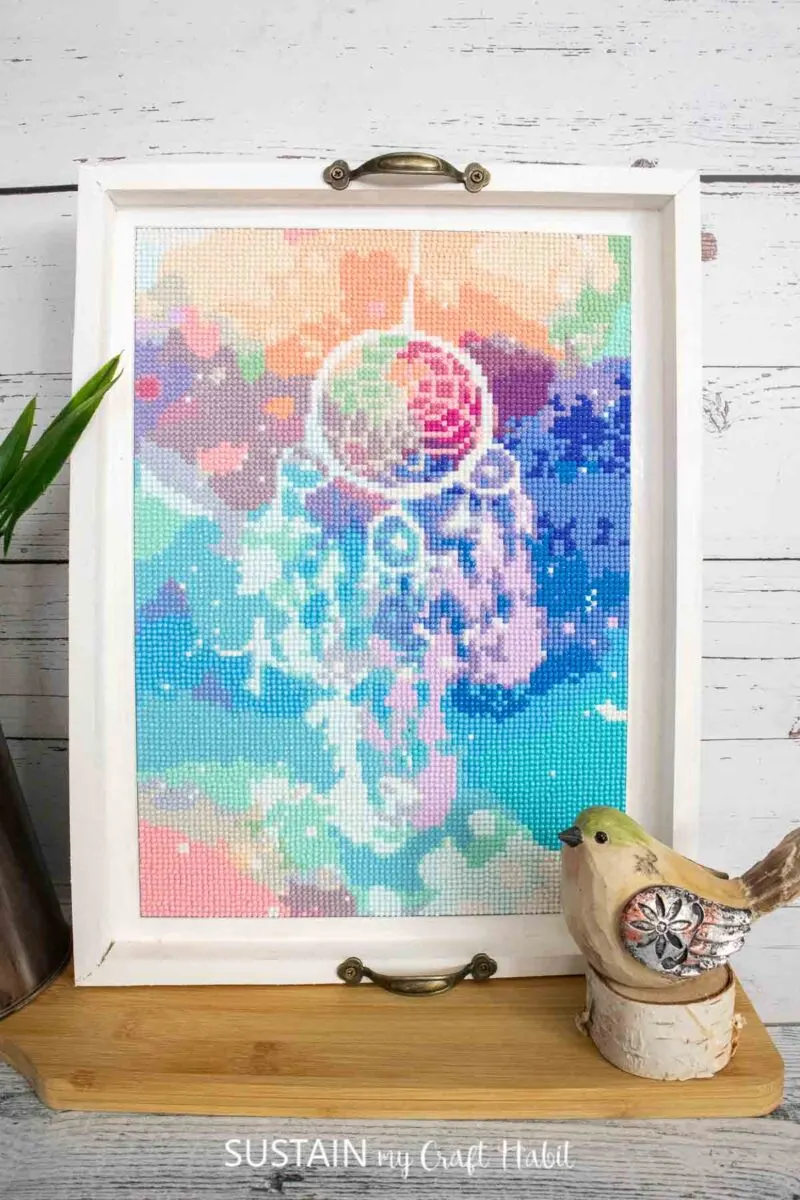
Diamond art is a process of applying little colored diamond beads on to a sticky canvas similar to a paint by numbers craft but without the paint. You place each of the diamonds on the corresponding number to make a masterpiece. It is not hard work, but instead relaxing! However, many people don’t add the last step of the diamond painting process but it is an important step.
Why is it important to seal your diamond art?
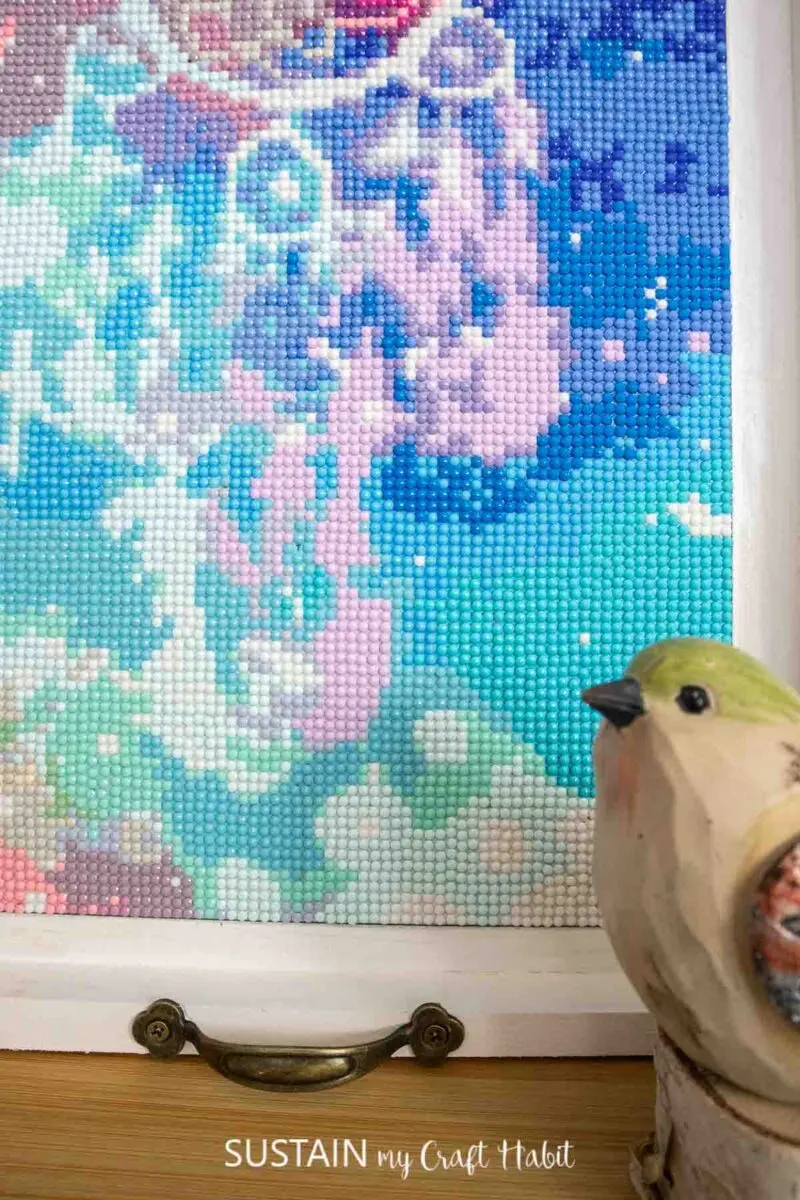
The last step is using spray sealants to seal up the diamond art. The process of sealing will help protect the art of diamond painting. This is a glue-like substance that is water resistant. I’ve learned from prior experience that you’ll want to pour a lot on generously. When you learn how to seal diamond art, not only will it keep everything in the right place but it will prevent dust particles from ruining the shine of the diamonds.
If you want to know the best sealant, a brush-on sealant is a great place to start. Spray-on sealants are great too. The type of sealant is up to you- after doing this once or twice everyone seems to have a favourite. You’ll find different spray sealers lead to different finishes.
Surfaces to Use for Displaying Your Diamond Art
My daughter loves spending time with these diamond beads (or diamond drills.) In the Facebook live below I show the finished diamond painting. Many people I know don’t do diamond art because it takes a long time, but putting those tiny diamonds on can be very relaxing! We don’t have a lot of places to hang this art though so I started trying to think of other ways we could use the work of art.
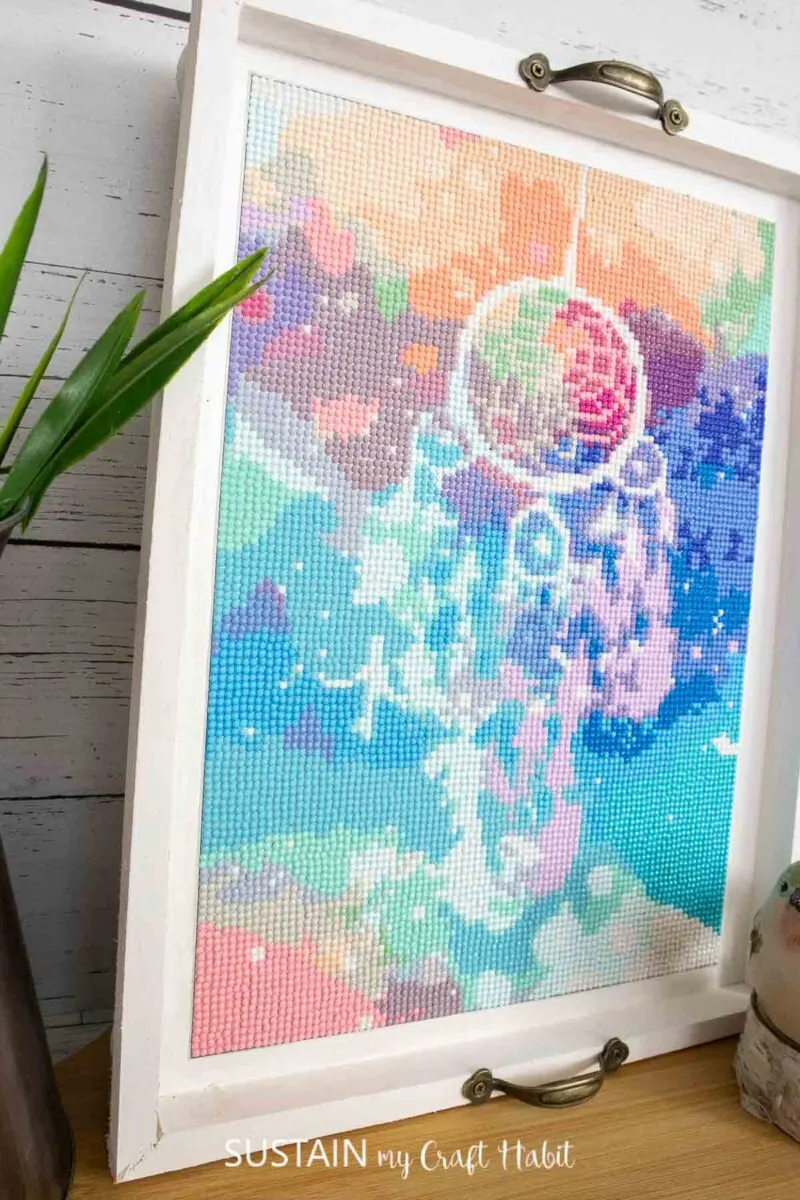
If you haven’t done one yet, I recommend doing one! It is amazing how it becomes a little diamond painting masterpiece! I found a panel at Dollarama- the Canadian dollar store- and thought it would be great to put a finished canvas into there to make it a tray!
Another idea I covered on the Facebook live is a sign created from a pizza tray! Whichever you choose is a personal preference.
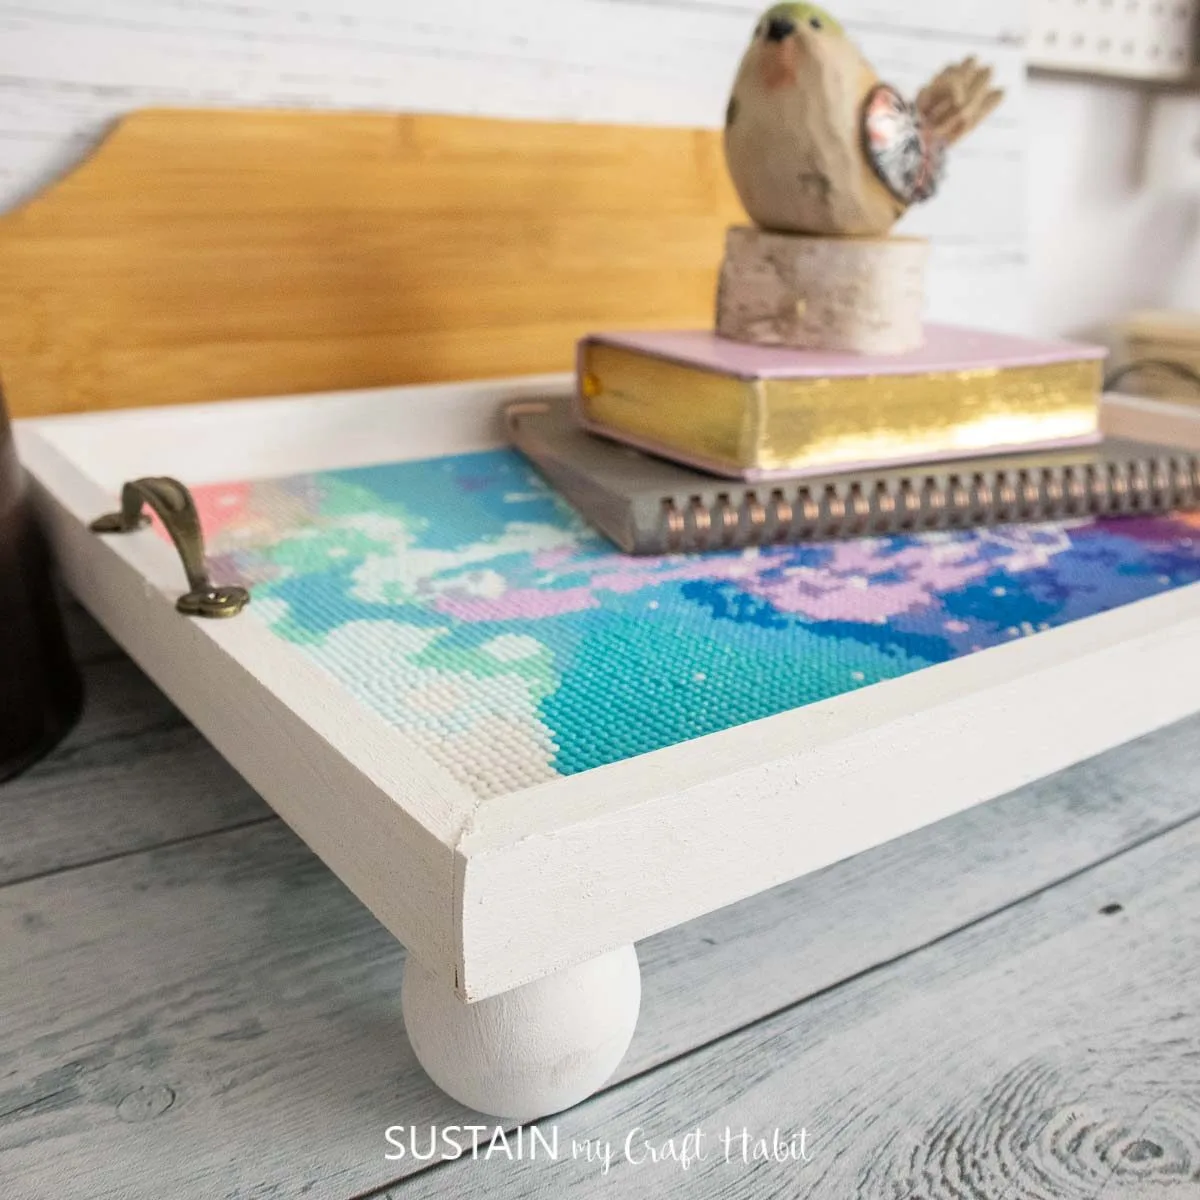
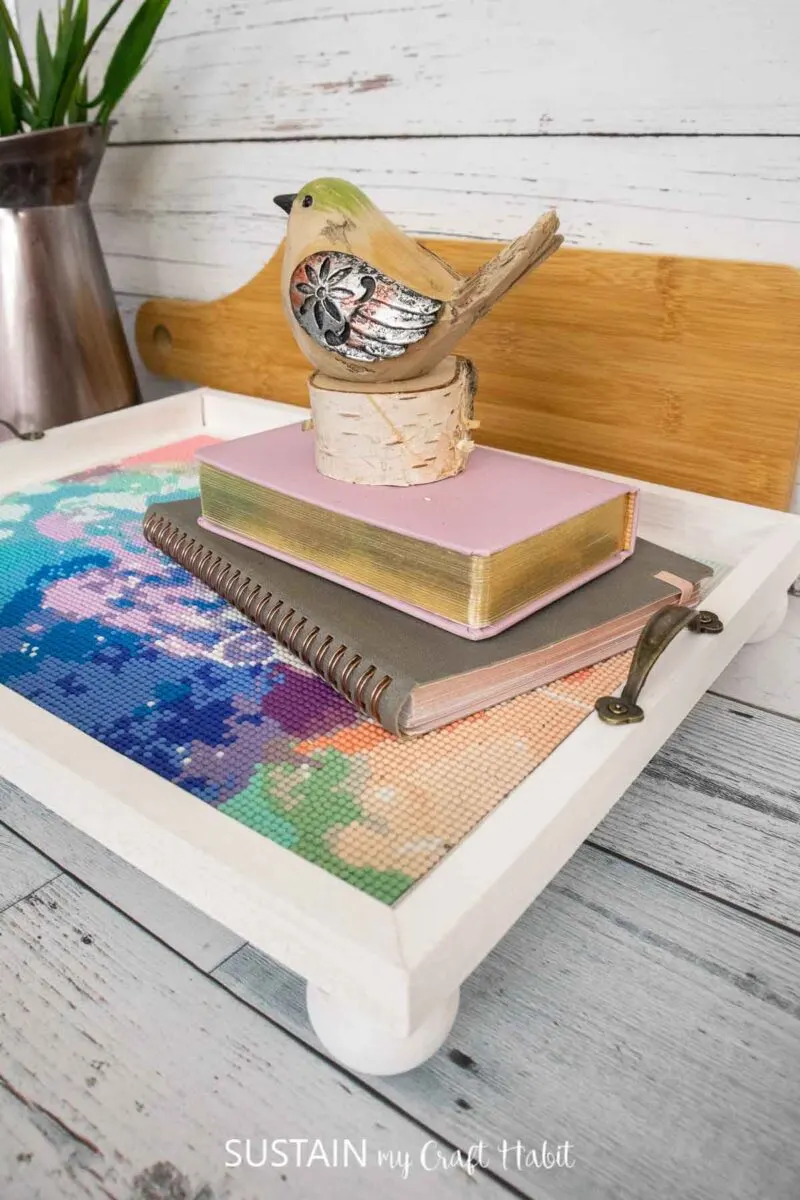
At the end, you’ll not only have a beautiful diamond painting of your own creation, but you’ll have an upcycled item that you can use in your house! You can try different ideas with each new diamond painting so they are used all over the house. The best part? They can also make a perfect gift!
Become a Sustain My Craft Habit insider to receive fun freebies!
Materials Needed
Disclosure: This post contains affiliate links for your shopping convenience. Should you choose to purchase through them, we will make a small commission at no extra cost to you. You can read our full disclosure policy here.
- Completed diamond painting
- Wood tray or wood canvas
- Wood beads
- Handles
- White paint
- Paintbrushes
- Mod podge
- Duraclear sealer
- Hot glue gun
How to Seal Diamond Art Painting
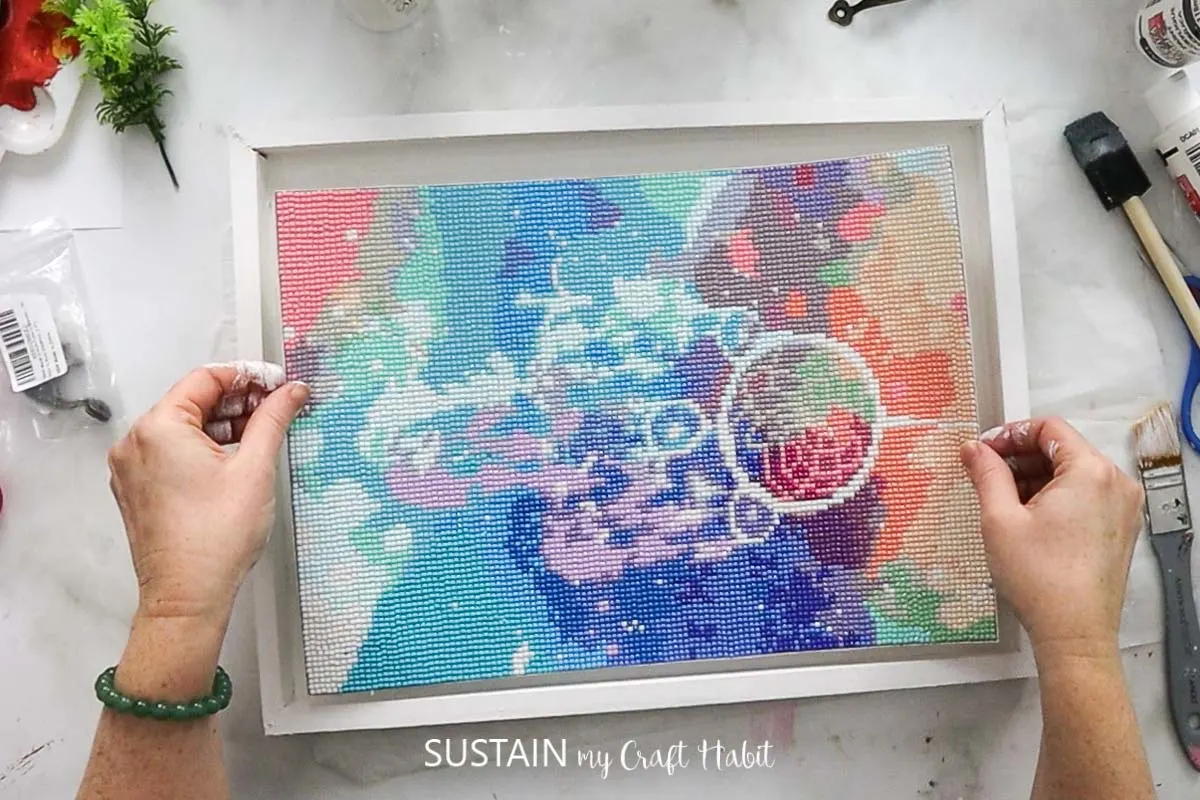
I shared the tutorial for how to seal diamond art painting on a recent Facebook Live which you can catch here. All of the step by step instructions can be found in the video or continue reading below for the photo tutorial.
Paint the wood surface in white (or any color) and let it dry before positioning the completed diamond art on top. Once your happy with the placement apply a layer of Mod Podge between the surface and the diamond art and press in place.

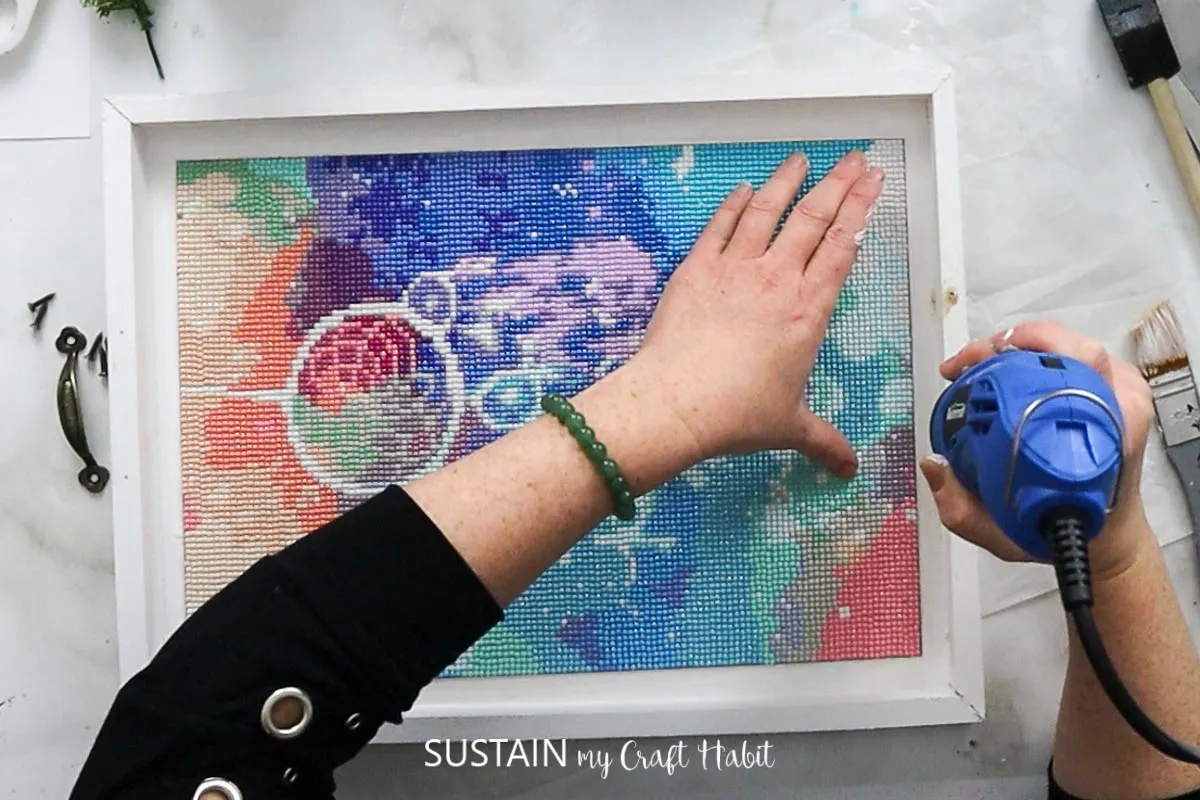
Give the piece time to dry and adhere well to the surface. You can also use a heat gun to help spead up the drying process.
Next, apply a generous amount of Mod Podge over top of the diamond art.
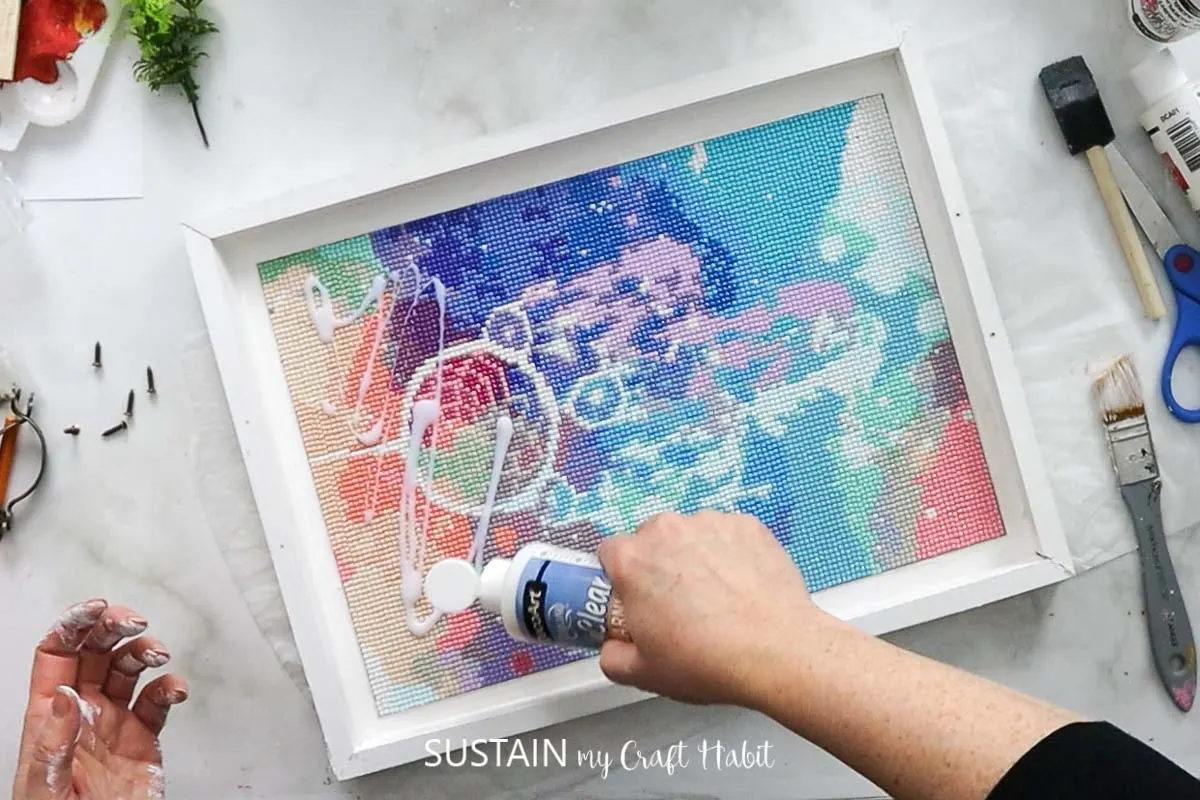
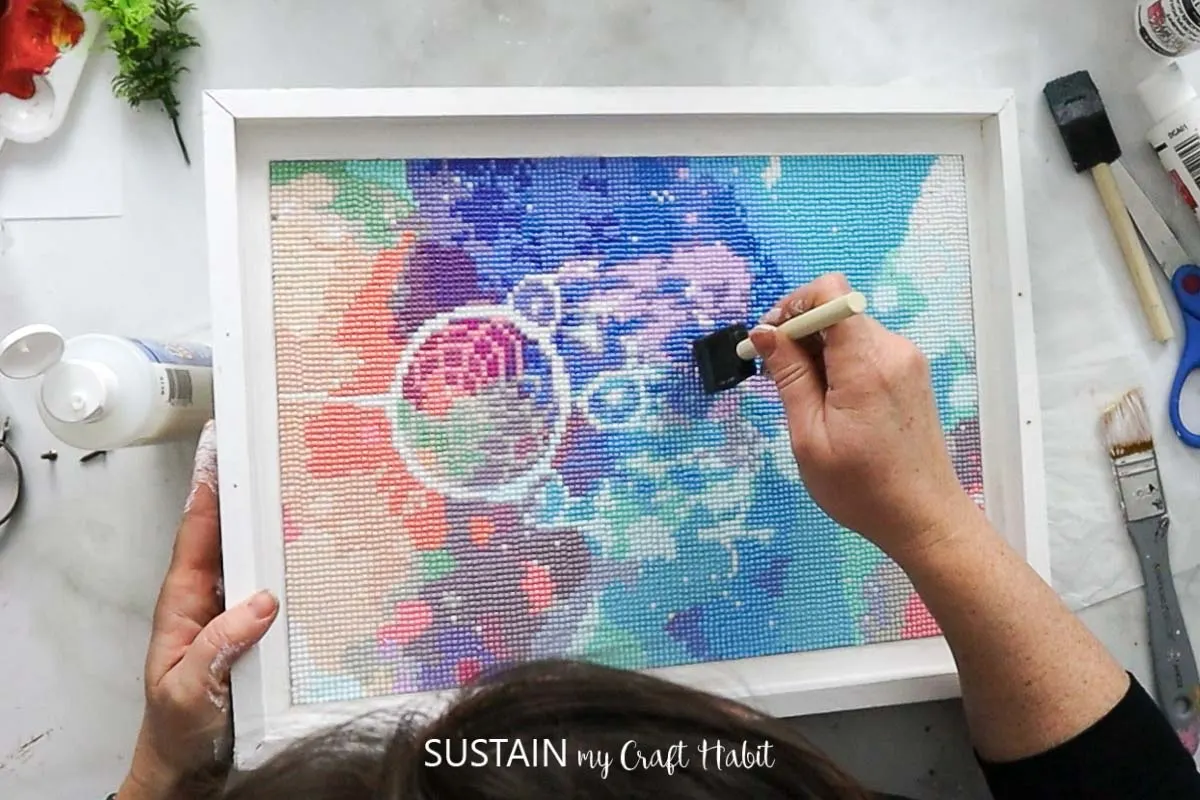
Using a brush (or foam brush), take time to work the glue in between each of the diamond beads to secure in place. Add another layer of Mod Podge as needed for a smooth, sealed surface.
Lastly (or you could even do this at the start), paint the wooden beads as well as the bottom of the tray for a complete finish. Glue the wooden beads, one in each corner of the tray to complete the look.


More Art Projects to Make
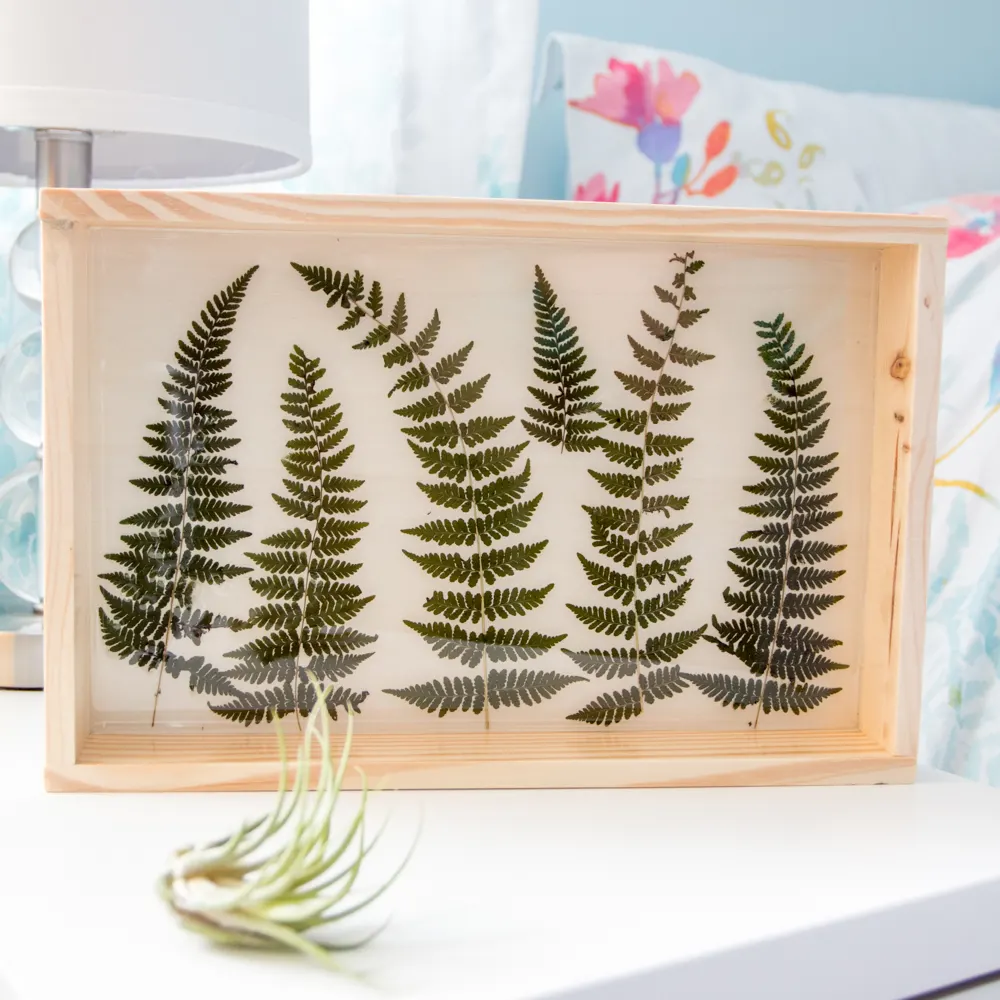
- Sealing Fern Art in Resin
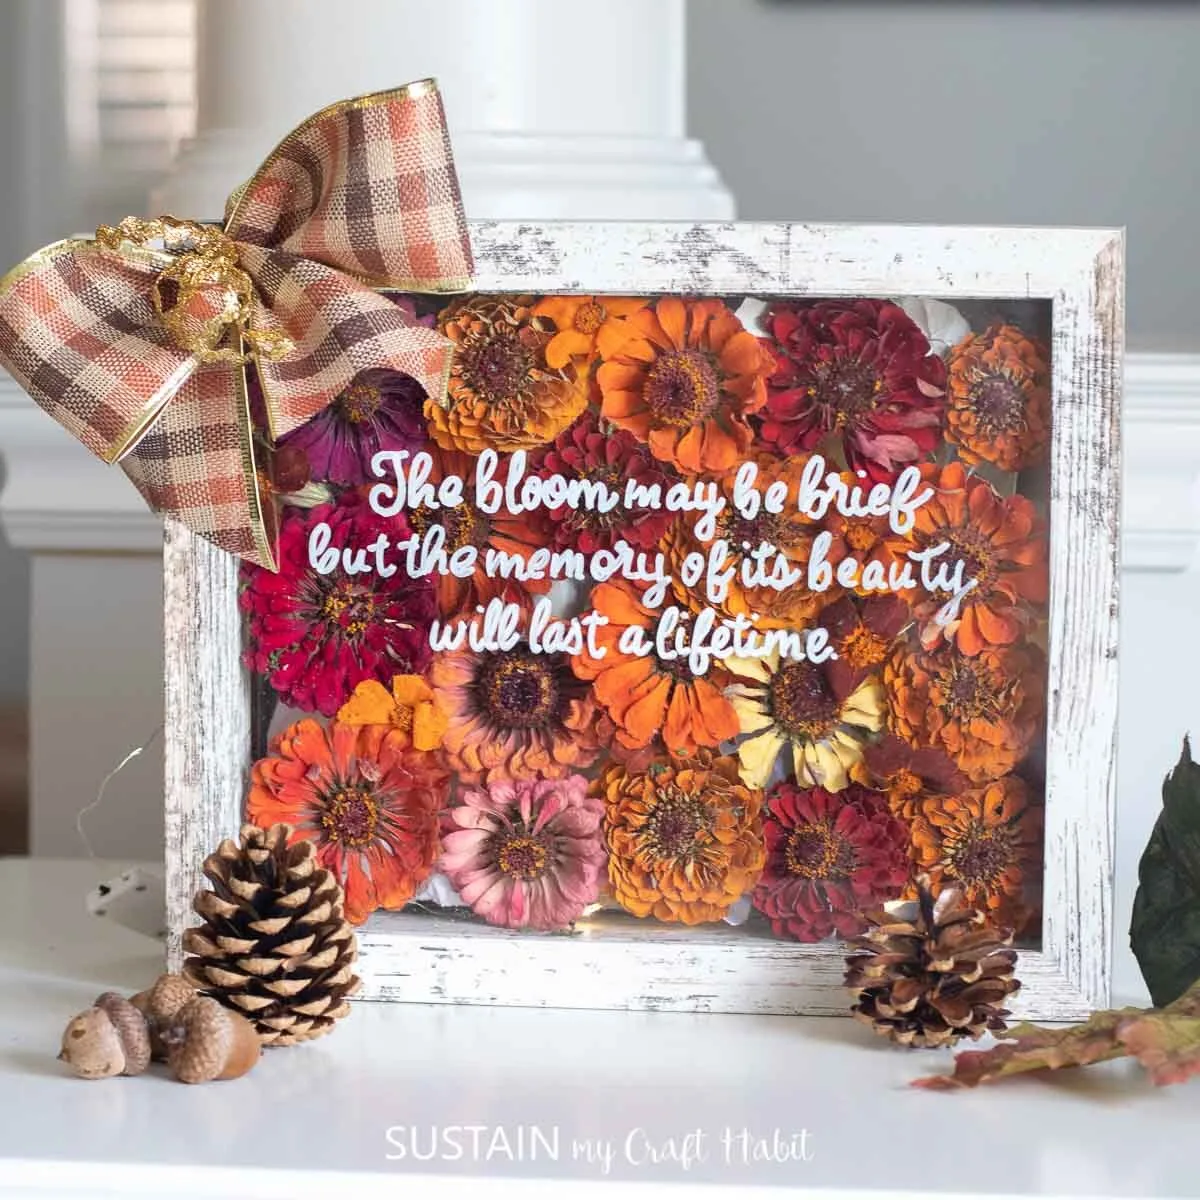
- Dried Flower Shadow Box Art
- Reverse Canvas Lavender Art
- Cherry Blossom Pinecone Art
- Romantic Shadow Box Art

Did you have fun learning how to seal diamond art? It is amazing what small diamonds can come together to do!
PS- If this is a great way for you to relax, but it takes too long, a good idea may be to buy a partial drill kit. It makes the finished product and the whole training come along a lot faster! That way, you can create a diamond art painting and actually finish the entire painting.
We would love to see how your diamond art painting turned out! Make sure to show your art of diamond painting off to us! Tag us on Facebook or Instagram– we can’t wait to see it! Follow us on either social media channel- we do lives on Facebook very often!
Want to receive a ton of inspiration and money saving ideas for decorating, gift-giving and crafting? Join HERE!
Like it? Pin it for later!
