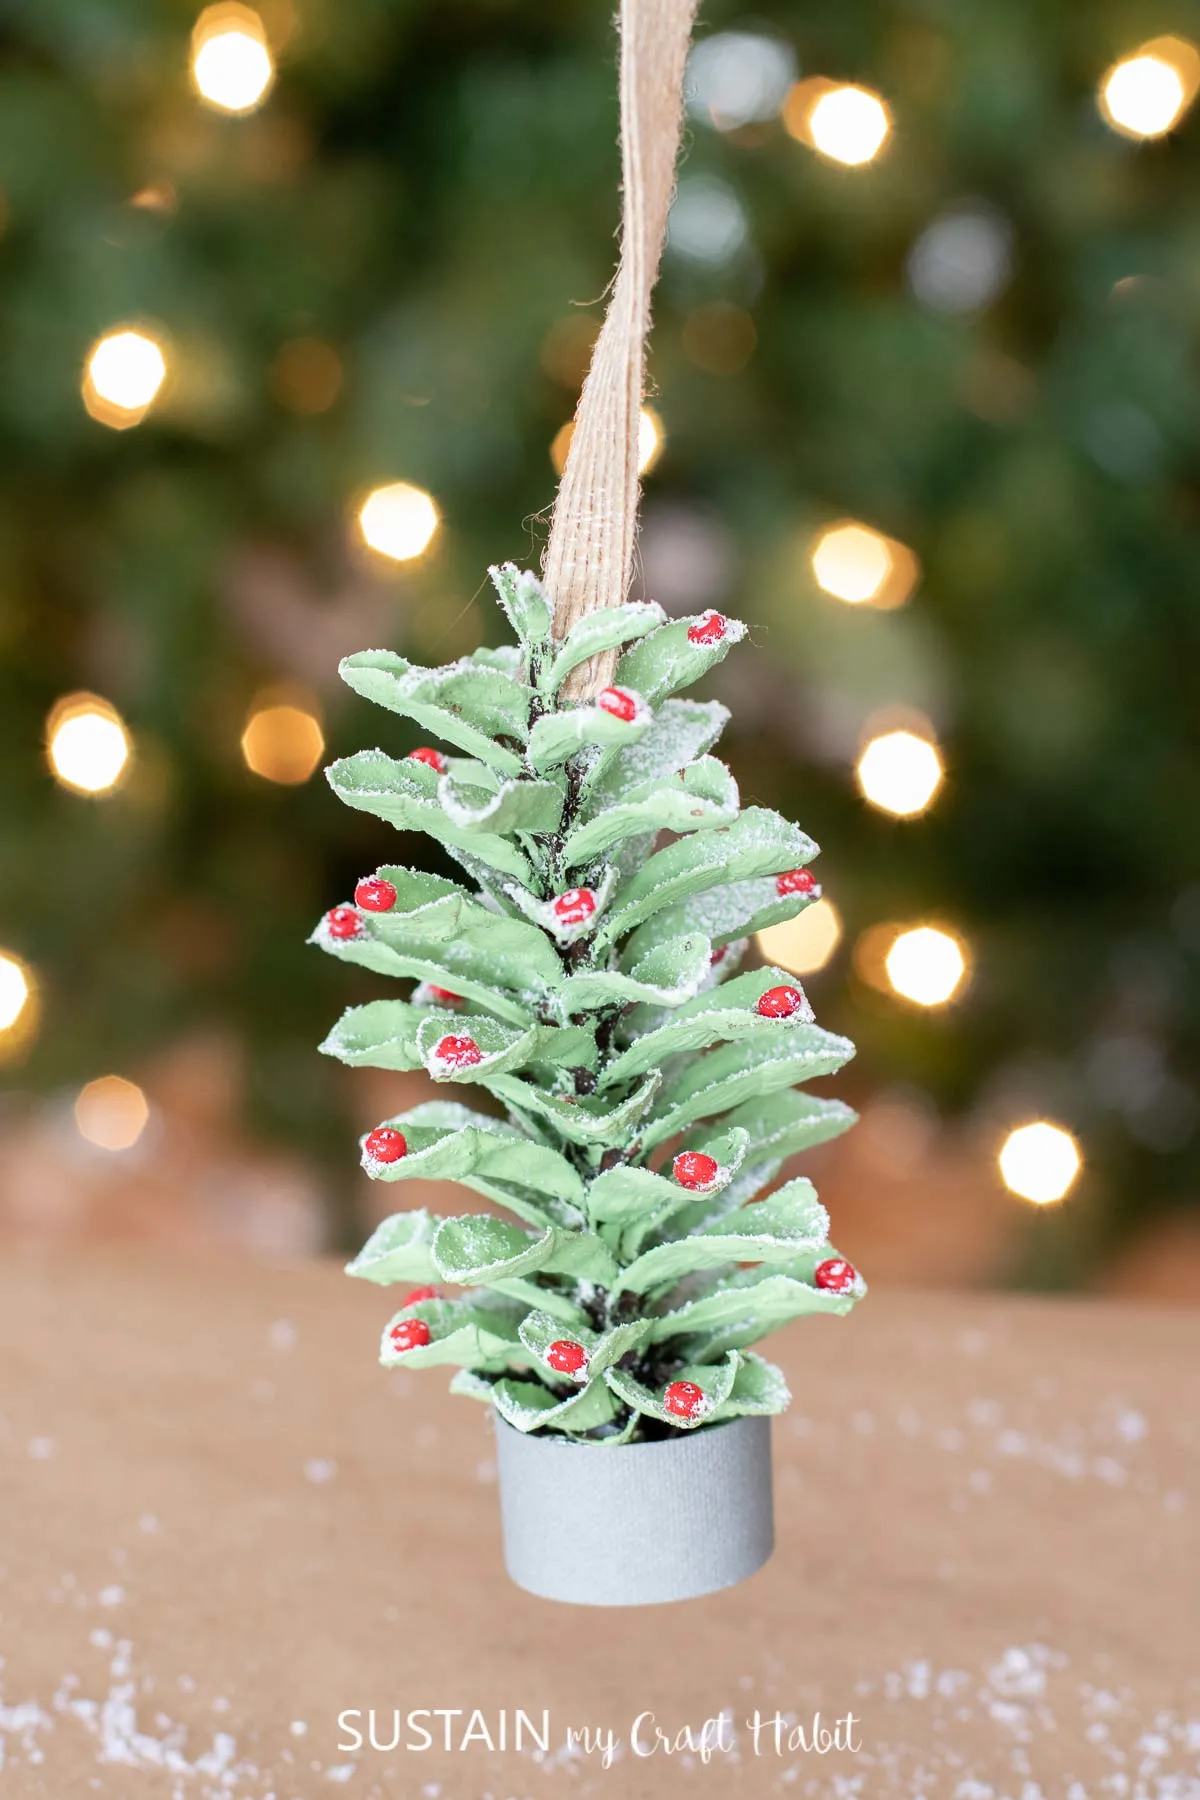
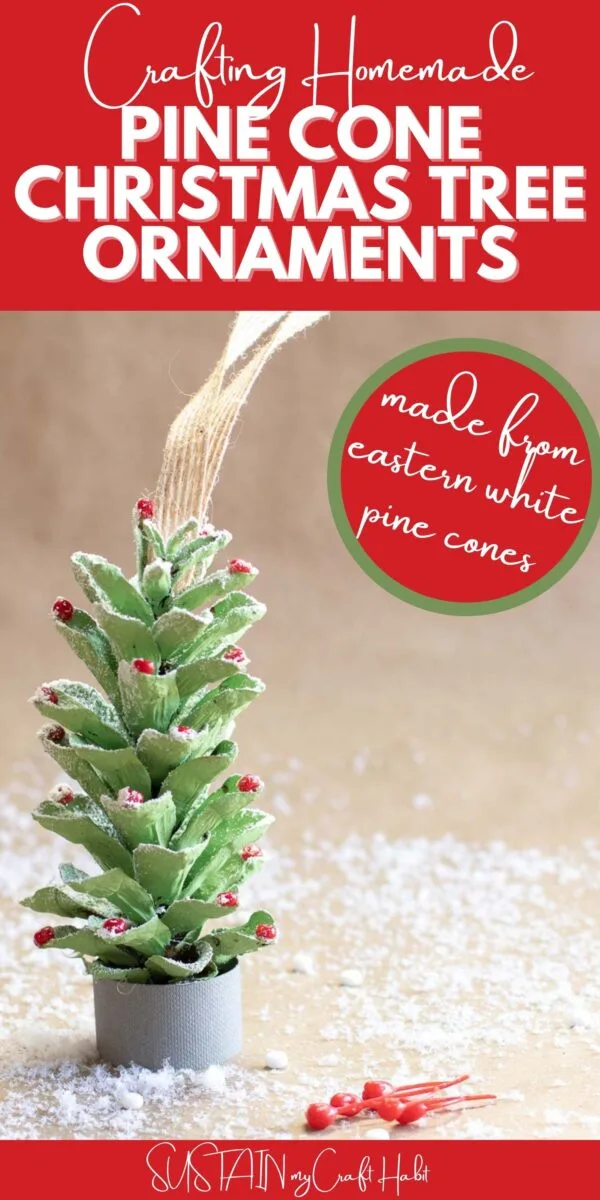
Hi creative friends, today we’re sharing this sweet, simple and classic craft for making lovely pine cone tree ornaments that you’d be proud to display at Christmas time.

DIY Pine Cone Tree Ornaments
To be completely honest, what I loved most about this craft is the nostalgia that came with it. It brought me right back to when I was a child in school making ornaments for the family tree. Although I’ve upped my crafting aesthetic since then, they are just as sweet and lovingly handmade as the ones I made for my parents years ago.
Join our crafting community to sustain your craft habit with nature-inspired DIYs and upcycled craft ideas. It feels good to repurpose, upcycle and create with nature!

The dusting of snow spray over top really gave these mini trees the realistic touch they needed. I used the snow spray on these upcycled mason jar lid ornaments as well (it can be a little addictive!).

Materials Needed
Disclosure: This post contains affiliate links for your shopping convenience. Should you choose to purchase through them, we will make a small commission at no extra cost to you. You can read our full disclosure policy here.
- Eastern White Pinecones, approx 4 1/2” high (we sell these in our Etsy shop)
- Burlap Ribbon, cut to 10” long
- Grey cardstock paper
- Small red beads
- Snow spray
- Ruler
- Scissors
- Pencil
- Hot glue gun and clear glue sticks
- Acrylic paint in foliage green (we used Americana Acrylics in Foliage Green)
- Paintbrush
How to Make Homemade Pine Cone Tree Ornaments
Paint the surface of the pinecone in green and let the paint dry fully. Next, using a hot glue gun apply a single red bead to the outer edges of the pinecone.
Once you’re happy with the amount of little beads, spray the surface of the pine cone with snow spray and wipe away the excess snow on each of the red beads.
Measure and mark a rectangle onto a sheet of cardstock measuring 4” long x ¾” high. Cut out the rectangle with scissors and then overlap and glue the short ends of the rectangle together forming the “tree stand”. Glue the tree stand to the bottom of the prepared pinecone.
Fold the ribbon in half and glue the ends to the top of the pine cone to form a loop for hanging the ornament.

And that’s it! What do you think? Would you like these pretty ornaments hung on your Christmas tree?

We’d love to have you become a Sustain My Craft Habit insider to receive more creative inspo and fun freebies!
More Pine Cone Christmas Crafts
These Eastern white pine cones are one of our favorite things to use for crafting with nature. Just look at all the beautiful, natural creations we’ve made over the years, everything from ornaments and wreaths and all kinds of Winter decor!
- Pine cone Tabletop Christmas Tree
- Pine cone Wreath
- Painted Pine cone Christmas Ornaments
- Upcycled Picture Frame Door Decor
- 25+ Pine cone Christmas Crafts
Thanks so much for stopping by to visit. Get updates on the latest posts and more from Sustain My Craft Habit straight to your inbox by joining our weekly newsletter. We promise to send you only the good stuff!
Like it? Pin it for later!


Lovely Homemade Pine Cone Christmas Tree Ornaments
Materials
- White Pine Pinecone 4 1/2” high
- Burlap Ribbon cut to 10” long
- Grey cardstock paper
- Small red beads
- Snow spray
- Ruler
- Scissors
- Pencil
- Hot glue gun and clear glue sticks
- Acrylic paint in foliage green Americana Acrylics in Foliage Green
- Paintbrush
Instructions
- Paint the surface of the pinecone in green. Let dry.
- Using a hot glue gun apply a single red bead to the outer edges of the pinecone.
- Spray the surface of the pinecone with snow spray.
- Wipe away the excess snow on each of the red beads.
- Measure and mark a rectangle onto the cardstock measuring 4” long x ¾” high.
- Cut out the rectangle with scissors,
- Overlap and glue the short ends of the rectangle together forming the “tree stand”.
- Glue the tree stand to the bottom of the prepared pinecone.
- Fold the ribbon in half and glue the ends to the top of the pine cone to form a loop for hanging the ornament.

