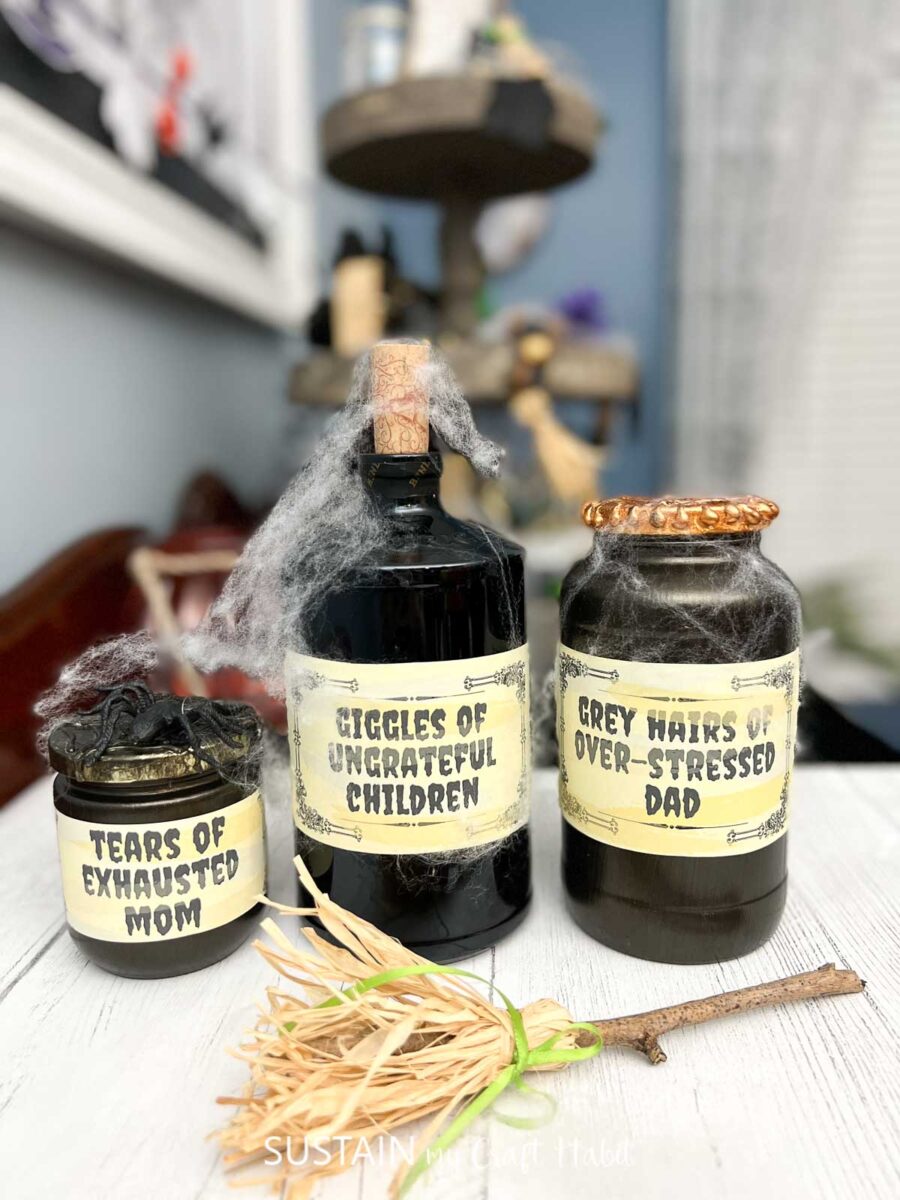
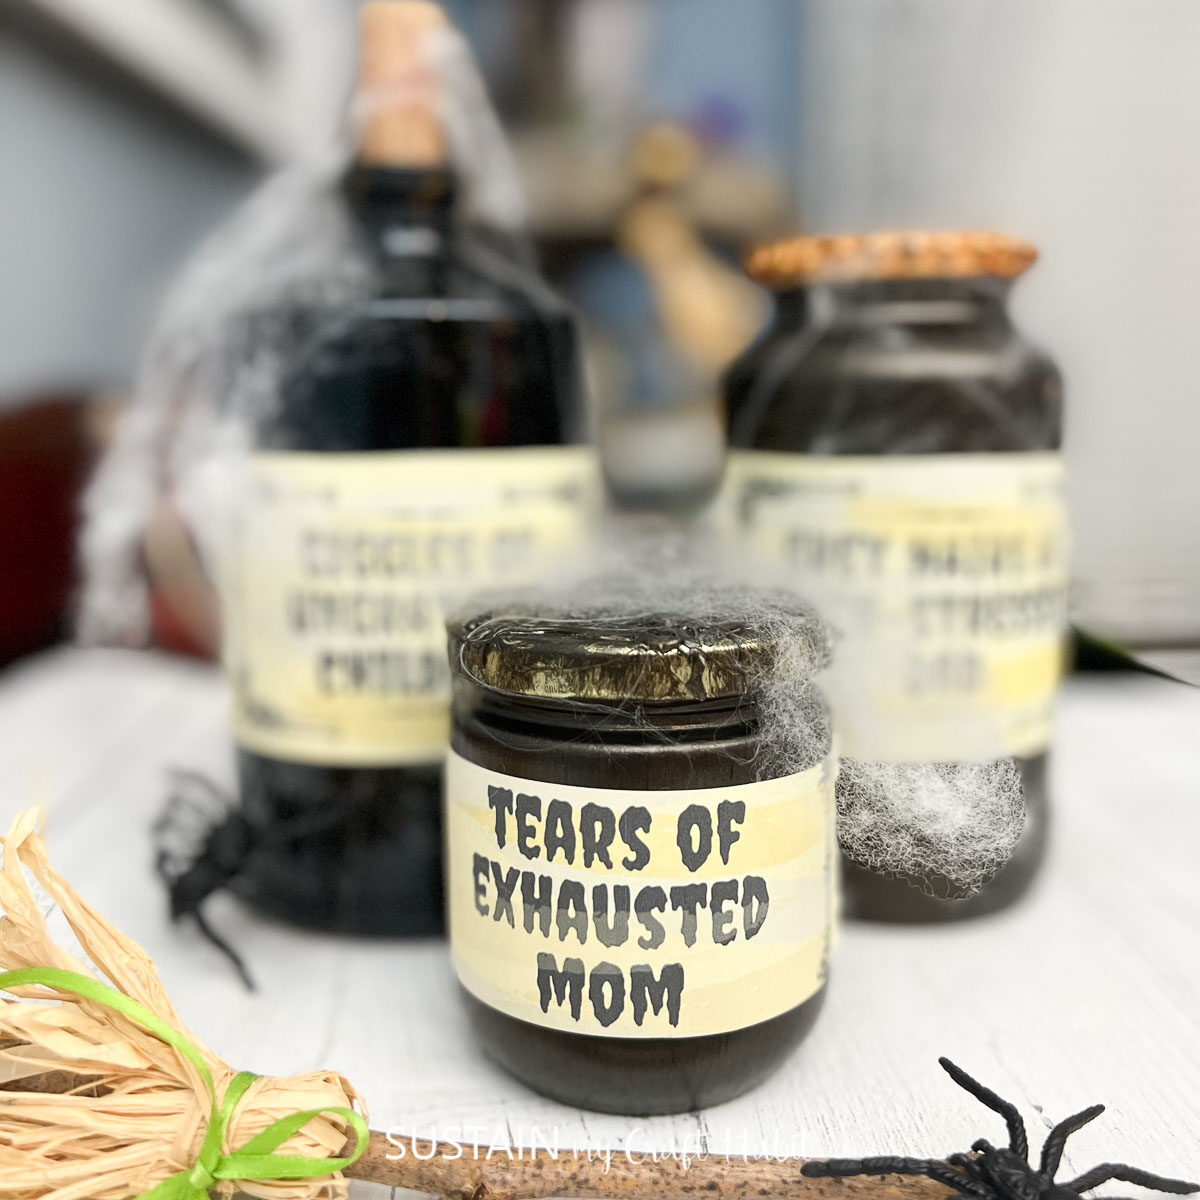
Punny Witch Potion Jars (with free printable)
Witch potion bottle decor is a cute way to add a magic touch to your Halloween. And if you’re a parent, these DIY witch potion jars are sure to feel relatable! So to make your very own punny witch potion jars, we’re offering these free printable labels along with the step by step tutorial for this fun Halloween craft.
Easy Witch Potion Bottles Using Free Printable Labels
We love the idea of upcycling whenever we possibly can. In fact, I had been holding on to the most perfect empty liqur bottles to use for this type of craft and wouldn’t you know it, I tossed them out just one month prior as I was packing my house to move. I remember holding them in my hands and actually contemplating whether I should keep them or give them away. Ultimately, I decided to recycle them after holding on to them for 4 years! What are the chances?
So instead of pretty decorative jars, I found some empty glass jars instead and made do with what I had! Can you tell these are just painted black mason jars?
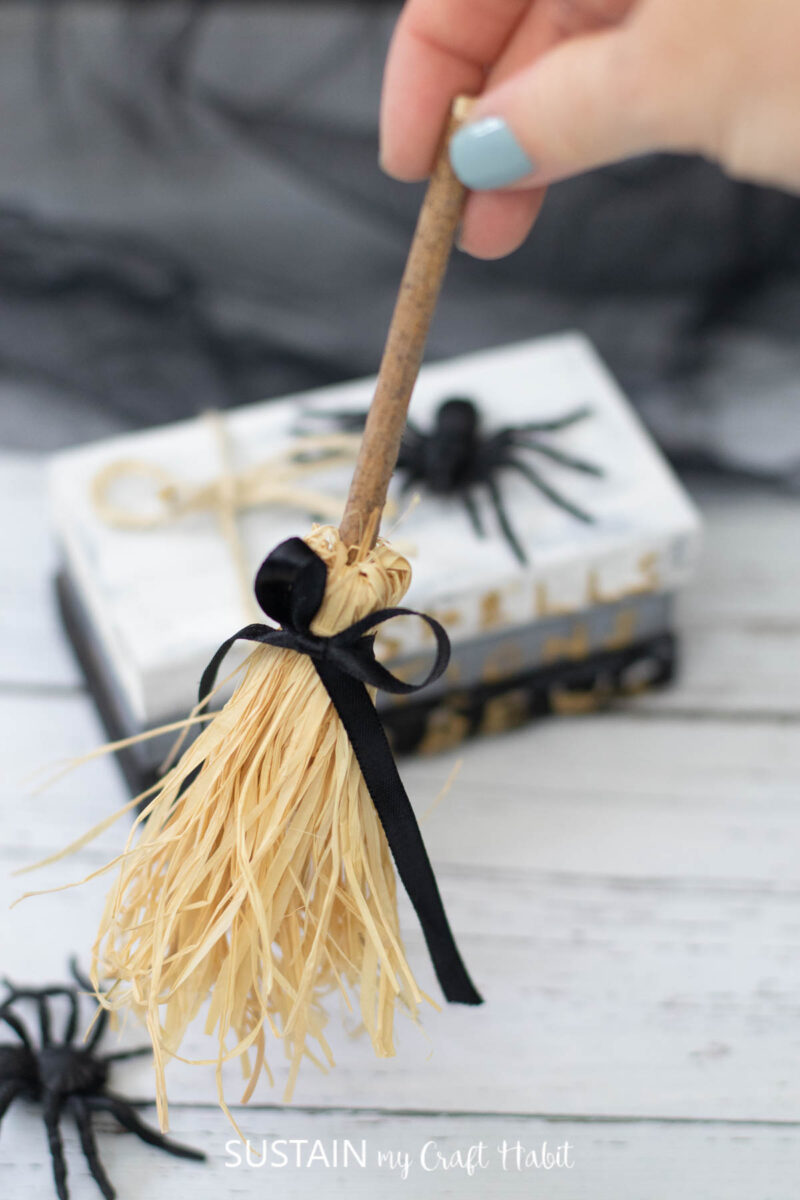
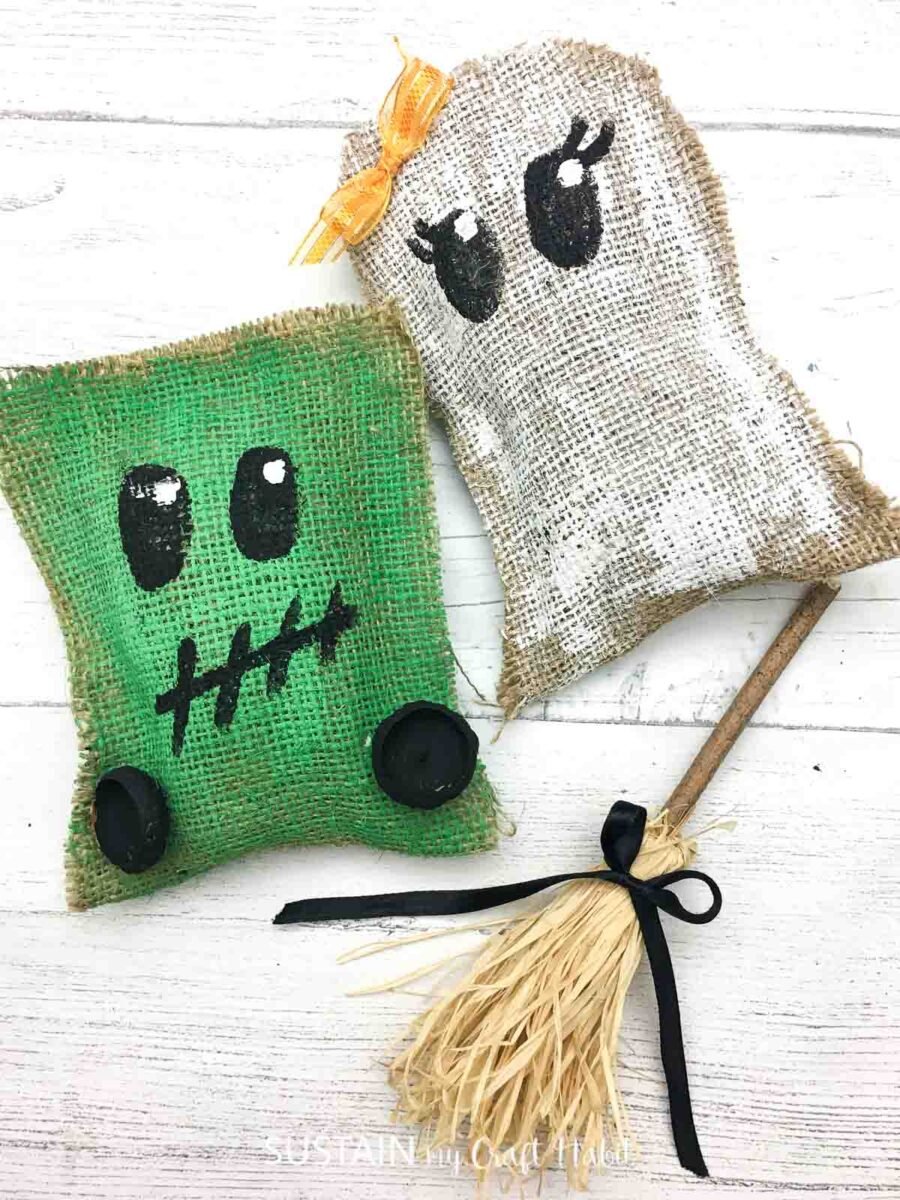
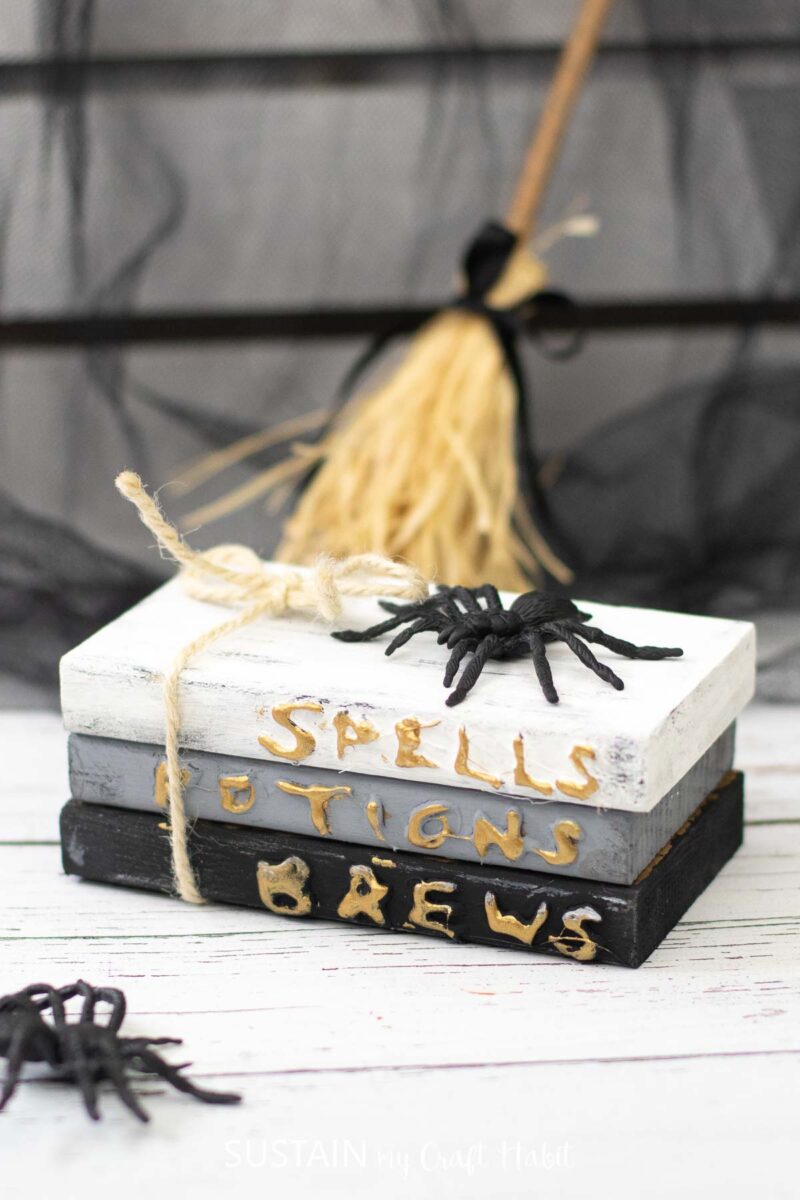
These witch potion bottles make great decor for a Halloween tiered tray in addition to stacked books from scrap wood, these cutsie burlap Halloween characters, and some adorable mini brooms.
Materials Needed to Make Witch Potion Jars:
Disclosure: This post contains affiliate links for your shopping convenience. Should you choose to purchase through them, we will make a small commission at no extra cost to you. You can read our full disclosure here.
How to Make DIY Witch Potion Jars
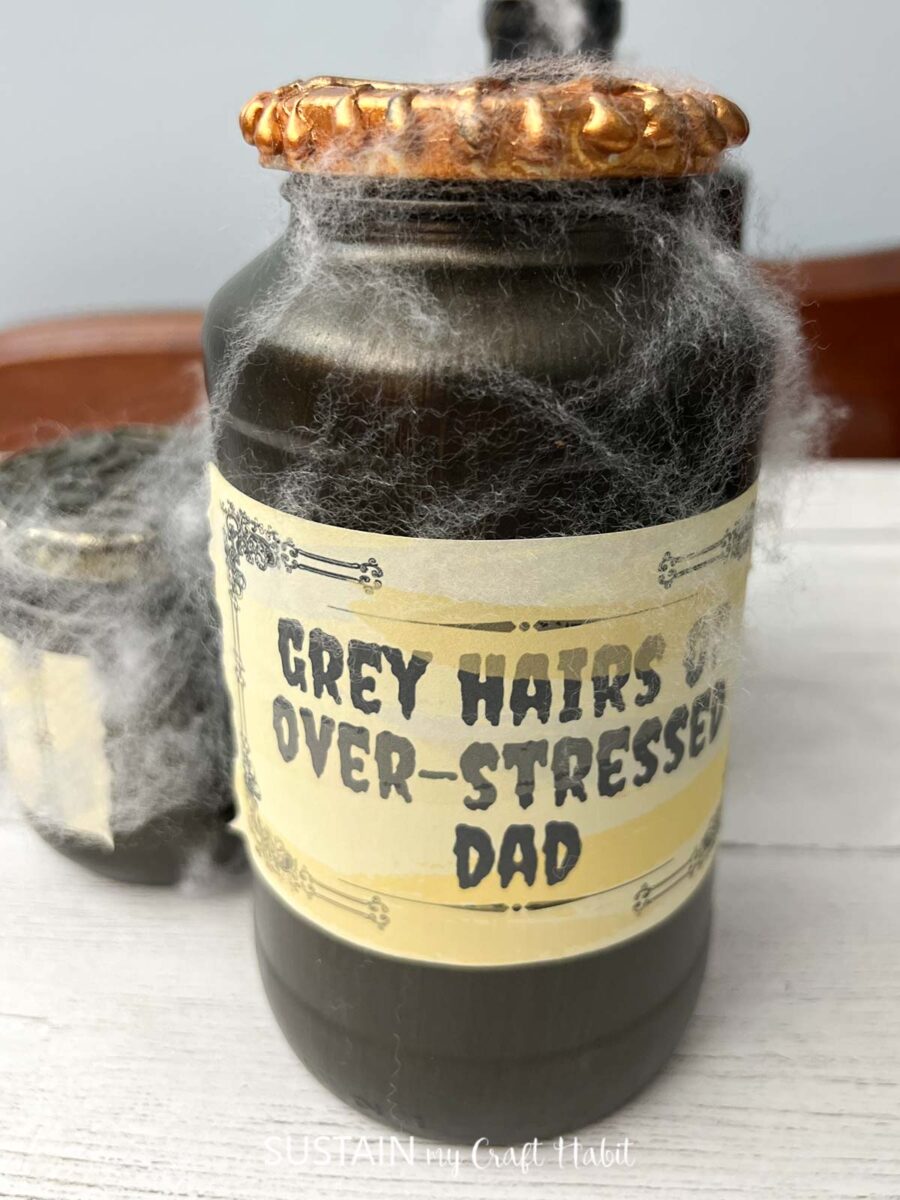
The first thing to do is ensure the labels are removed from the bottles/jars. This can be achieved by soaking the bottles in warm water or using a product like Goo Gone to help break down the adhesive.
Preparing the Supplies for Crafting
If you don’t have the perfect bottles to use for this craft, you can transform empty glass mason jars instead! Apply a coat of black glass paint on to the surface and leave it to dry. Once dry, apply another coat of paint for better covverage.
Print off these printable labels in color and prepare them by cutting them out separately. Distress the edges by taking a wet paint brush and ‘dabbing’ the edges. Then quickly ‘pick’ away at the edges to create a rough look.
Using a paint brush, apply the modge podge to the label and affix it on the bottle. Leave the bottle to dry fully before adding any embellishments like faux spider webbing or plastic spiders.
Making the Potion Jar Lids
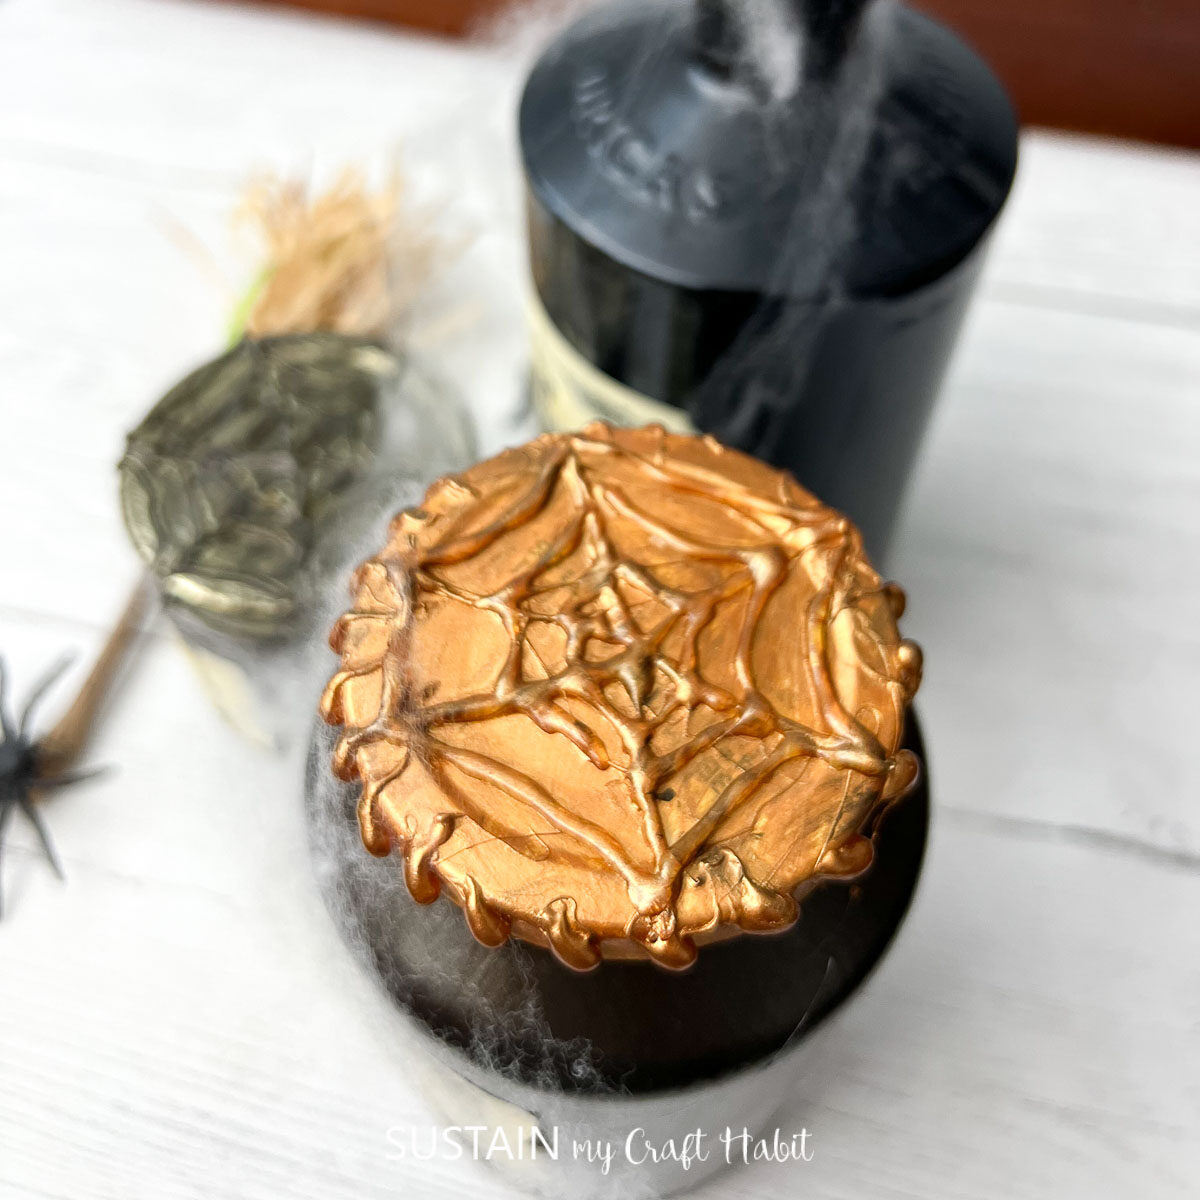
Now that the jars are ready, it’s time to make the lids look authentic and pretty! Using the hot glue gun, create ‘beads’ of glue on the lid and continue around the lid. Add a cool spiderweb detail to the top as well!
Once dry, paint the lid in a metallic gold color including the ‘beads’ of dried glue.
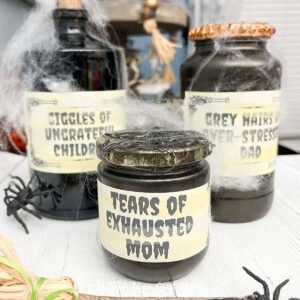
And with that, these punny witch’s potion jars are complete! Now it’s time to style them on my three-tiered Halloween tray.
More Halloween Printables and Crafts
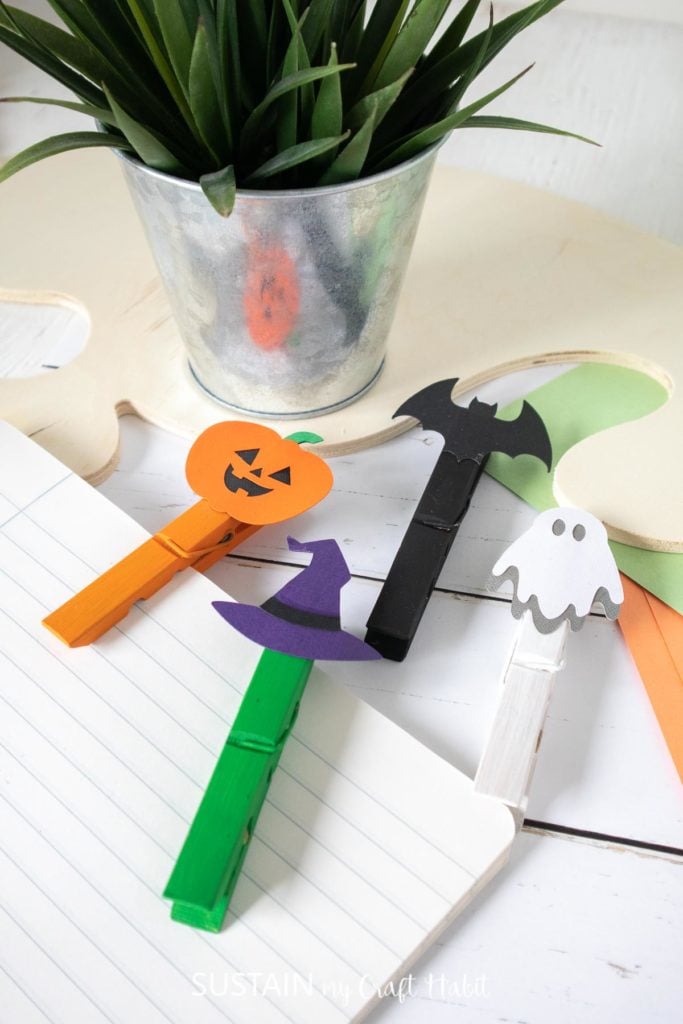
- Adorable Halloween Clothespin Craft
- Printable Bat Stencils
- Paper Garland (with free printable!)
- Dollar Tree Halloween Crafts


Like it? Pin it for later!
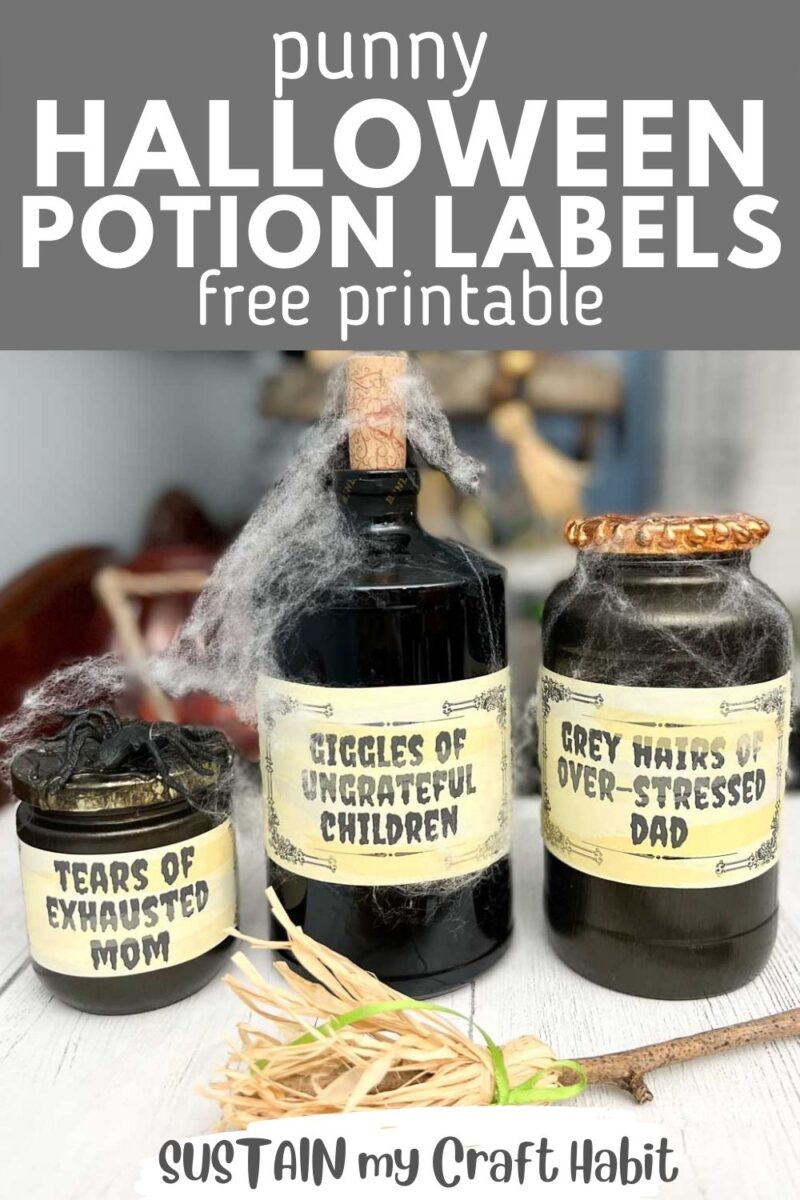
Punny DIY Witch Potion Bottle Decor
Materials
- Acrylic Paints
- Empty Bottles/Jars
- Printable Labels see link
- Mod Podge
- Hot Glue Gun
Instructions
- Ensure the labels are removed from the bottles/jars.
- Next, you will paint the bottles/jars and let them dry.
- Take the printable labels and prepare them by cutting them out separately. Do distress the edges, take a wet paint brush and ‘dab’ the edges. Then ‘pick’ away at the edges to create a rough look.
- Next, take your dry bottle and using a paint brush, apply the modge podge to the label and affix it on the bottle and let it dry.
- Take the lid of the jar and using the hot glue gun, create ‘beads’ of glue and continue around the lid.
- Then, take the paint and paint the lid and the ‘beads’ of dried glue.